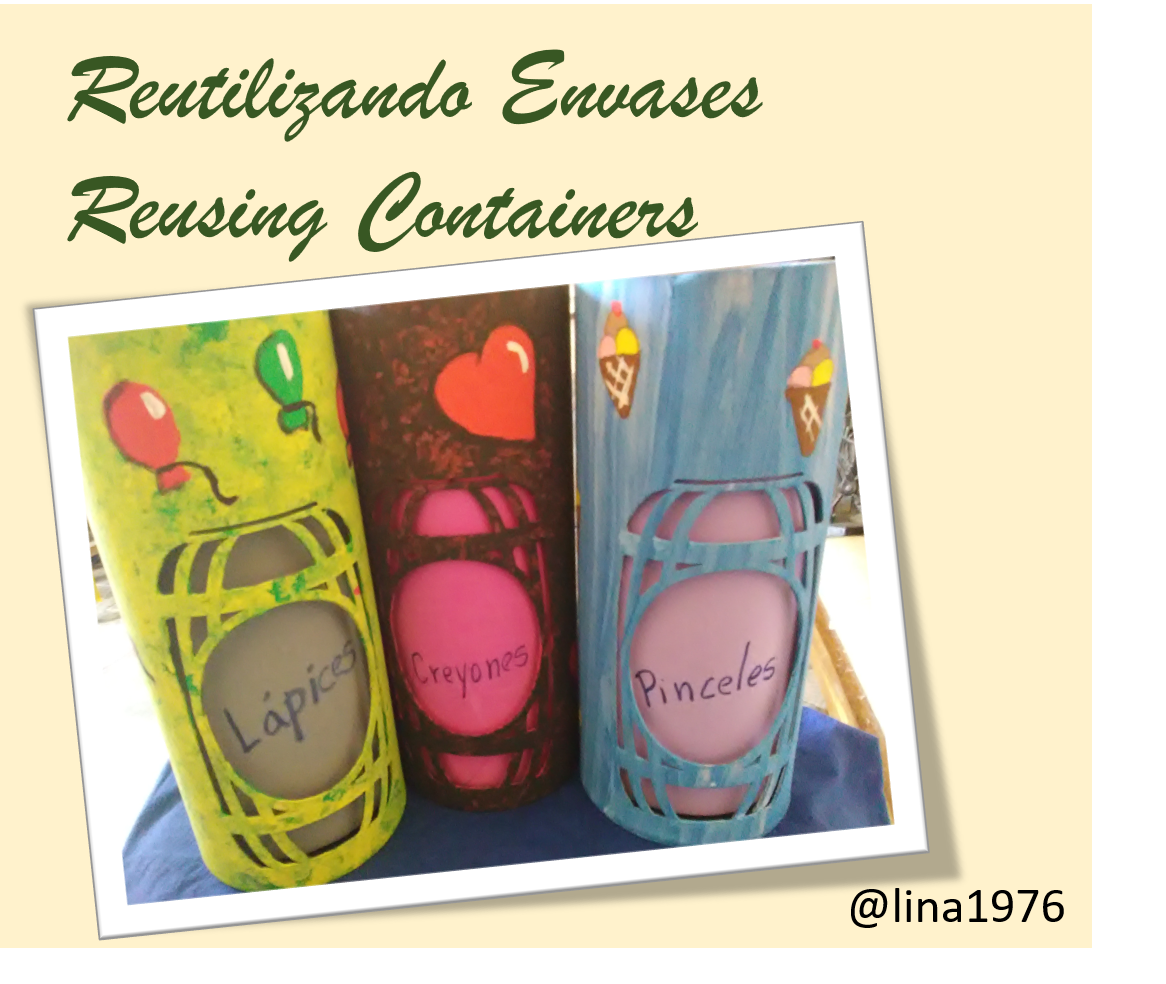
Hello Hiveblogers friends, here today again with a craft that I made reusing some old containers that I had in my classroom, taking advantage of the early restart of classes, after such a long time of pandemic. I went to my school where I have worked for more than 20 years and cleaned my shelf of supplies. It had some cylindrical containers, where the wine bottles come and they were a little deteriorated and painted with a single color, because I decided to reuse it and through painting techniques and give them a more creative touch, leaving them super beautiful.
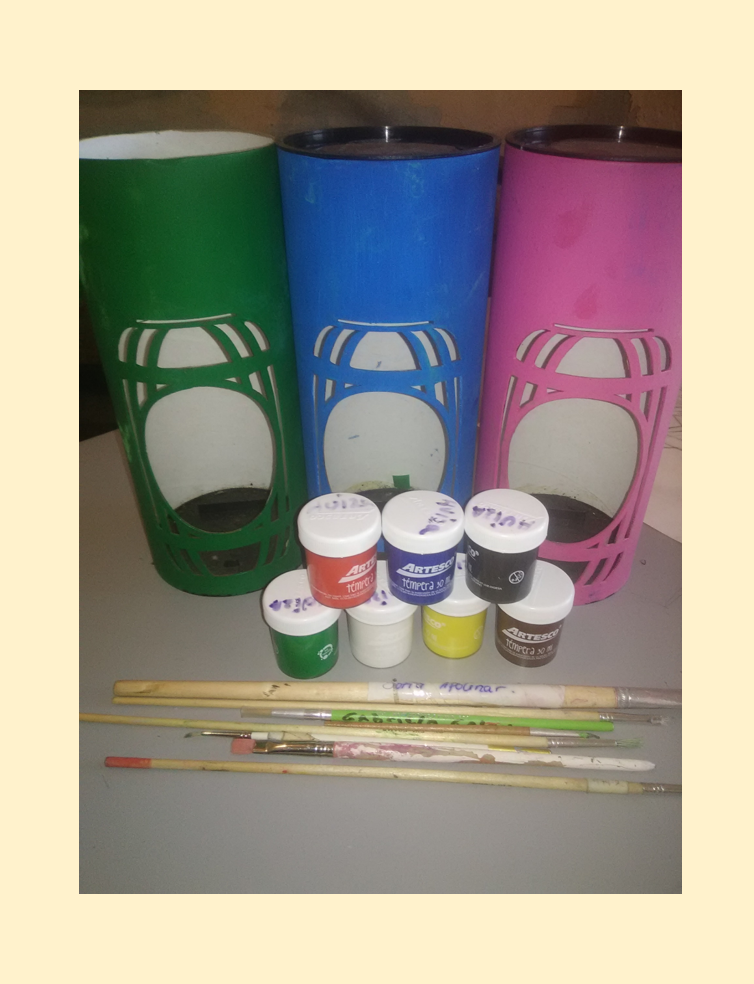
Los materiales utilizados son:
- Envases cilíndricos
- Pintura al Frio
- Pinceles
- Foamy
The materials used are:
- Cylindrical containers
- Cold paint
- Brushes
- Foamy
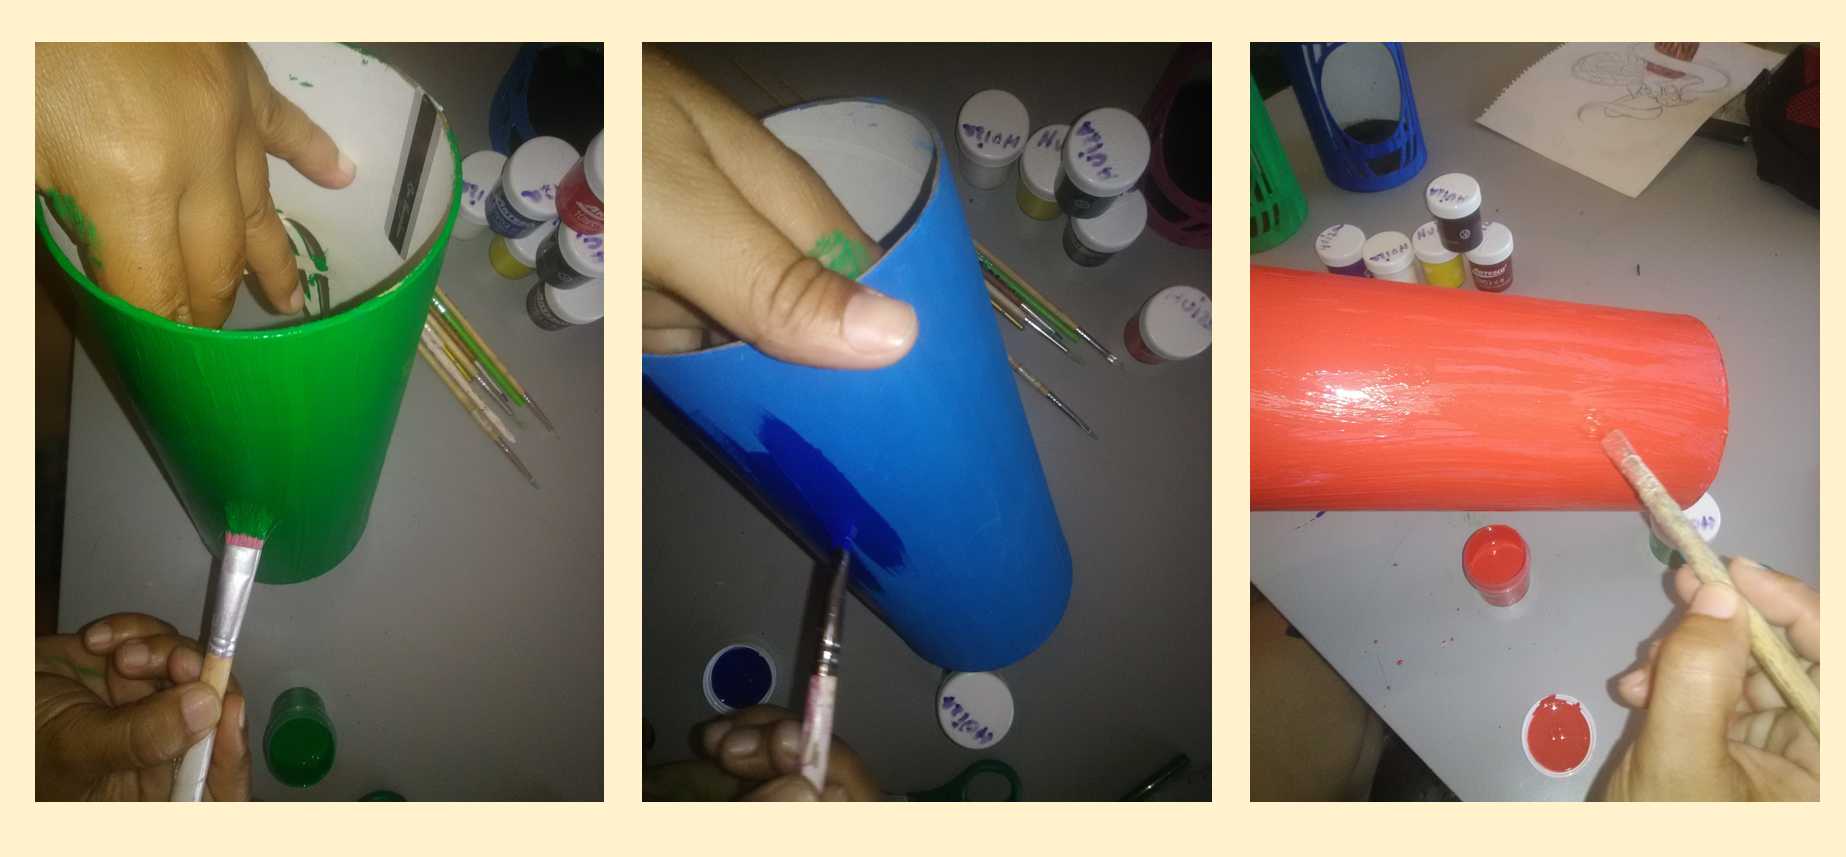
Comienzo pintando el fondo de verde, azul y rojo. Realizando una segunda capa de pintura para que quedaran bien pintado. Se dejo secar unos minutos.
I start by painting the background green, blue and red. Making a second coat of paint so that they would be well painted. Let it dry for a few minutes.
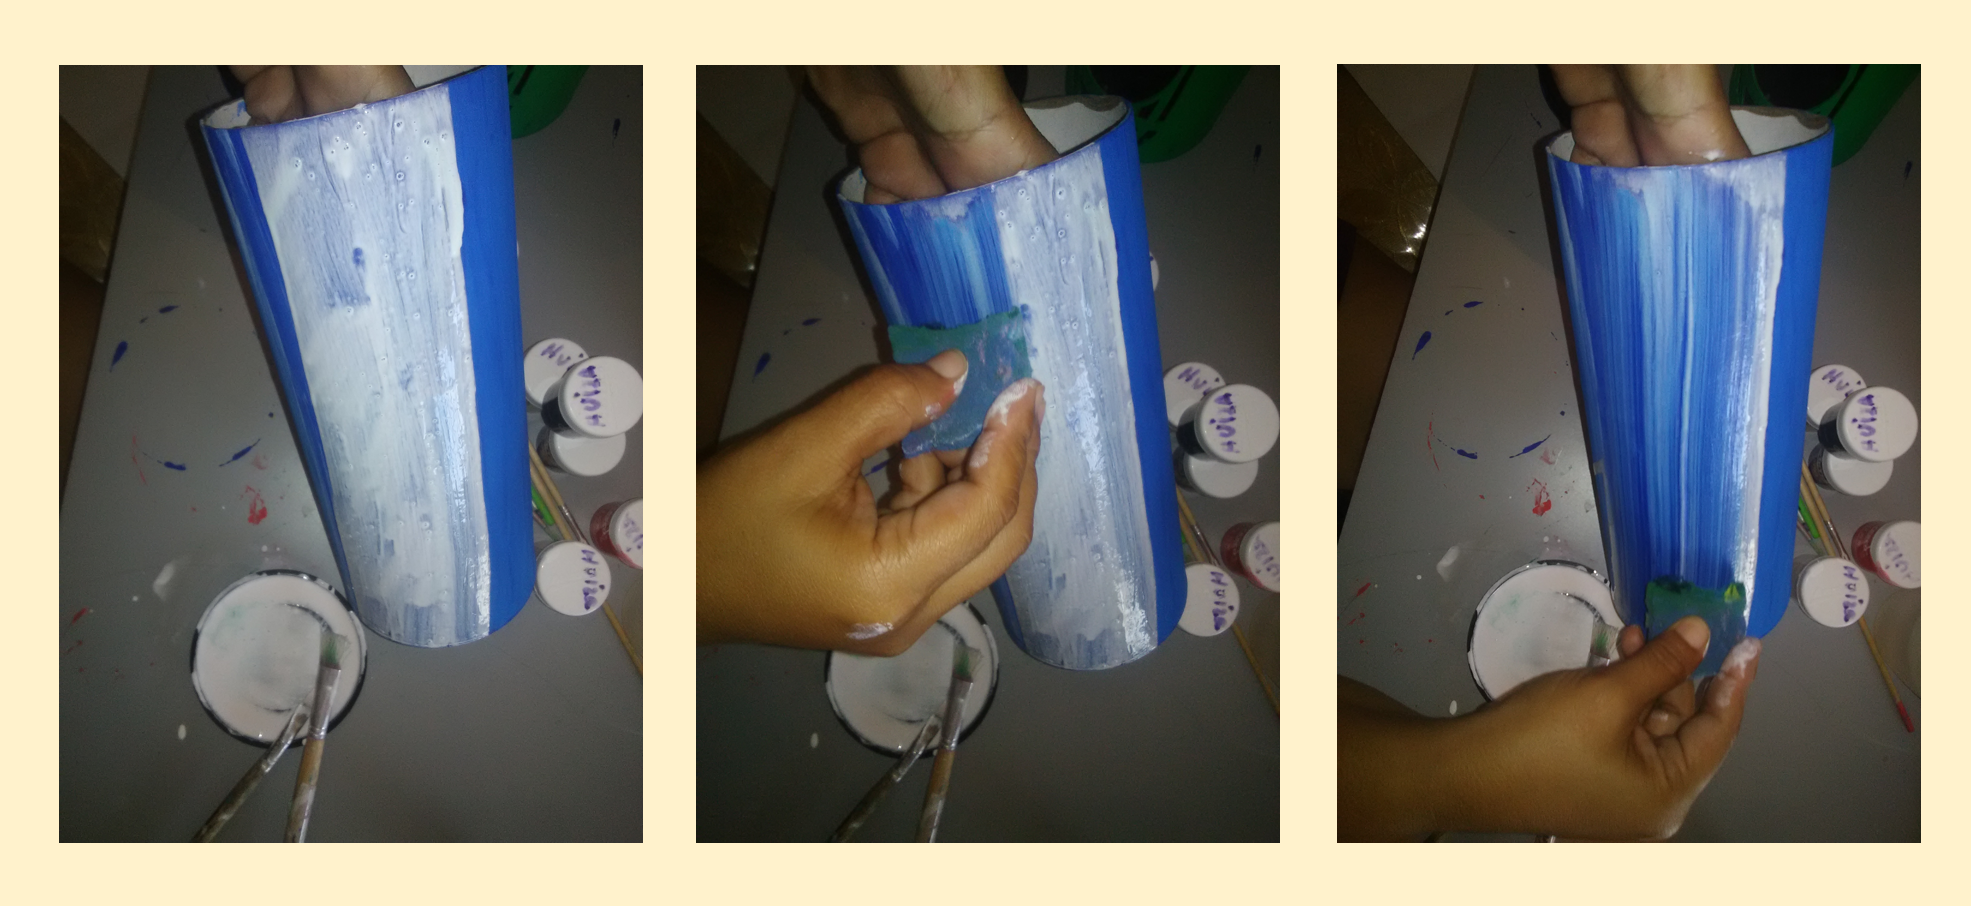
Luego que están secos los envases procedo a pintar uno a uno comenzando con el azul, para ello diluyo pintura blanca con agua para que esta se ponga más líquida, Le coloco a una parte del envase con un pincel a lo largo y luego con un pedazo de esponja limpio en forma vertical, quedando una aspecto de tela de jeans.
After the containers are dry I proceed to paint one by one starting with blue, for this I dilute white paint with water so that it becomes more liquid, I place a part of the container with a brush along the length and then with a piece clean sponge vertically, leaving a jeans fabric look.
El envase verde colocamos la pintura amarilla mas líquida y tomamos una esponja y la mojamos presionando suavemente para dar un matizado al envase.
In the green container we place the most liquid yellow paint and take a sponge and wet it, pressing gently to give the container a nuance.
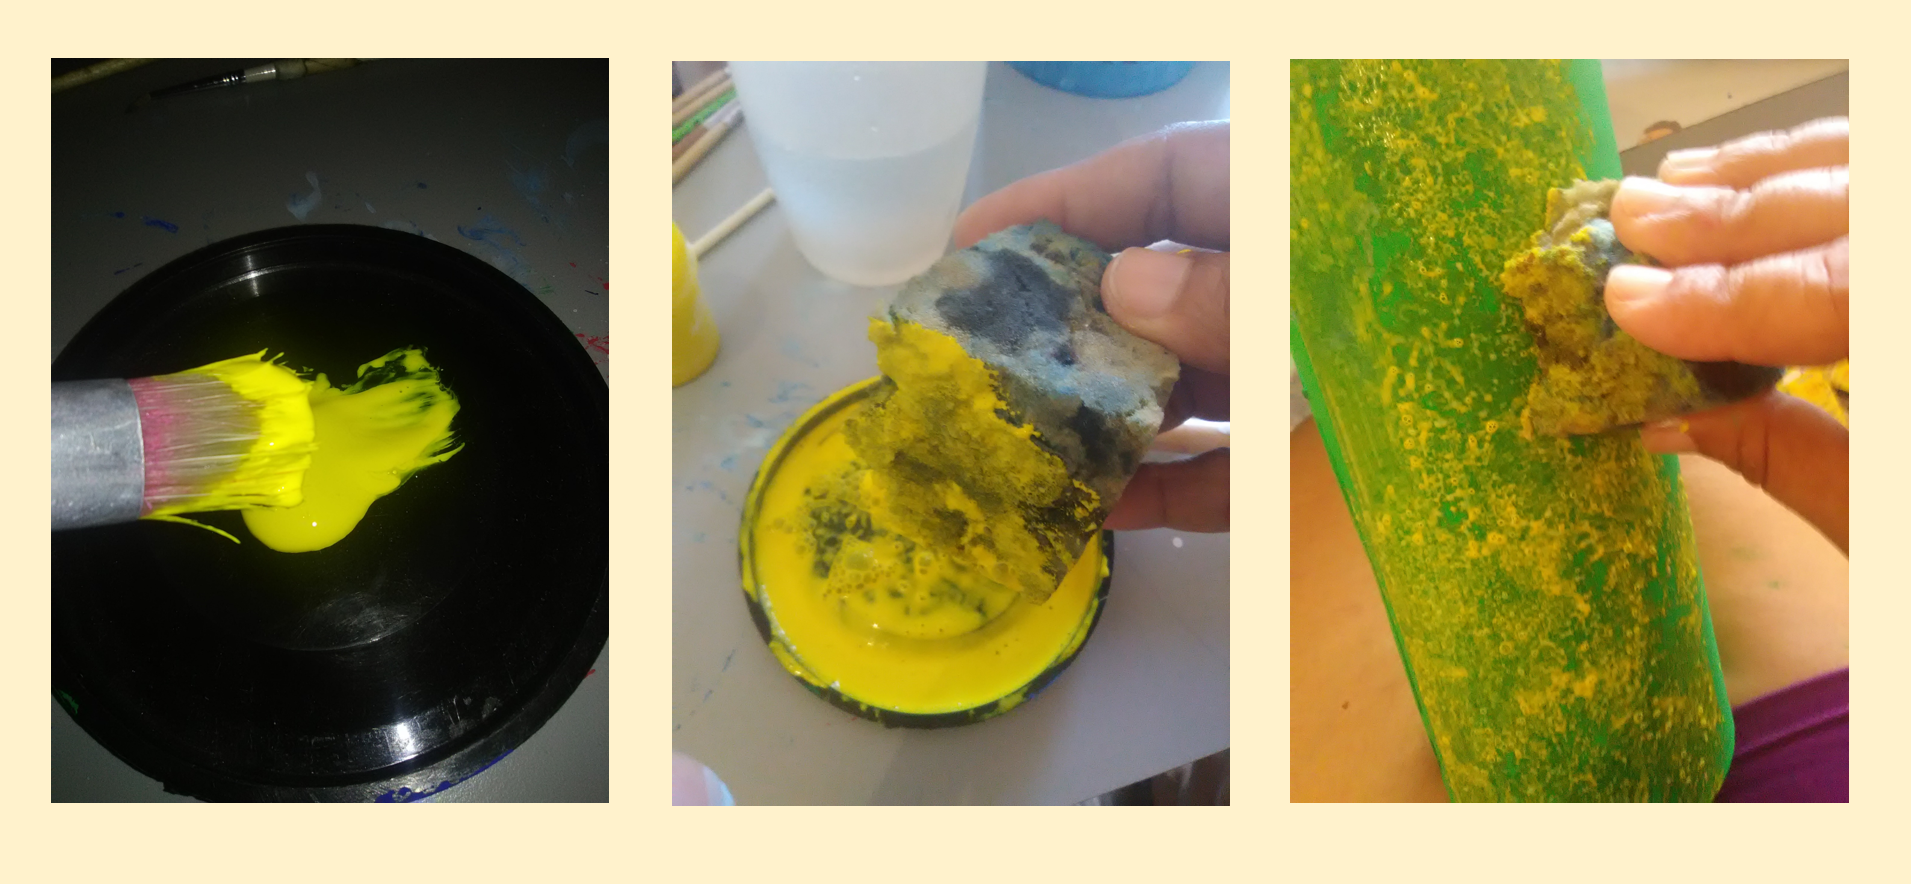
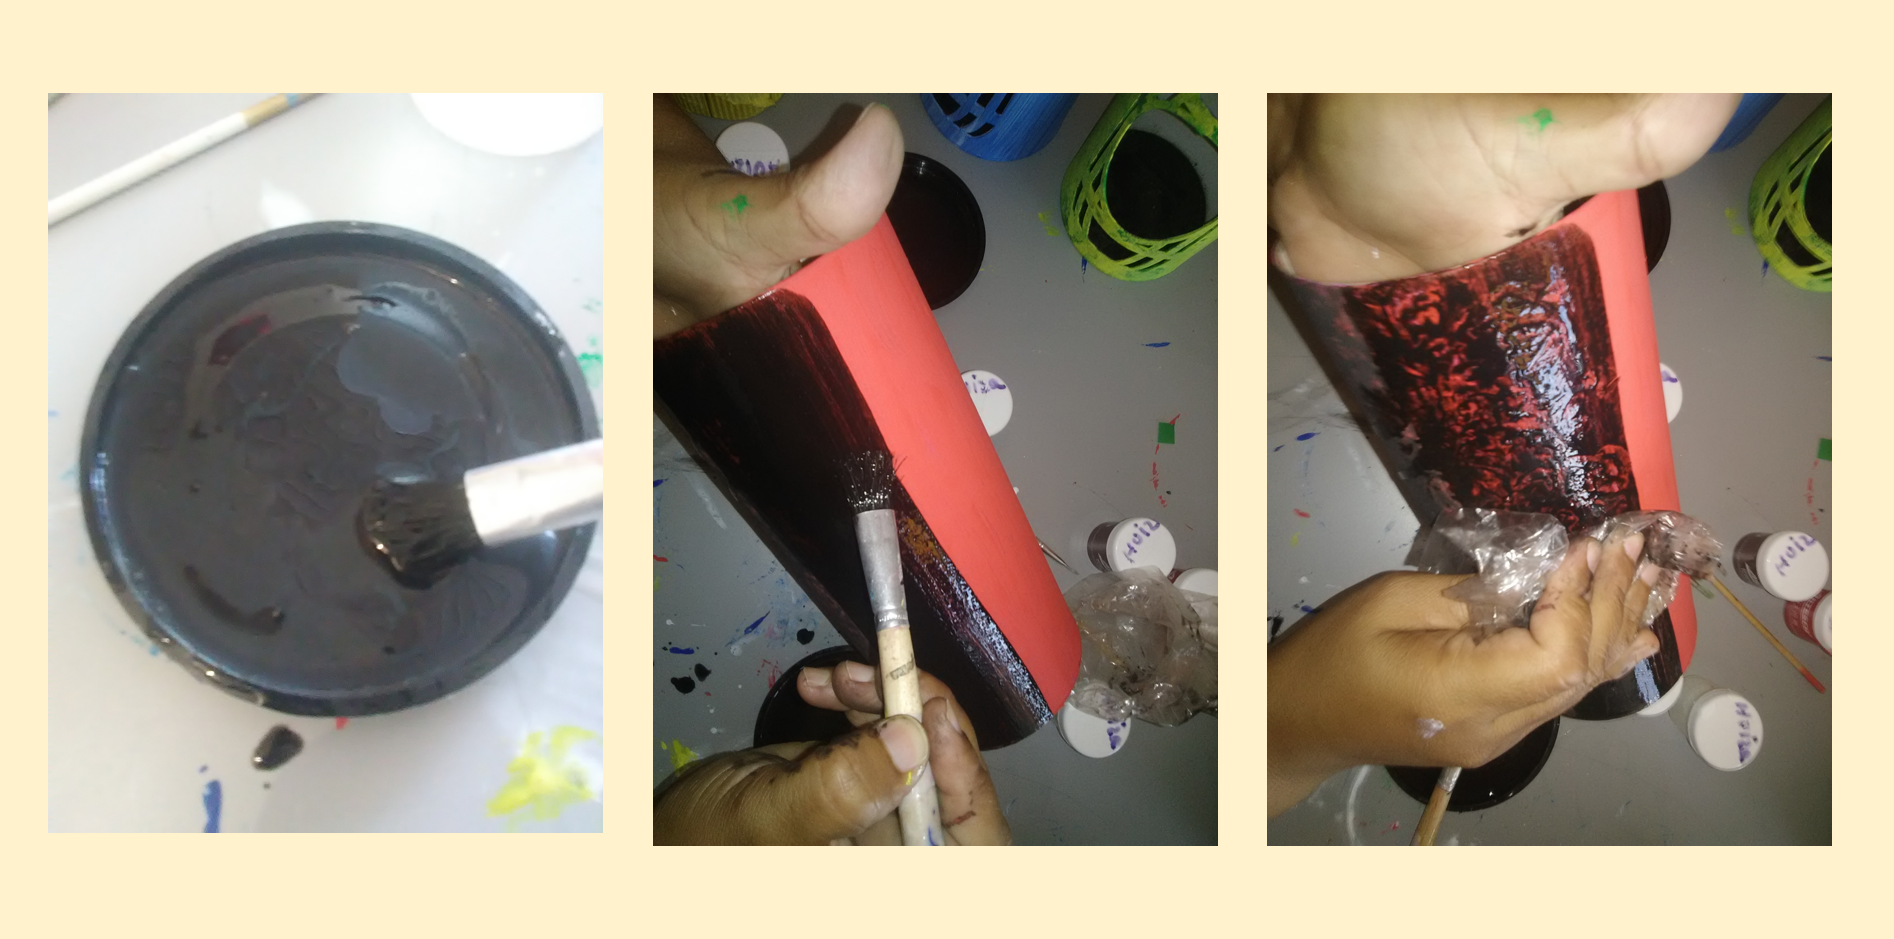
Con el siguiente envase igual agrego agua a la pintura para que esta sea más líquida, pinto con un pincel, pero esta vez le quito el exceso de pintura con una bolsa de plástico arrugada, y le da un aspecto matizado donde se puede apreciar el fondo rojo.
With the next container, I still add water to the paint to make it more liquid, I paint with a brush, but this time I remove the excess paint with a wrinkled plastic bag, and it gives it a nuanced look where you can see the background Red.
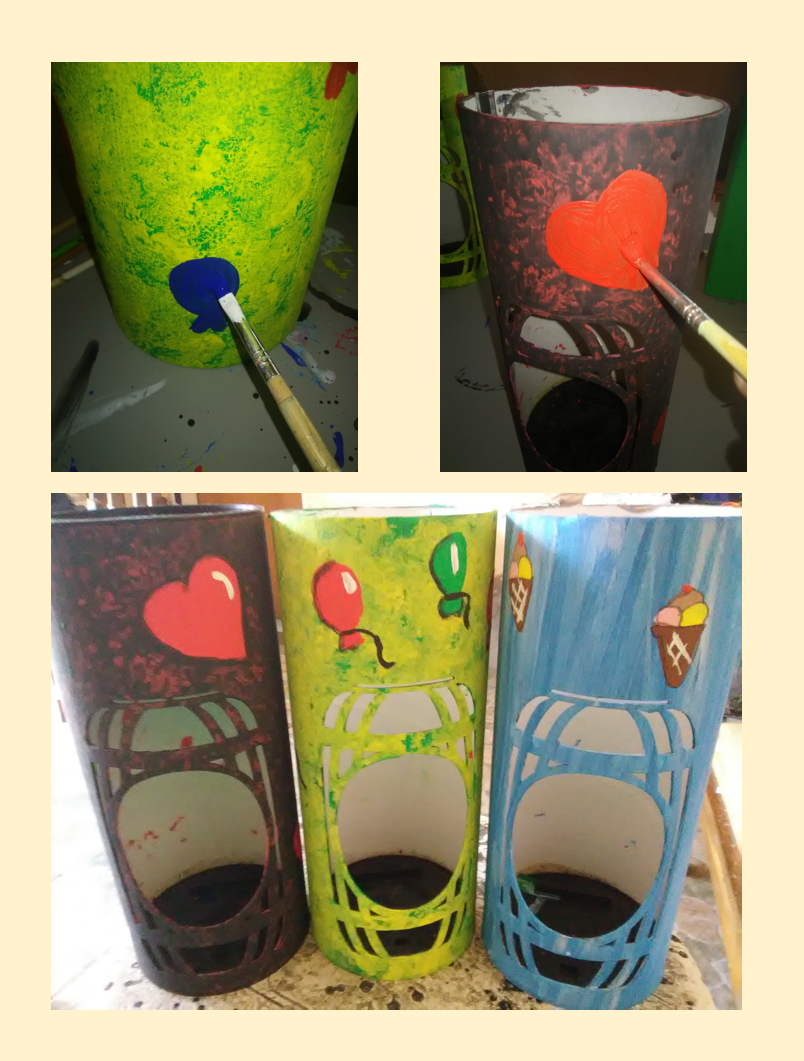
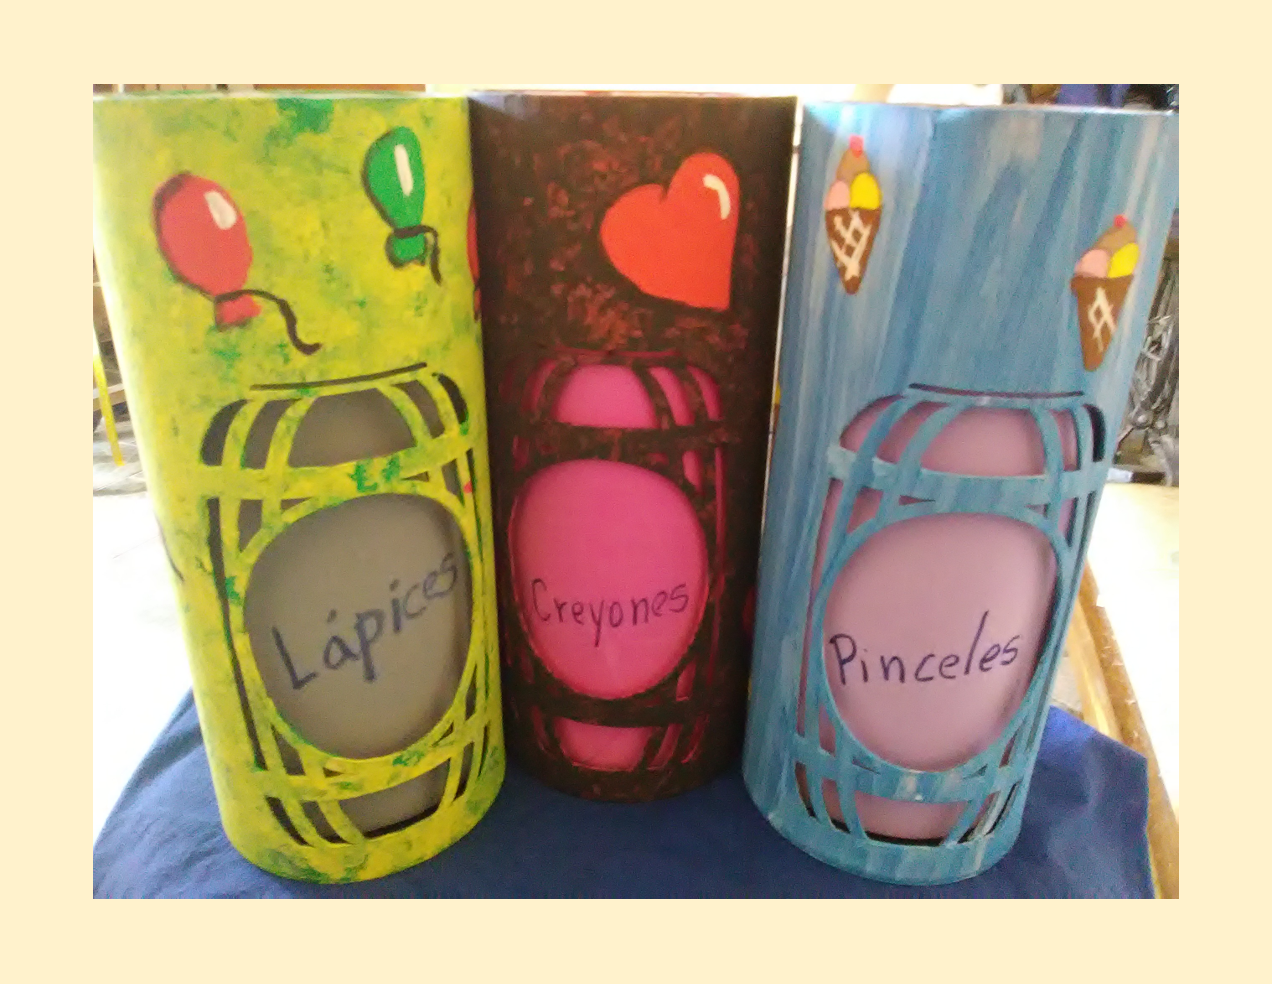
Después de terminar el nuevo fondo de los envases, procedo a pintar con diferentes motivos infantiles como globos, corazón y barquillas.
After finishing the new bottom of the containers, I proceed to paint with different children's motifs such as balloons, hearts and nacelles.
Listo finalmente los envases, sin embargo tienen un agujero en el frente, solo tome una pieza de foamy y se la pegue en la parte interior y Coloque el nombre ara lo cual será utilizado. Pinceles, lápices y creyones.
Finally the containers are ready, however they have a hole in the front, just take a piece of foamy and stick it on the inside and place the name for which it will be used. Brushes, pencils and crayons.
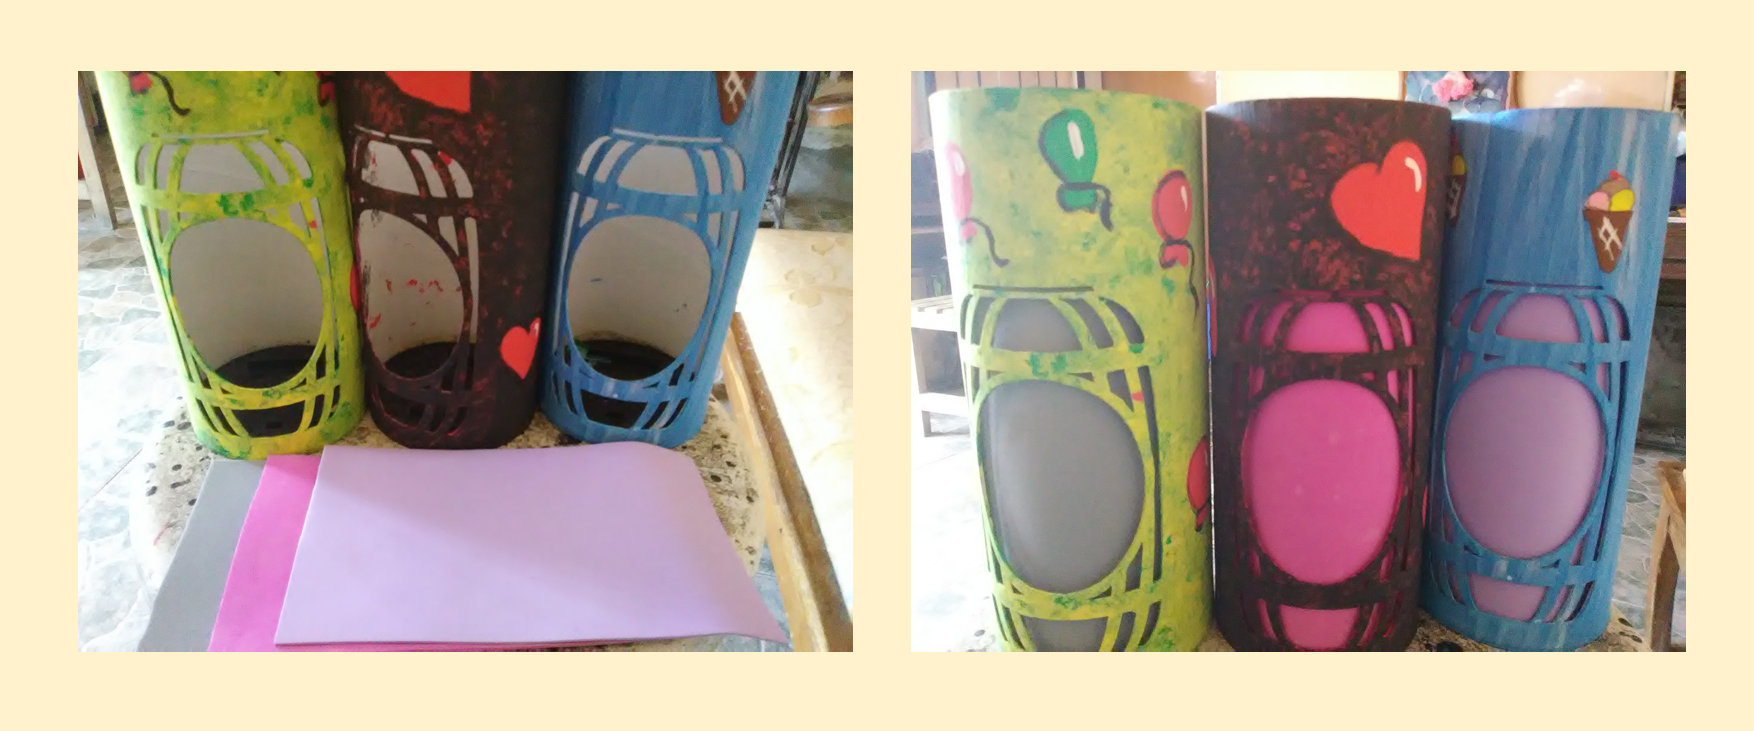
Super diferentes quedaron con más color y muy útiles para mi aula de trabajo. Gracias por leer mi publicación.
Super different were with more color and very useful for my work classroom. Thanks for reading my post.
TODAS LAS FOTOS SON PROPIAS
EDITADAS EN POWER POINT
ALL PHOTOS ARE OWN
EDITED IN POWER POINT
EDITADAS EN POWER POINT
ALL PHOTOS ARE OWN
EDITED IN POWER POINT
Me encantan estos proyectos :)
¡Qué bellos quedaron tus trabajos! Es una linda forma de mantener organizado el escritorio y desde luego te diviertes en el proceso.
Congratulations @lina1976! You have completed the following achievement on the Hive blockchain and have been rewarded with new badge(s) :
Your next target is to reach 8000 upvotes.
You can view your badges on your board and compare yourself to others in the Ranking
If you no longer want to receive notifications, reply to this comment with the word
STOPCheck out the last post from @hivebuzz:
Hola quedaron muy bonitos tus envases, la técnica del azul me gusto porque ciertamente parece Blue jeans. Se ven super ya que tienen mayor colorido y son adecuado para un salón de clases. Gracias por compartir.
Que lindos te quedaron los recipientes, muy creativas las tecnicas de pintura porque se ven super diferentes, envases como estos son muy utiles en las aulas de clases para mantener organizados los materiales de los estudiantes.
Gracias por compartir tus ideas, son geniales.
Hola. Me agrada mucho ver cómo reutilizas elementos para crear manualidades muy lindas como está, me agrada como enseñas el paso a paso y de paso incentivas al reciclaje. Gracias por compartir tu manualidad. Un abrazo desde Colombia.
Lindos y muy útiles, gracias por compartir. Saludos
Hola, estos organizadores son necesarios en el aula de clases. Que bueno que los restauraste. Otra forma de organizadores.
super útiles , la verdad. Gracias por leer