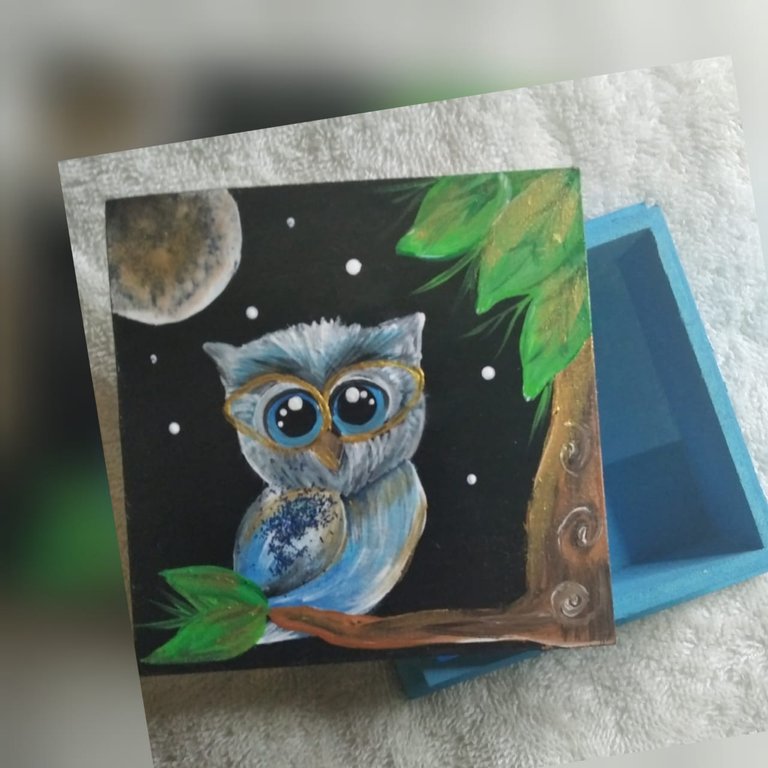
Hello dear manualist bees, today I bring you a nice chest in mdf, ideal for storing rings, earrings and other little things. The materials used were the mdf box, cold paints, fine brushes, glue, and a great desire to create. Here is this step by step.
PASO 1
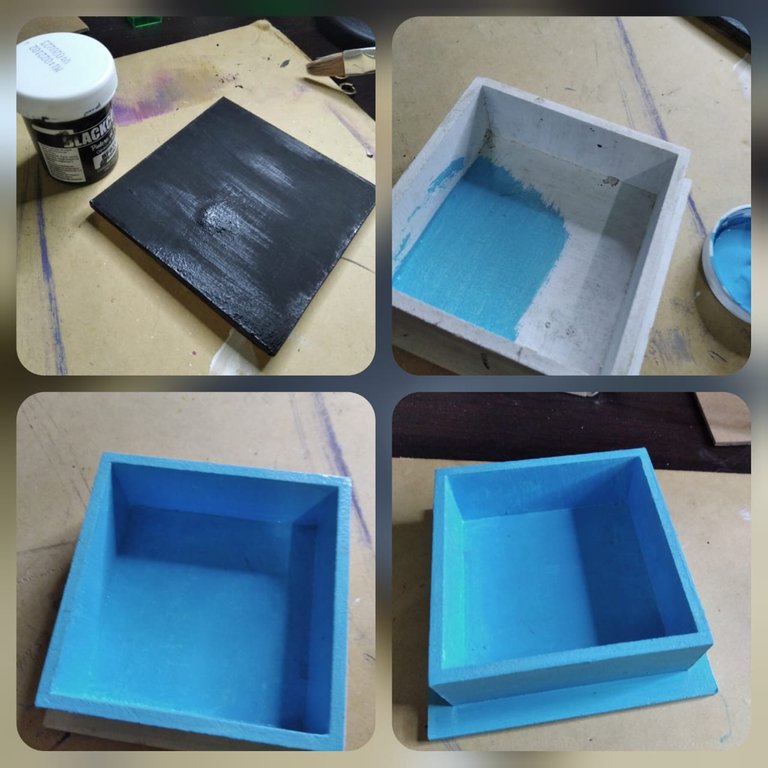
Pintar la tapa con pintura negra, dos capas hasta secar. Previamente se pinta de color celeste la base del cofre también dos capas para que este bien cubierta.
STEP 1
Paint the lid with black paint, two coats until dry. Previously, the base of the chest is painted in a light blue color, also two layers so that it is well covered.
PASO 2
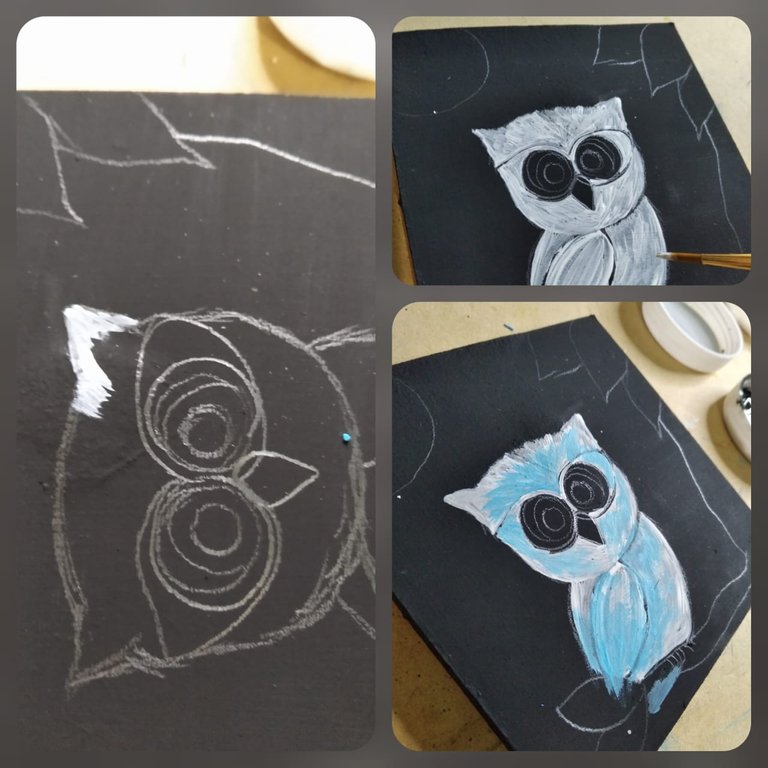
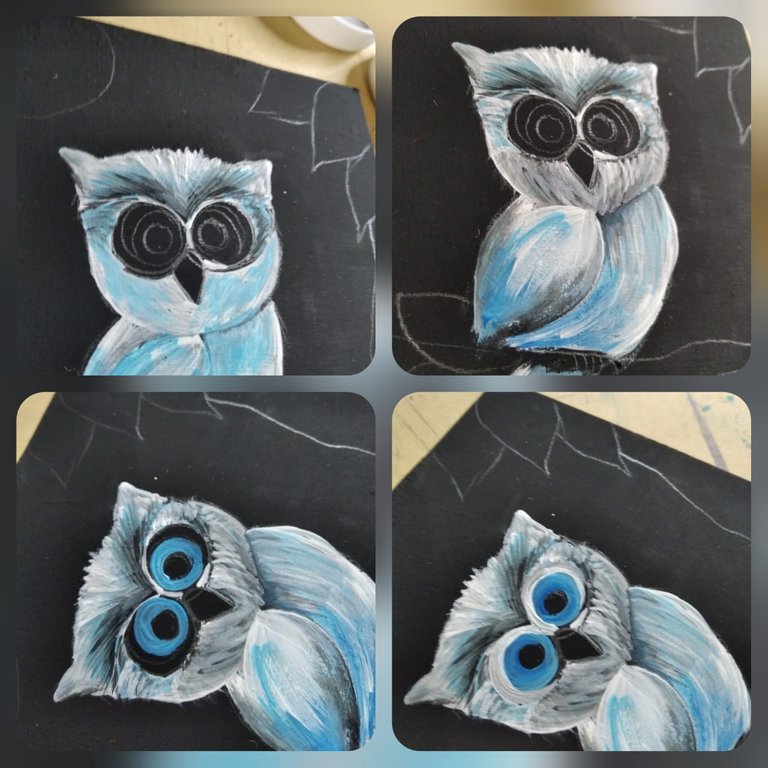
Comenzamos por dibujar encima de la tapa usando un lápiz de grafito, luego con un pincel fino vamos pintando poco a poco, dando textura, no corriendo el pincel sino en puntadas, en color blanco como base y azul como en relieve.
STEP 2
We start by drawing on top of the lid using a graphite pencil, then with a fine brush we paint little by little, giving texture, not running the brush but in stitches, in white as a base and blue as in relief.
PASO 3
Hacemos más detalles en color negro, al igual rellenamos los ojos en color azul y negro.
STEP 3
We make more details in black, as well as fill in the eyes in blue and black.
PASO 4
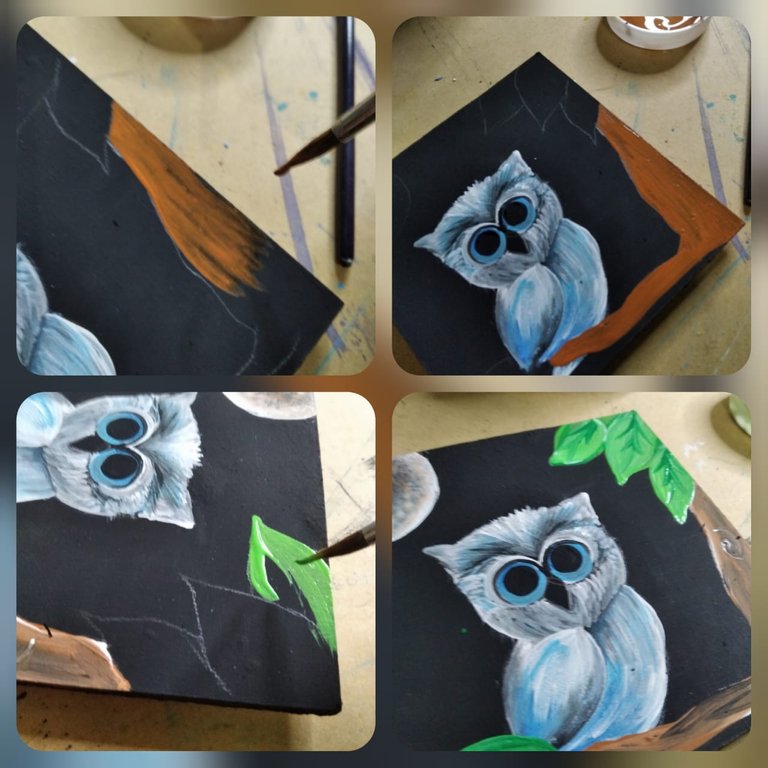
Como pueden observar el búho esta encima de una rama, pues la pintamos con café, blanco y las hojas en tonos verdes.
STEP 4
As you can see, the owl is on a branch, because we paint it with brown, white and the leaves in green tones.
PASO 5
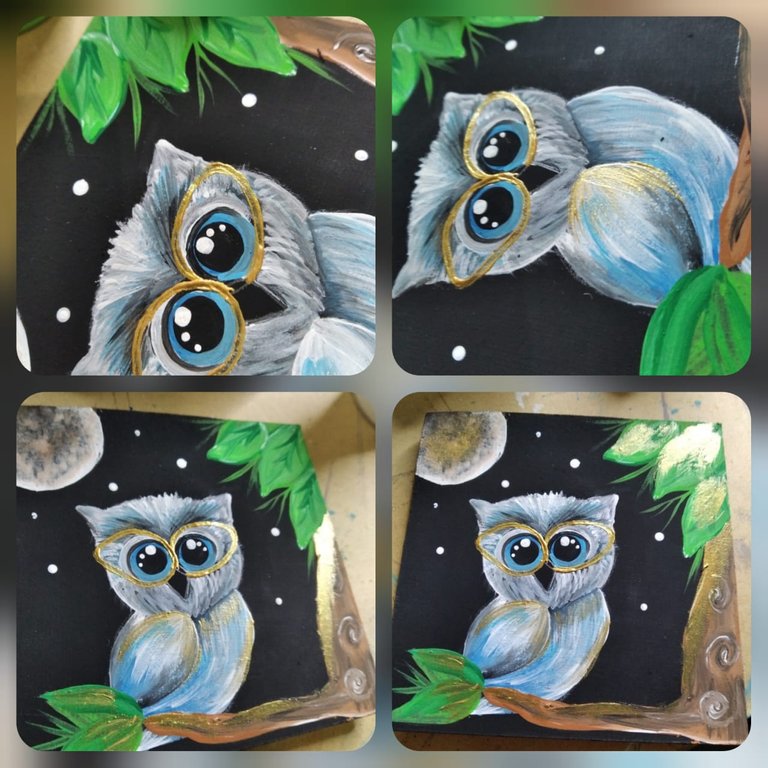
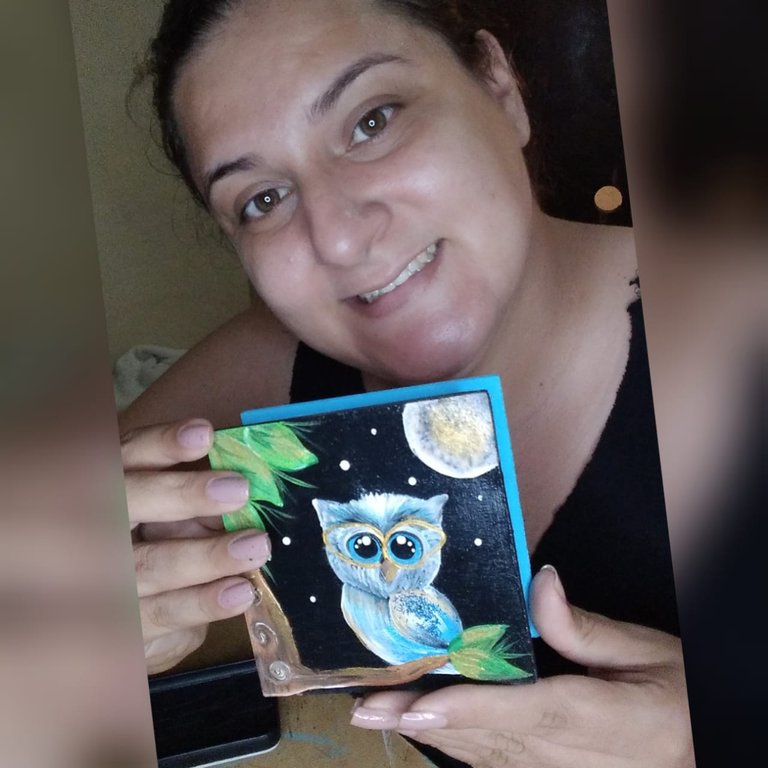
Hago detalles, del búho, pinto la luna y agrego unos puntos blancos para simular unas estrellas, al decorado resalto con dorado.
** STEP 5 **
I make details of the owl, I paint the moon and add some white dots to simulate stars, to the decoration I highlight with gold.
PASO 6
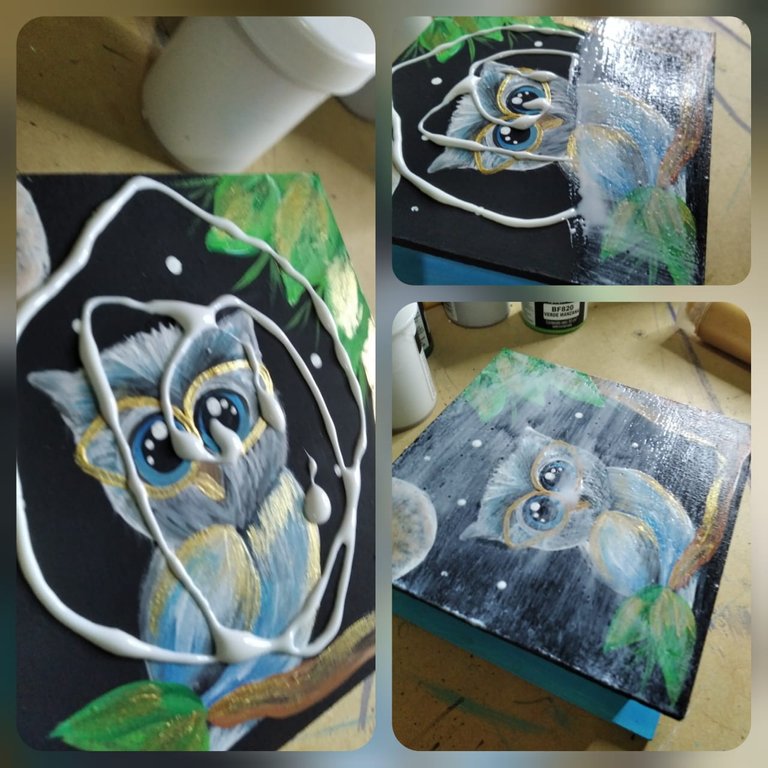
Para finalizar, uso una capa d pega escolar para proteger el diseño de polvo y para que se mantenga brillante. Acá el resultado.
** STEP 6 **
To finish, I use a coat of school glue to protect the design from dust and to keep it shiny. Here is the result.
Lindos colores linda pintura. Te felicito. Es un buen arte.
Gracias @oscarcampos86 buenas palabras.