💛Hola Comunidad HIVE💛
Hello HIVE community
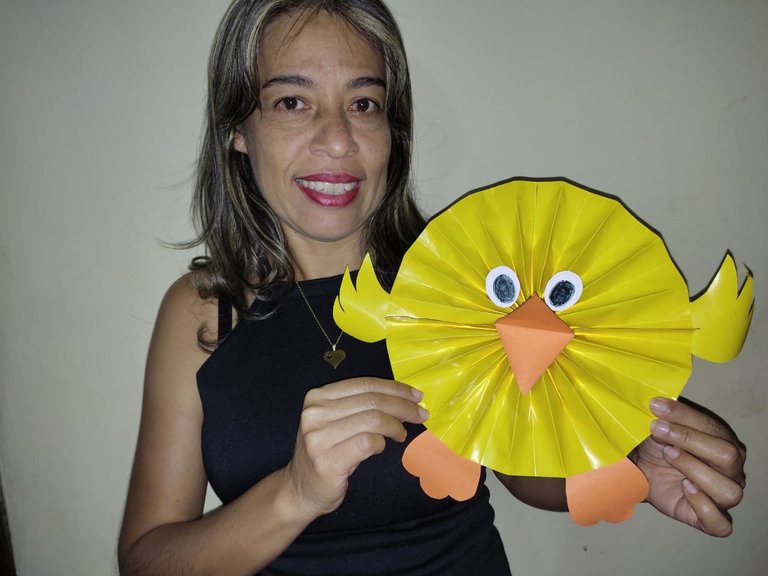
Mi publicación de hoy está basada en el uso del papel como material para crear lindas manualidades, que además de permitirnos pasar un rato agradable, también puede servir para trabajarla con niños pequeños para desarrollar sus habilidades motrices o motoras. Para hoy decidí crear un lindo y sencillo pollito feliz.
Esta manualidad nos puede servir además para enseñar los colores y las partes de este animalito a los niños más pequeños. La podemos utilizar también en las decoraciones de fiestas con motivos infantiles que tengan gustos en esta especie o de naturaleza.
Today's publication is based on the use of paper as a material to create cute crafts, which besides allowing us to have a good time, can also be used to work with young children to develop their motor skills. For today I decided to create a cute and simple happy chick.
This craft can also be used to teach the colors and parts of this animal to younger children. We can also use it in party decorations with children's motifs that have tastes in this species or nature.
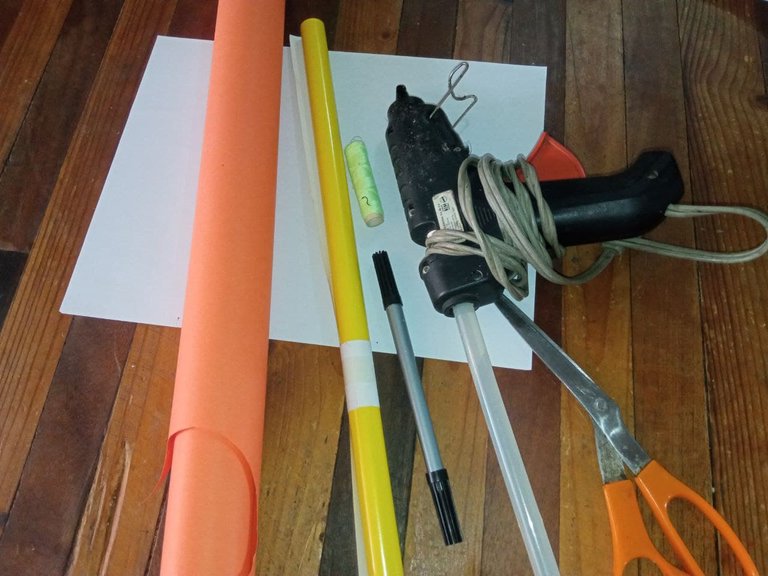
Los materiales utilizados son
The materials used are
- Papel Lustrillo amarillo.
- Cartulina escolar naranja.
- Tijera, hilo.
- Marcador negro.
- Silicón.
- Yellow Lustrillo paper.
- Orange school cardboard.
- Scissors, thread.
- Black marker.
- Silicone.
Paso a Paso||Step by step
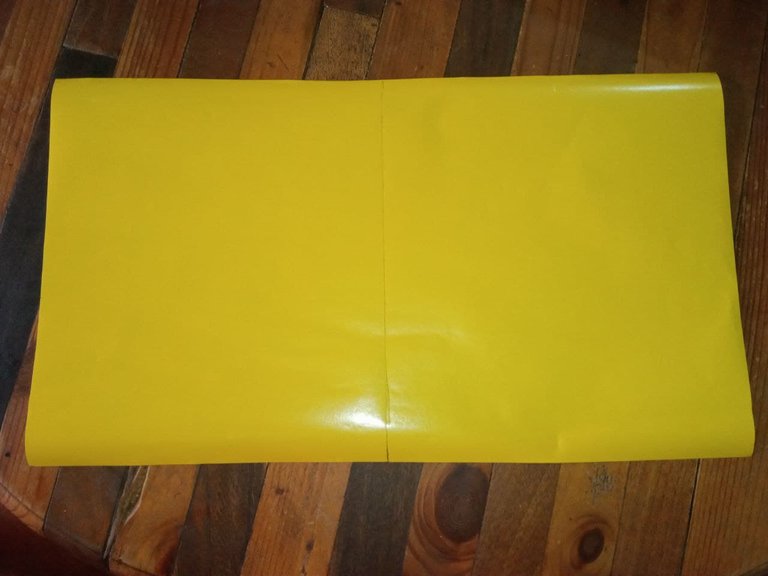
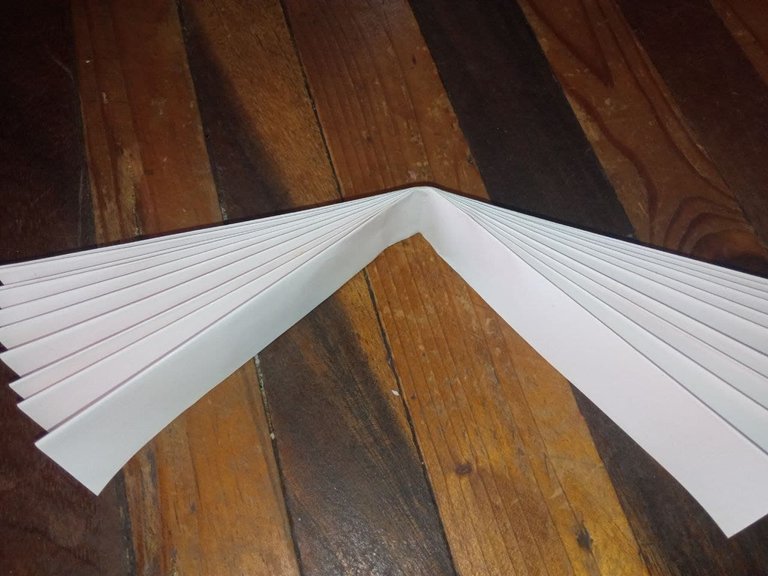
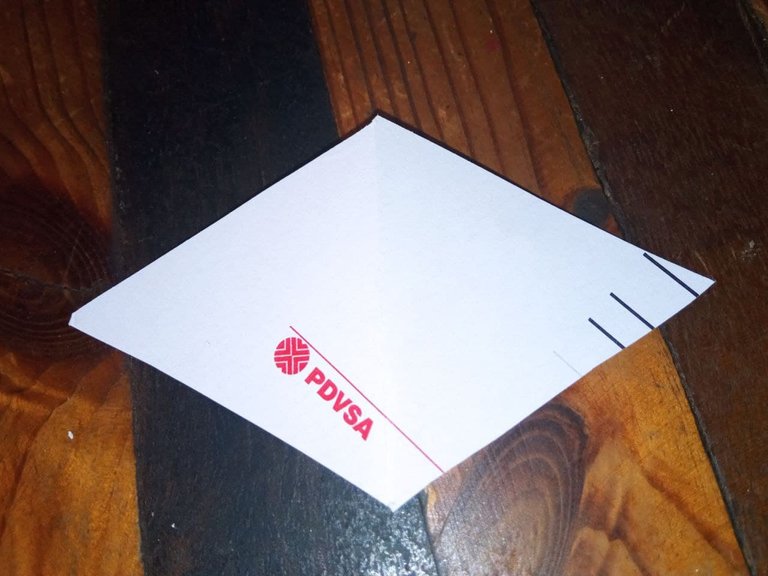
1.- Cortamos un rectángulo de papel lustrillo de tamaño 1x4cm.
1.- Cut a rectangle of lustrillo paper of size 1x4 cm.
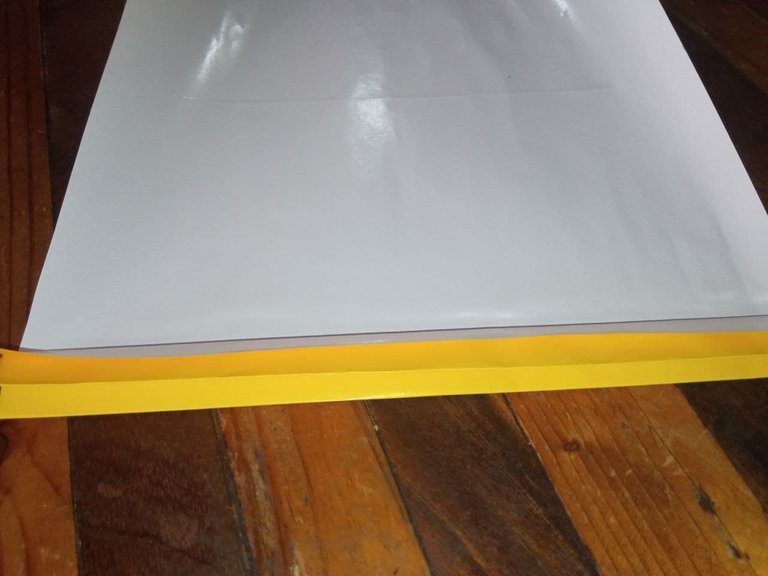
2.- Doblamos el rectángulo en pliegues continuos hasta terminar el papel.
2.- Fold the rectangle in continuous folds until the paper is finished.
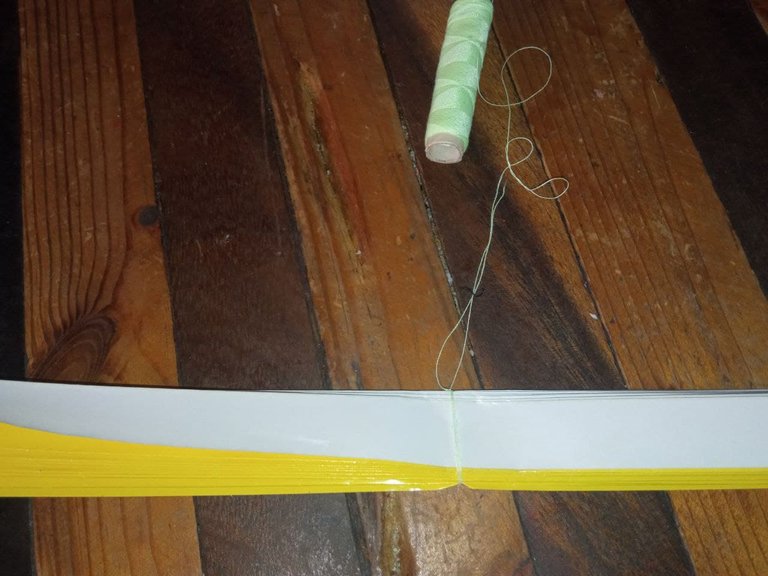
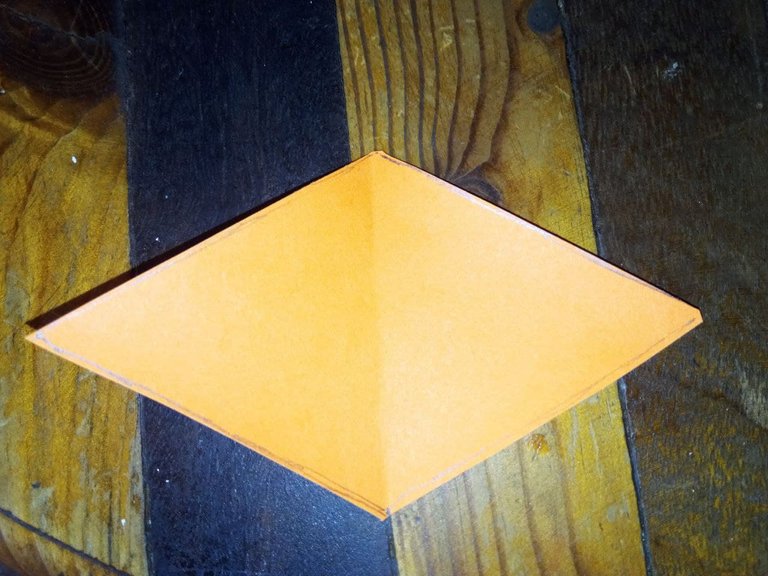
3.- Doblamos a la mitad y unimos el centro con hilo de coser o naylón.
3.- Fold it in half and join the center with sewing thread or naylon.
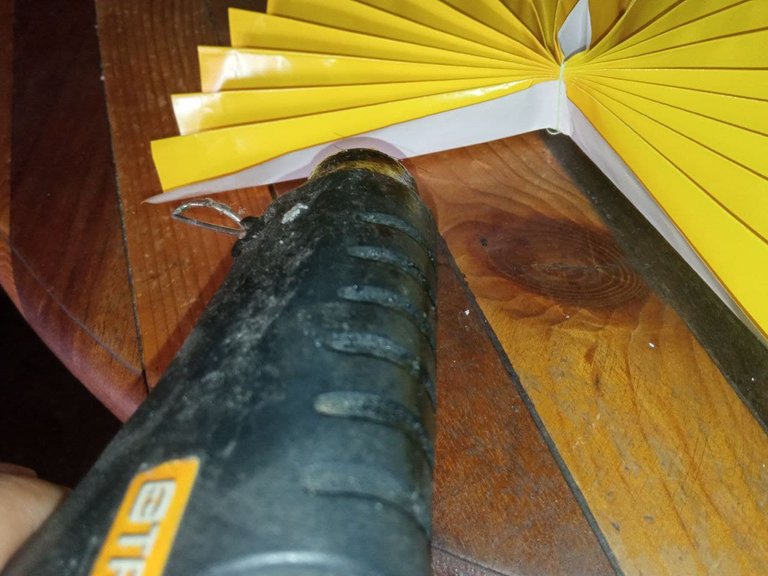
4.- Unimos los laterales haciendo uso del silicón, hasta formar un círculo.
4.- We join the sides using silicone, until we form a circle.
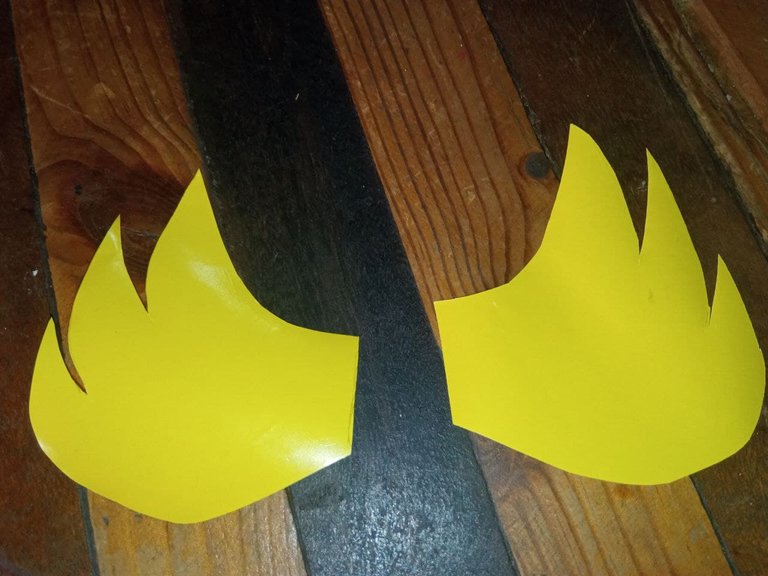
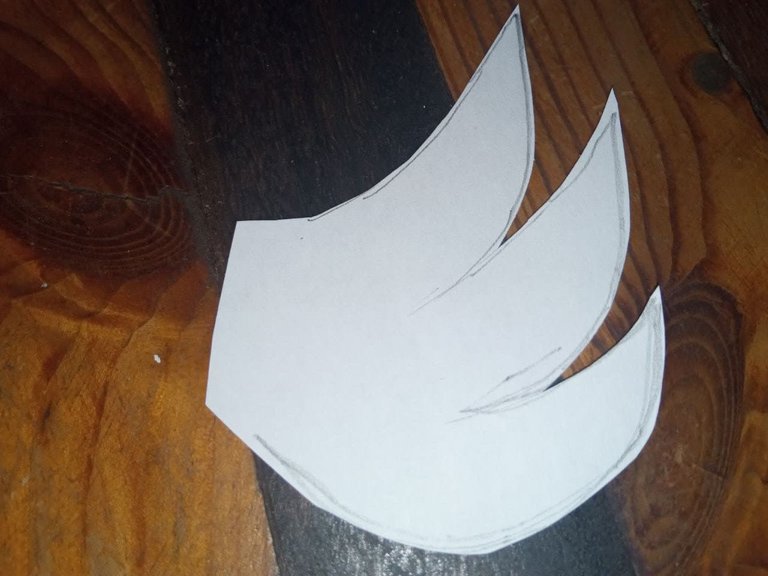
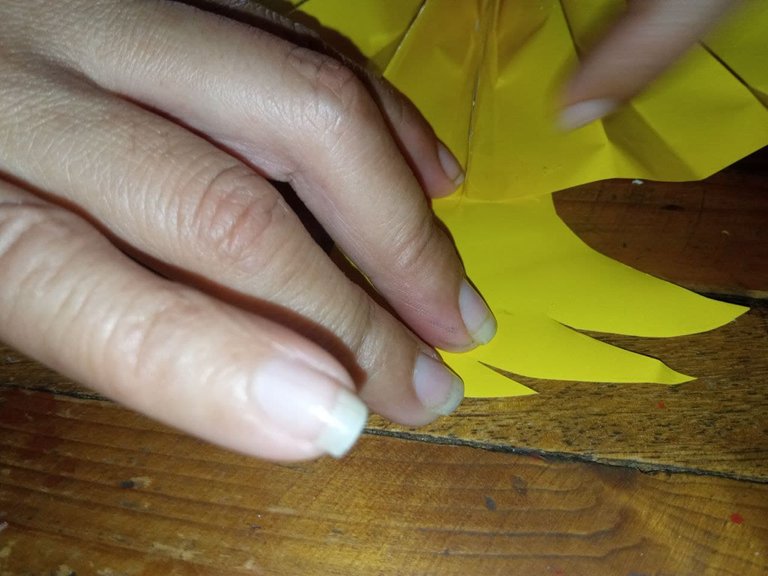
5.- Dibujamos y cortamos las alas en papel lustrillo. Serán dos (2).
5.- Draw and cut the wings on lustrillo paper. There will be two (2).
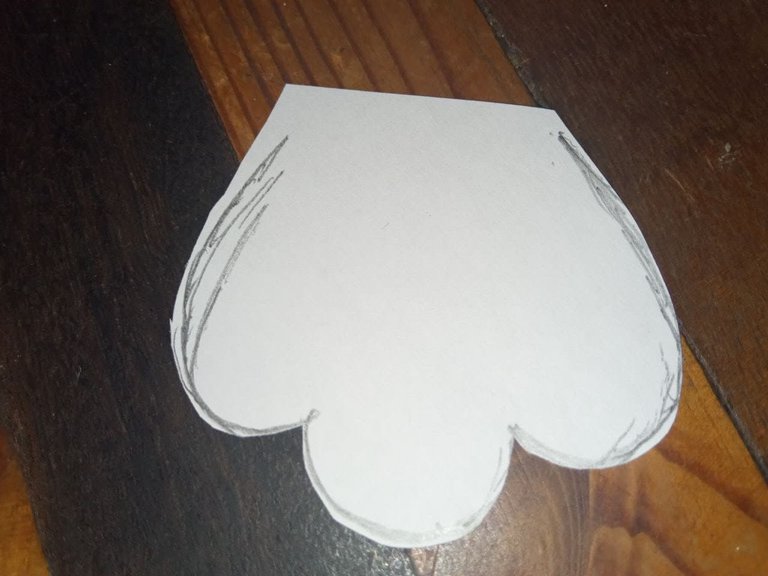
6.- Dibujamos y cortamos las patitas y el pico, en cartulina naranja.
6.- Draw and cut the legs and the beak in orange cardboard.
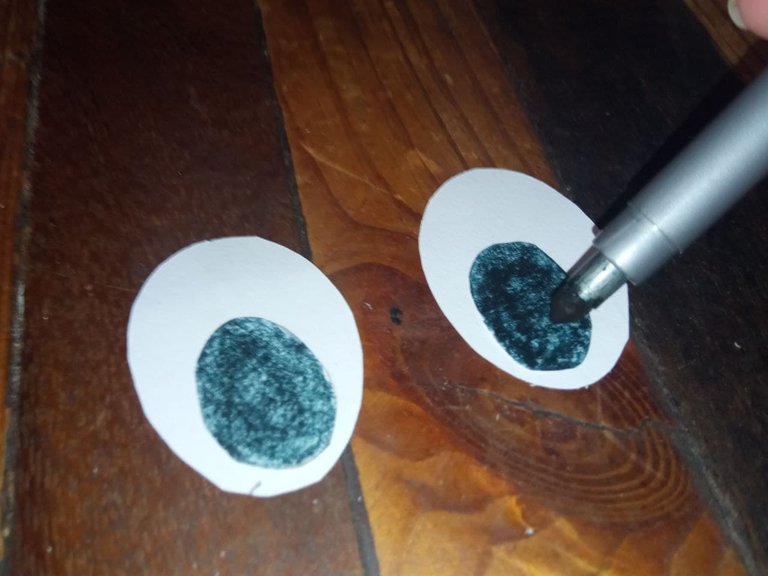
7.- Cortamos dos círculos blancos pequeños para formarlos ojos y les dibujamos con marcador negro el centro.
7.- Cut two small white circles to form the eyes and draw with black marker in the center.

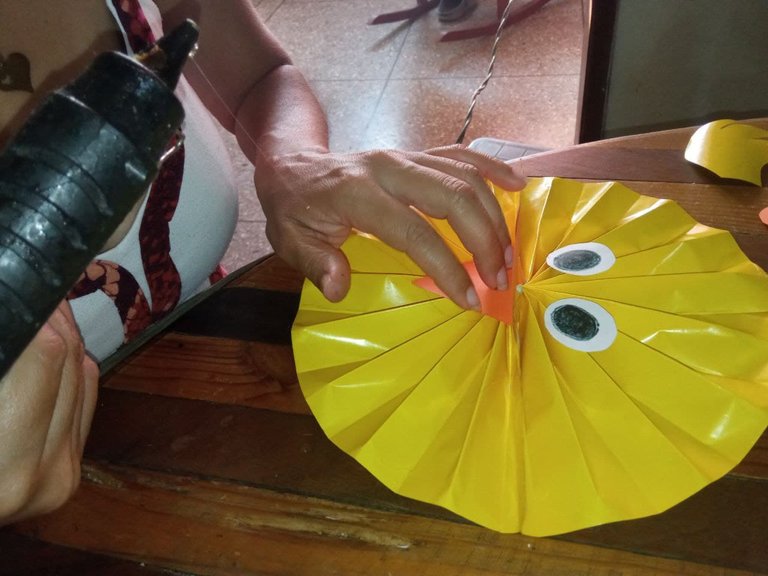
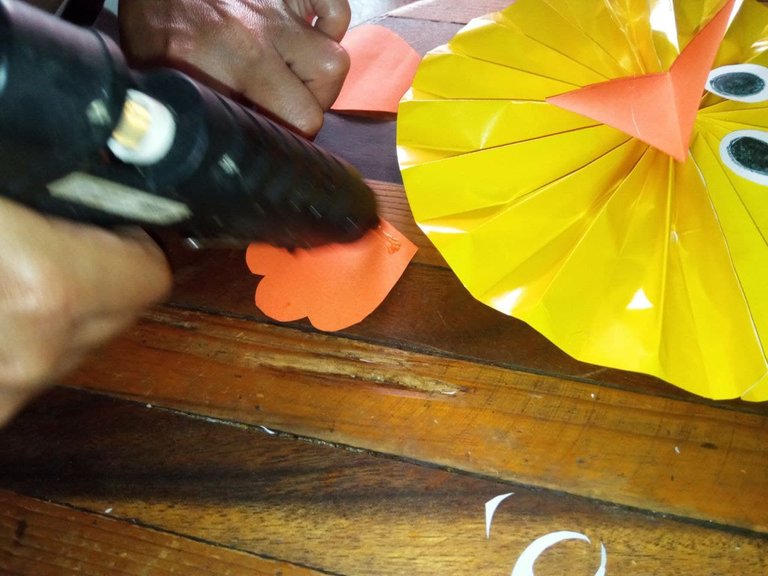
8.- Pegamos los ojos, el pico, las alas y las patas al circulo amarillo con doblez.
8.- Glue the eyes, beak, wings and legs to the yellow circle with a fold.
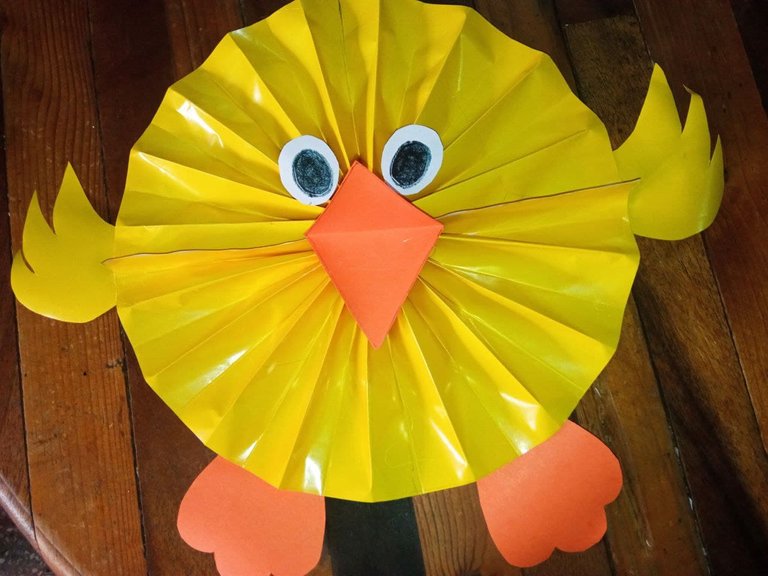
Y miren que pollito tan tierno hemos realizamos de manera rápida y sencilla y esta listo para decorar nuestras fiestas infantiles.
And look what a cute little chick we have made in a quick and easy way and is ready to decorate our children's parties.
Gracias por leerme y espero les sea de ayuda esta manualidad.
Thanks for reading and I hope you find this craft helpful.
Fotos de mi propiedad
Hola @mariela-b te hermoso 😍