This post is about lifting the front wheel of your bike in case you don't have a stand. There's more than one ways to do something like this of course but a) I wanted to keep the front wheel straight and b) I didn't want to overload the side stand (it's worn and I will repair this soon) that's why I went with the approach you will see below.
Now you may ask "why you don't have a center stand?". The main reason is that it reduces the ground clearance drastically and my bike already doesn't have that much from factory (though I've raised the rear by an inch). The reason I didn't buy a front wheel stand either is mainly the fact that I have things laying around me with which I can short of build one and skip buying something I'll rarely need so, let's start building 🙂
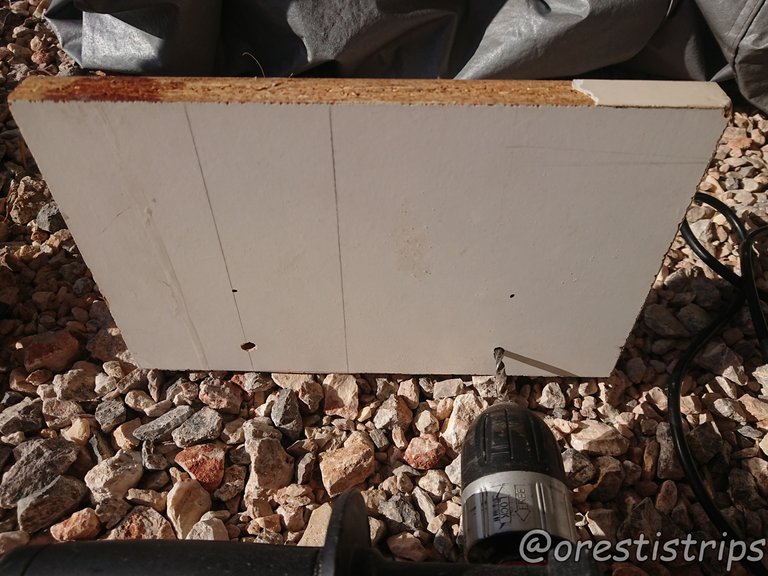
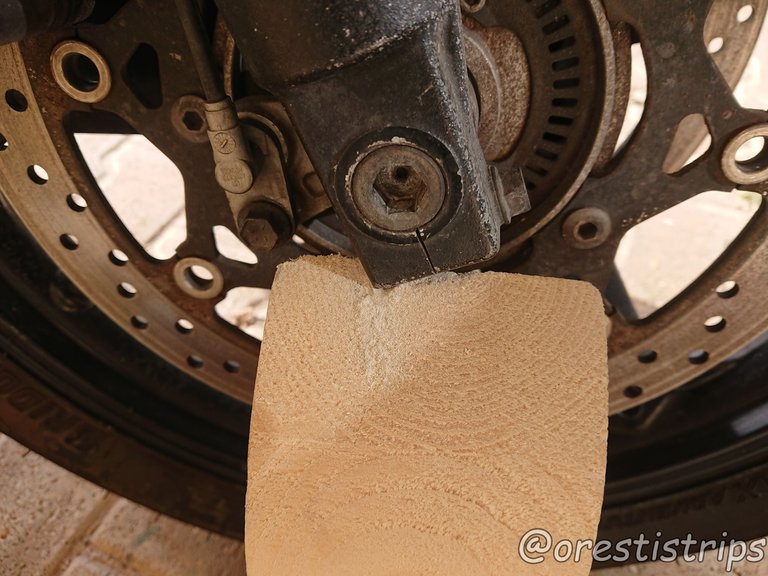
First of all, this piece of wood seems like it can do the job:
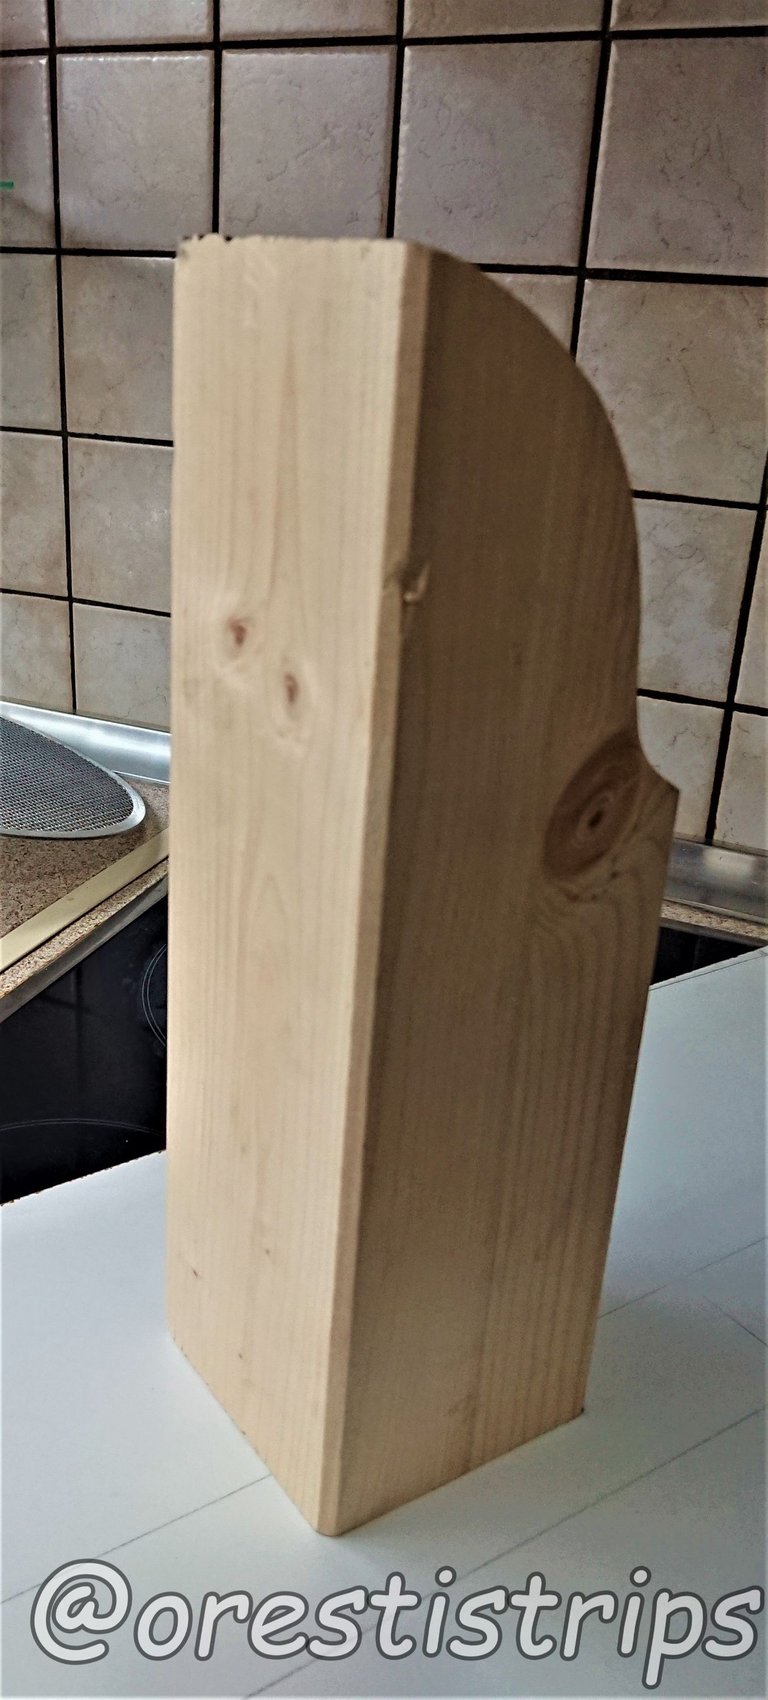
Or at least will do a much better job than the camera did in the above unfocused image (always blame the machine not the man 😄)
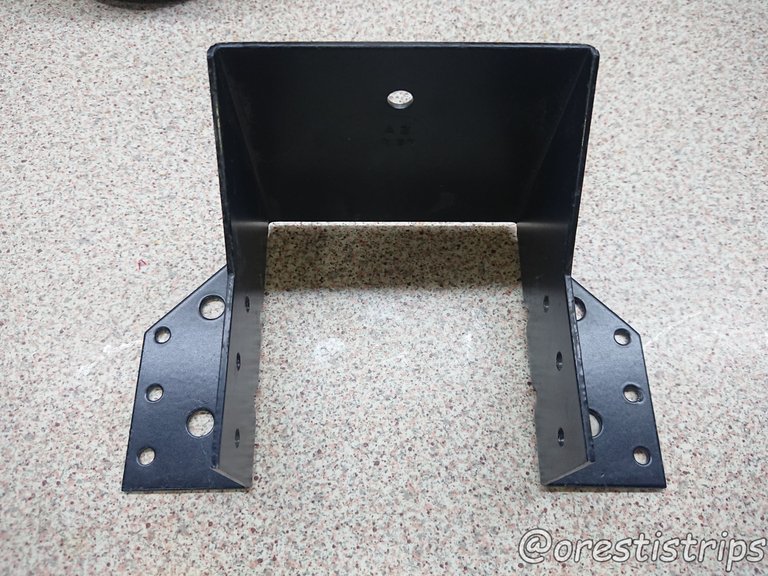
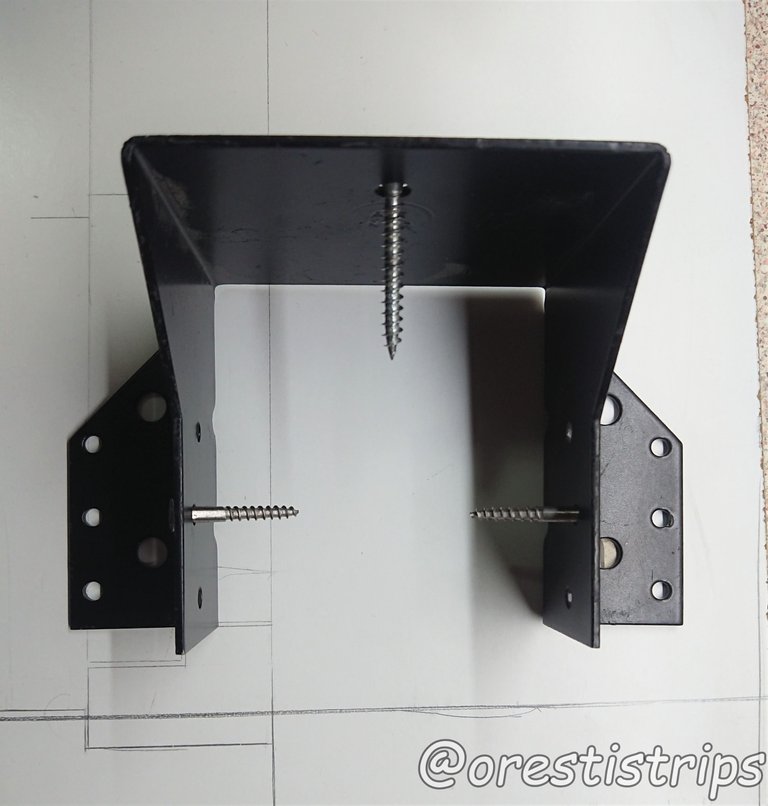
However, a 30ish cm height under the weight of a bike that weights easily above 200kg will need a base for obvious stability reasons. This metal one looks handy:
And the fit is not bad:
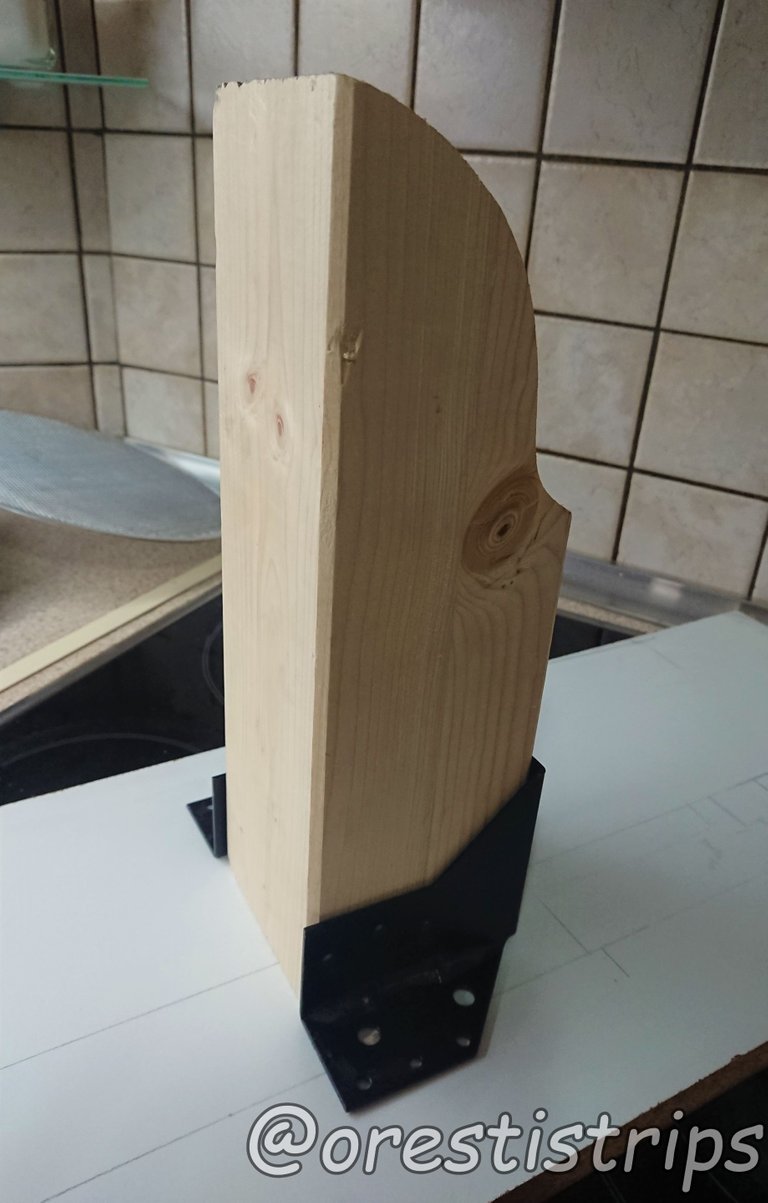
Still I think it would be even better to mount this combo on an extra wood plate which will give even more stability, more clearance on the wheel and be friendly with the tiles of the floor (I rent the place and I'd like to leave no marks behind me when I will leave in late Spring). This old self will work fine I guess:
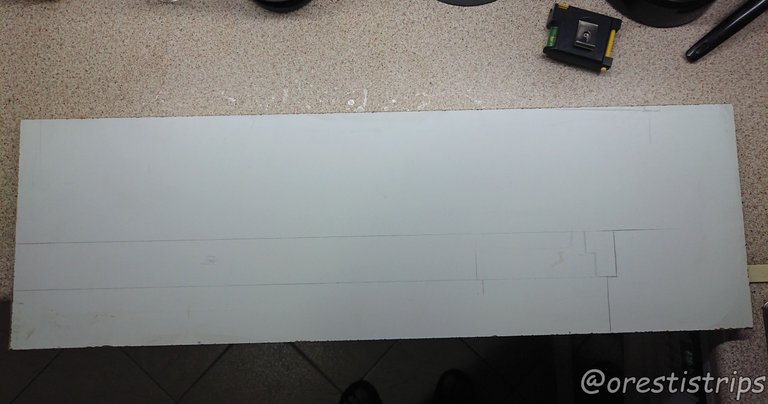
Plus I'll be more than happy to take it off the room I use as a storage for DIY bits.
Time to screw things up (pun intended) and see which screws I'll use. My lovely little dear screw box arrives to help:

It used to be a tea box gift with great stuff inside but now it's repurposed as you'll see below and there's a reason I wrote "UP" on top cause if you open it's drawers upside down you'll really screw things up (no pun intended this time). Time to pick the right ones:
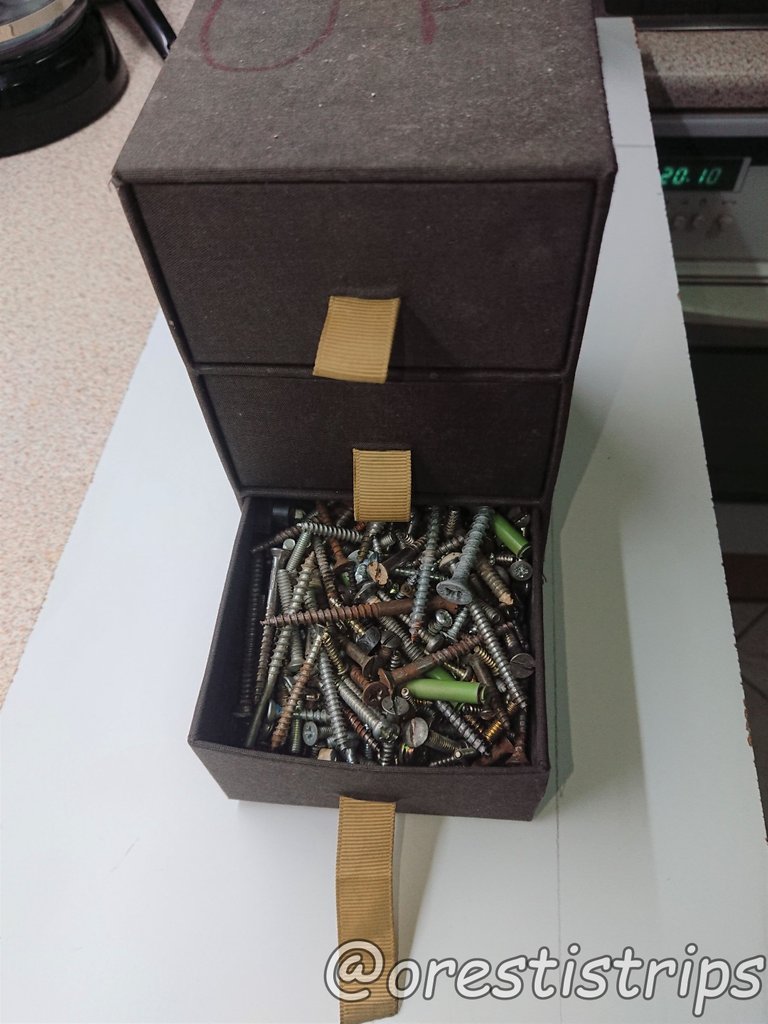
The background of the above image has betrayed the not so proper environment I'm working at but the clock betrays the time which means it's dark and cold(ish) outside. Besides, I'm doing no harm to the kitchen, so far at least 🙂
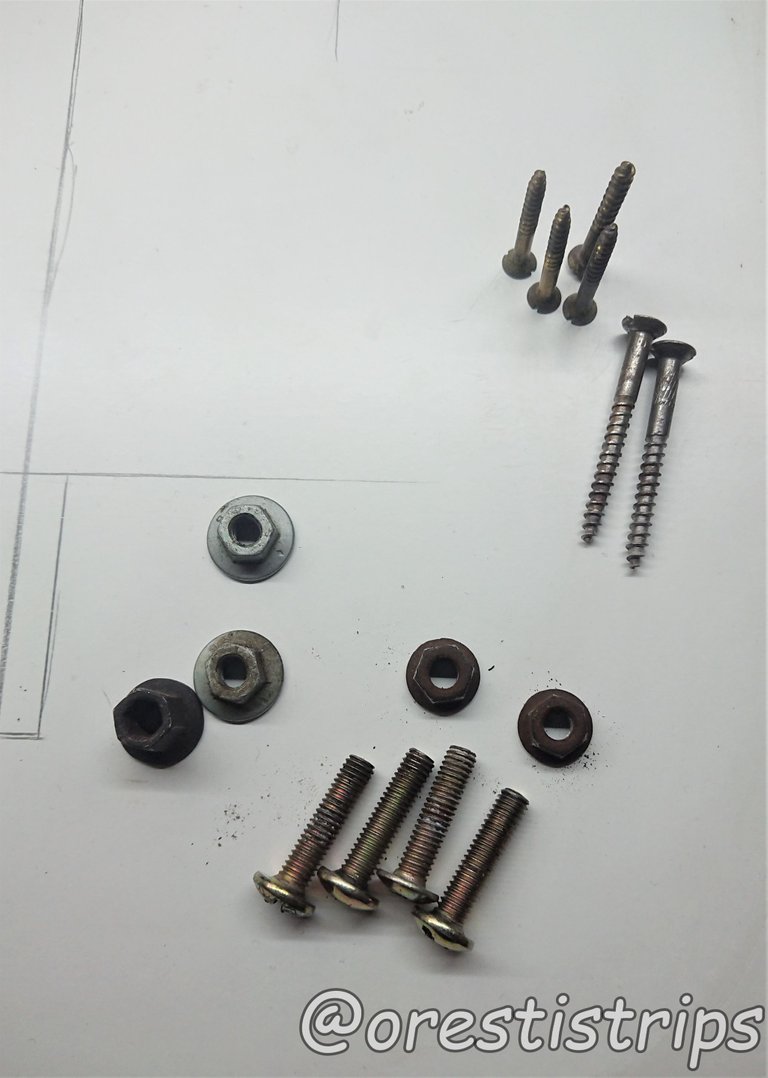
I think I'm done with the wood screws:
Time to pick some nuts and bolts:
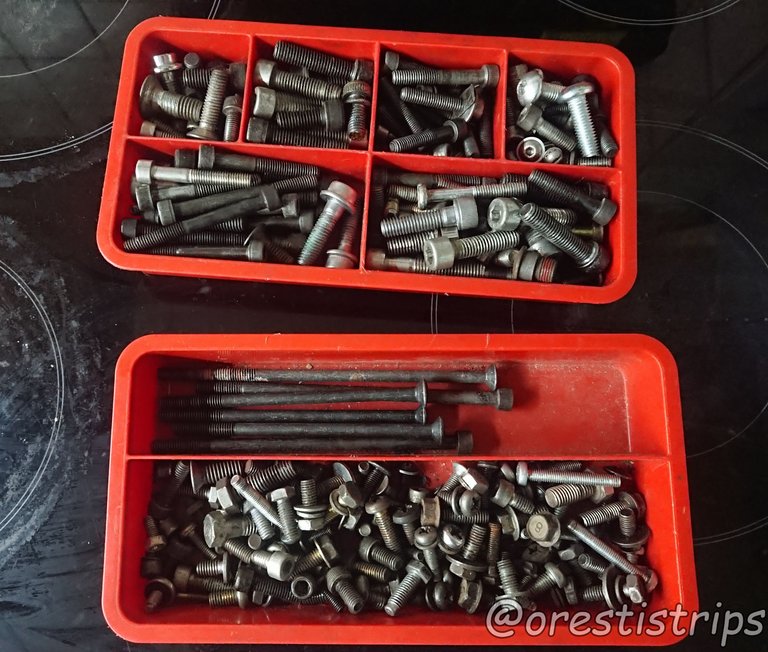
The gang's all here:
Fancy a Quiz? What's red and black and tears wood apart? (In my case) a jig saw:
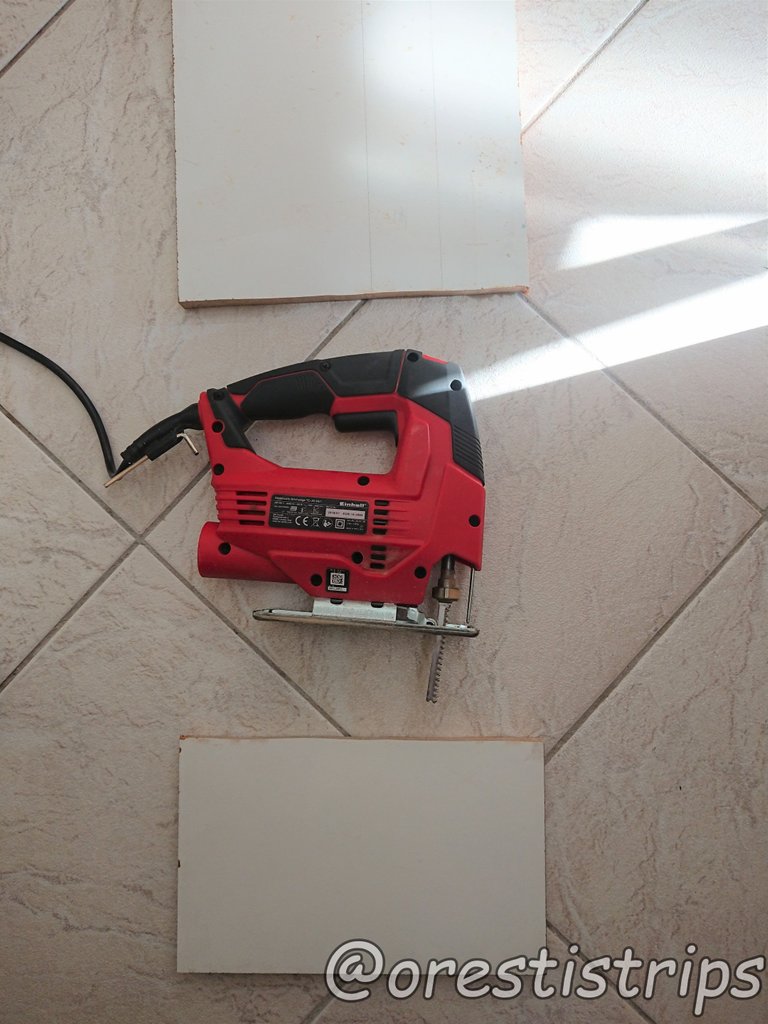
Time for the drill to do what it knows better than anyone else:
I guess you've noticed I'm outdoors under sunlight so I'm glad I can work in a much more charming and safe environment.
Let's bolt the metal parts on:
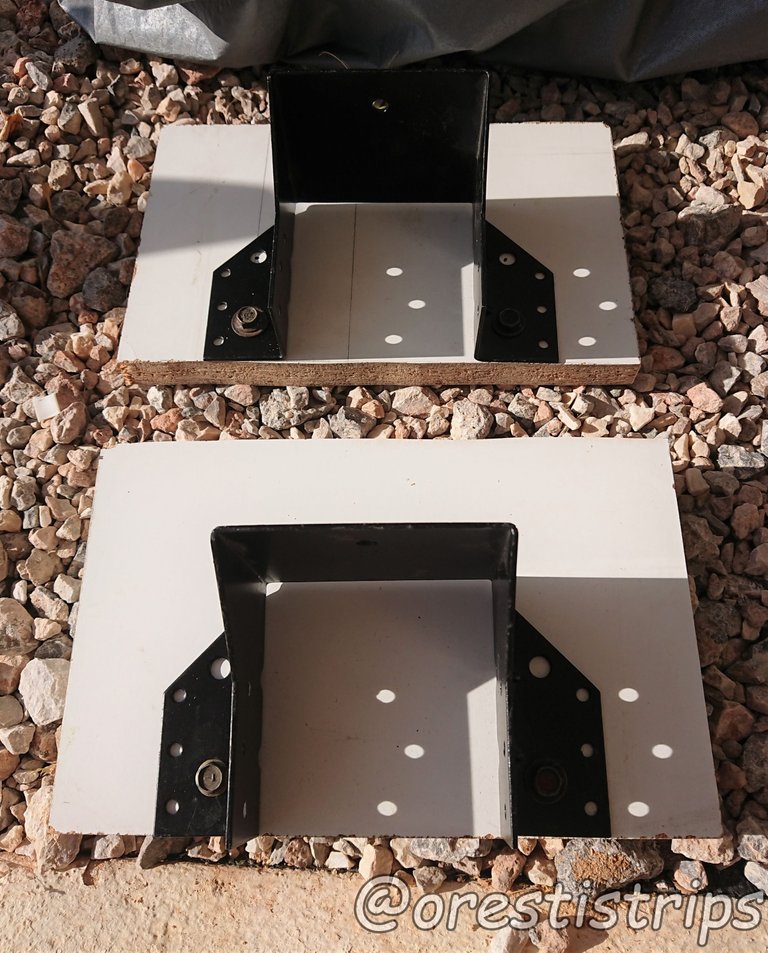
You may reasonably ask why I only used 2 bolts on each one when I could use 4 or even more. I got things surprisingly tight already with only two that I felt no need to overdo things. And I didn't even put the nuts on the other side.
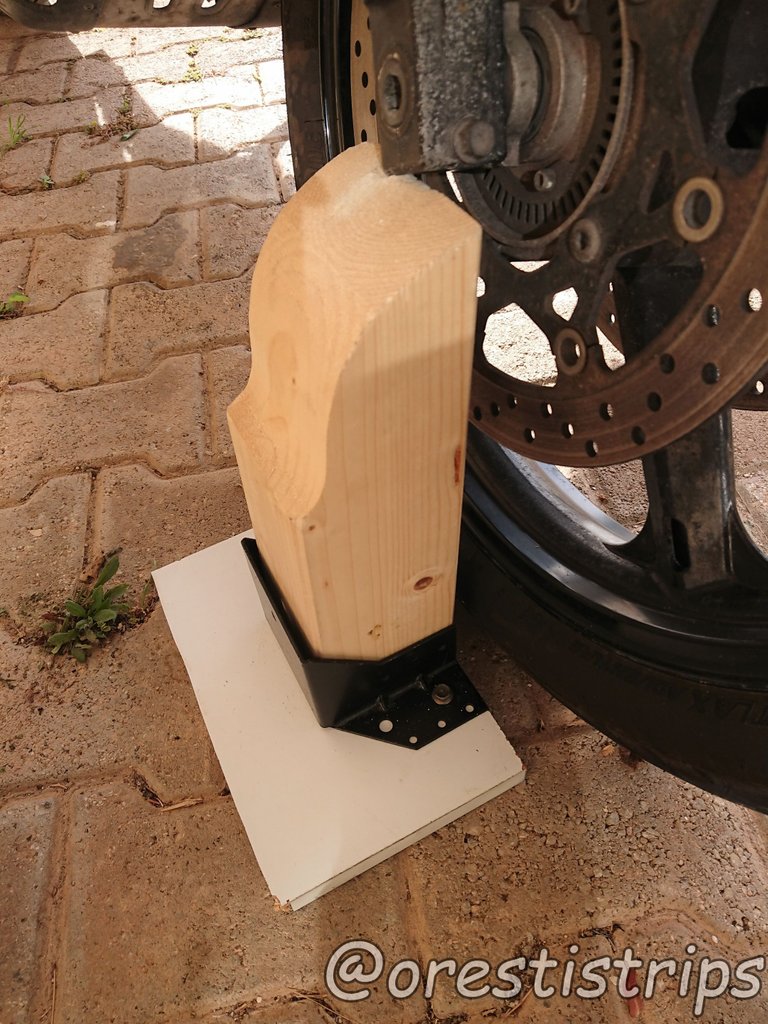
I actually didn't even use the wood screws to keep the pole in place cause I found it more handy to be able to tilt it before lifting the bike up. This way I can fit it tight under the front fork first like this:
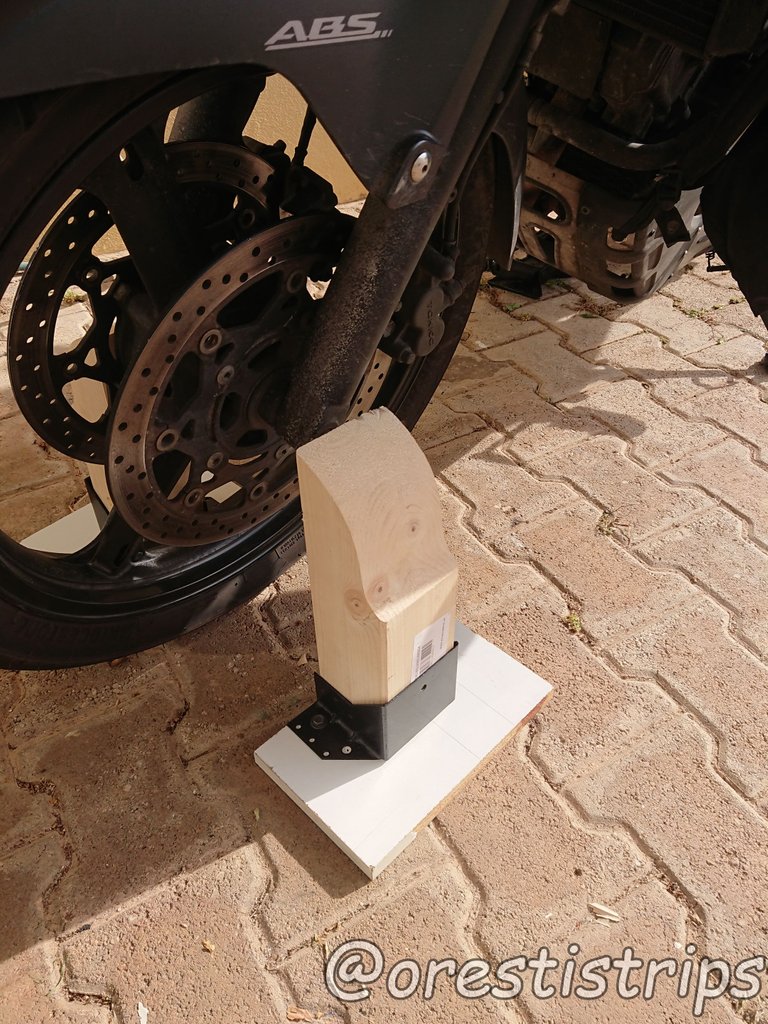
and then place the other one next to the other fork waiting to take its place:
Before you proceed further put the bike in gear. Next move and most critical part is to tilt the bike from the handlebar and slide the DIY stand under the other fork. You have to keep the handlebar straight through the whole procedure otherwise it will sit very unstable. In this case you'll have to lift it again and sit it again properly. It's better if you have someone to help you but I did it all solo in seconds so it's not mission impossible. Have a look:
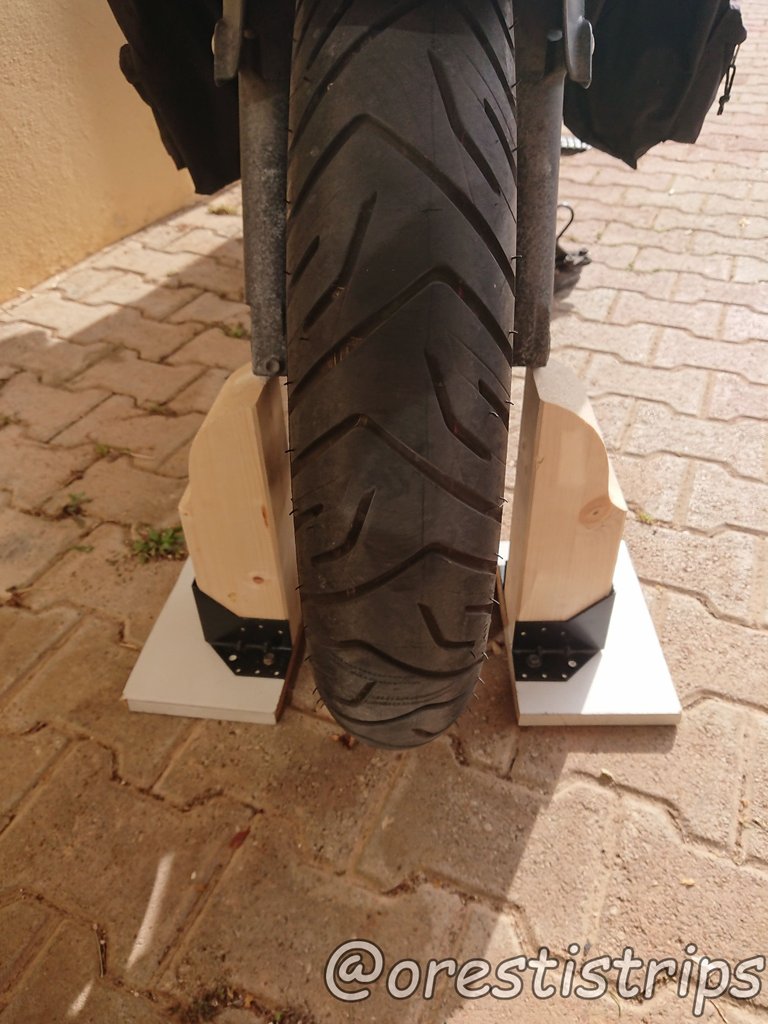
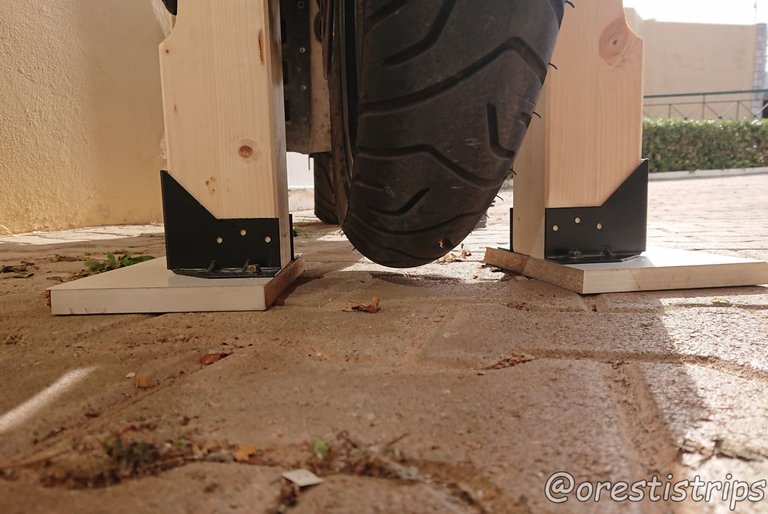
Nice and straight with just a bit of clearance to allow the wheel to spin:
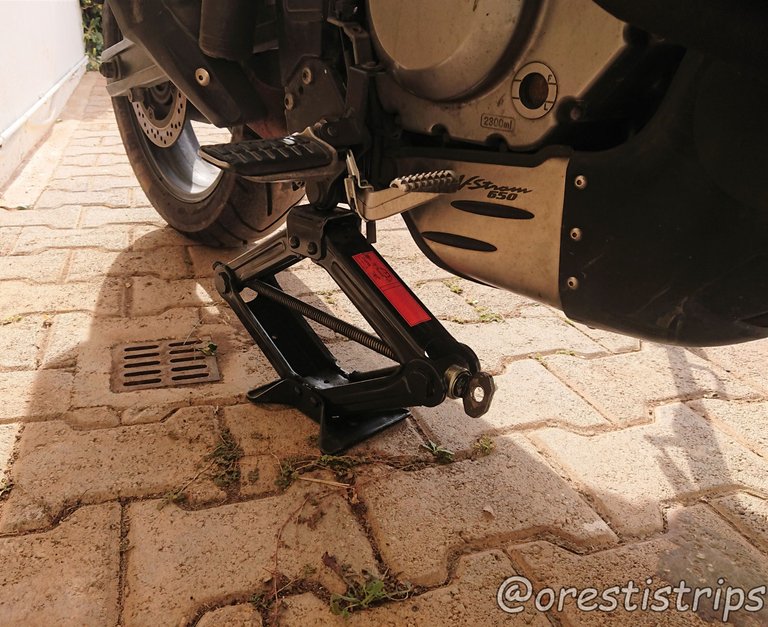
Of course some extra measures never hurt anybody so it's a good idea to put extra parts on the sides to keep the bike up, mainly in case you push it accidentally otherwise it won't fall. In my case I put a fork bridge under the sidestand and a car jack under the right peg:

The rear wheel is an easier case to lift but the same piece of wood did the job fine with the help of the car jack:
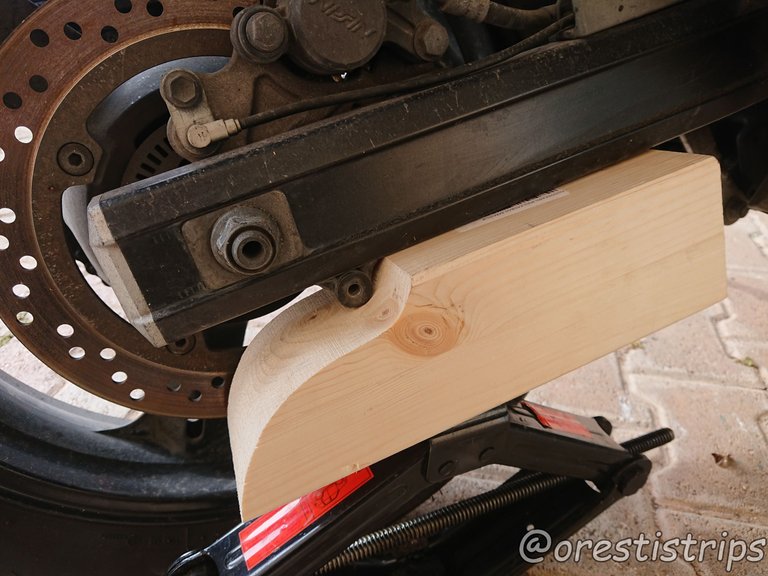
Of course the jack has enough travel to not need the wood but it's always better to not scratch metal parts even though no one would notice so at that point. BTW, this one sided way stresses the side stand, in case that's a concern for you.
Hope you found something of use out of this, enjoy DIYing!