.jpeg)

Español
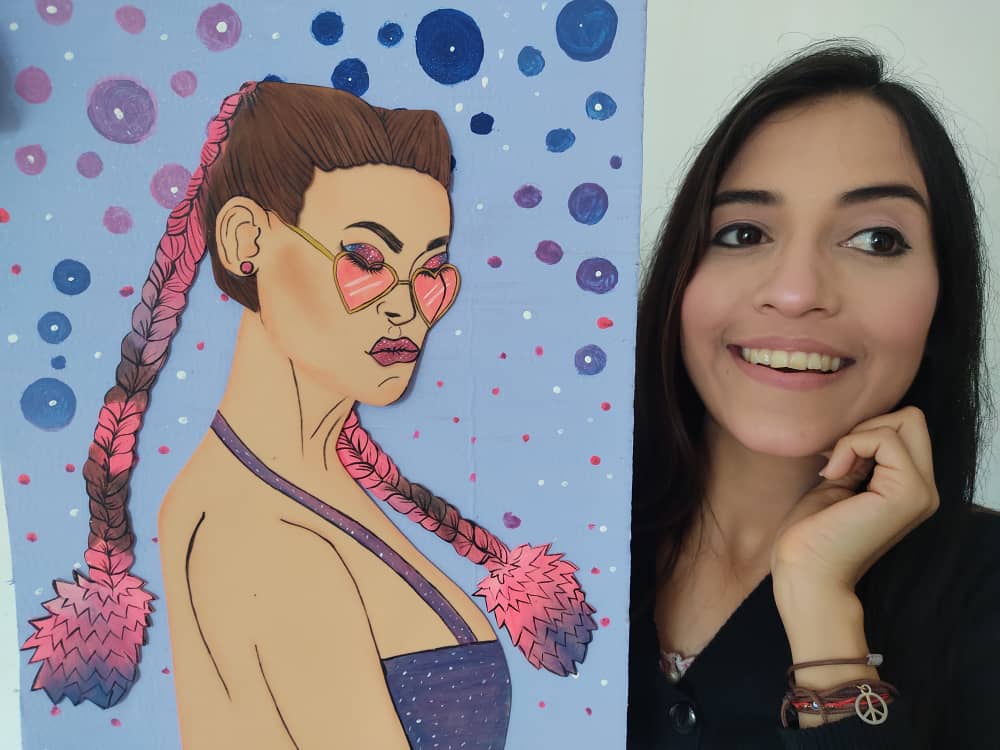
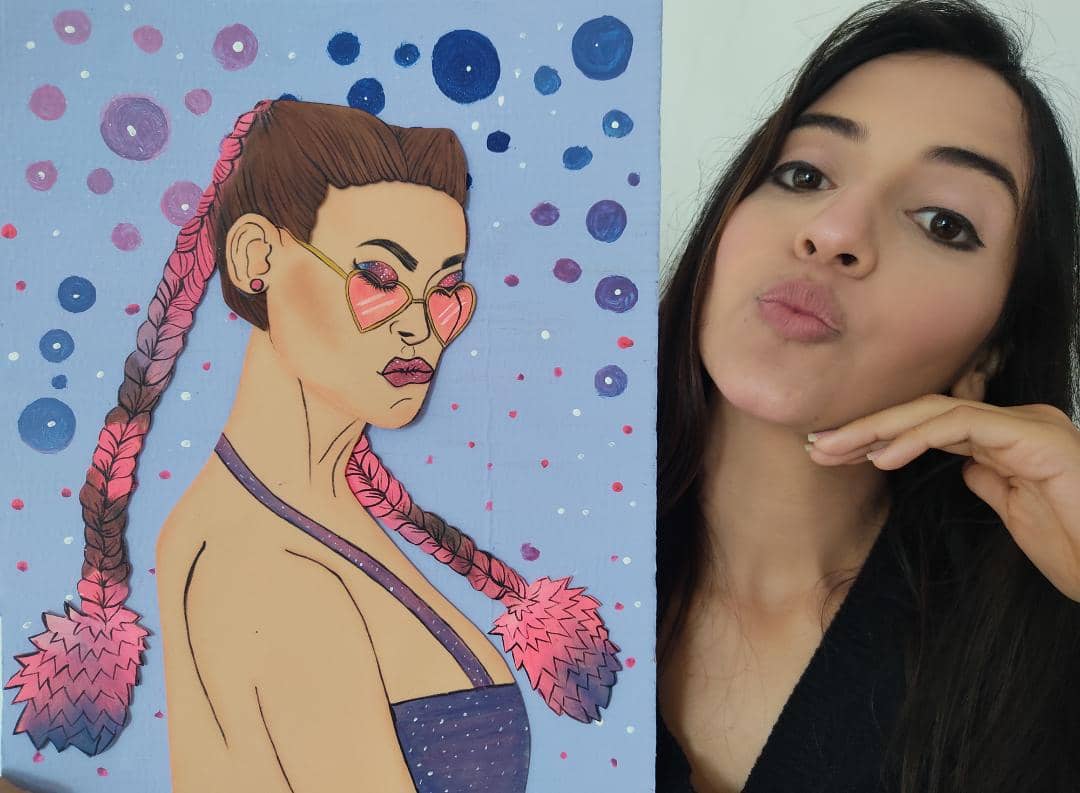
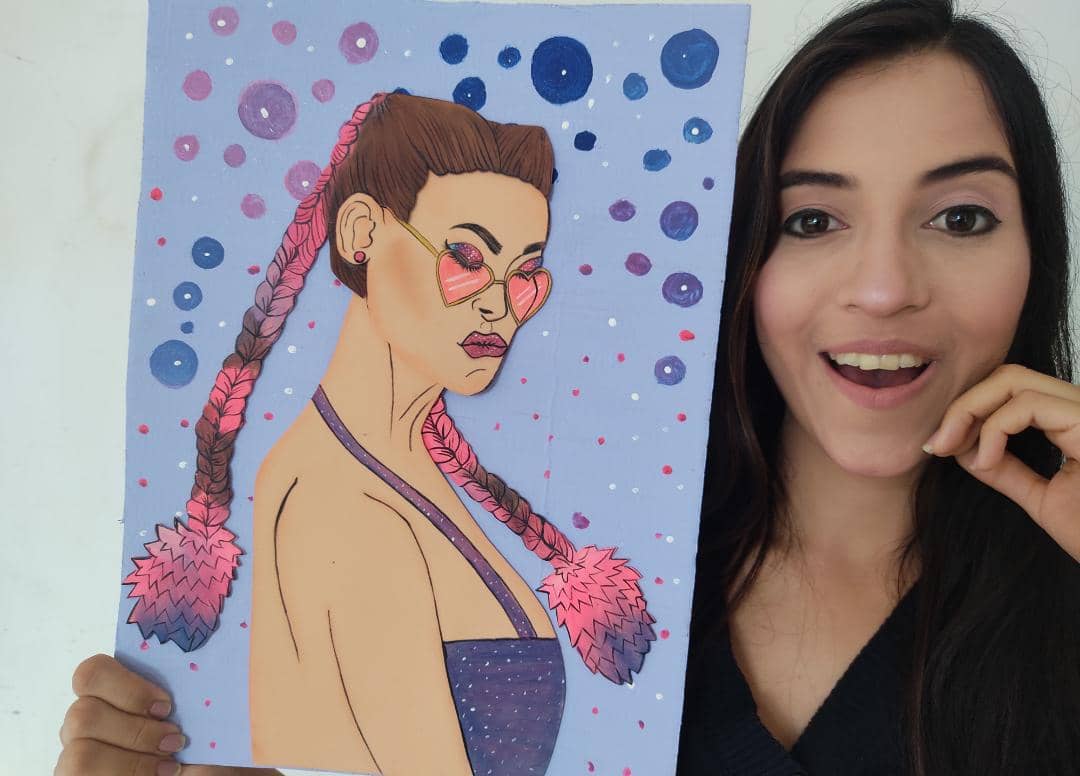
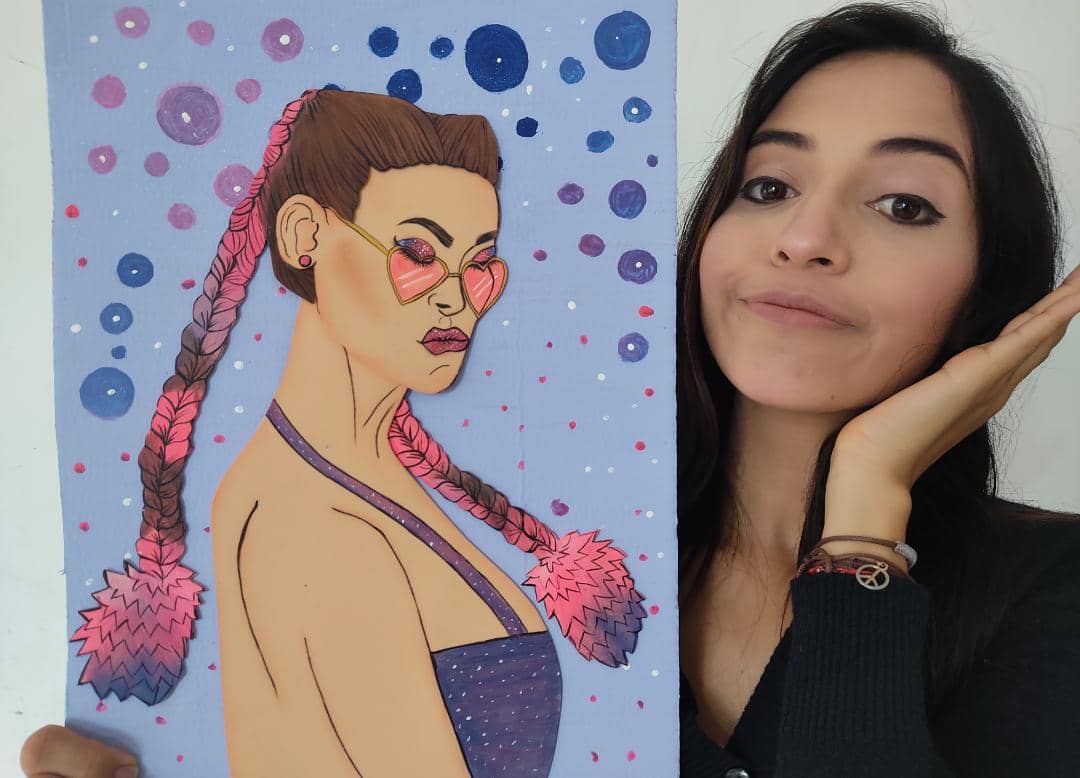
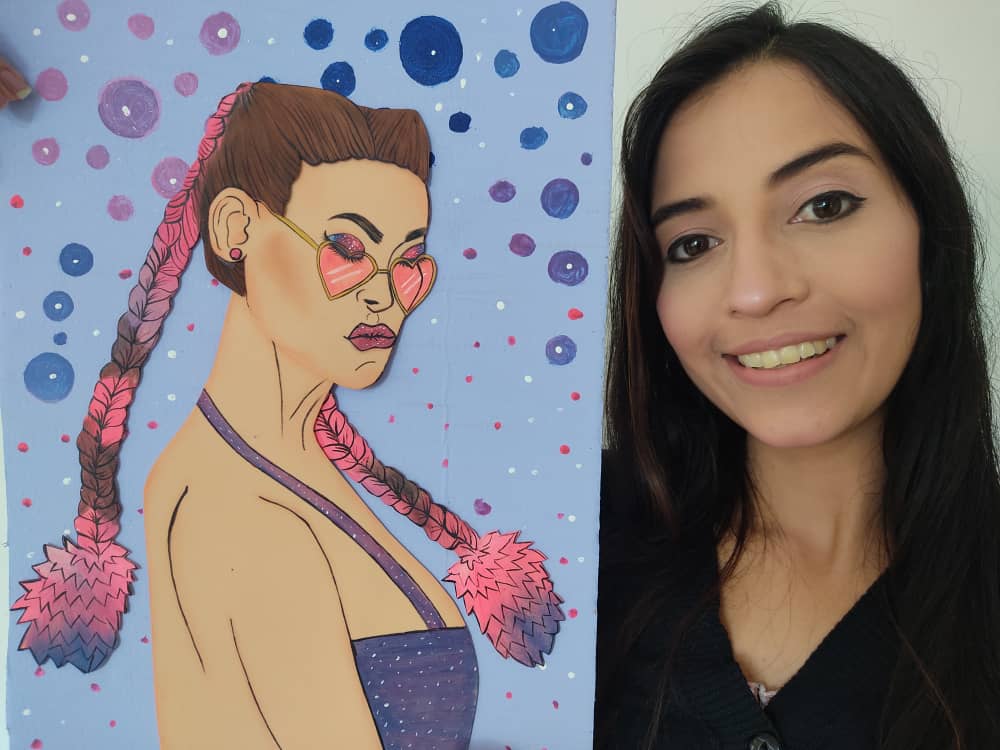
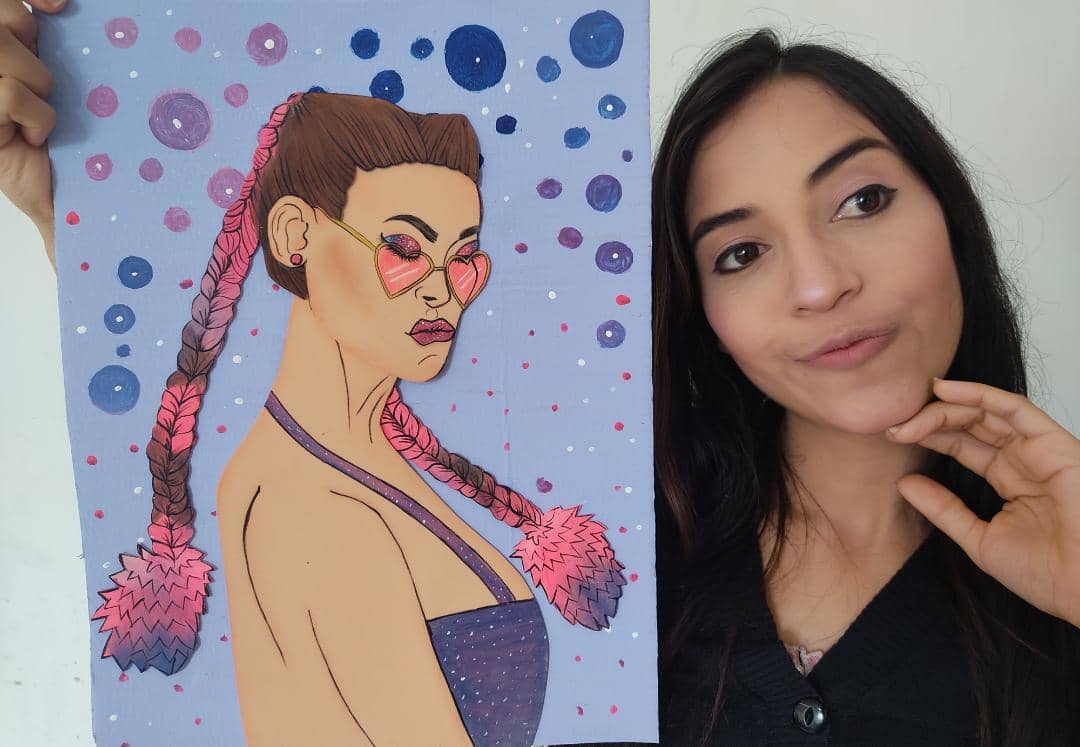
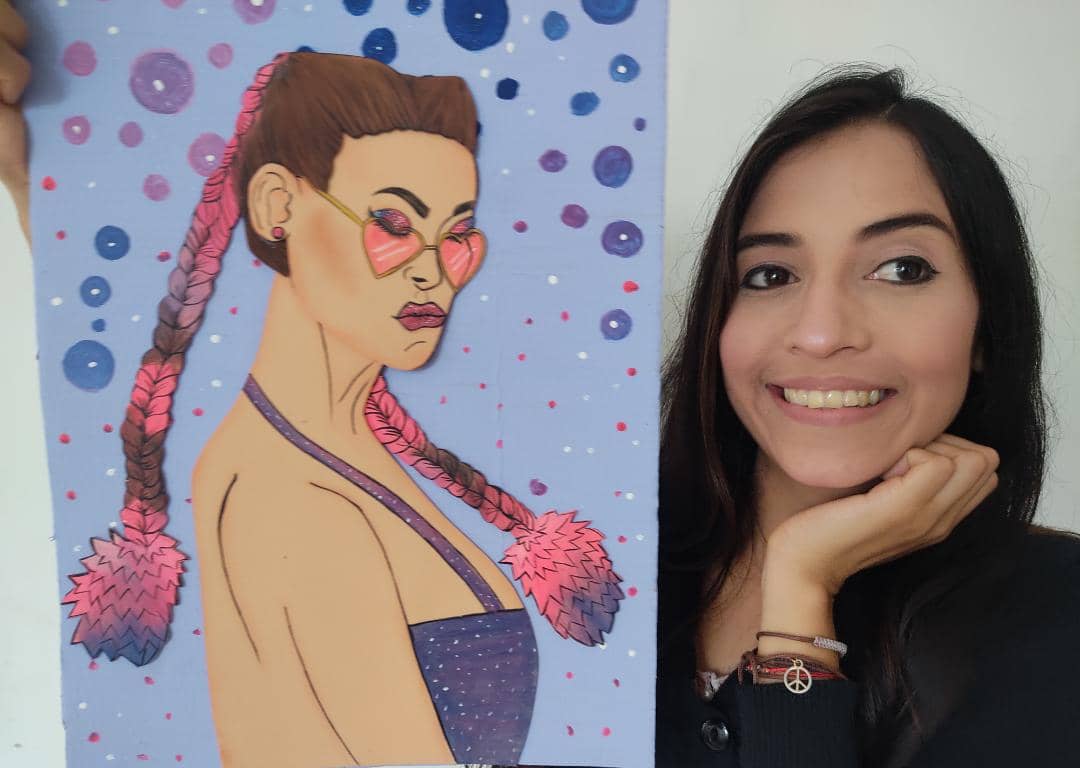
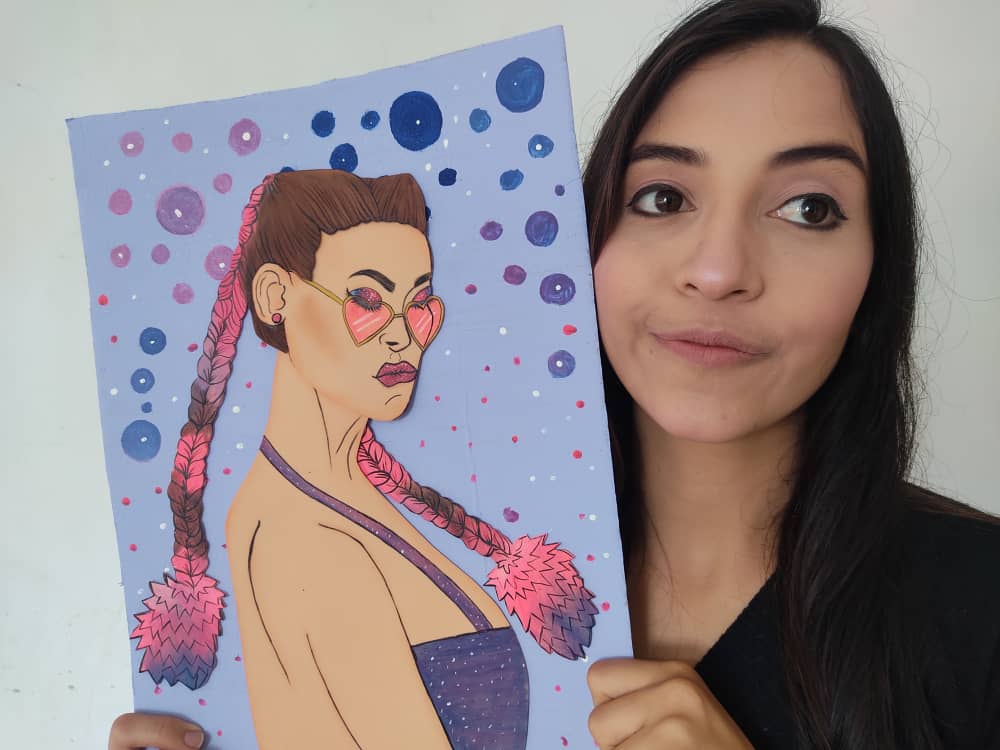
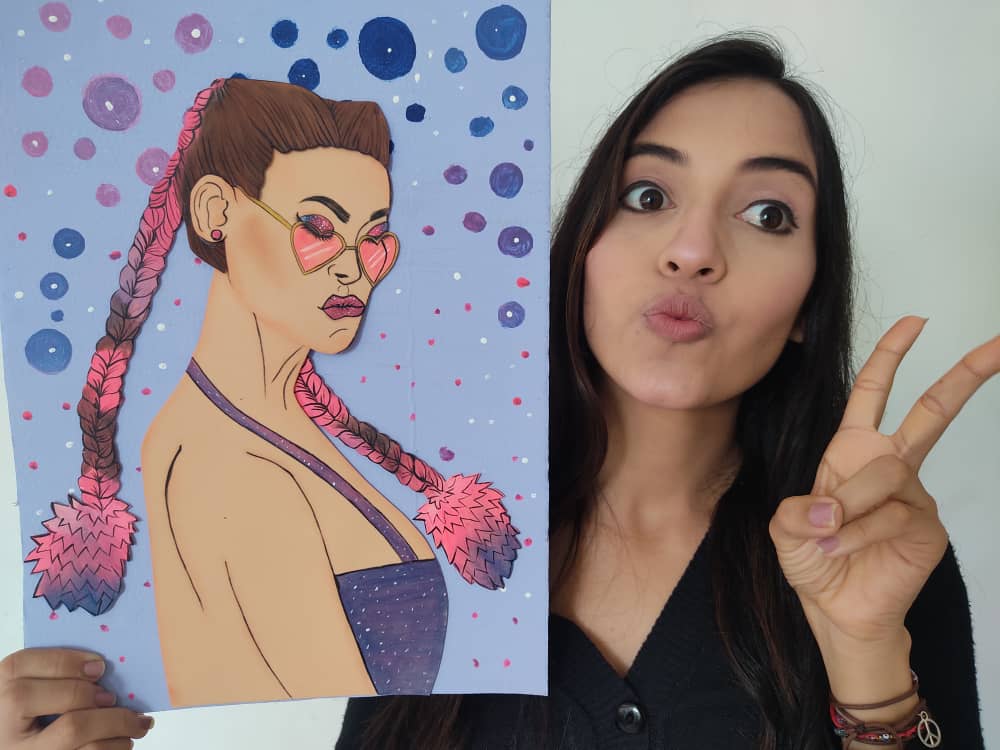
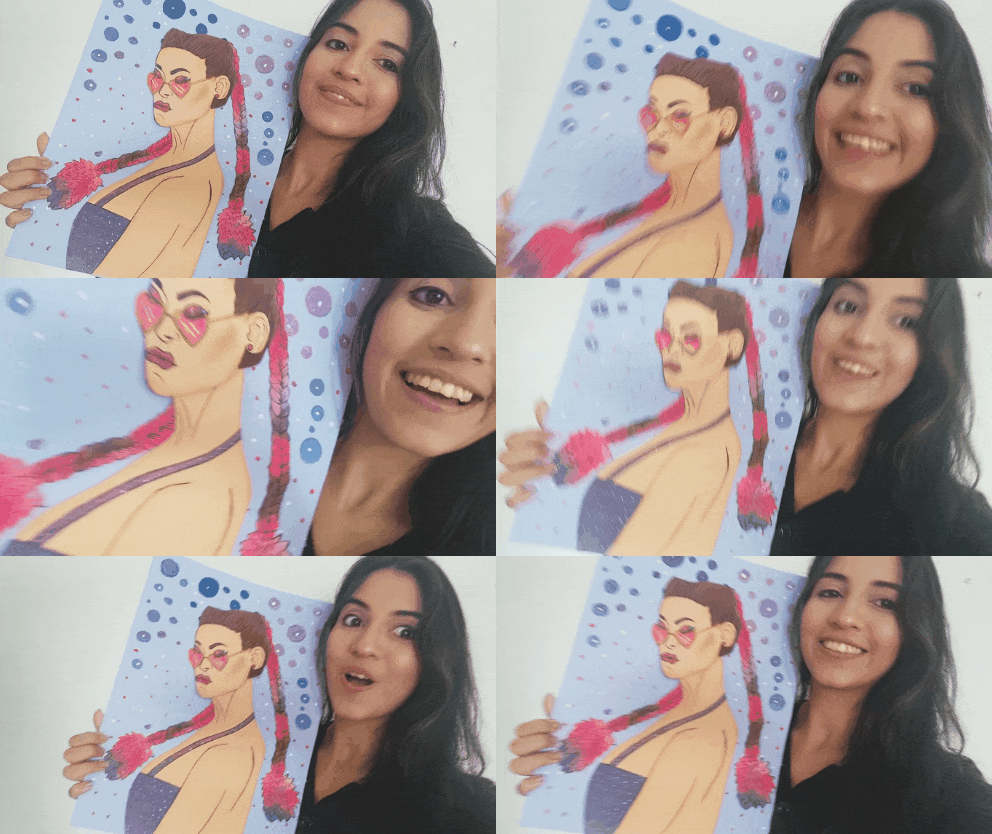
Hola HIVE ❤️ Luego de algunos días de trabajo logre terminar la siguiente obra, por eso el día de hoy traigo otro nuevo y divertidísimo tutorial donde aprenderemos a realizar un cuadro de un chica con trenzas en el cabello. Genial no?, Sin duda es una perfecta imagen para decorar nuestras paredes favoritas dando ese toque creativo y personal, y lo mejor de todo es que esta hecho de materiales súper económicos y muy fáciles de conseguir. Así que, los invito a seguir disfrutando de este divertido trayecto, perfecto para el desarrollo de la creatividad de todos, especialmente de nuestros niños.
English
Hello, HIVE ❤️ After a few days of work I managed to finish the next work, so today I bring another new and hilarious tutorial where we will learn how to make a painting of a girl with braids in her hair. Great no? Without a doubt, it is a perfect image to decorate our favorite walls giving that creative and personal touch, and the best of all is that it is made of super cheap materials and very easy to get. So, I invite you to continue enjoying this fun journey, perfect for developing everyone's creativity, especially our children.
¿Qué están esperando?
Gracias a esta técnica podemos crear nuestro propio cuadro de chicas con trenzas, además, una hermosa obra hecha en casa es una manera creativa y muy económica de darle un toque de alegría a nuestro entorno. Antes de comenzar no olvidemos lavarnos nuestras manos.
What are they waiting for?
Thanks to this technique we can create our own painting of girls with braids, in addition, a beautiful work made at home is a creative and very cheap way to give a touch of joy to our environment. Before we start, let's not forget to wash our hands.

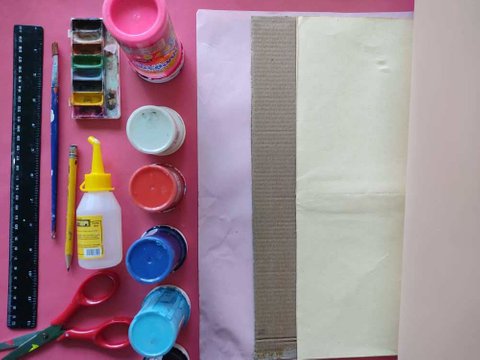
[Materiales | Materials]
Para realizar esta linda obra necesitaremos:
- Moldes.
- Foamy o goma eva.
- Papel vegetal o calco.
- Lamina de cartón.
- Regla.
- Lápiz.
- Marcador.
- Tijera.
- Cúter.
- Pincel o brocha.
- Pinturas.
- Silicón liquido o pegamento.
To make this cute work we will need:
- Molds.
- Foamy or eva Foam.
- Vegetable paper or tracing.
- Cardboard sheet.
- Rule.
- Pencil.
- Bookmark.
- Scissors.
- Cutter.
- Brush or brush.
- Paintings.
- Liquid silicone or glue.
Procedimiento (paso a paso)
Process (step by step)
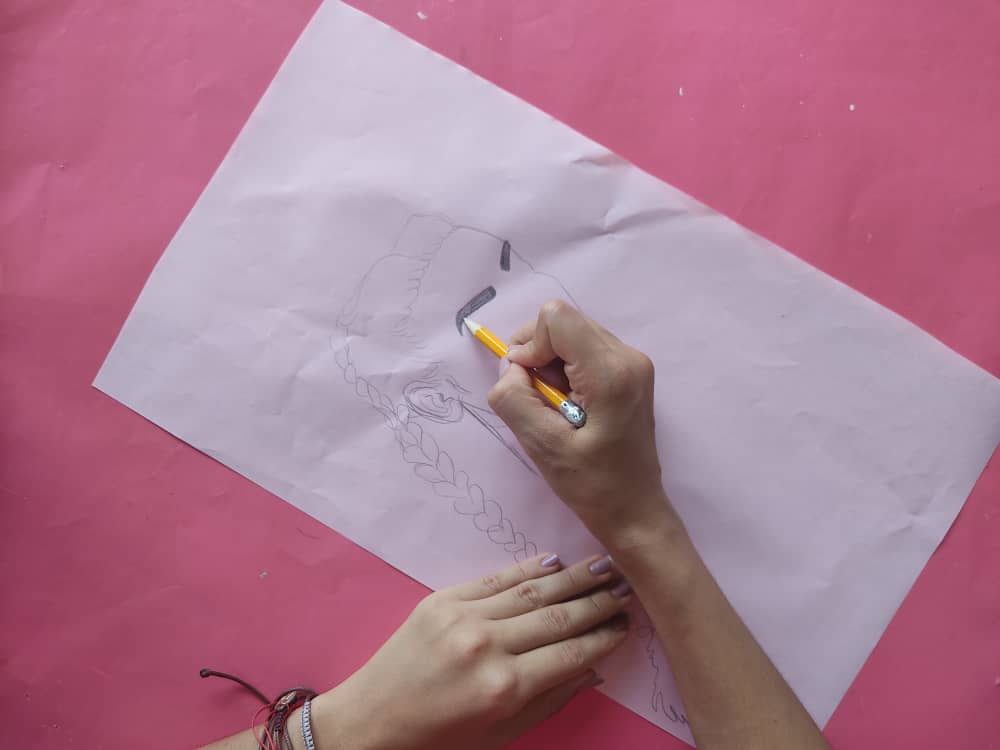
Primero, dibujamos a una chica con unas increíbles trenzas en su cabello y unos hermosos lentes con forma de corazón, dejando volar nuestra imaginación para que todo quede hermoso y autentico.

First, we draw a girl with incredible braids in her hair and beautiful heart-shaped glasses, letting our imagination fly so that everything is beautiful and authentic.
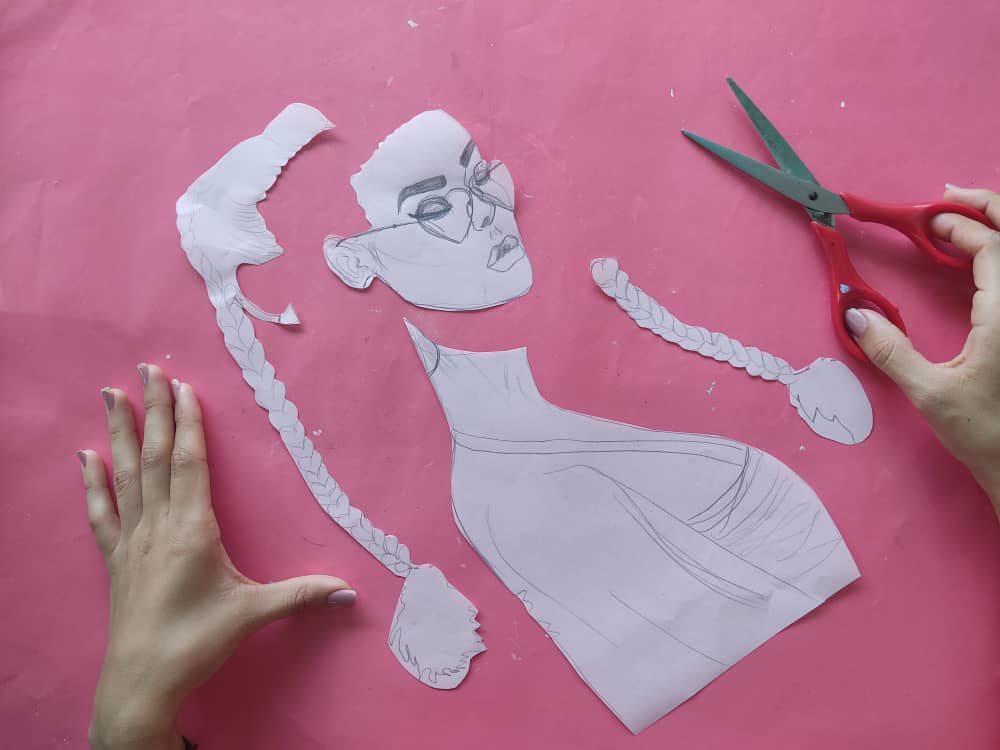
Luego de obtener el dibujo que deseamos, recortamos esta linda chica separando todas sus piezas, es decir el cabello cara y cuerpo, y seguidamente, transferimos estas figuras al foamy en este caso decidí trabajar exclusivamente con foamy color piel es que se ha vuelto mi favorito porque todos los colores quedan geniales sobre él.

After obtaining the drawing we want, we cut out this cute girl separating all her pieces, that is, the hair, face and body, and then, we transferred these figures to the foamy in this case I decided to work exclusively with skin-colored foamy is that it has become my favorite because all the colors look great on him.
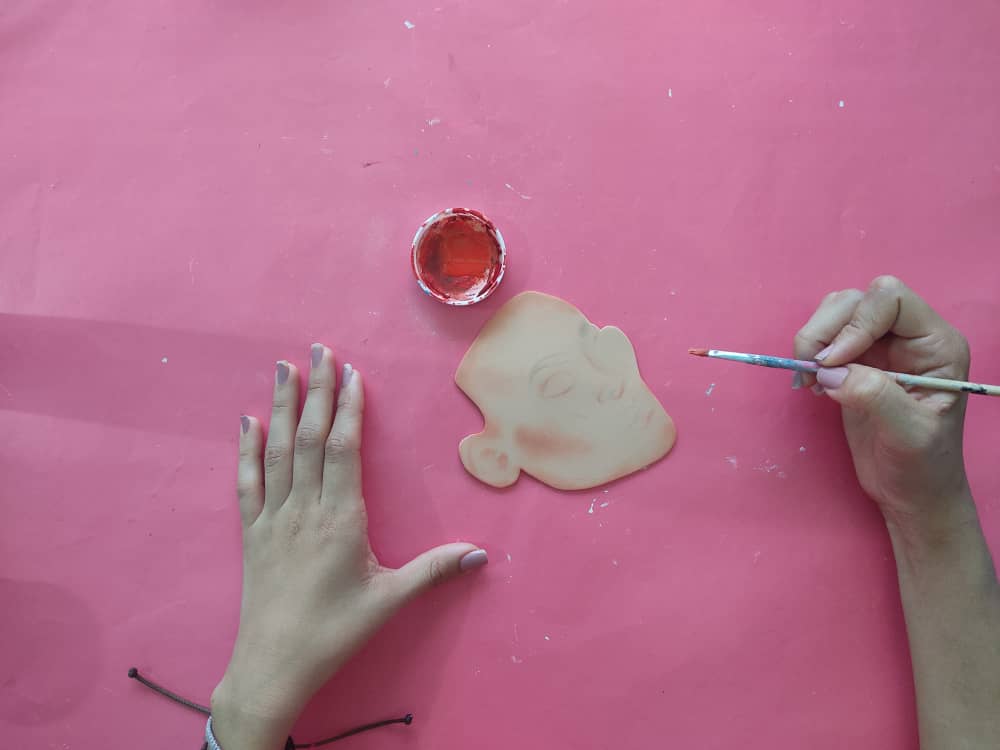
Ahora, y rápidamente llegamos a la parte más hermosa donde tendremos que darle vida y color a nuestra obra, así que, comenzamos a pintar la cara de esta hermosa chica, sombreando los bordes de la cara y los detalles que deseamos pronunciar un poco por ejemplo las mejillas. Luego, definimos los hermosos detalles de la cara de esta preciosa dama en este caso sus cejas ojos entre otros y no olvidemos que debemos pintar los lentes sobre su cara.

Now, and quickly we get to the most beautiful part where we will have to give life and color to our work, so, we begin to paint the face of this beautiful girl, shading the edges of the face and the details that we want to pronounce a little for example cheeks. Then, we define the beautiful details of the face of this beautiful lady, in this case her eyebrows, among others, and let's not forget that we must paint the lenses on her face.
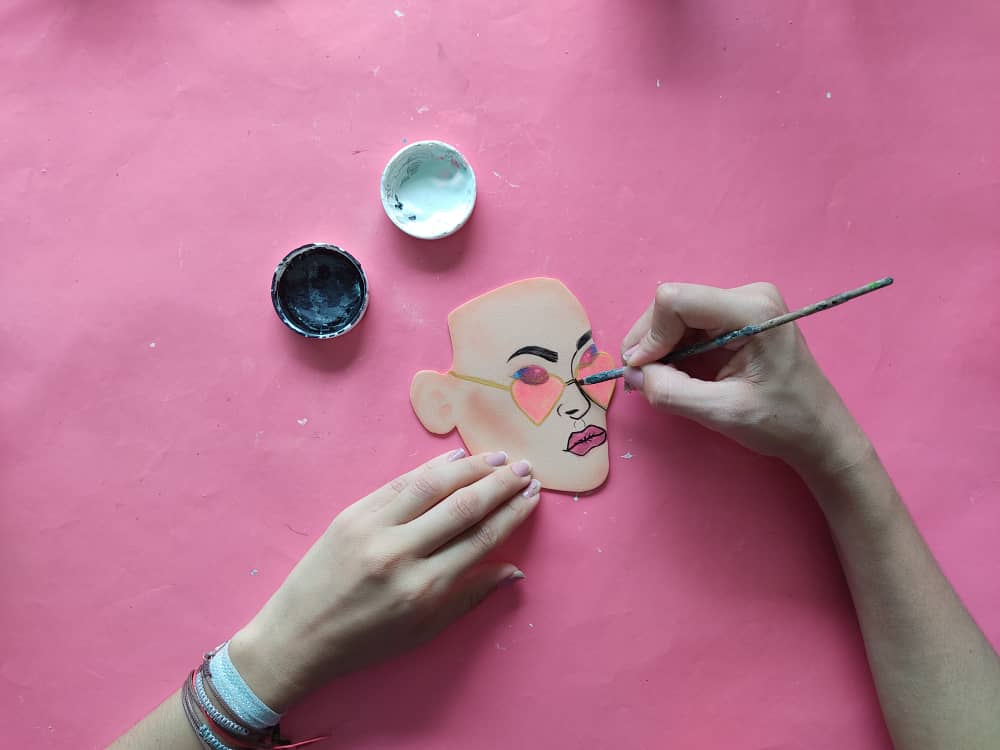
Una vez lista la cara de la chica, marcamos los bordes de esta de color negro utilizando el pincel de punta fina.

Once the girl's face is ready, we mark the edges of it in black using the fine tip brush.
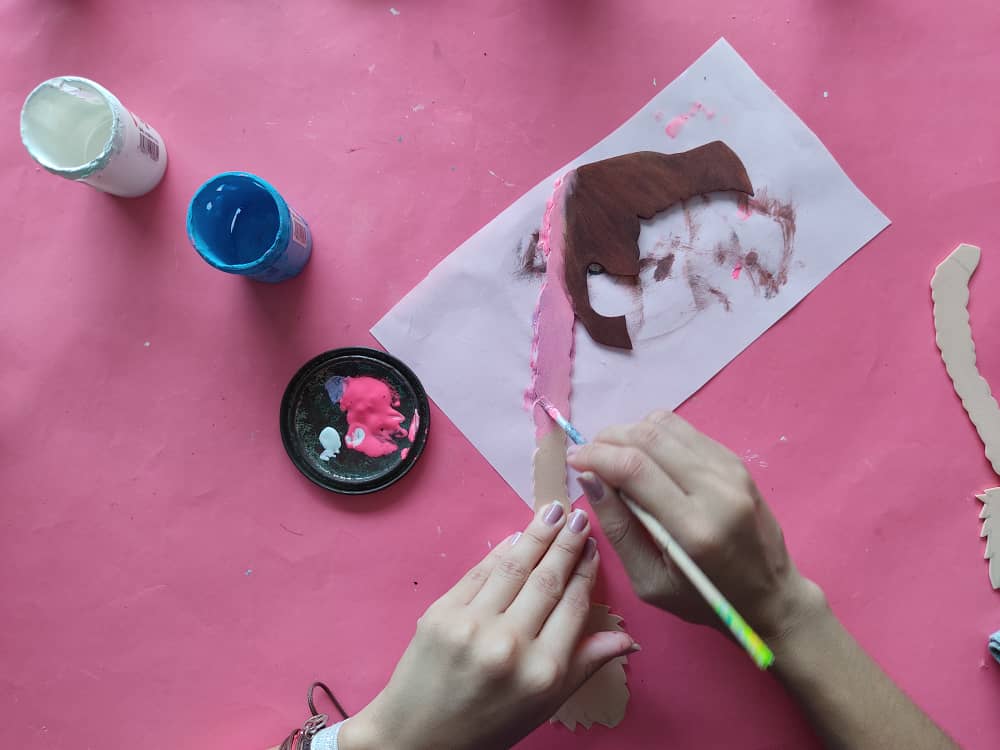
Luego, pintamos el cabello de la chica en la parte que cubre el cuero cabelludo aplicando color marrón y en la parte de las trenzas lo pintamos con colores muy hermosos como lo son el rosa neón y lila morado hasta llegar al final.

Then, we paint the girl's hair on the part that covers the scalp applying brown color and on the part of the braids we paint it with very beautiful colors such as neon pink and purple lilac until we reach the end.
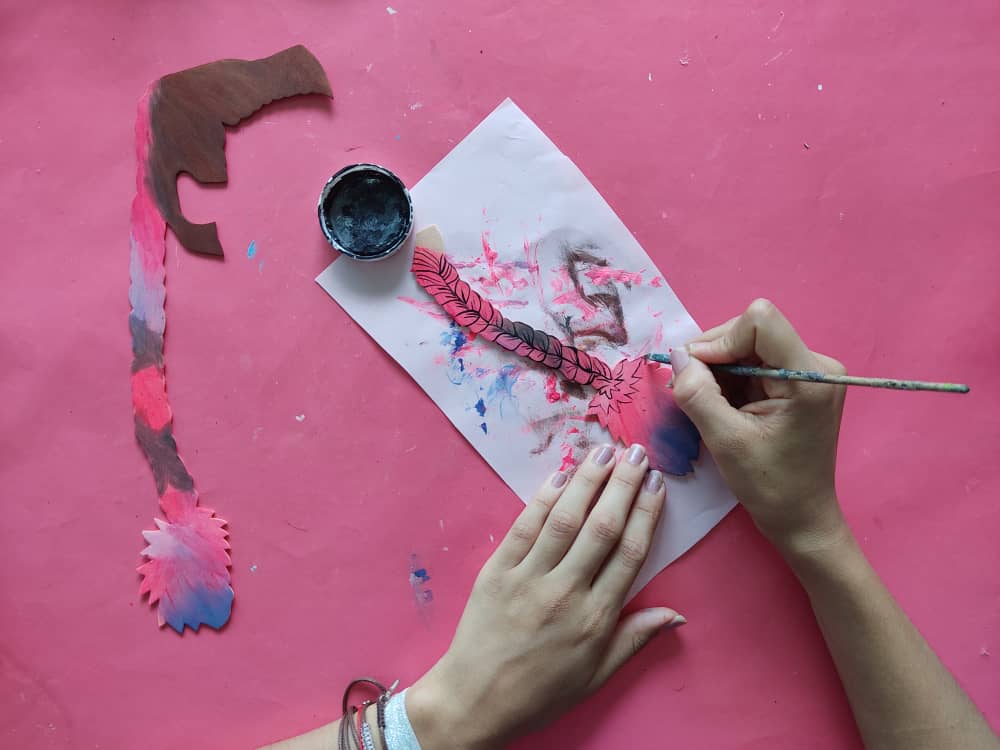
Seguidamente, definimos con mucho cuidado el tejido de estás trenzas marcando sus detalles negros con el pincel de punta fina.

Next, we carefully define the weave of these braids marking their black details with the fine-tipped brush.
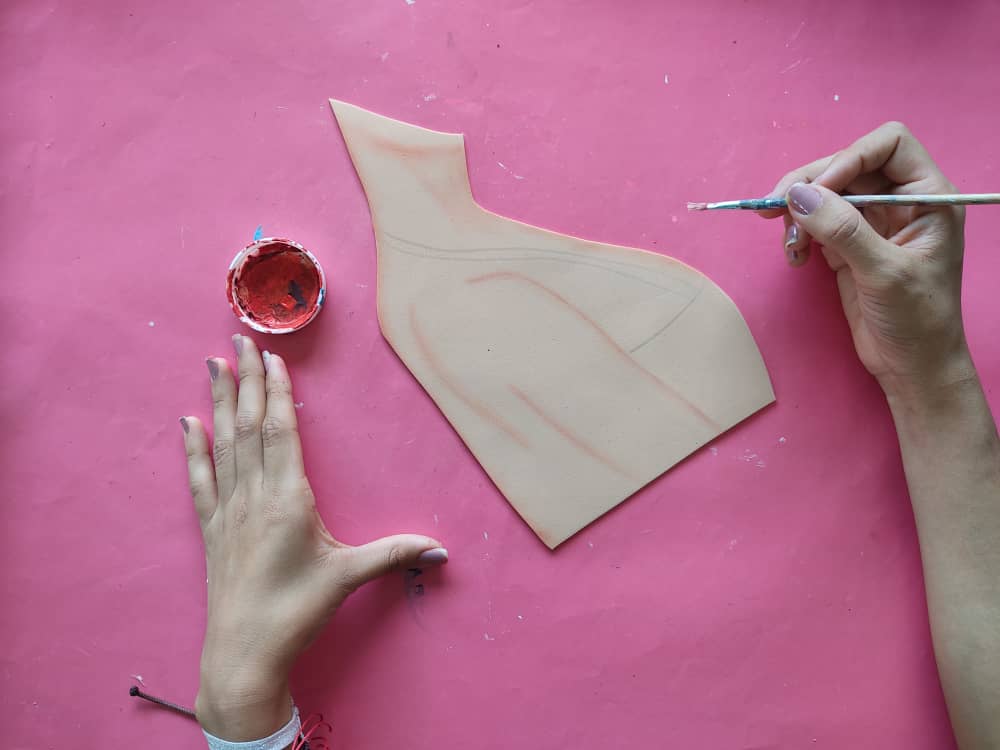
Ahora, sombreamos las partes de sus brazos y cuerpo que deseamos pronunciar con tonos naranja o marrón claro. Luego, pintamos un lindo vestido un poco descotado de color violeta.

Now, we shade the parts of her arms and body that we want to pronounce with orange or light brown tones. Next, we paint a pretty low-cut dress in purple.
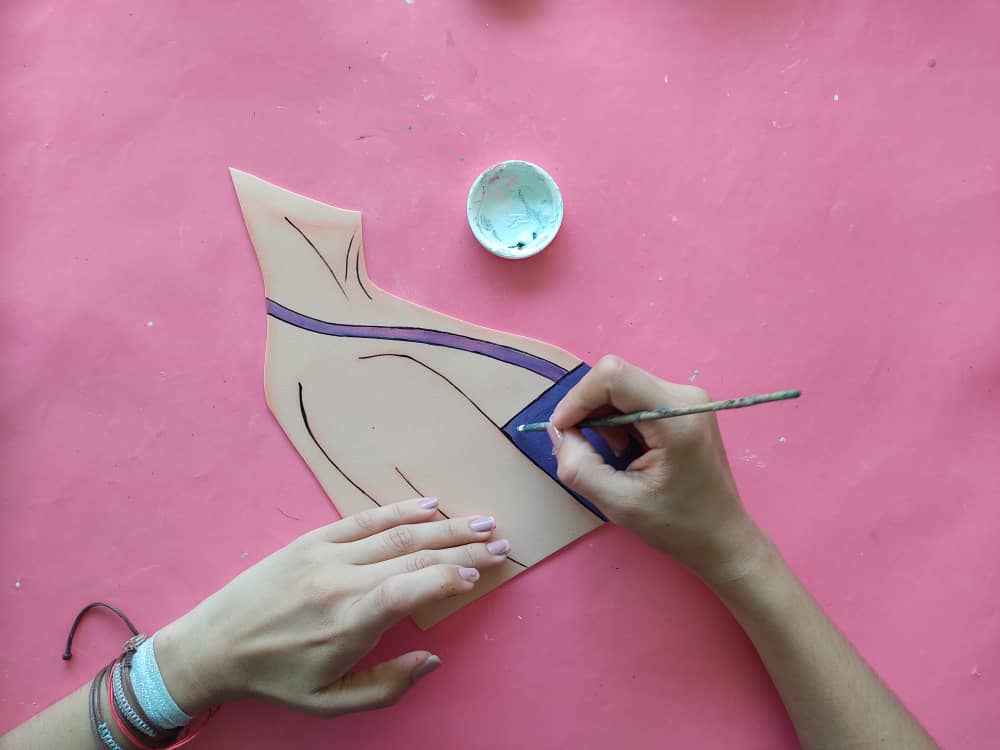
Después, marcamos sus bordes de color negro y pintamos pequeños puntos que simulen brillos para esta hermosa prenda.
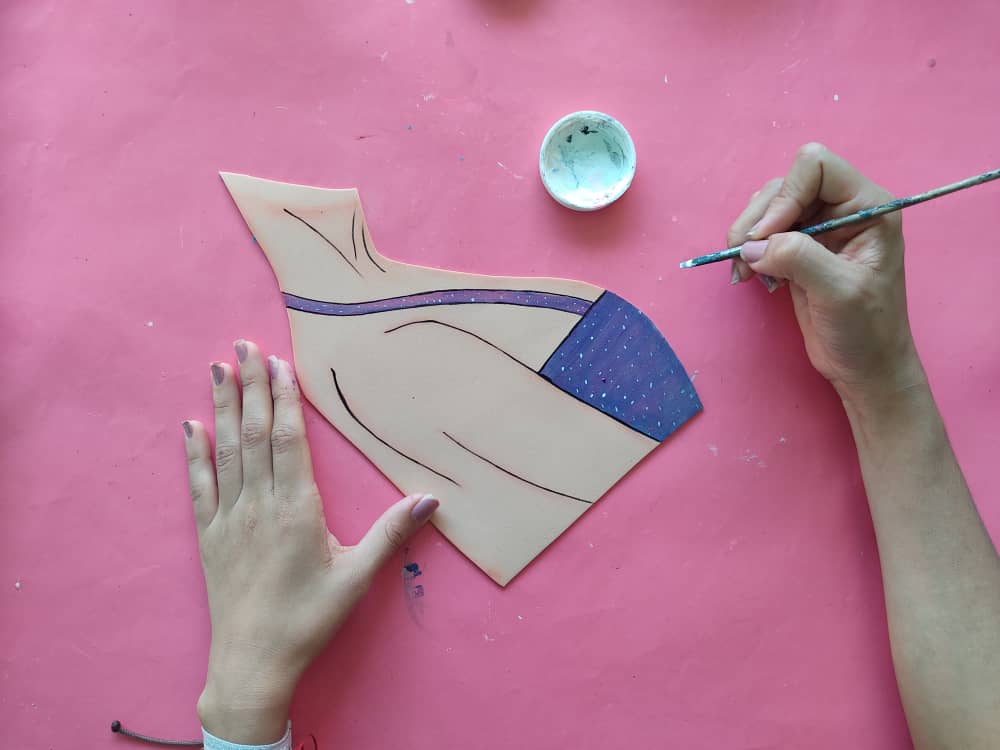
Then, we mark its edges in black and paint small dots that simulate glitter for this beautiful garment.
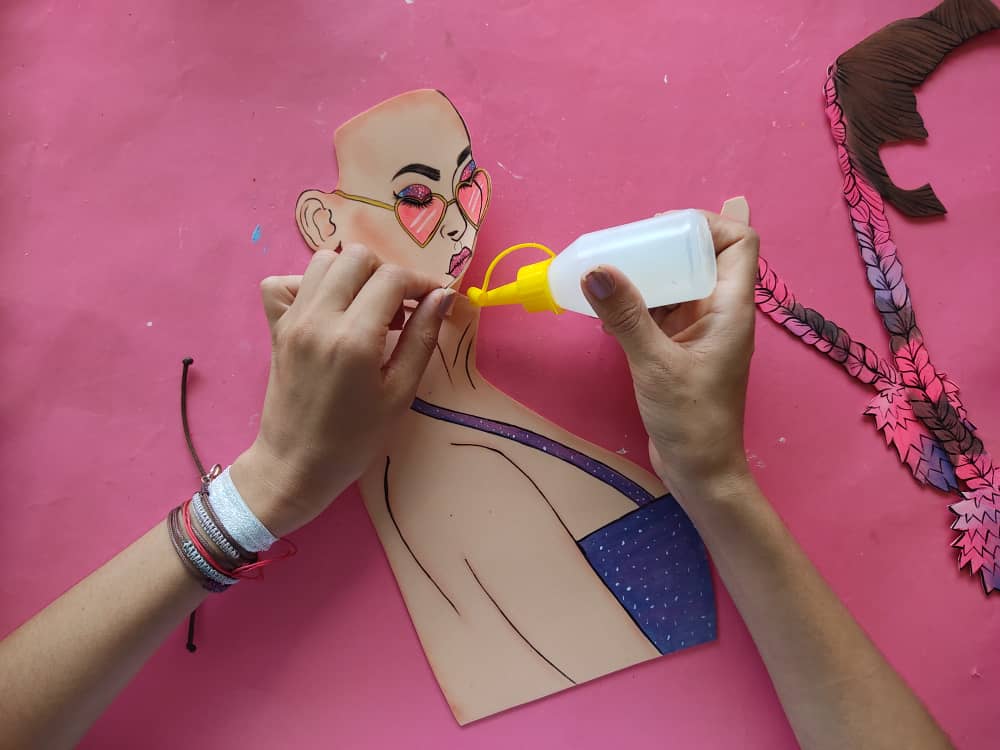
Una vez listas las piezas de esta elegante chica, armamos pegando cada figura en su lugar con silicón frio y asegurándonos que quede bien pegada.

Once the pieces of this elegant girl are ready, we assemble by gluing each figure in place with cold silicone and making sure it is well glued.
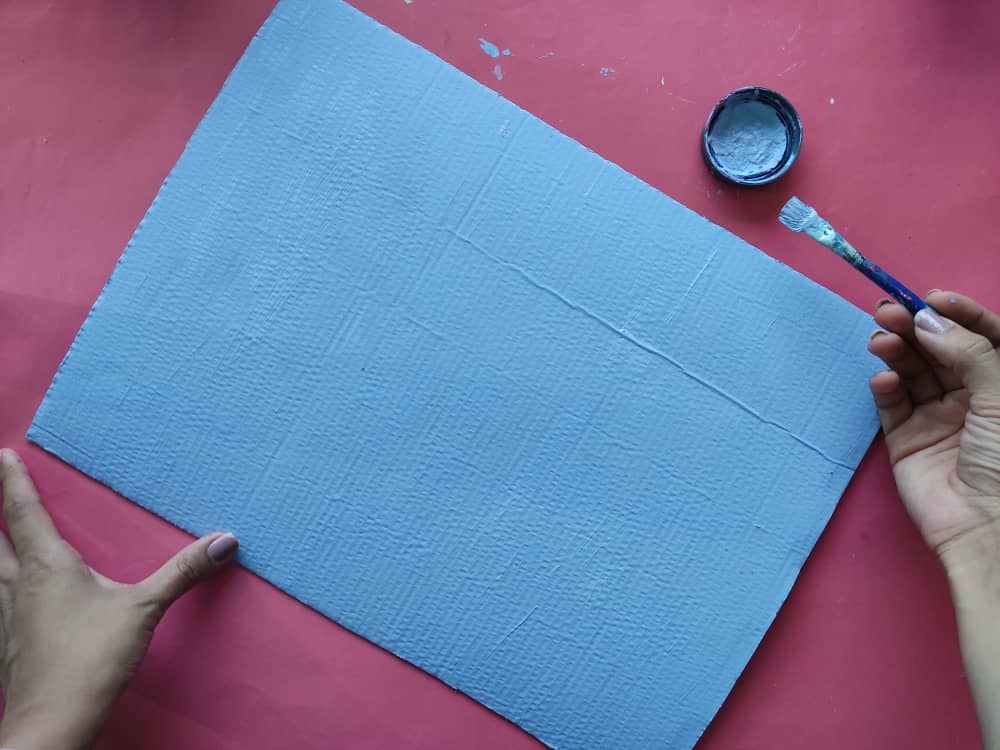
Seguidamente, elaboramos una base de cartón de 30cm por 35cm y la pintamos de color lila, está vez decidí pintar algunos círculos de colores para aportar más diversión.
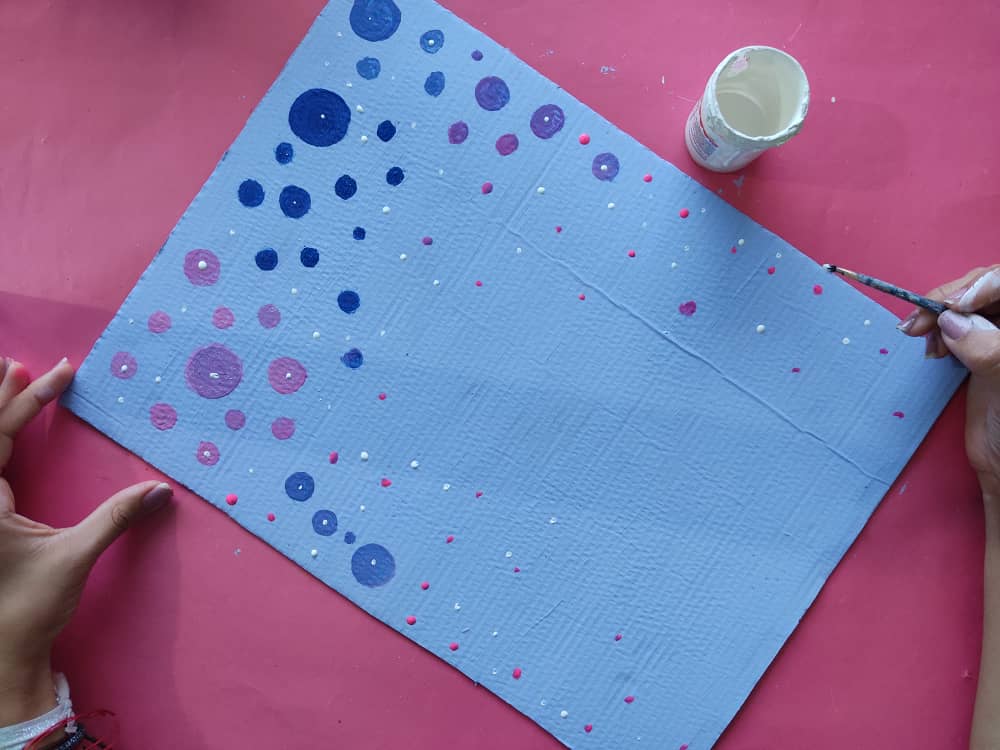
Next, we made a cardboard base measuring 30cm by 35cm and painted it in lilac, this time I decided to paint some colored circles to add more fun.
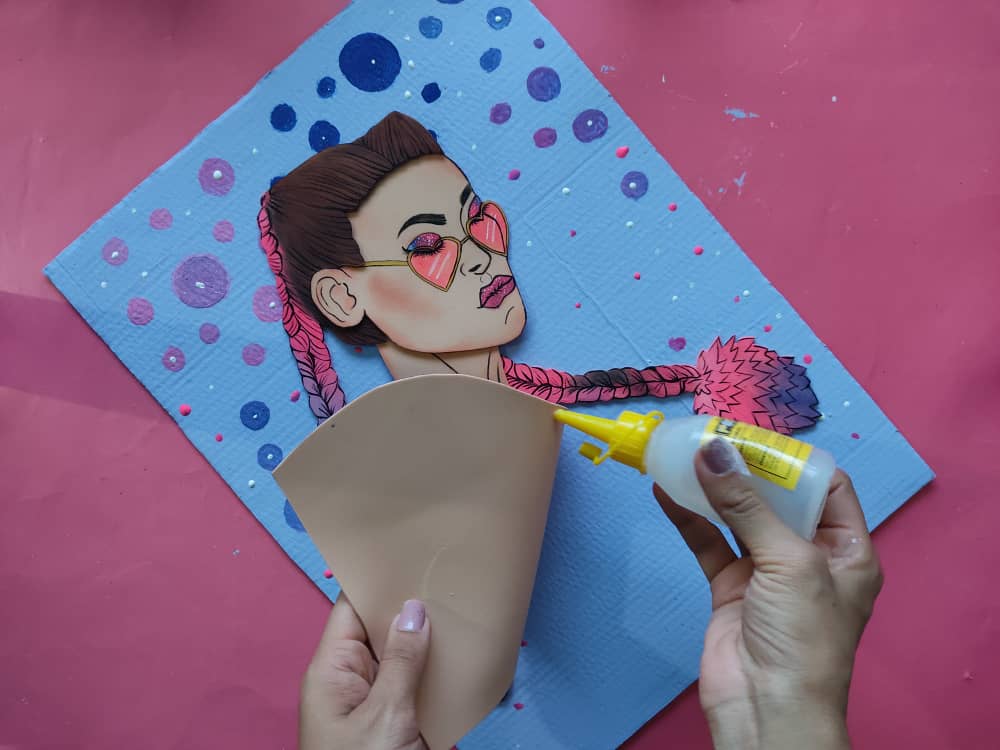
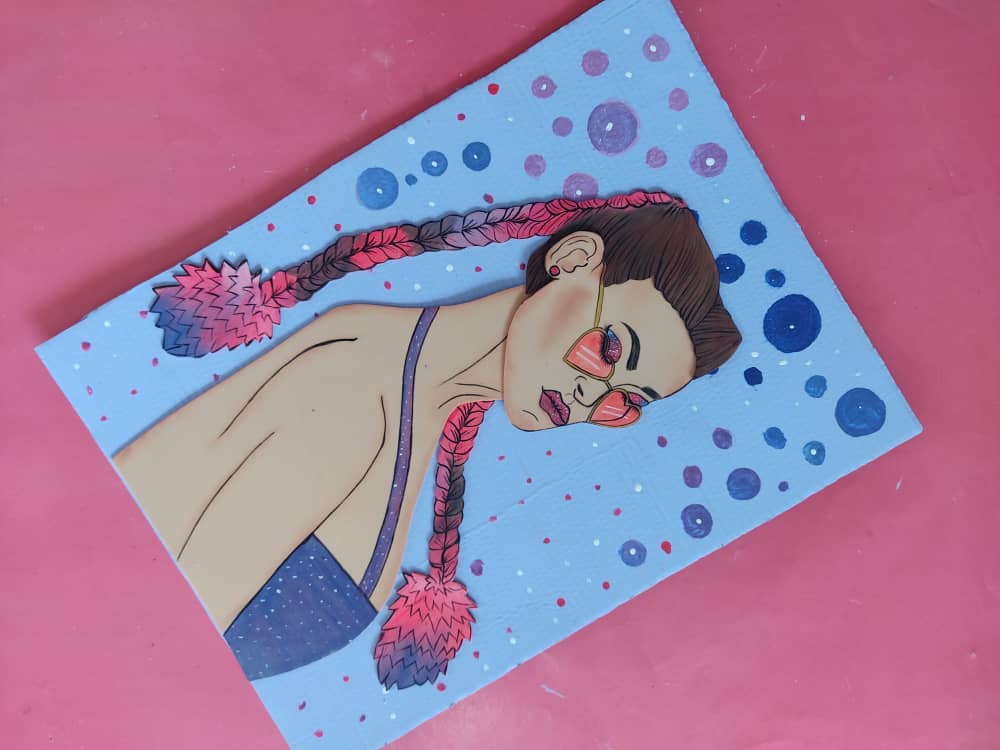
Luego de que esté totalmente seca la base, pegamos a la hermosa chica sobre esta ubicándola en el centro del cuadro.
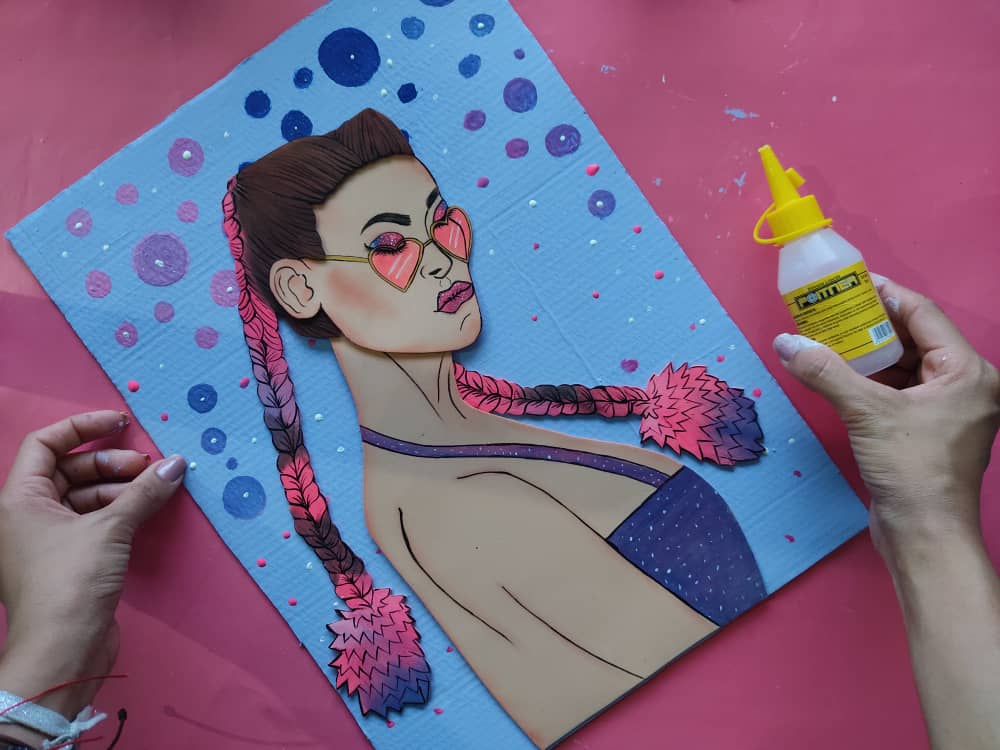
After the base is completely dry, we glue the beautiful girl on it, placing her in the center of the painting.
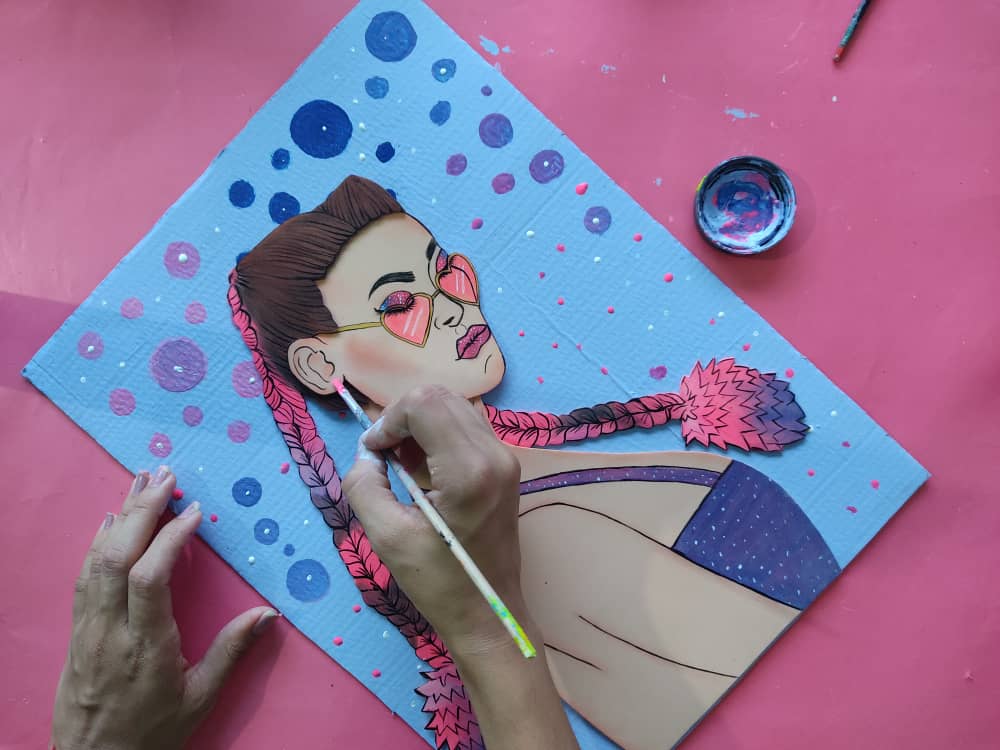
Por último, pintamos unos hermosos y delicados zarcillos en la oreja de la chica, y listo. Genial no?
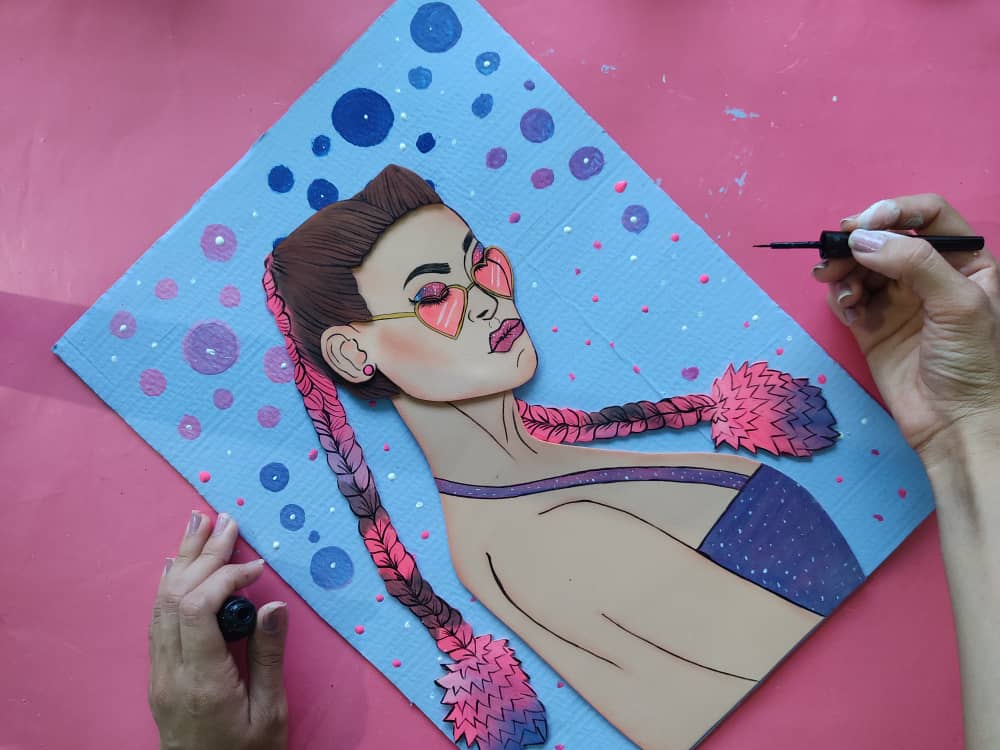
Finally, we paint some beautiful and delicate earrings on the girl's ear, and that's it. Cool no?

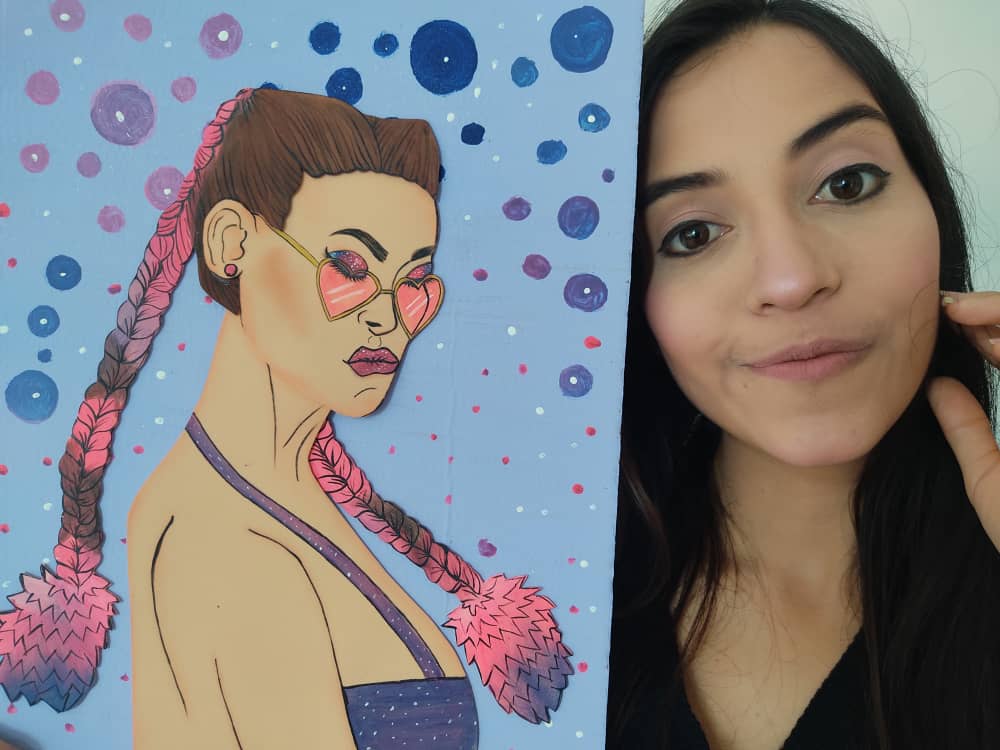
Gracias por acompañarme y espero que lo hayan disfrutado. ❤️
Thanks for joining and I hope you enjoyed it.❤️
.jpeg)
.jpeg)
.jpeg)
.jpeg)
.jpeg)
.jpeg)
.jpeg)
.jpeg)
.jpeg)


My #posh