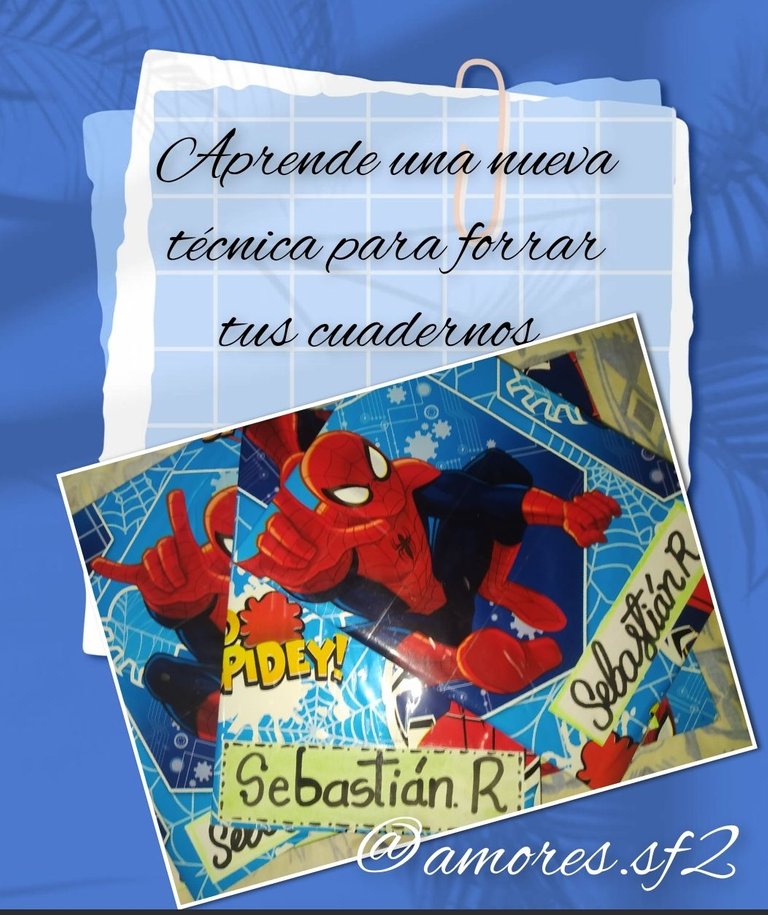
You write @amores.sf2 and today I want to share in this creative community a great idea that I will develop through a Tutorial, is a very simple project that we all do mainly moms, when the school vacation season arrives we rest for a few weeks but at the same time we are preparing for the start of the new among them we have to make purchases of texts uniforms and best for children school supplies among these notebooks.
Today there are several brands that offer us a wide variety of notebooks with very beautiful and creative covers, however, there are schools that require that these must be lined so that they can be preserved over time, the project I want to share with you today, is just that of how to line the notebooks in a creative and economical way using simple materials that we usually always have in our house as wide plastic tape or also known as the transparent strip.
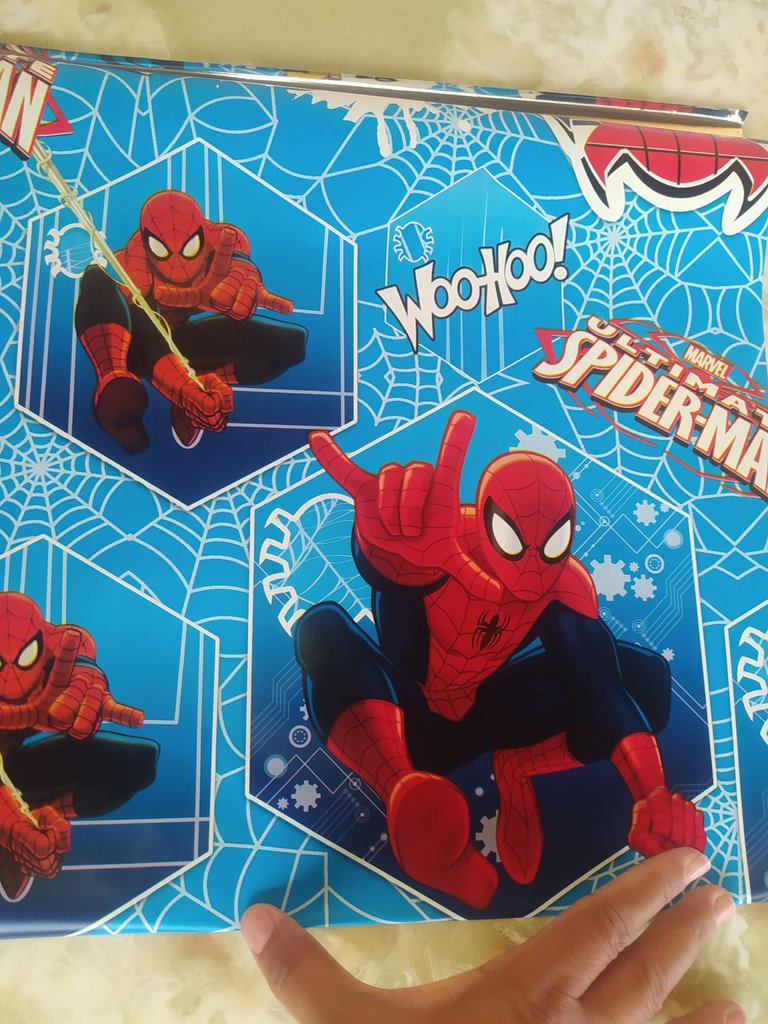
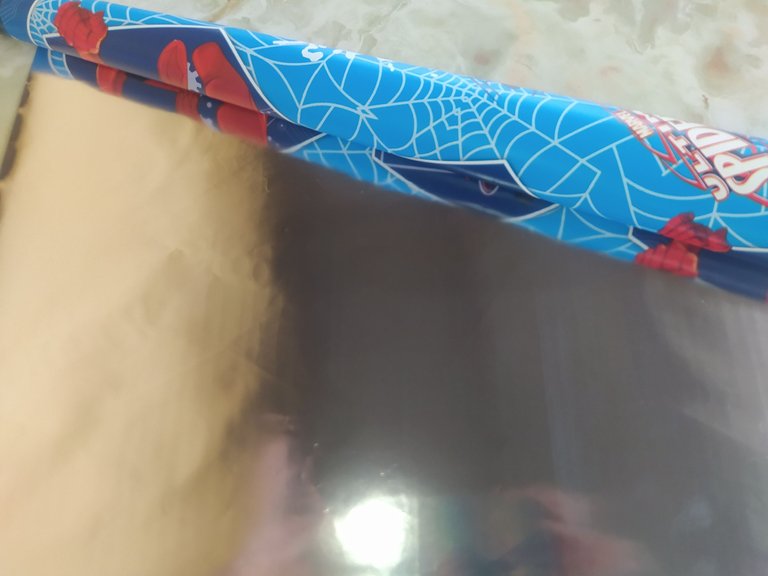
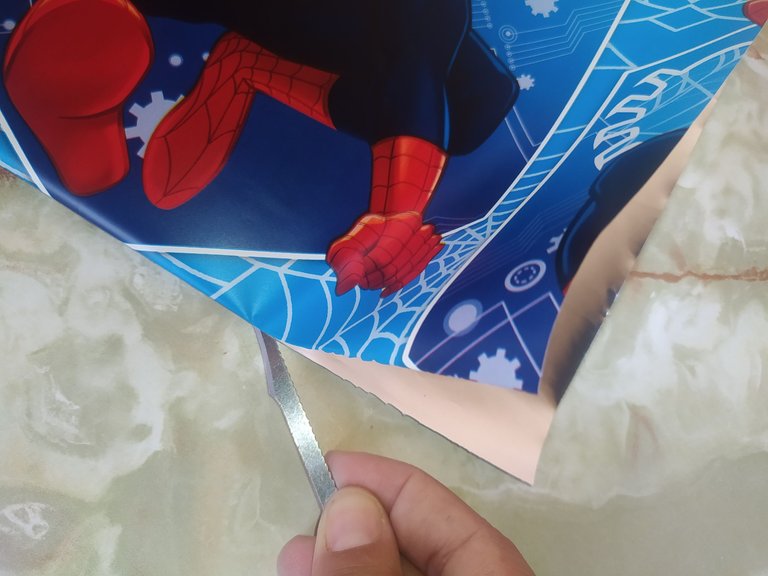
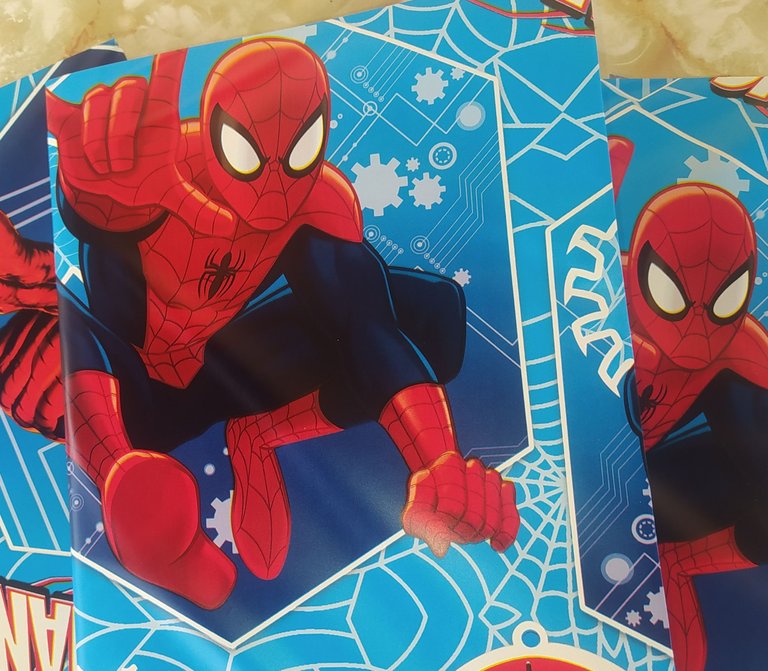
Normally to cover our notebooks we use a paper called contac paper that comes in various designs for males and females and we also find it as transparent contac paper that is used to laminate the notebooks, the idea I want to share is how instead of contac paper I use another type of lively paper that is also used to wrap gifts they come in different bright and colorful designs and to laminate I use plastic tape or tirro.
Today the cost of materials to cover school supplies is quite high, that is why I bring you this idea, so that it can serve to perform this task that our children love, perhaps many have already practiced this technique, however, there are people who still do not know it and today they are going to know it.
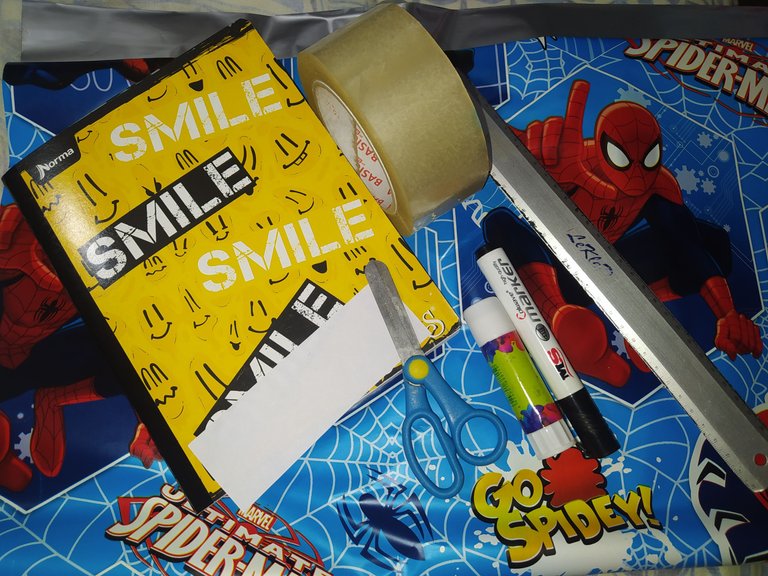
So let's not wait any longer and start with our project, the materials we are going to use are the following:
Papel animado para forrar
Pega en barra.
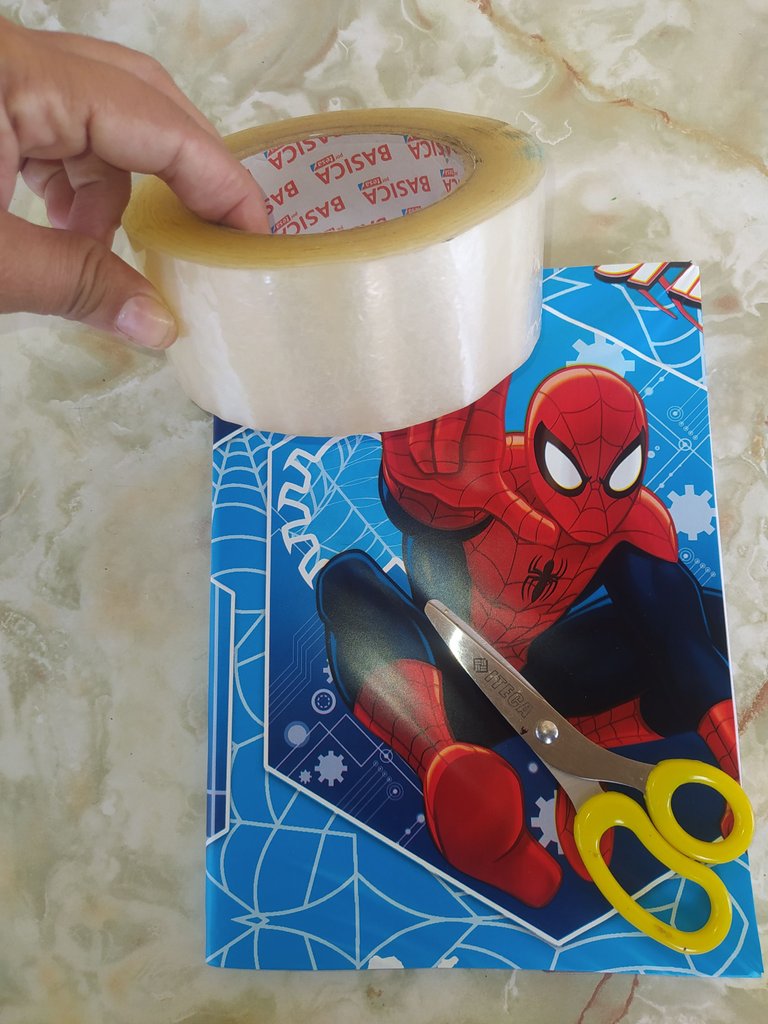
Cinta plástica o tirro ancho
Cuaderno
tijera
Regla
Lápiz
Marcador
Hija blanca
Tiza pastel
Animated lining paper
Glue stick.
Plastic tape or wide strip
Notebook
scissors
Ruler
Pencil
Marker
White daughter
Pastel chalk
Here I show you the step by step.
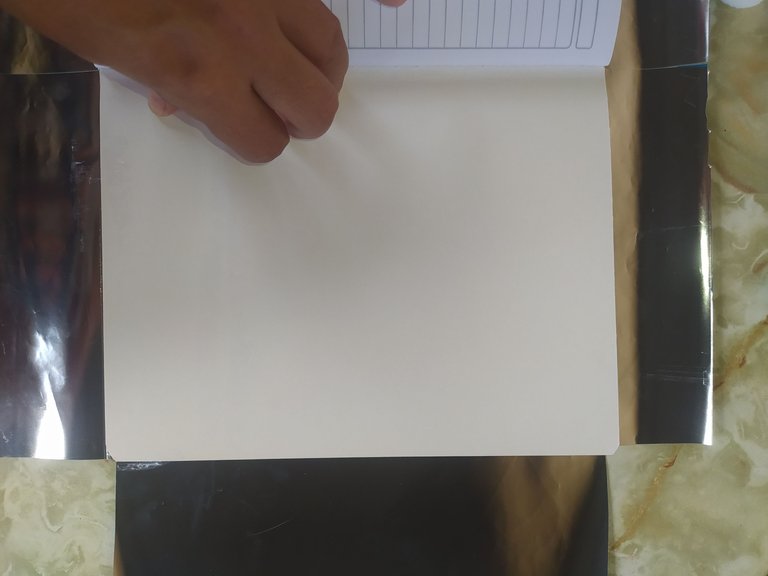
I start by taking the paper to cover the table with the design towards the back and I place my notebook to take the necessary measurements, it is important to always leave some tabs on all sides to place them inside and it will be much better, normally from a sheet of paper we can cover 2 notebooks and we have a surplus that can be used to cover other smaller pieces.
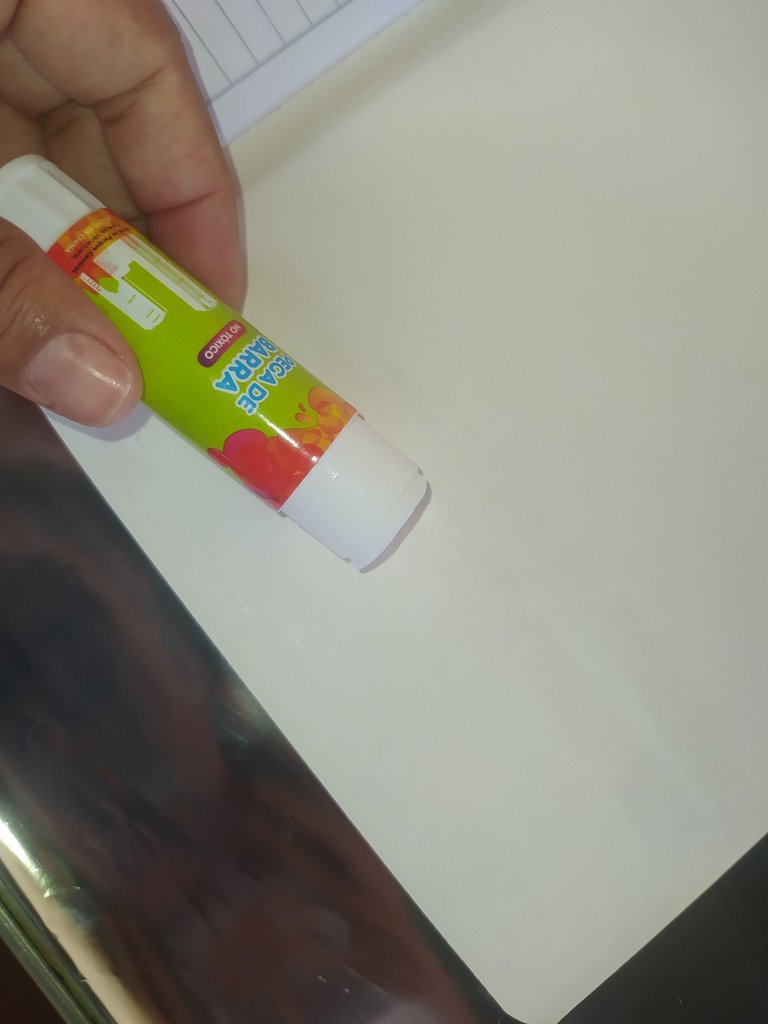
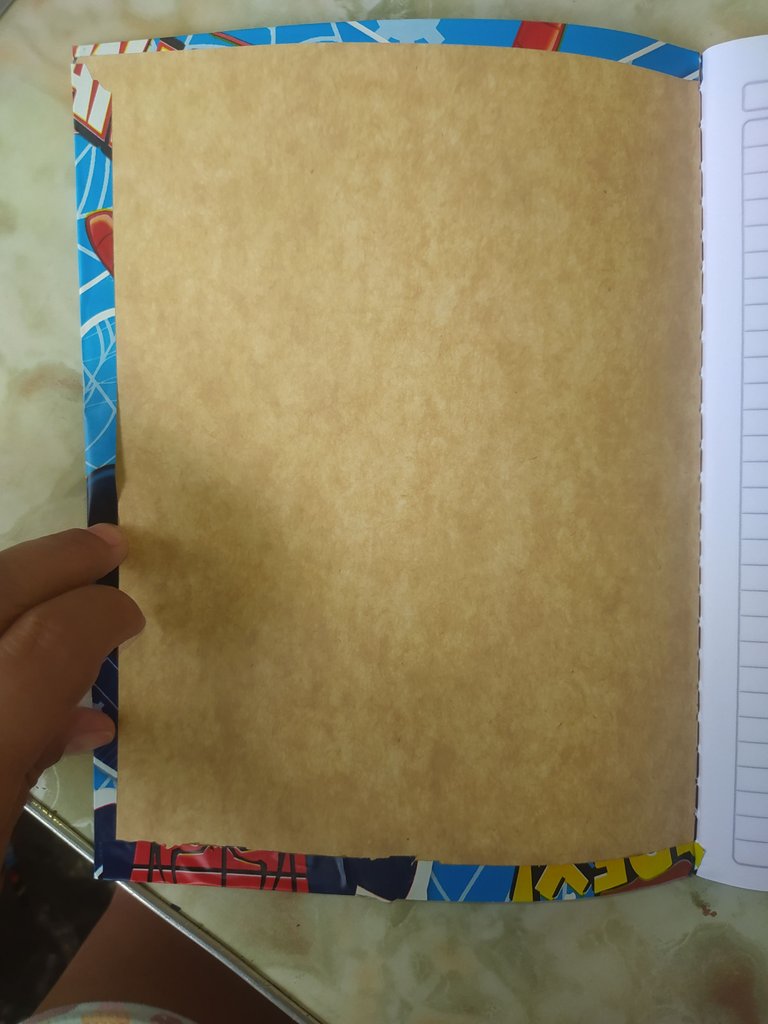
Once the measurement is ready to make it easier, I cut the paper sheet in half and proceed to cut what I need to cover my notebook, for this I put glue stick on the cover of the notebook and I glue the paper so that it is well adjusted and glued and the tabs I also apply the glue and I take them inwards and we have it like this:
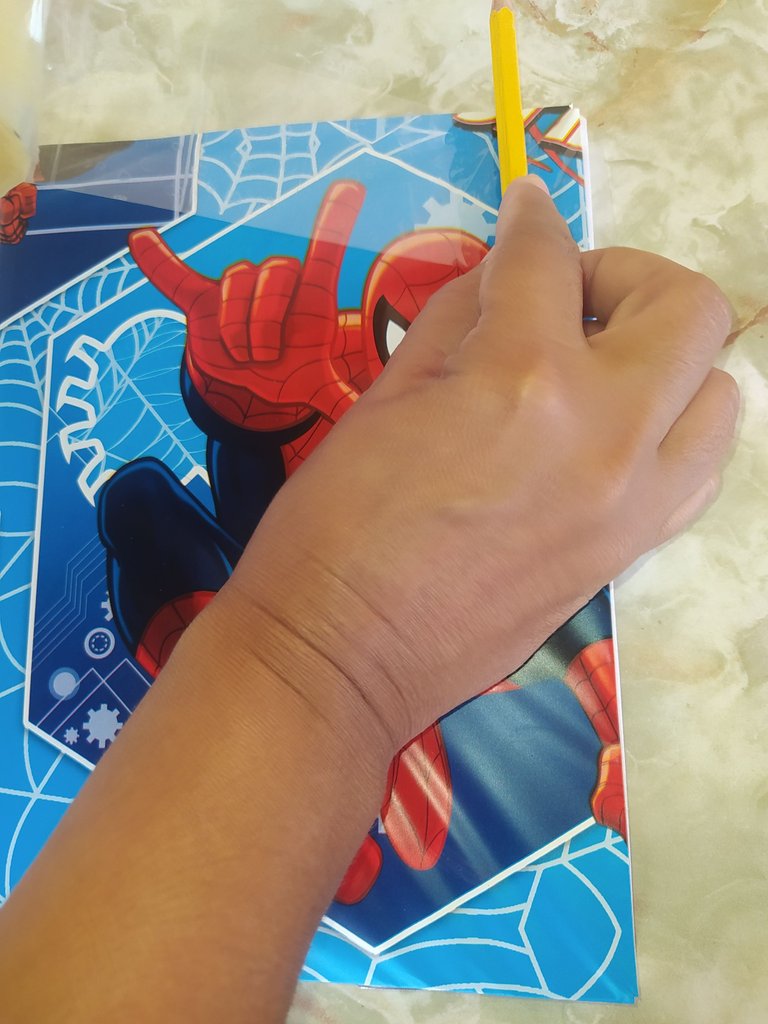
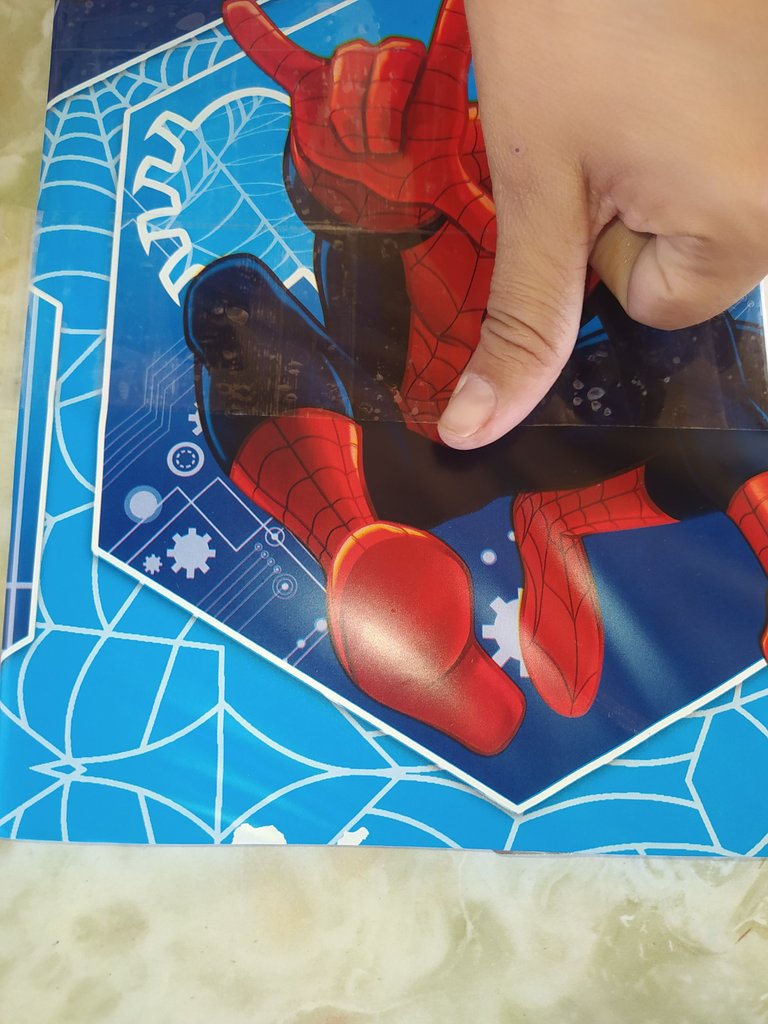
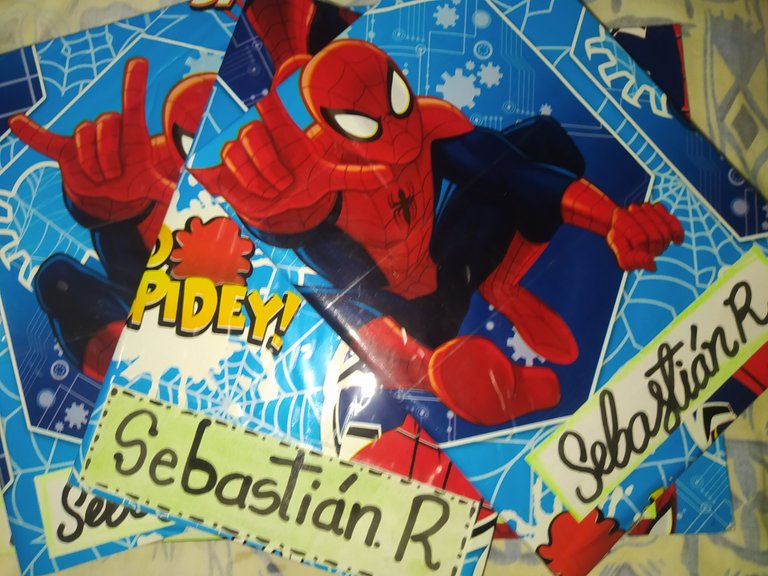
Once the notebook is lined we are going to start laminating using the wide plastic tape and I do it in the following way: I place the tape at the tip of the cover of the notebook and gradually slide the plastic tape at the beginning you can help with a ruler or with your hand with whatever is easier to go making pressure on the tape and do not leave bubbles so I go all over the body until you reach the other end, I leave a tab on both sides that goes inward and so I'm laminating the notebook, in the second round I aligned the strip so that it is not above the previous one and so on until the end are approximately between 4 or 5 laps depending on the size of the notebook.
Here I show you how I do it
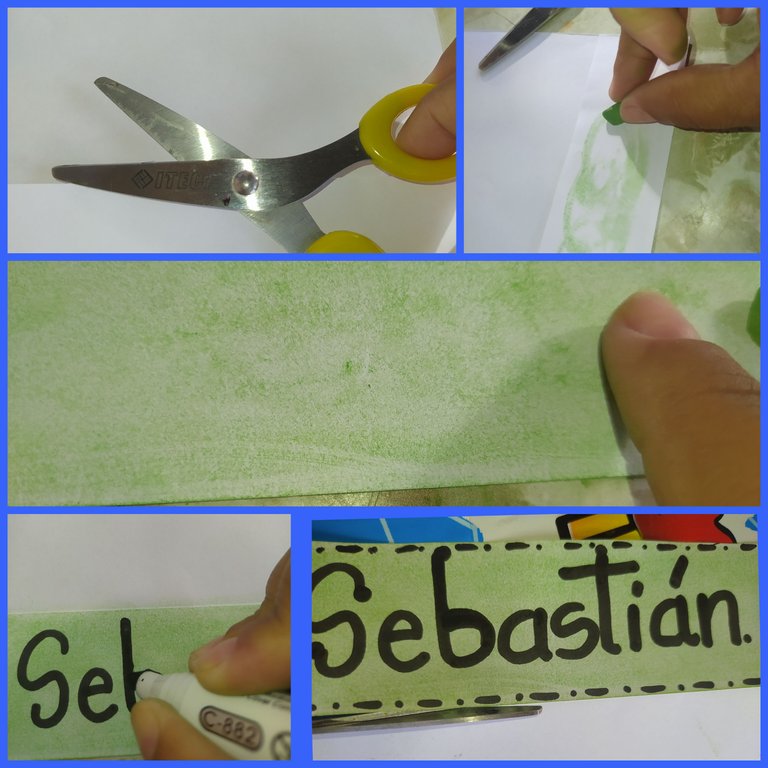
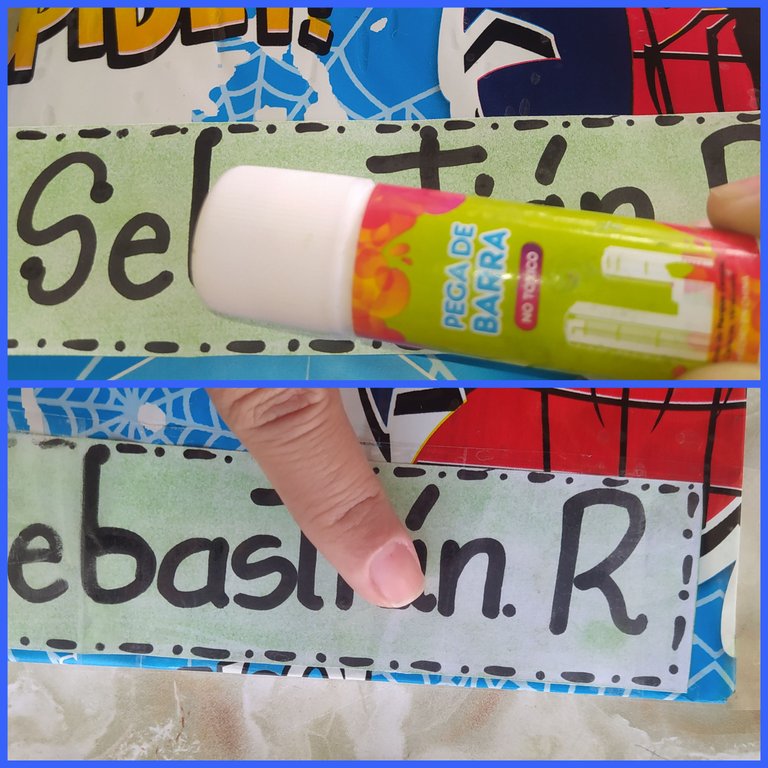
Before placing the last lap I handmade by myself a label with the name of the child is made on a white paper tape that I painted with pastel chalk and on it I wrote the name and surname of the student, ready this I place the missing lap of paper and so I laminated and personalized my notebook.
aquí te muestro como quedan al final mis cuaderno forrados.
You can see how in such a simple way we can achieve our goals, making such a creative and beautiful project that I'm sure our children will love.
Here I show you how my lined notebooks look like at the end.
Mil gracias por leer mi contenido, nos vemos en una próxima ocasión. bendiciones 💙All photos presented in my publication are my own taken with my cell phone and edited in Incollaje, my text is translated by Deepl.
A thousand thanks for reading my content, see you next time.
blessings 💙
La verdad que todo lo que es de librería es hermoso pero bastante elevado el precio... está opción de reemplazar el contact por cinta es una gran alternativa para alivianar el bolsillo. Buena idea amiga, gracias por compartirla. Saludos ❣️.
Gracias a ti bella por tomarte tu tiempo para leer mi contenido, y síii alivia muchísimo jejejeje todo está muy costoso estás es una alternativa realmente quedan muy lindos . Gracias por tu apoyo amiga
Congratulations @amores.sf2! You have completed the following achievement on the Hive blockchain and have been rewarded with new badge(s):
Your next target is to reach 400 comments.
Your next target is to reach 500 replies.
You can view your badges on your board and compare yourself to others in the Ranking
If you no longer want to receive notifications, reply to this comment with the word
STOPTo support your work, I also upvoted your post!
Check out the last post from @hivebuzz:
Support the HiveBuzz project. Vote for our proposal!
A falta del papel propio para forrar cuadernos, esta es una buena opción. Yo usé un material similar para forrar los cuadernos de mi prima, porque le compré algunos con diseños para niños, pero no me importó porque los encontré a buen premio y tenía cartulina y materiales para forrarlos. Así que me salió mucho más económico comprar estos y forrarlos que comprar otras libretas jeje. Gracias por compartir esta alternativa para forrar los cuadernos, es una buena idea y mas ahora con las clases.
Síii una buena alternativa que nos puede ayudar a resolver. Gracias a ti por el apoyo y por leer mi contenido
Está muy creativa tu idea, y según pienso debe ser más económica, queda igual de bonito y lo más importante es que le guste a los niños ♥️
Si es buena idea y por supuesto que a los nuestros hijos les guste. Gracias ❤️