Bienvenidos 💕 | Welcome 💕
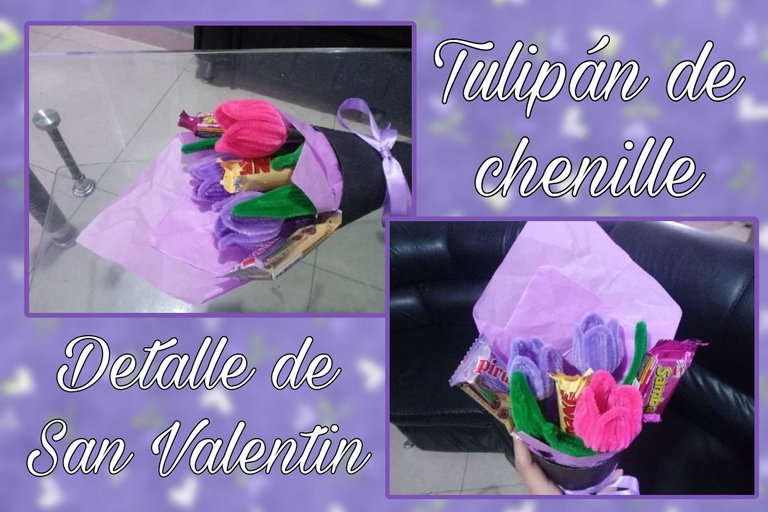
Hola amigos de Hive! Espero que se encuentren muy bien. Hoy les compartiré el paso a paso de como elaboré unos tulipanes de chenille y con estos tulipanes elaborar un pequeño arreglo para san valentin, este fue un pedido especial, mi sobrino queria dar este regalo y me lo encargo por lo que me entusiasme compre los materiales y puse manos a la obra.
Hello friends of Hive! I hope you are feeling well. Today I will share with you the step by step of how I made some chenille tulips and with these tulips to make a small arrangement for valentine, this was a special request, my nephew wanted to give this gift and I ordered it so I got excited buy the materials and got down to work.

Paso a paso | Step by step
- Para hacer los 3 tulipanes utilicé 18 chenille, 6 para cada tulipan
- Comence a hacer los petalos, para los pétalos picamos los 6 chenille por la mitad, para un pétalo tomamos 3 mitades, dos doblamos por la mitad y el tercero lo metemos entre los primero dos.
- To make the 3 tulips I used 18 chenille, 6 for each tulip.
- Start making the petals, for the petals we cut the 6 chenille in half, for one petal we take 3 halves, two of them we fold in half and the third one we put between the first two.
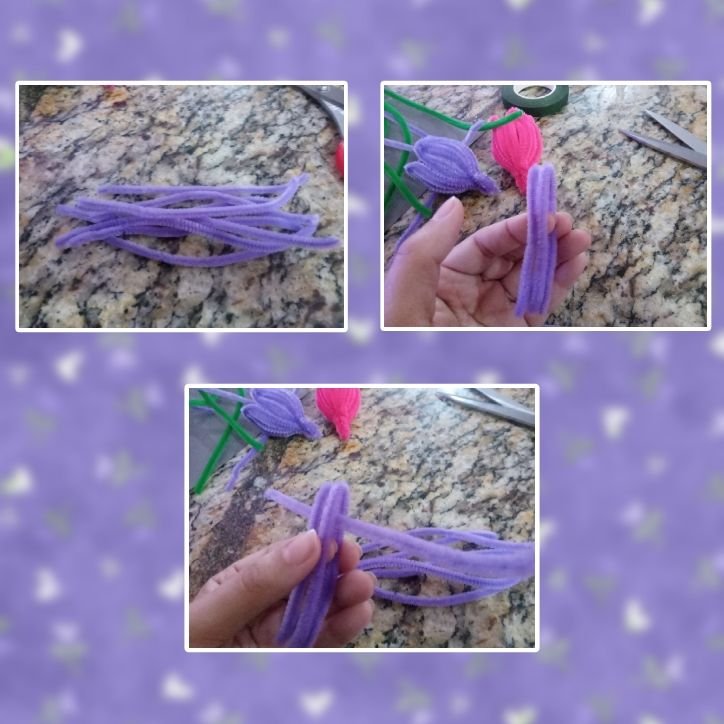
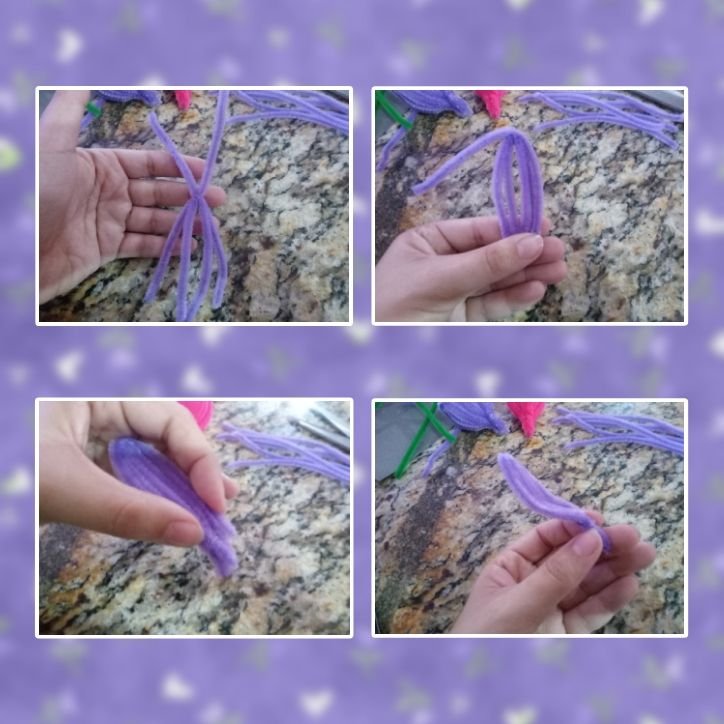
El chenille que metemos entre los dos primeros chenille lo doblamos a la mitad y damos una vuelta cosa que quede ajustado con los dos de abajo
Los alineamos formando el pétalo y con una de las punticas ajustamos en la parte de abajo dando vueltas alrededor y ahi le damos la forma. Y asi hacemos con el resto.
- The chenille that we put between the first two chenille we fold it in half and we turn it once so that it is tight with the two below.
- We align them forming the petal and with one of the points we adjust the bottom part going around and there we give it the shape. And so we do with the rest.
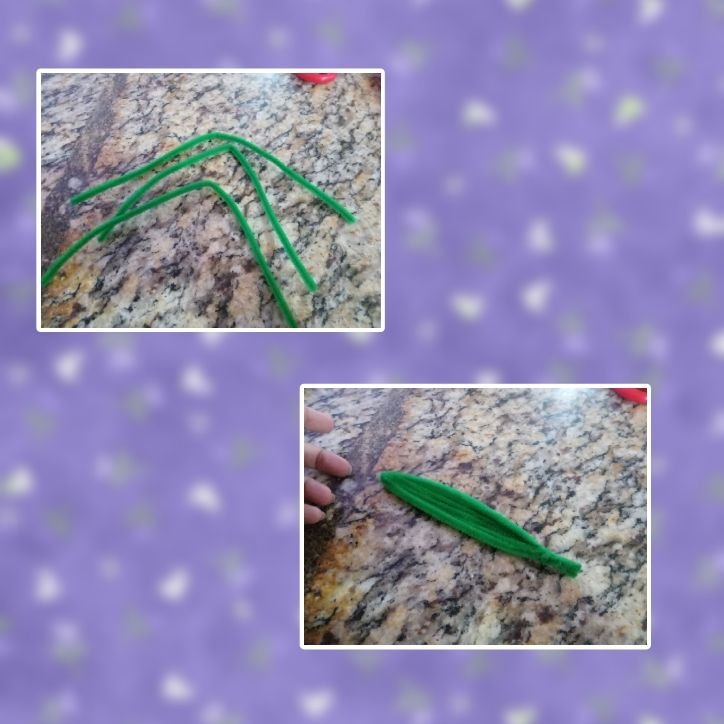
- Para la hoja utilicé tres chenille sin cortar e hice el mismo procedimiento que con los pétalos del tulipan.
- For the leaf I used three uncut chenille and did the same procedure as with the tulip petals.
- Armamos el tulipan con cuatro pétalos y pegamos con silicon, luego armamos lo que es la flor con la hoja y el tallo, para esto utilizamos un palo de altura, el palo altura lo pegamos entre el tulipan y con ayuda de un florete empezamos a embolver el palo al llega a una altura incluimos la hoja y seguimos envolviendo con el florate hasta llegar al final del palo de altura.
- We assemble the tulip with four petals and glue with silicone, then we assemble what is the flower with the leaf and the stem, for this we use a height stick, the height stick we glue it between the tulip and with the help of a foil we start to wrap the stick when it reaches a height we include the leaf and continue wrapping with the flower until we reach the end of the height stick.
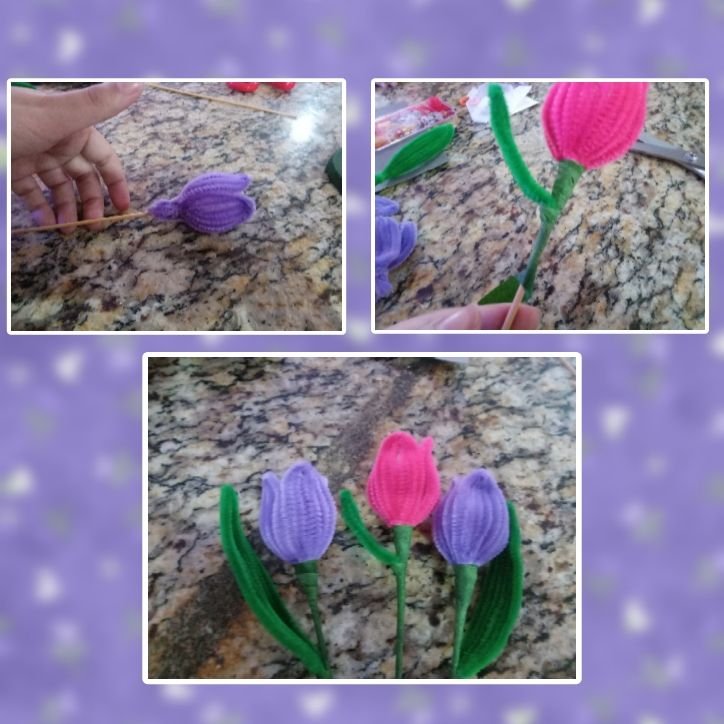
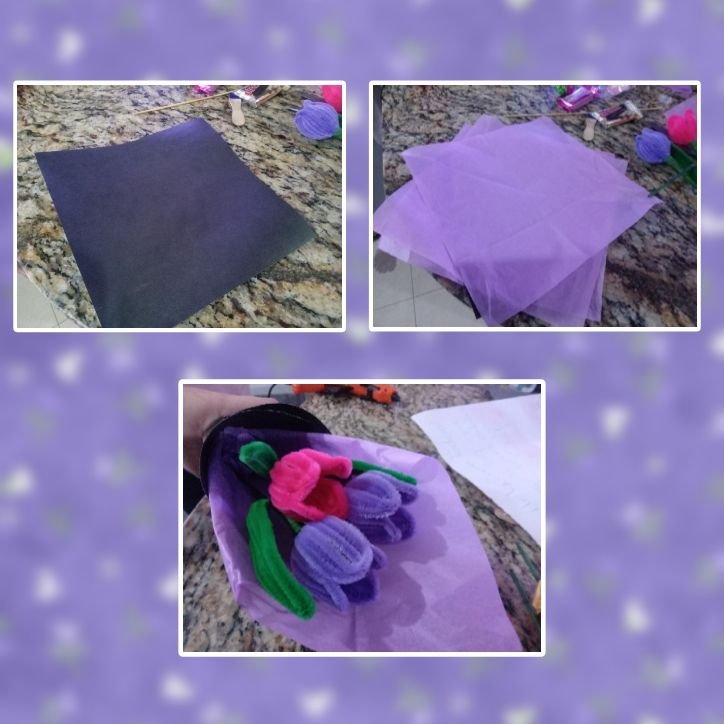
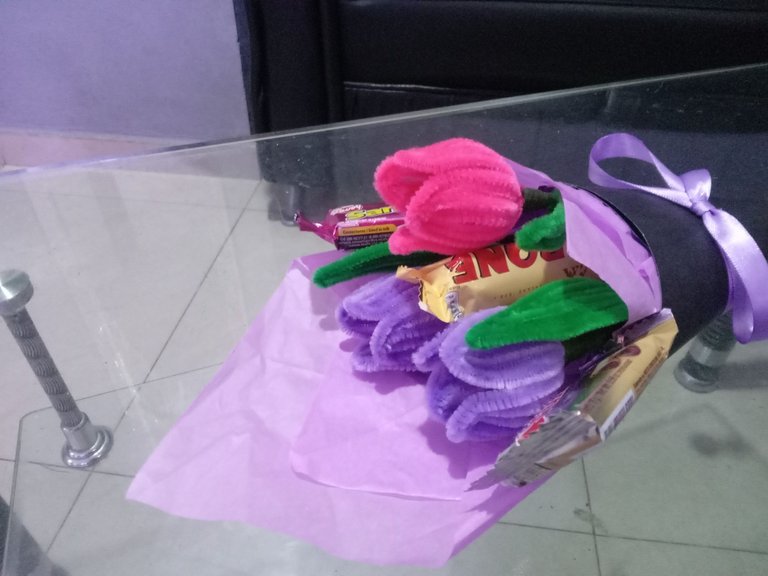
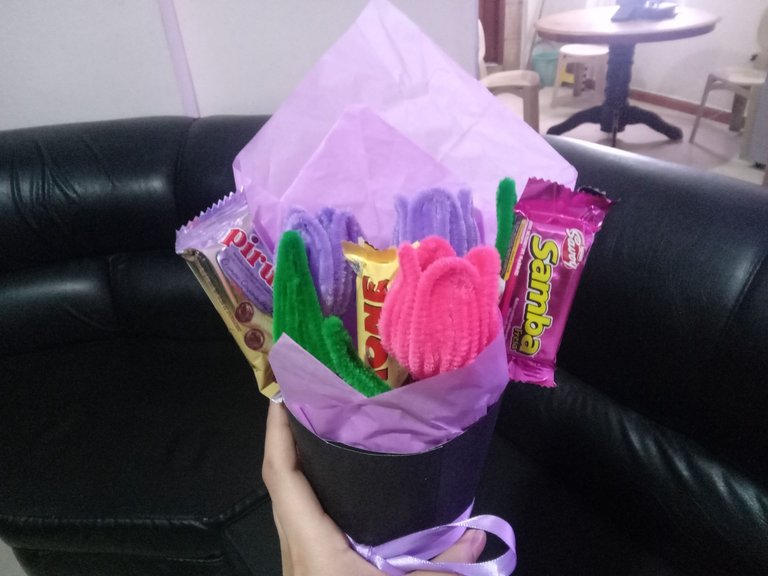
- Ya tenemos las flores listas, hice dos moradas y una fucsia, ahora vamos con el arreglo o detalle, para esto utilicé cartulina, papel de seda, una cinta y algunos chuches.
- Corte un cuadrado de cartulina e hice un cono, meti el papel de seda que quedaran las puntas sobresalientes este papel lo fije con silicon, comencé a meter las flores.
- We already have the flowers ready, I made two purple and one fuchsia, now let's go with the arrangement or detail, for this I used cardboard, tissue paper, a ribbon and some sweets.
- I cut a square of cardboard and made a cone, I put the tissue paper so that the ends were protruding, this paper was fixed with silicone, I began to put the flowers.
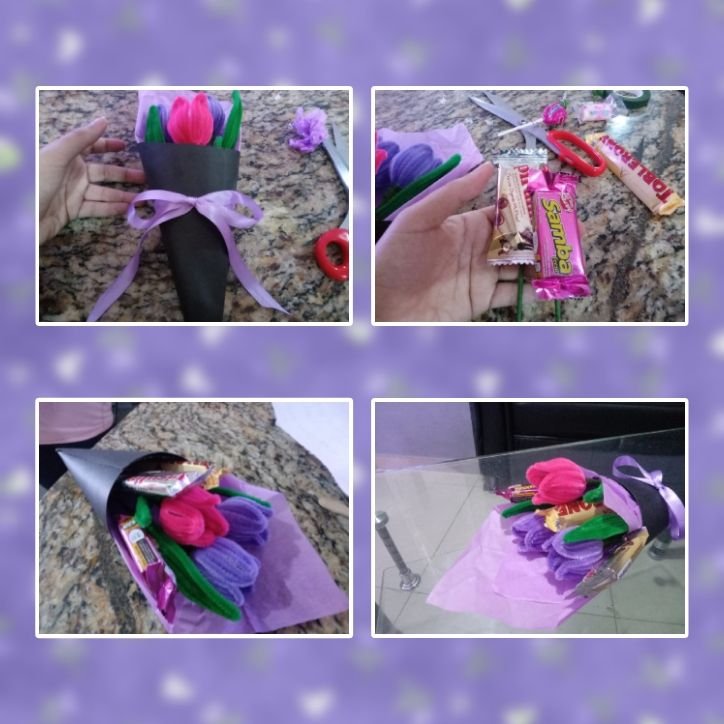
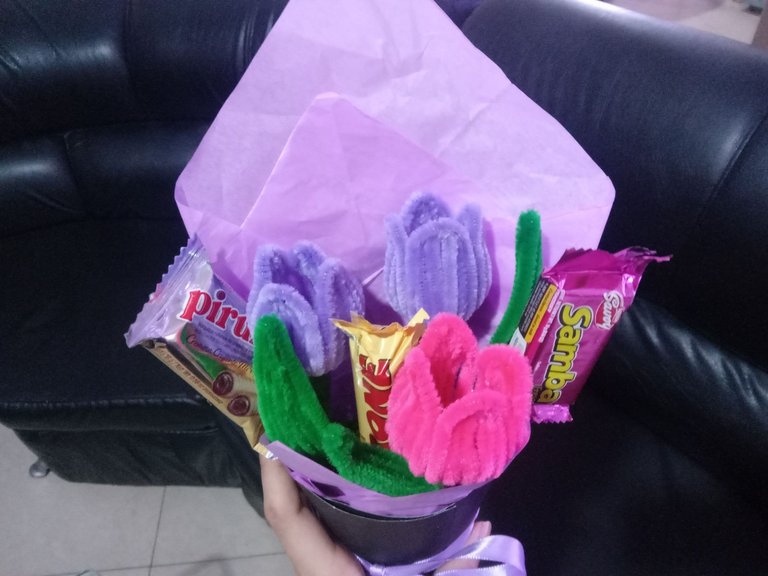
- Le coloque la cinta alrededor del cono la fije con silicon para que no se saliera y a partir de alli procedi a culminar metiendo los dulces que tambien le coloque un palito para que quedaran al nivel de las flores y listo.
- I placed the ribbon around the cone and fixed it with silicone so that it would not come off and from there I proceeded to finish by putting the candy in, which I also placed a stick so that they would be at the level of the flowers and that was it.
♡ Imágenes y textos son propiedad del autor
♡ Edición: Canva - Picsart
♡ Traductor: DeepL
♡ Images and texts are property of the author.
♡ Editing: Canva - Picsart
♡ Translator: DeepL
It's a very nice job. It's always great to be able to share this kind of work because it gives ideas to other craftsmen.
@sagarkothari88 vote
Hermosos! Y están muy en tendencia!
Como consejo, trata de que las fotos salgan un poco mas enfocadas en las área que deseas resaltar de la imagen
!discovery 35
This post was shared and voted inside the discord by the curators team of discovery-it
Join our Community and follow our Curation Trail
Discovery-it is also a Witness, vote for us here
Delegate to us for passive income. Check our 80% fee-back Program
Bellos me encantan los tulipanes 🌷
Que bonitos tulipanes, wow gracias por compartirlo con todos.
Creo que intentaré regalarles unos así a mi mamá.
Esto ha estado muy en tendencia, te quedó hermoso, gracias por compartir.✨💕