A new idea to make flower pots with recycled material🪴🪣[Esp~Eng]

in Hive Diy2 months ago (edited)

Picsart_24-11-15_16-09-30-357.jpg

¡Hola amigos y hivers creativos !sean bienvenidos a un nuevo blog donde les compartiré alguna idea para remodelar las macetas de tus plantas y darle un estilo mas bonito y único a tus plantas del jardín.✨🪴

Hello friends and creative hivers! Welcome to a new blog where I will share with you some ideas to remodel the pots of your plants and give a more beautiful and unique style to your garden plants.✨🪴

Picsart_24-11-15_15-51-20-828 (1).jpg

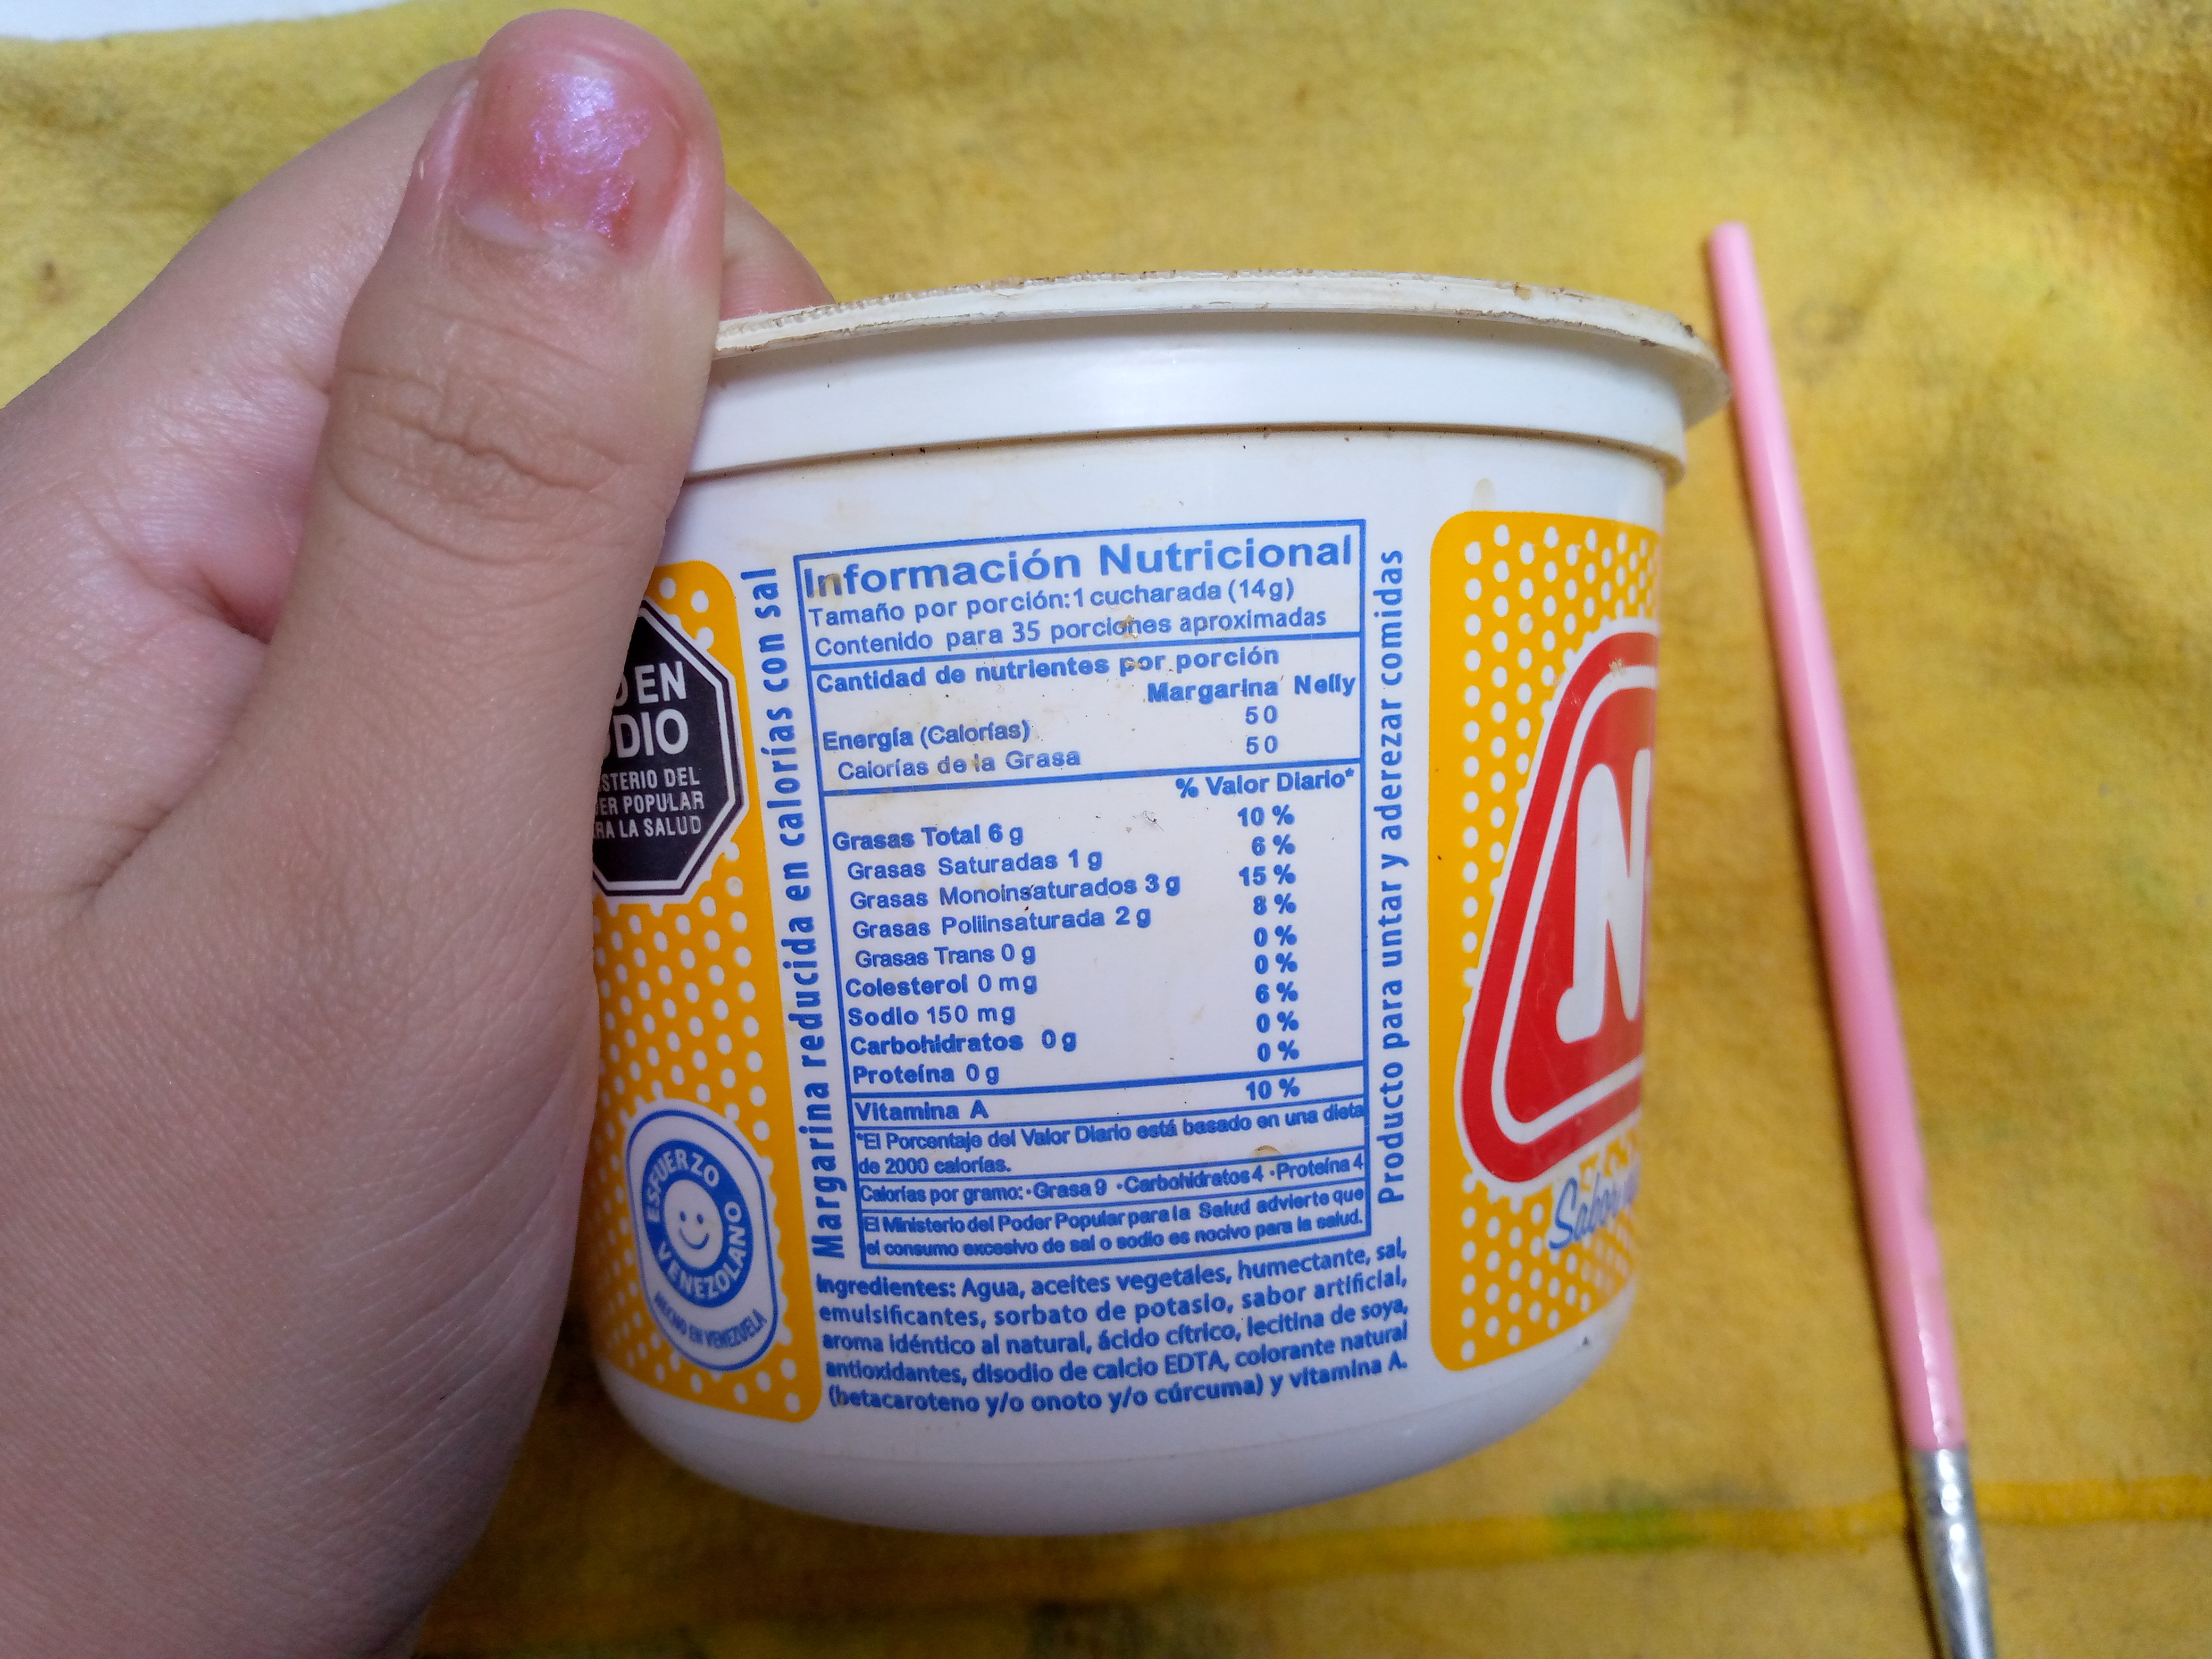
Con solo unos pocos materiales podéis hacer divertidas macetas recicladas con materiales que posiblemente tengas en casa y que ya no le des un uso en específico,si hablamos de las botellas y botes de salsas o mantequilla que cuando ya se nos acaba el contenido unos tiran el envase otros los conservan y coleccionan y otros como nosotros les damos una segunda oportunidad a estos envases.

With just a few materials you can make fun recycled flower pots with materials that you probably have at home and that you no longer give a specific use to. If we talk about bottles and jars of sauces or butter, when we run out of content, some throw away the container, others keep and collect them, and others like us give these containers a second chance.

Picsart_24-11-15_15-51-20-828 (1).jpg

Hay muchas maneras de hacer un diseño único y bonito a nuestras macetas podemos pintarle dibujos y figuras muy bonitas aquí lo que hay es que tener mucha imaginación ,en mi caso he usado materiales como les mencioné que tengo en casa y estaré usando pinturas que no se caigan fácilmente como la de esmalte de uñas y pinturas a base de aceite oara el hogar estás pinturas aunque el proceso de secado es lento son muy buenas para pintar este tipo de envases y que no se caen fácilmente ya que nuestras plantas y macetas al estar en contacto con el agua pueden mojarse y es preferible usar este tipo de pinturas ,estaremos usando un pco de gasolina para secar nuestro pincel o brocha con que estemos pintando ya que solo von ella se limpian muy bien nuestras herramientas ,con solo un poco basta para limpiarlos.

There are many ways to make a unique and pretty design for our pots, we can paint very pretty drawings and figures, here what you have to do is have a lot of imagination, in my case I have used materials as I mentioned that I have at home and I will be using paints that do not fall easily such as nail polish and oil-based paints for the home, these paints although the drying process is slow are very good for painting this type of containers and they do not fall easily since our plants and pots when in contact with water can get wet and it is preferable to use this type of paints, we will be using a little bit of gasoline to dry our brush or brush with which we are painting since only with it our tools are cleaned very well, just a little bit is enough to clean them.

Estás macetas recicladas nos pueden durar mucho tiempo y aportar un poco de armonía a nuestro hogar al decorarlas muy bonito,es por eso que hoy vamos a estar realizando esos envases para remodelar una planta que ya su maceta esta dañada,le daremos otra oportunidad,quédate conmigo durante el proceso y espero te giste esta genial ideas,vamos con los materiales.

These recycled pots can last us a long time and bring a little harmony to our home by decorating them very nicely, that is why today we are going to be making these containers to remodel a plant that has a damaged pot, we will give it another chance, stay with me during the process and I hope you like these great ideas, let's go with the materials.
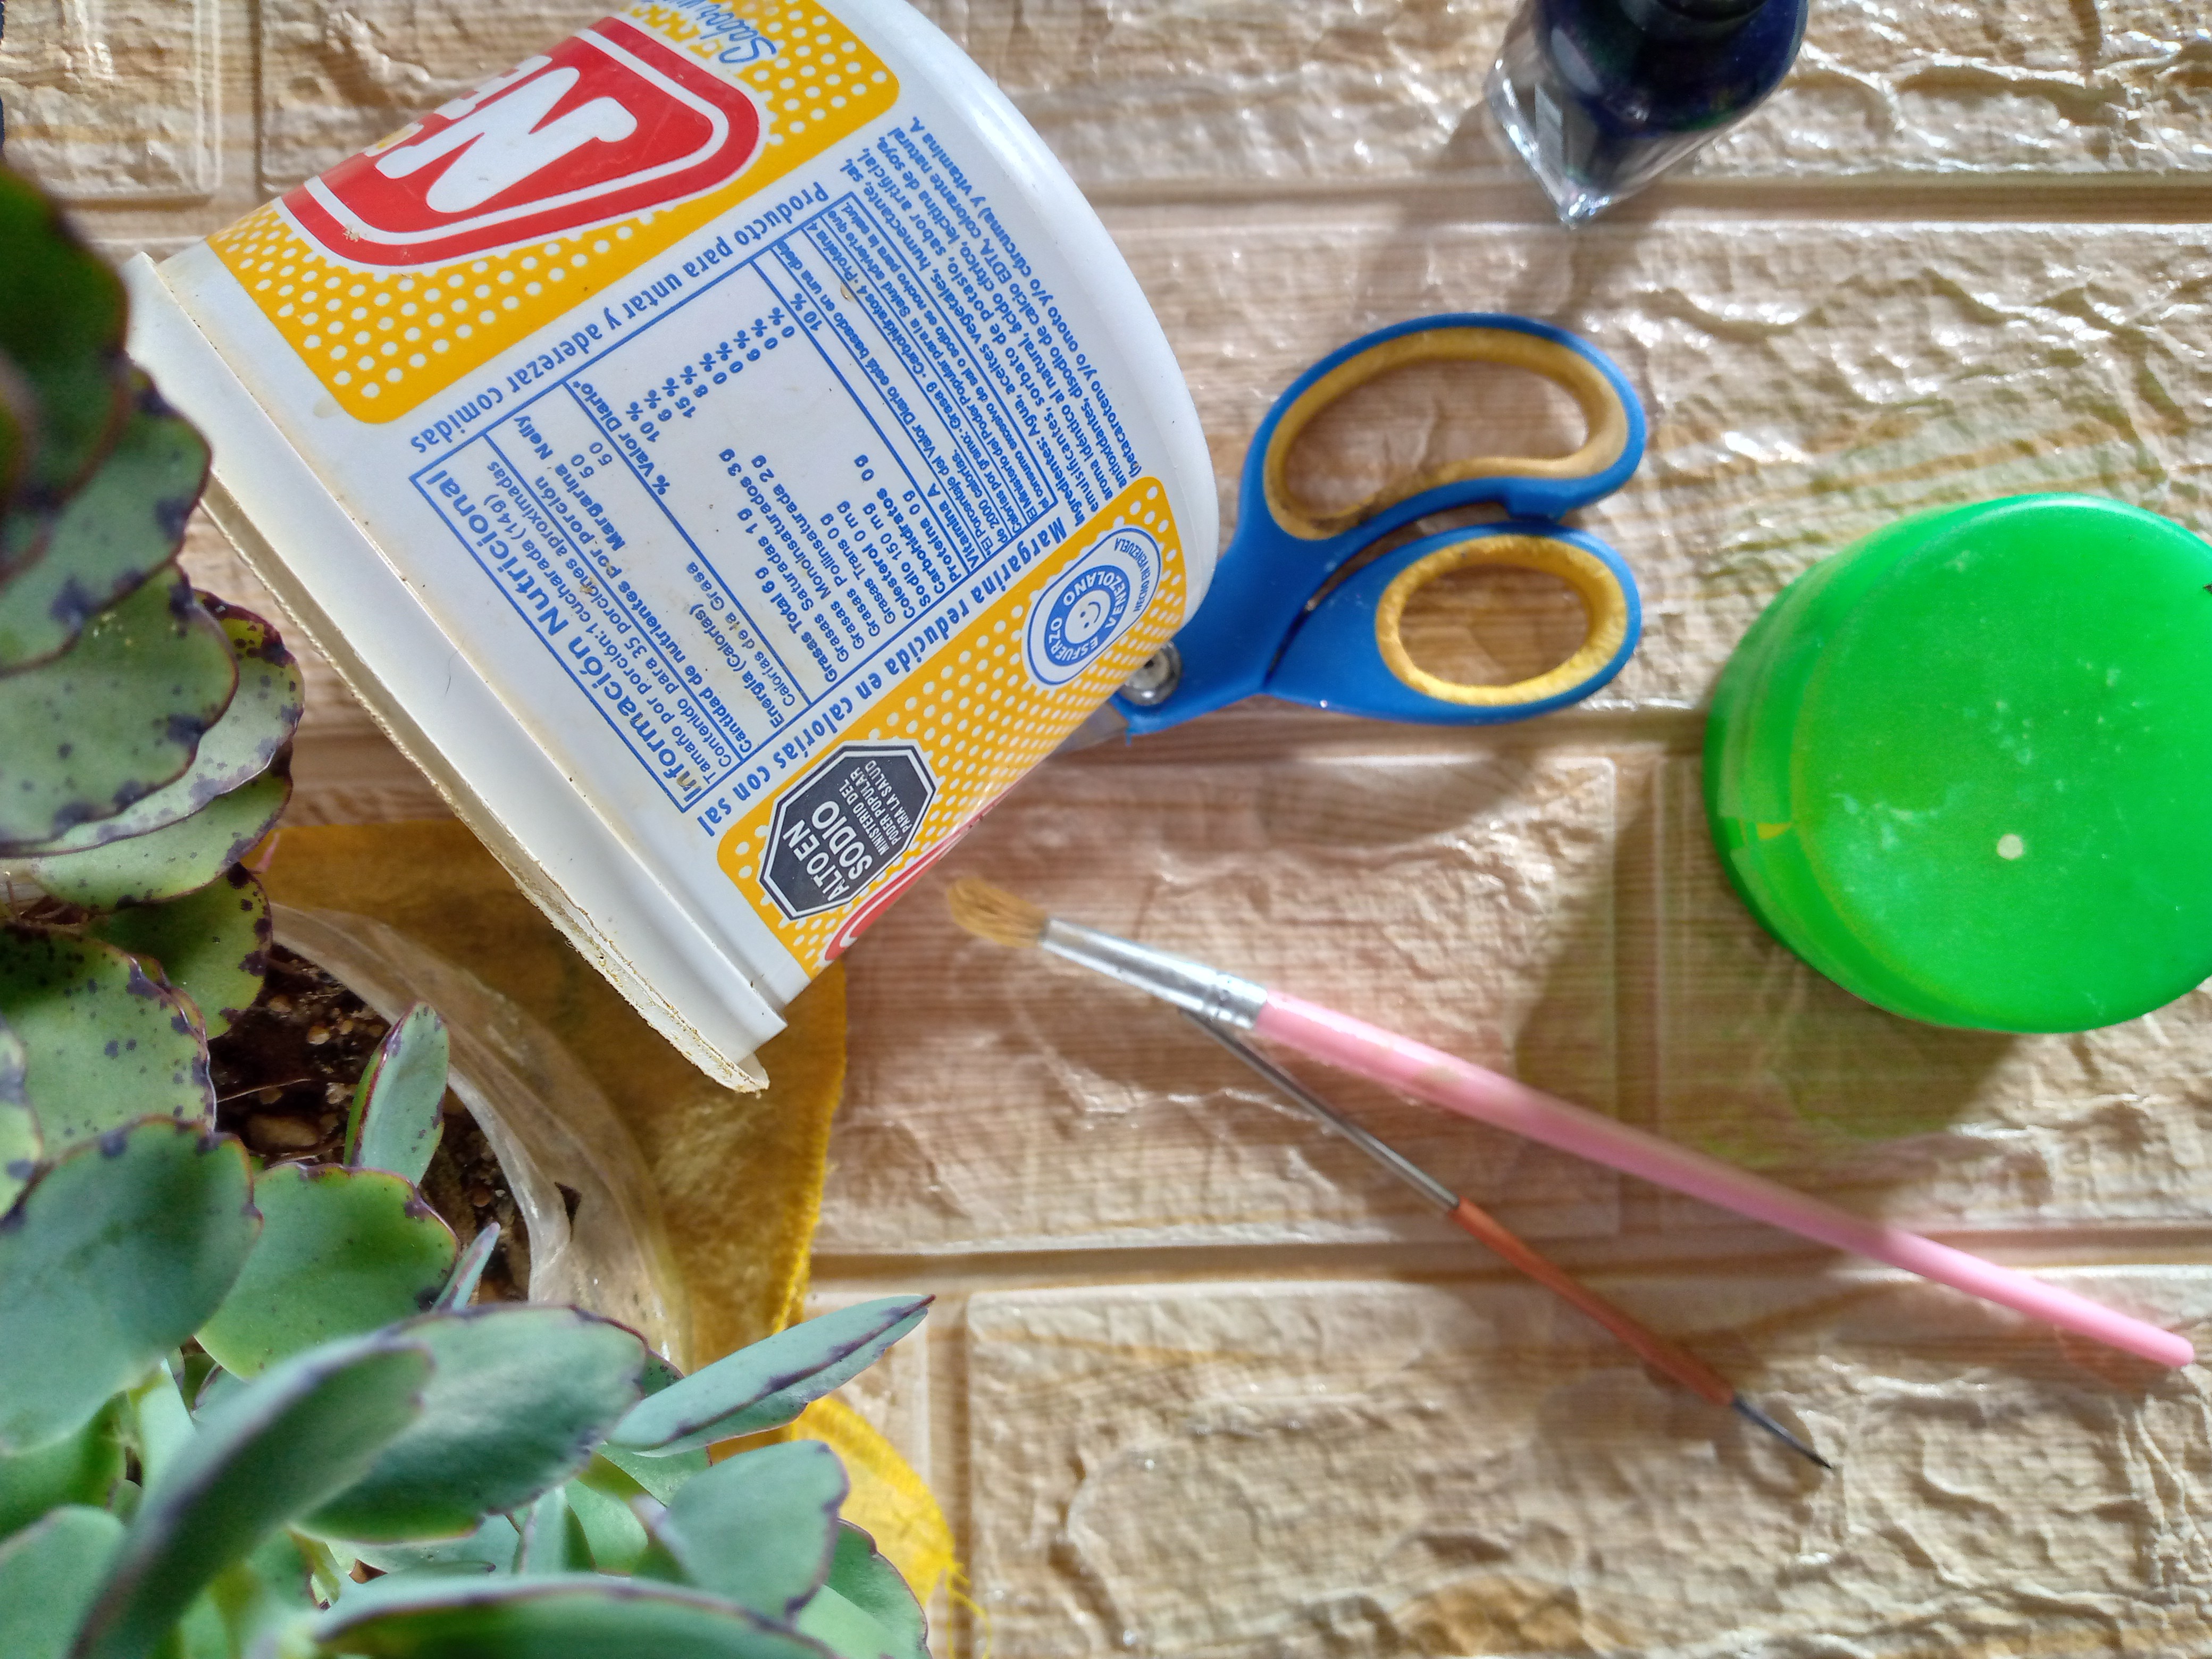

IMG_20241115_115015_090.jpg

Picsart_24-11-15_15-51-20-828 (1).jpg

Materiales:// Materials:

EspañolInglish
• Envase de plástico• Plastic container
• Pintura de casa y esmalte de uñas• House paint and nail polish
• Aguja con punta• Pointed needle
• Pincel grueso y delgado• Thick and thin paintbrush
• Plantas con arena• Plants with sand

Picsart_24-11-15_15-51-20-828 (1).jpg

Pasos a seguir:// Steps to follow:

IMG_20241115_130707_113.jpg

IMG_20241115_131007_724.jpg

IMG_20241115_131404_377.jpg

IMG_20241115_135622_747.jpg

Paso 01

Para comenzar vamos a estar agarrando nuestro envase de plástico el que decidimos para trabajar bien sea una botella de plástico de refresco o alguna botella de aceite o pintura cualquier envase sirve porque estaremos haciendo esta manualidad con material reciclado así que cualquier envase puedes usar la idea es limpiarlo muy bien su superficie tanto por fuera como por dentro para que nos quede limpia y el proceso de trabajo sea mucho mas fácil.

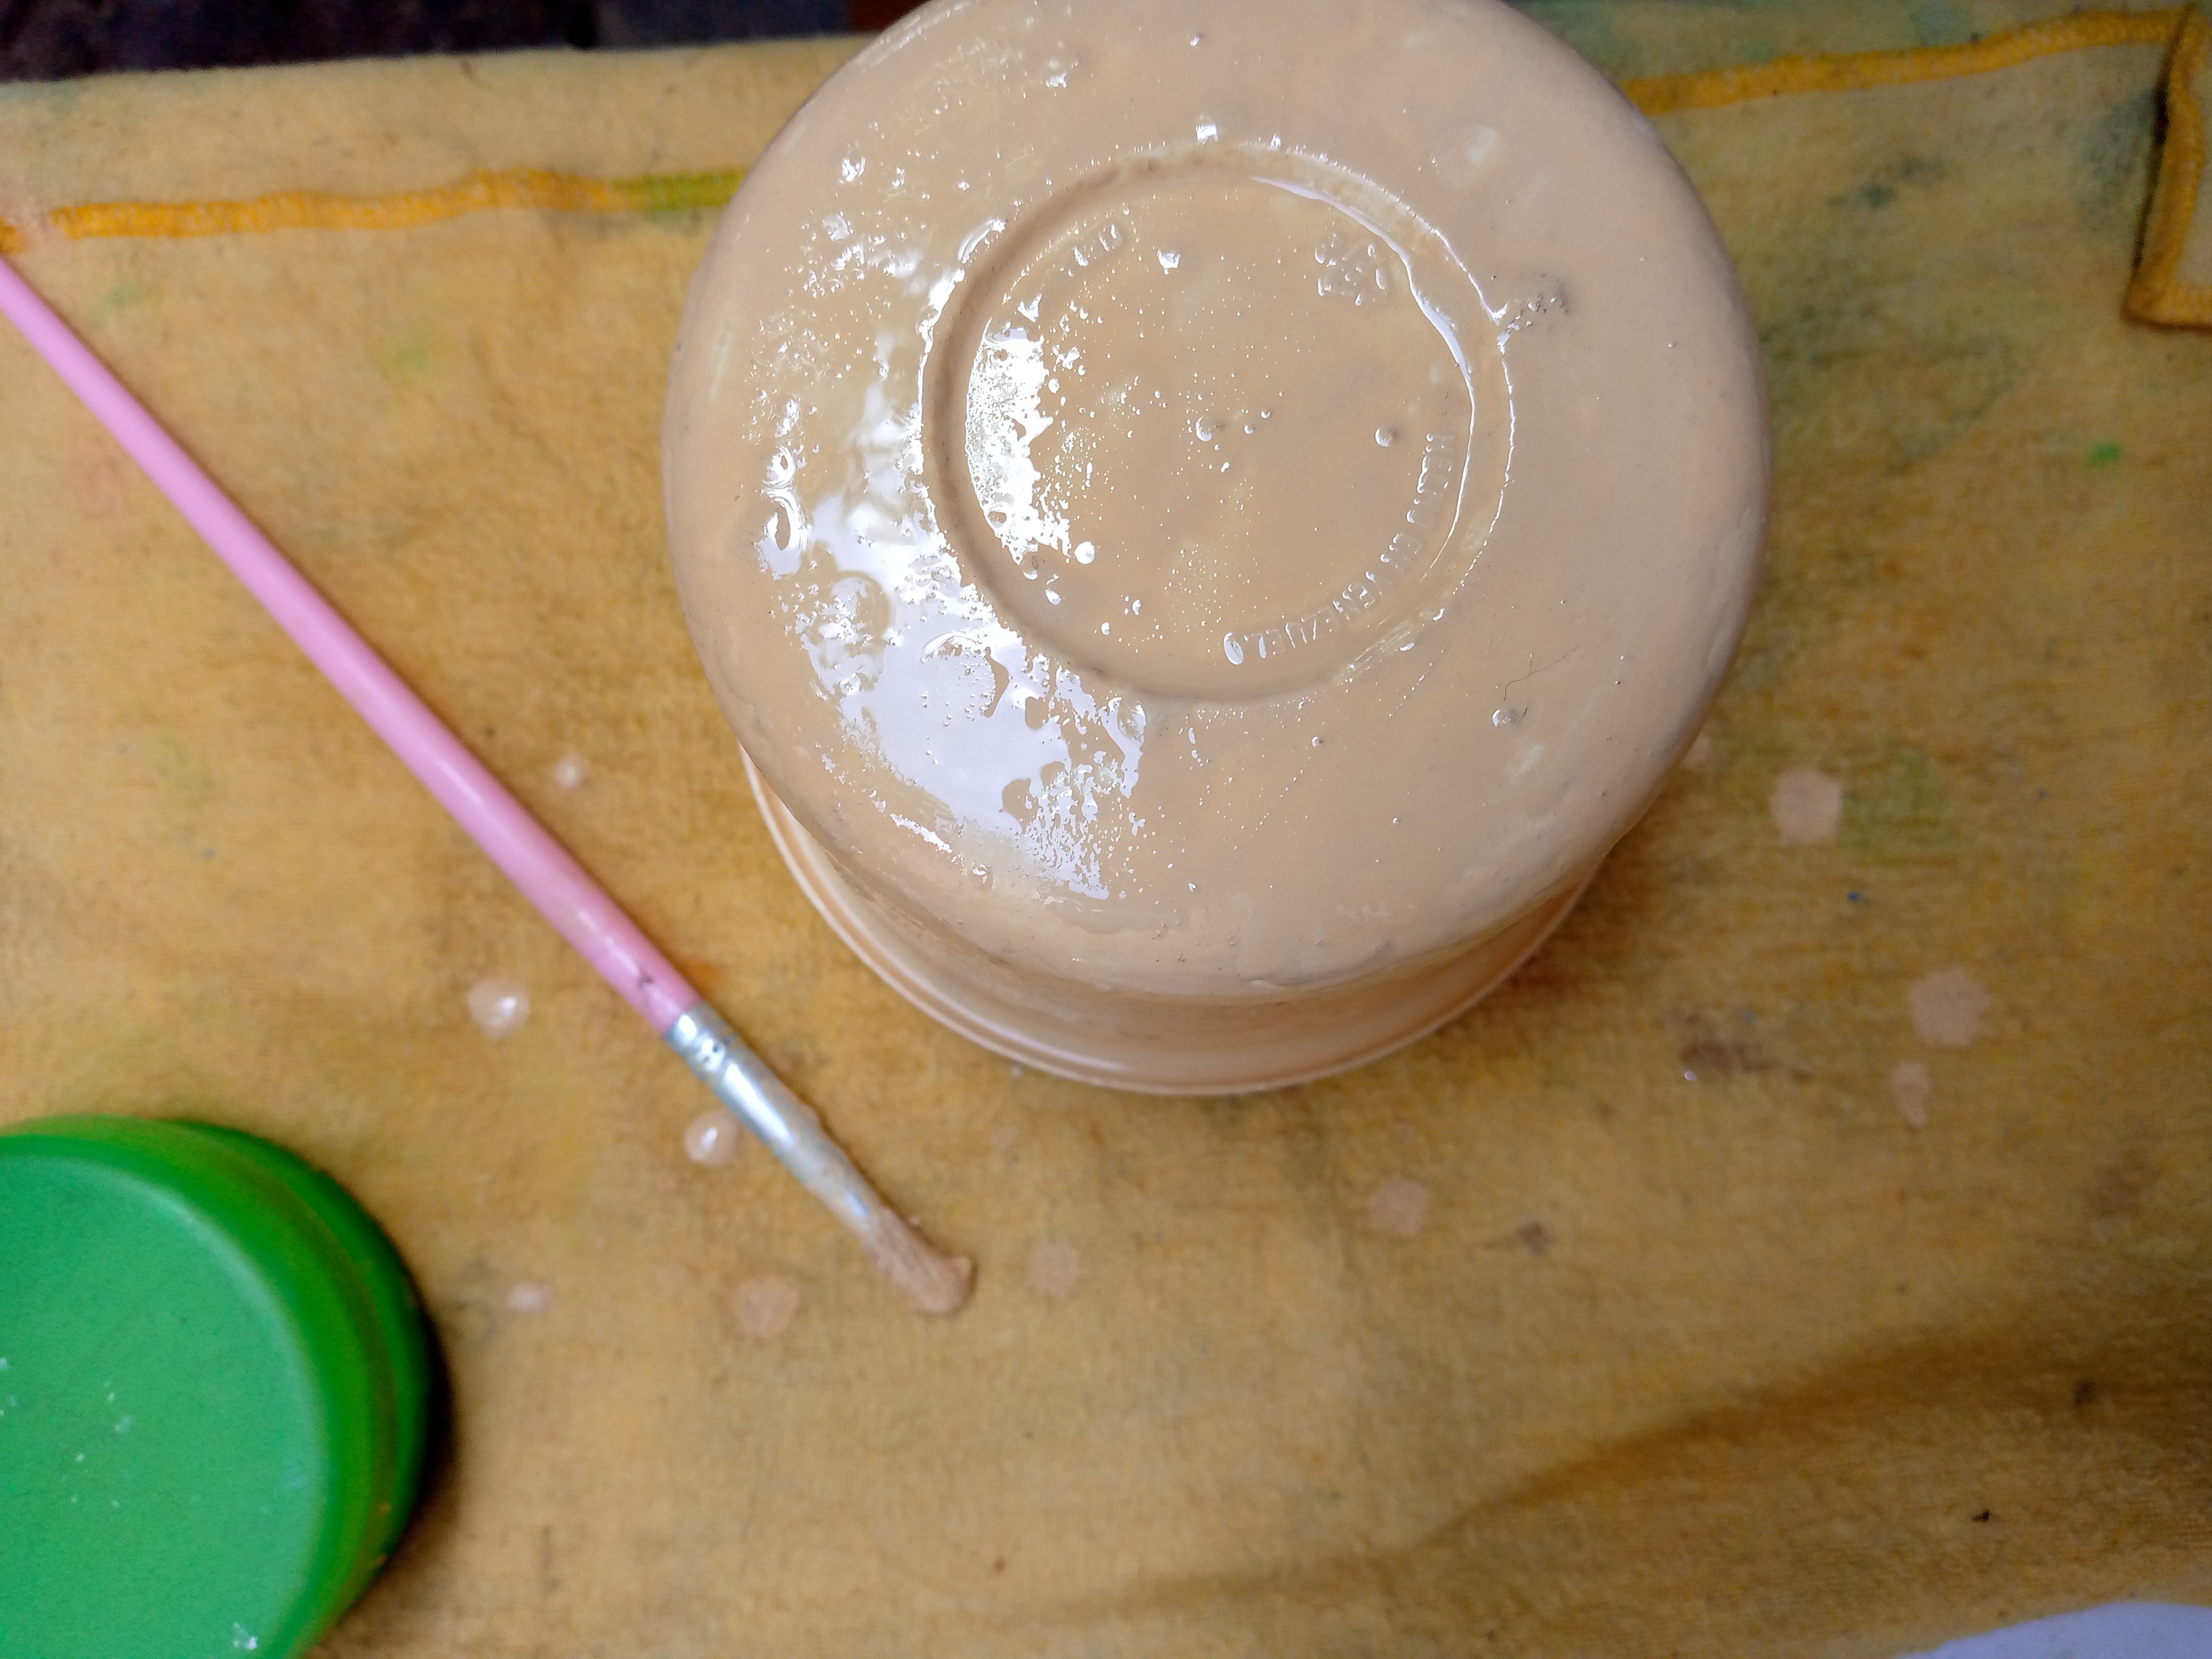
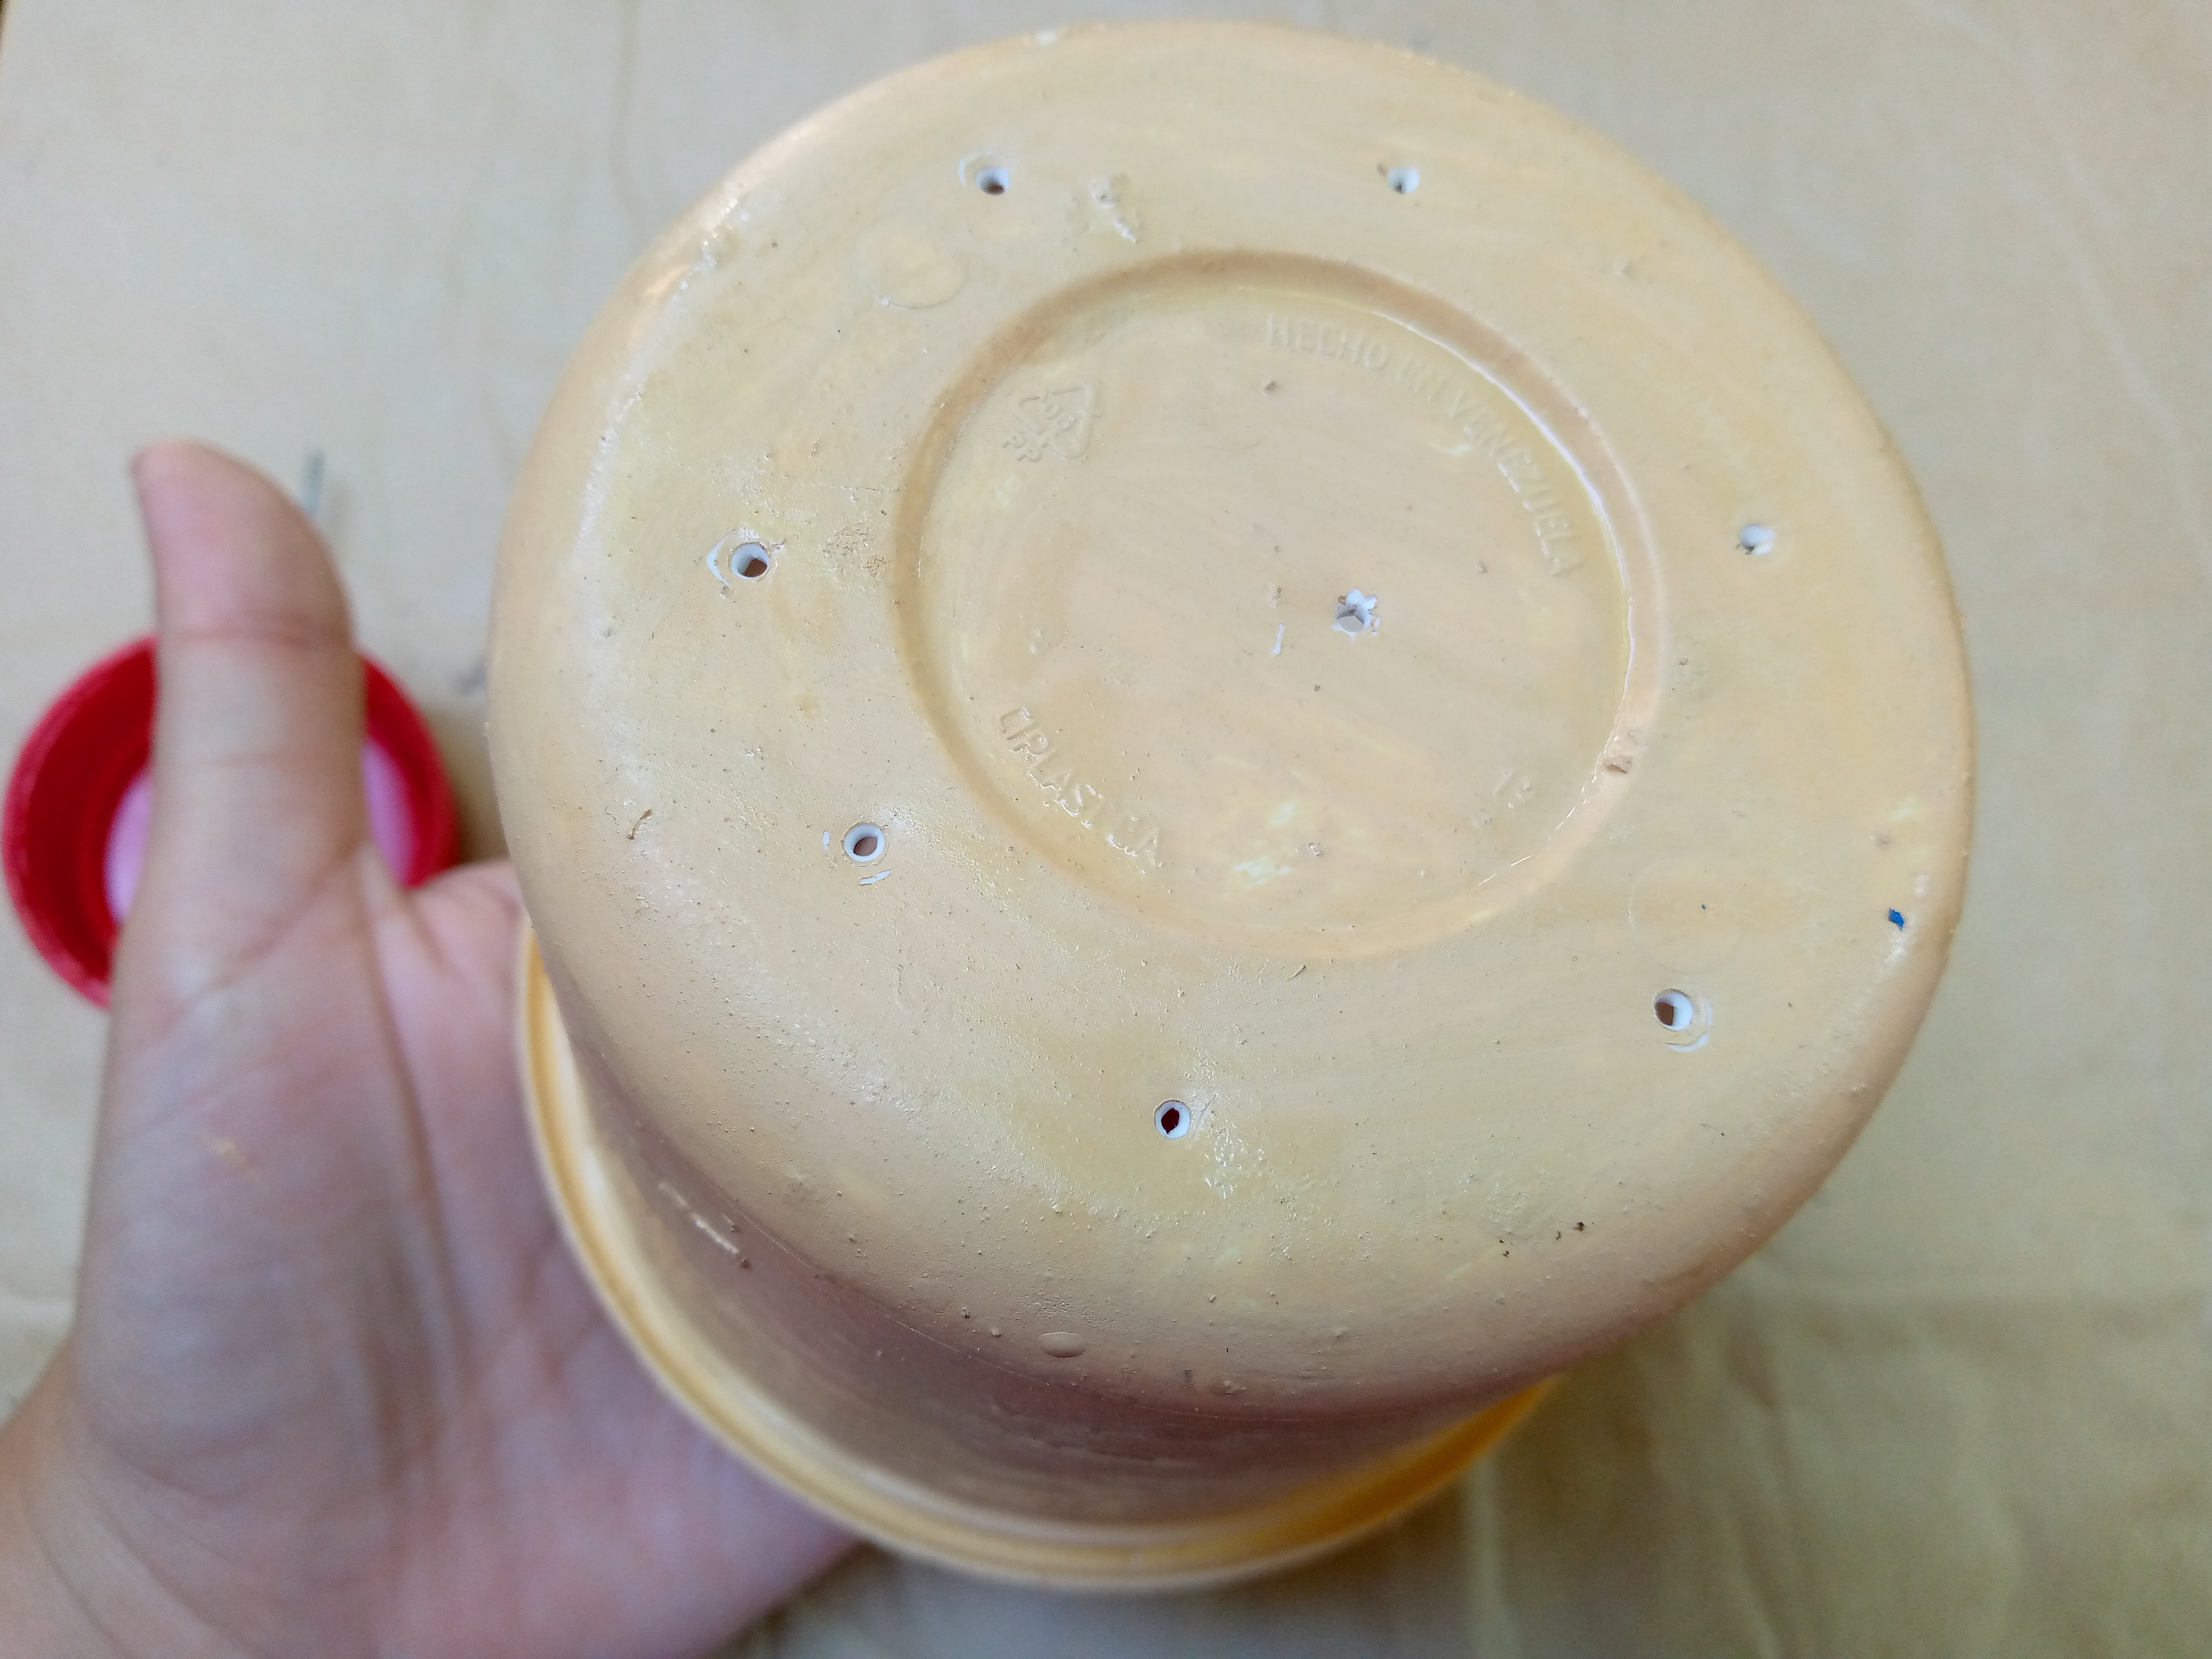
Después de tener limpio nuestro envase pasamos a pintarlo con nuestro pincel grueso la primera capa de pintura por fuera del envase,en la superficie donde trabajes recuerda colocar siempre un trapito para que en el caso de que se nos llegue a correr o regar la pintura el trapito proteja esa superficie,empezamos entonces pintado todo alrededor del envase,yo le eché aproximadamente tres capas de pintura ya que estaba viendo que se apreciaban todavía los dibujos del envase asi que tres capa de pintura echaremos para cubrir la superficie y nos quede visible ninguna letra ,después que secó la pintura yo simplemente con ayuda de la aguja abrí unos hoyitos por la base del envase asi como se ve en la imagen amigos ustedes le abren sus agujeros abajo pata que drene el agua de la planta..

Step 01

To begin we are going to grab our plastic container, the one we have chosen to work with, whether it is a plastic soda bottle or a bottle of oil or paint, any container will do because we are going to be doing this craft with recycled material, so you can use any container. The idea is to clean its surface very well, both inside and out, so that it is clean and the work process is much easier.

After having our container clean we move on to paint it with our thick brush the first layer of paint on the outside of the container, on the surface where you work remember to always place a rag so that in case the paint runs or spills the rag protects that surface, then we begin by painting everything around the container, I put on approximately three layers of paint because I was seeing that the drawings on the container were still visible so we will put on three layers of paint to cover the surface and so that no letters are visible, after the paint dried I simply used the needle to open some holes in the base of the container as seen in the image friends, you open your holes below so that the water from the plant drains.
IMG_20241115_135851_525.jpg

IMG_20241115_140039_030.jpg

IMG_20241115_140943_042.jpg

IMG_20241115_141000_534.jpg

Paso 02

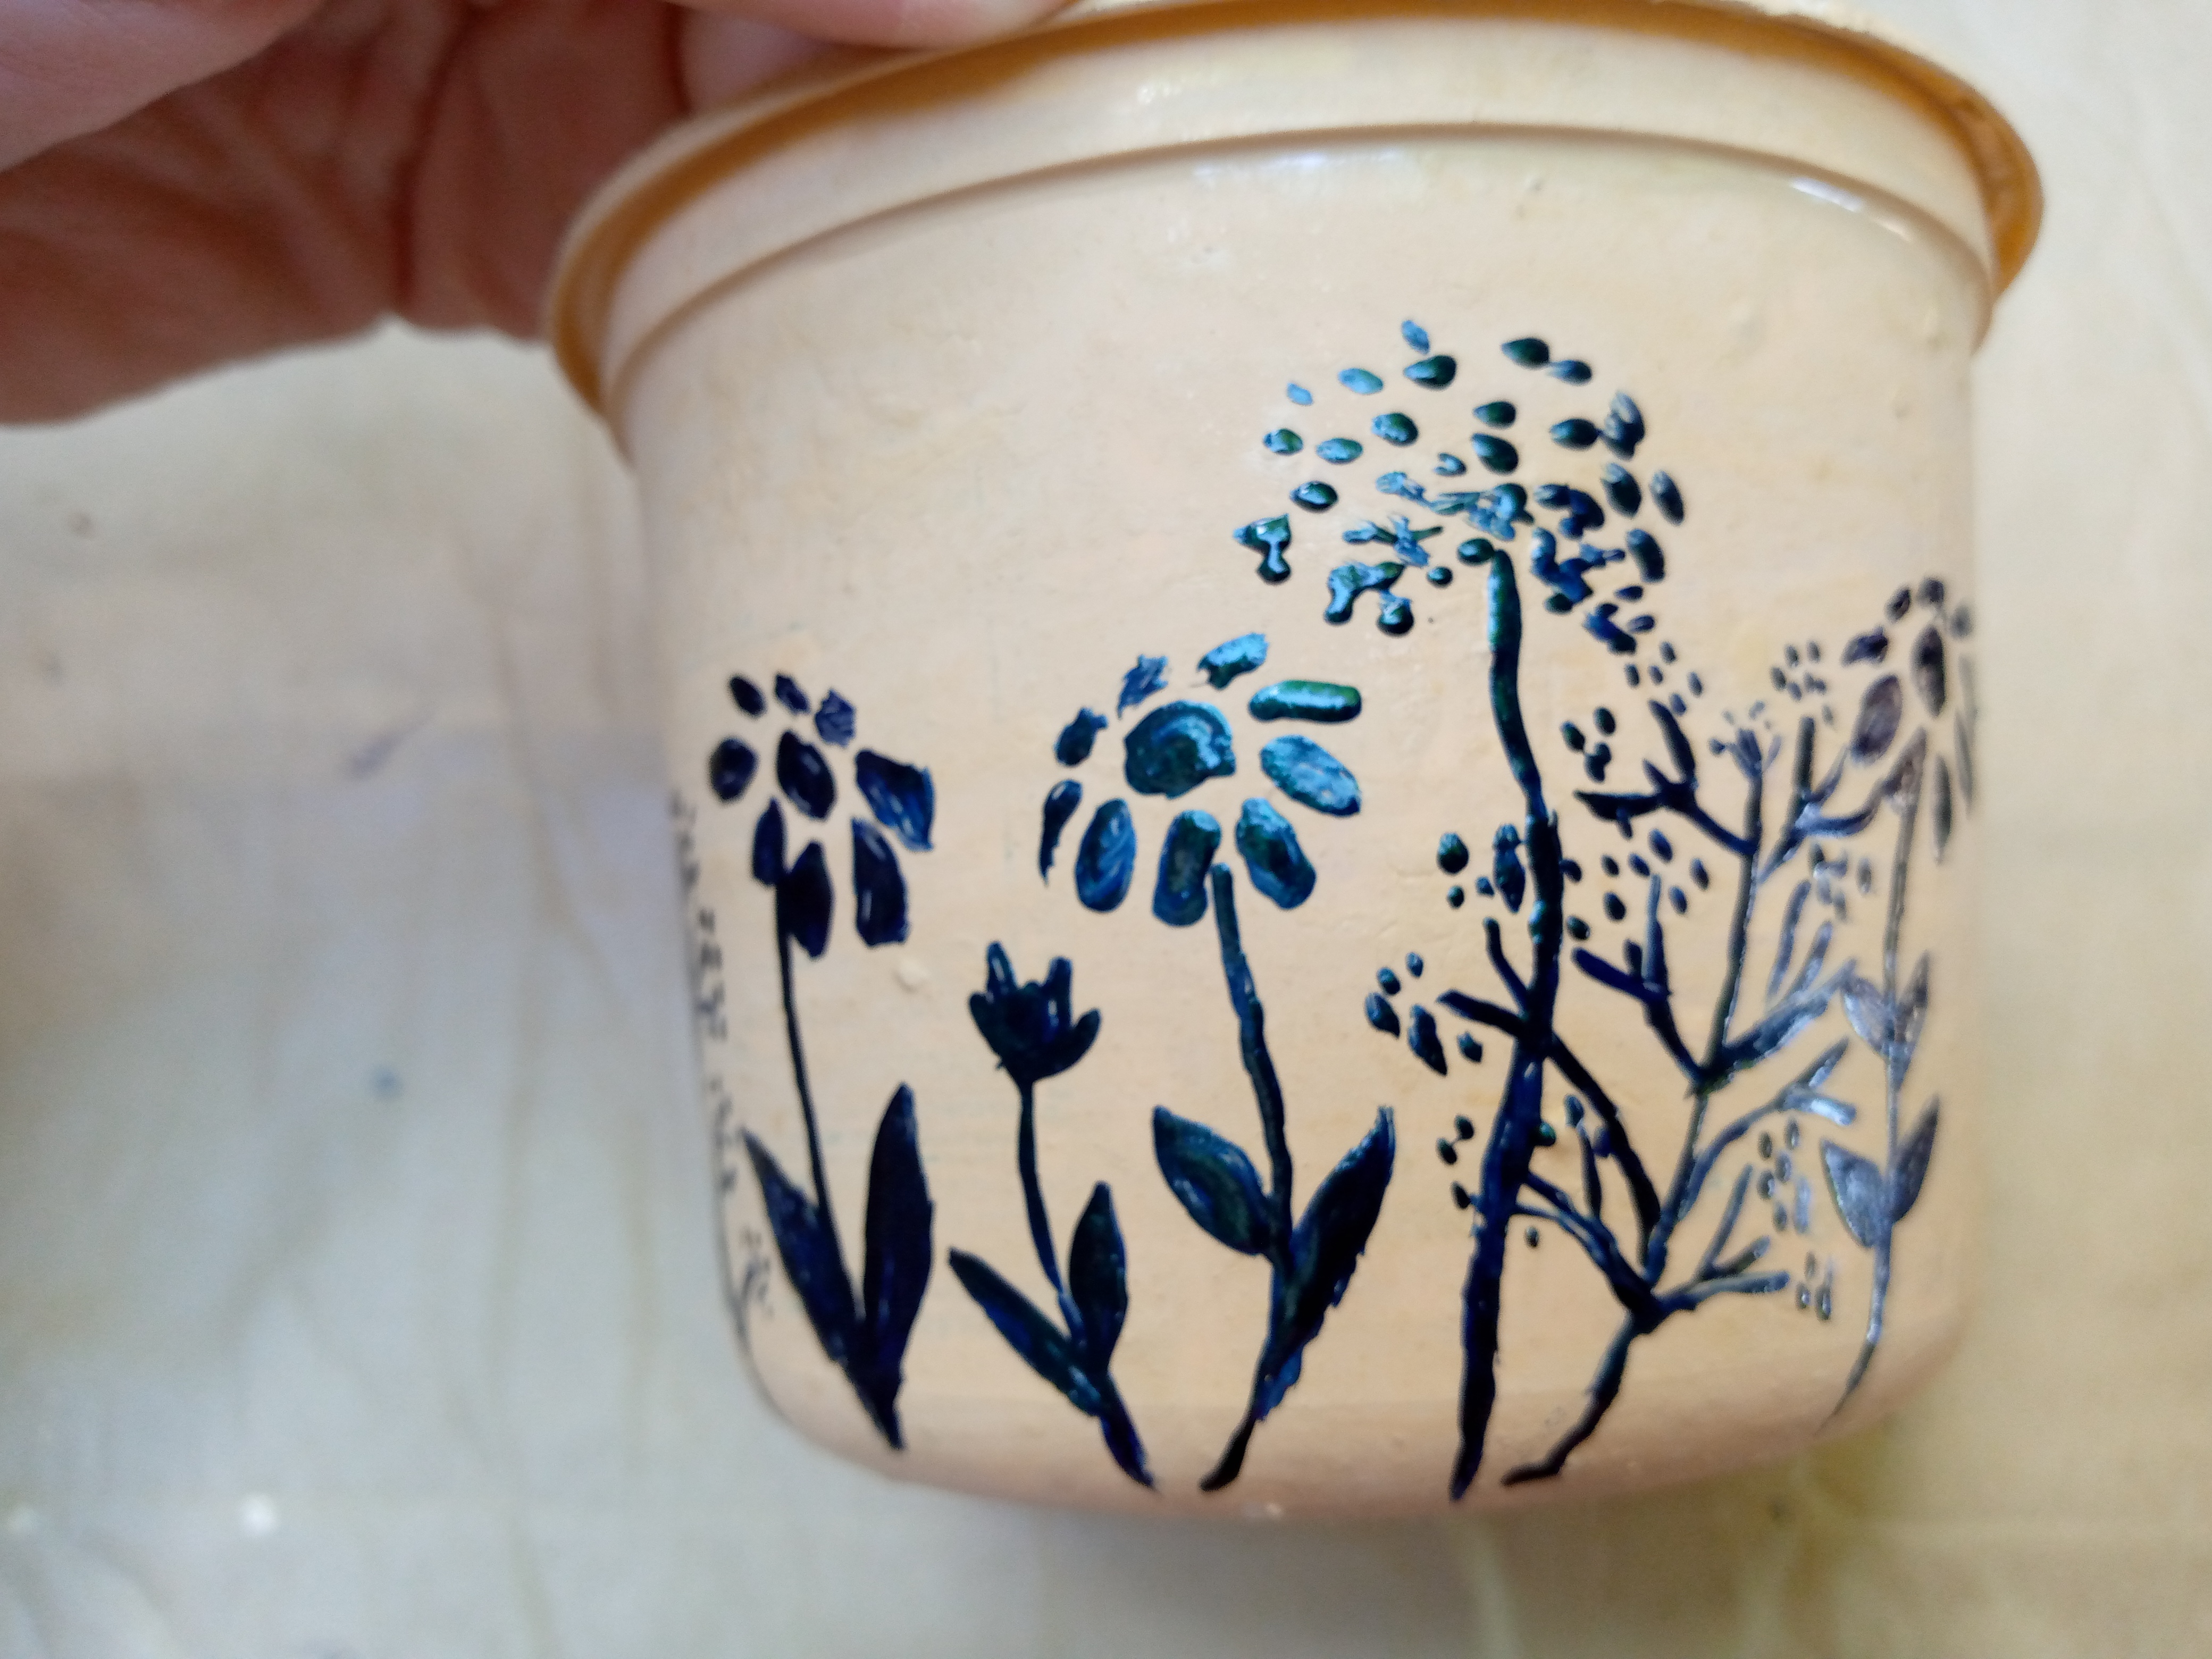
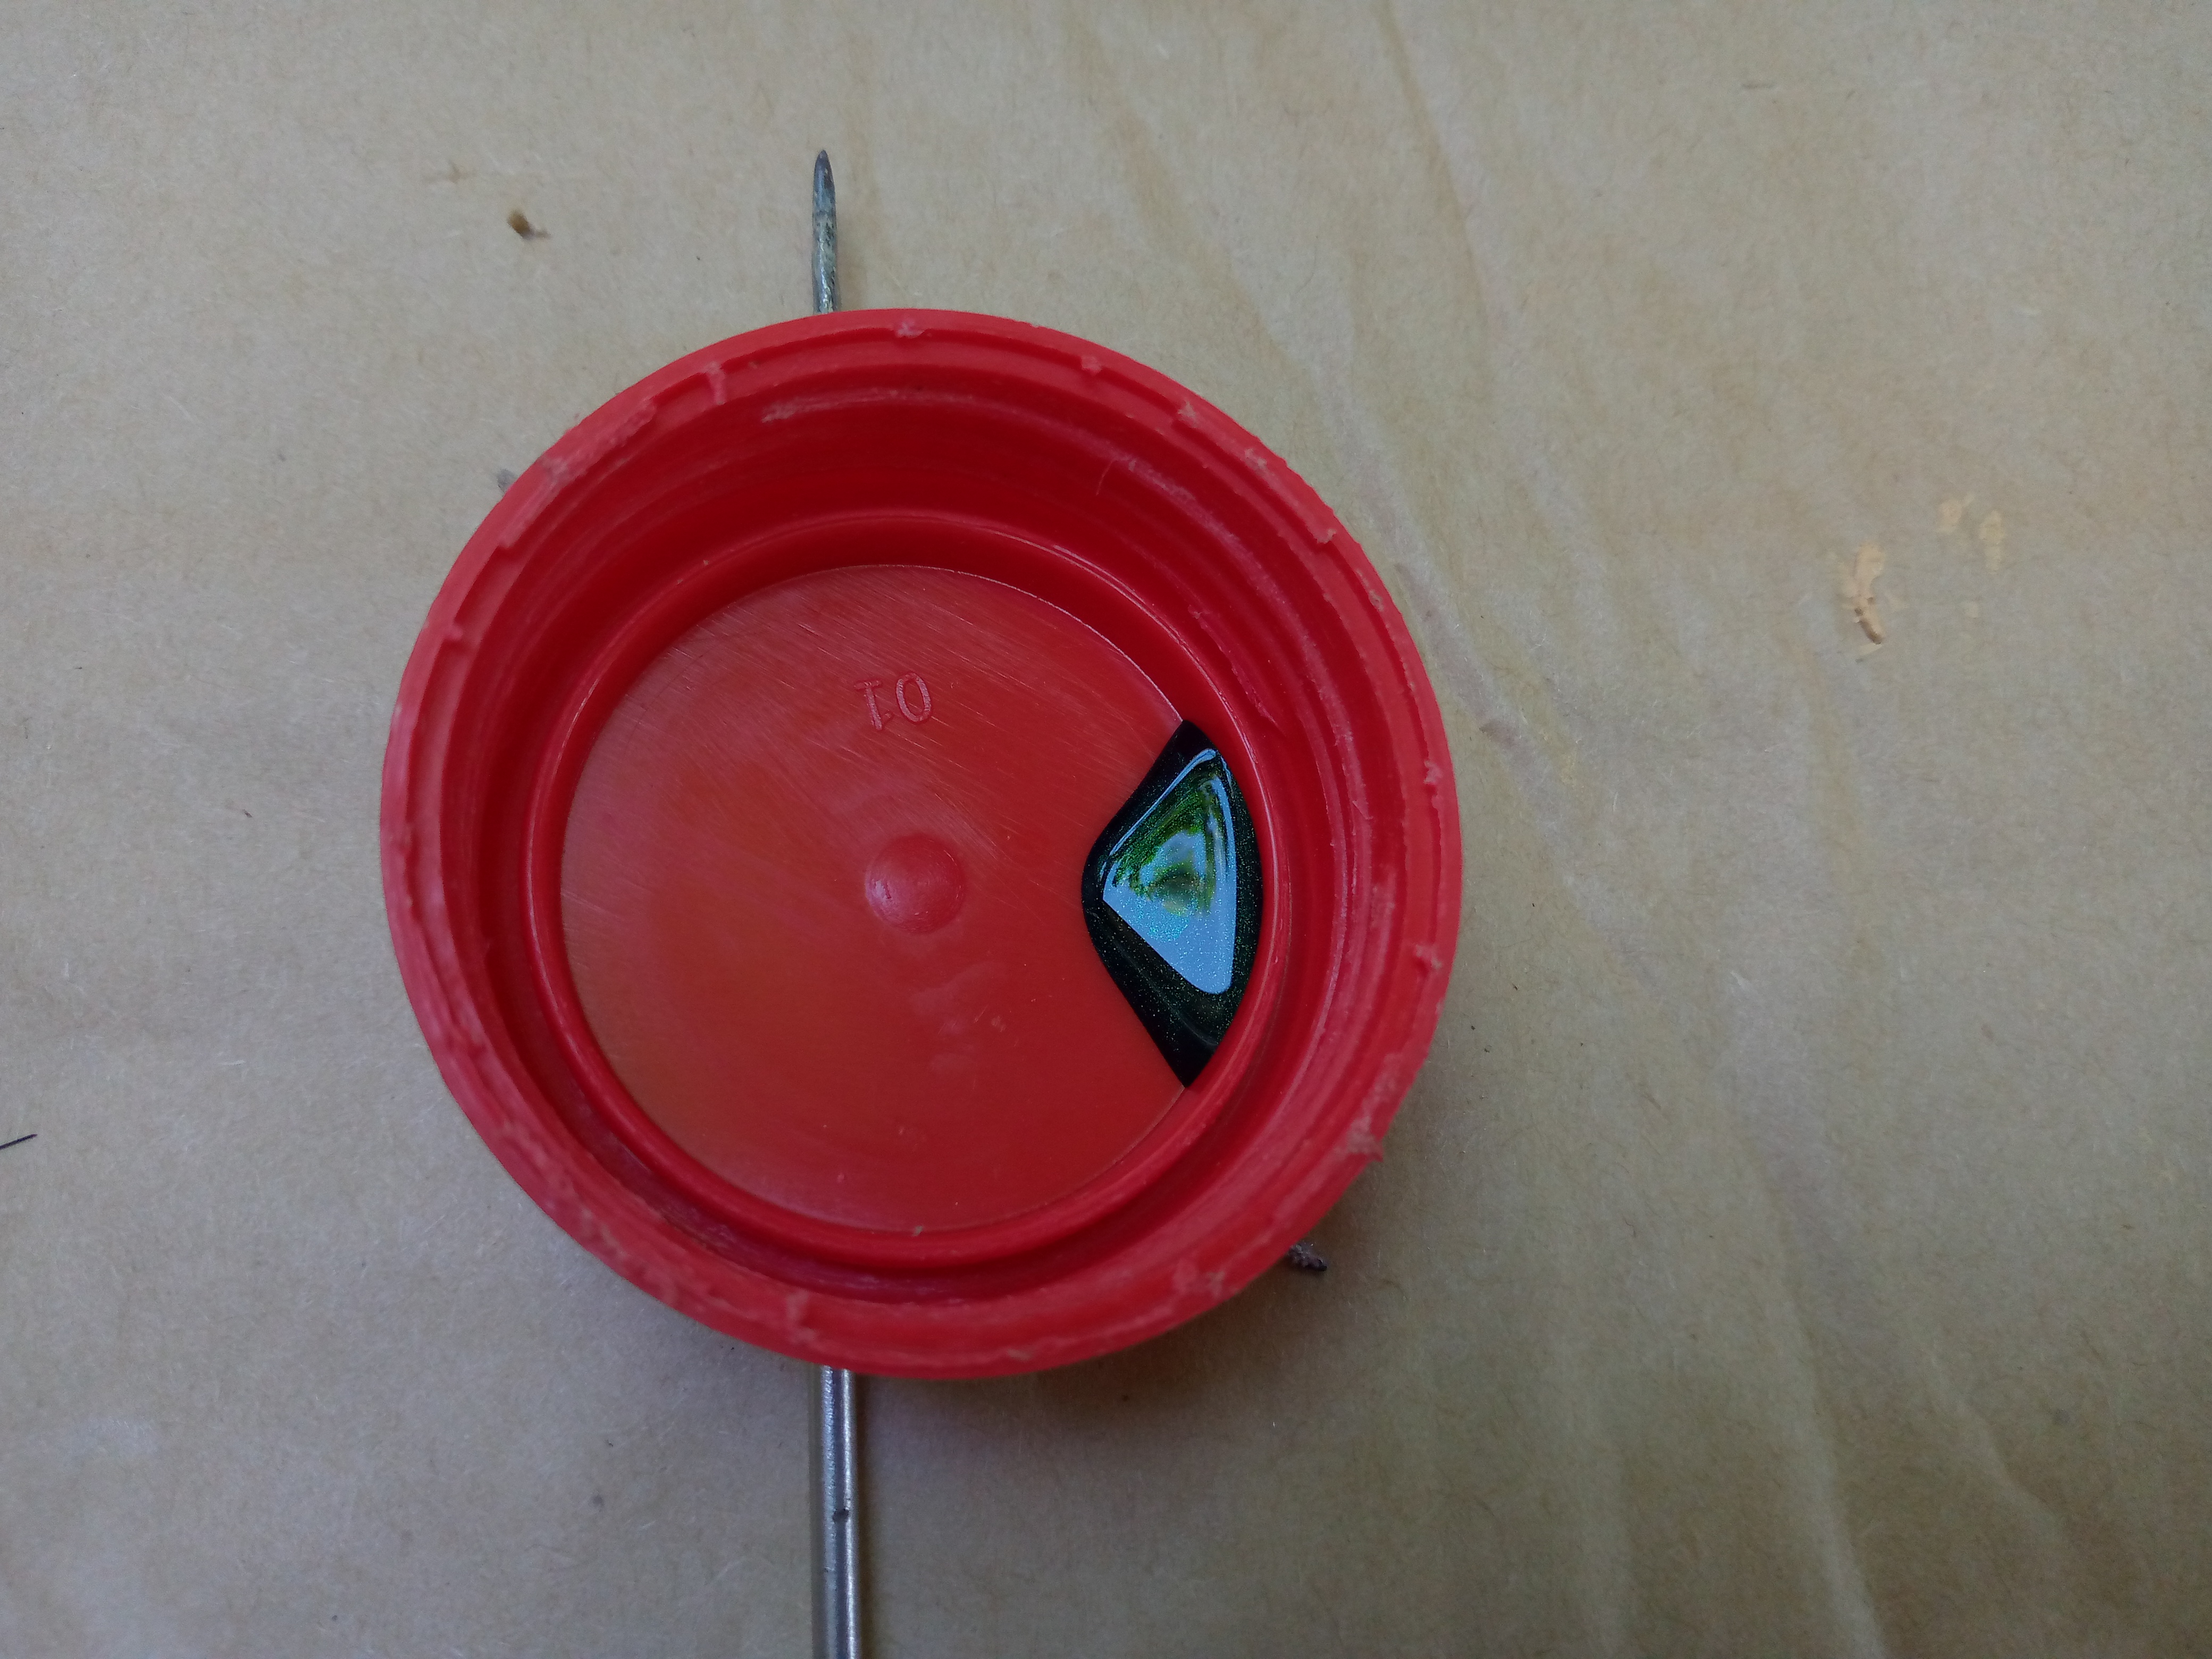
Procedemos a pintar los detalles de lo que será nuestra maceta,la verdad tuve que ver y mirar muchas ideas en Pinterest pero la verdad como no tenía más color de pintura que le quedará bien usé este color azul como negro para hacer unas flores de estilo de arte de líneas ya que se me parecieron muy lindas,entonces antes de pintar el diseño voy a estar usando una tapita de otra botella que no uso y alli agregaré un poco de esmalte para que mientras pintemos no sea necesario abrir y cerrar a cada momento nuestro esmalte y no se seque por completo asi que con un poco basta para pintar los detalles.

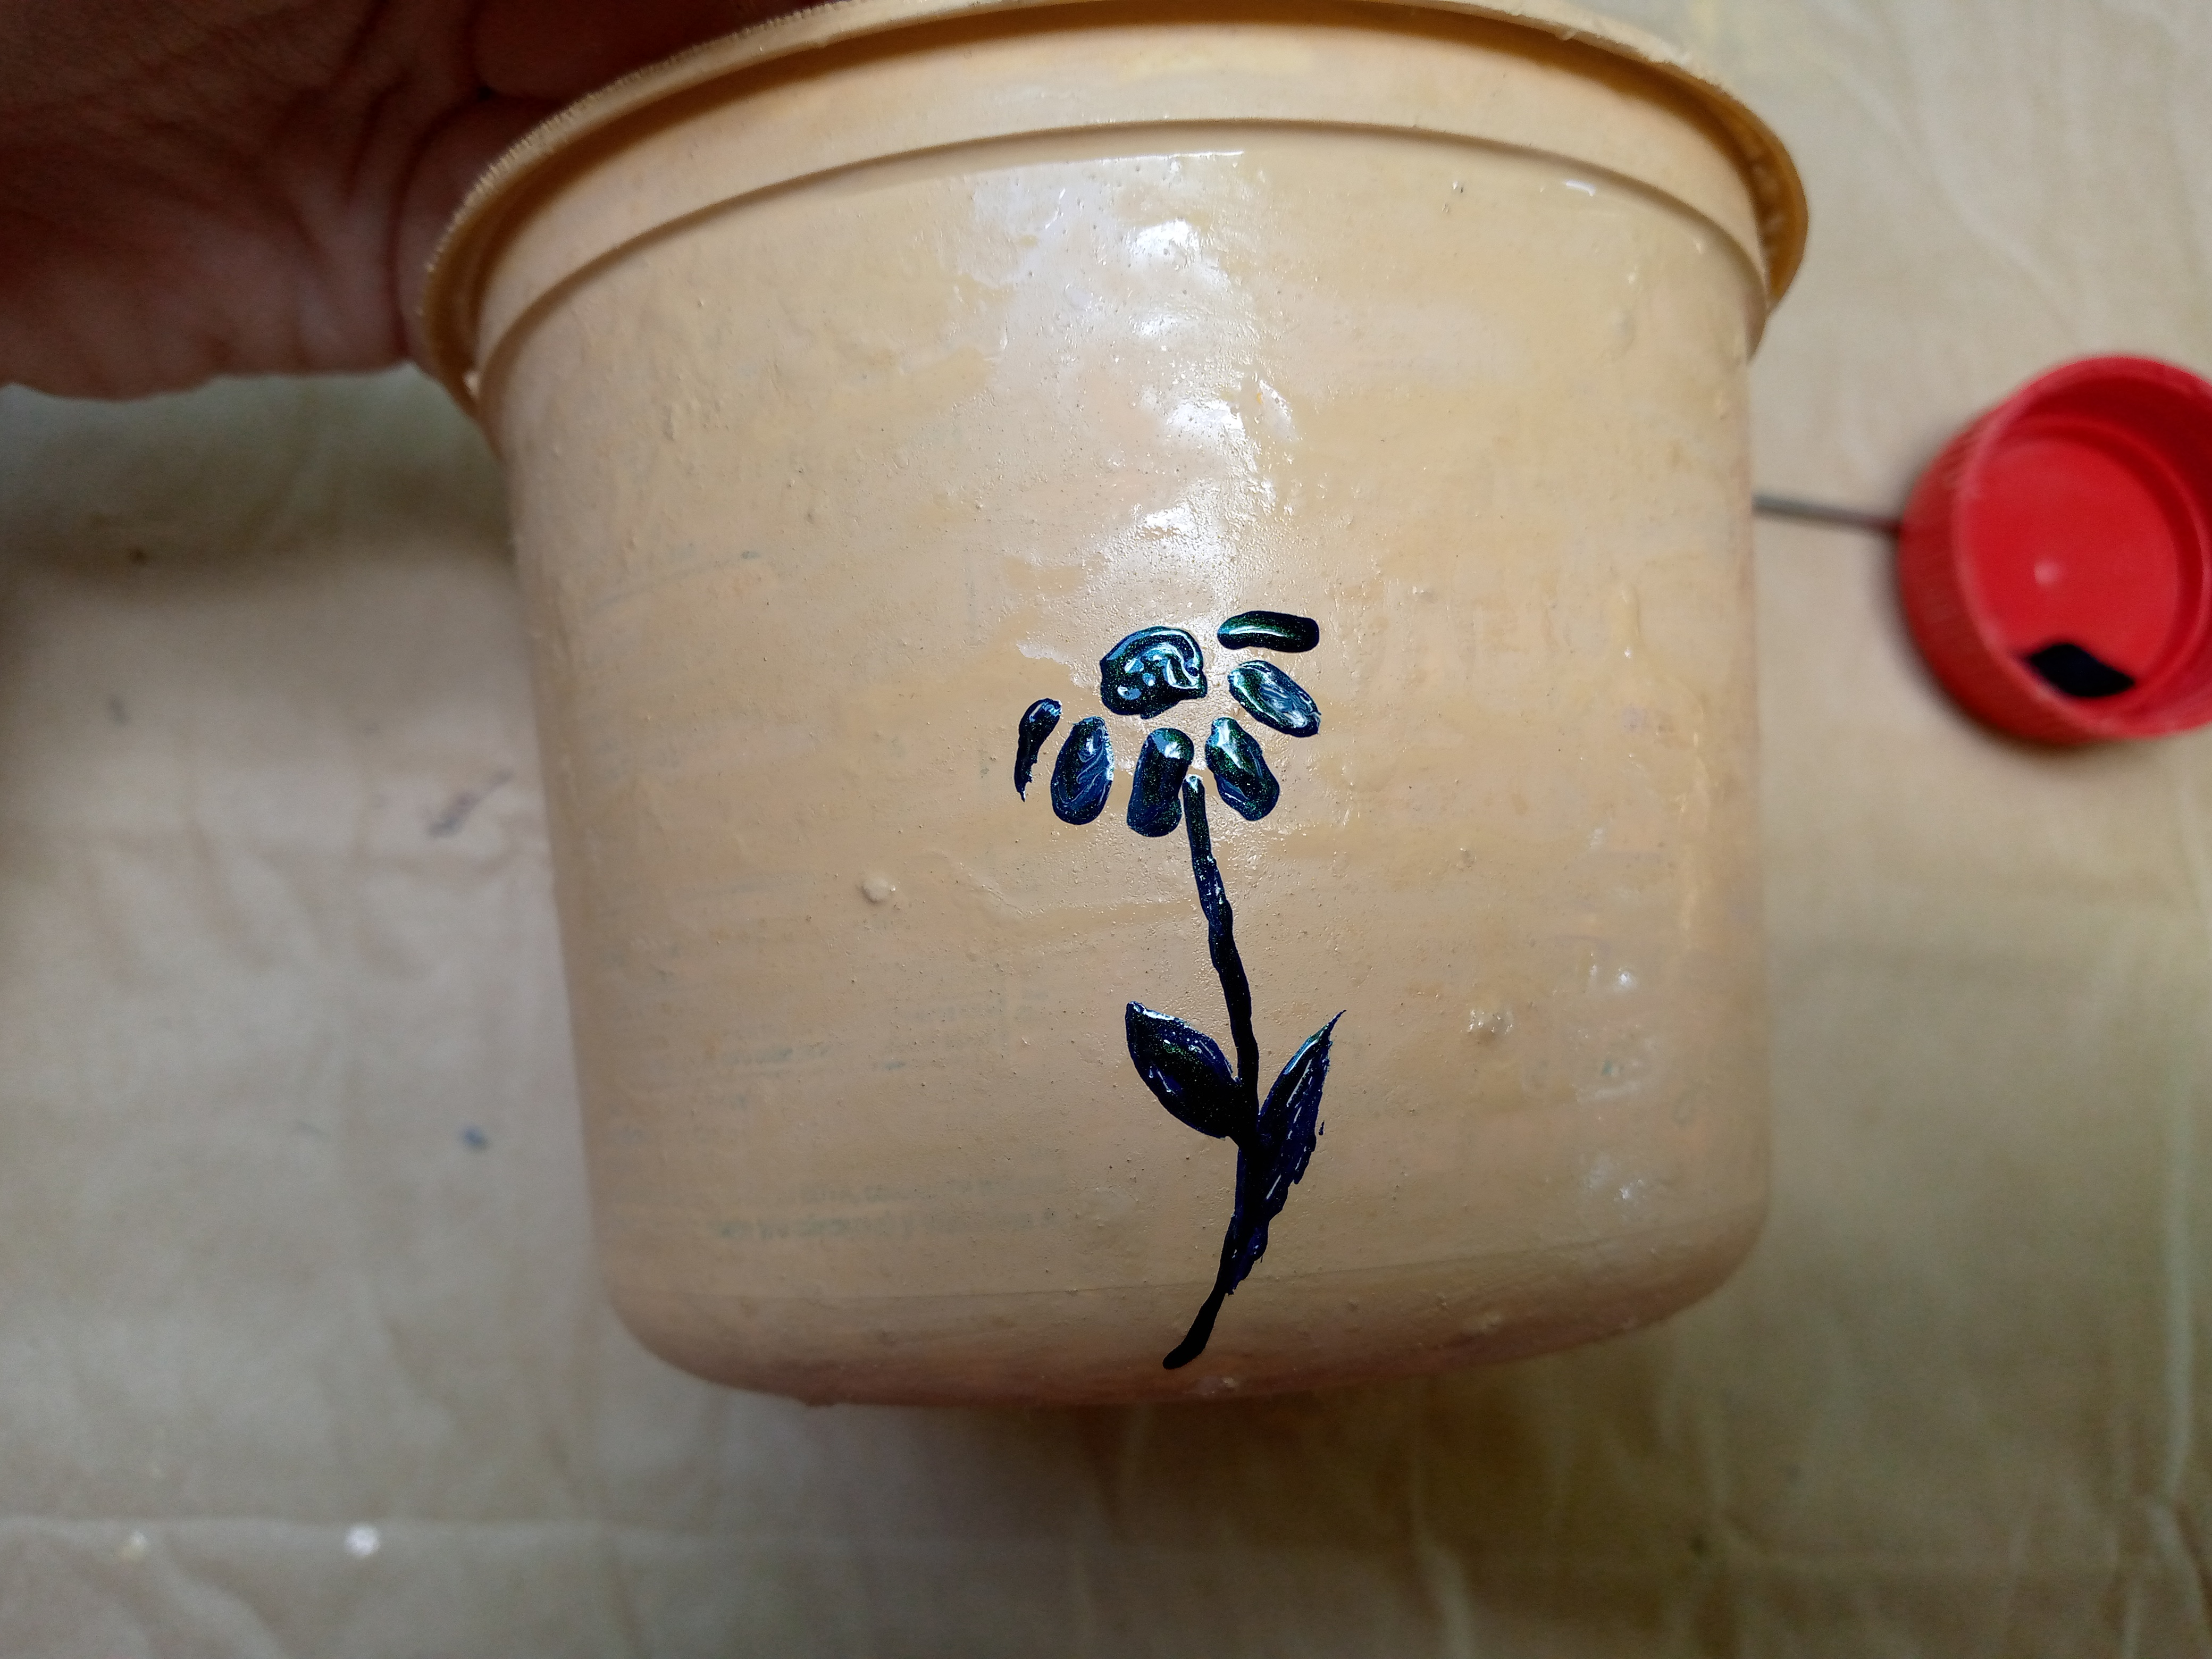
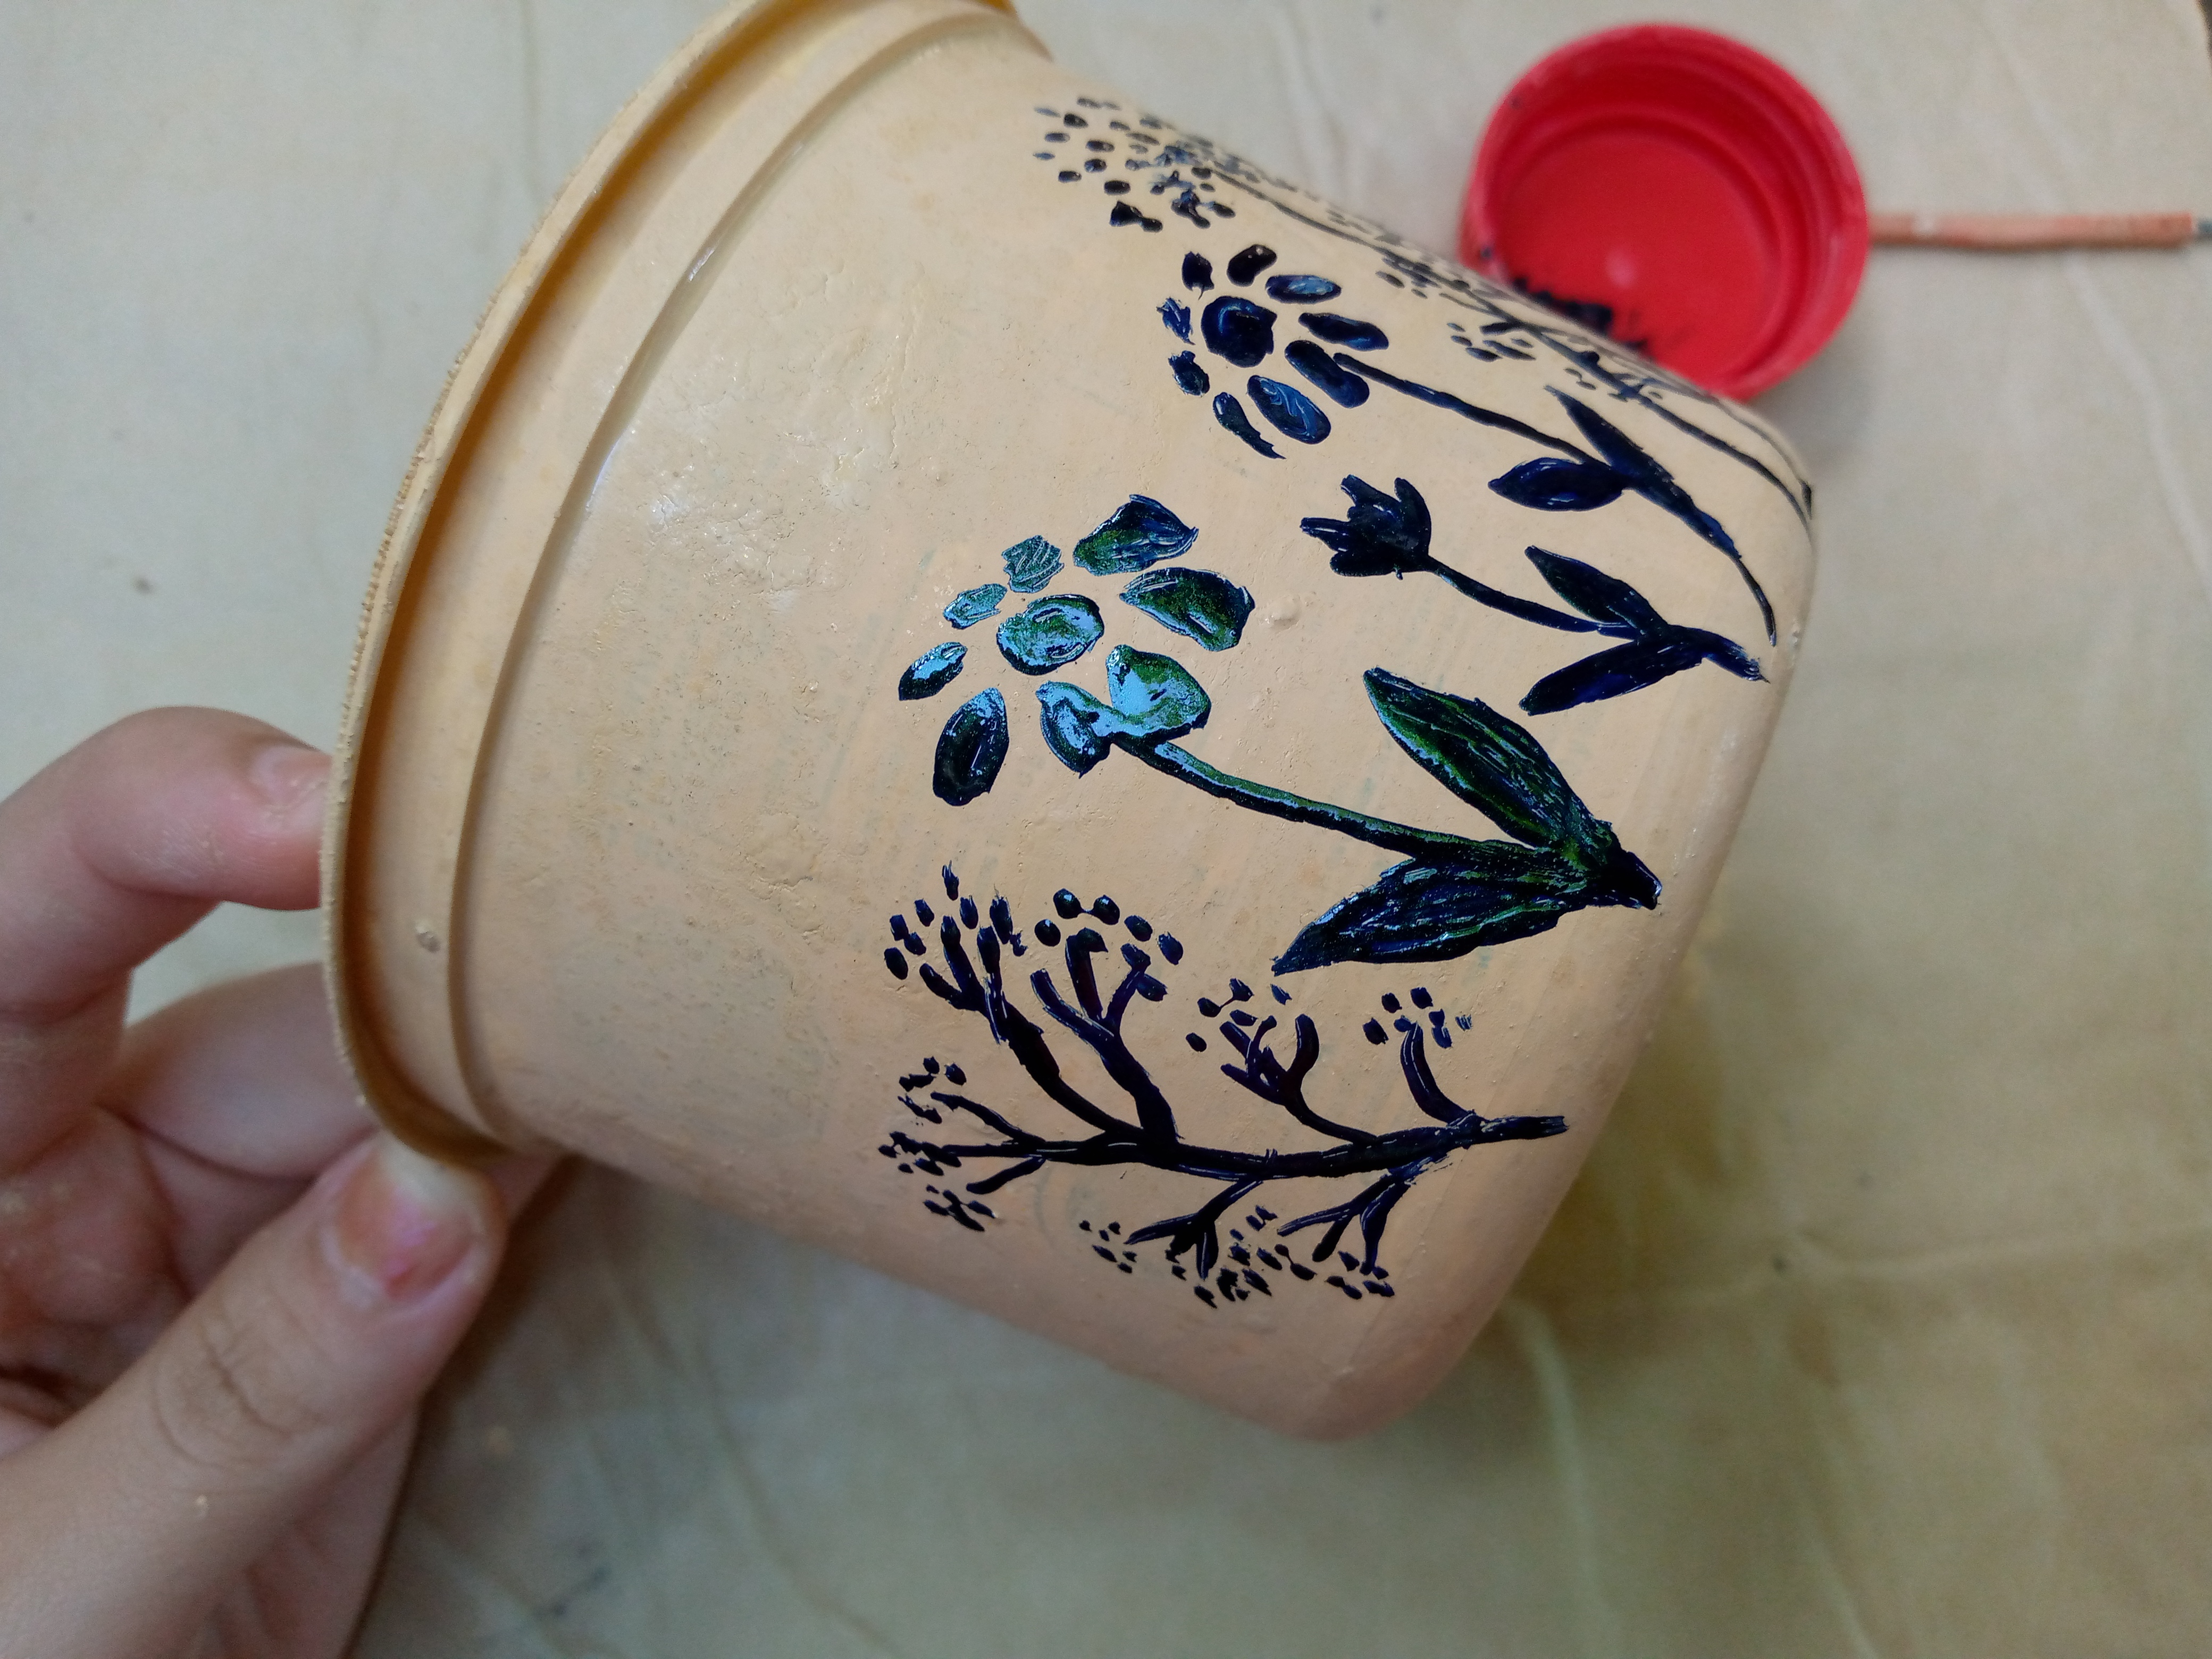
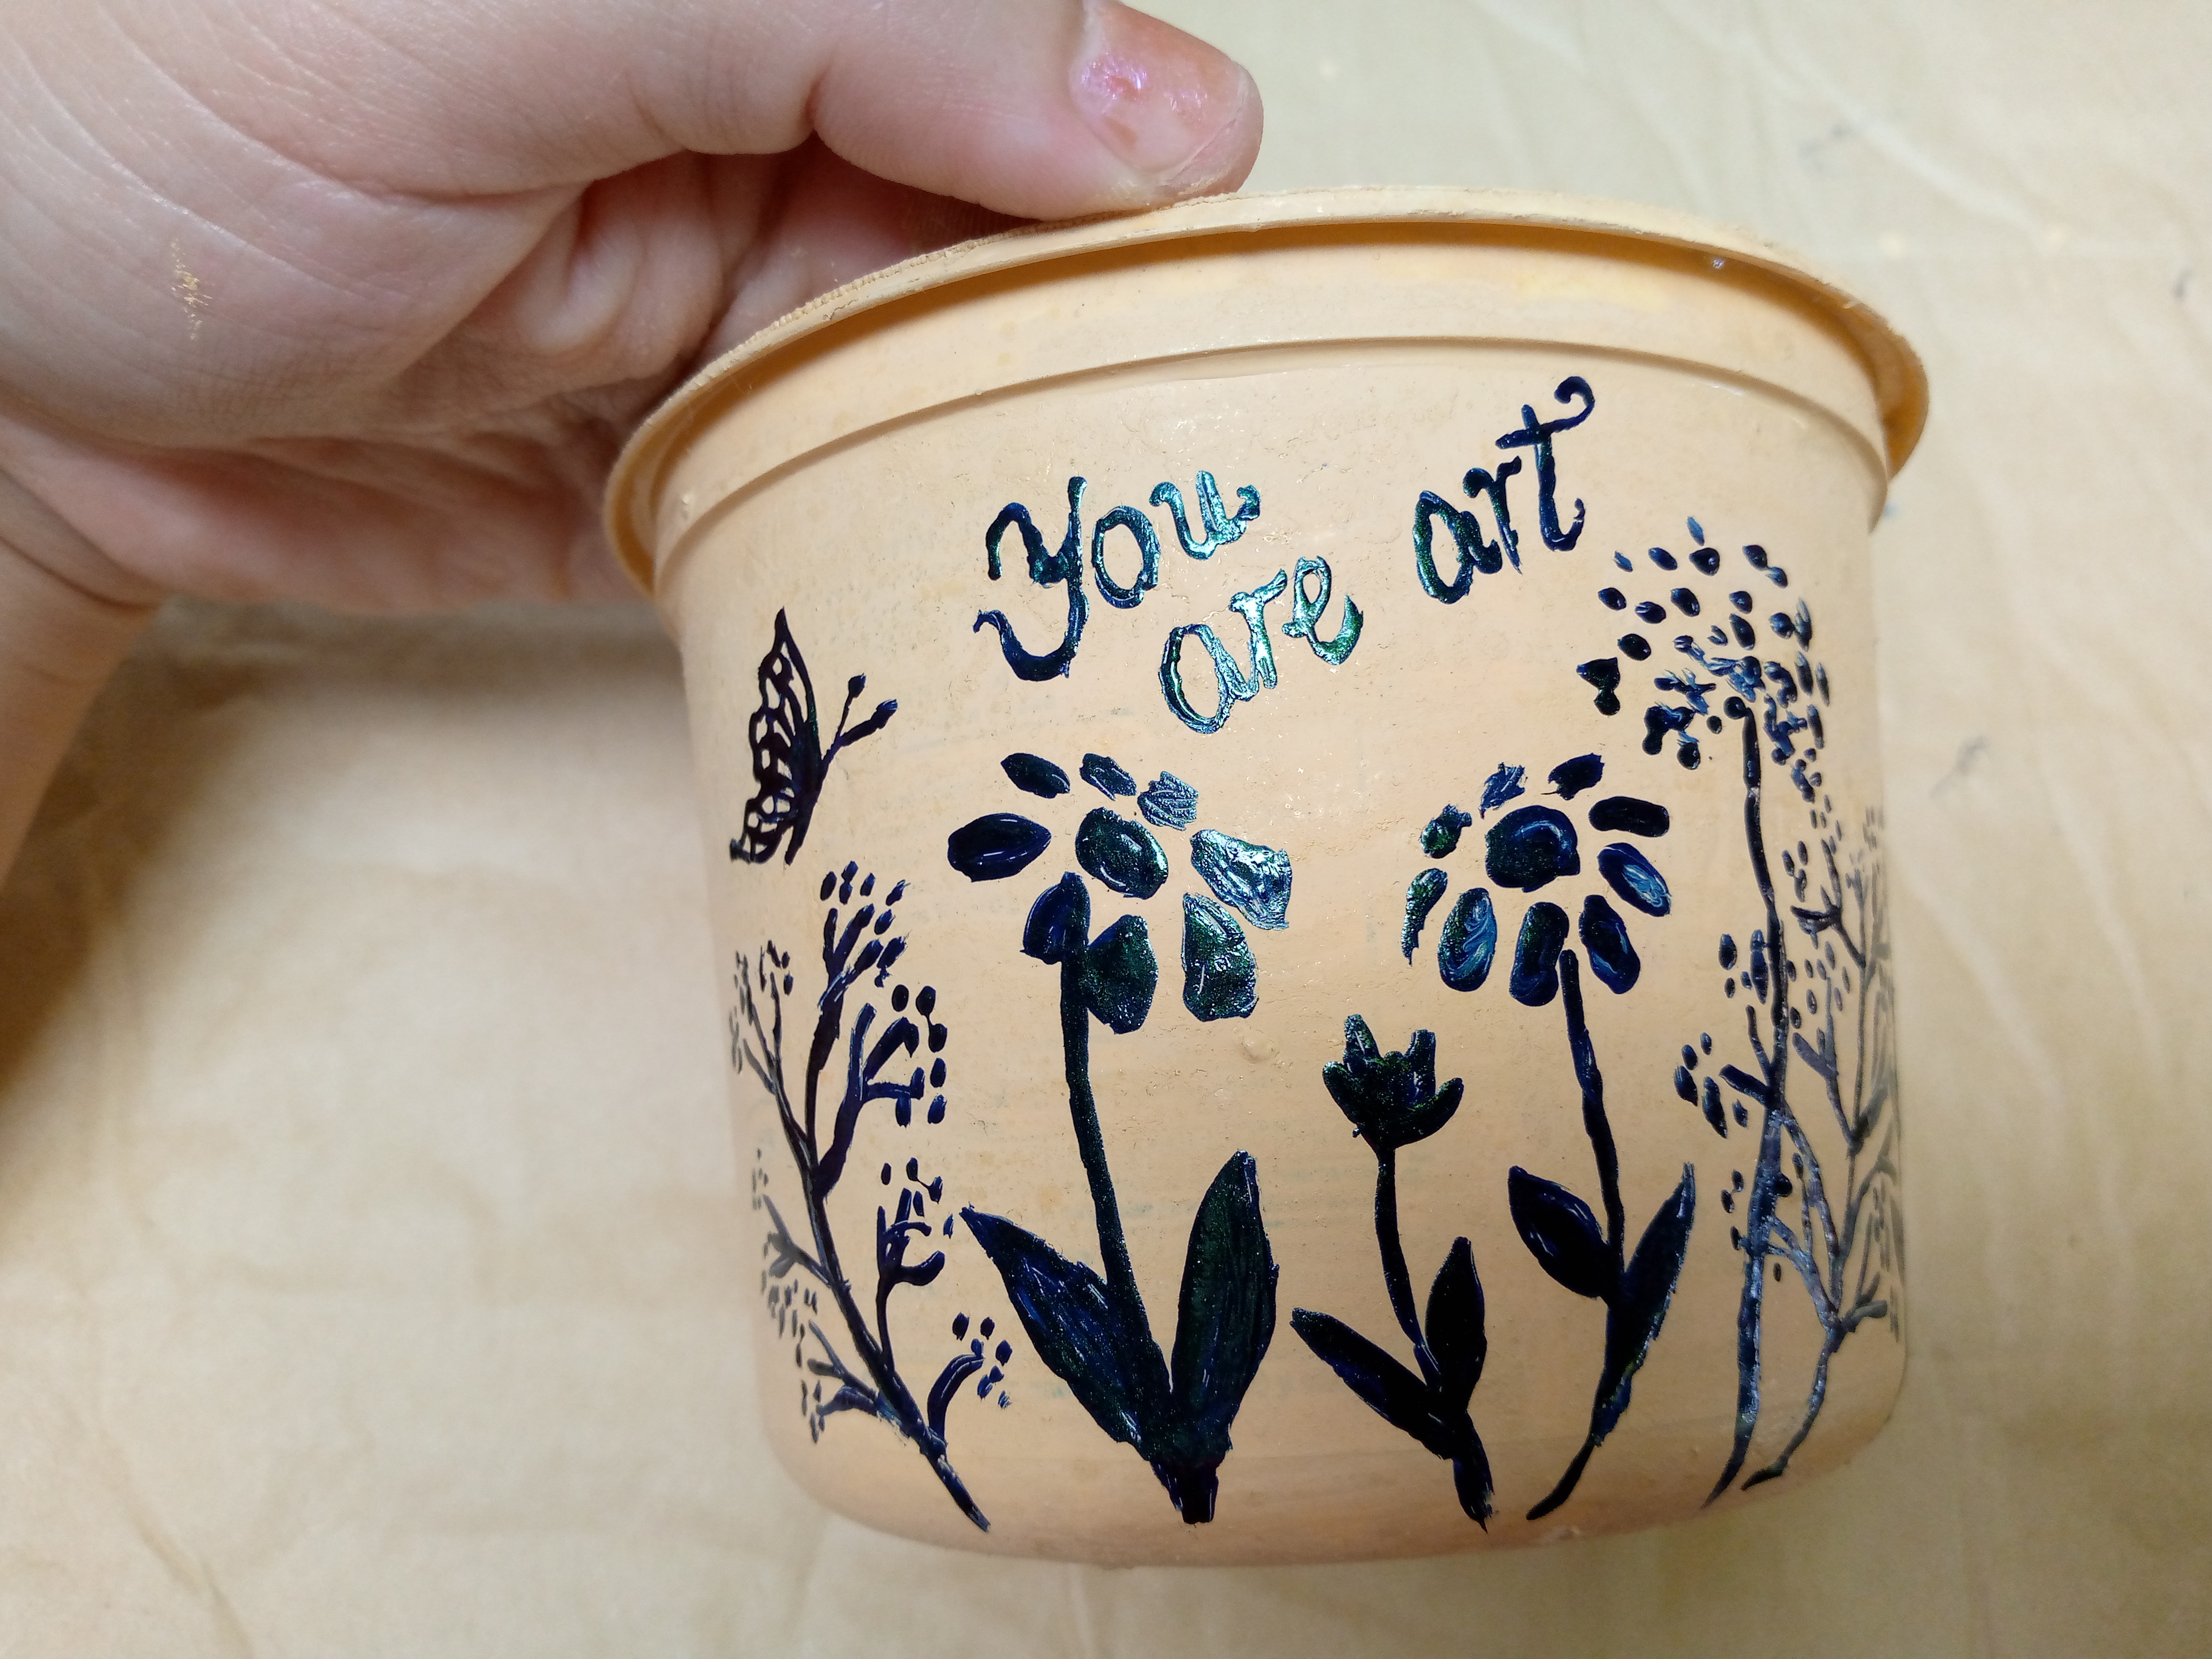
Para el diseño escogí pintar unas flores con capullos y ramas simulando las flores d runs hermosa pradera en el bosque,hice flores tipo margaritas y algunas hojas, también pequeñas ramas con florecillas muy pequeñas.

Step 02

We proceed to paint the details of what will be our flower pot, the truth is I had to see and look at many ideas on Pinterest but the truth is that I did not have another color of paint that would look good, I used this blue and black color to make some line art style flowers since they seemed very pretty to me, then before painting the design I will be using a cap from another bottle that I do not use and there I will add a little bit of nail polish so that while we paint it will not be necessary to open and close our nail polish every moment and it will not dry completely so a little bit is enough to paint the details.

For the design I chose to paint some flowers with buds and branches simulating the flowers of a beautiful meadow in the forest. I made daisy-type flowers and some leaves, also small branches with very small flowers.
IMG_20241115_142045_049.jpg

IMG_20241115_142052_631.jpg

Paso 03

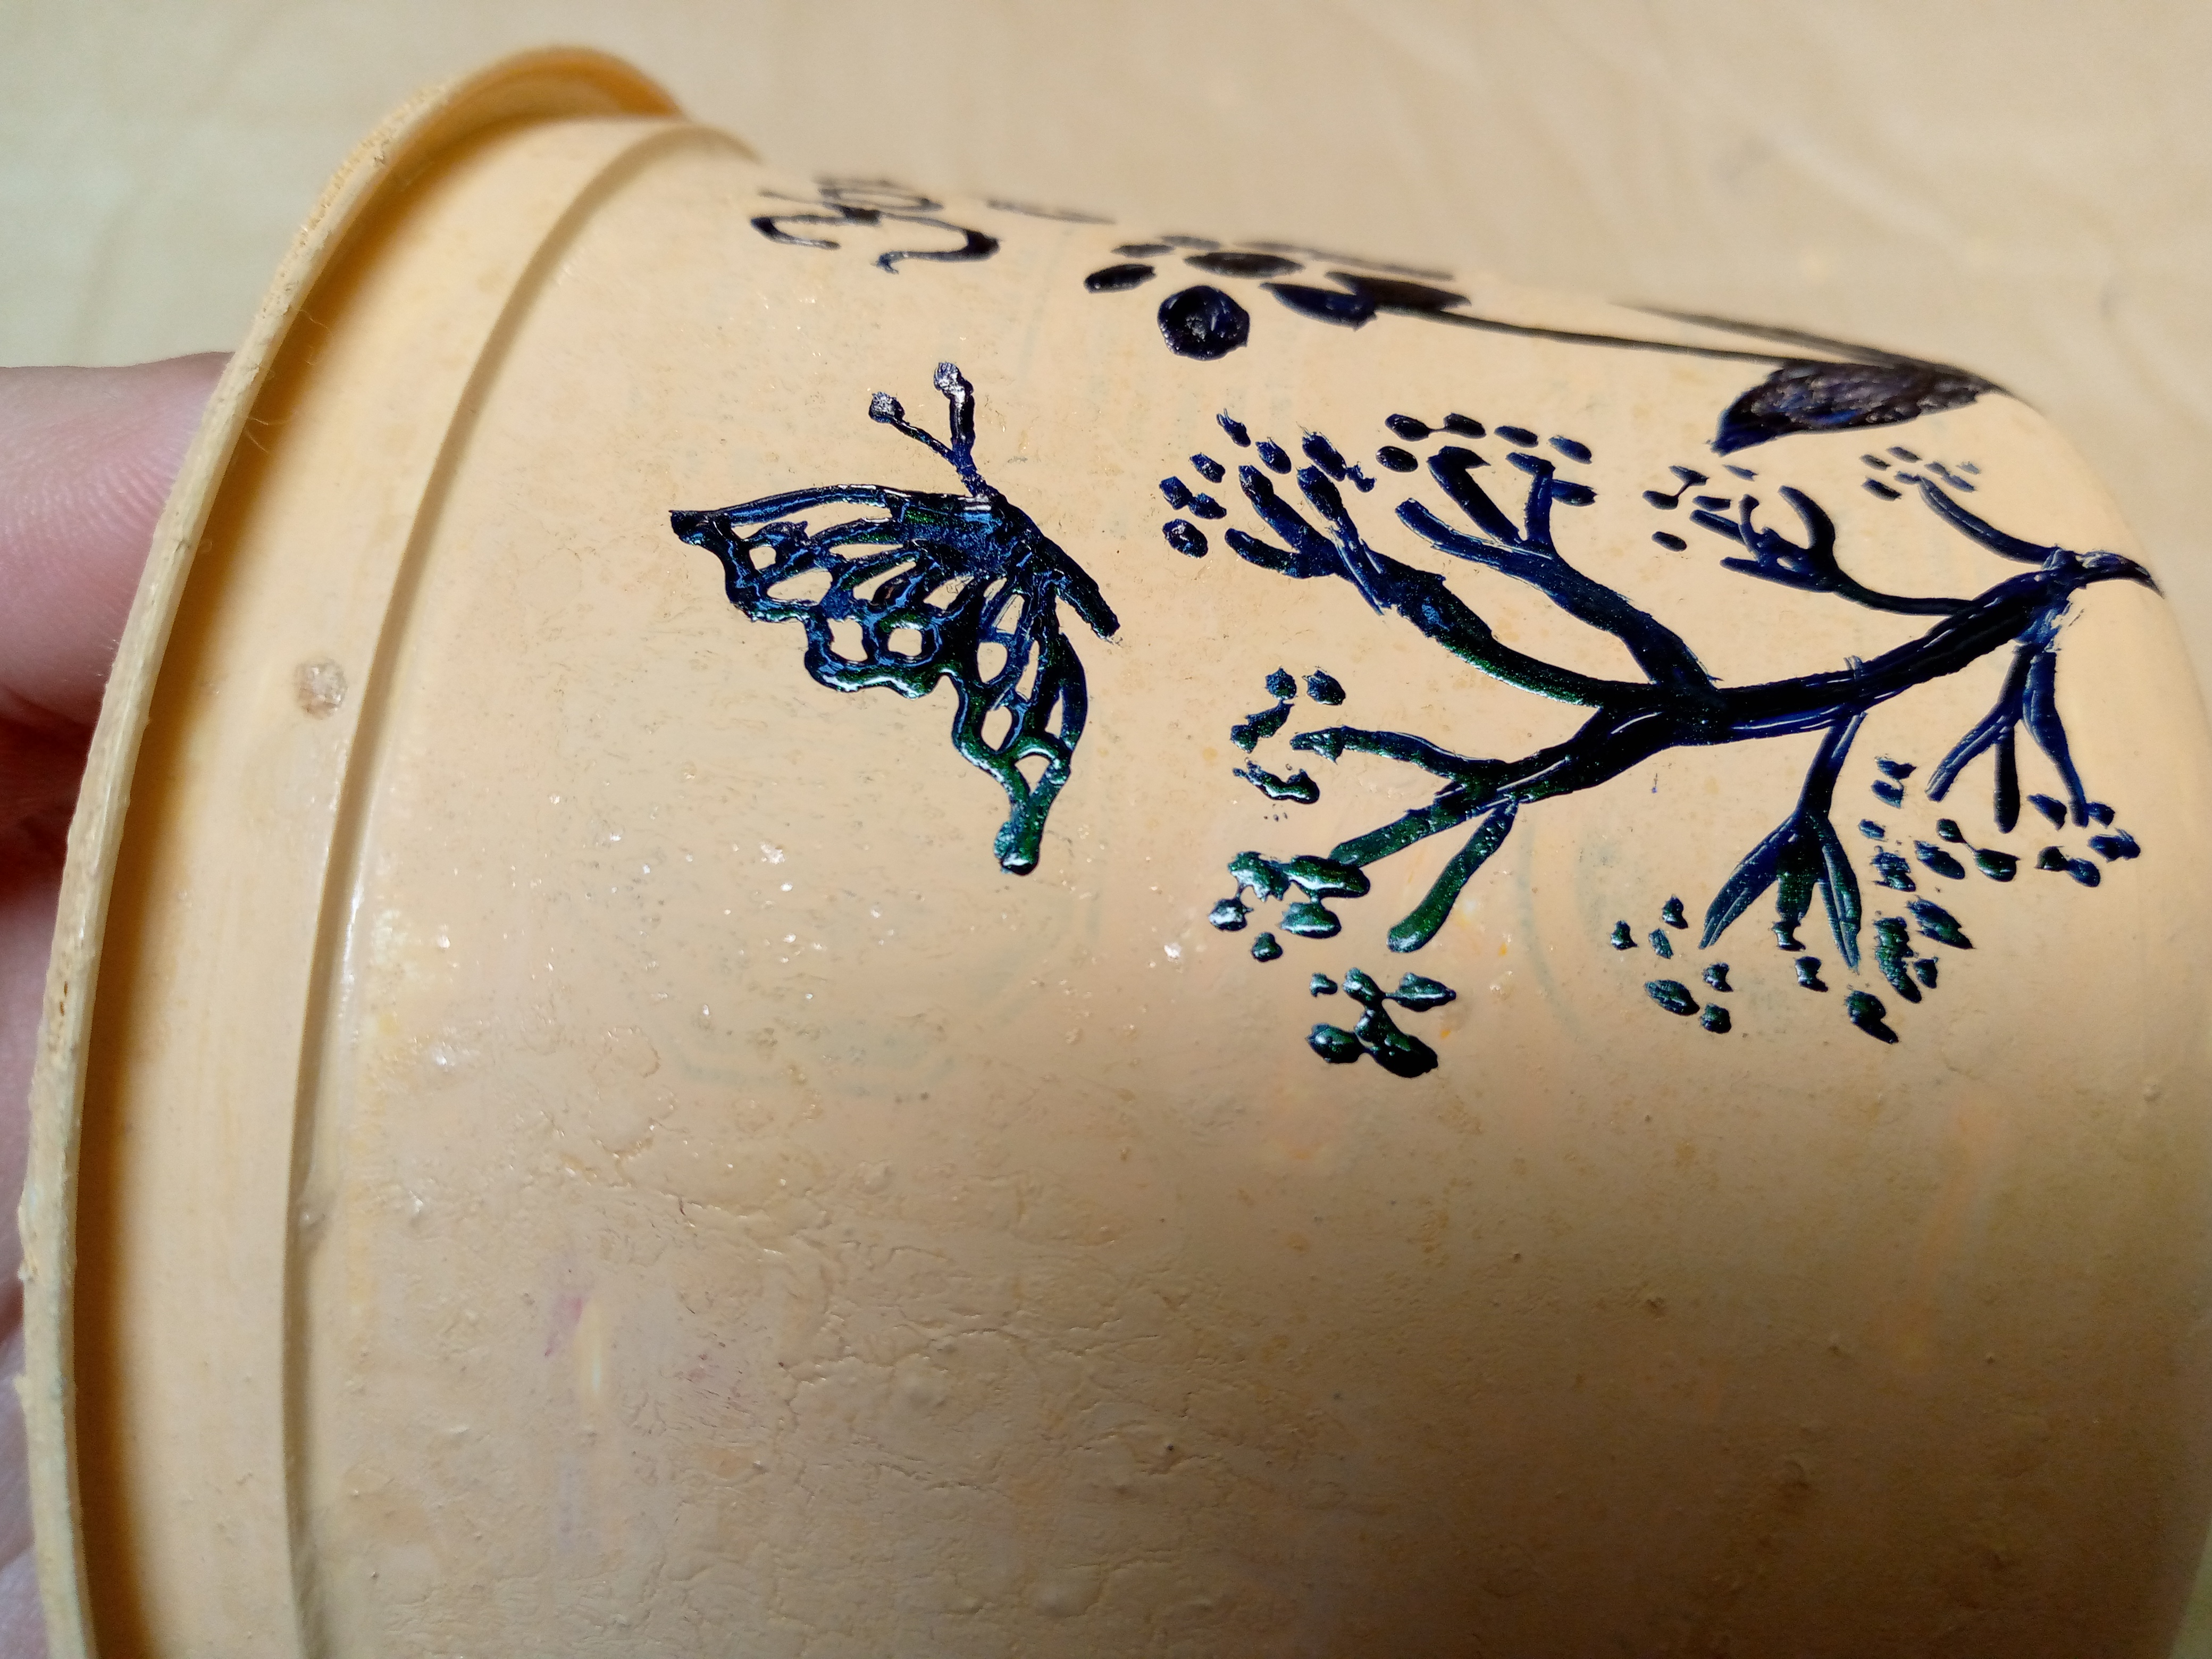
Un jardín no es jardín sin que le falte sus mariposas así que he pintado dos de ambos lados posando en las flores de y de medio lado , también quise agregar una frase motivadora que cada que vea esta maceta debo recordarme a mi misma que " Soy arte " y que puedo hacer mucho mas de lo que mis pensamientos me impiden a veces hacer y aunque tema de lo desconocido que eso no sea impedimento para motivarme a hacer las cosas y conocer mucho más.

Step 03

A garden is not a garden without its butterflies, so I have painted two on both sides posing on the flowers and on one half of the side. I also wanted to add a motivational phrase that every time I see this pot I must remind myself that "I am art" and that I can do much more than my thoughts sometimes prevent me from doing and although I fear the unknown, that should not be an impediment to motivating me to do things and learn much more.

IMG_20241115_143018_304.jpg

IMG_20241115_143347_760.jpg

Paso 04

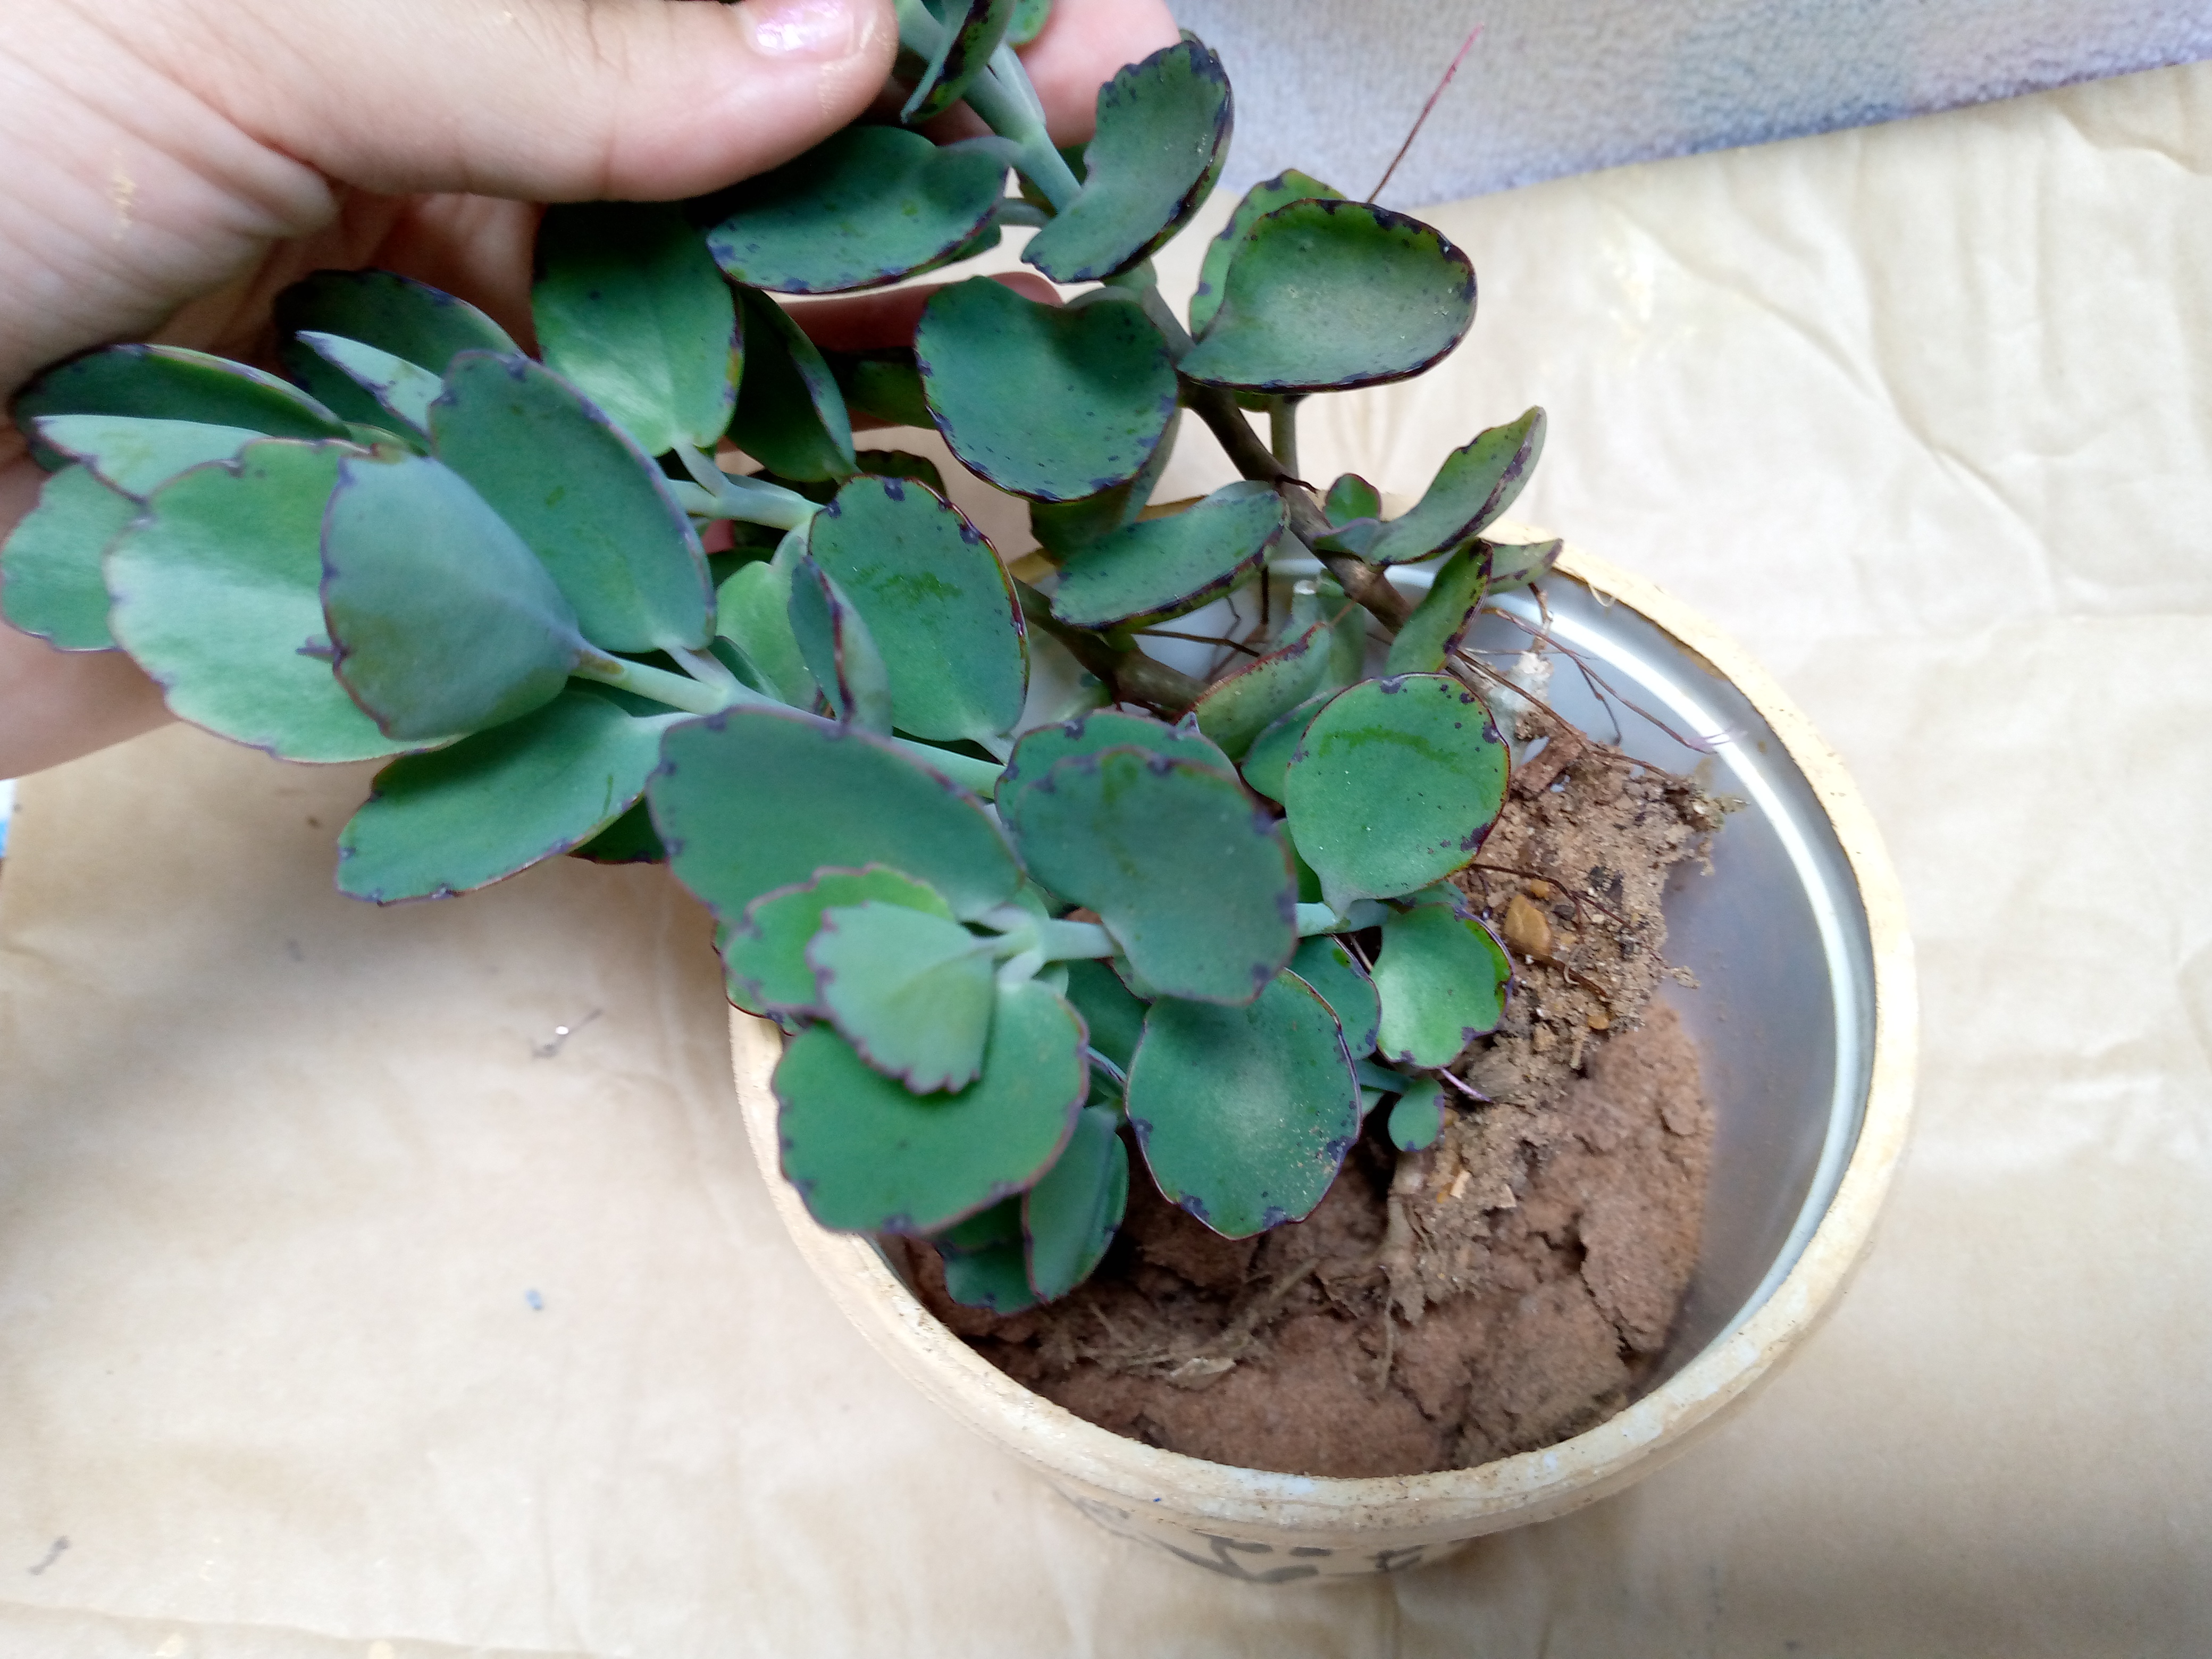
El siguiente paso es uno de mis favoritos,transladar la planta a la nueva maceta ,esto lo hago con cuidado y sacando la planta de manera que no se maltrate podemos intentar mojar la arena para que sea mucho mas fácil que la arena se ablande ,vamos a colocar dos cm de arena abajo metemos nuestra justo en el medio de la maceta con arena y volvemos a echar el resto de la arena que estaba en la antigua maceta,presionamos la arena agregamos un poco de agua y listo el proceso de nuestra nueva maceta esta listo con nuestra plantita dentro,que hermoso se ve.

Step 04

The next step is one of my favorites, moving the plant to the new pot, I do this carefully and taking the plant out so that it is not damaged, we can try to wet the sand so that it is much easier for the sand to soften, we are going to place two cm of sand below, we put our right in the middle of the pot with sand and we put the rest of the sand that was in the old pot again, we press the sand, add a little water and that's it, the process of our new pot is ready with our little plant inside, how beautiful it looks


Picsart_24-11-15_15-51-20-828 (1).jpg

Resultado//Result:

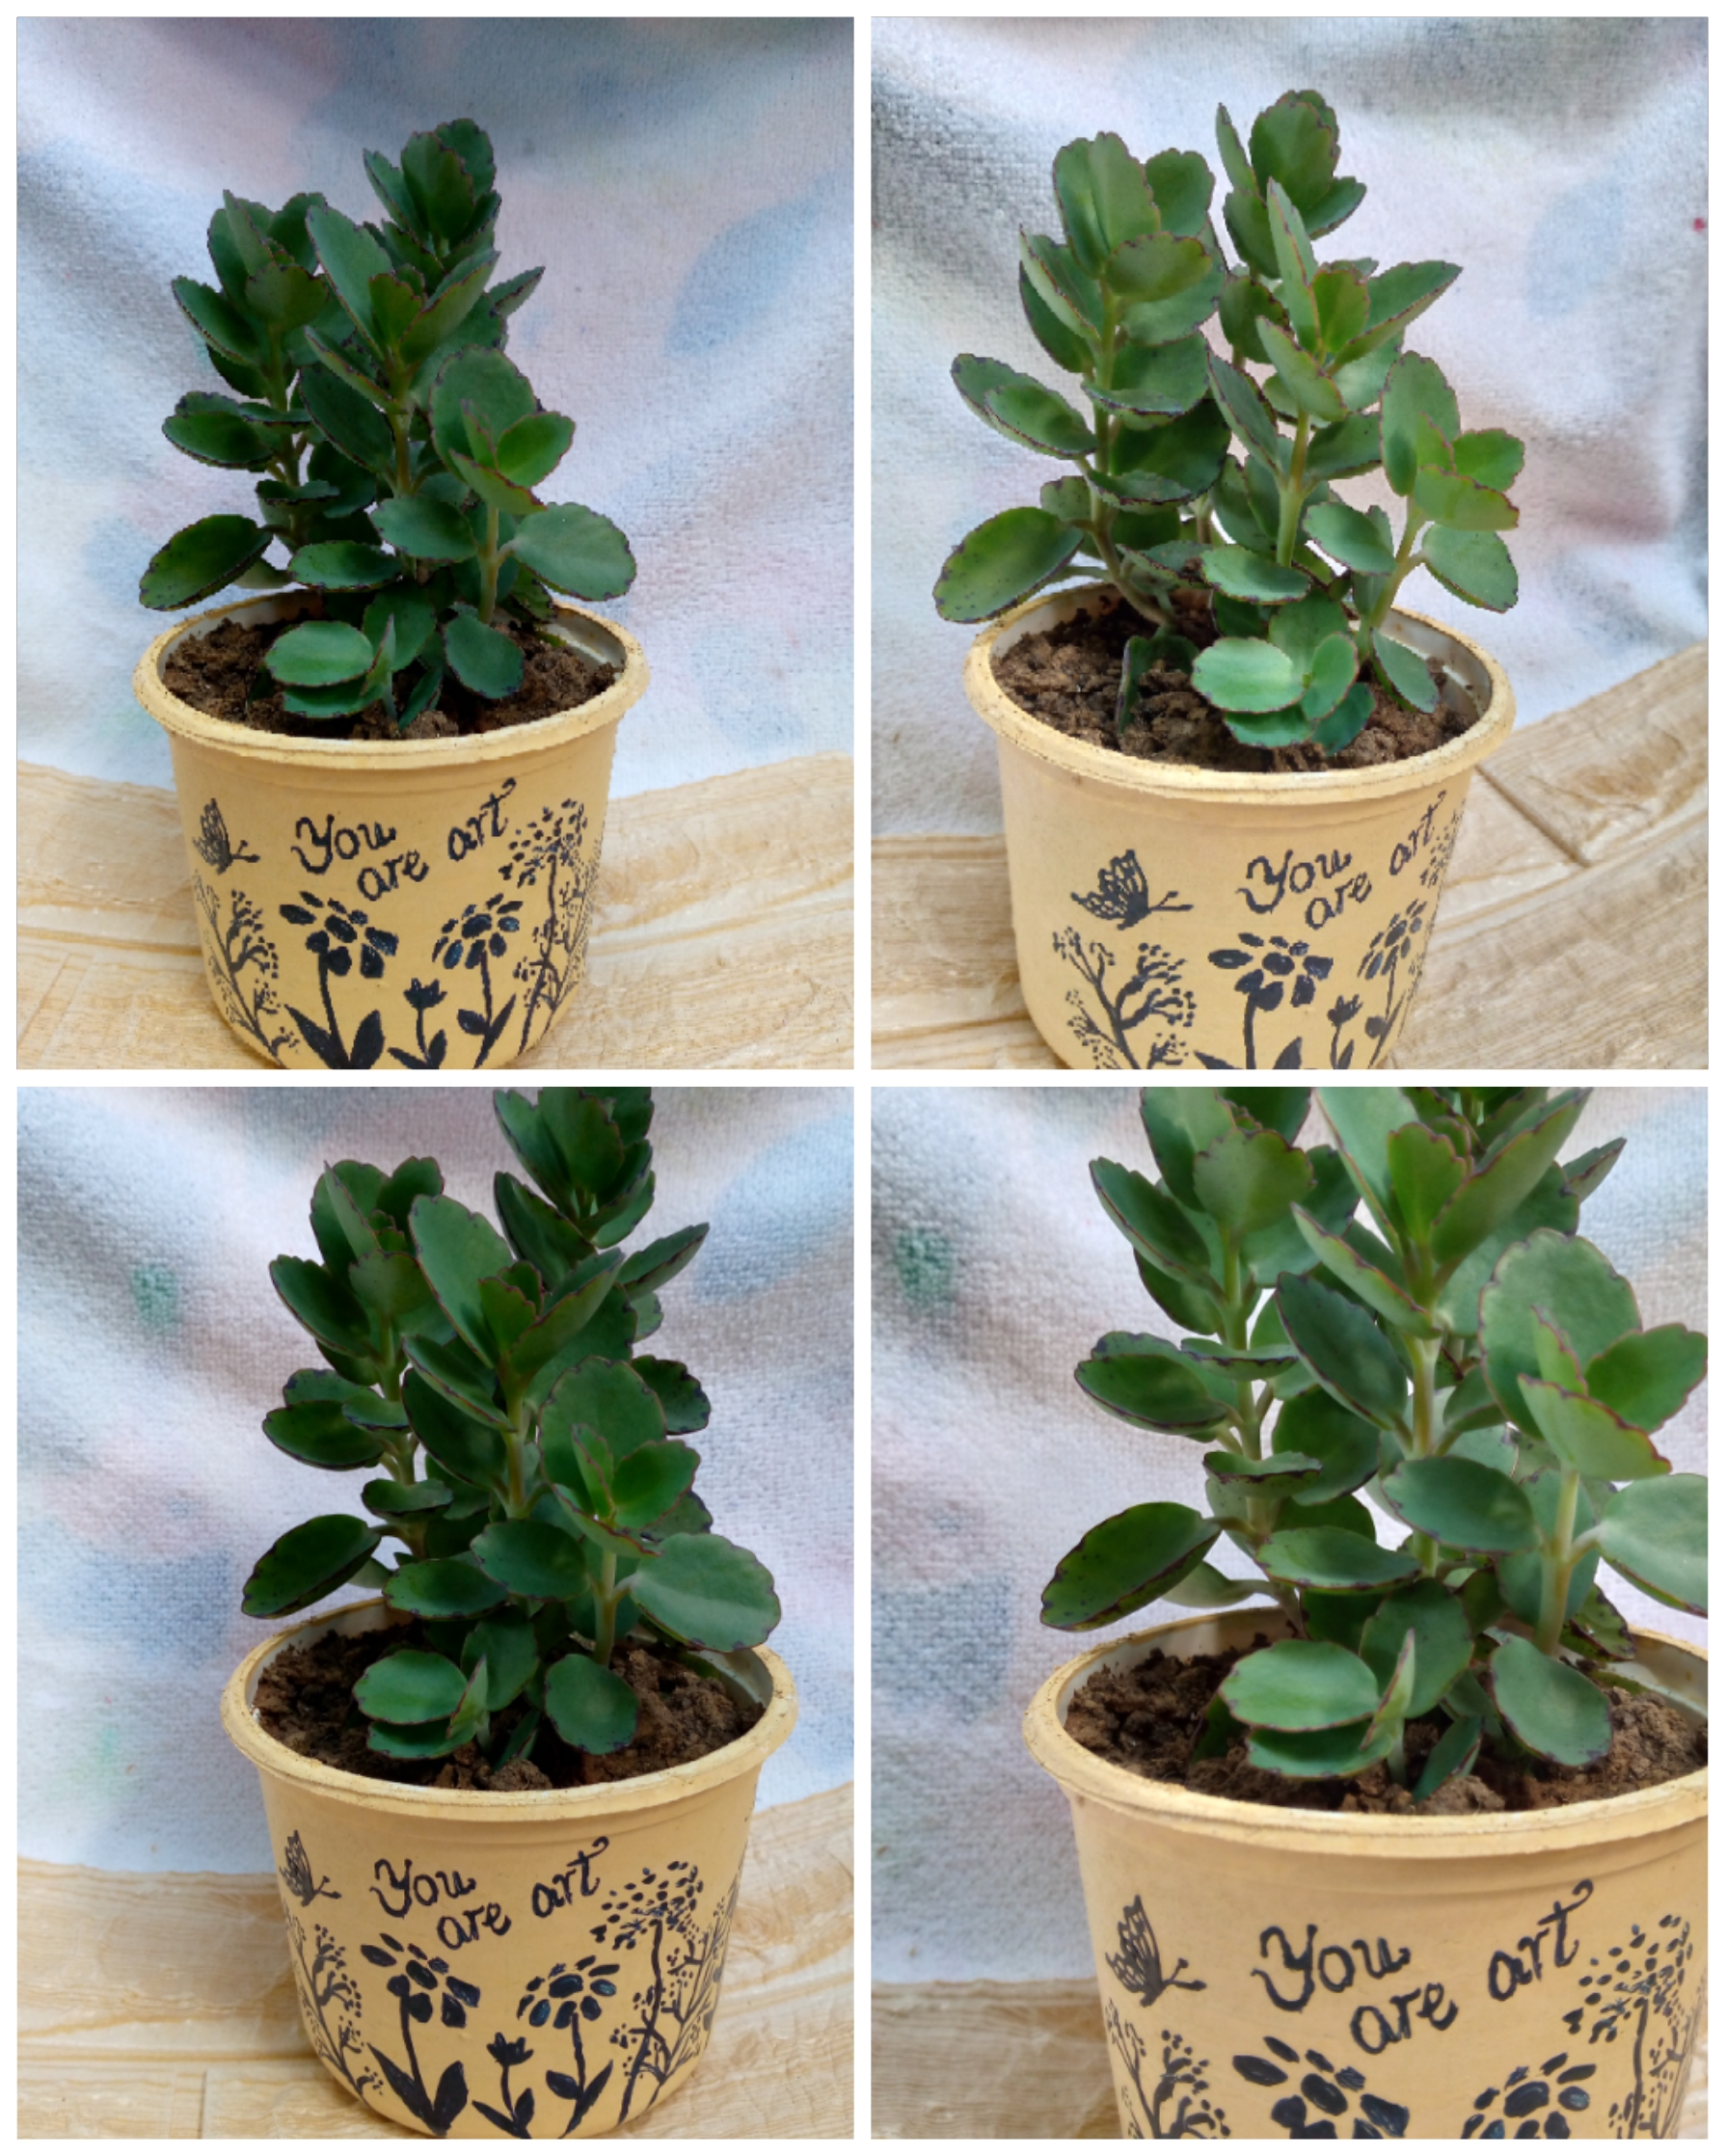
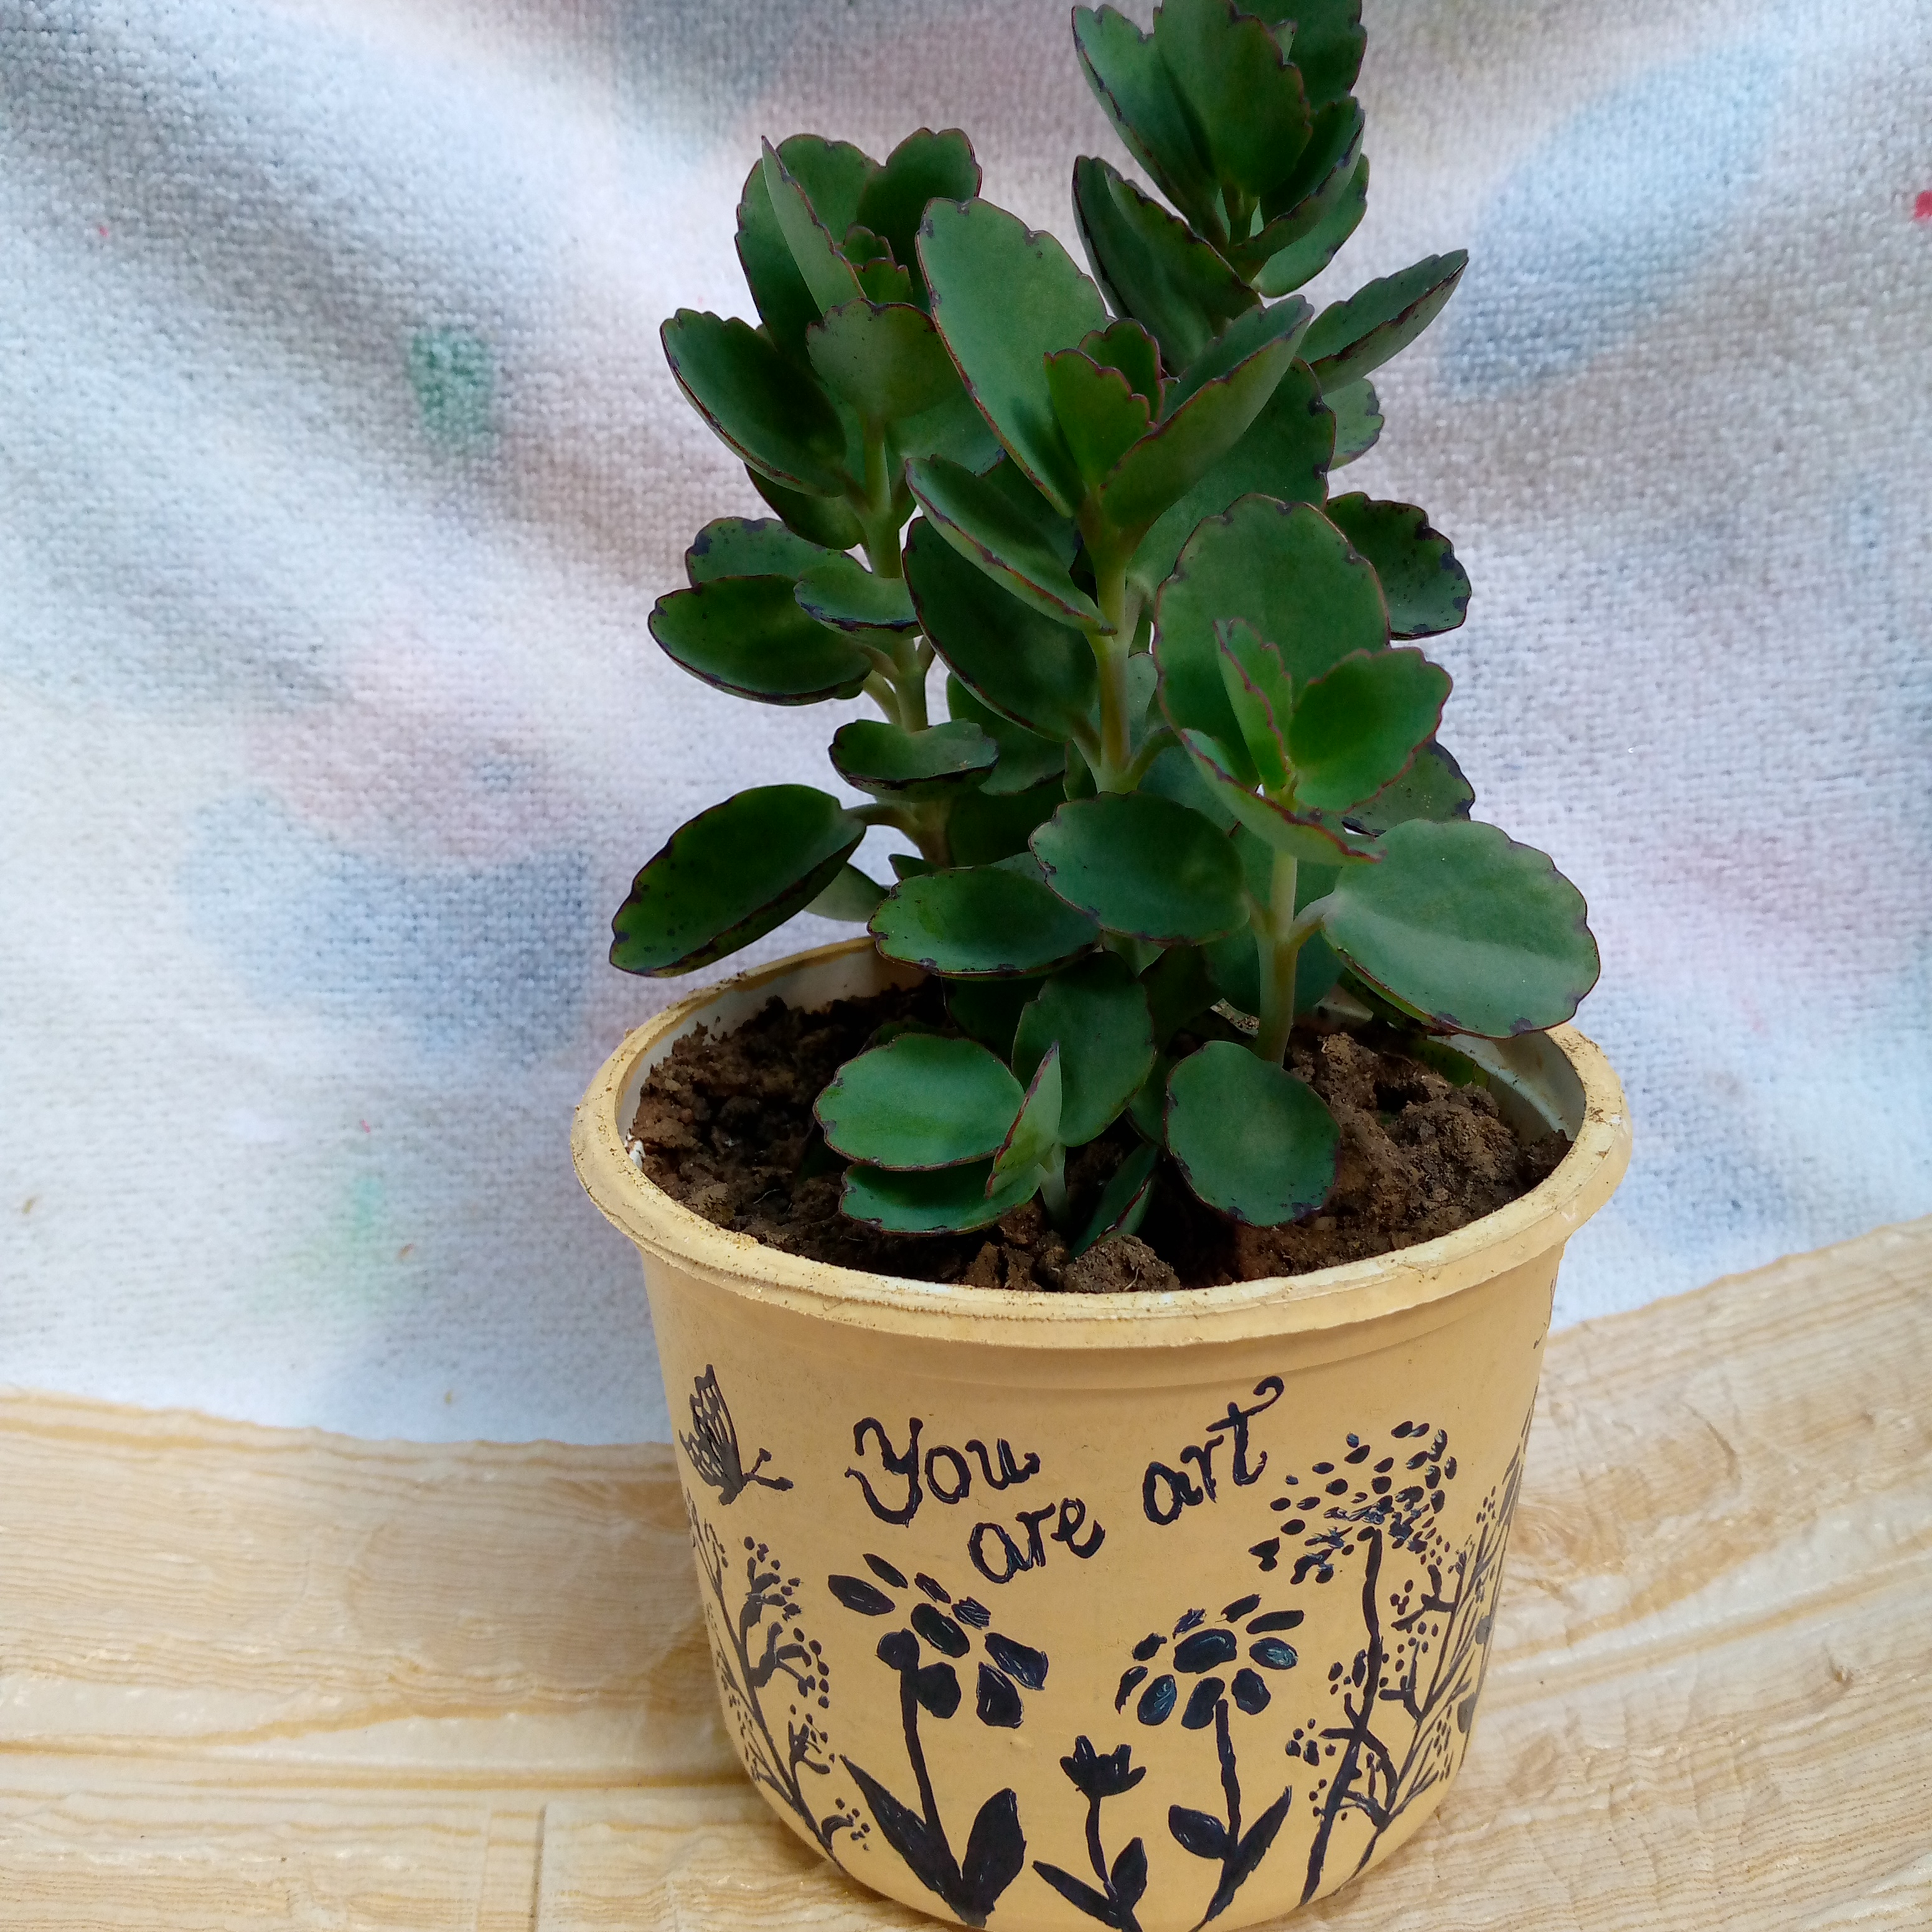
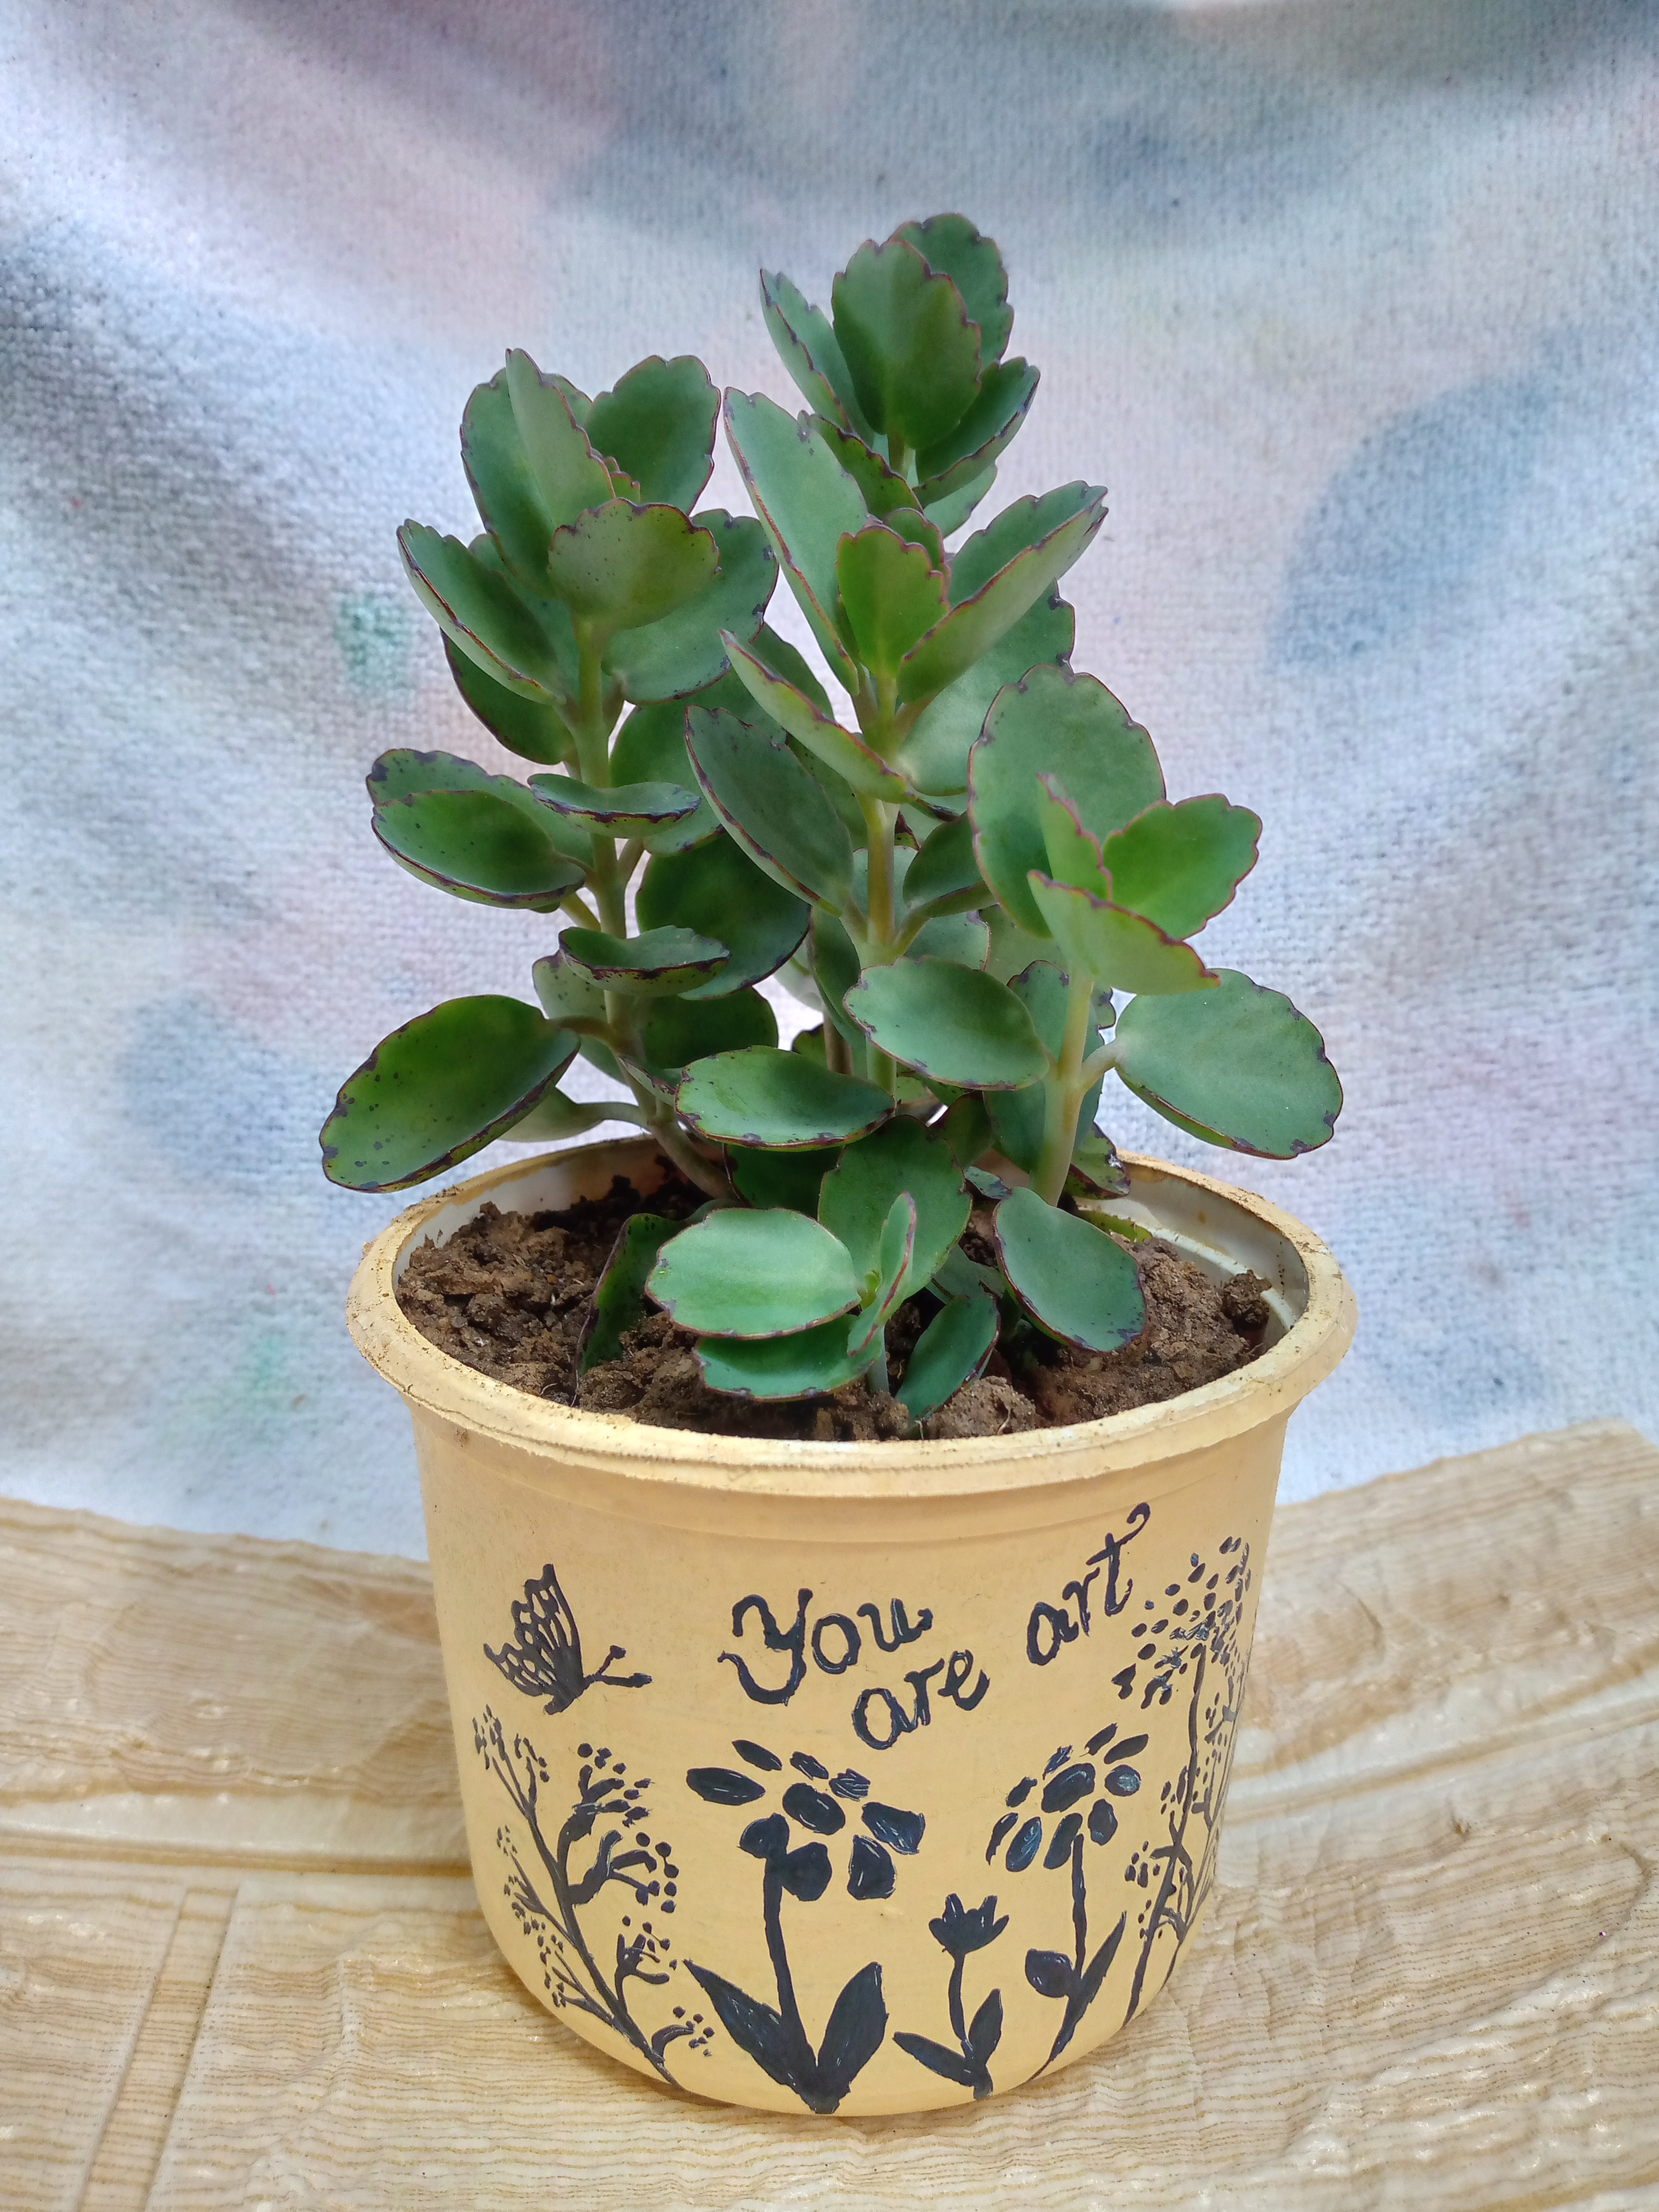
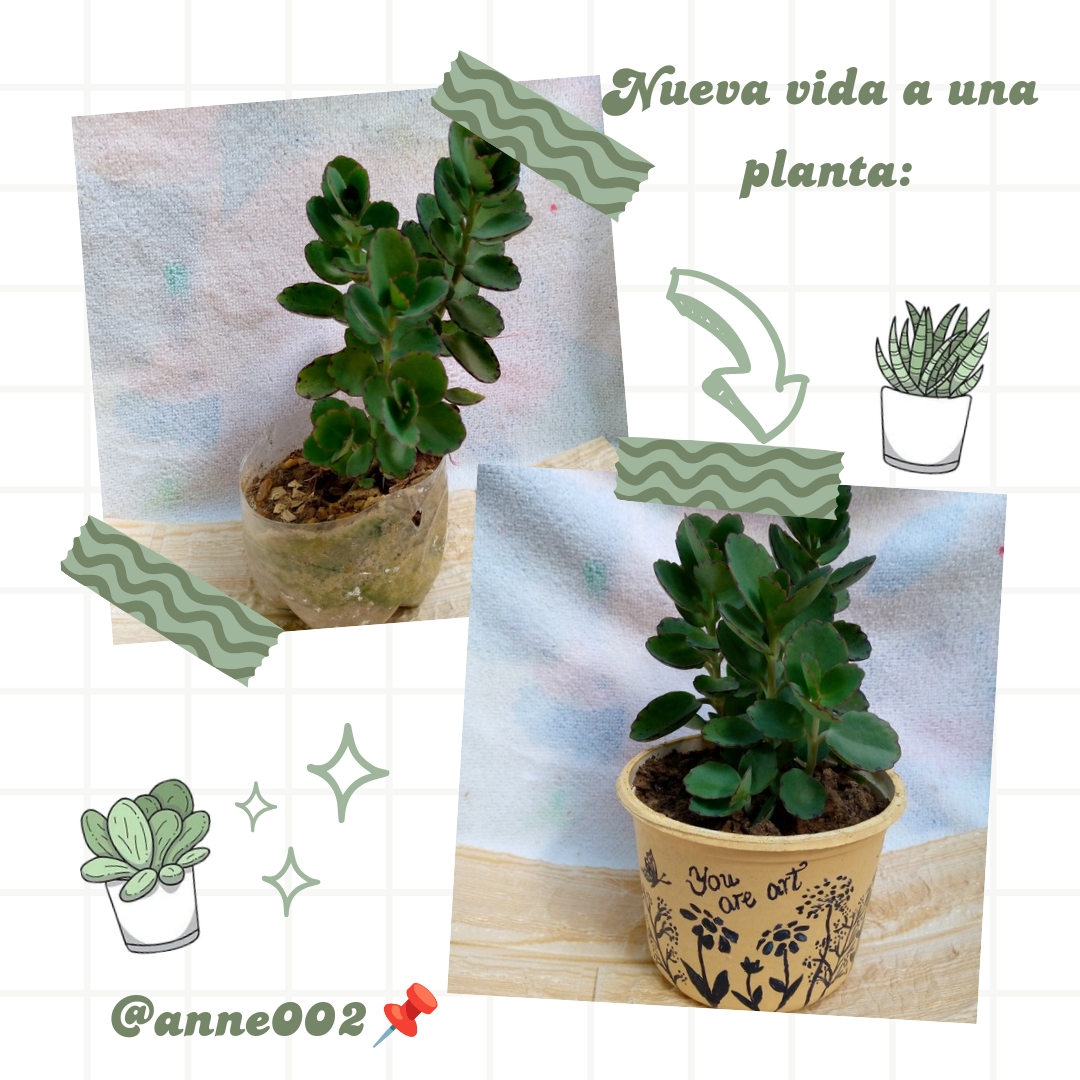
De esta manera ha quedado el translado de nuestra planta y le dimos un mejor aspecto con una nueva maceta que es también reciclada,espero te guste mucho y podéis apreciar los resultados aqui en las siguientes fotos.

This is how our plant has been moved and we gave it a better appearance with a new pot that is also recycled. I hope you like it a lot and you can see the results here in the following photos.

Aprecio mucho por el tiempo que tuviste en leer mi blog y espero tengan un hermoso y excelente día ,si te ha gustado no olvides dejar tu lindo comentario y nos leemos en otro próximo blog,te traeré muchas más ideas.😊✨❤️

I really appreciate the time you took to read my blog and I hope you have a beautiful and excellent day. If you liked it, don't forget to leave your nice comment and we'll see each other in another upcoming blog. I'll bring you many more ideas.😊✨❤️

Picsart_24-11-15_15-51-20-828 (1).jpg

Picsart_24-11-15_14-58-10-840.jpg

IMG_20241115_143700_481.jpg

IMG_20241115_143508_215.jpg

Creando las cosas con amor 🌷❤️

🦋✨Todas las imágenes de esta publicación son de mi autoria ,📱tomadas con mi celular TecnoSpark8C |📸Fotos editadas en PicsArt y Canva. Texto traducido en el traductor de Google.

Sígueme para más contenido 📌

Creating things with love 🌷❤️

🦋✨ All the images in this publication are my author ,📱taken with my TecnoSpark8C cell phone |📸Photos edited in PicsArt and Canva. Text translated in Google Translate.

Follow me for more content 📌


Picsart_24-08-15_13-46-37-839.jpg


Sort:  

You didn’t just come up with a brilliant idea but also a cute one. Thanks for sharing this beautiful flower pot with us.

Oh ! Thanks for support 😍🥰