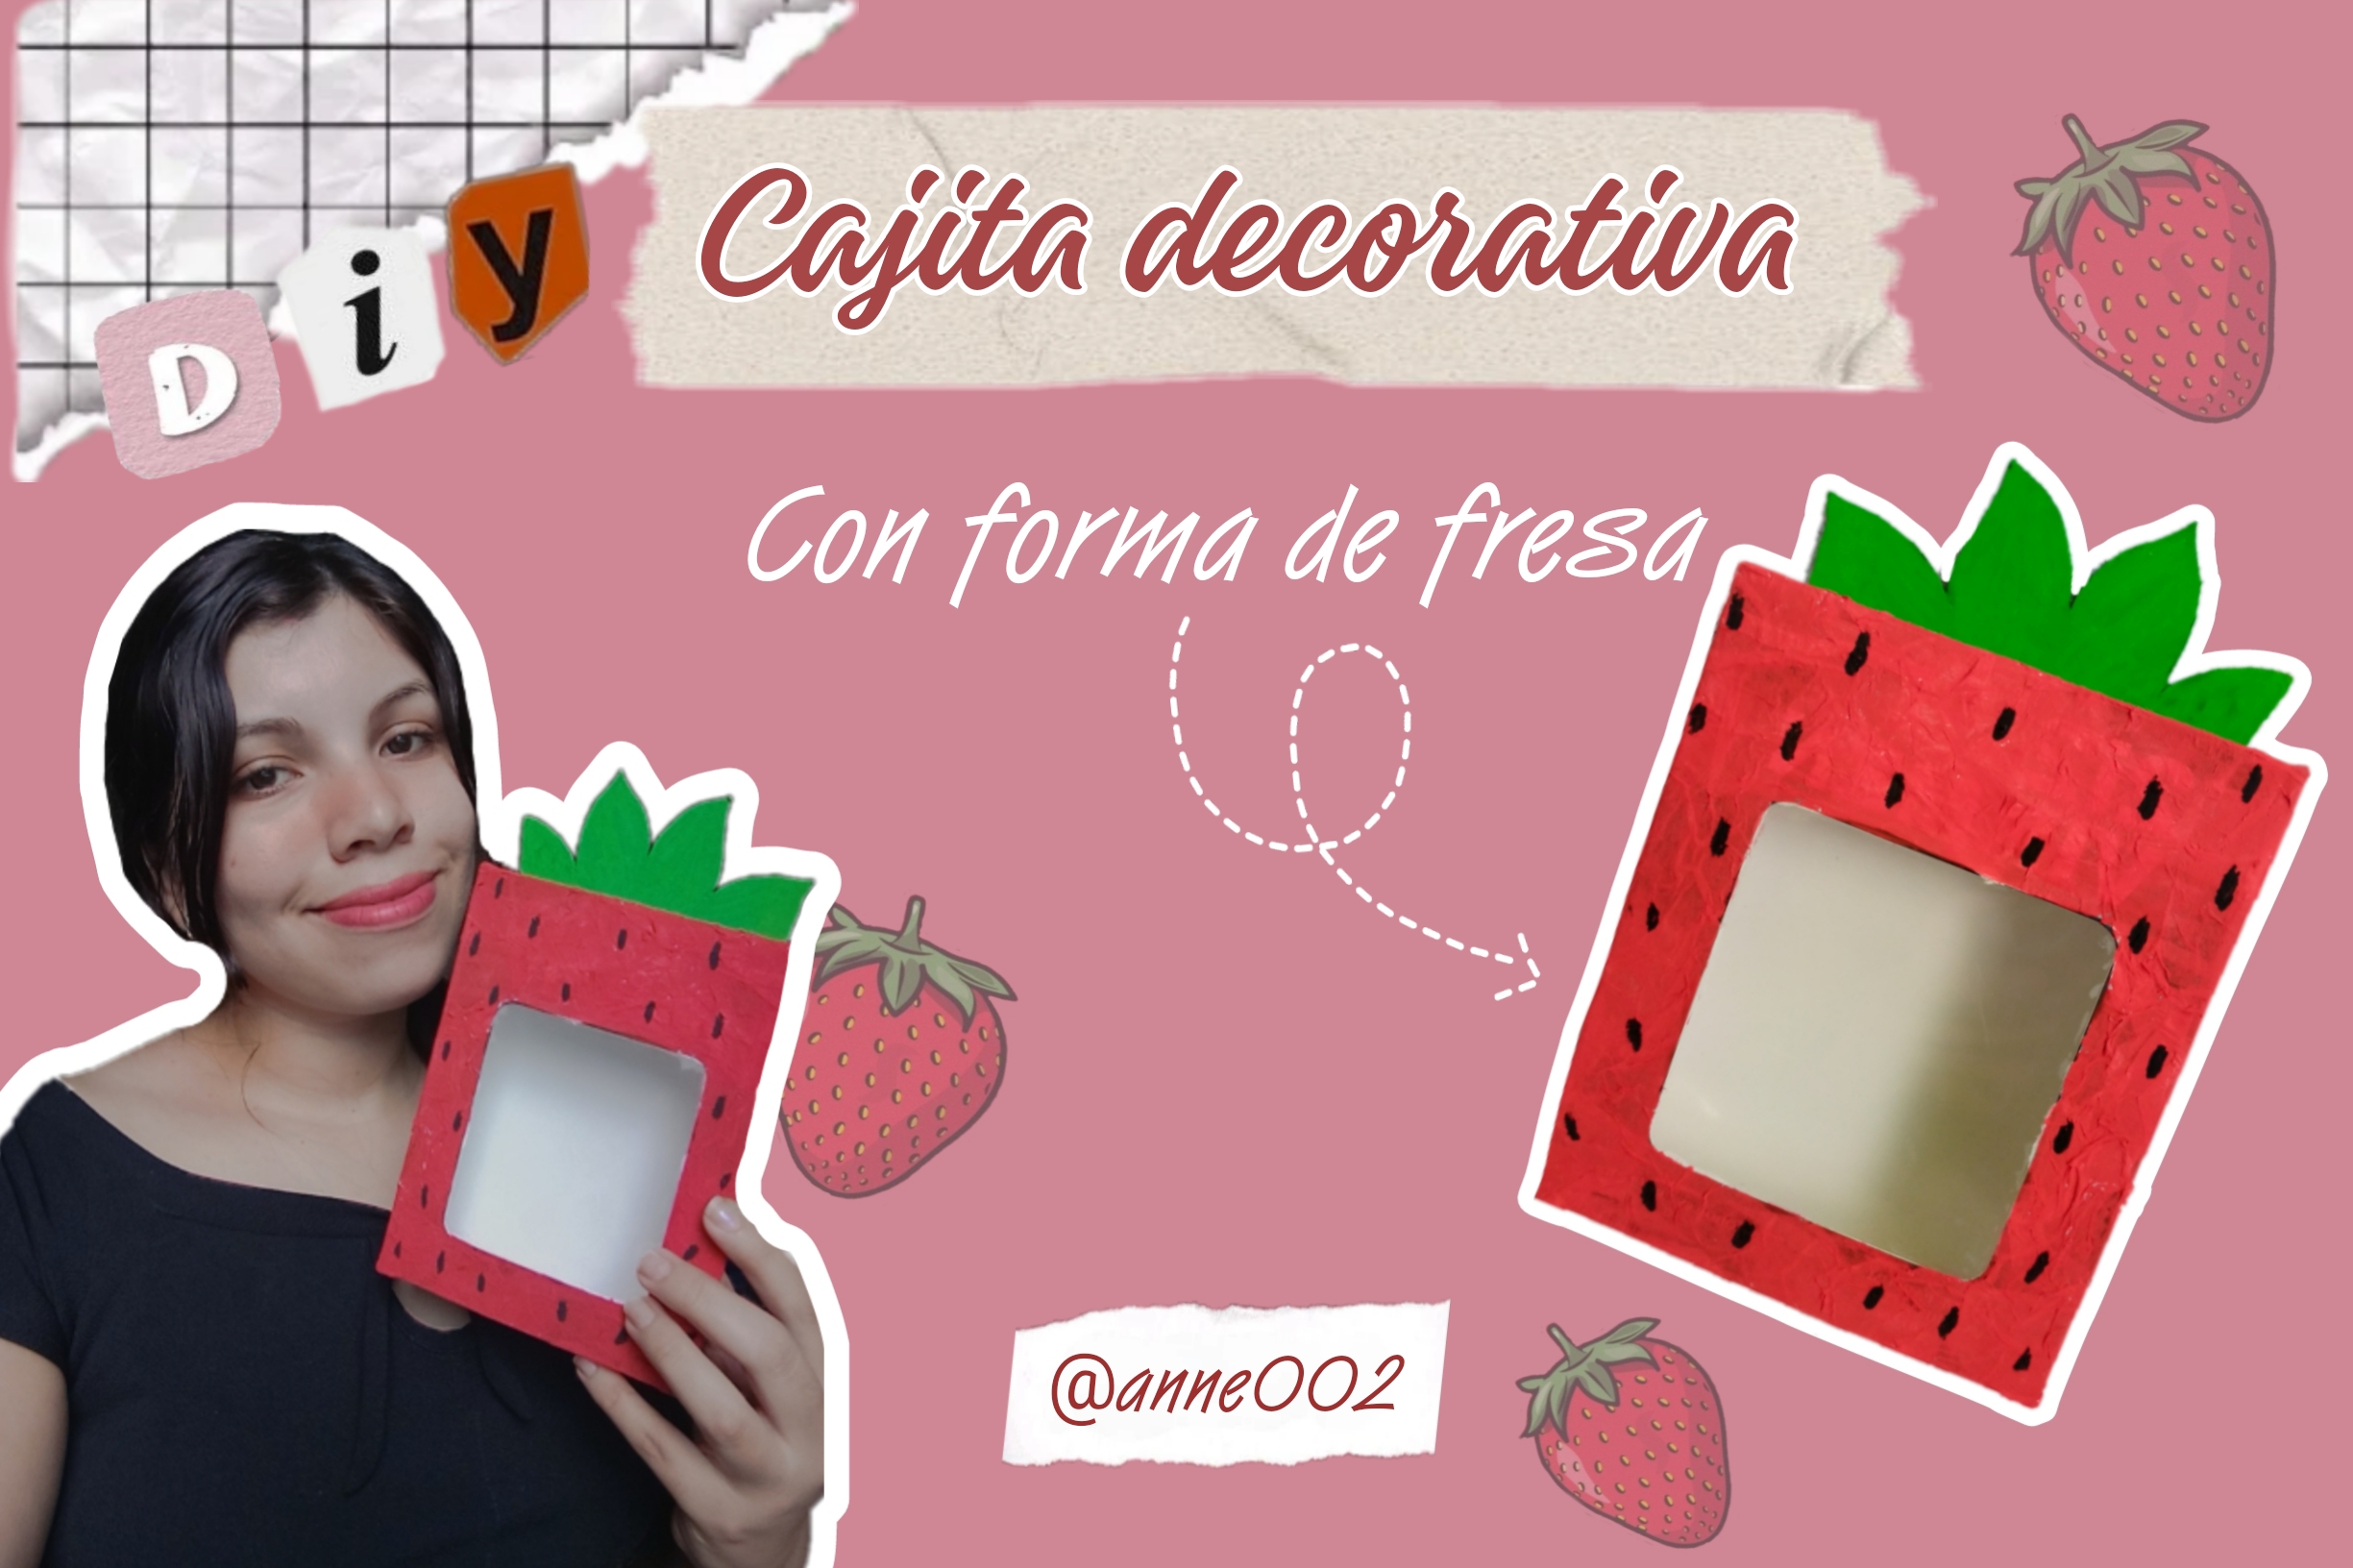

Hello friends, welcome to a new tutorial with me ✨💕 I'll tell you that I had forgotten to show you how I made this little box to store things that I already had because, let's say, they were in disarray and I ended up losing them 🥺😩 I made it with a box that came with a combo of a perfume and a men's antiperspirant, sometimes I always have these little boxes stored there because my mom is afraid to throw them away, but since we recycle everything here, I decided to give it a new chance and decorate it nicely.
I had come up with many ideas 💡regarding making this little box or what design to make, but since I love strawberries a lot, I wanted to make a box in the shape of this delicious fruit, the strawberry ✨🍓so I got to work and made this little box. I also used some pieces of toilet paper to reinforce it to give it a texture like the fruit😁This texture consists of adding glue and paper and forming a thin layer of corrugated texture, this technique is paper mache, I already remembered 🤭so if you want to see how it turned out, I invite you to see the result 😍Let's get to work!
Materiales que usé:
Materials i used:
- Pinturas
- Pinceles
- Tijera
- Hojas de papel de baño
- Trozo de cartón
- Lápiz
- Caja de cartón de la que tengas en casa
- Silicón
- Pegamento blanco
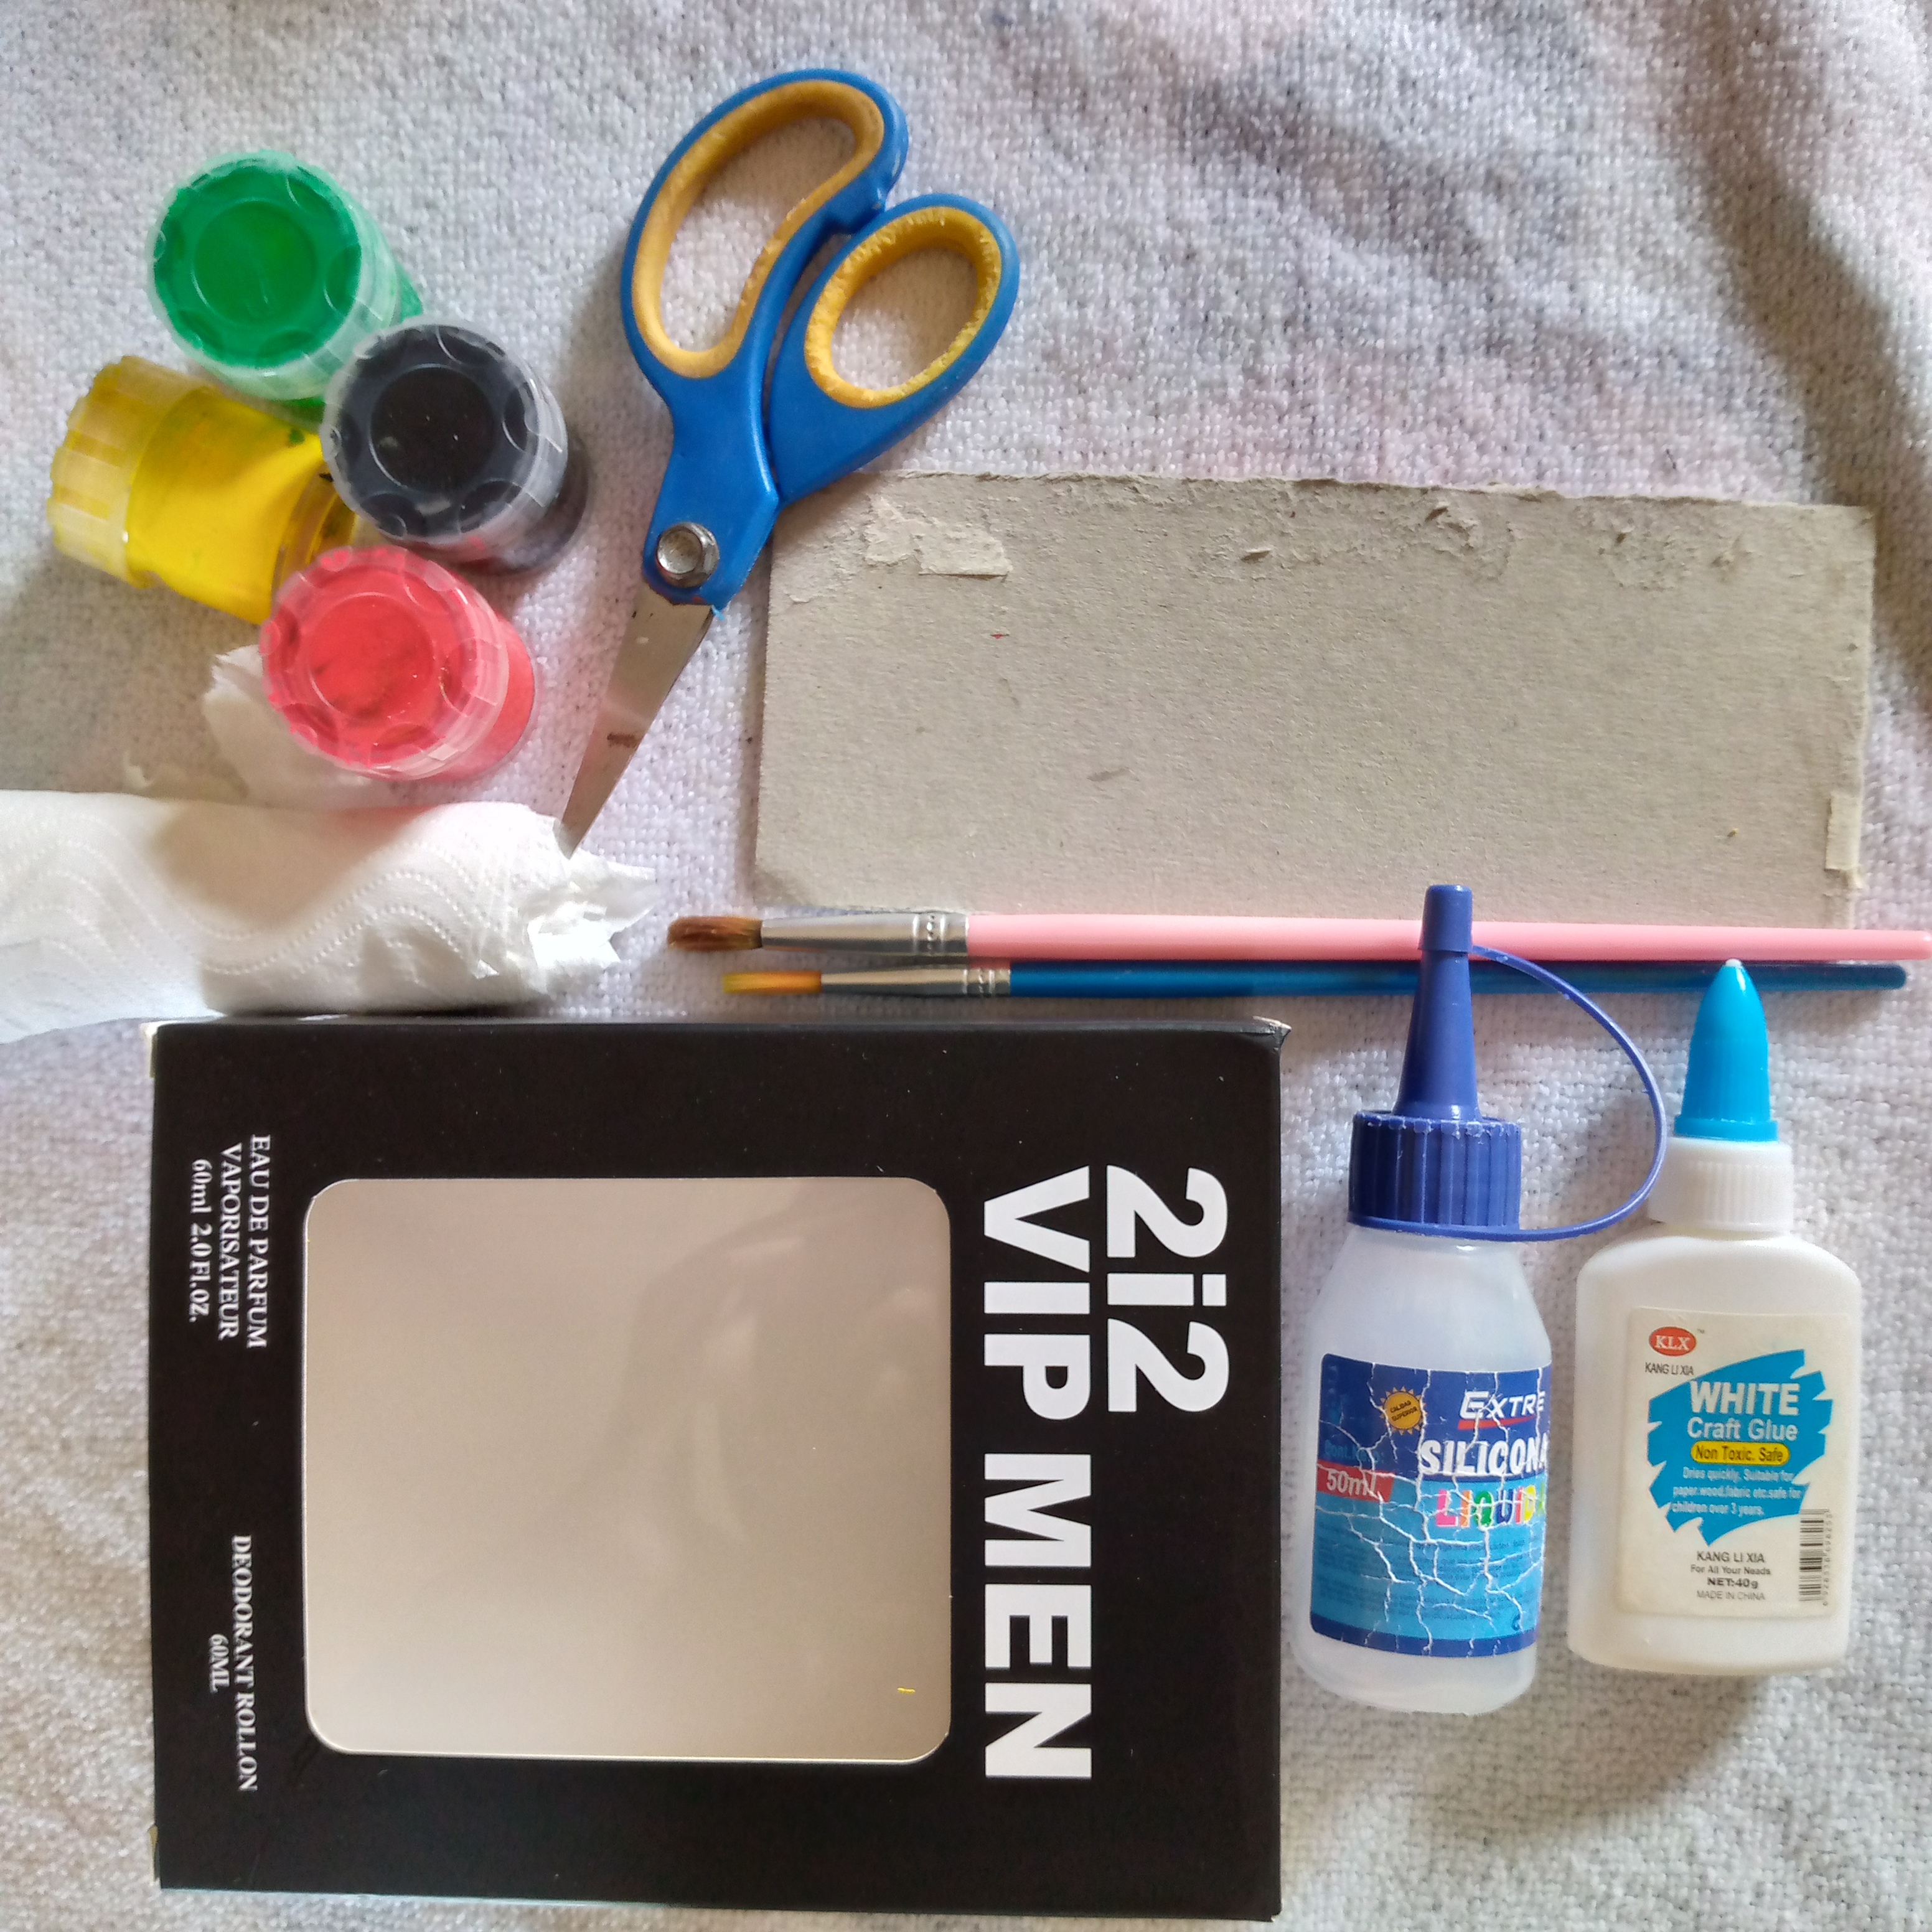
- Paints
- Paintbrushes
- Scissors
- Sheets of toilet paper
- Piece of cardboard
- Pencil
- Cardboard box from the one you have at home
- Silicone
- White glue
Pasos a seguir:
Steps to follow:
Paso 01
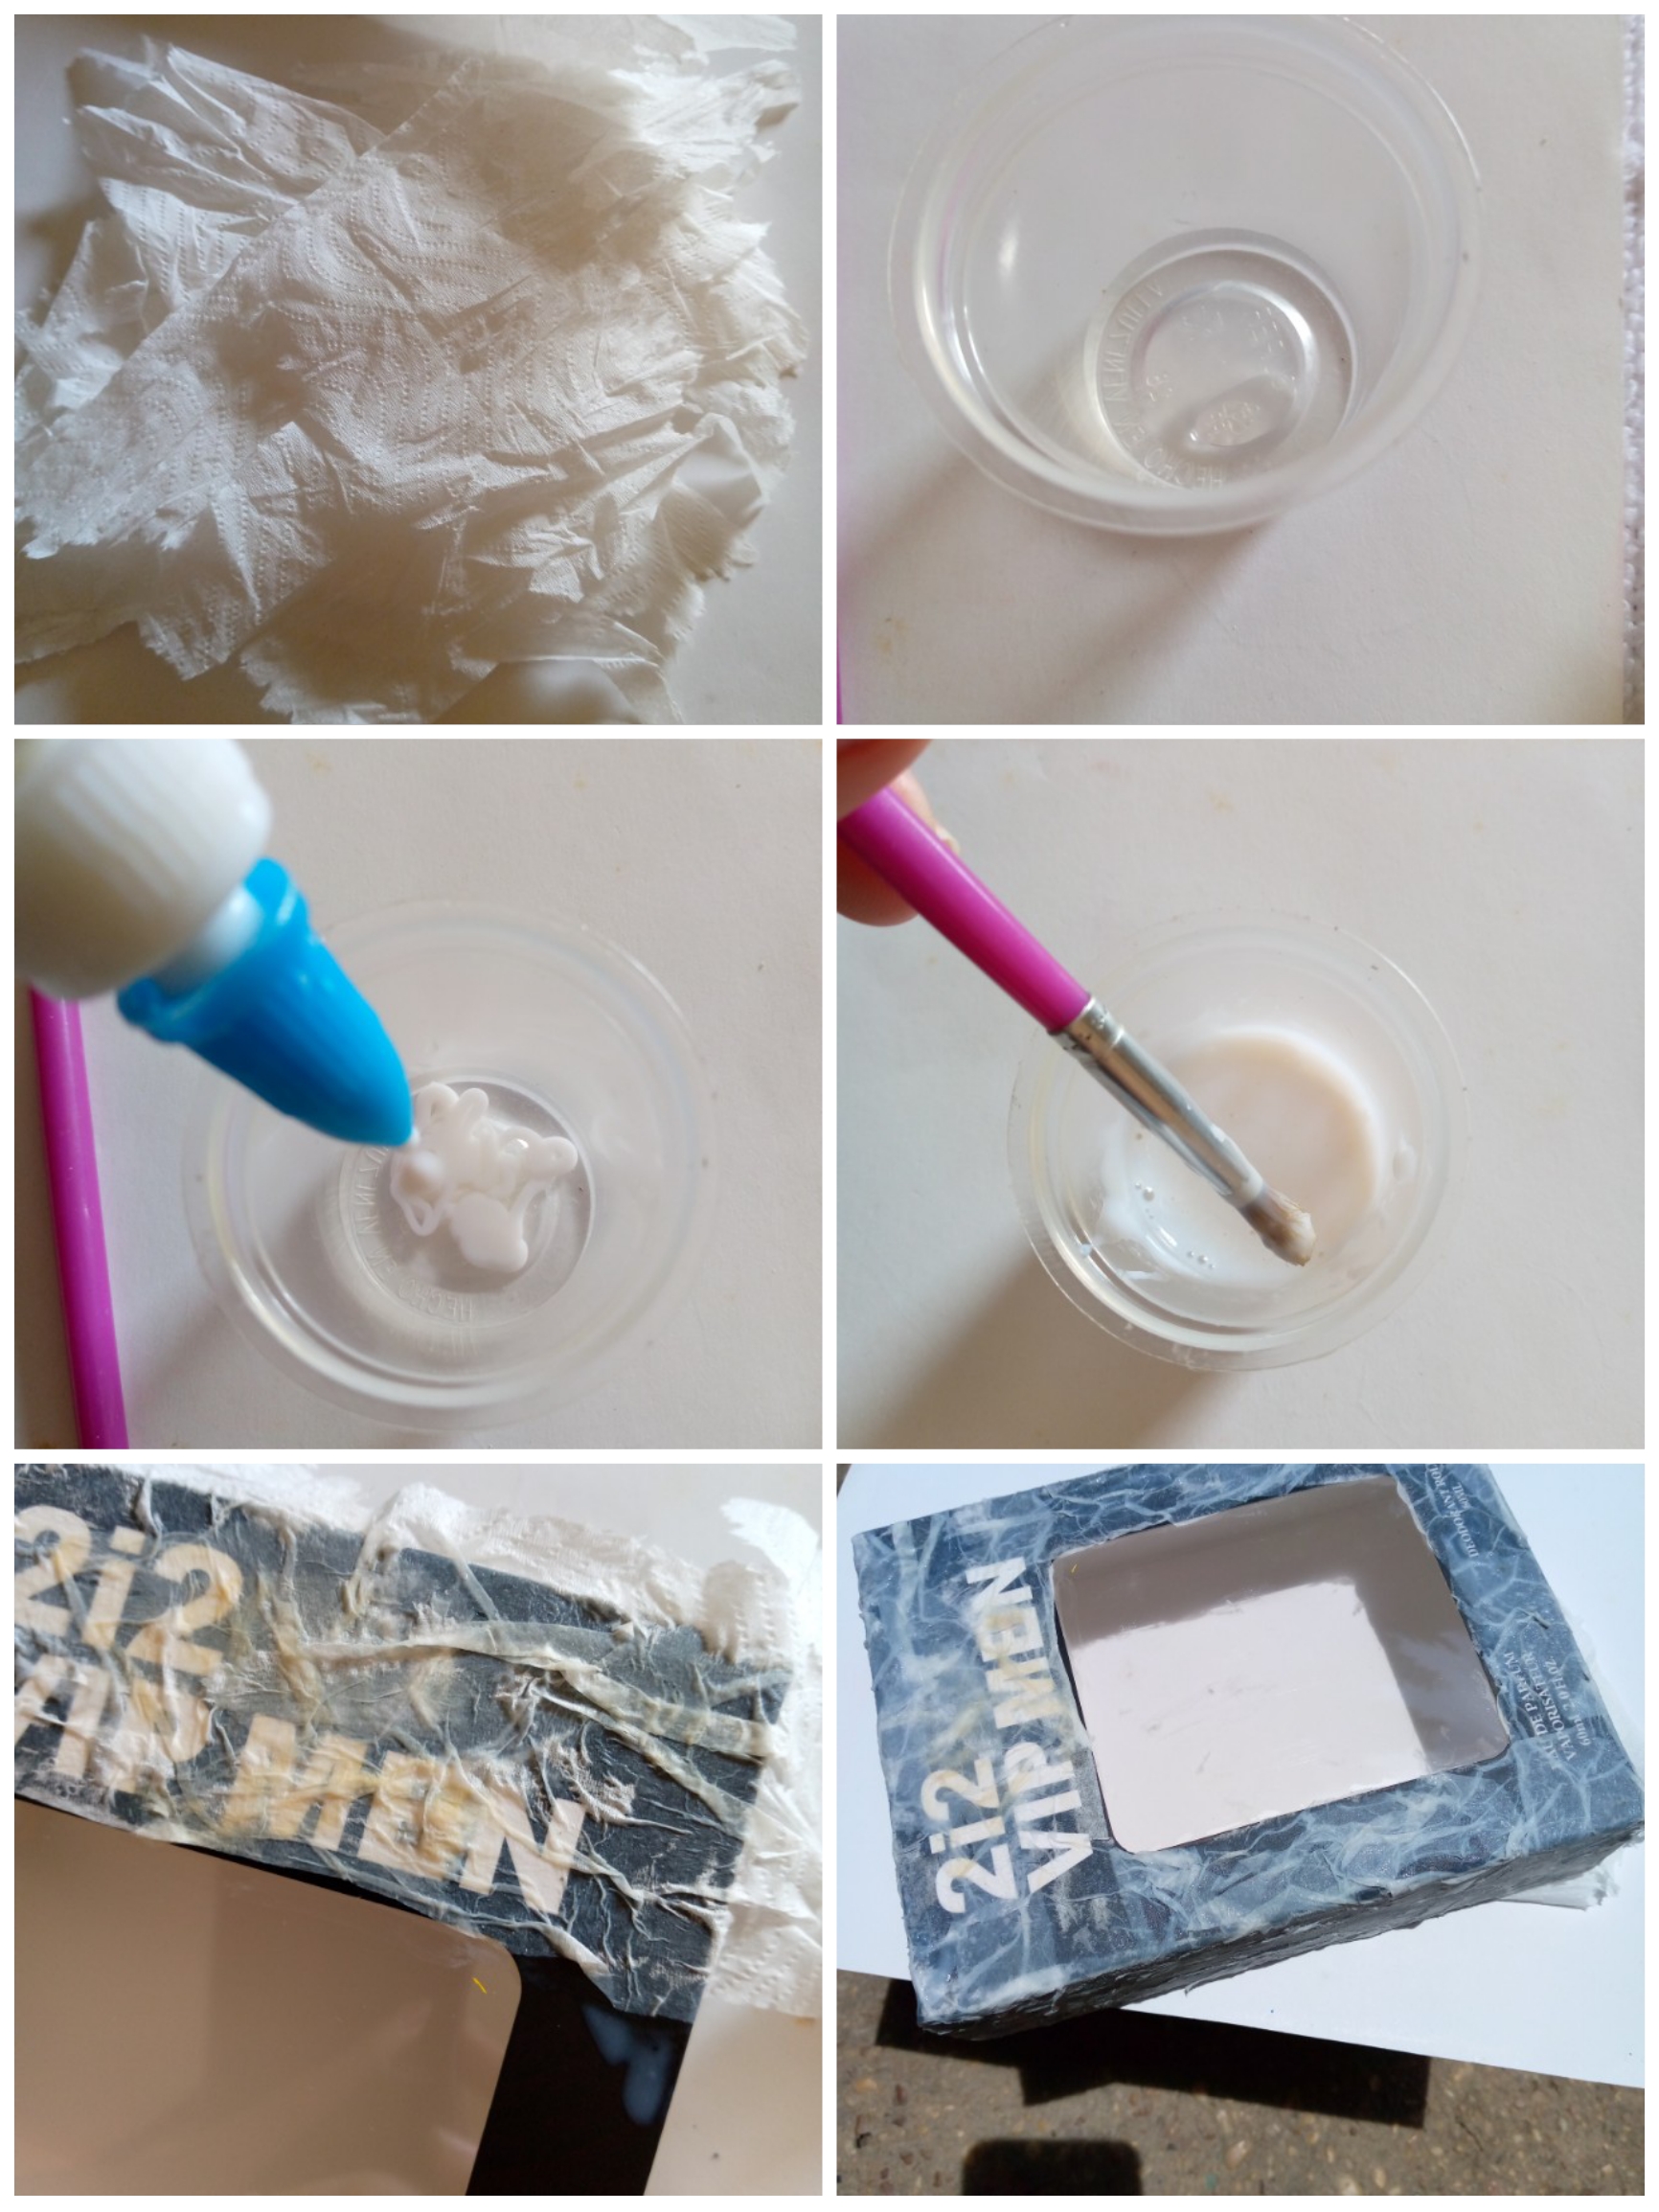
Step 01
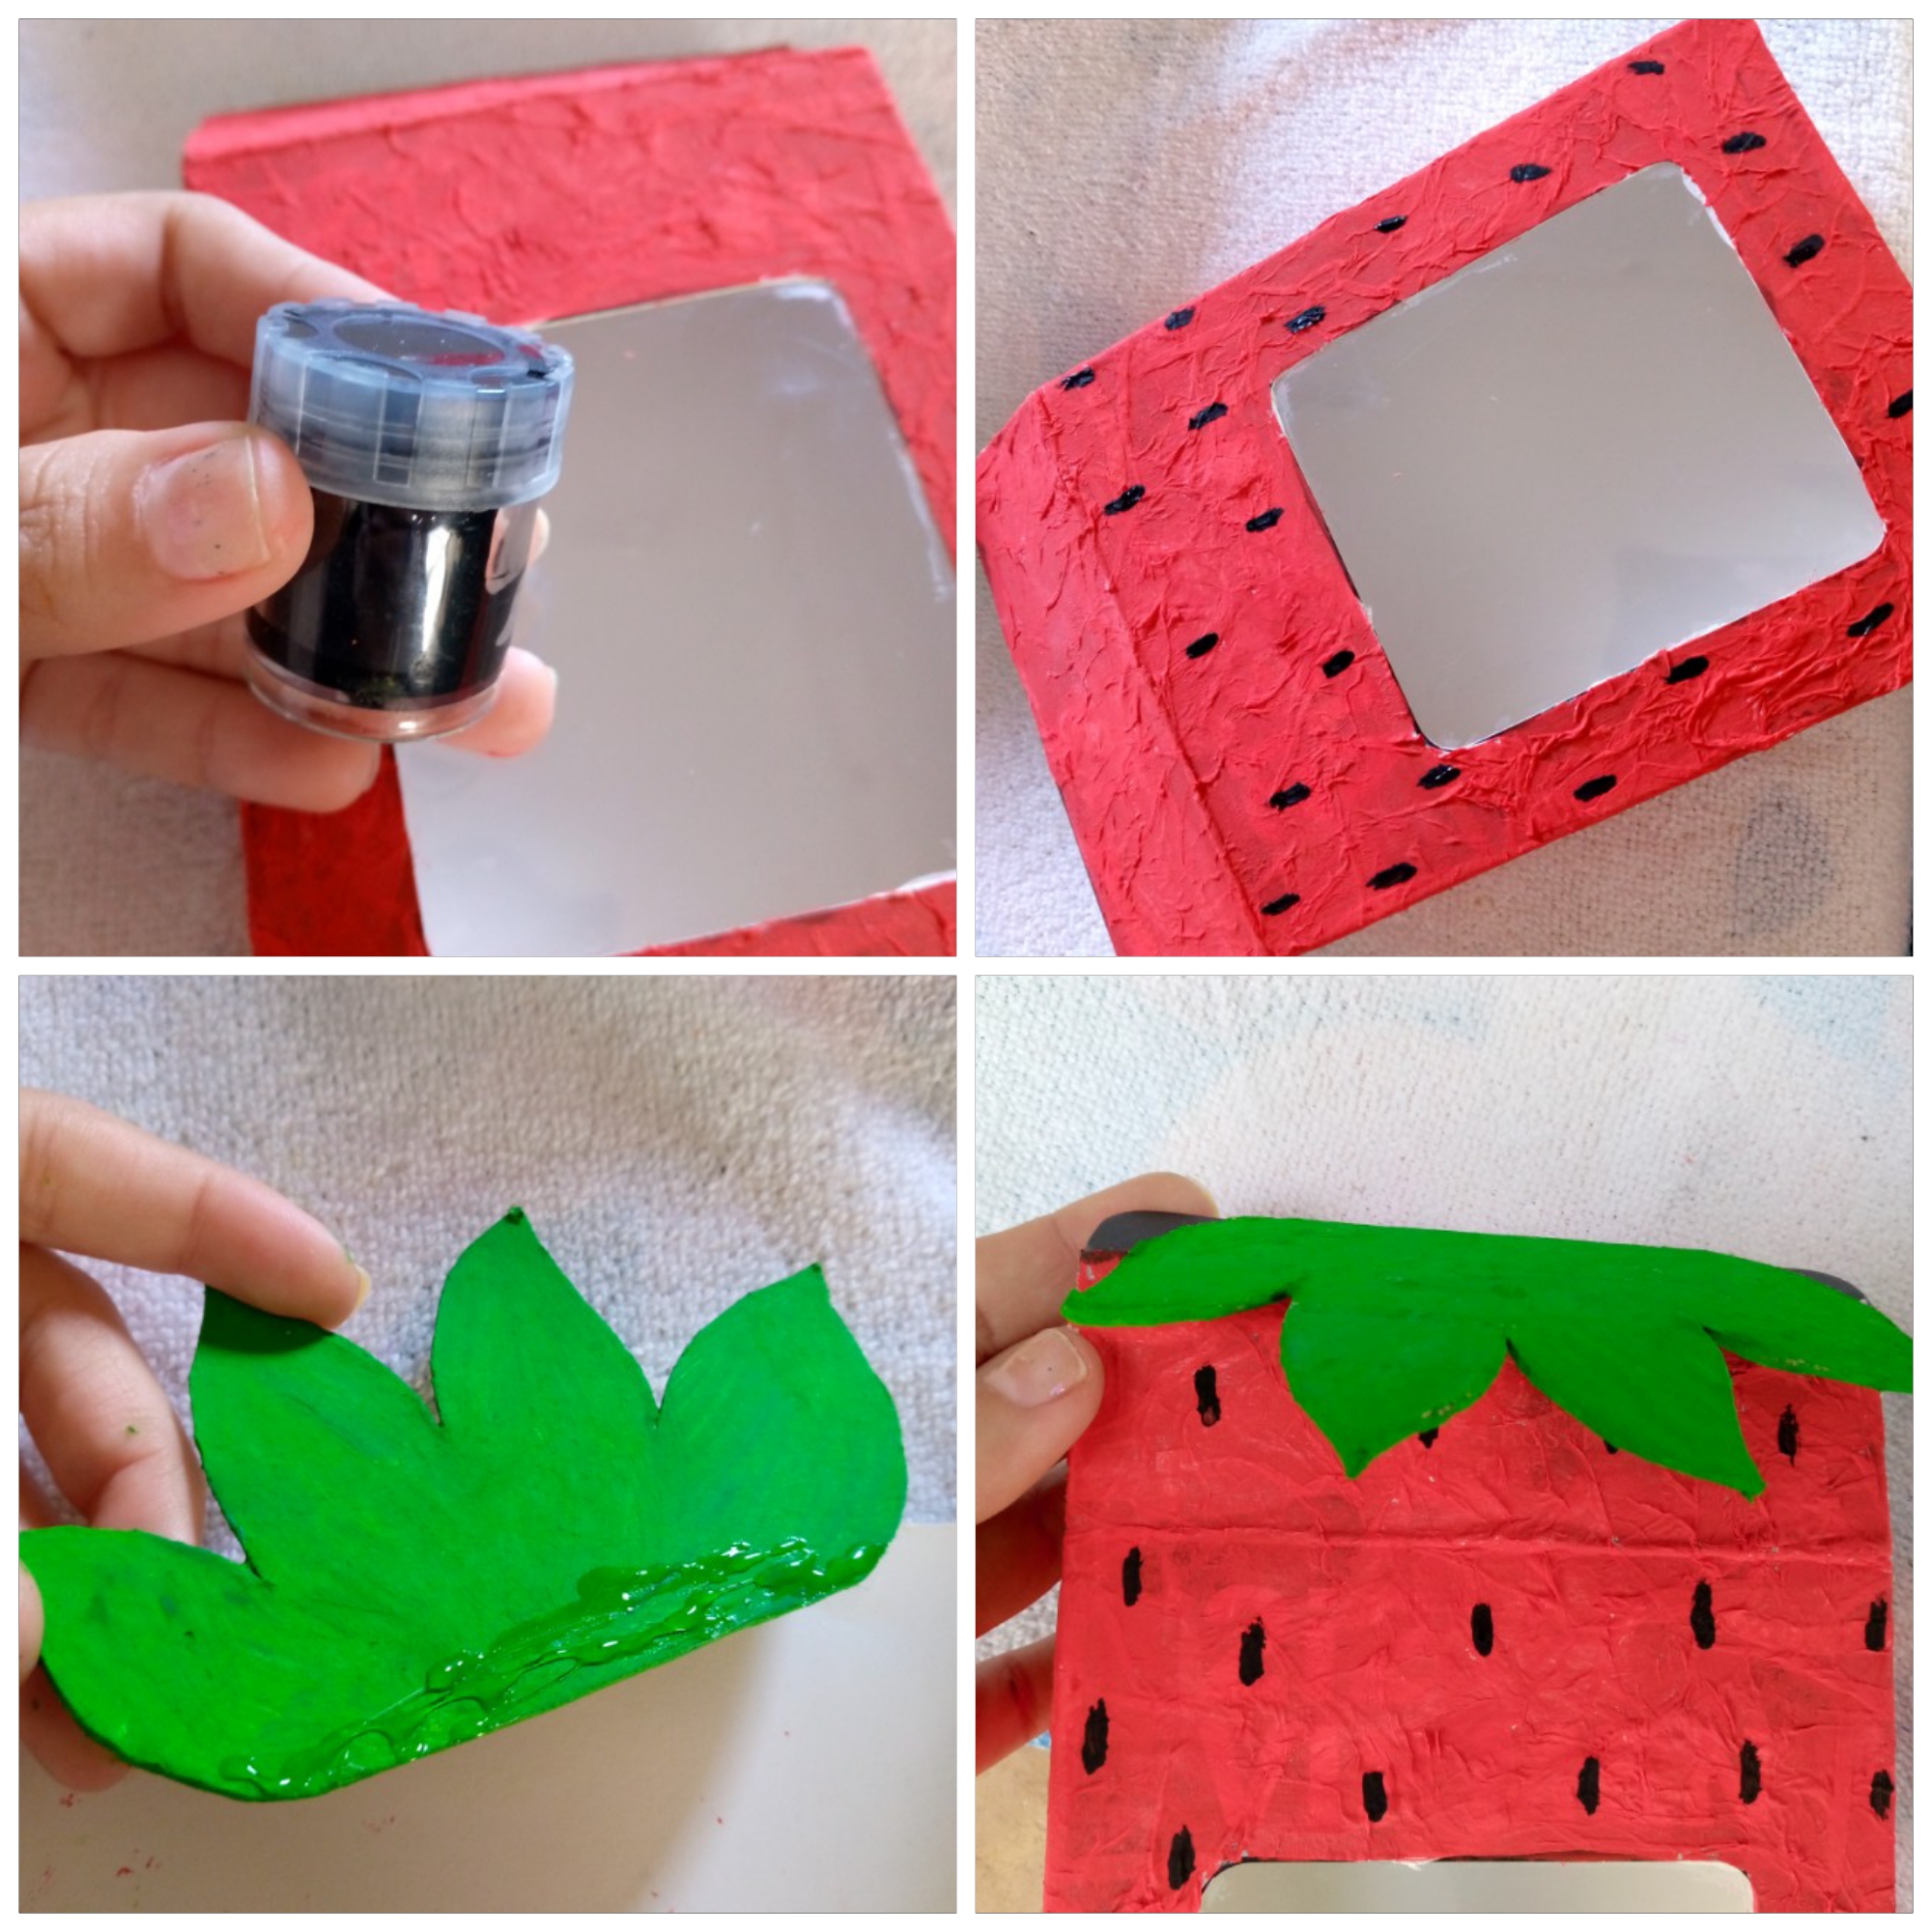
We start by cutting our paper into small pieces, friends. We do it carefully since it is very delicate. With a small plastic container we are going to add a little bit of water almost to the bottom and we will be adding the white glue and stir with the help of a brush. What we will do then is line our box and give it that hard texture. We add a thin layer of glue and we are going to stick the paper one by one on top of the glue and join them with the brush. We add glue and the same and so on until the box is completely covered. For a faster drying I helped myself with my friend the sun to dry the box.
Paso 02
Step 02
We will notice that it is dry after a few minutes when the paper does not stick to our little fingers and there we will begin to paint the parts of the box, this time we will use red paint for the background of our piece, remember to paint well since the texture is somewhat corrugated sometimes it is difficult to paint the small cracks that are formed with the paper and we must be careful to add paint to those parts to cover.

Paso 03
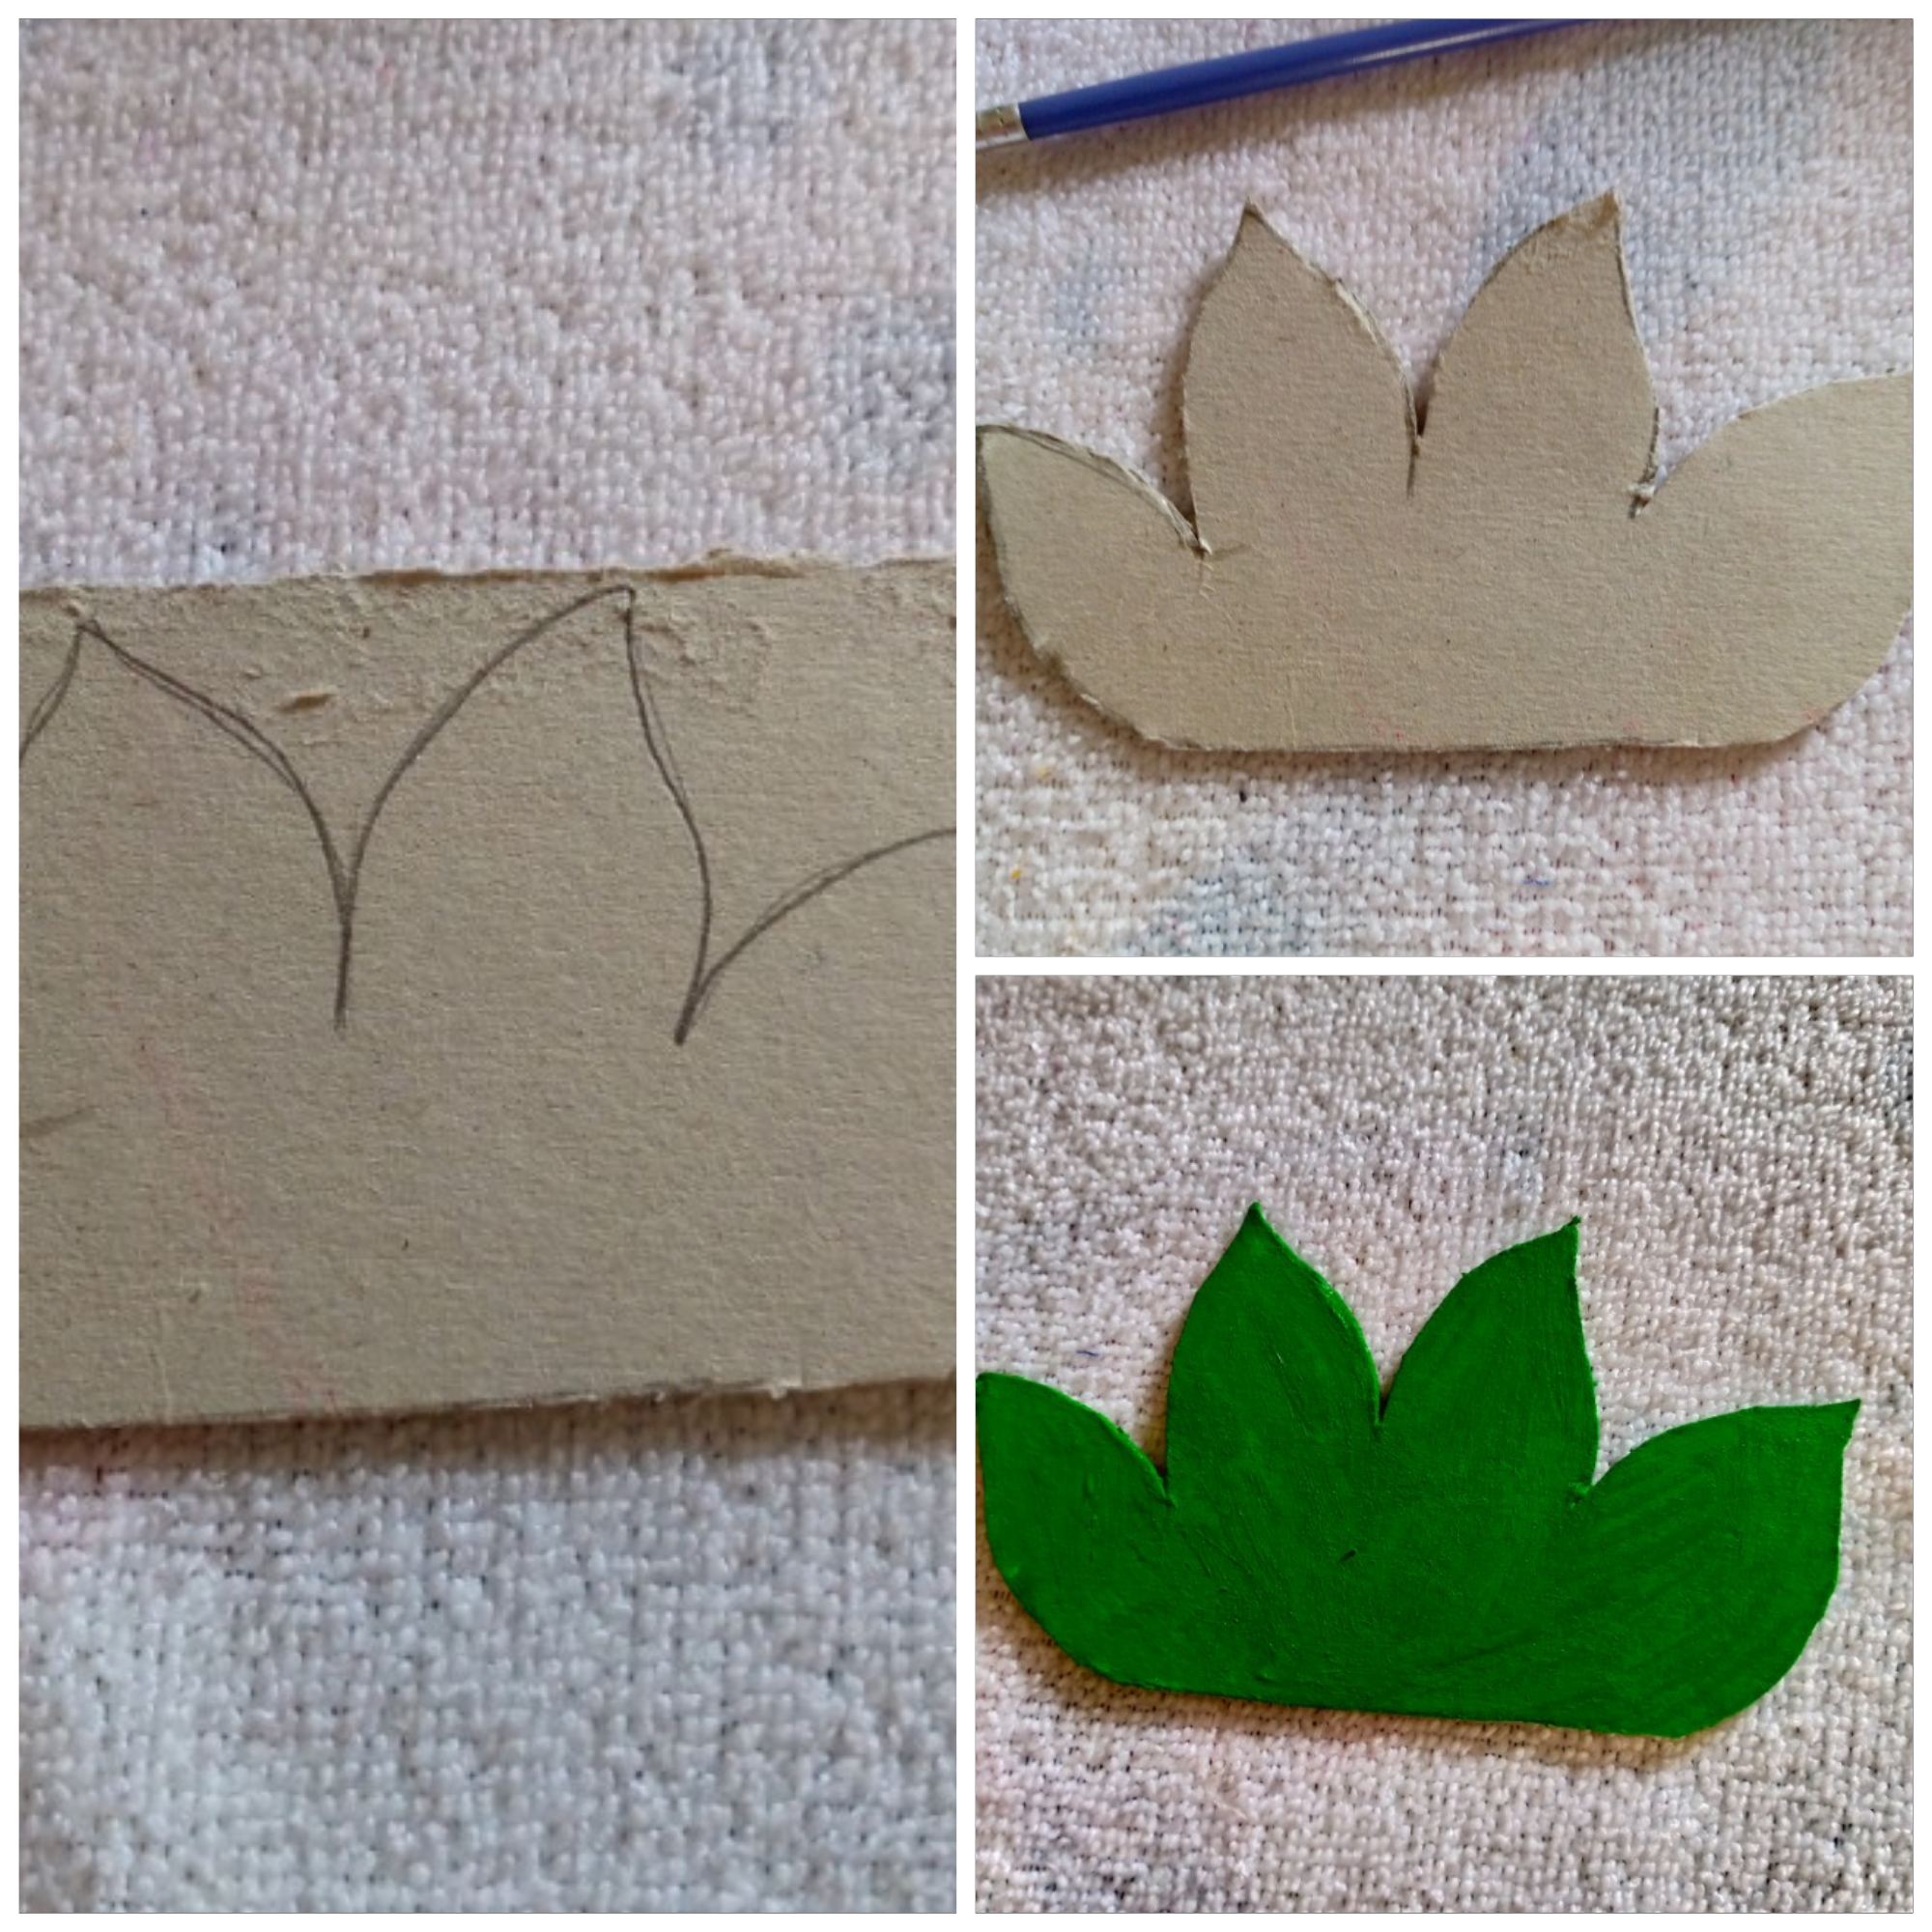
Step 03
Once ready, with my piece of cardboard I will be making a drawing of a silhouette of the strawberry leaves to be able to decorate it on the top. I will make three leaves together and then with the help of my scissors I will cut them little by little so that the edges are perfect. With the green paint I proceed to paint the leaves on the front, back and edges of course.
Paso 04
Step 04
To complete our strawberry I will use black paint to make the strawberry seeds. I will be making them alternately up and down my box, also on the back. Then I will be adding silicone to the cardboard sheet to stick it to the lid of the box, just above it. We will wait for this piece to dry and that is how we finish this little box.
Resultado:
Result:
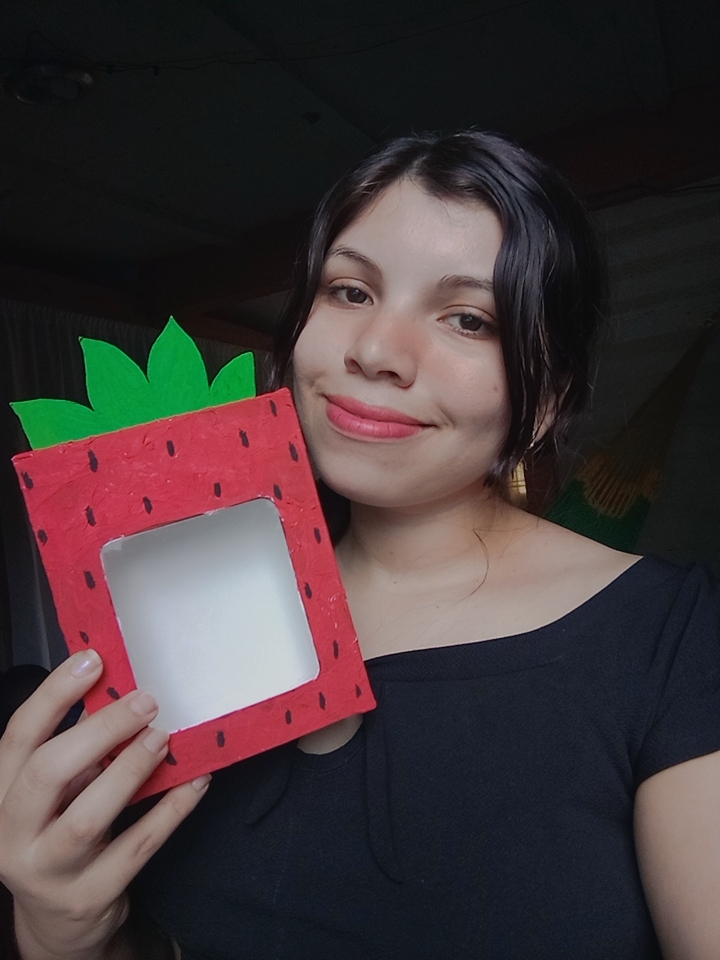
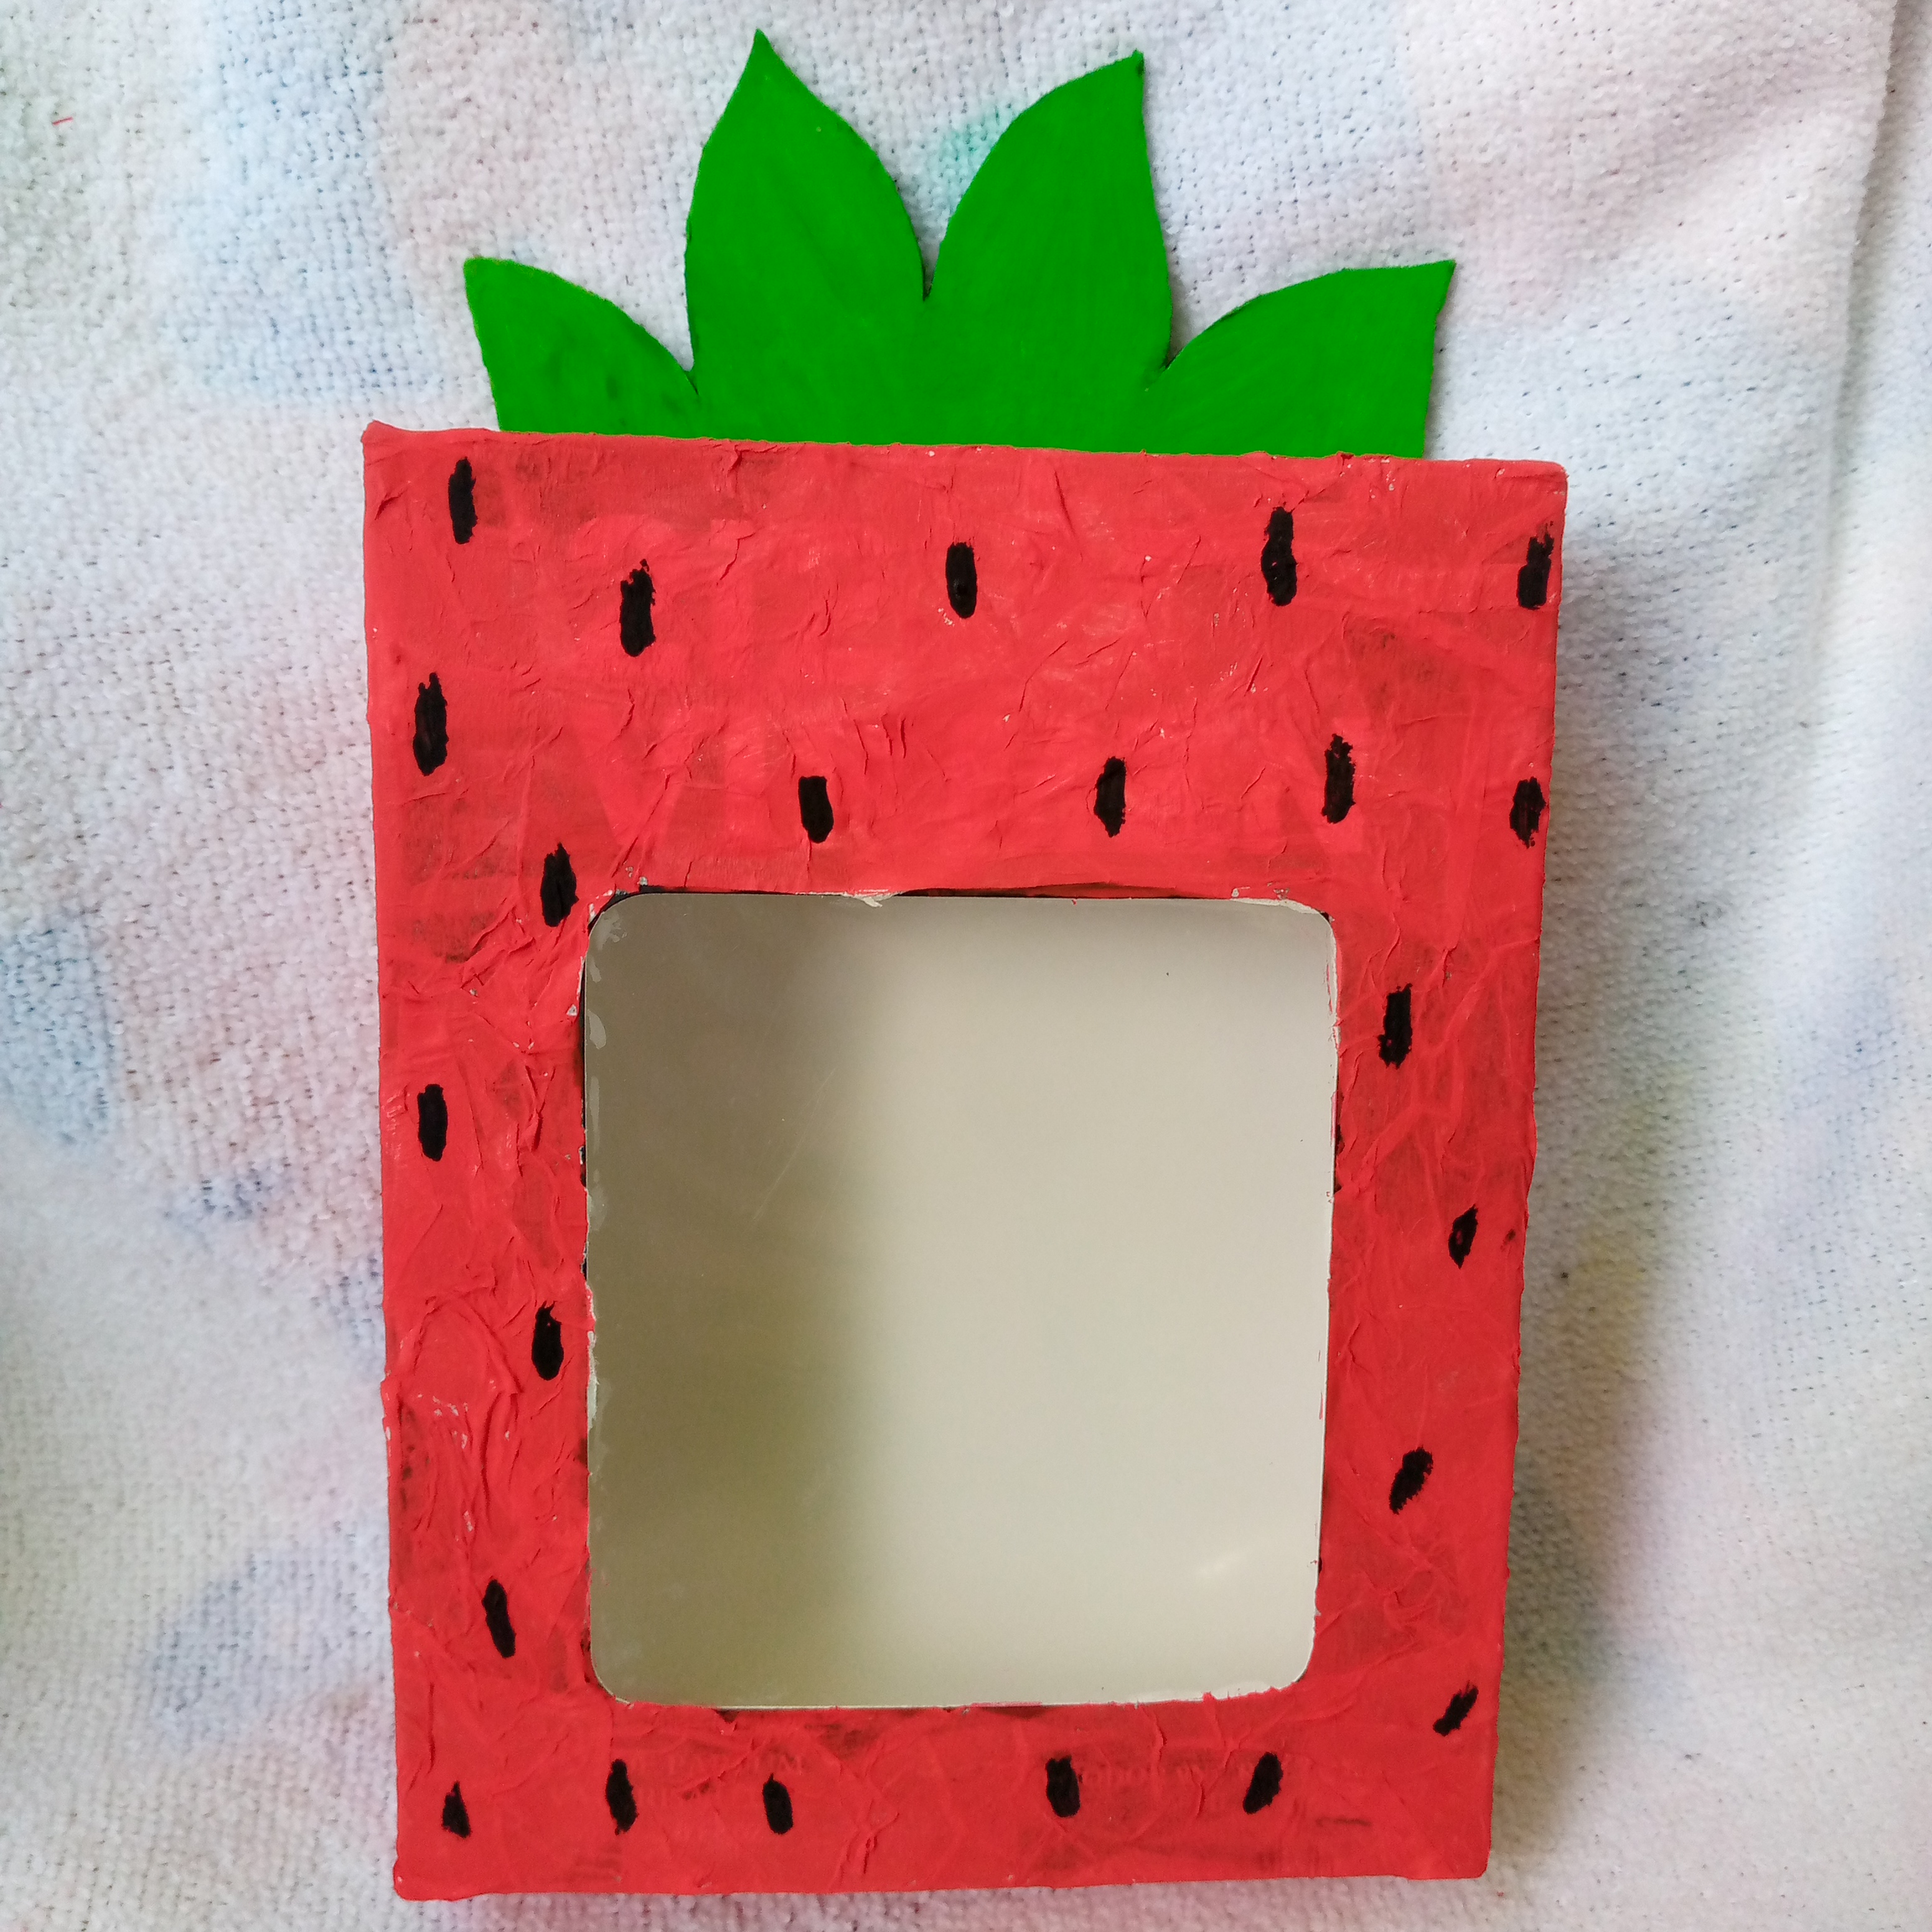
Friends, this is how my box to store little things has turned out 🤭🥰 I would be happy to know that you liked this idea of recycling these little boxes my ho just as I loved it, I say goodbye to you leaving you here with photos of how it turned out, and we will be reading each other in another upcoming project recycling little things, I say goodbye to you wishing you a happy and beautiful boche see you my creative hivers ❤️✨.

Que bonita!! puedes usarla para guardar pulseras o collares pero también podrías envolver algún detalle que vayas a regalar como dulces o galletas
Cierto muchas gracias amiga por la idea no se me había ocurrido guardar prenda o obsequiarla 🤗
Quedó lindaaaa, gracias por el tutorial 🤗🍓
Feliz noche amiga @marile21 muchas gracias que bueno que te gustó 😍😊
From Venezuela, our witness drives decentralization and the adoption of Web3 technology, creating opportunities for the local community and contributing to the global ecosystem. // Desde Venezuela, nuestro testigo impulsa la descentralización y la adopción de la tecnología Web3, generando oportunidades para la comunidad local y contribuyendo al ecosistema global.
Sigue, contacta y se parte del testigo en: // Follow, contact and be part of the witness in:
The strawberry storage container is so cute and creative. It was a great way to think outside the box. Well done
Thank so much friend 😊👍
La llenas de muchos dulces y perfectamente podría ser un lindo detalle hecho con nuestras propias manos, gracias por compartir.