👩🏻‍🍳🪡DIY | Making a Heart-Shaped Kitchen Apron🧵♥️[ES🇪🇸~EN🇺🇲]

in Hive Diy13 days ago

Portada de Youtube Thumbnail Vlog Collage Fotos Aesthetic Blanco_20250322_120151_0000.png

Picsart_24-10-09_13-54-38-867 (1).jpg

!Hola¡Si has llegado aquí a este tutorial ,es porque te da curiosidad cómo puedes confeccionar este modelo sencillo de delantal de cocina con solo poco materiales,a mi me gusta mucho la cocina sobre todo la repostería me encanta 🥰🍰asi que urgente necesitaba hacerme ya un delantal , lastimosamente la tela no me alcanzó para hacer el gorro de cocina 🥺pero bueno eso lo dejaremos para hacerlo en otro tutorial y vuelva a comprar nuevamente la tela para hacerlo.

Hello! If you have come here to this tutorial, it is because you are curious about how you can make this simple kitchen apron model with only a few materials. I really like cooking, especially baking, I love it 🥰🍰 so I urgently needed to make an apron, unfortunately the fabric was not enough to make the kitchen hat 🥺 but well, we will leave that to do it in another tutorial and I will buy the fabric again to do it.

Picsart_24-10-09_13-54-38-867 (1).jpg

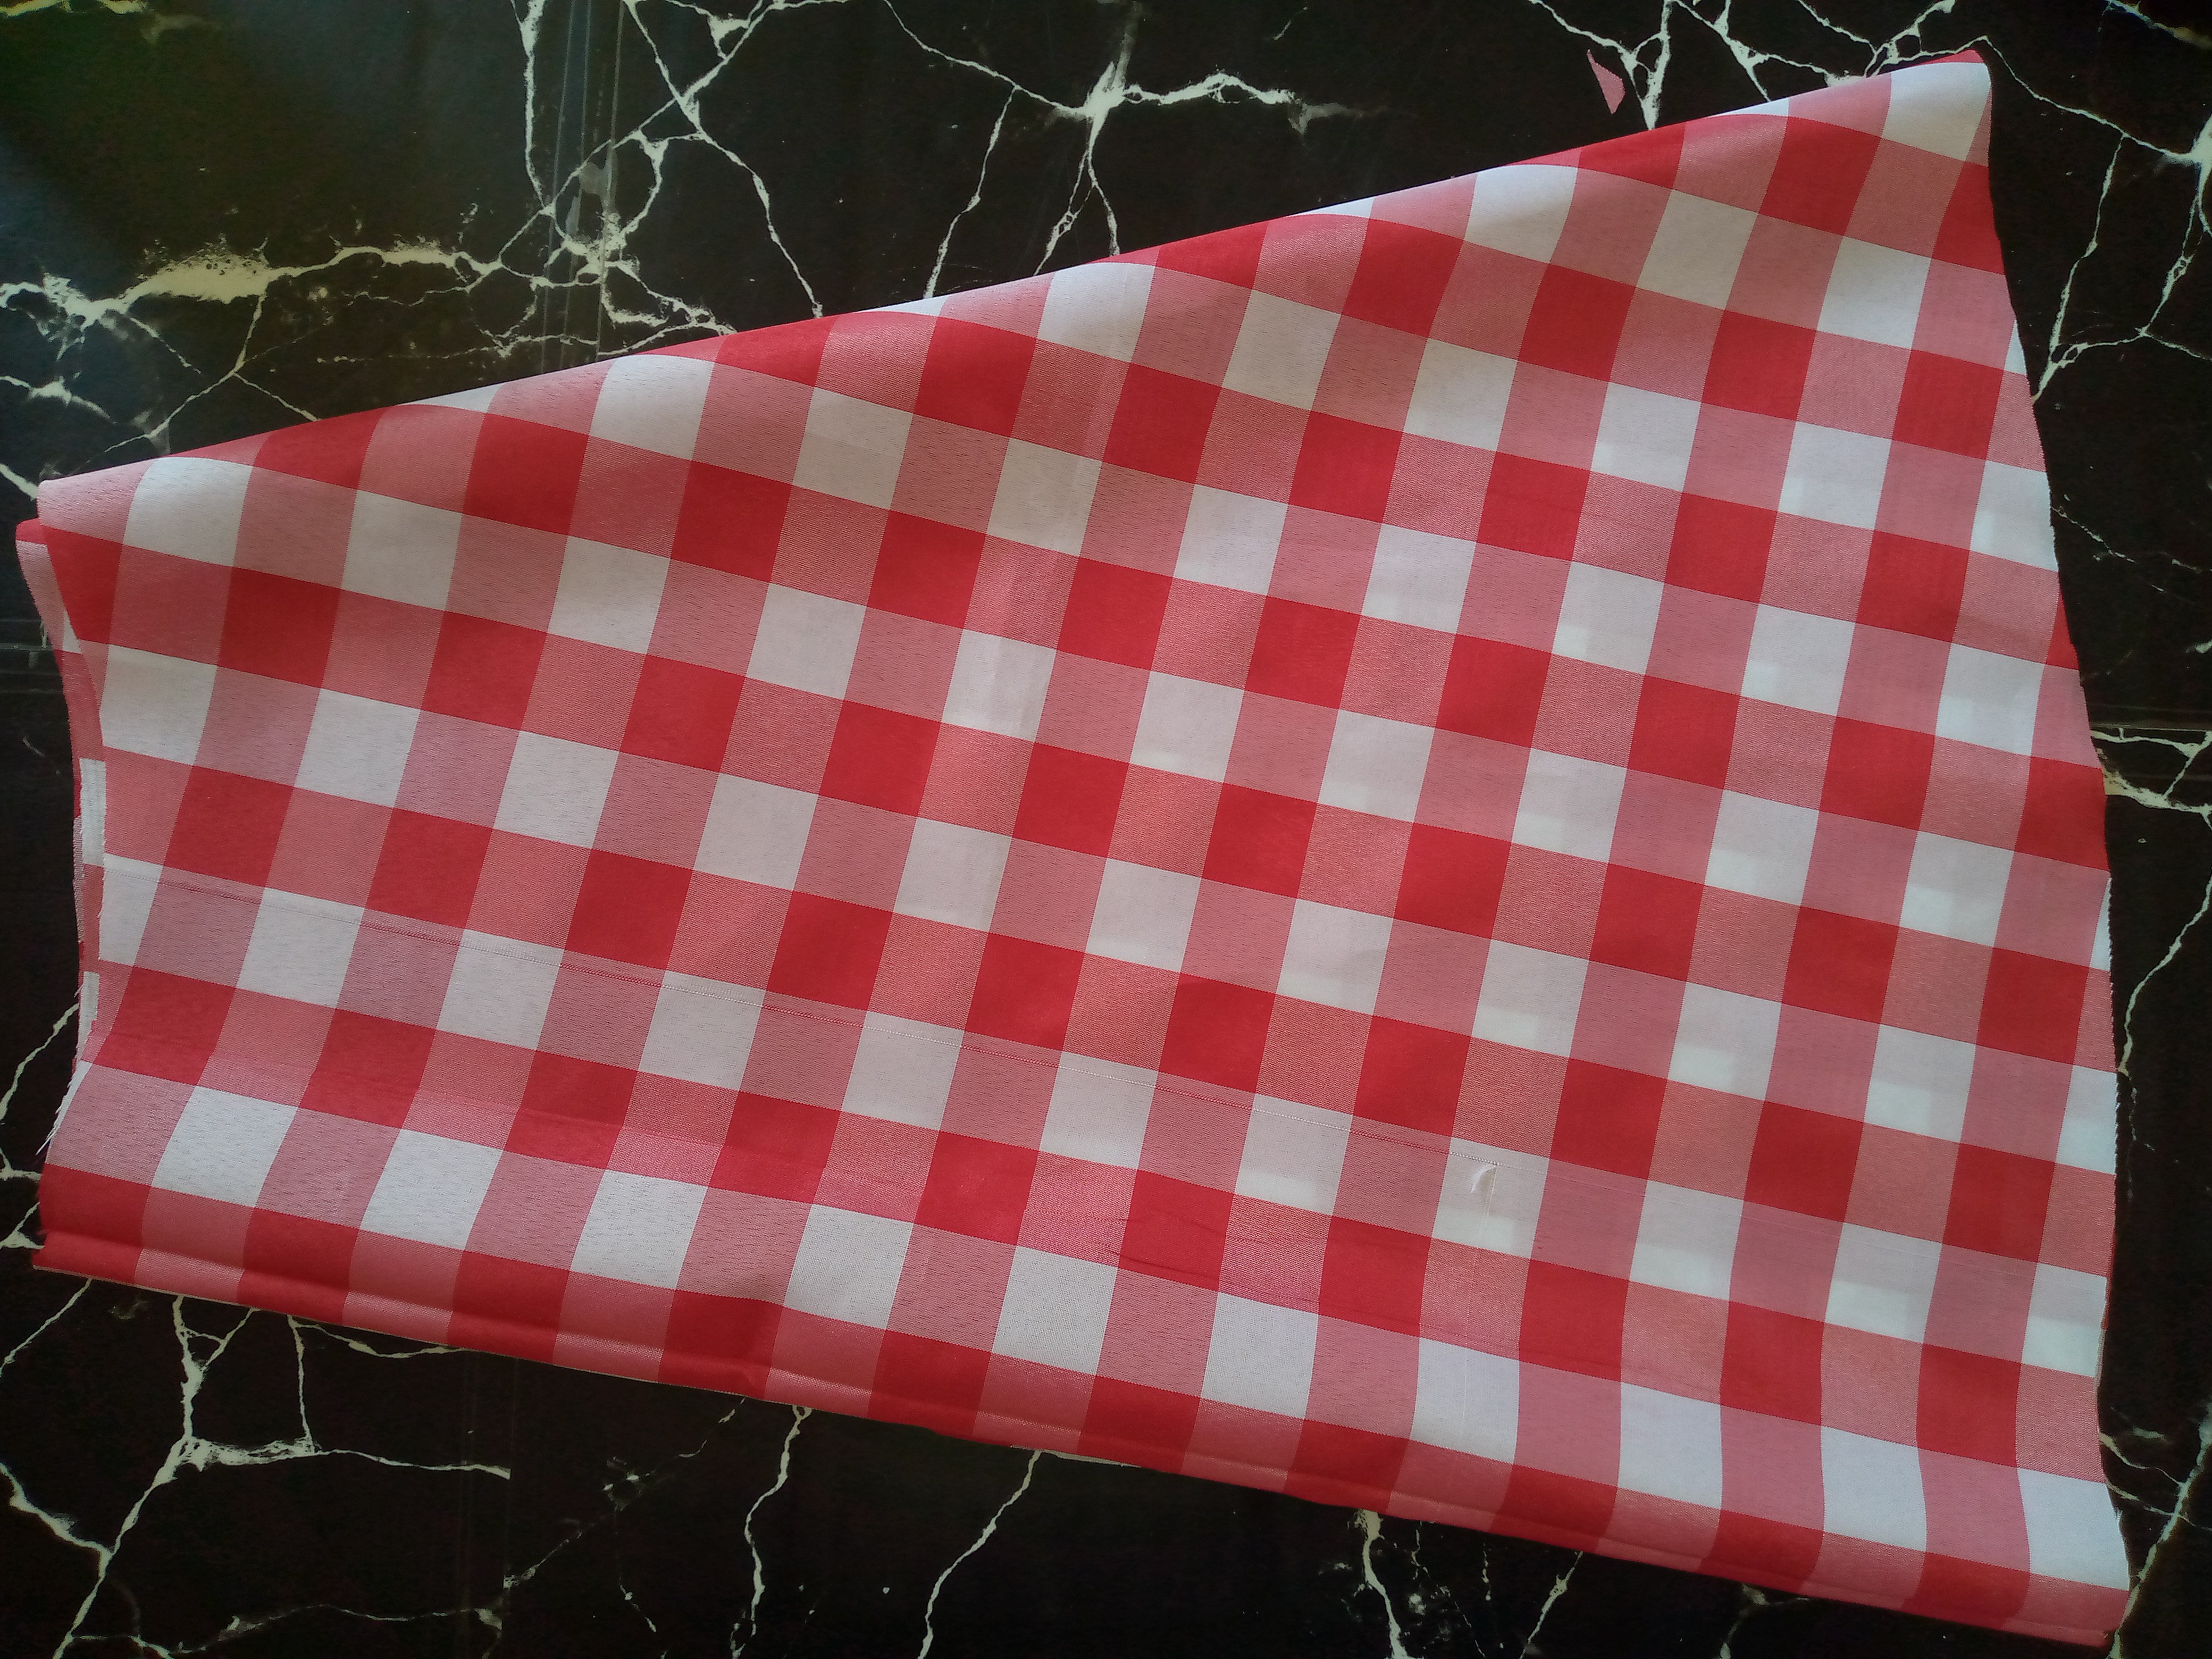
Estaba buscando varios modelos de como hacer este delantal y quise irme por lo bonito por lo cuchi y tierno ,así que como encontré en la tienda de telas está linda tela en estampado de cuadros rojos que me está gustando mucho decidí comprarme la y ya hacerlo ,me gustó también porque la calidad d ela tela es muy buena es un poco gruesa y se ve muy resistente también siento que es como un poco impermeable que pues dura un poco para absorber la humedad y esto me gustó mucho porque estaré en contacto con la cinta y pues va a ser de muy buena ayuda que la tela en parte sea de este material.

I was looking for several models of how to make this apron and I wanted to go for the pretty, the cute and tender, so since I found this pretty red plaid print fabric in the fabric store that I really like, I decided to buy it and make it. I also liked it because the quality of the fabric is very good, it is a little thick and looks very resistant. I also feel that it is a little waterproof, which lasts a little while to absorb moisture, and I really liked this because I will be in contact with the tape and it will be very helpful that the fabric is partly made of this material.

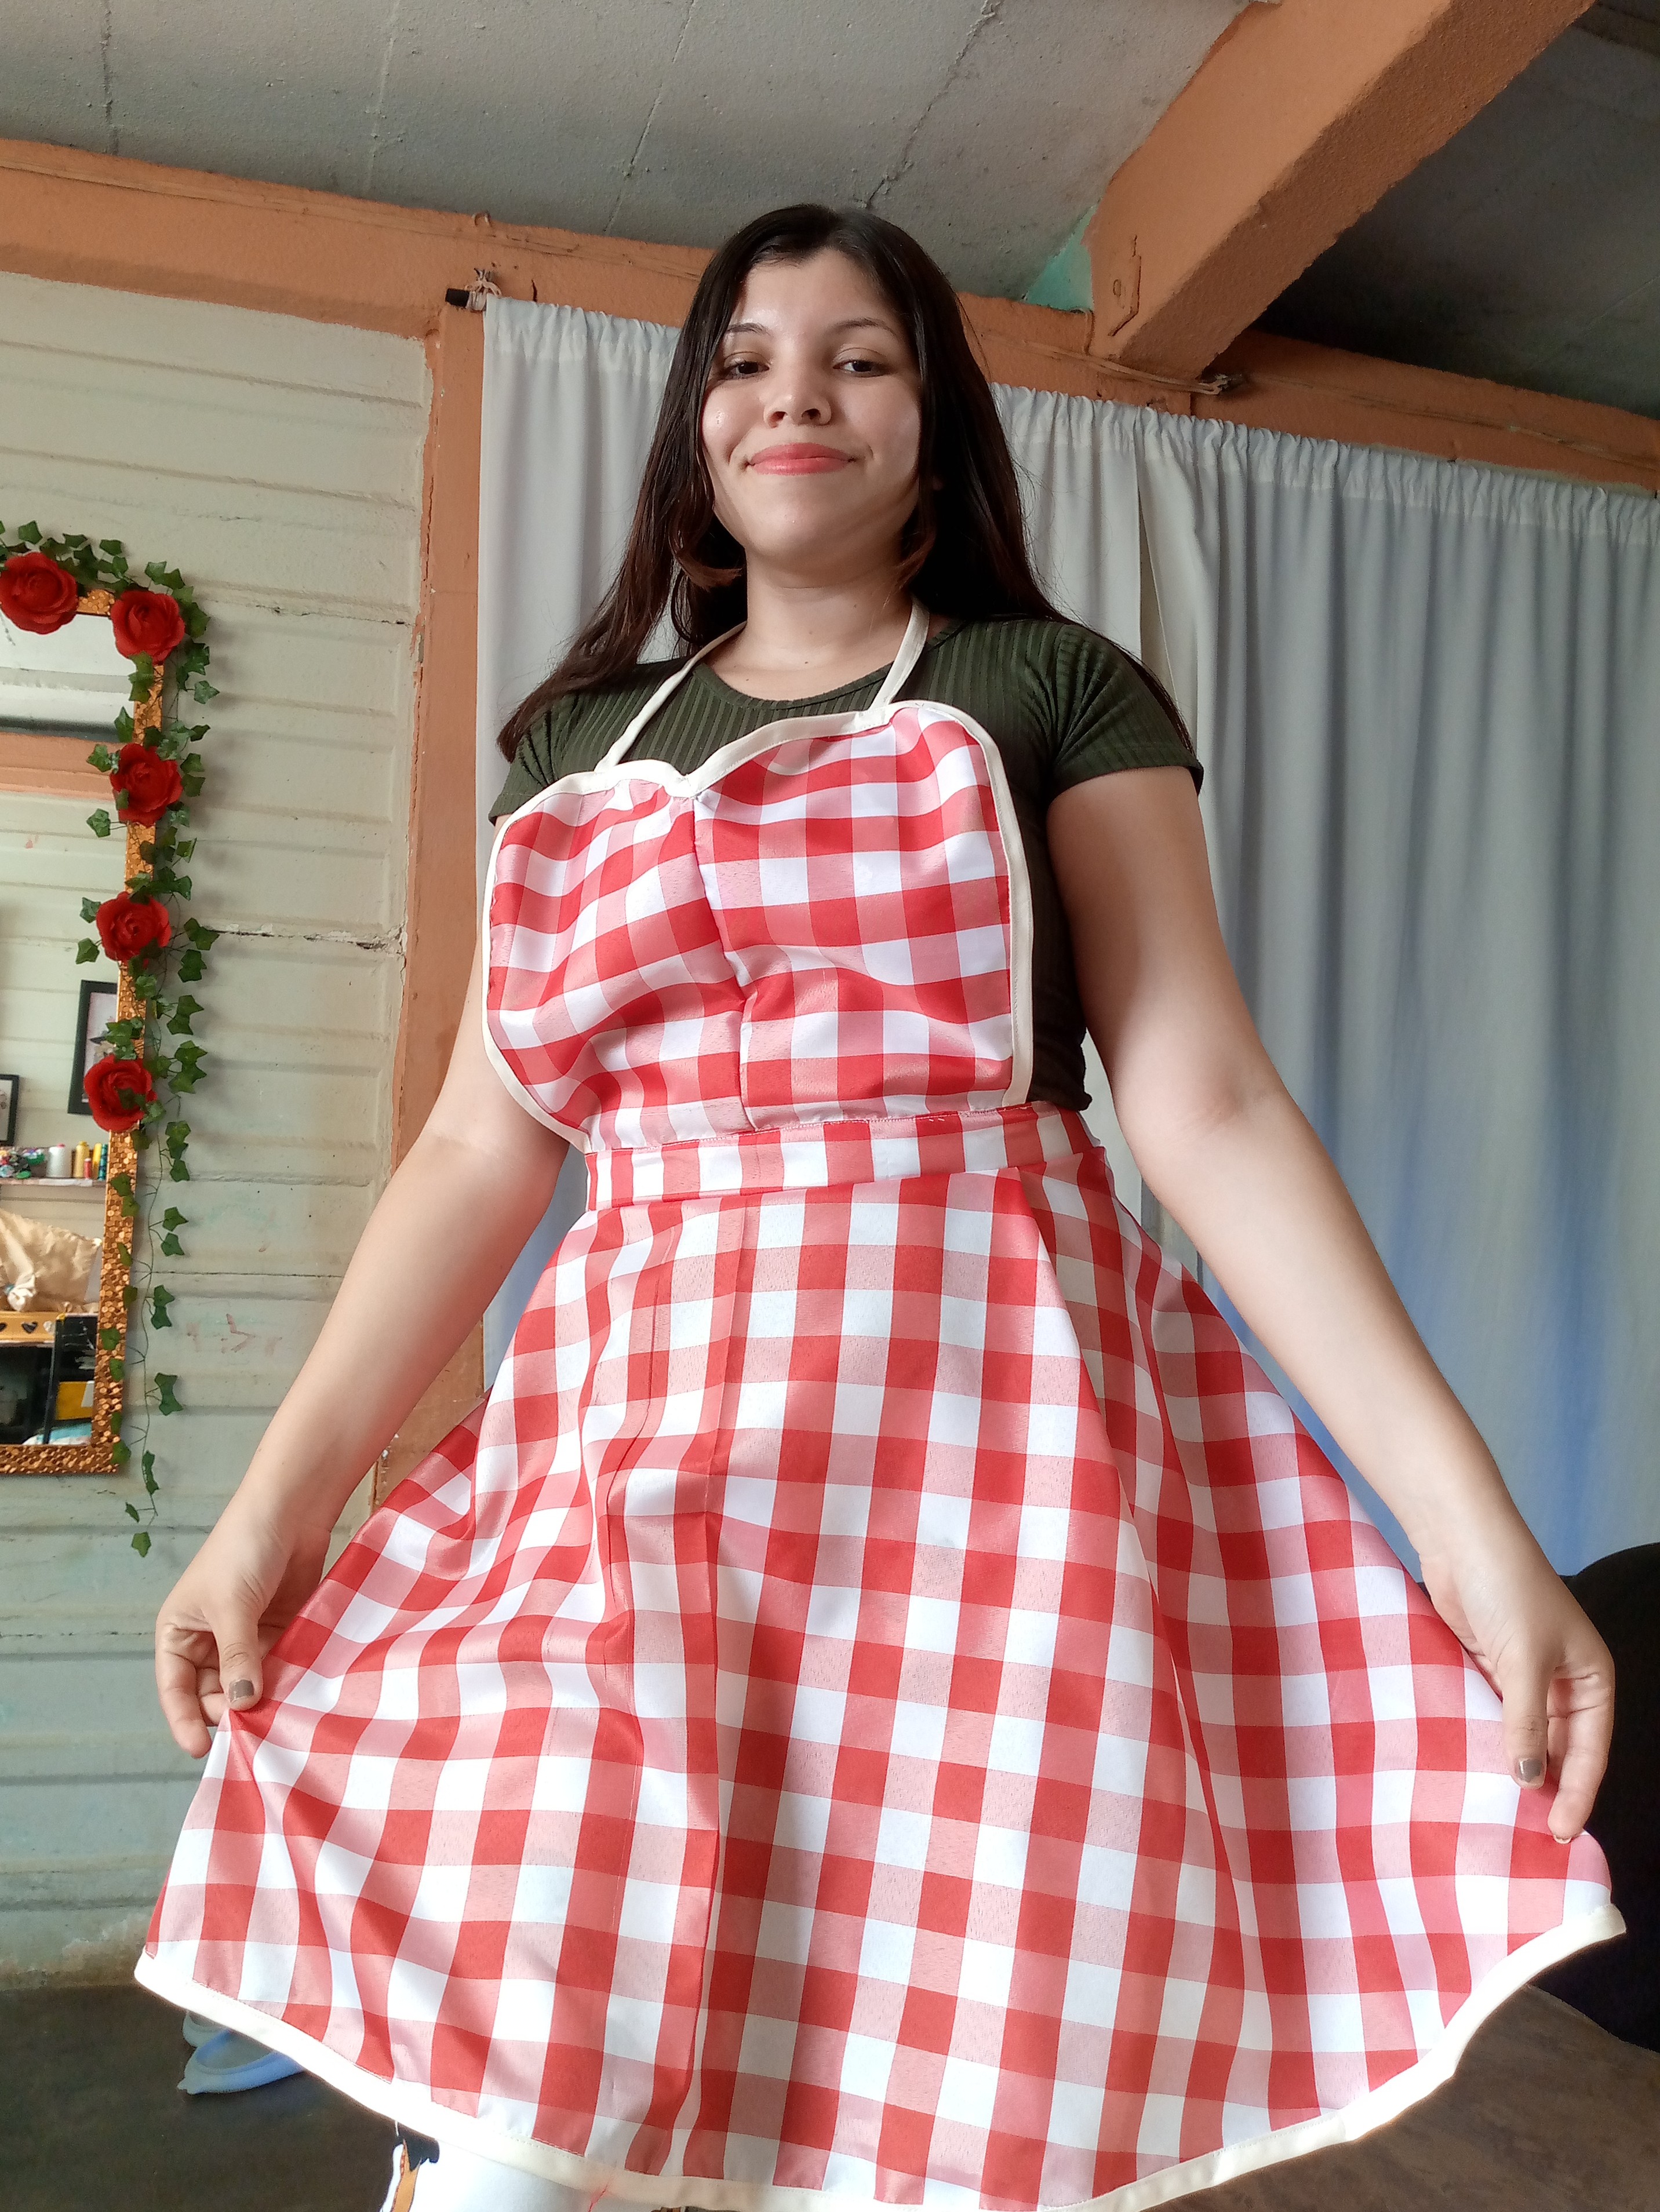
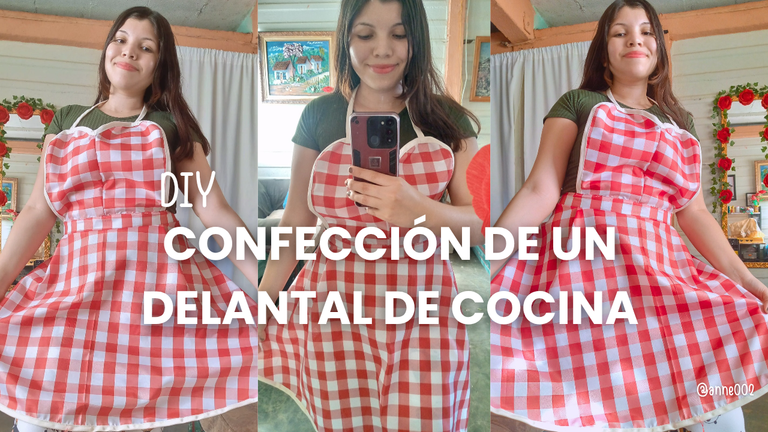
Para el modelo pensé hacer un estilo muy tierno y delicado como por ejemplo la forma de un corazón en el frente del talle delantero con un tirante ,y en la parte de la falda pues hice la falda corte semicircular o media campana para darle un estilo mas holgado al delantal con una cinta en la cintura que pues ya luego ajustare en mi cintura para mas comodidad,a mi me gustó mucho como quedó,espero te guste a ti también ♥️🧵.

For the model I thought of making a very tender and delicate style such as the shape of a heart on the front of the front waist with a strap, and in the part of the skirt I made the skirt semicircular or half bell cut to give a looser style to the apron with a ribbon at the waist that I will then adjust at my waist for more comfort, I really liked how it turned out, I hope you like it too ♥️🧵.

IMG_20250321_112639_492.jpg

Picsart_24-10-09_13-54-38-867 (1).jpg

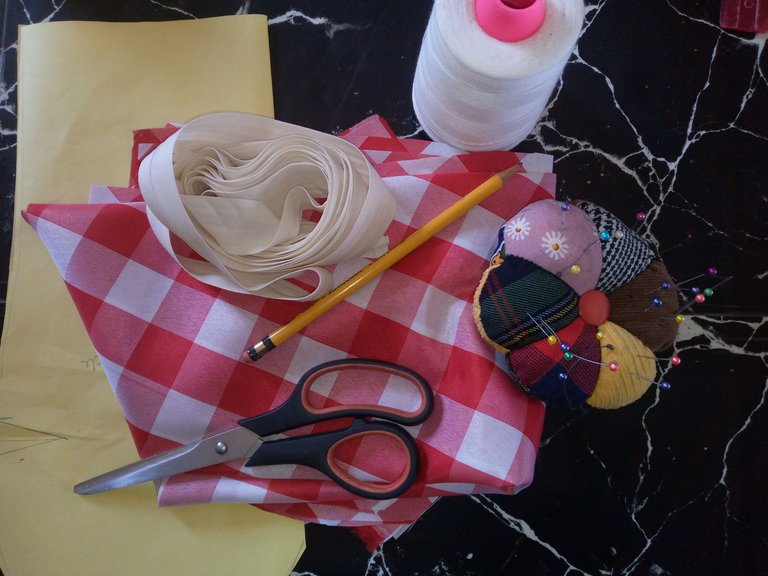
Materiales:// Materials:

  • Usaremos 1 metro de tela vichy
  • 3 metros de sesgo de 2 cm de ancho
  • Alfileres
  • Maquina de coser
  • Tijeras
  • Patrones correspondientes al diseño
  • Hilo

  • We will use 1 meter of gingham fabric
  • 3 meters of 2 cm wide bias binding
  • Pins
  • Sewing machine
  • Scissors
  • Patterns corresponding to the design
  • Thread

Picsart_24-10-09_13-54-38-867 (1).jpg

Pasos a seguir://Steps to follow:

IMG_20250321_111949_133.jpg

IMG_20250321_112751_044.jpg

IMG_20250321_112717_942.jpg

IMG_20250321_112820_711 (1).jpg

Paso 01

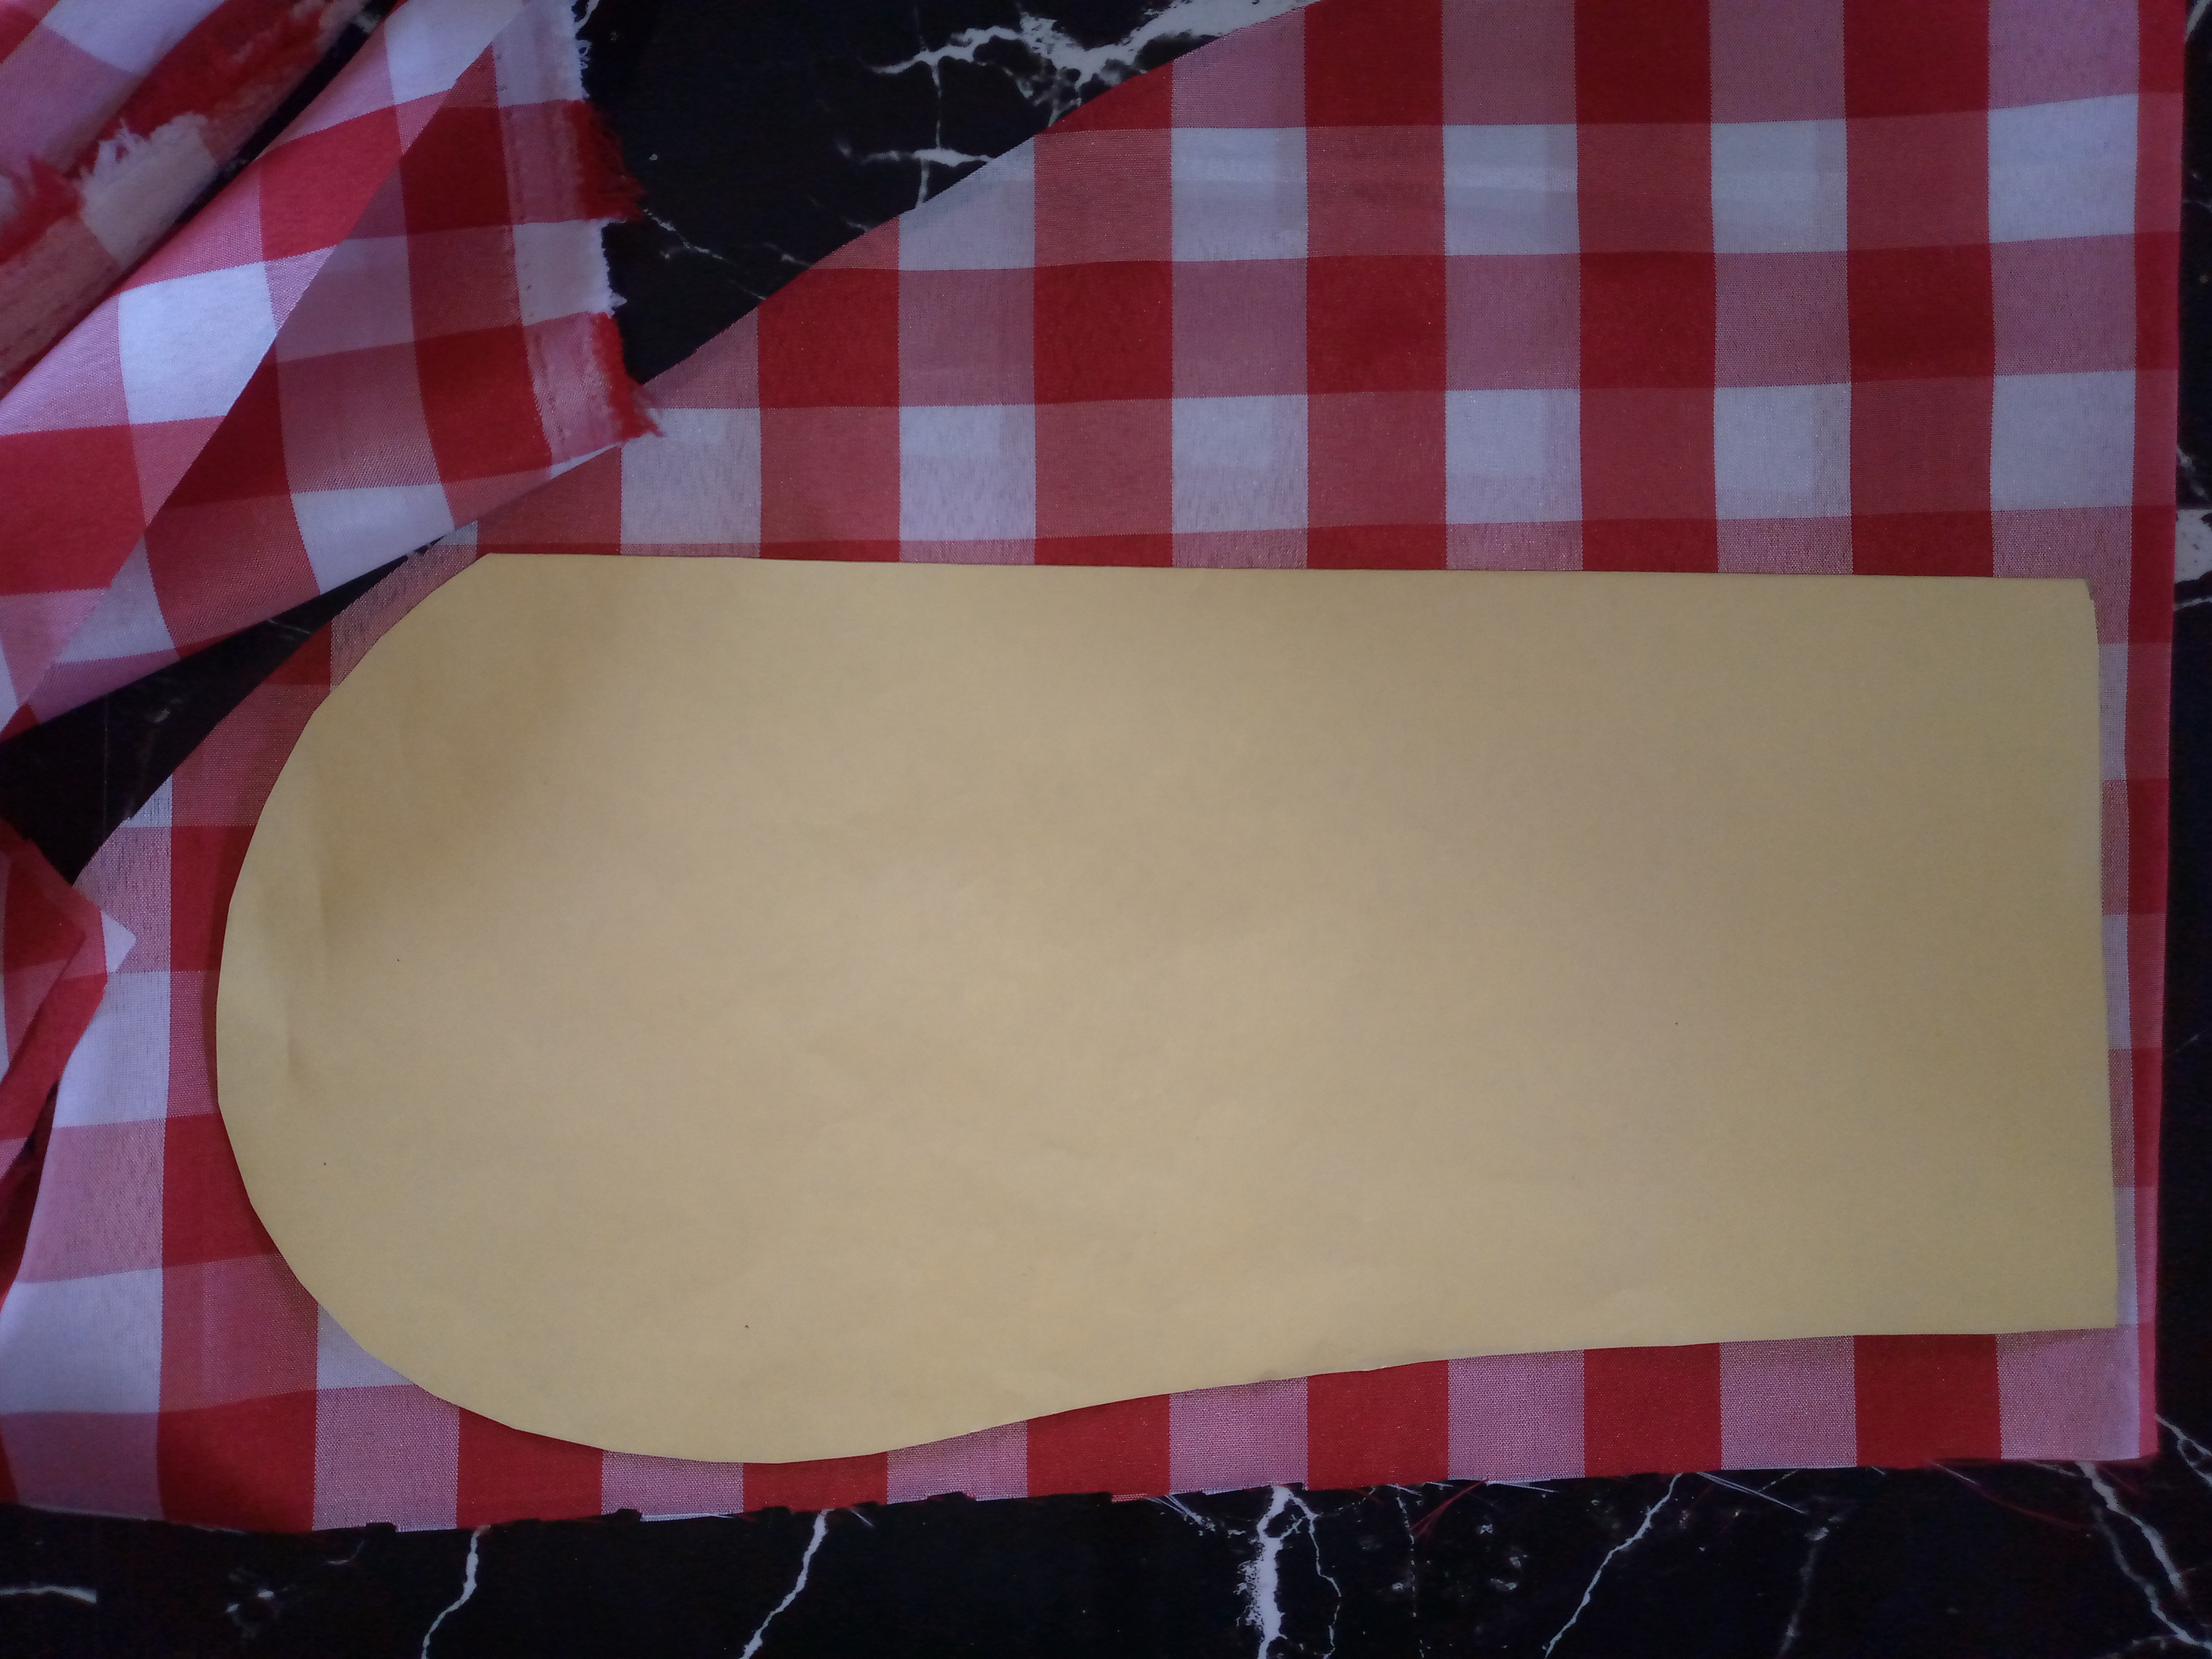
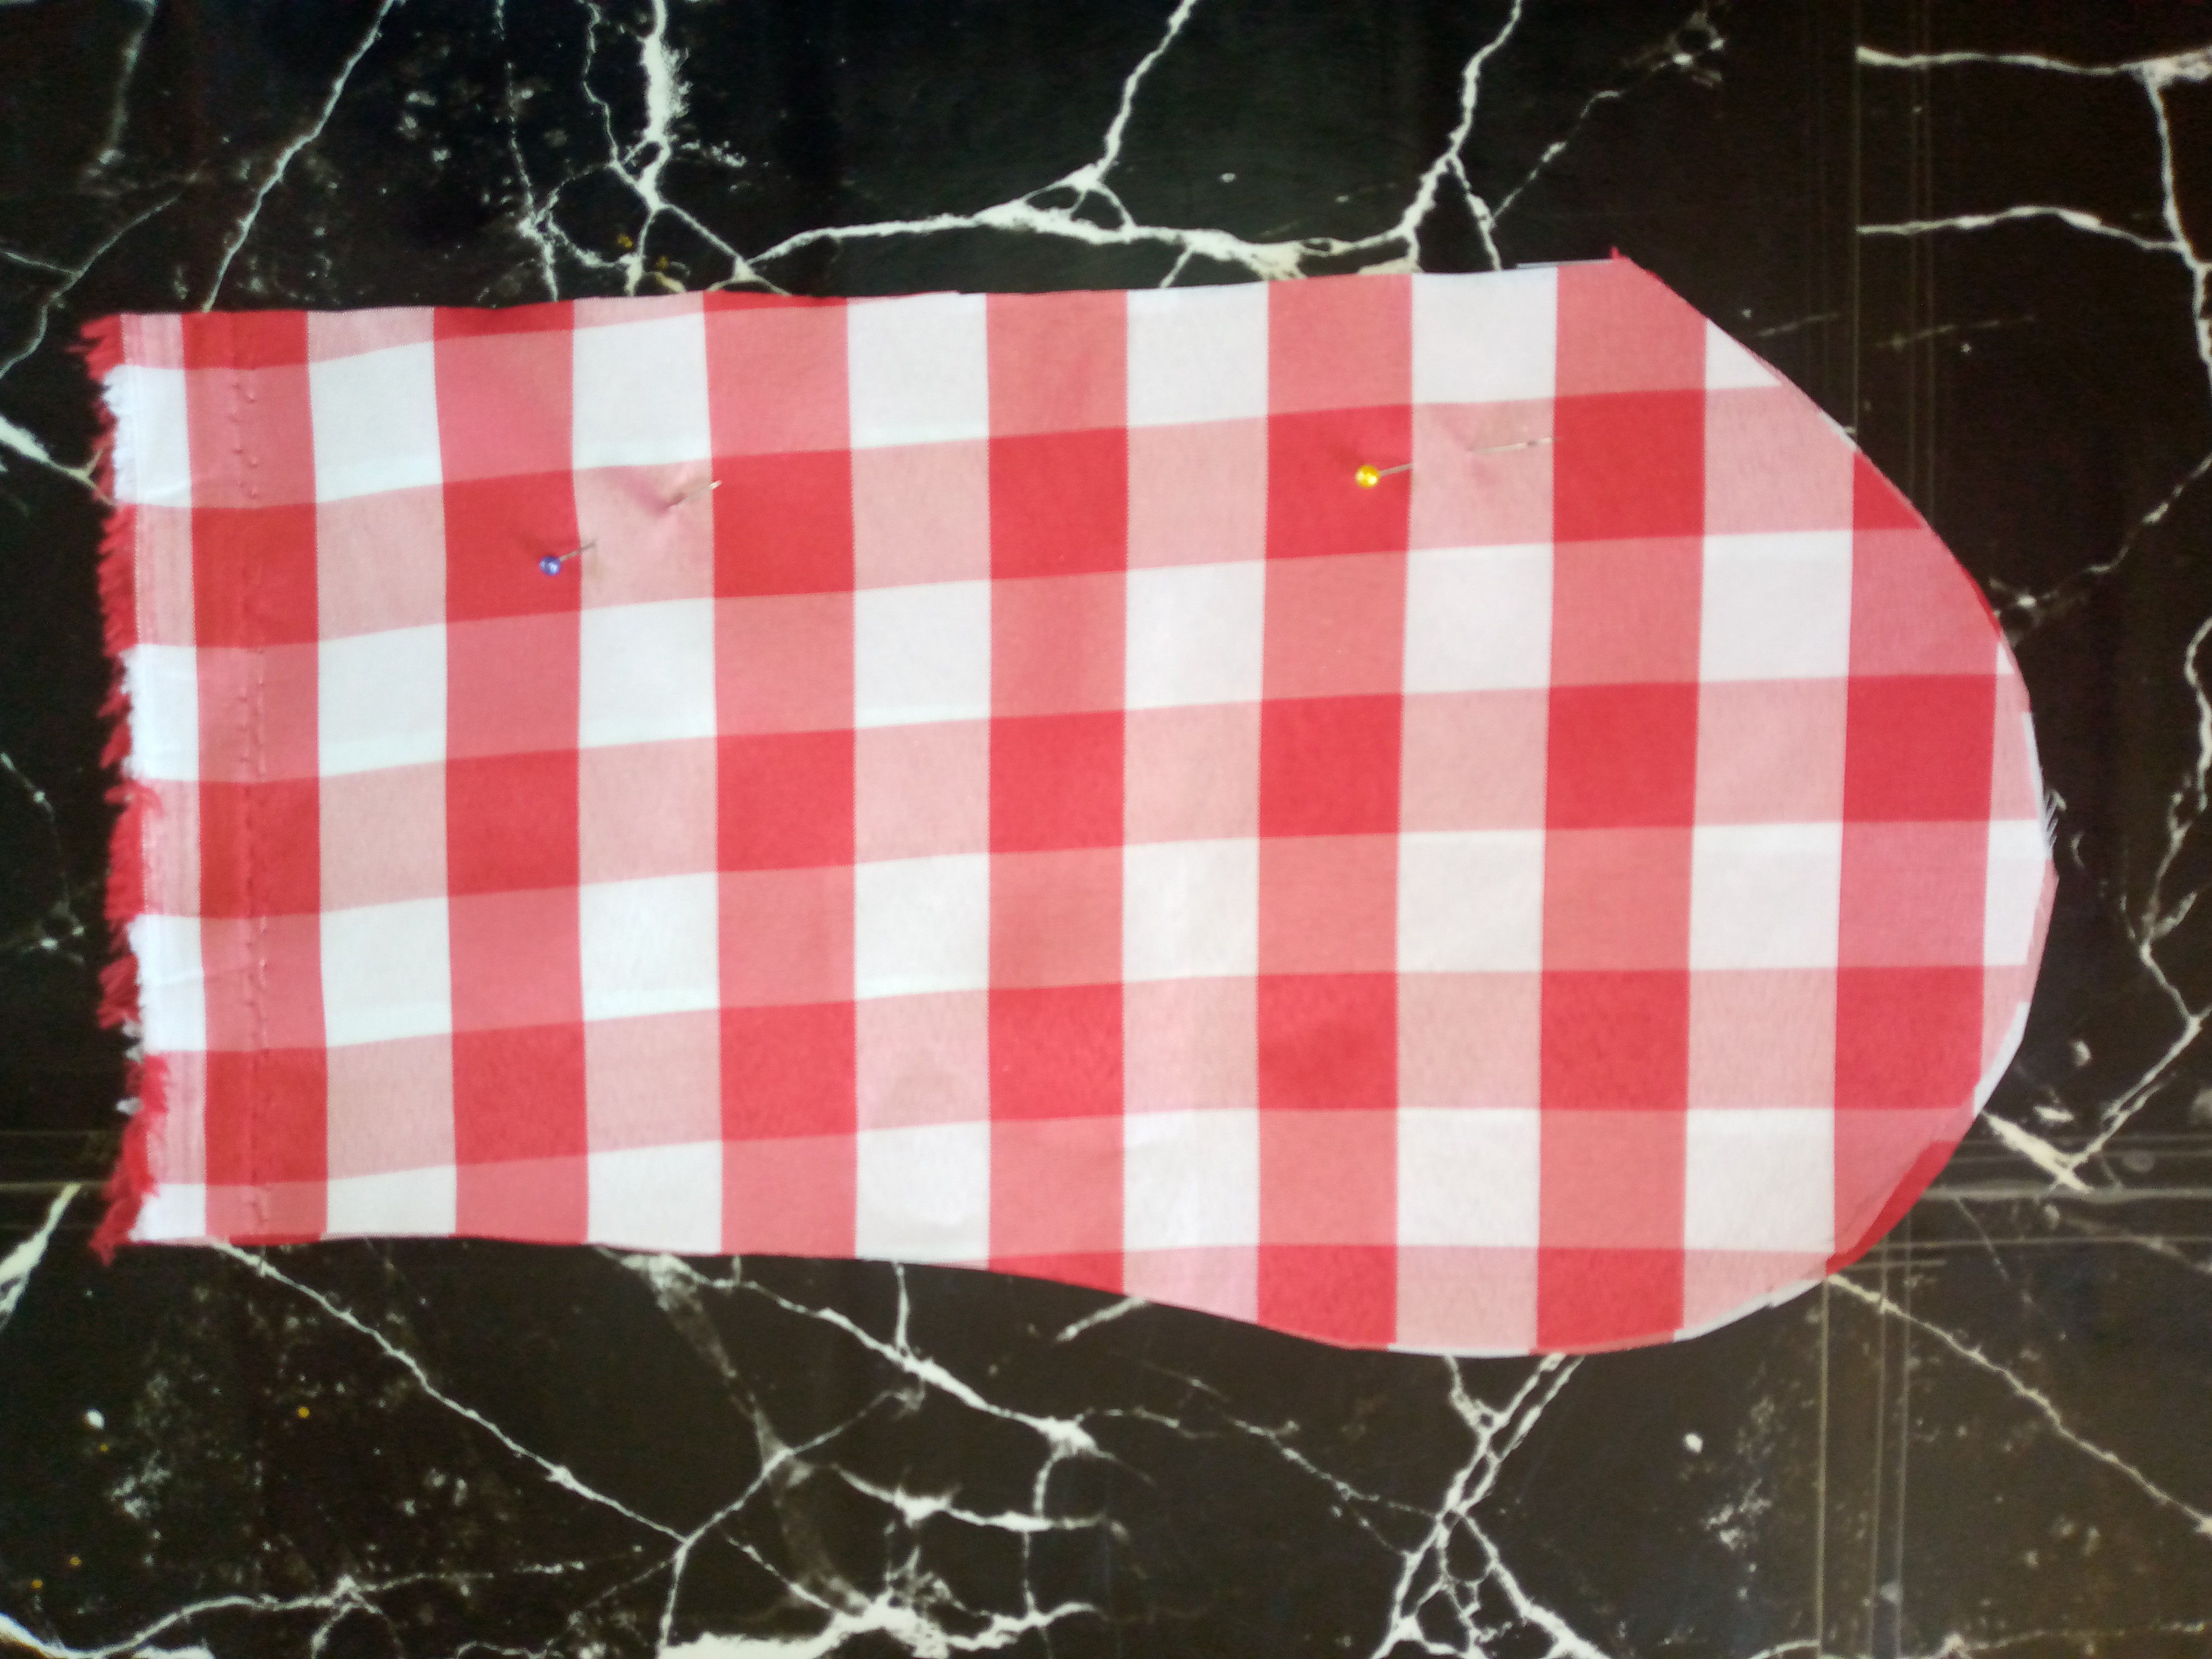
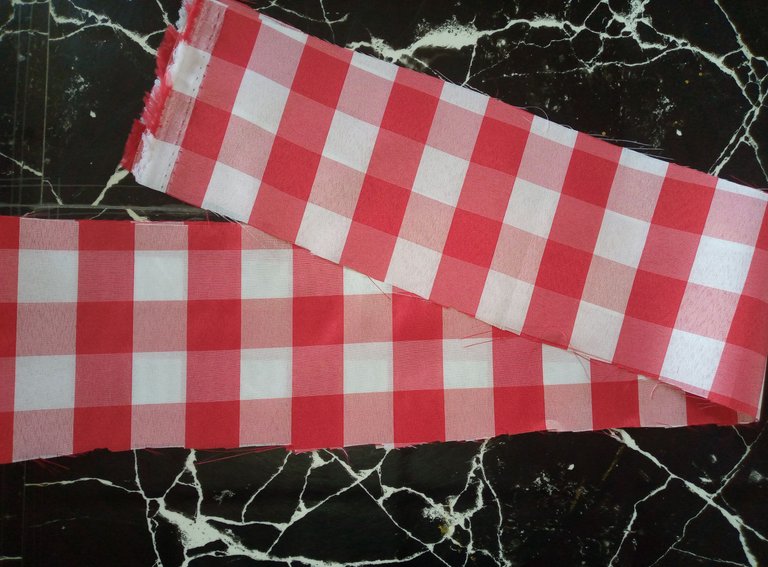
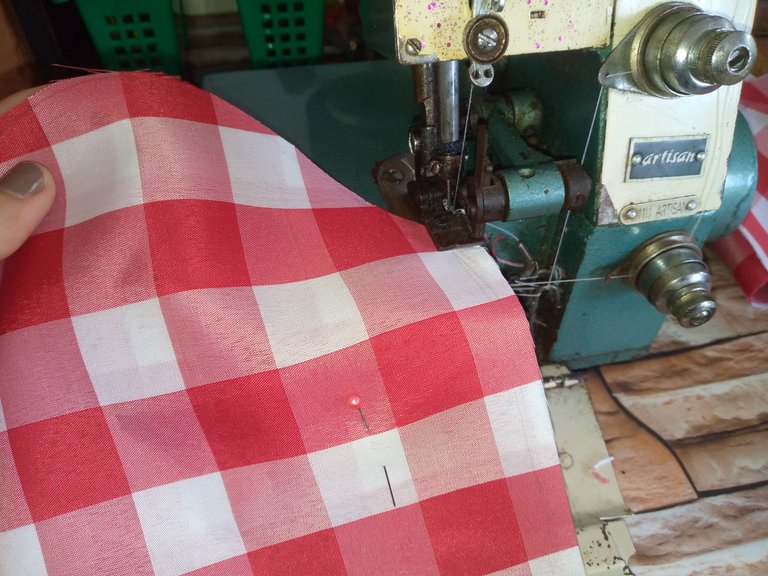
El primer paso es proceder a cortar las piezas, entonces empezaré colocando el patrón del talle delantero de 30 cm de largo para no dejarlo pues tan abajo de la cintura mi delantal,luego cortaré de esa pieza delantera cuatro piezas en este caso lo hacemos asi porque pues yo soy mas gordita y no me alcanzó la tela pero pues de esta solo sacaremos dos piezas con dobles, después cortamos la falda de 45 cm de largo y con solo la mitad del ancho de tu cintura más 6 cm para hacer los pequeños tablones adelante,cortamos por último una cinta de 1.50 cm de largo para la pretina de la cintura con 10 cm de ancho.

Step 01

The first step is to proceed to cut the pieces, then I will start by placing the pattern of the front waist 30 cm long so as not to leave it so below the waist of my apron, then I will cut four pieces from that front piece in this case we do it like this because I am chubby and I did not have enough fabric but from this one we will only get two pieces with doubles, then we cut the skirt 45 cm long and with only half the width of your waist plus 6 cm to make the small pleats in front, finally we cut a 1.50 cm long ribbon for the waistband with 10 cm wide.
IMG_20250321_113657_034.jpg

IMG_20250321_113816_021.jpg

IMG_20250321_114210_596.jpg

IMG_20250321_114538_870.jpg

Paso 02

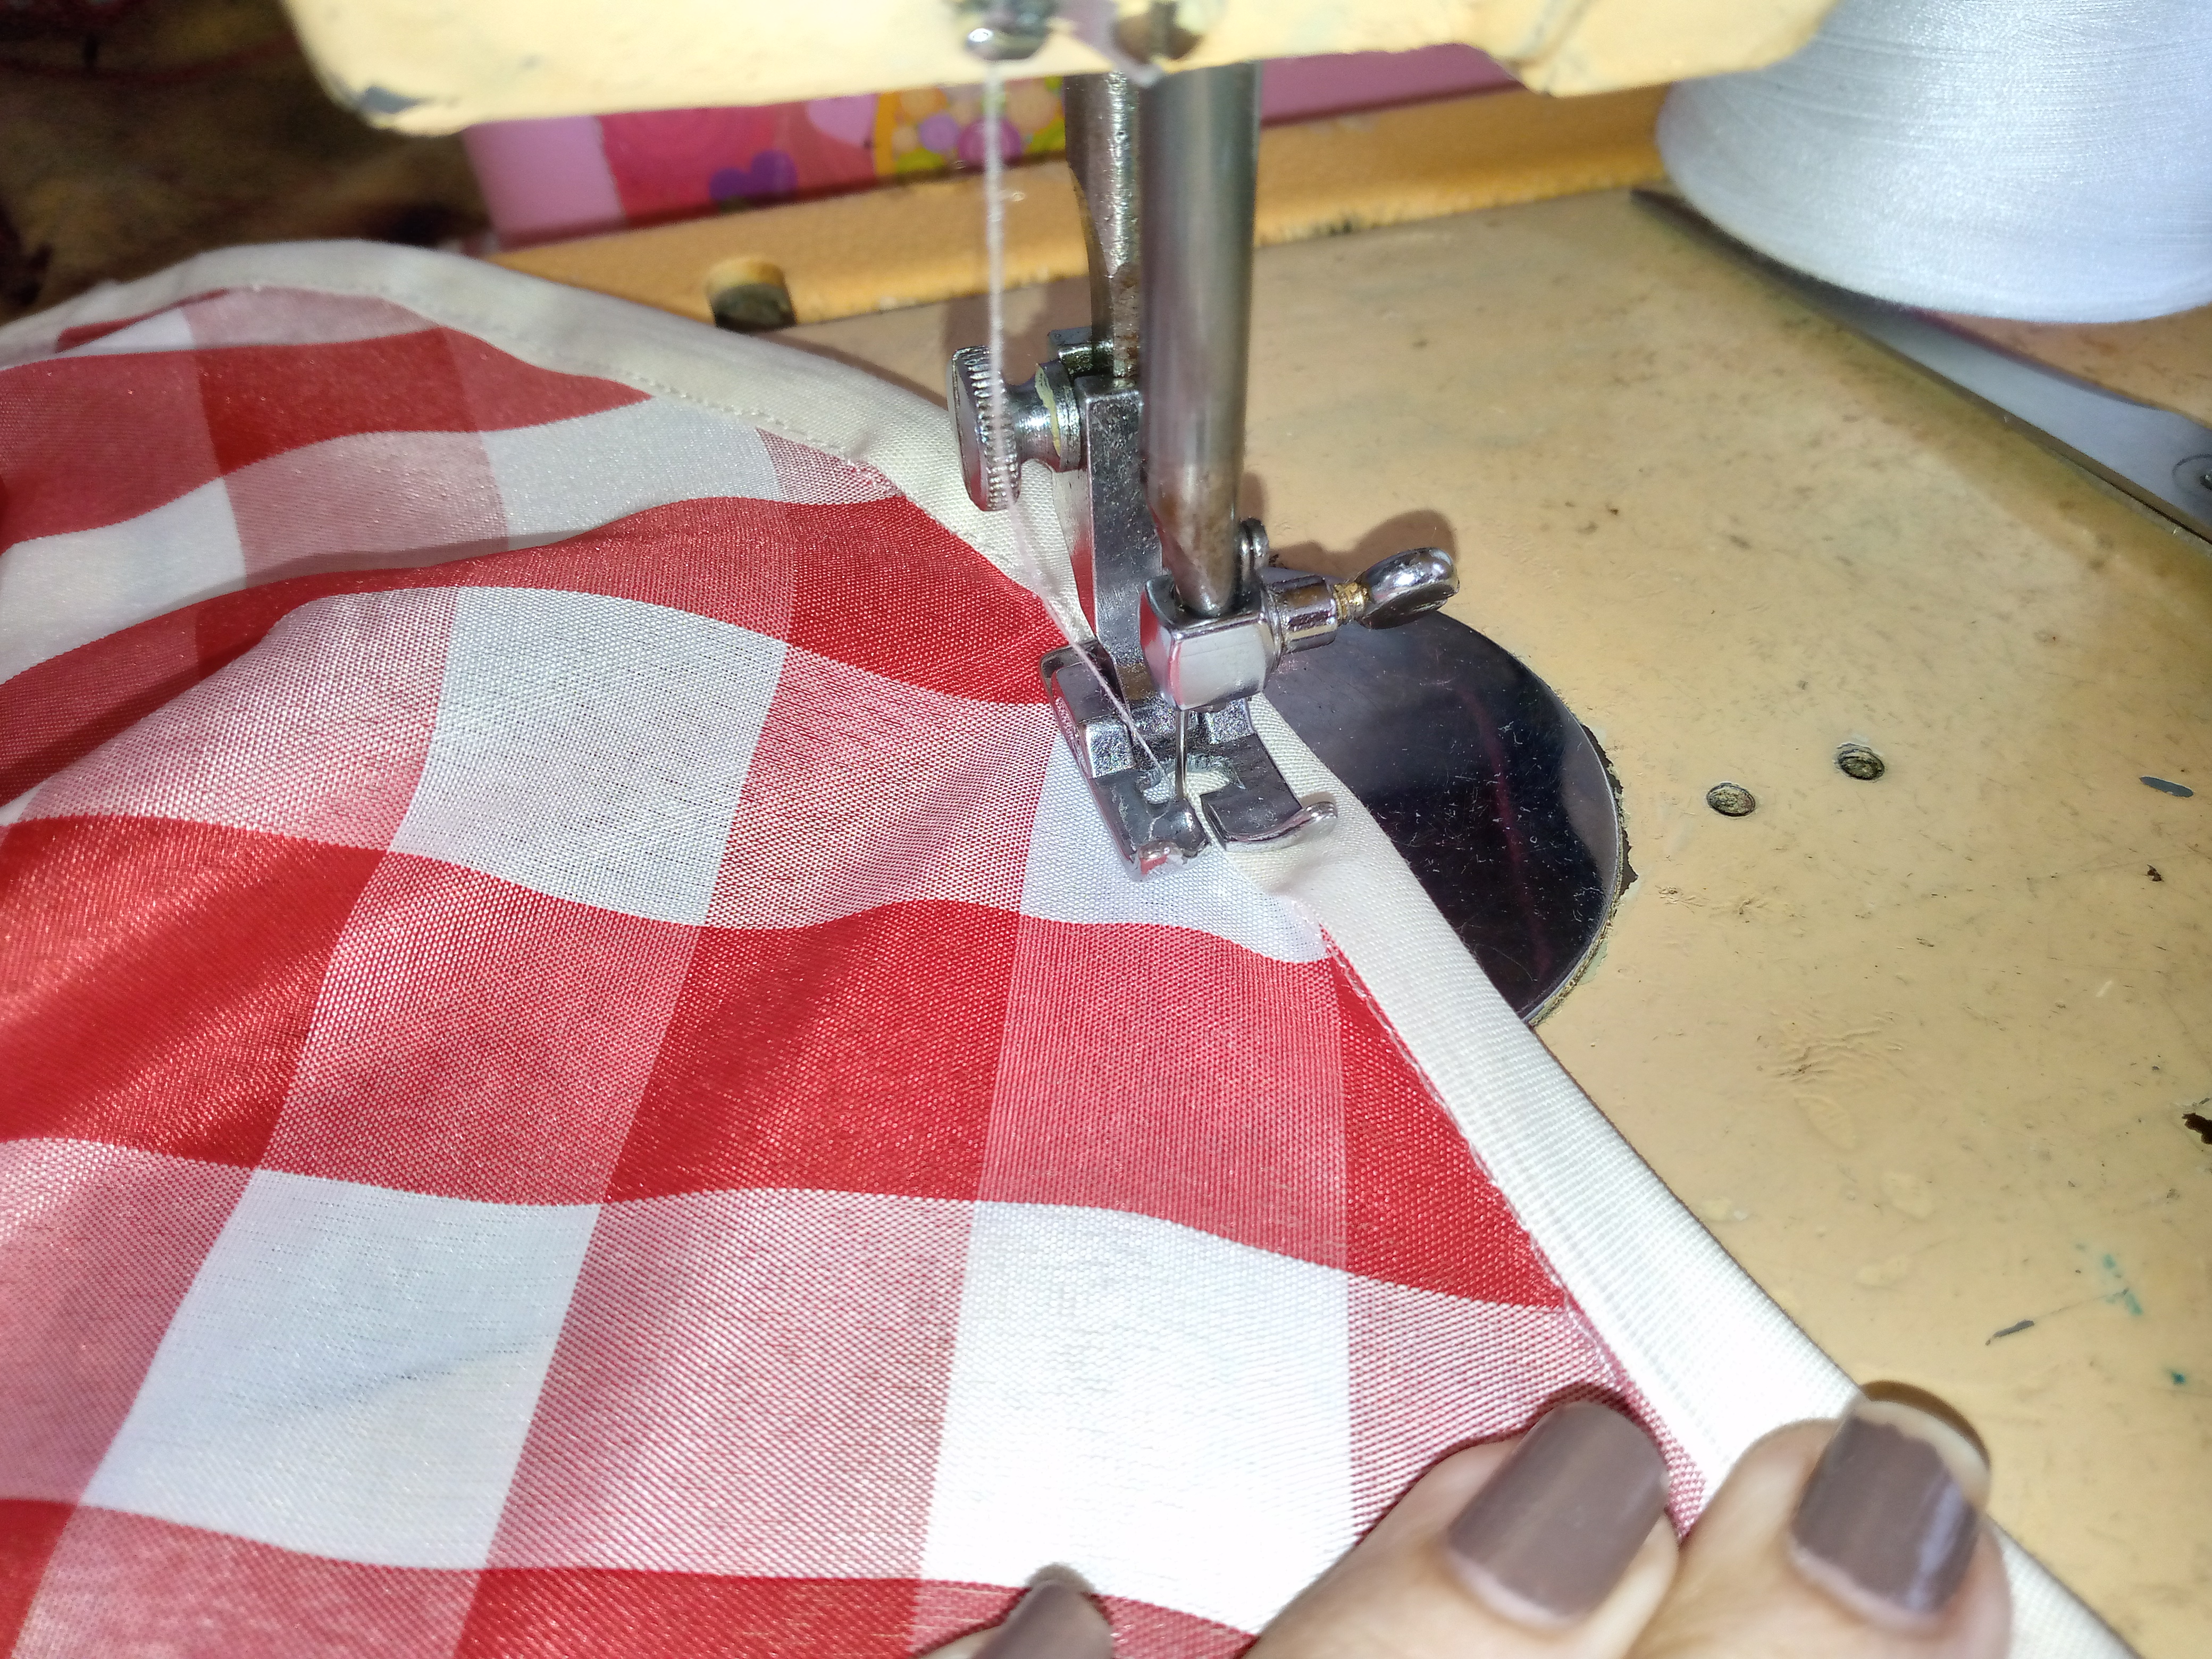
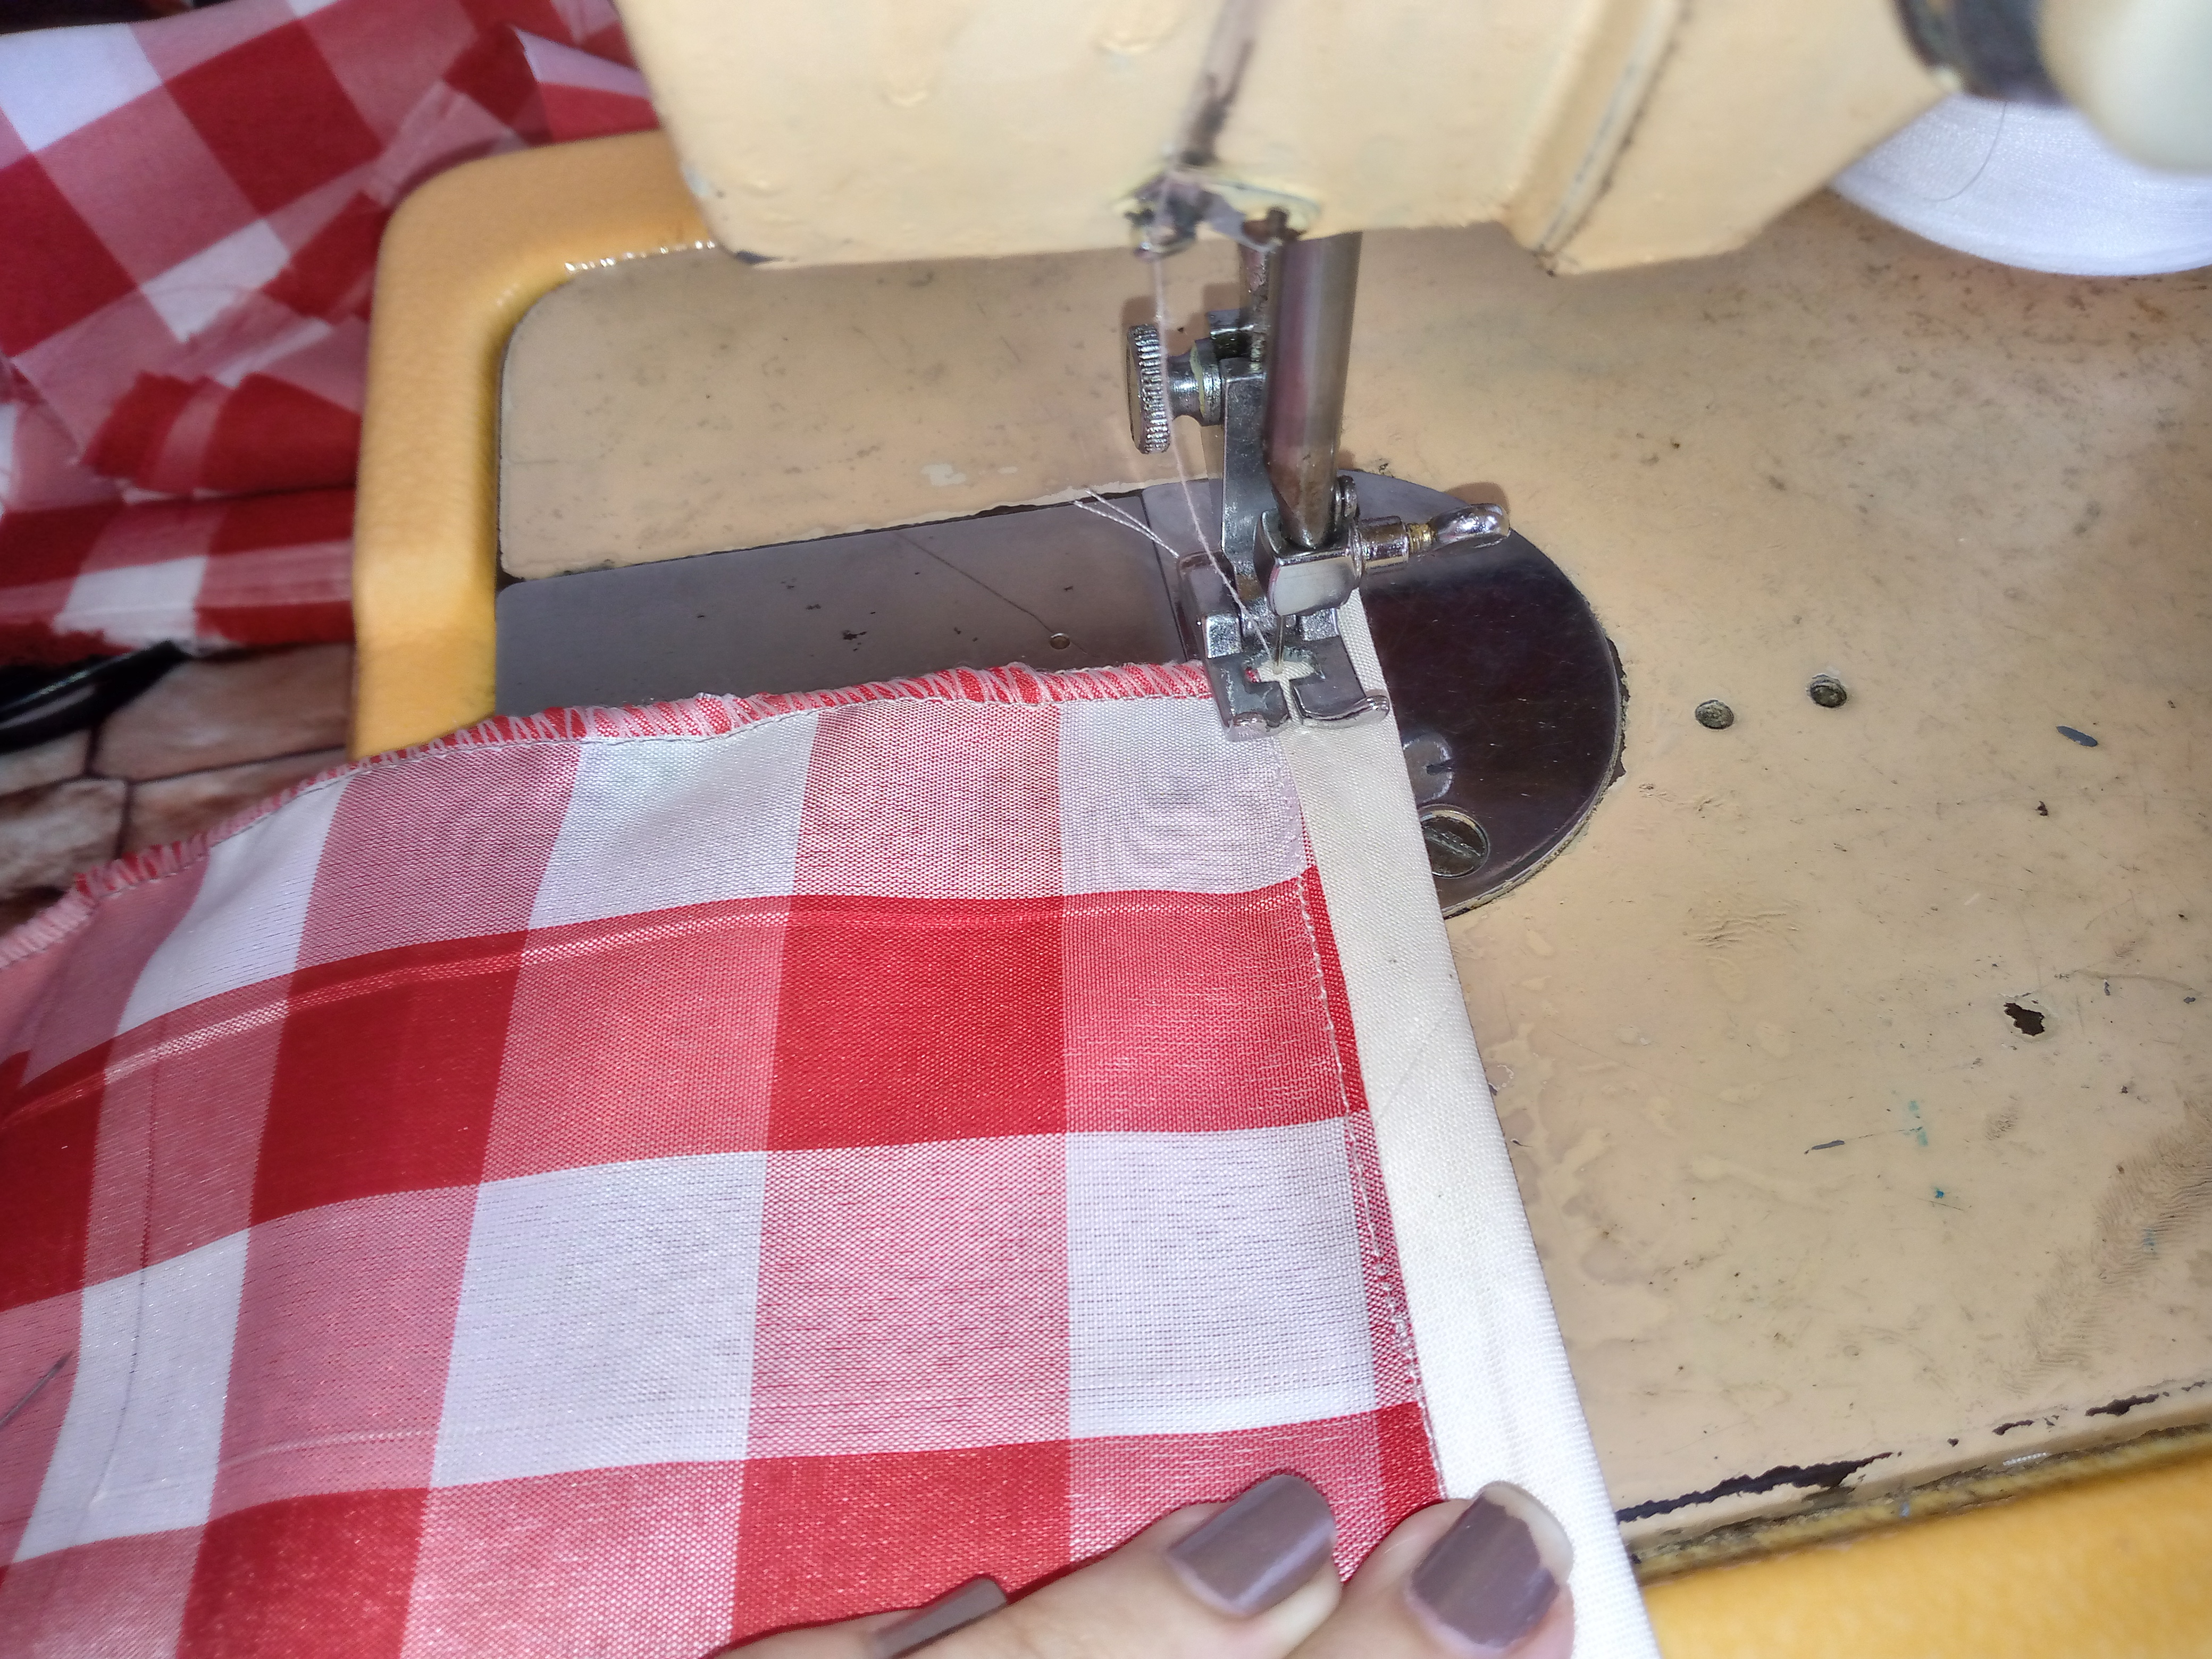
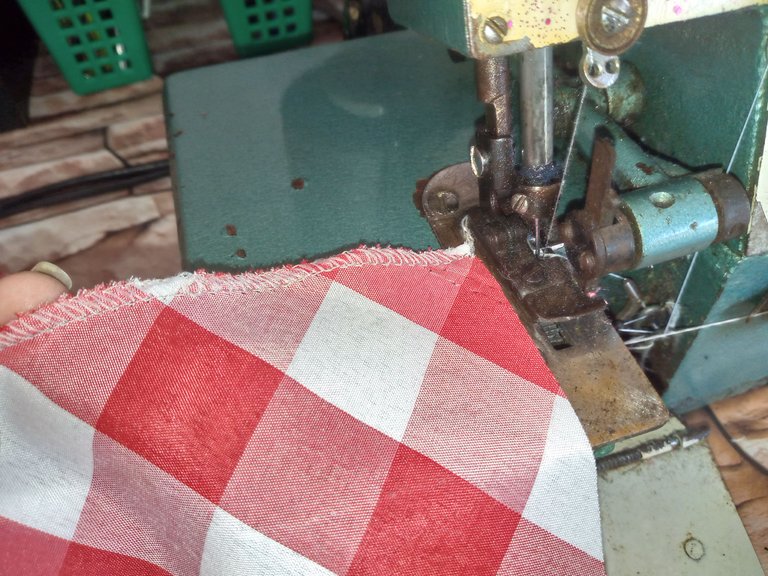
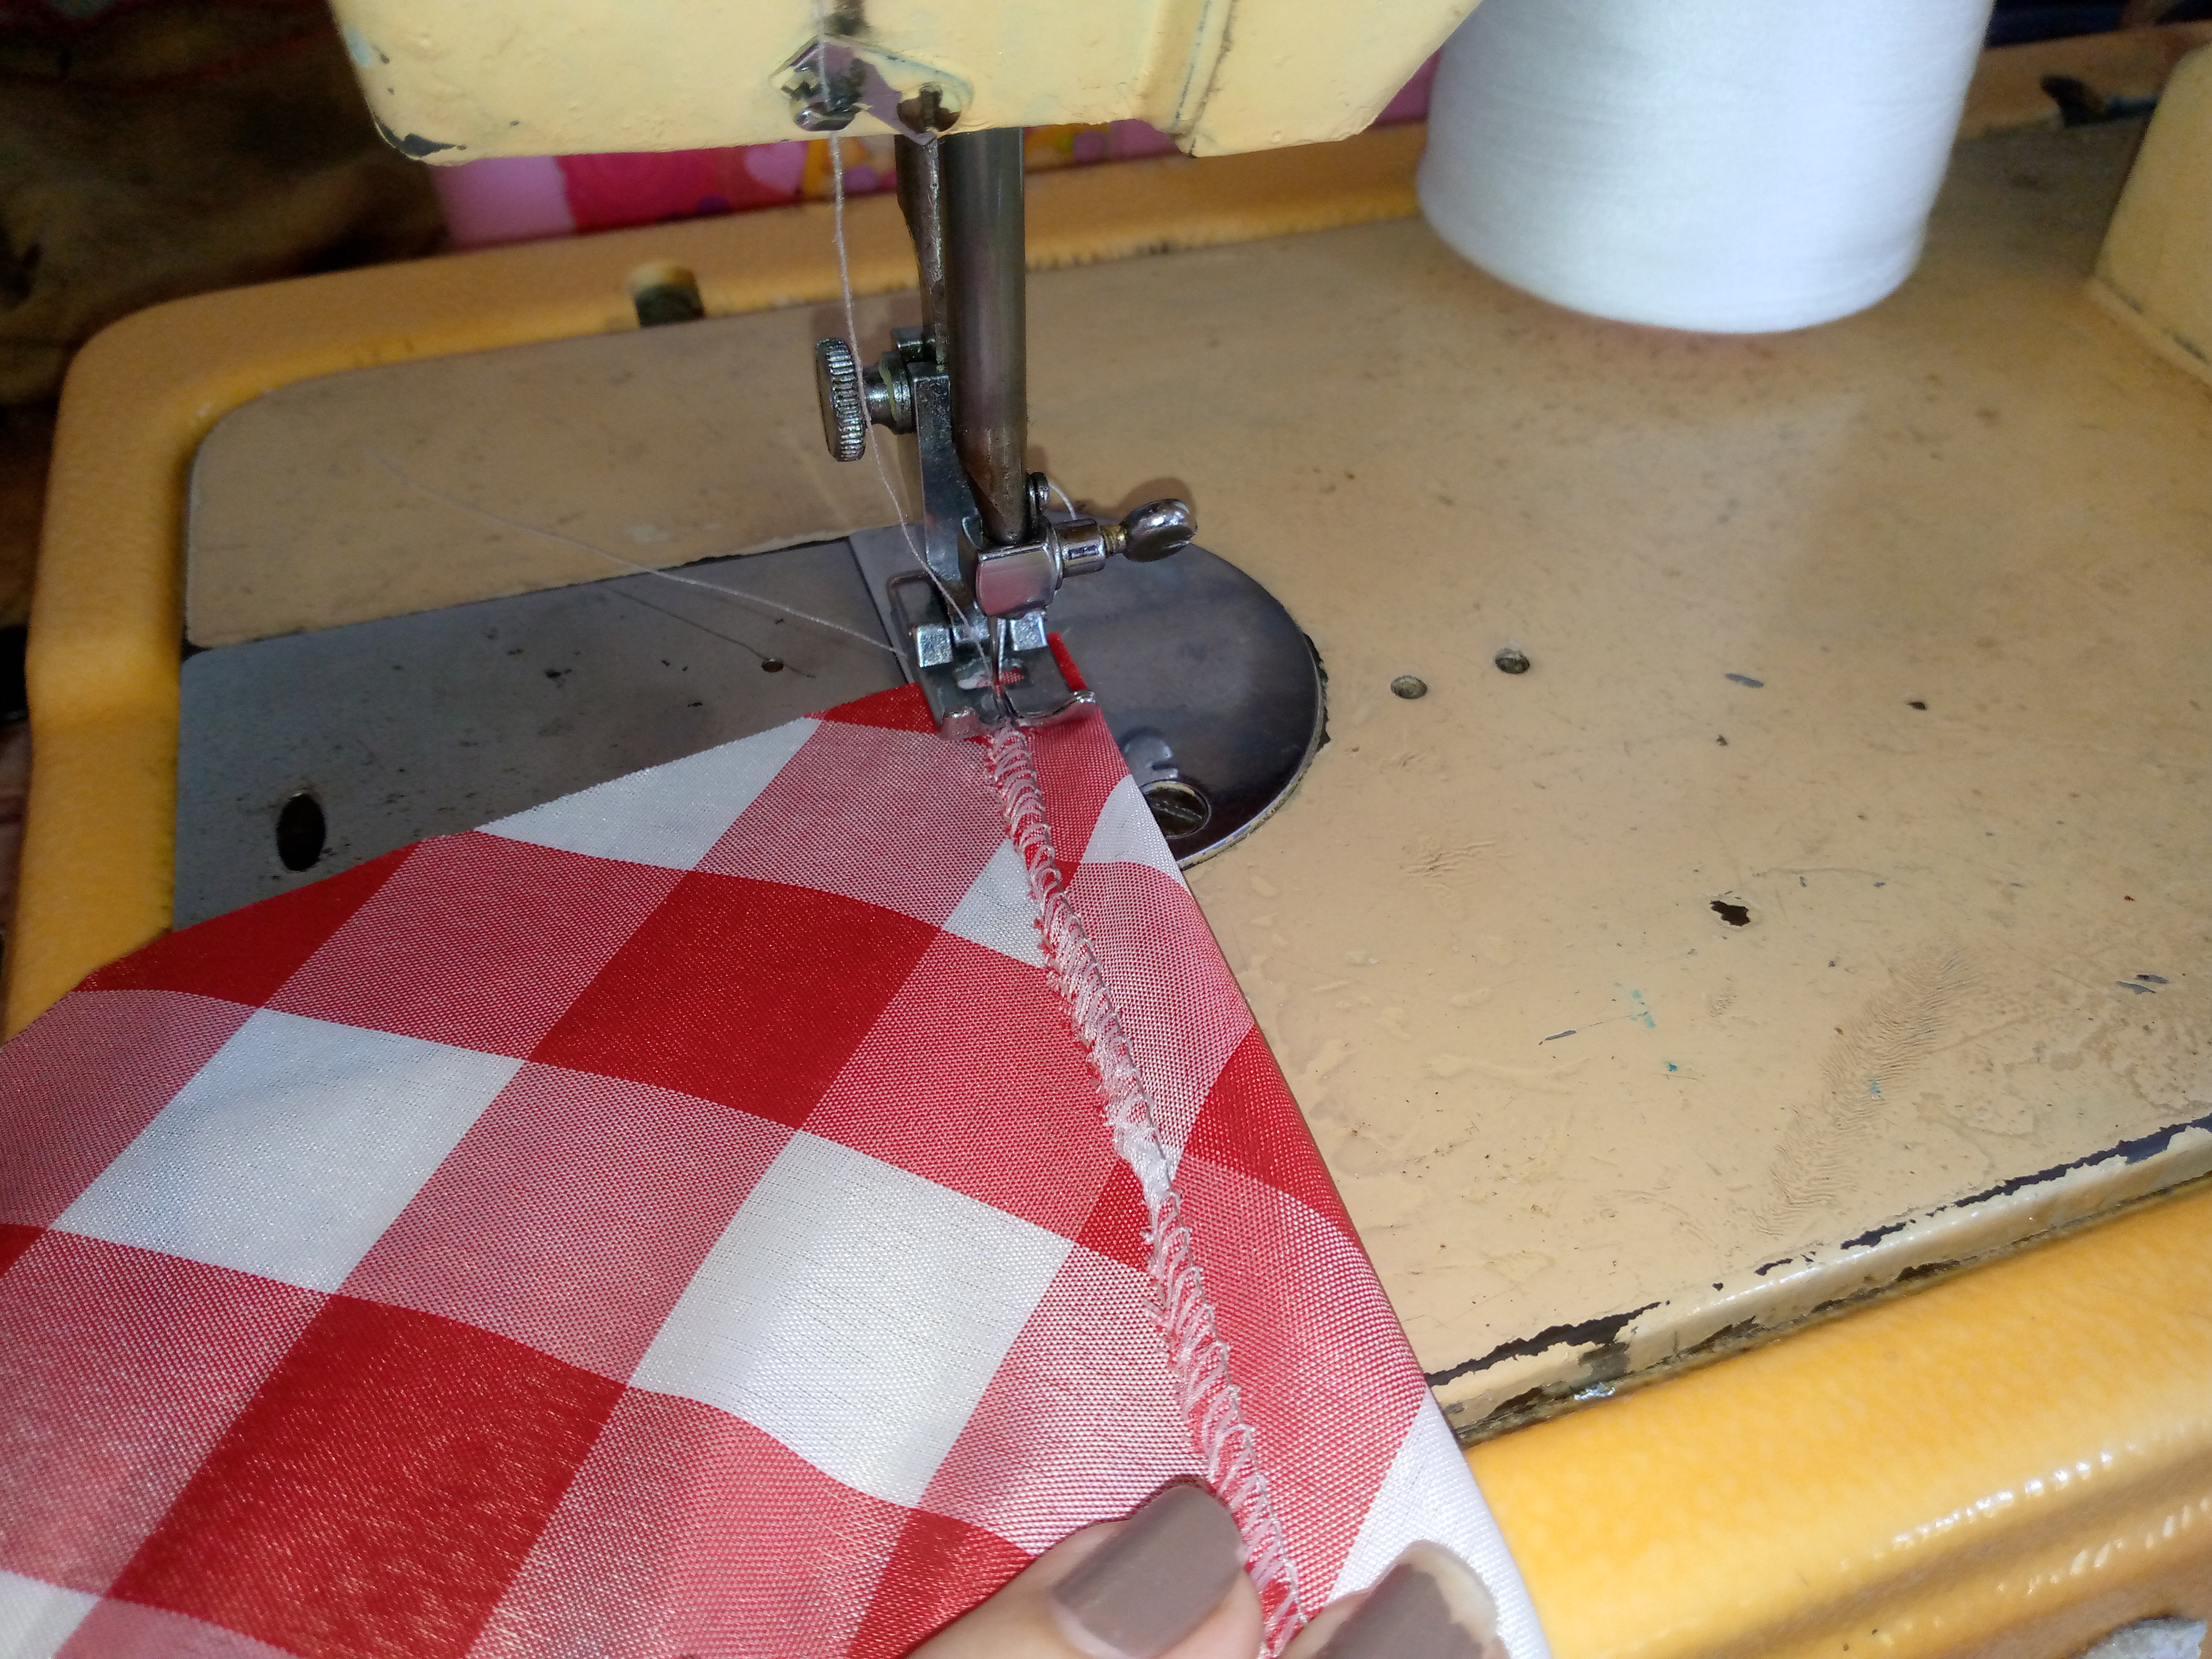
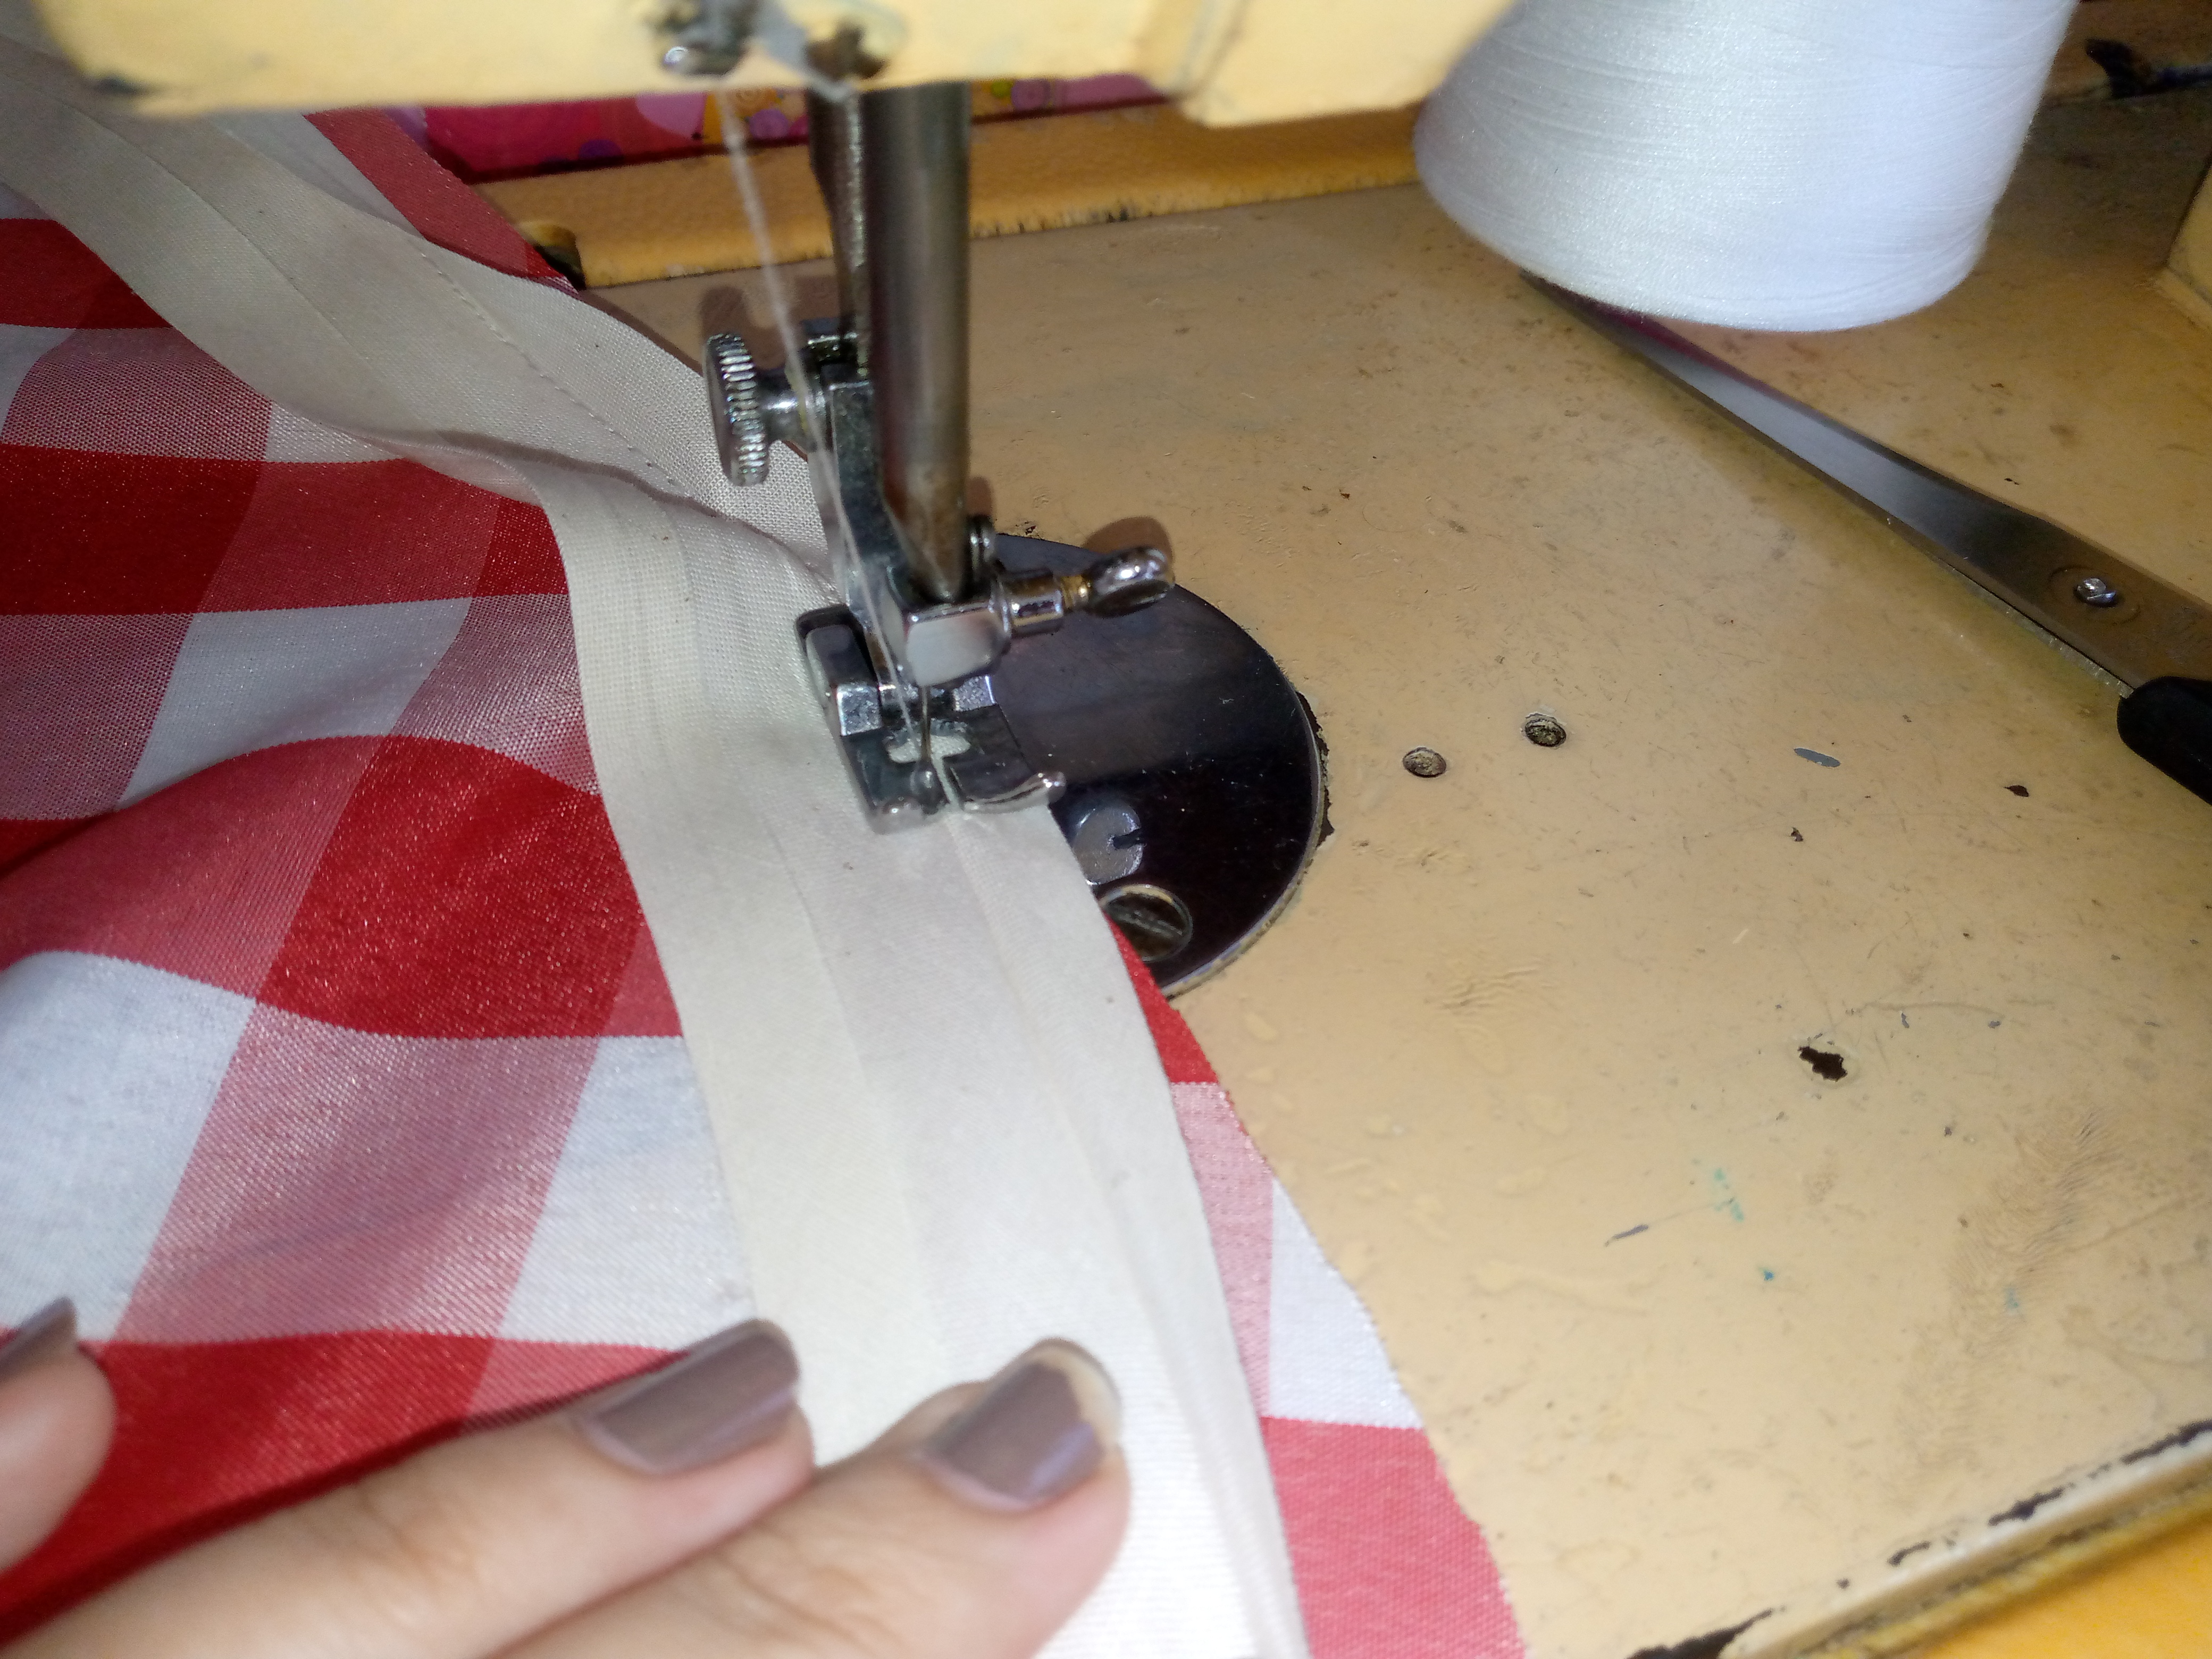
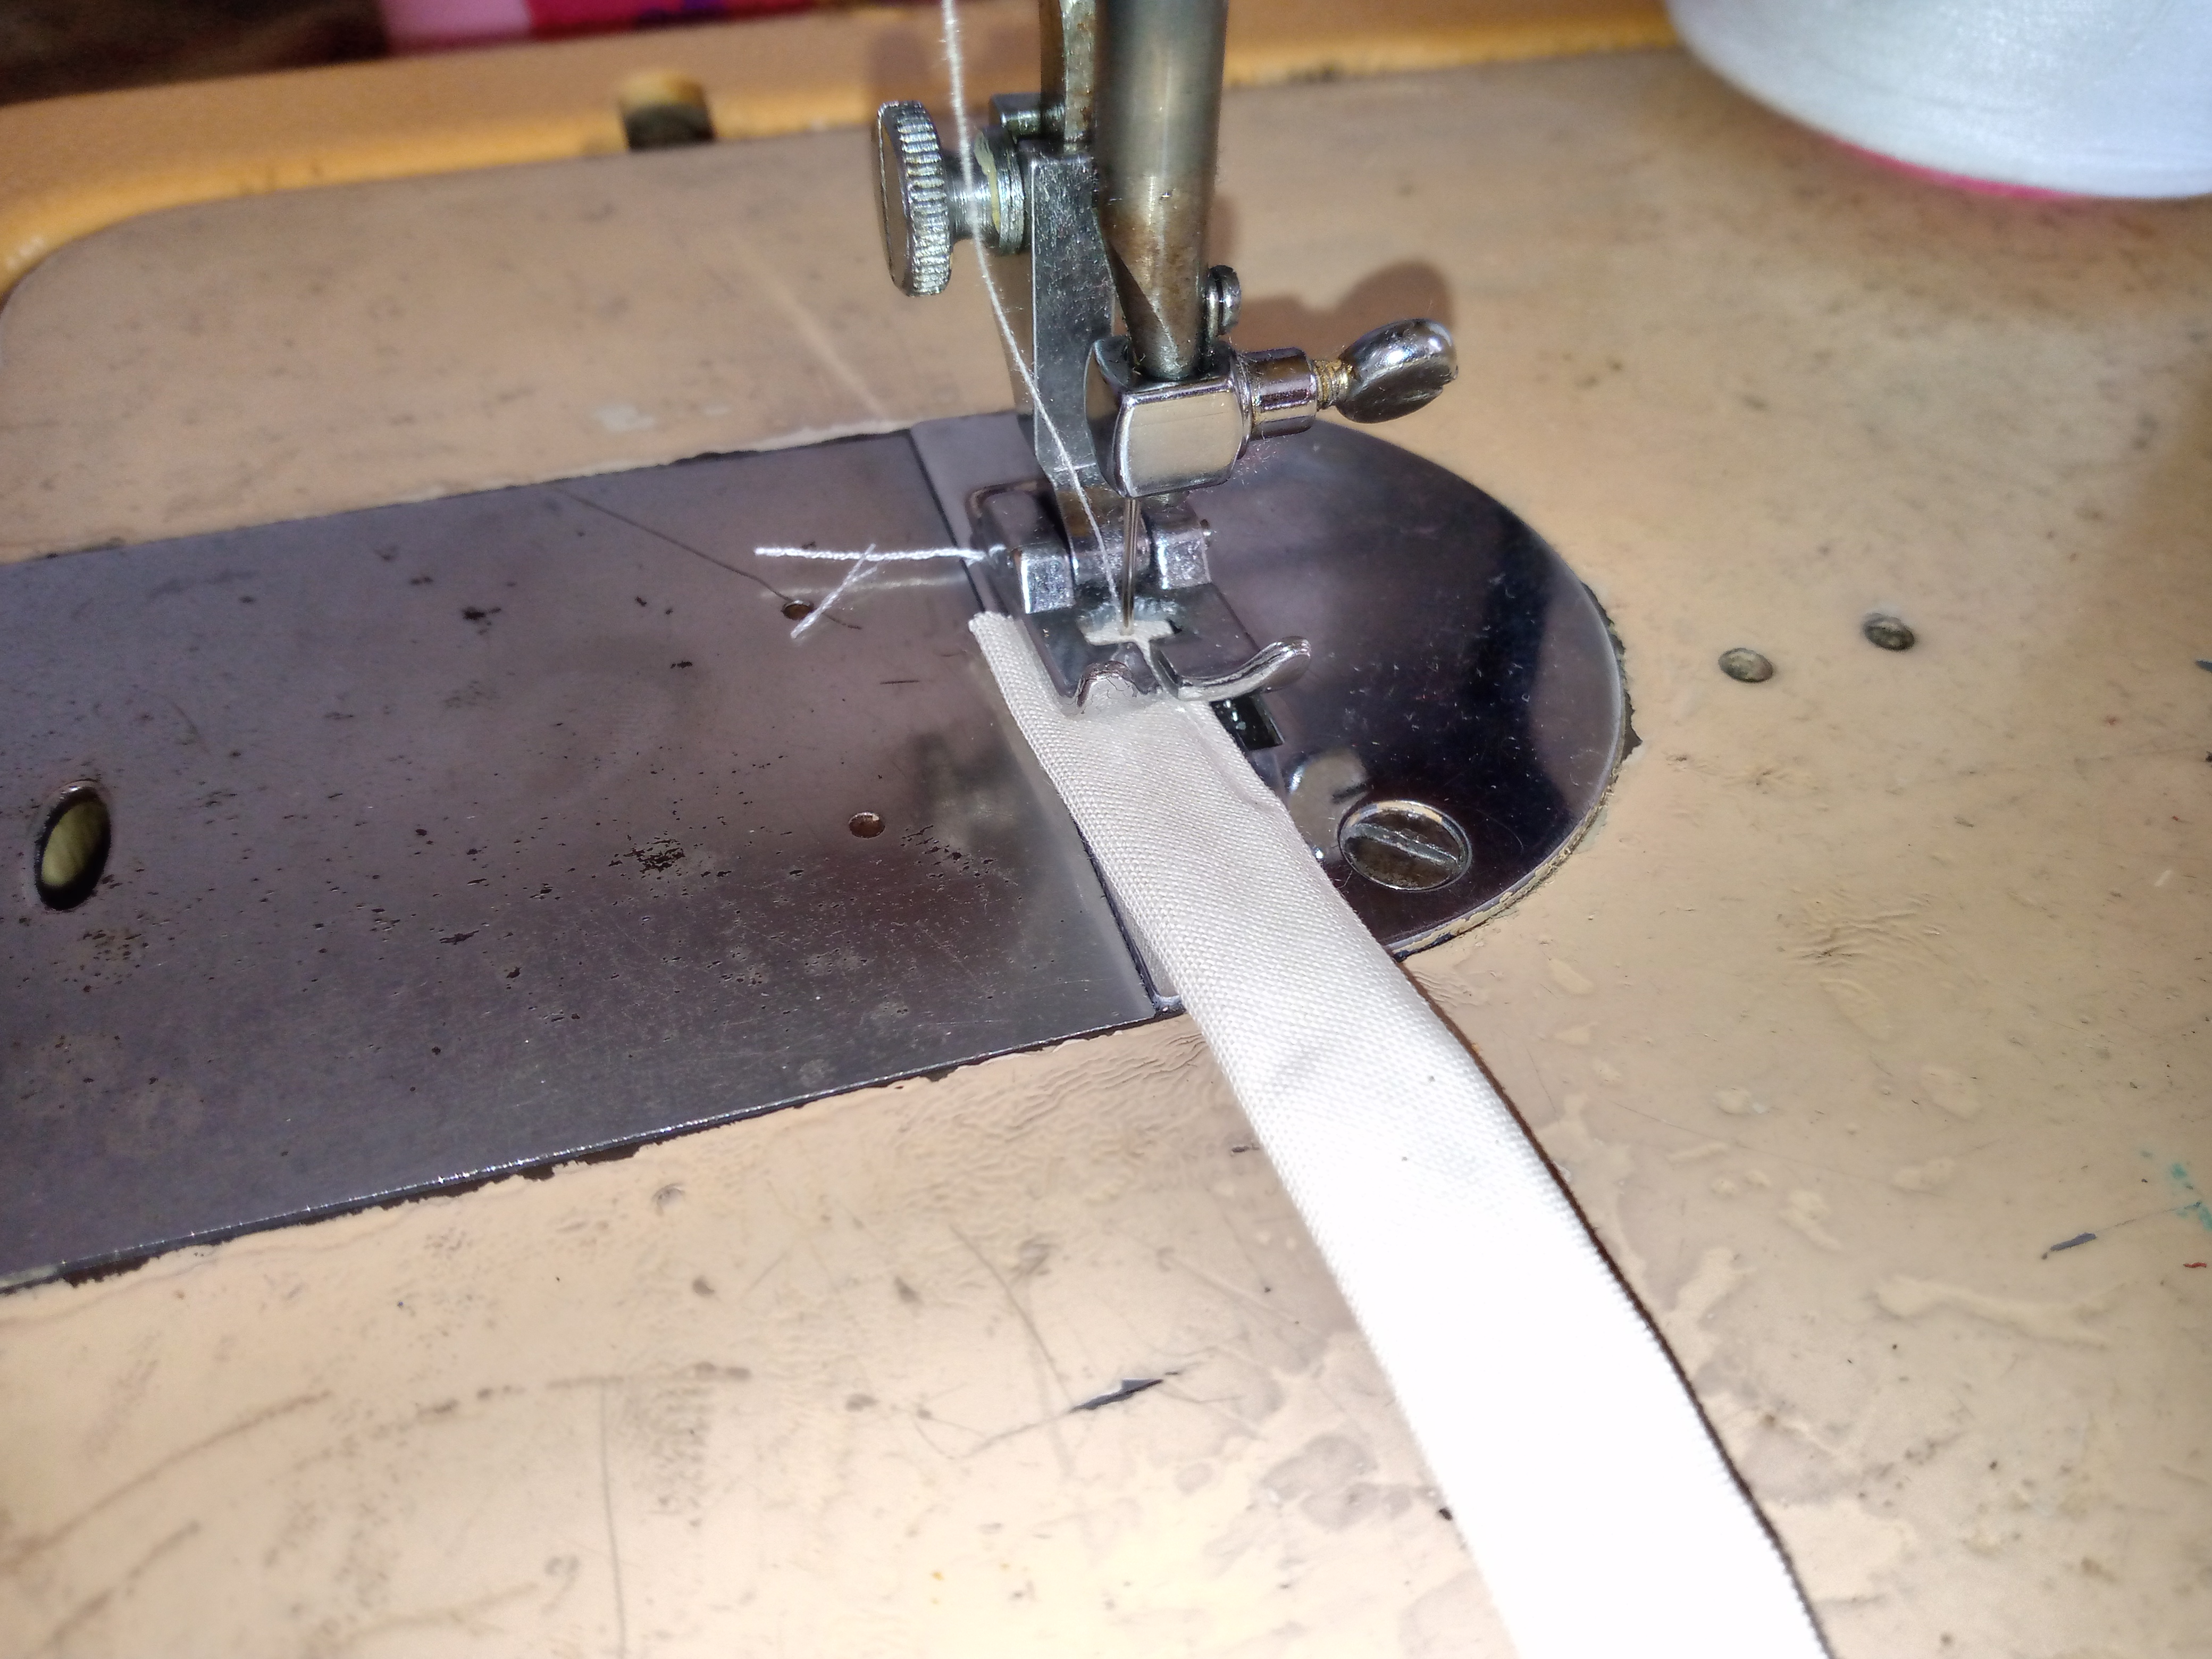
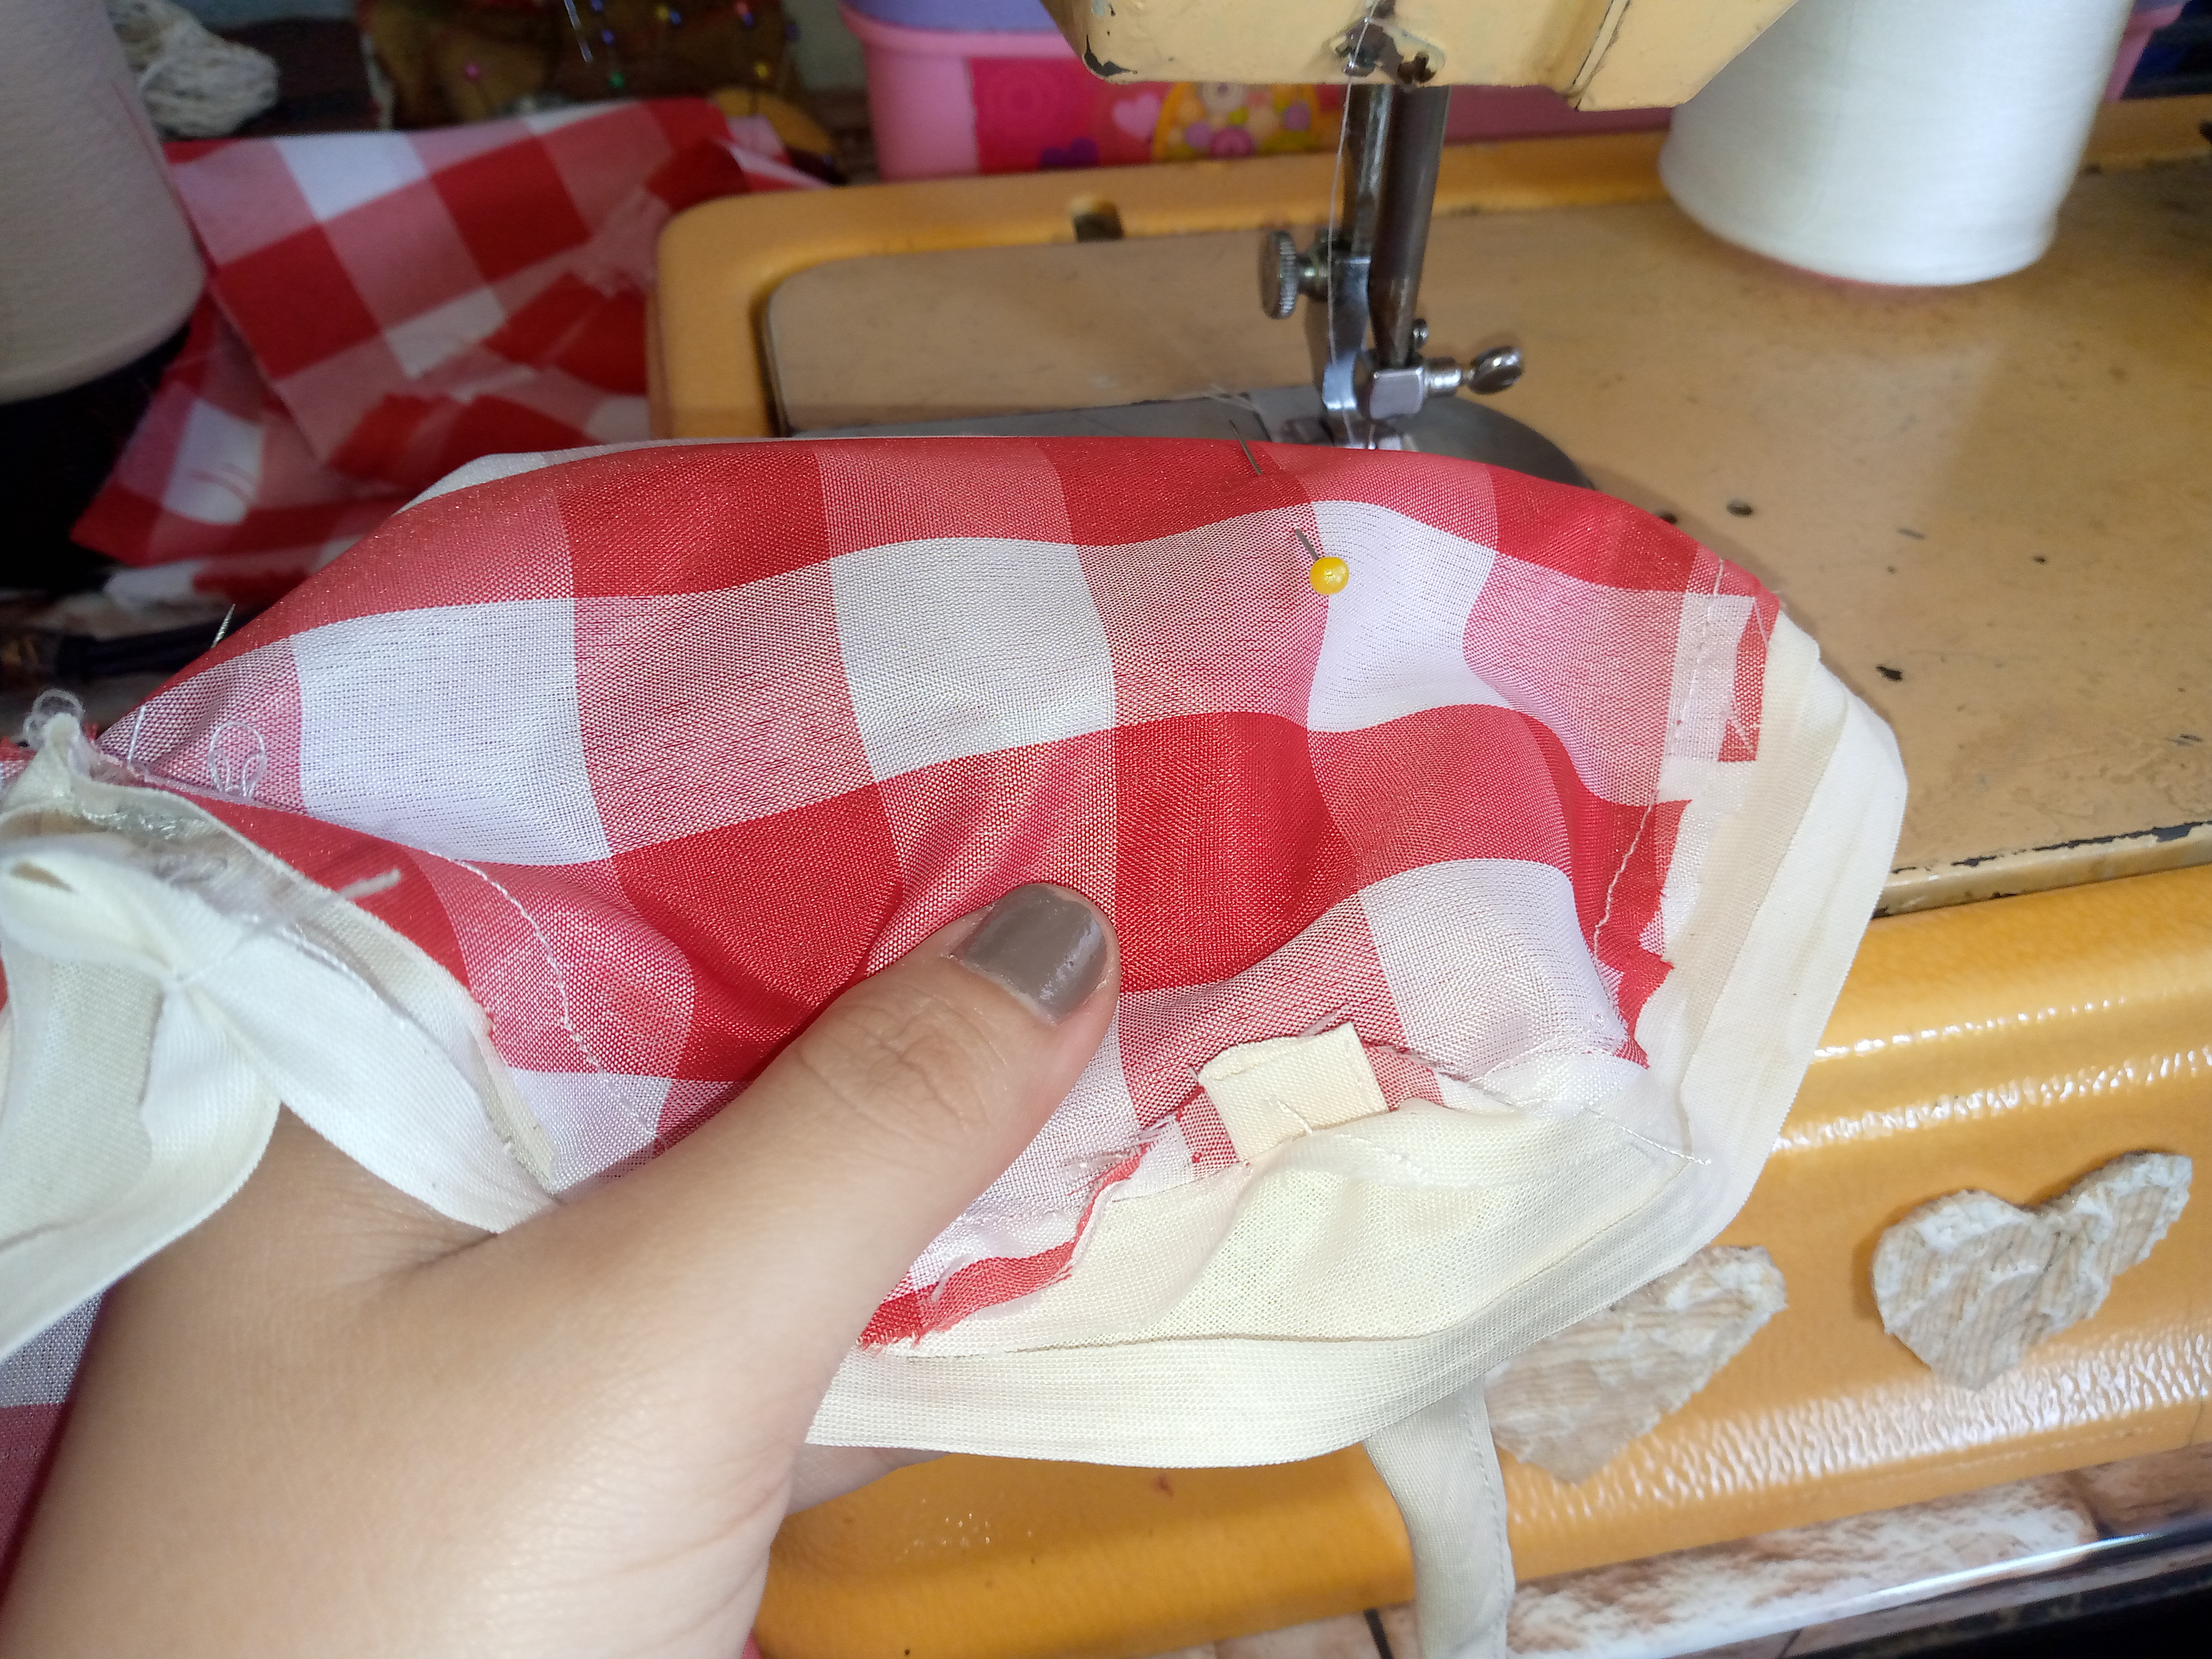
Con nuestra overlock o máquina sencilla que tenga zig zag para rematar el borde cosemos los bordes de la falda y con costura recta hacemos un dobladillo de cada lado de la falda luego en la parte de abajo de mi falda estaré cosiendo un sesgo por el contorno,para coserlo lo coso por la parte inferior (abajo) luego por la parte superior (arriba) lo repiso von costura normal,esto pata hacerle el detalle a la falda con el sesgo y quede muy bonito.

Step 02

With our overlock or simple machine that has a zig zag to finish the edge we sew the edges of the skirt and with a straight seam we make a hem on each side of the skirt then at the bottom of my skirt I will be sewing a bias around the contour, to sew it I sew it on the bottom (below) then on the top (above) I reseal it with normal sewing, this to make the detail to the skirt with the bias and make it look very nice.
IMG_20250321_114919_116.jpg

IMG_20250321_115408_925.jpg

IMG_20250321_120538_897.jpg

IMG_20250321_120547_879.jpg

Paso 03

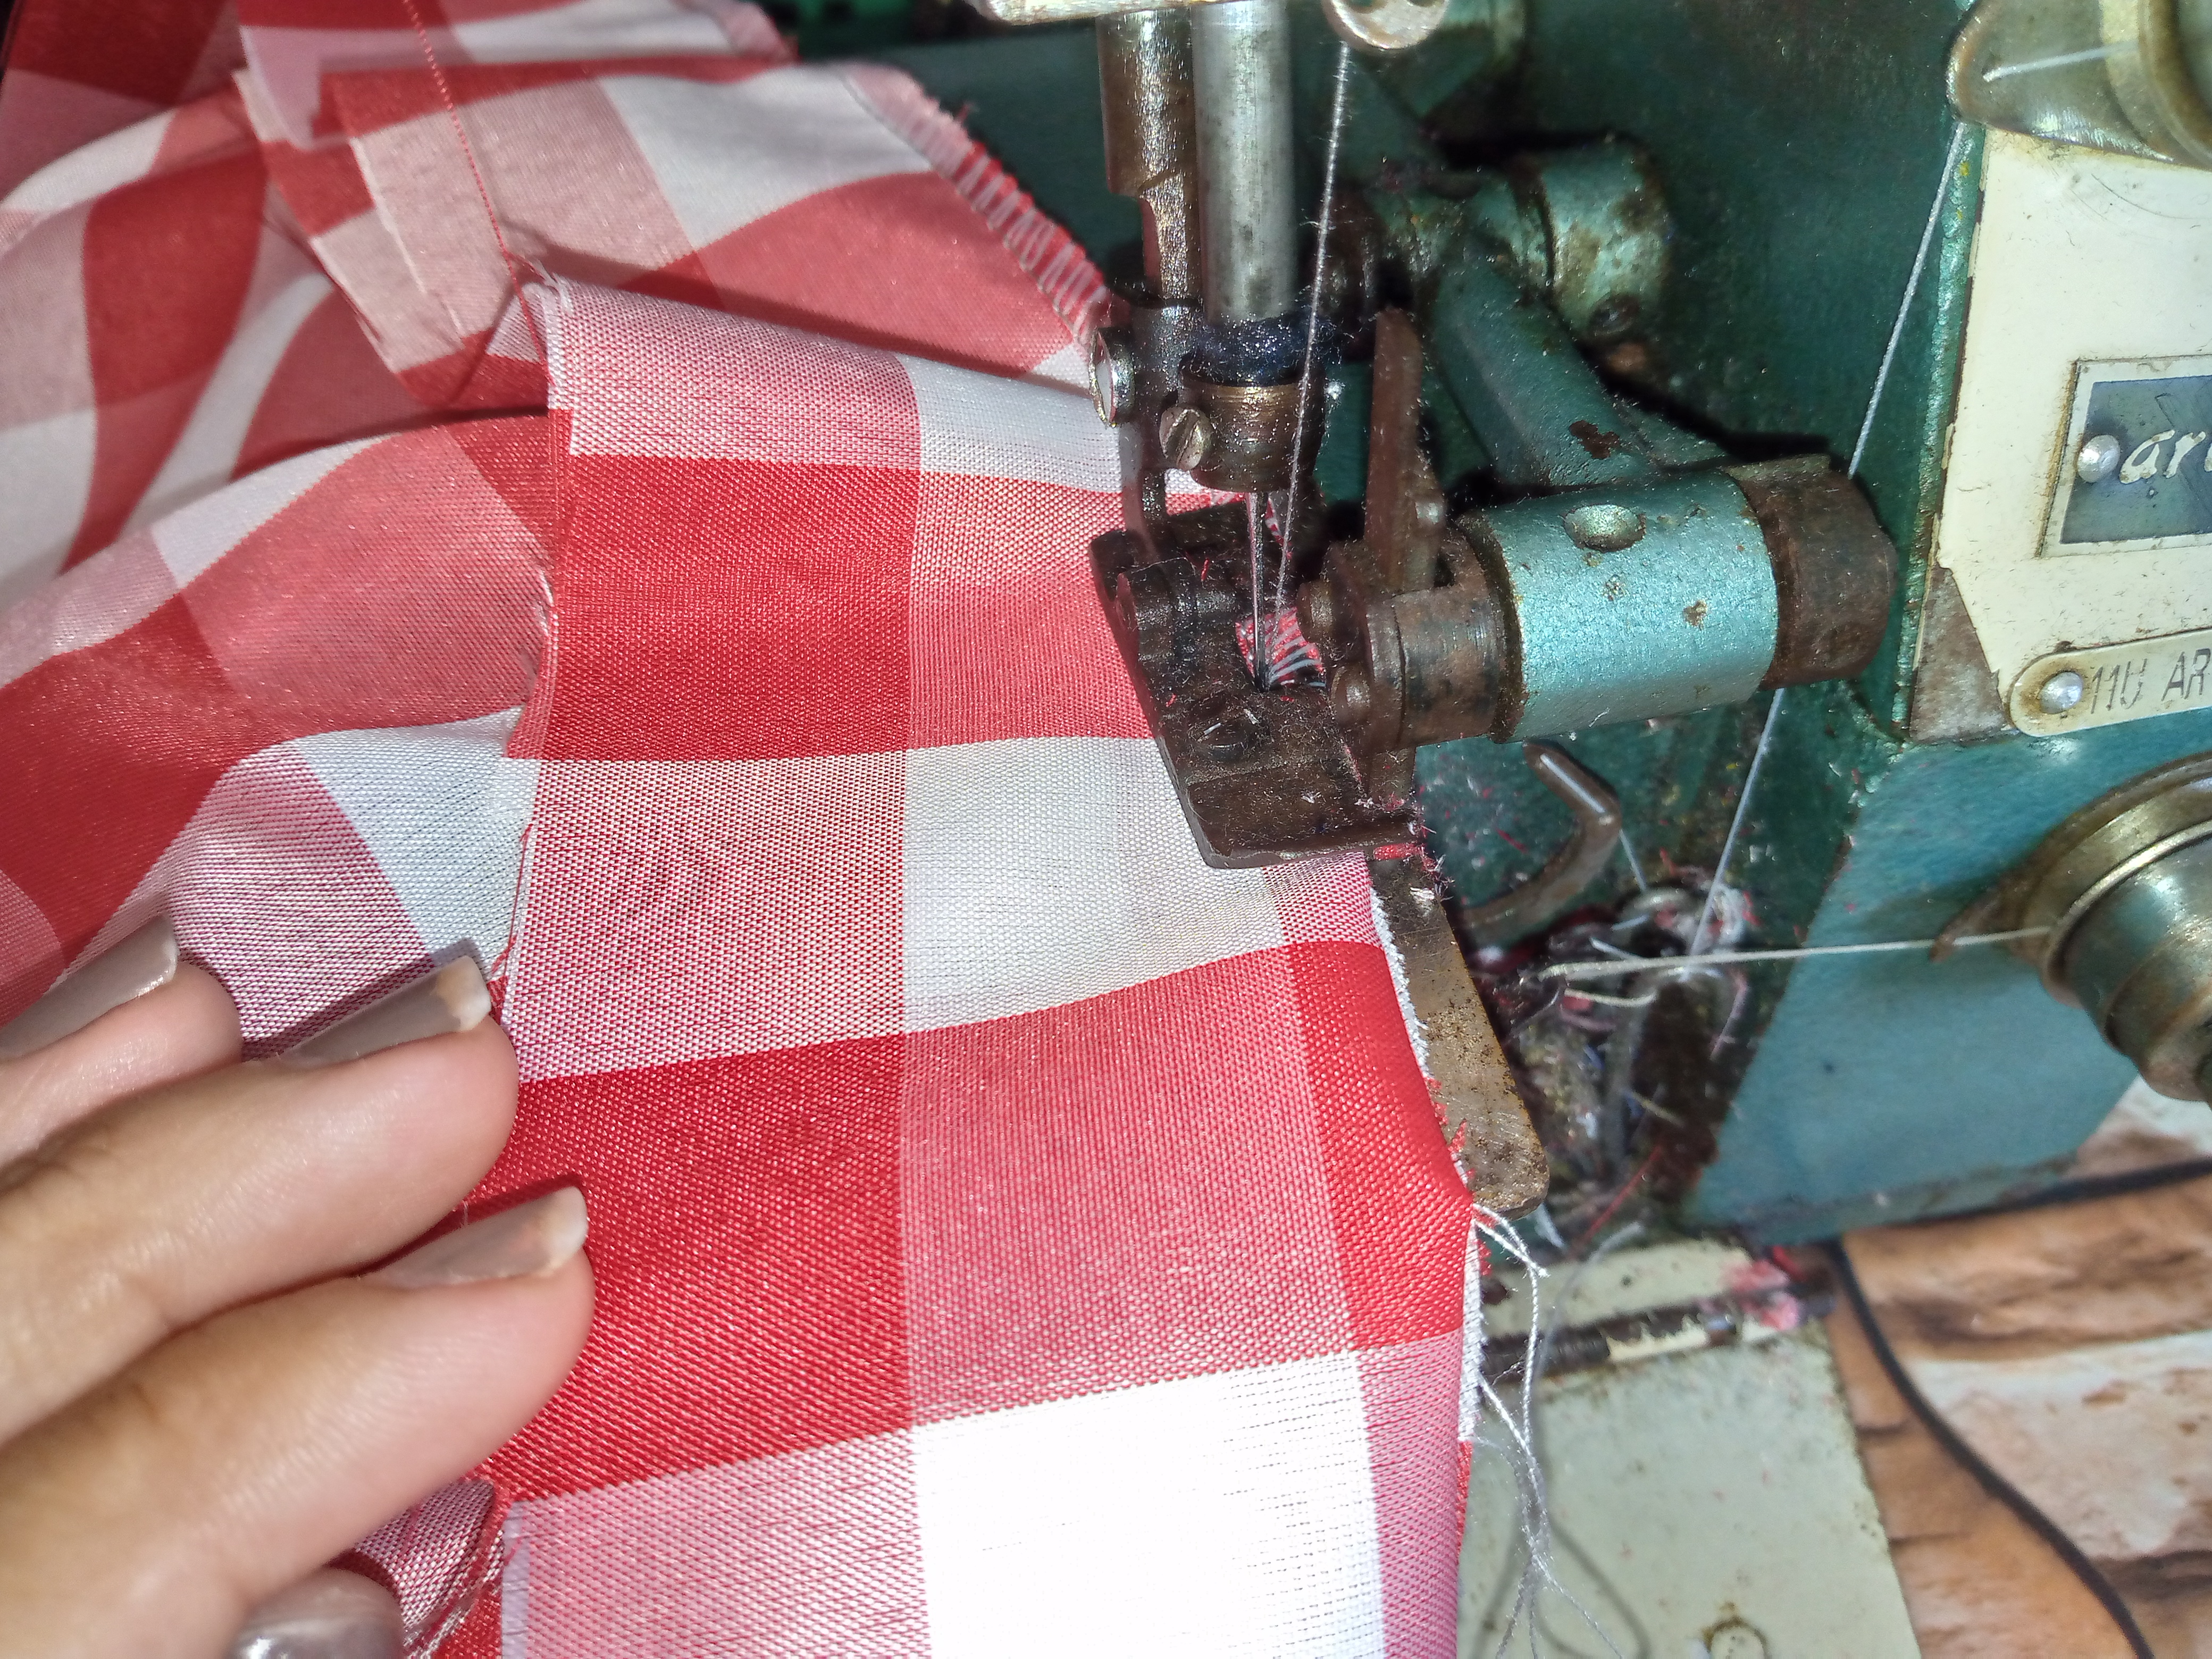
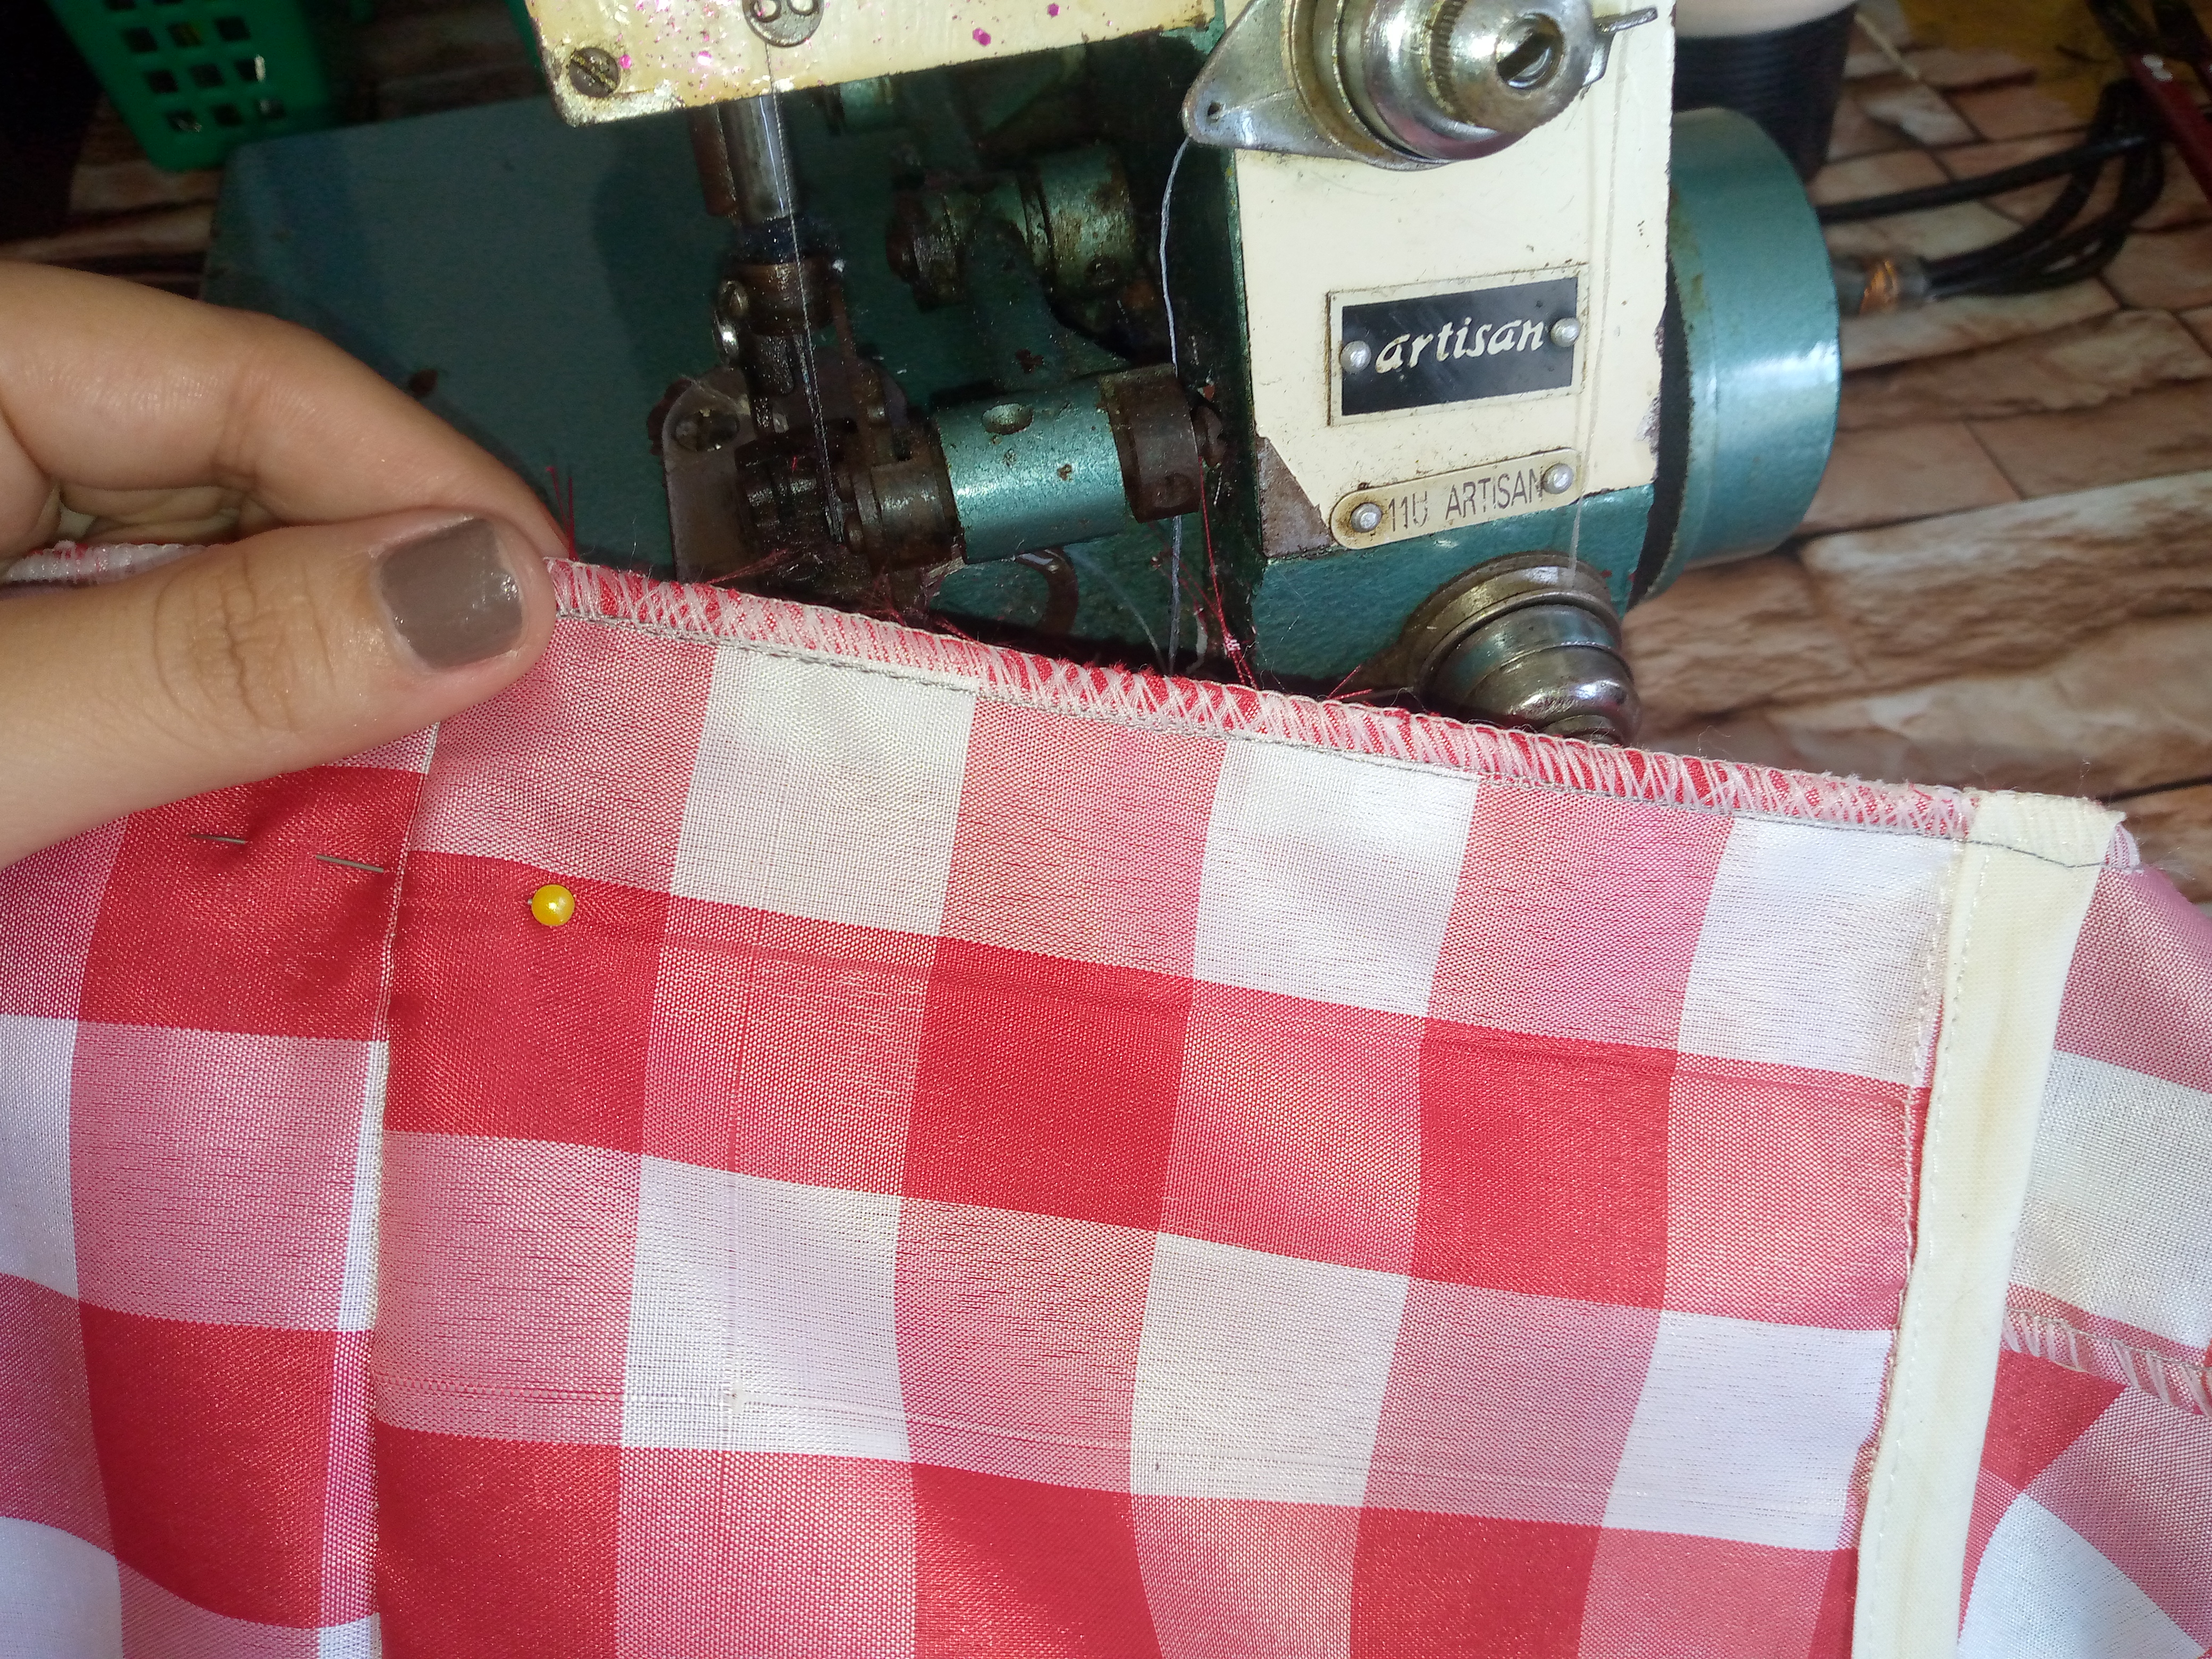
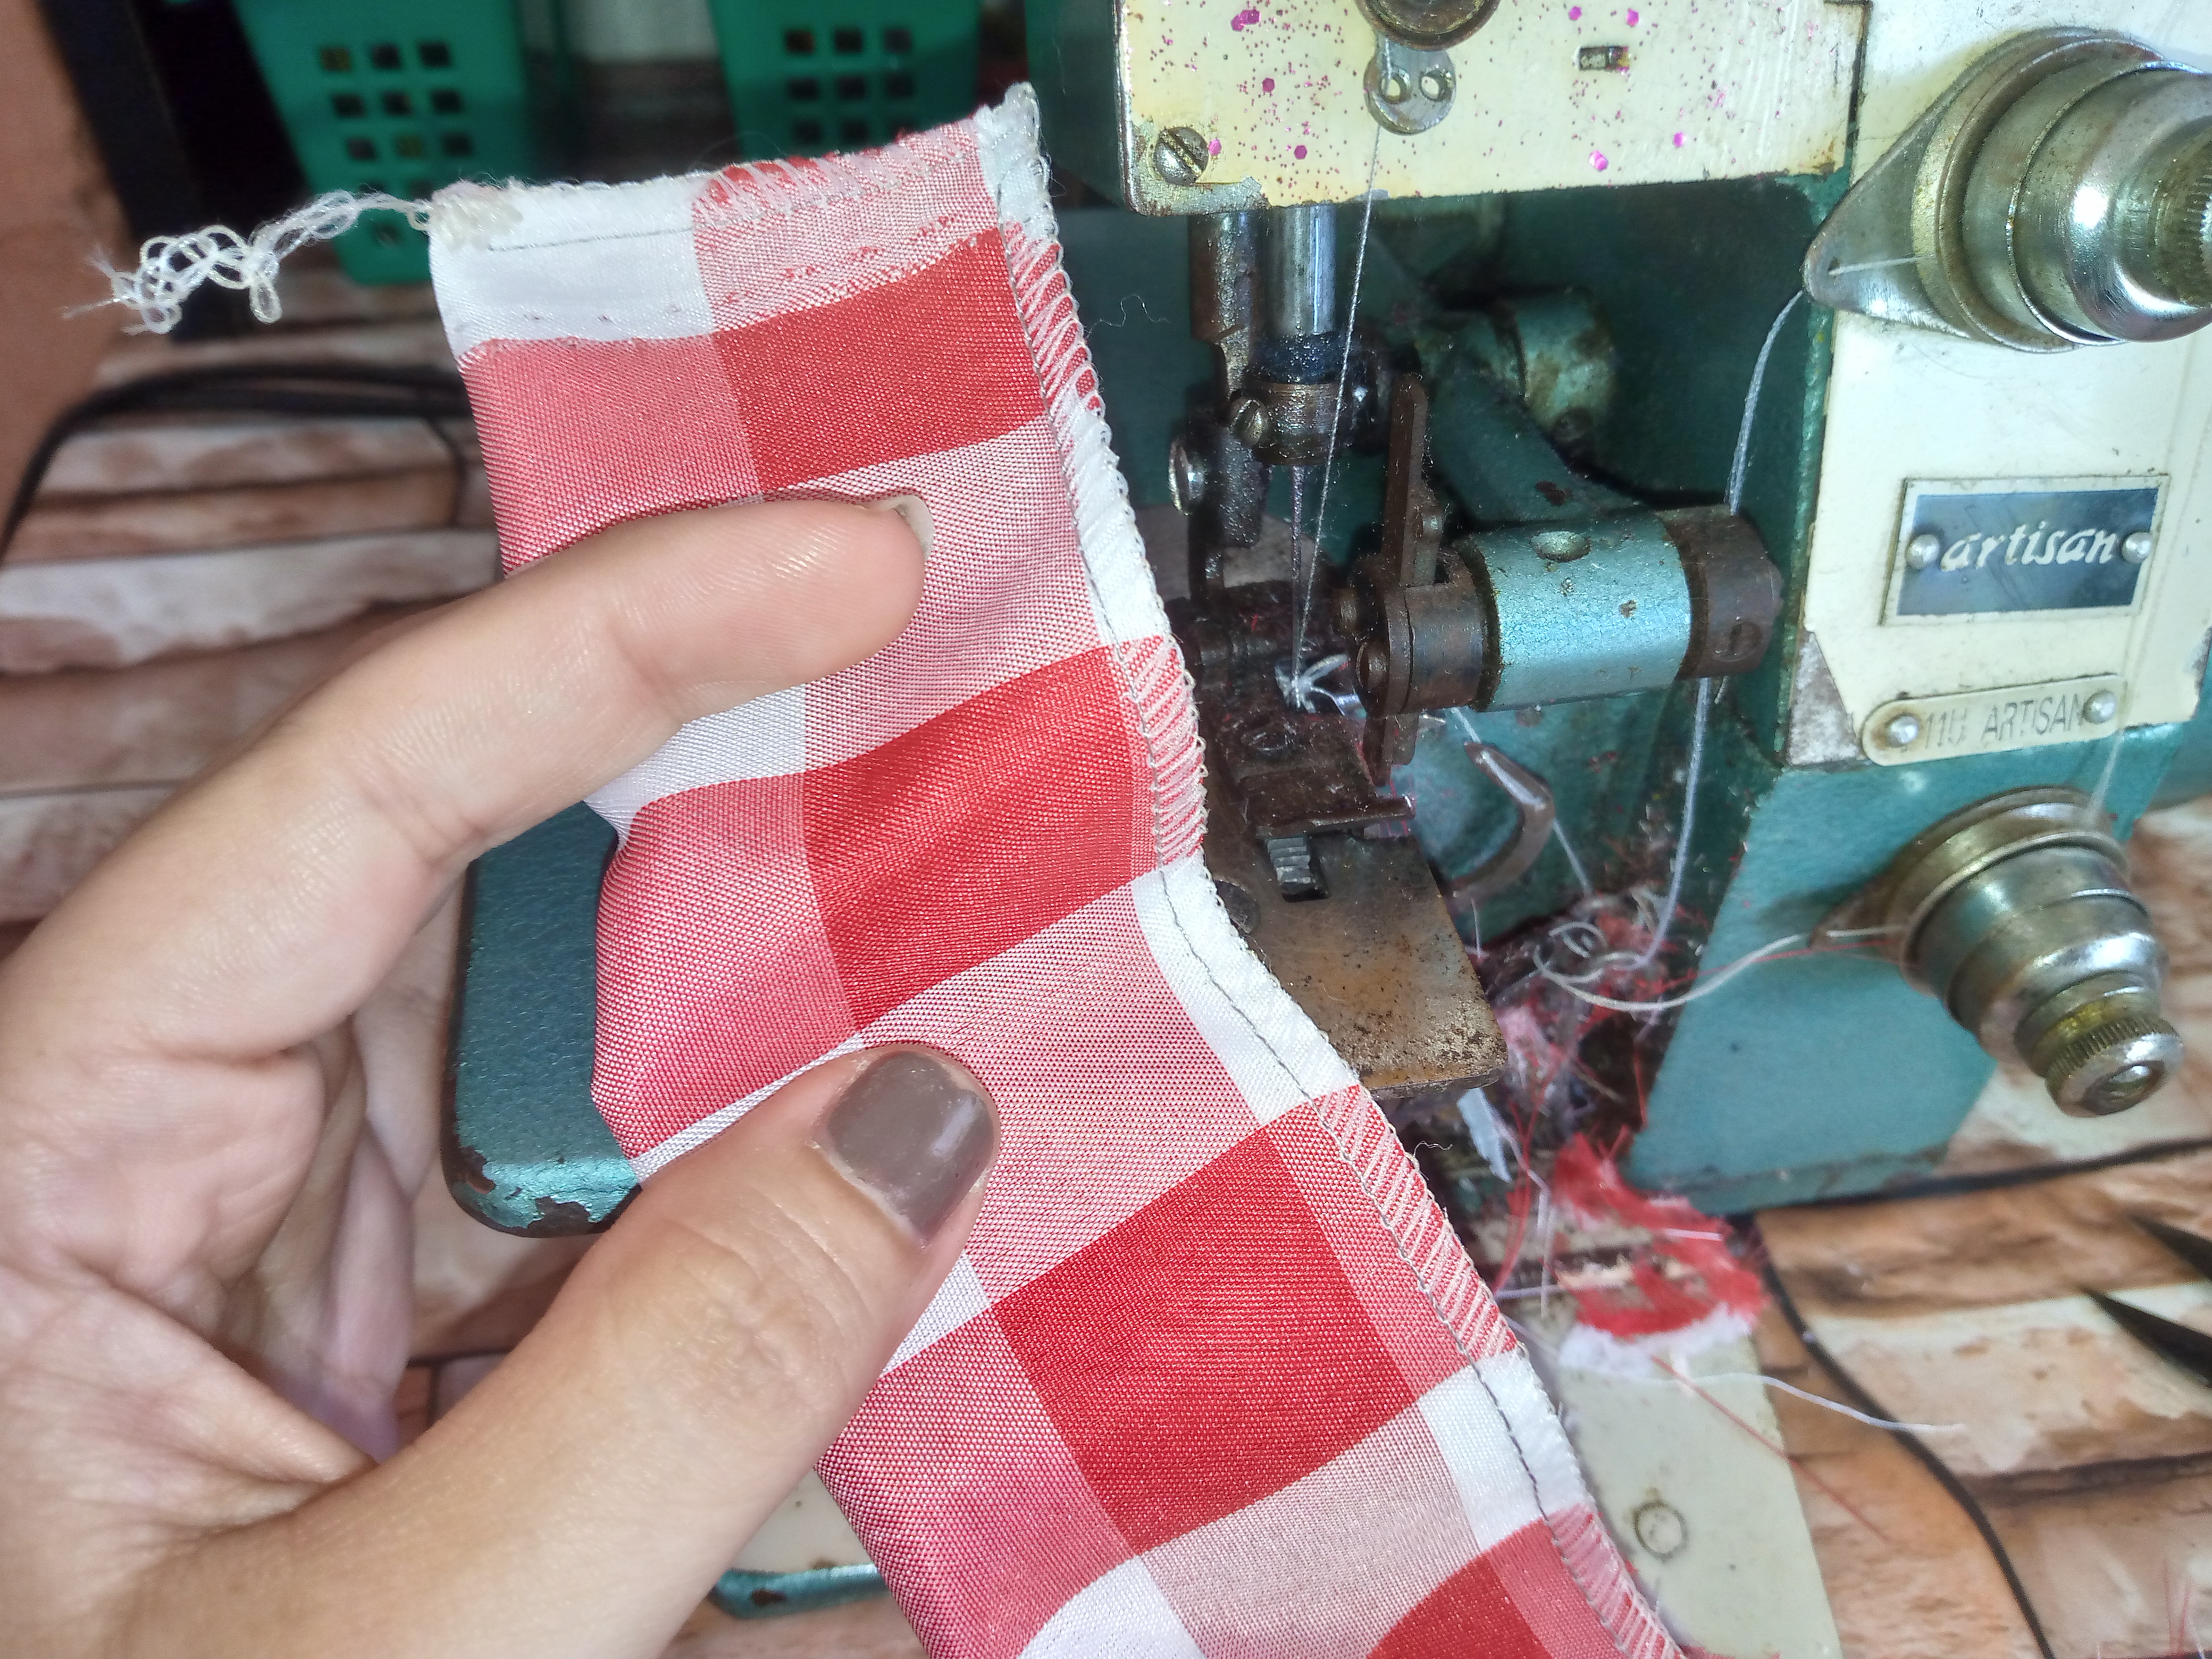
Pasamos después a unir las piezas del talle delantero luego las uní con ambos alfileres de los lados para que no se nos ruede al coser, entonces dejamos a un lado la pieza y vamos a coser una tira con el mismo sesgo de 25 cm de largo para sostenernos el delantal,una vez lo coso lo que haremos será coser el sesgo por la parte de atrás y cuando lleguemos a la punta de ambas partes de los lado del corazon allí voy a colocar cada punta de la tira y seguimos cosiendo el sesgo por todo el contorno,luego volteamos precisamente hacia la parte frontal delantera y cosemos por encima repisando el sesgo.

Step 03

We then join the pieces of the front waist then I joined them with both pins on the sides so that it does not roll when sewing, then we put the piece aside and we are going to sew a strip with the same bias 25 cm long to hold the apron, once I sew it what we will do is sew the bias on the back and when we get to the tip of both parts on the sides of the heart there I will place each tip of the strip and we continue sewing the bias around the entire contour, then we turn precisely towards the front front and sew over, overlaying the bias.
IMG_20250321_121647_419.jpg

IMG_20250321_121952_203.jpg

IMG_20250321_122138_220.jpg

IMG_20250321_123000_534.jpg

IMG_20250321_123004_193.jpg

Paso 04

Hasta este punto vamos a unir la falda a nuestra cinta de la cintura haciendo los dos tablones en la falda de 3 cm de ancho cada uno luego cosemos los extremos de loss tirantes de la misma cinta de ambos lados, después cosemos la pieza de adelante del corazón a la tira reforzamos con costura recta una vez cosimos en overlock y pues puedes pasar a planchar la pieza para un mejor acabado.

Step 04

Up to this point we are going to join the skirt to our waist ribbon by making the two pleats in the skirt of 3 cm wide each one, then we sew the ends of the straps of the same ribbon on both sides, then we sew the front piece of the heart to the strip, we reinforce it with a straight stitch. Once we sew in overlock, you can then iron the piece for a better finish.


Picsart_24-10-09_13-54-38-867 (1).jpg

Resultado:// Result:

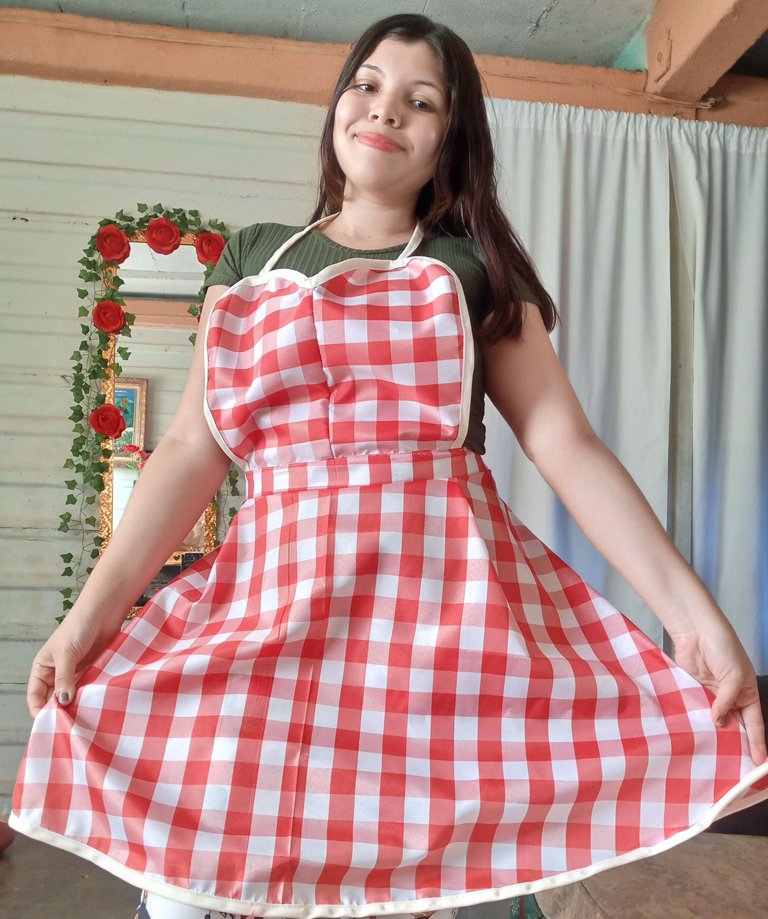
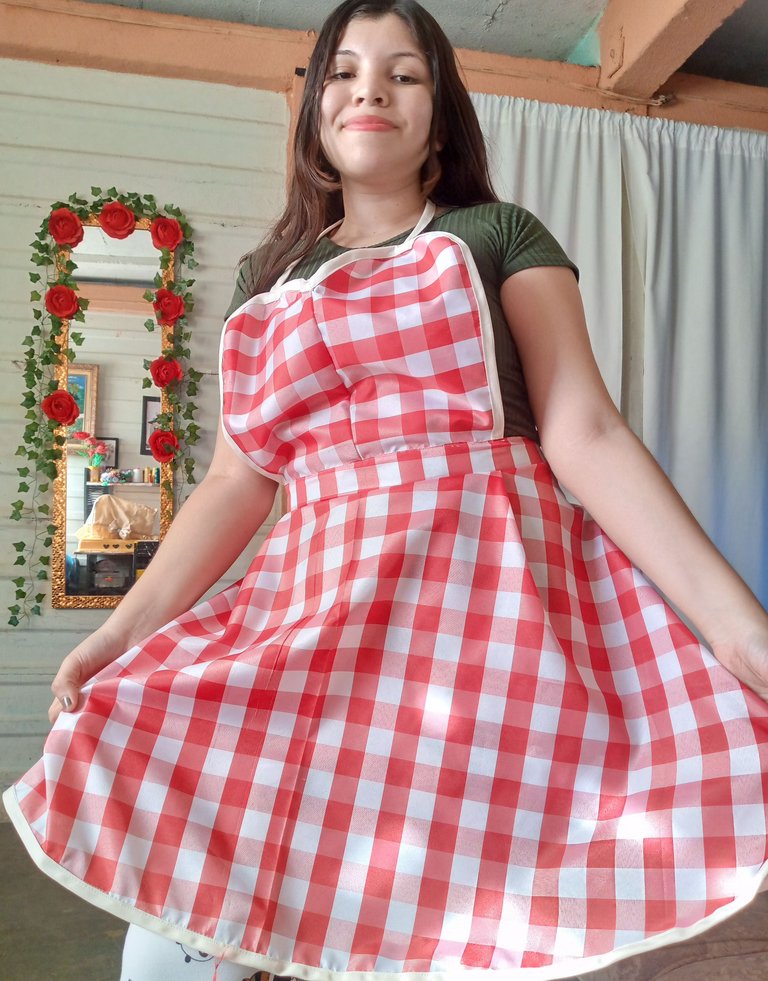
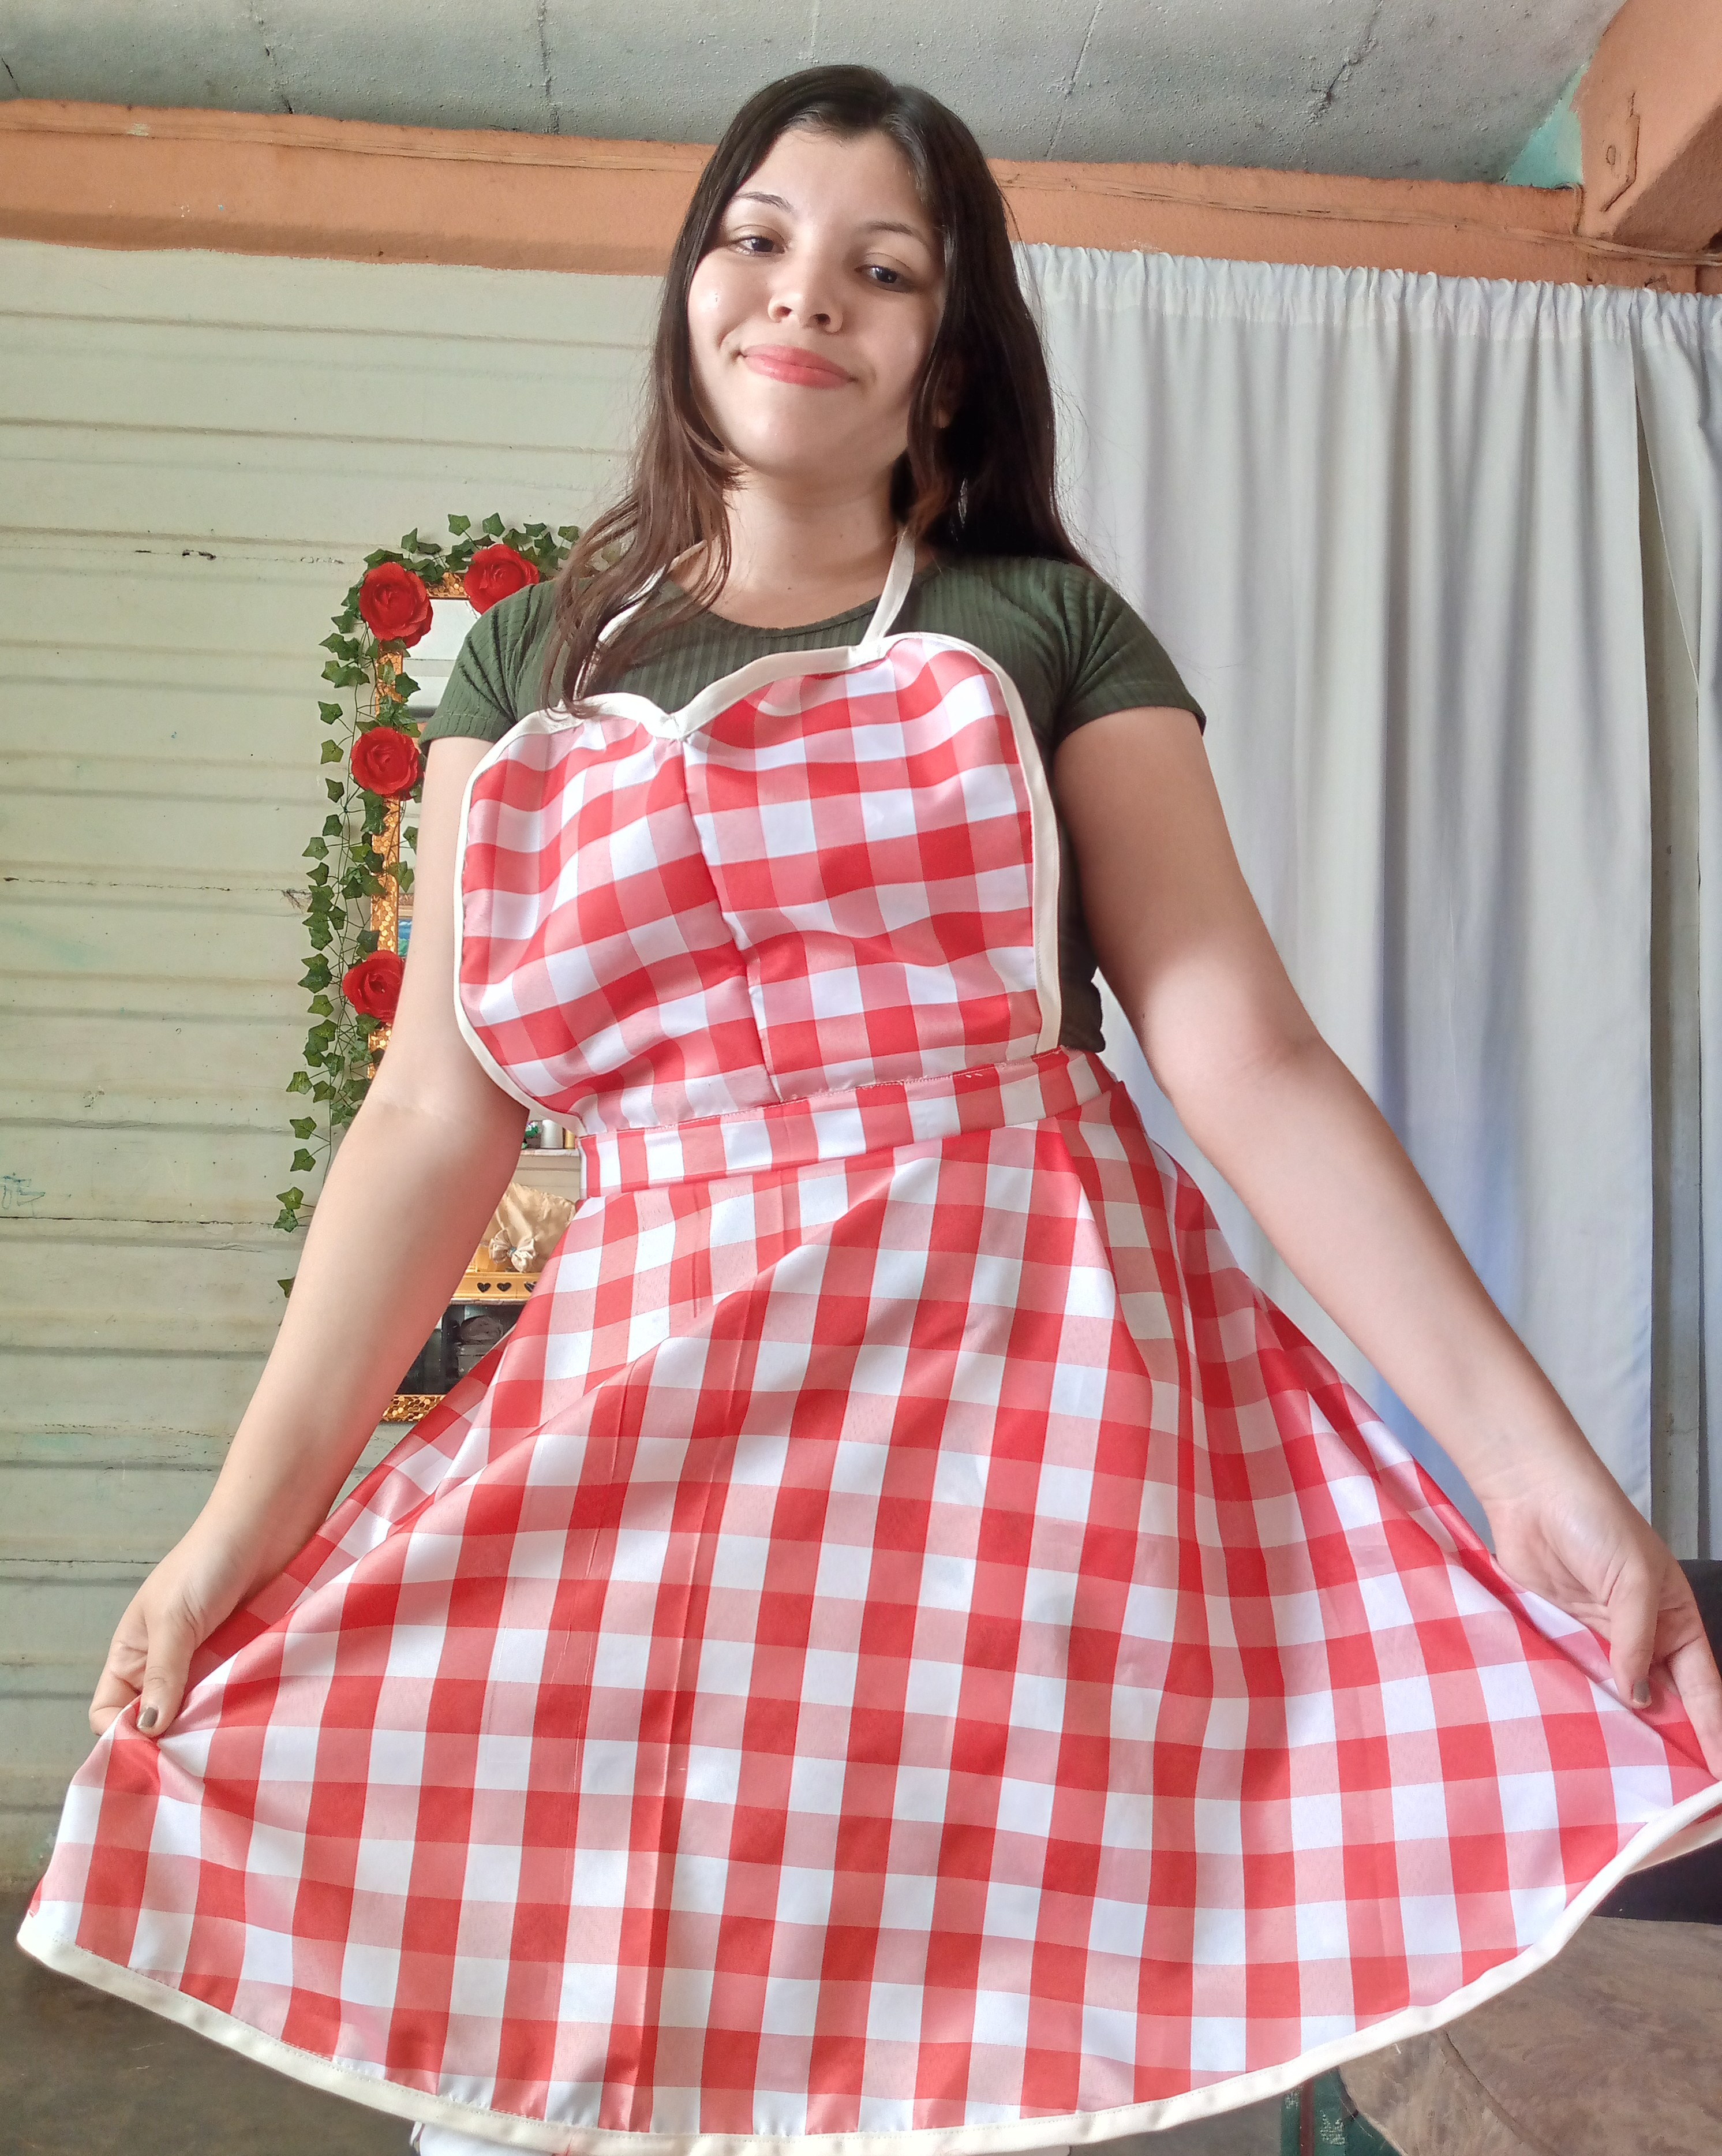
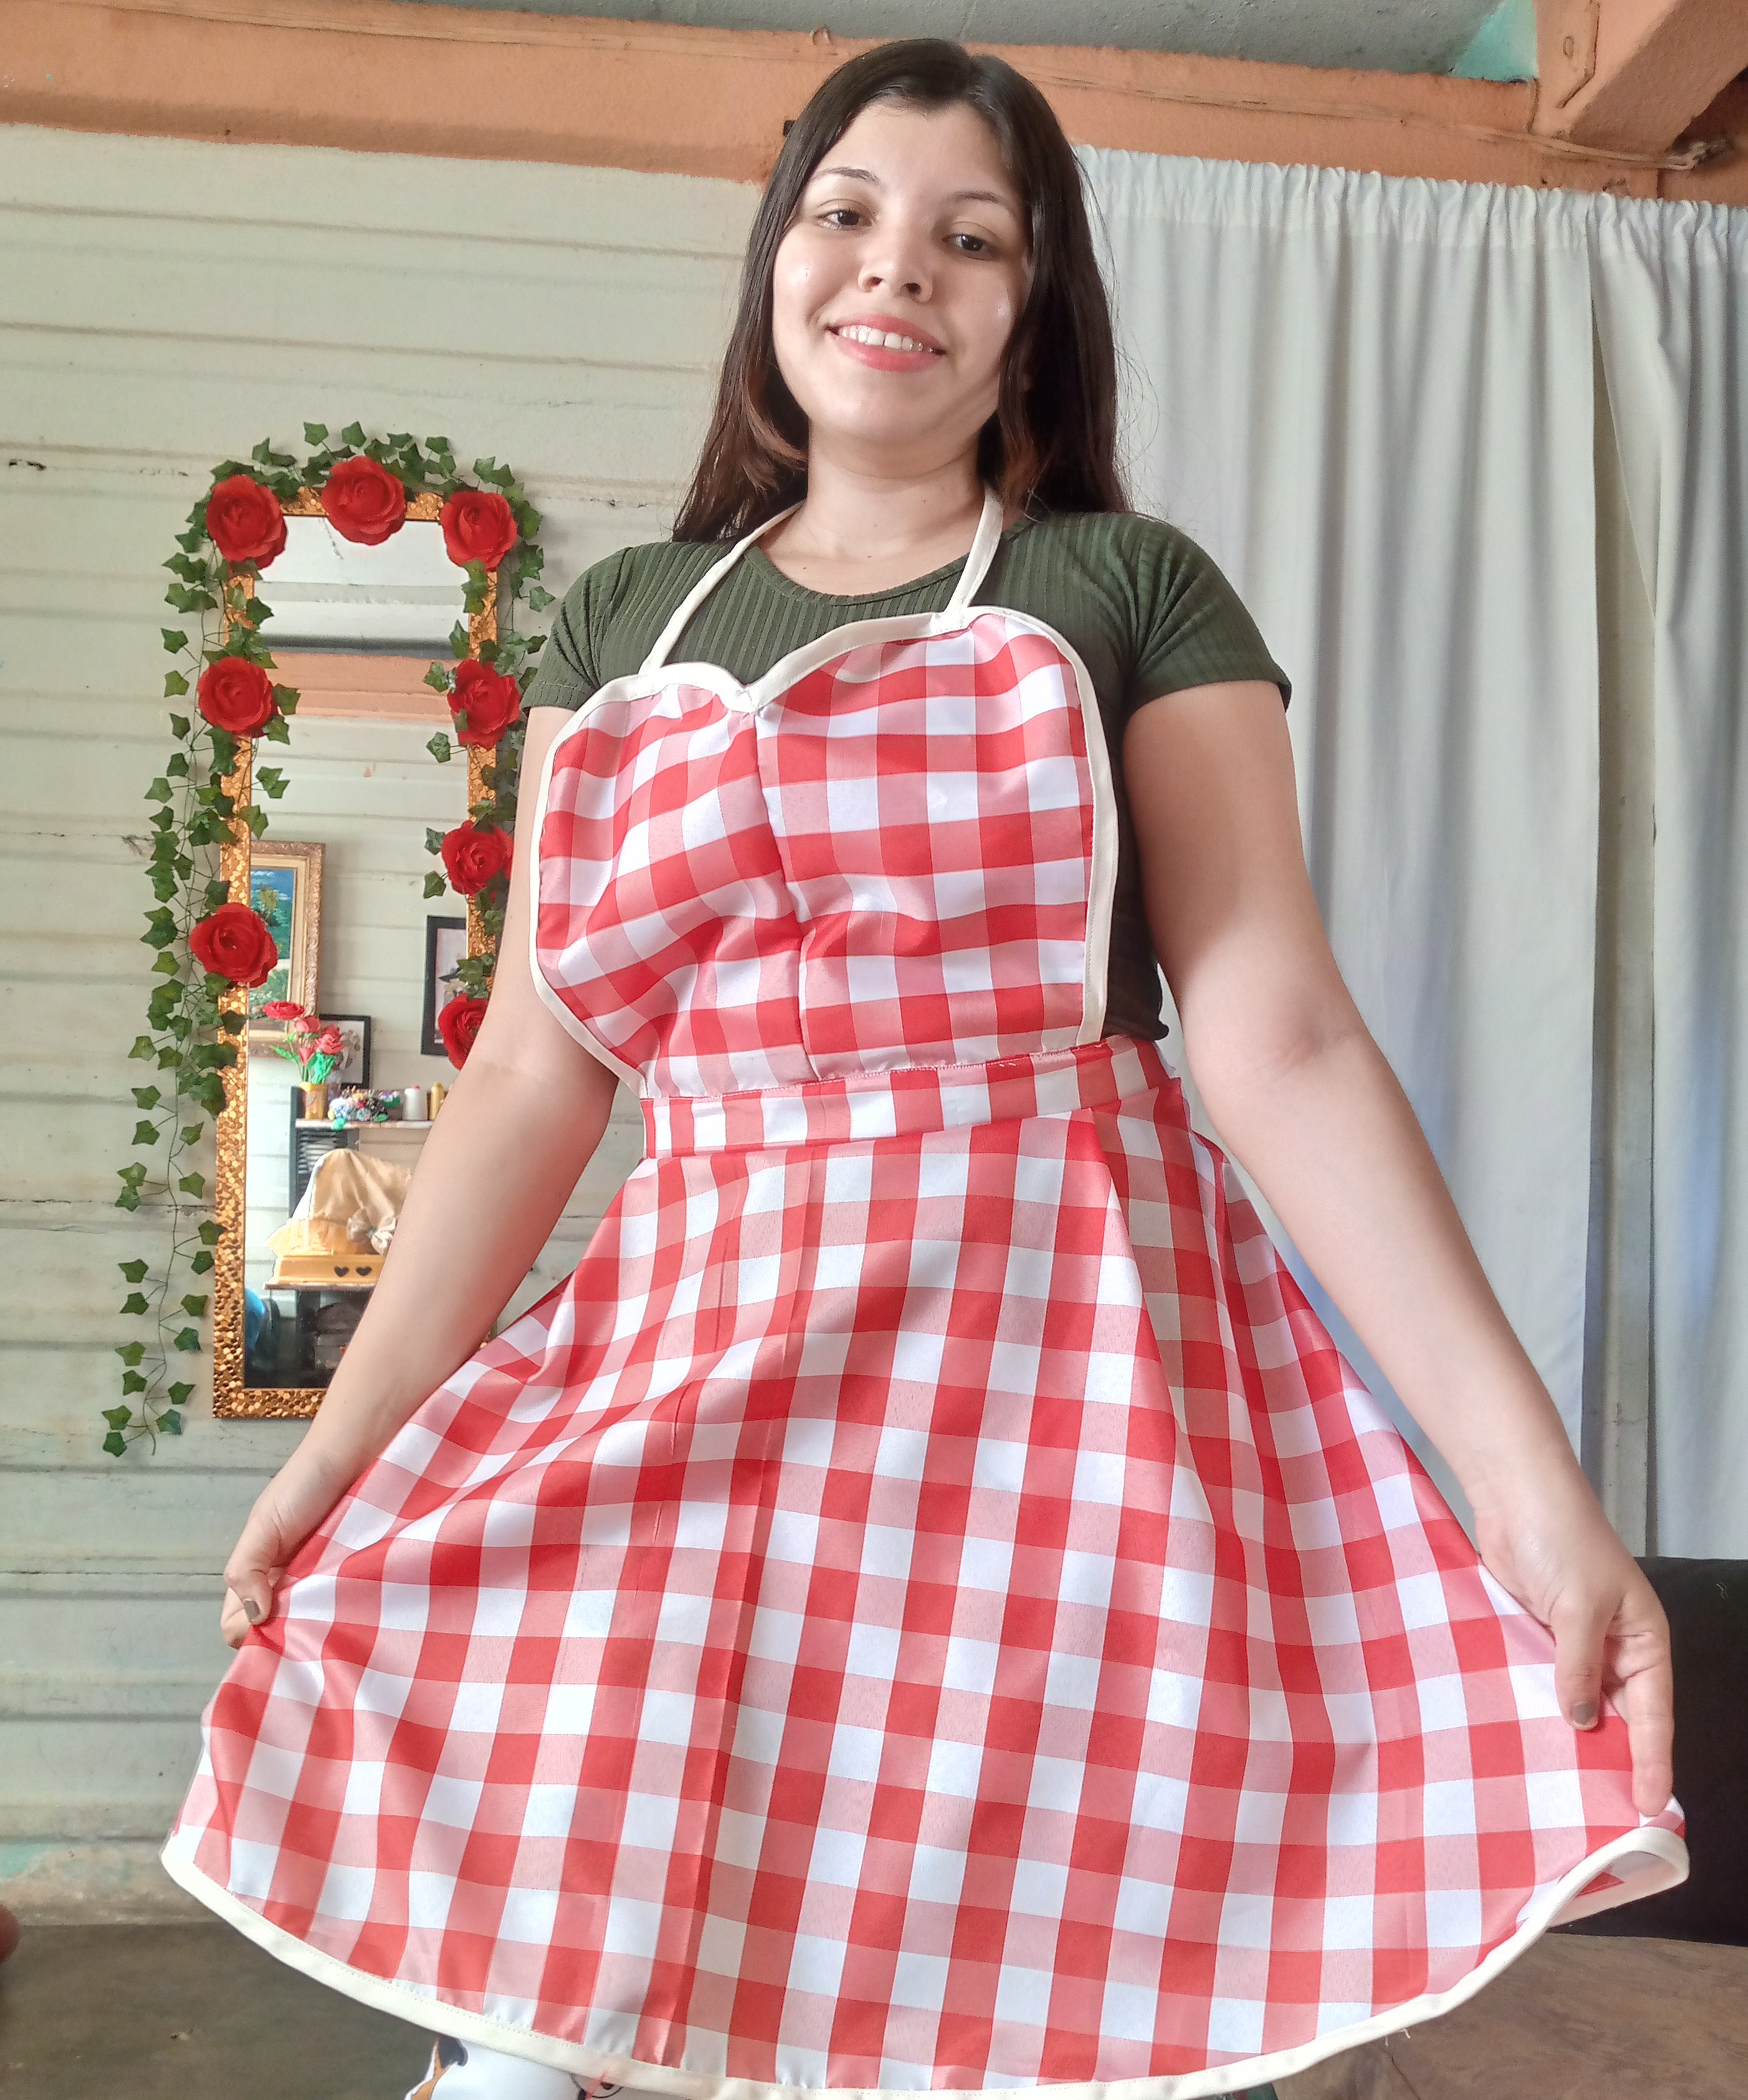
Una vez finalizo de hacer algunos detalles de mi delantal me lo probé y así es como queda muy bonito y tierno listo para ser usado en la cocina y hacer oficios ,así pues ya no tendré la molestia de ensuciar mi ropa cuando voy a hacer cualquier comida en la cocina que tenga que ver con harina, Siempre terminamos manchados de harina nuestra ropa y nuestras manos asi que estar es una buena opción para colocarlo encima de tu ropa y bueno no se te manche nada,lo bueno es que puedes lavarlo cuando quieras.

Once I finished making some details of my apron I tried it on and this is how it looks very pretty and tender ready to be used in the kitchen and do chores, so I will no longer have the trouble of dirtying my clothes when I go to make any food in the kitchen that has to do with flour, We always end up stained with flour on our clothes and our hands so this is a good option to place it over your clothes and well you do not stain anything, the good thing is that you can wash it whenever you want.
IMG_20250321_162605_943.jpg

IMG_20250321_162544_789.jpg

IMG_20250321_162521_809.jpg

IMG_20250321_162501_549.jpg

IMG_20250321_162435_845.jpg

Por cierto si te ha gustado esta idea no olvides compartirla con otros ,espero te guste mucho el resultado y gracias por sacar un poco de tu tiempo para leerme ,nos vemos en otro próximo tutorial.✨🧵🪡🥰

By the way, if you liked this idea, don't forget to share it with others. I hope you like the result a lot and thanks for taking some of your time to read me. See you in another upcoming tutorial.✨🧵🪡🥰

Picsart_24-10-09_13-54-38-867 (1).jpg

Creando las cosas con amor 🌷❤️

🦋✨Todas las imágenes de esta publicación son de mi autoria ,📱tomadas con mi celular TecnoSpark8C |📸Fotos editadas en PicsArt y Canva. Texto traducido en el traductor de Google.

Creating things with love 🌷❤️

🦋✨ All the images in this publication are my author ,📱taken with my TecnoSpark8C cell phone |📸Photos edited in PicsArt and Canva. Text translated in Google Translate.


Video de Youtube Outro Final Agradecimiento Bonita Acuarela Rosa_20250310_082357_0000.png


Sort:  

Quedó demasiado lindo y tierno 😍 me encantaaaaa

Hola amiga me alegra te haya gustado 🥰

Un trabajo hermoso !!!

Thanks ☺️✨❤️

Thanks for showing us the cutting and sewing process of your wonderful and stylish heart-shaped kitchen apron. It turned out great.

Thanks friend 🥰

 12 days ago  

Una idea excelente para realizar nuestro propio delantal, ideal para disponer de él cuando lo necesitemos.

Sii ... Precisamente para eso lo hice para usarlo cuando realmente lo necesite,se que lo voy a necesitar 😄 gracias por comentar

the shape and color are very beautiful👍

Thanks for the comment 😁❤️

Yes, you're welcome, friend♥️

Hermoso, necesito uno asi de lindo 😊

Ya puedes hacerlo ahora con este tutorial espero tengas las telas necesarias 🤭❤️ gracias por comentar,saludos 👋🏻🥰

Este delantal está bellísimo! La tela de cuadritos rojos y blancos hace que me guste aún más y de paso se te ve súper bonito✨