.jpg)
🦋✨Welcome to my blog✨🦋!

Hello artisan friends from @hivediy, it is a pleasure for me to be once again sharing with you what I love to do so much, which are crafts, designs and sewing, in this day beautiful I wish you many blessings and that you are very well.
I have decided to recycle an old record 💿 that I had saved for a while from a project I did a long time ago that was a small curtain of records and there were some left over, the rest have been lost but I found one alone and I wanted to use it to make this beautiful aesthetic ornament with butterflies🦋 since they fascinate me a lot and they are my favorite animal after turtles 😍🐢, I saw many ideas on Pinterest but I decided to paint some butterflies and glue them to the disk to give it a more natural touch, if you are one of those who love them this type of crafts then you are going to like this recycled craft, don't miss the step by step that I show you below.

.jpg)
💿🦋Materiales que usé:🦋💿
Materials i used:
.jpg)
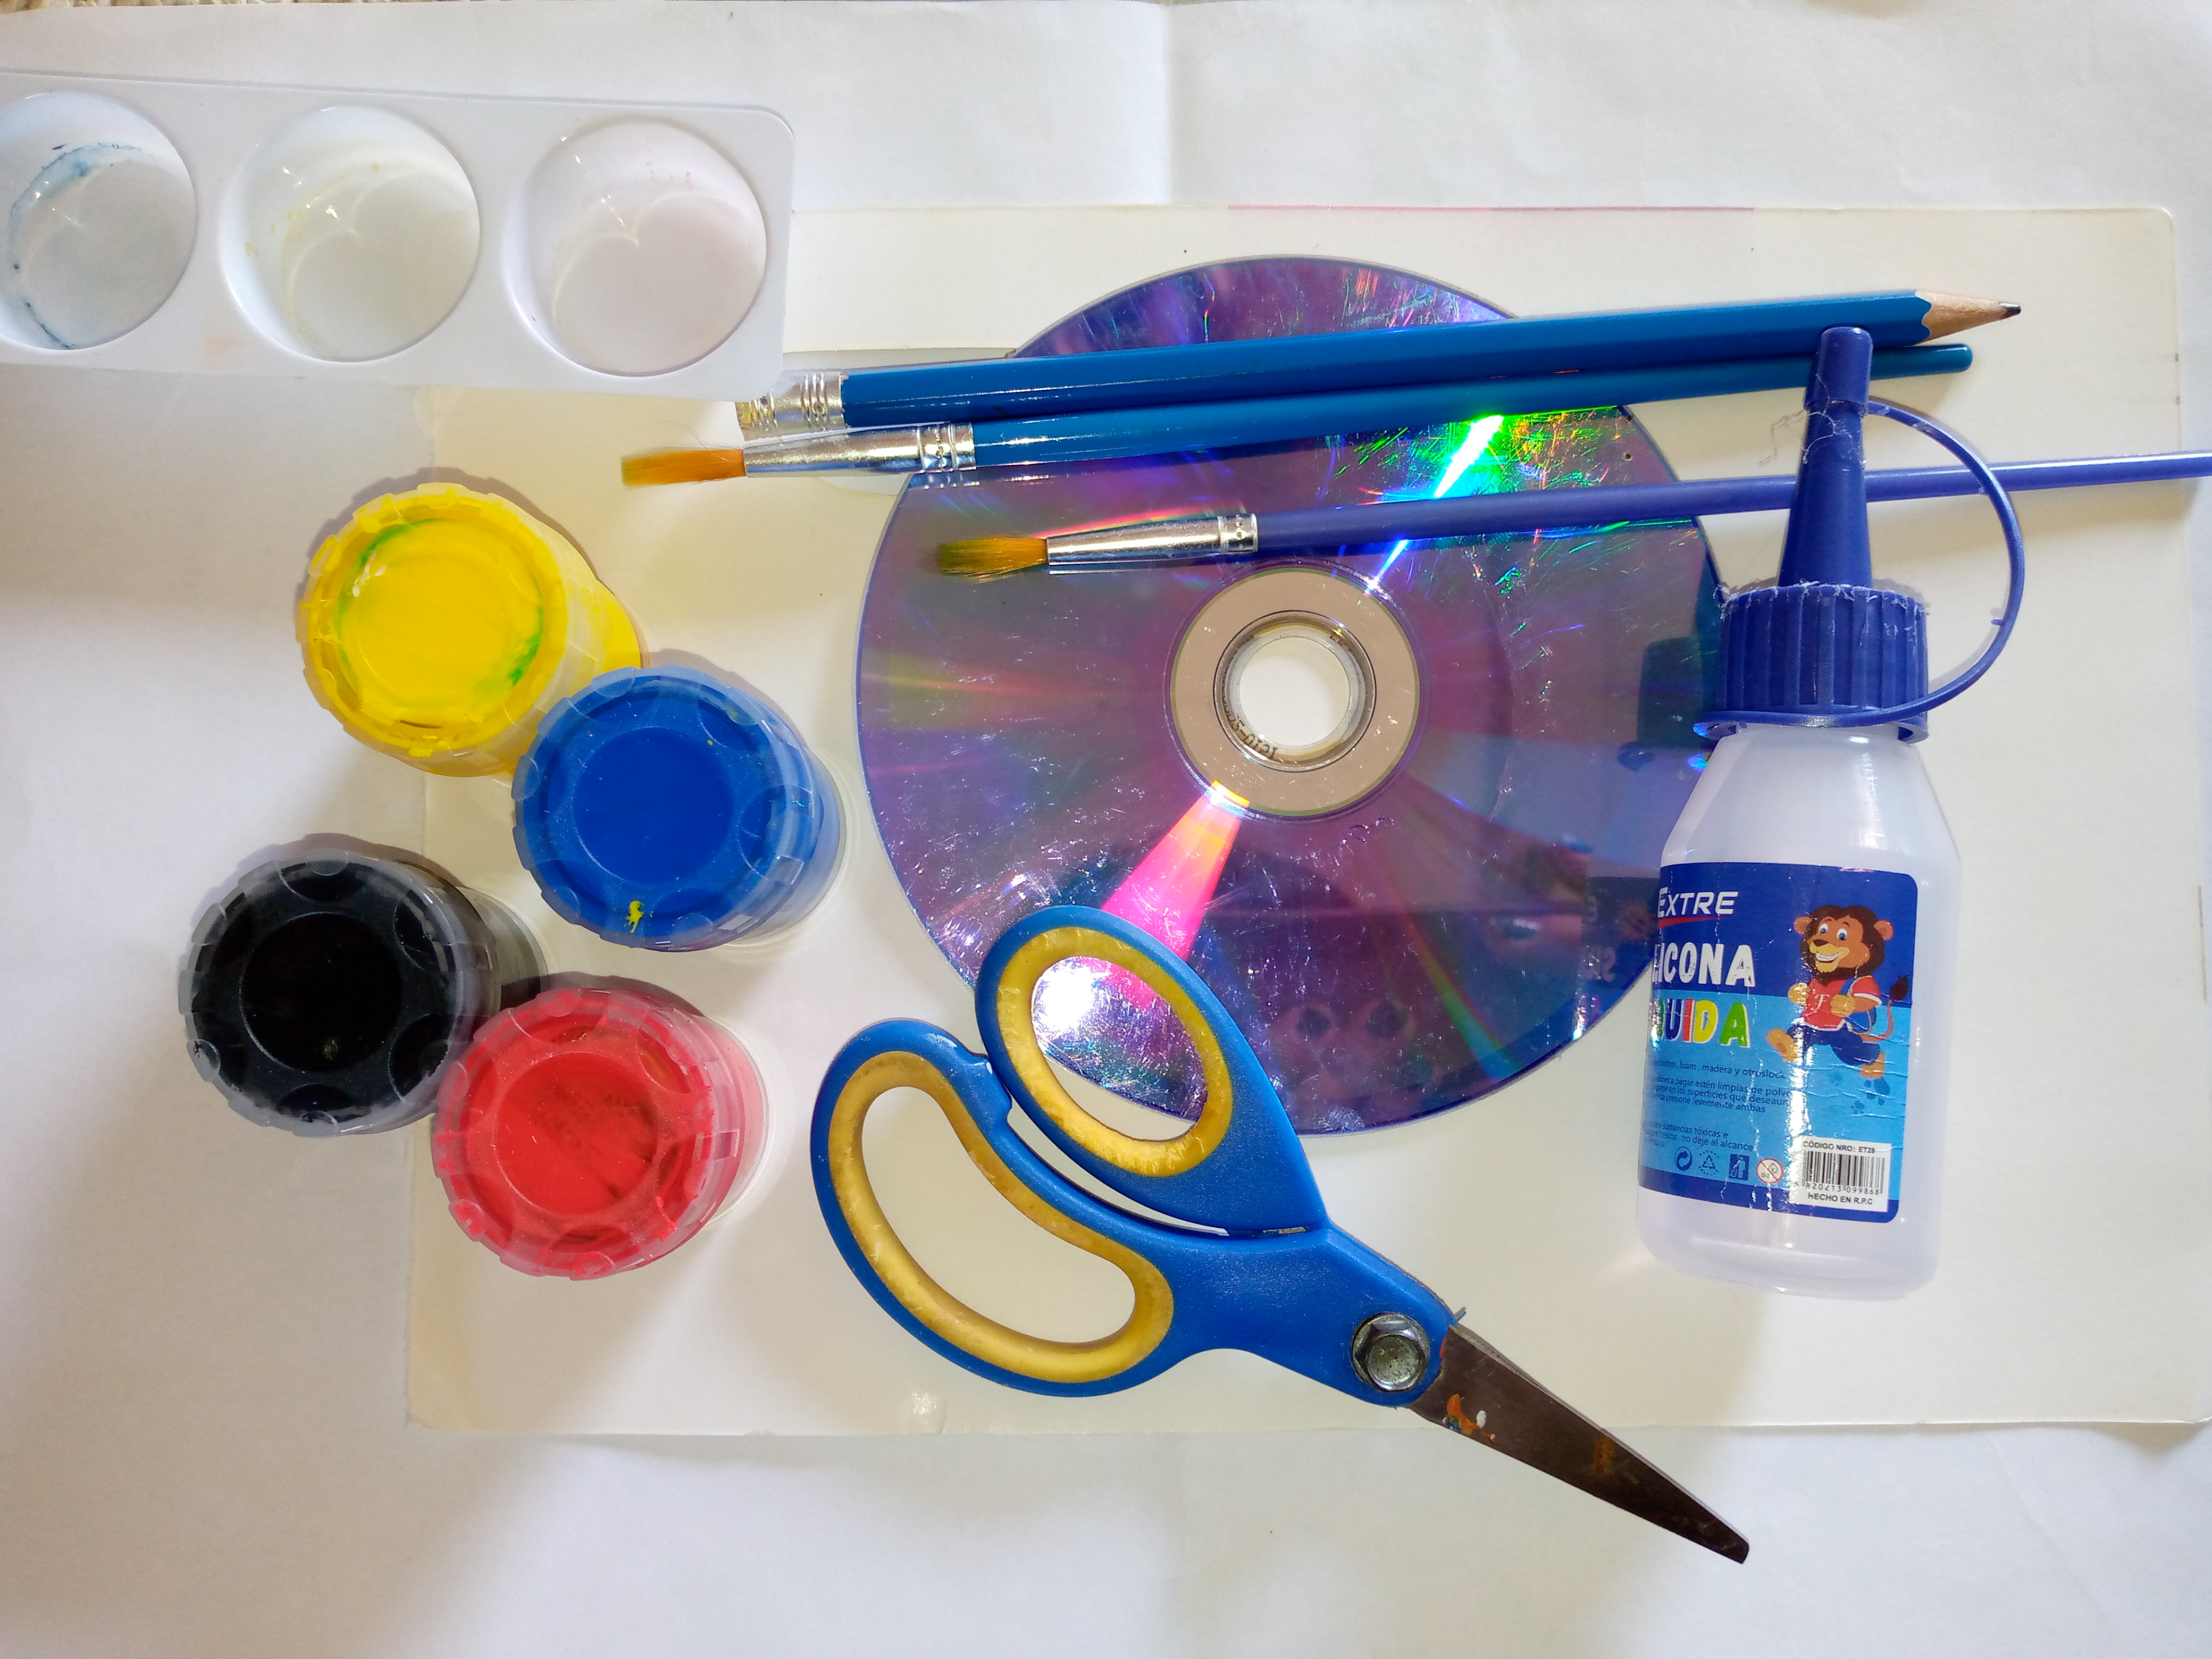
- Disco de plástico que no uses
- Silicón líquido o frío
- Pinturas del color de tu preferencia pero la mas importante que usaremos será el negro
- Pinceles
- Tijeras
- Trozo de cartulina blanca
- Lápiz
- Brillantina
- Envase para mezclar las pinturas en caso de que no tengas los colores que gustes
- Plastic disc that you do not use
- Liquid or cold silicone
- Paints of the color of your preference but the most important one that we will use will be black
- Brushes
- Scissors
- Piece of white cardboard
- Pencil
- Glitter
- Container to mix paints in case you don't have the colors you like
.jpg)
💿🦋Pasos a seguir:🦋💿
Steps to follow:
.jpg)
Paso 01
Step 01
Well, my loves, we are going to start the magic by drawing our cute and beautiful butterflies on the white cardboard. I have only made three since my disk is not big. You can look for a pattern of a butterfly you have so that this part is not difficult for you. To make it, I struggled a bit making the first butterfly since it was difficult for me to draw it since I didn't have a pattern, but for the second one I already used the first one that I cut out as a guide so that I could draw it and have it turn out very well, especially the curved lines of the butterfly and then I cut them out.

Paso 02
Step 02
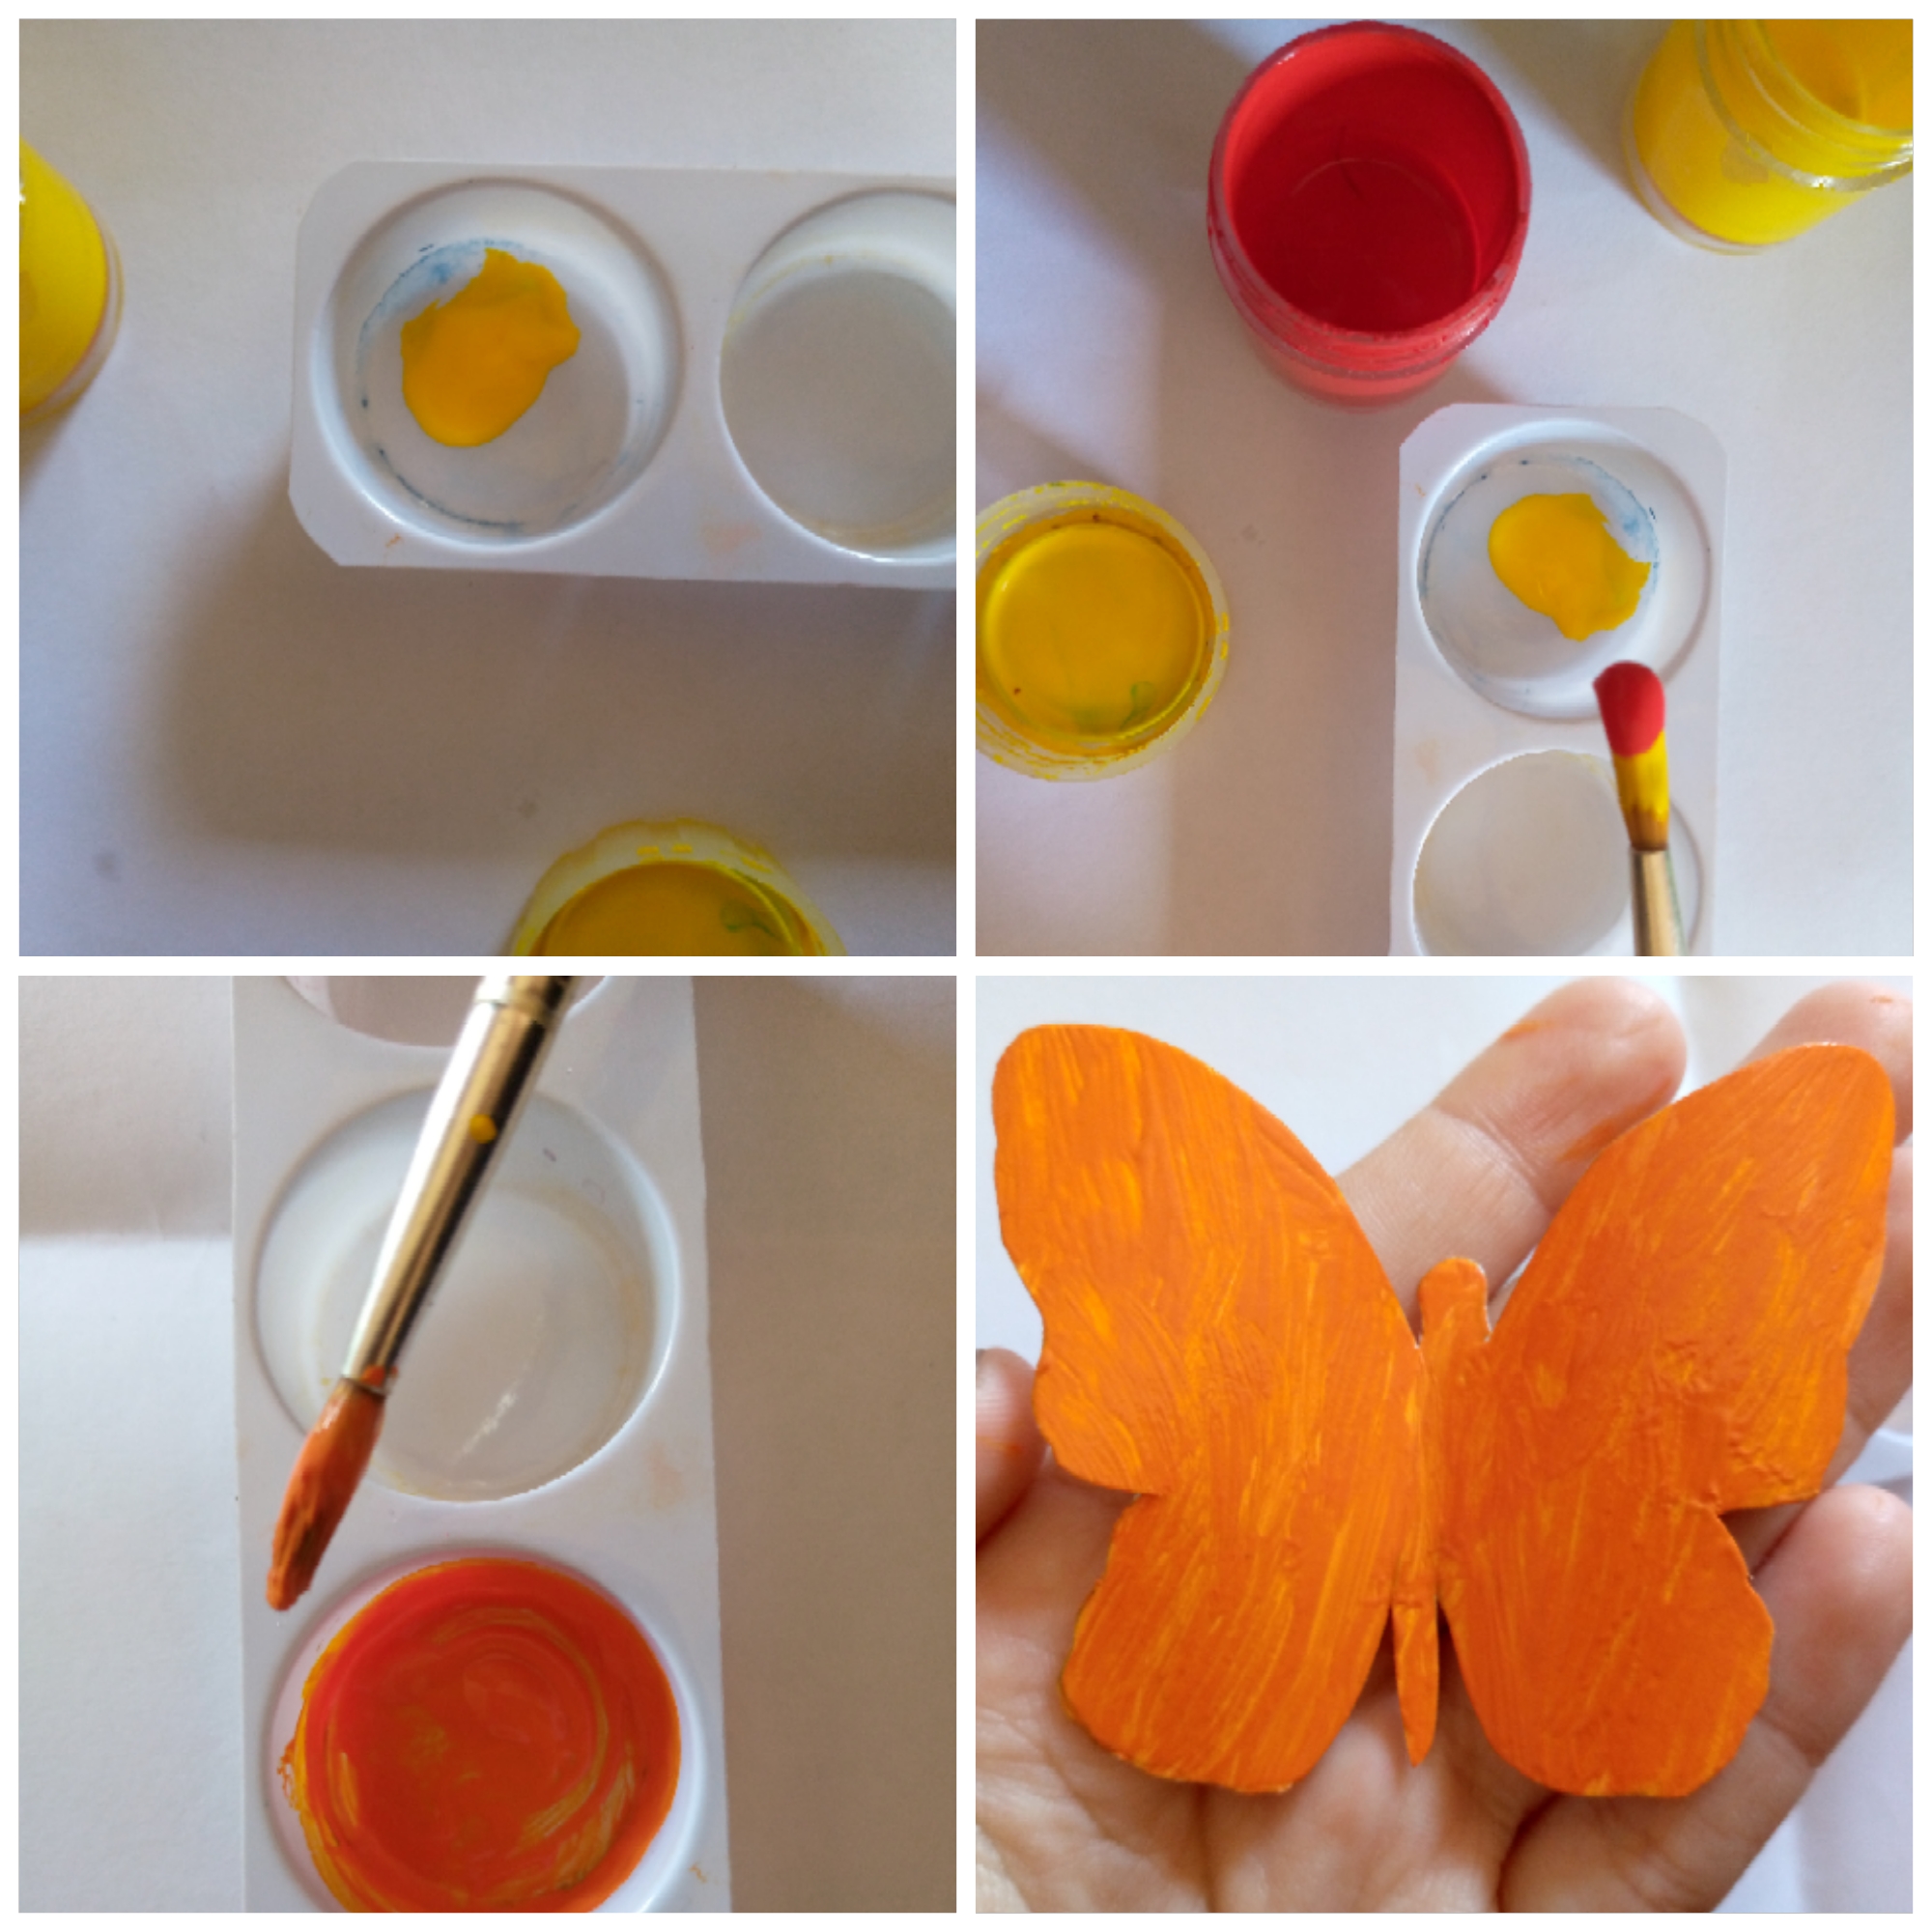
Since I did not have bright orange paint, I decided to mix the paints that gave me this tone. In this case, I used more yellow than red to obtain the intense orange that I wanted. I proceeded to add a thin layer of paint on the butterfly and then dry I added another so that my paint on the cardboard looked well distributed.

Paso 03
Step 03
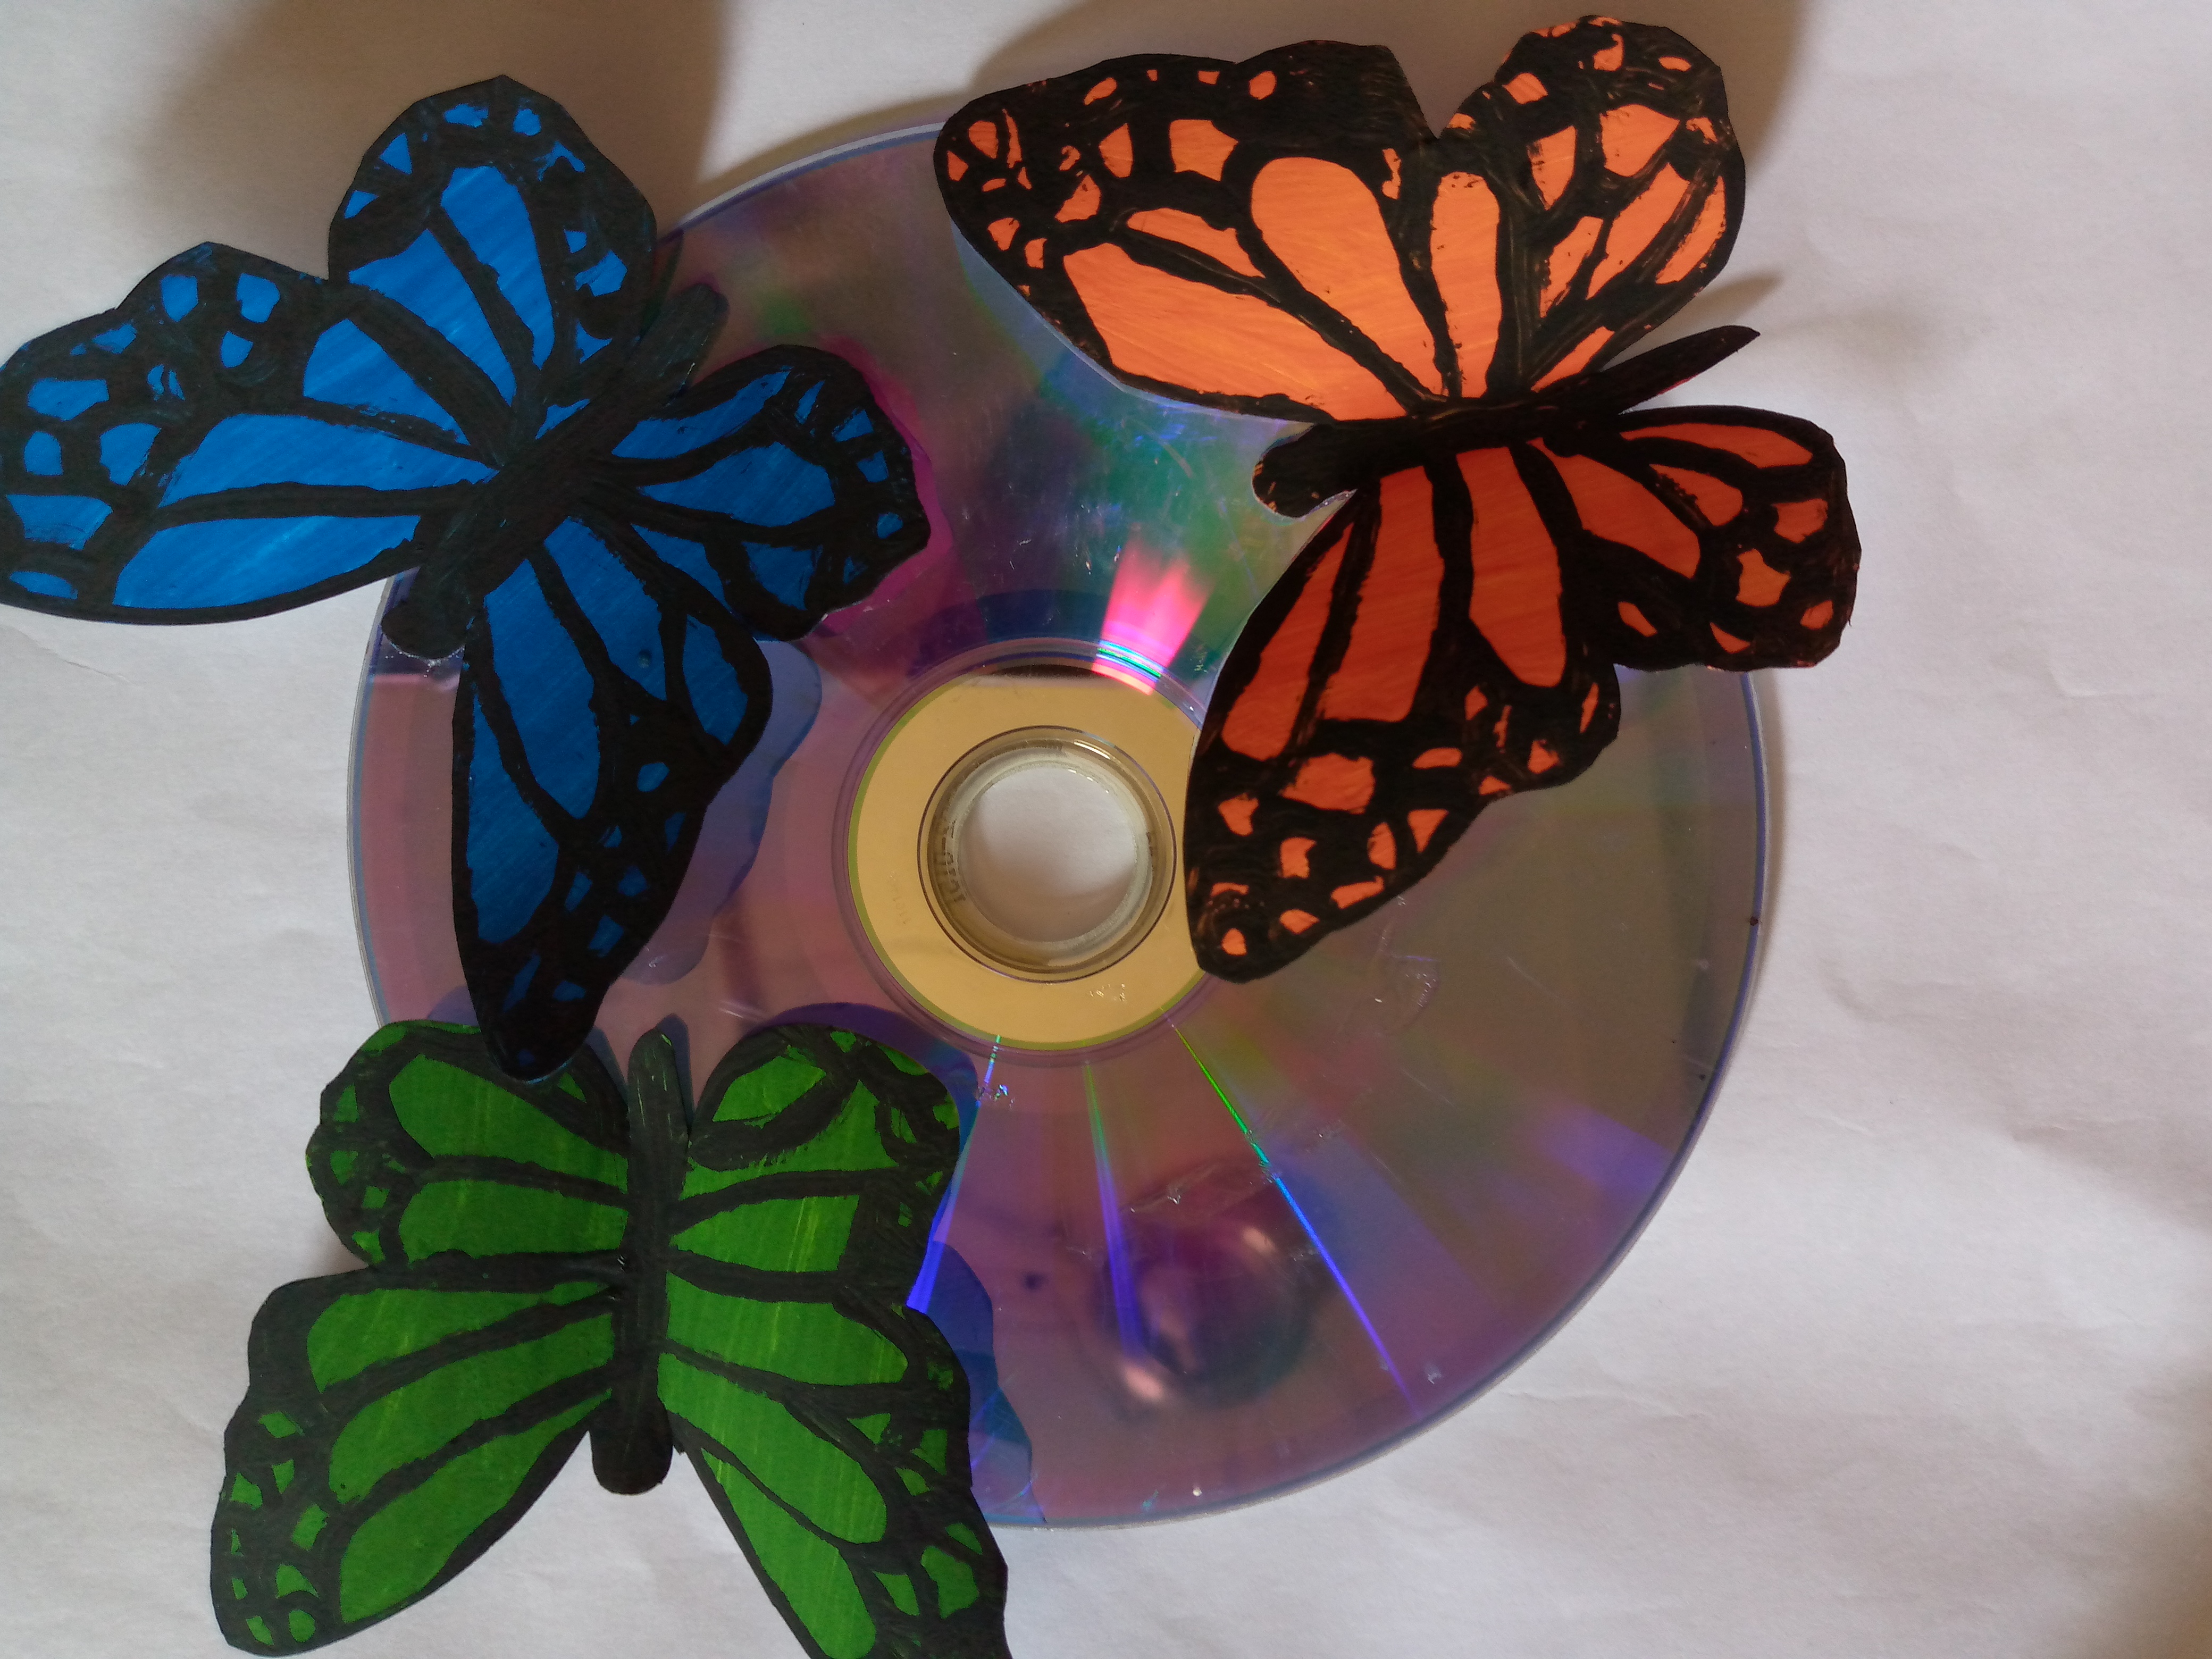
I started to mix yellow paint with blue to obtain a very nice shade of green since the green paint I had was not very pretty in color so I decided to do it too, I continued painting this butterfly I did the same procedure as the previous one I let it dry and added another layer, I painted the last butterfly in a deep blue tone and let it dry. When I dried all my butterflies with the black paint, I started to make the lines that the butterflies have and the shape of the spots. In this way I finished them.

Paso 04
Step 04
As the last step of this process that I am loving so far, I was gluing my butterflies to the disk. First, I arranged them, then I glued them as I had placed them in their respective places and let them dry for a while.

.jpg)
💿🦋Resultado:🦋💿
Result:
.jpg)
How did this beautiful ornament turn out?...In the end I placed the antennas on the butterflies, which by the way almost missed this, I hadn't realized but a butterfly without its antennae is not a butterfly so I placed them too. I glued the glitter in the center of each butterfly, that is, on its body to give it a brighter touch and thus create a luminous and shiny effect just like the disk. If you liked this idea, let me know below in the comments and if you didn't know of this idea to recycle records, I have enjoyed the process and I hope you have also enjoyed it. I say goodbye to you, wishing you a beautiful and nice afternoon and looking forward to meeting again in another next creative blog, see you friends👋🏻😊.

.jpg)


Que hermosas que son las mariposas, un insecto con unos colores tan brillantes y unos dibujos tan perfectos en sus alas 😍 te quedaron muy lindas, me encantaron los colores ❤️
Holiii feliz porque te haya gustado esto 😍🥰a mi me fascinan las mariposas son mis favoritas ☺️ saluditos
Esta abejita te manda un abrazo ❤️🐝
The butterflies were painted to perfection. The decorative ornament is a lovely one. Bravo
Thank so much 😉😍😍