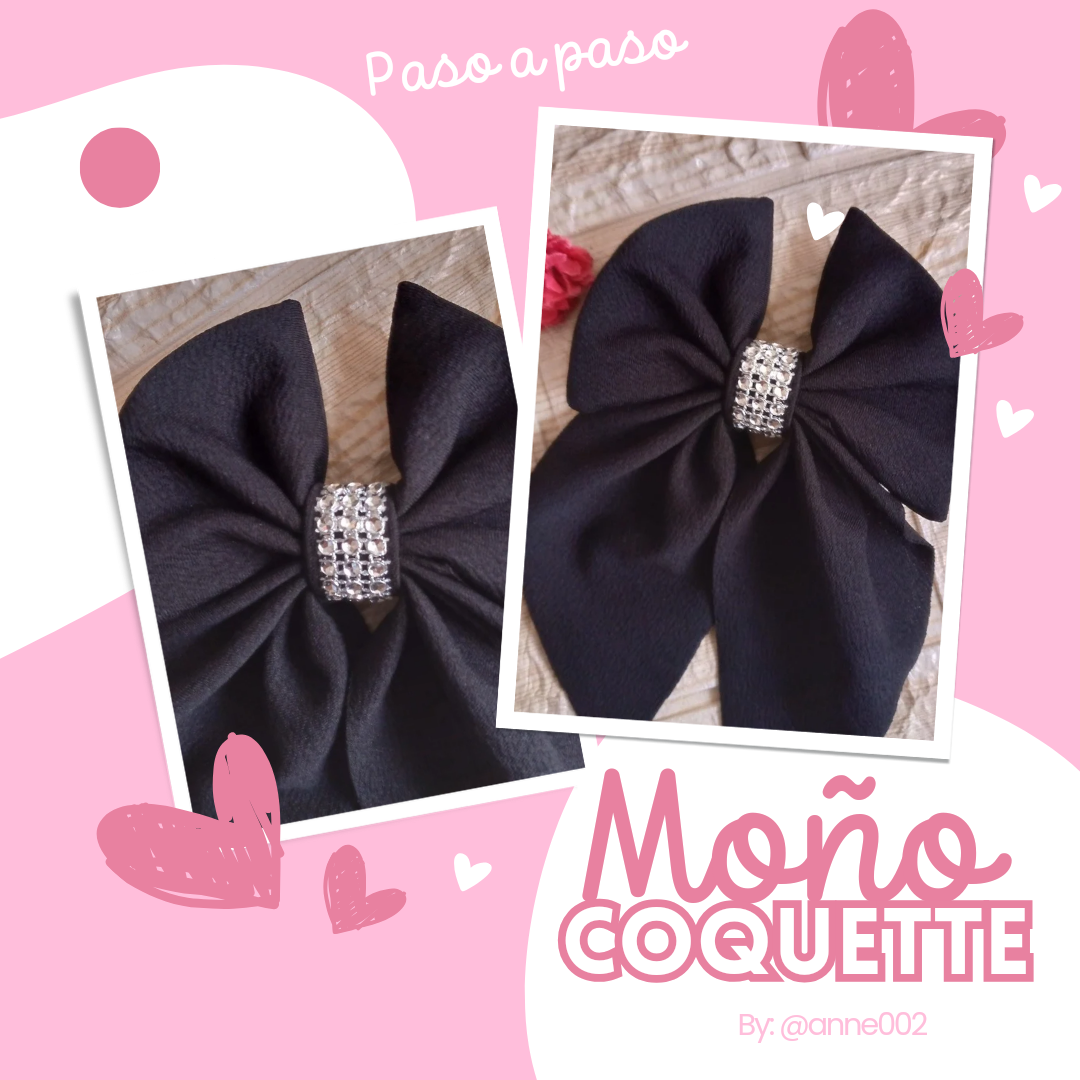
Tutorial para hacer un lindo lazo coquette🖤🎀 //Tutorial to make a cute flirty bow🖤🎀[Esp~Eng]

in Hive Diyyesterday

Post para Instagram Collage de Fotos Amor y Amistad Sencillo Rosa_20241118_192202_0000.png

Desde que uno aprende a hacer estos moños tan bonitos no hay vuelta atrás ,todas las telas de diferentes colores que tengas a la mano y que veas que te sobren de trabajos anteriores vas a querer hacer un lindo moño coquette claro como es en mi caso si me encantan hacerlos para mis amigas para mis primas y por supuesto para mí,si tengo bastantes modelos a quien regalarles sus lacitos 🤭y es que para cualquier ocasión visten muchísimo estos lazos y si es de tu color favorito más los vas a amar.

Once you learn to make these pretty bows there is no turning back, all the fabrics of different colors that you have on hand and that you see left over from previous works, you will want to make a nice flirty bow, of course as is my case. I love making them for my friends, my cousins and of course for myself, I have enough models to give their bows to 🤭 and it is that these bows are very dressy for any occasion and if they are your favorite color you will love them even more.

Picsart_24-11-11_14-38-52-418 (1).jpg

Los lazos coquette nunca han pasado de moda y aunque meses atrás está tendencia estaba en todas las redes pues siempre han sido tendencia y un accesorio ideal para una reunión especial,no han dejado de pasar de moda,recuerdo cuando estaba en tendencia está moda coquette tu coquette nosotros coquette todos coquette jajaja daba cierta risa hasta filtros en redes con los típicos moños coquette uno podía apreciar hasta quizás tu fuiste víctima de esta tendencia posando en fotos con estos lindos e irresistibles filtros de moños coquette,les cuento que aun he visto por allí esos filtros en Instagram y pocas veces los he usado 🤭😂.

Flirty bows have never gone out of style and although months ago this trend was all over the networks because they have always been a trend and an ideal accessory for a special meeting, they have not stopped going out of style, I remember when this coquette fashion was in trend, you coquette we coquette all coquette hahaha it was a bit funny even filters on networks with the typical flirty bows one could even see maybe you were a victim of this trend posing in photos with these cute and irresistible flirty bow filters, I tell you that I have even seen those filters around on Instagram and I have rarely used them 🤭😂.

Si tú eres de las que aún gusta de usar estos moños que no han pasado de moda este tutorial te va a gustar y aunque el moño que estaré haciendo es para mí también te podría gustar mucho el resultado final y ver como lo he realizado si es así entonces te doy la bienvenida a este blog y tutorial donde haremos este moño coquette pero pequeño ya que yo tengo uno grande así que estaremos haciendo el pequeño,sin mas que decirles vamos con los materiales.

If you are one of those who still likes to use these bows that have not gone out of fashion, you will like this tutorial and although the bow that I will be making is for me, you might also really like the final result and see how I made it. If so, then I welcome you to this blog and tutorial where we will make this flirtatious but small bow since I have a big one so we will be making the small one. Without further ado, let's get to the materials.

IMG_20241117_124201_751.jpg

Picsart_24-11-11_14-38-52-418 (1).jpg

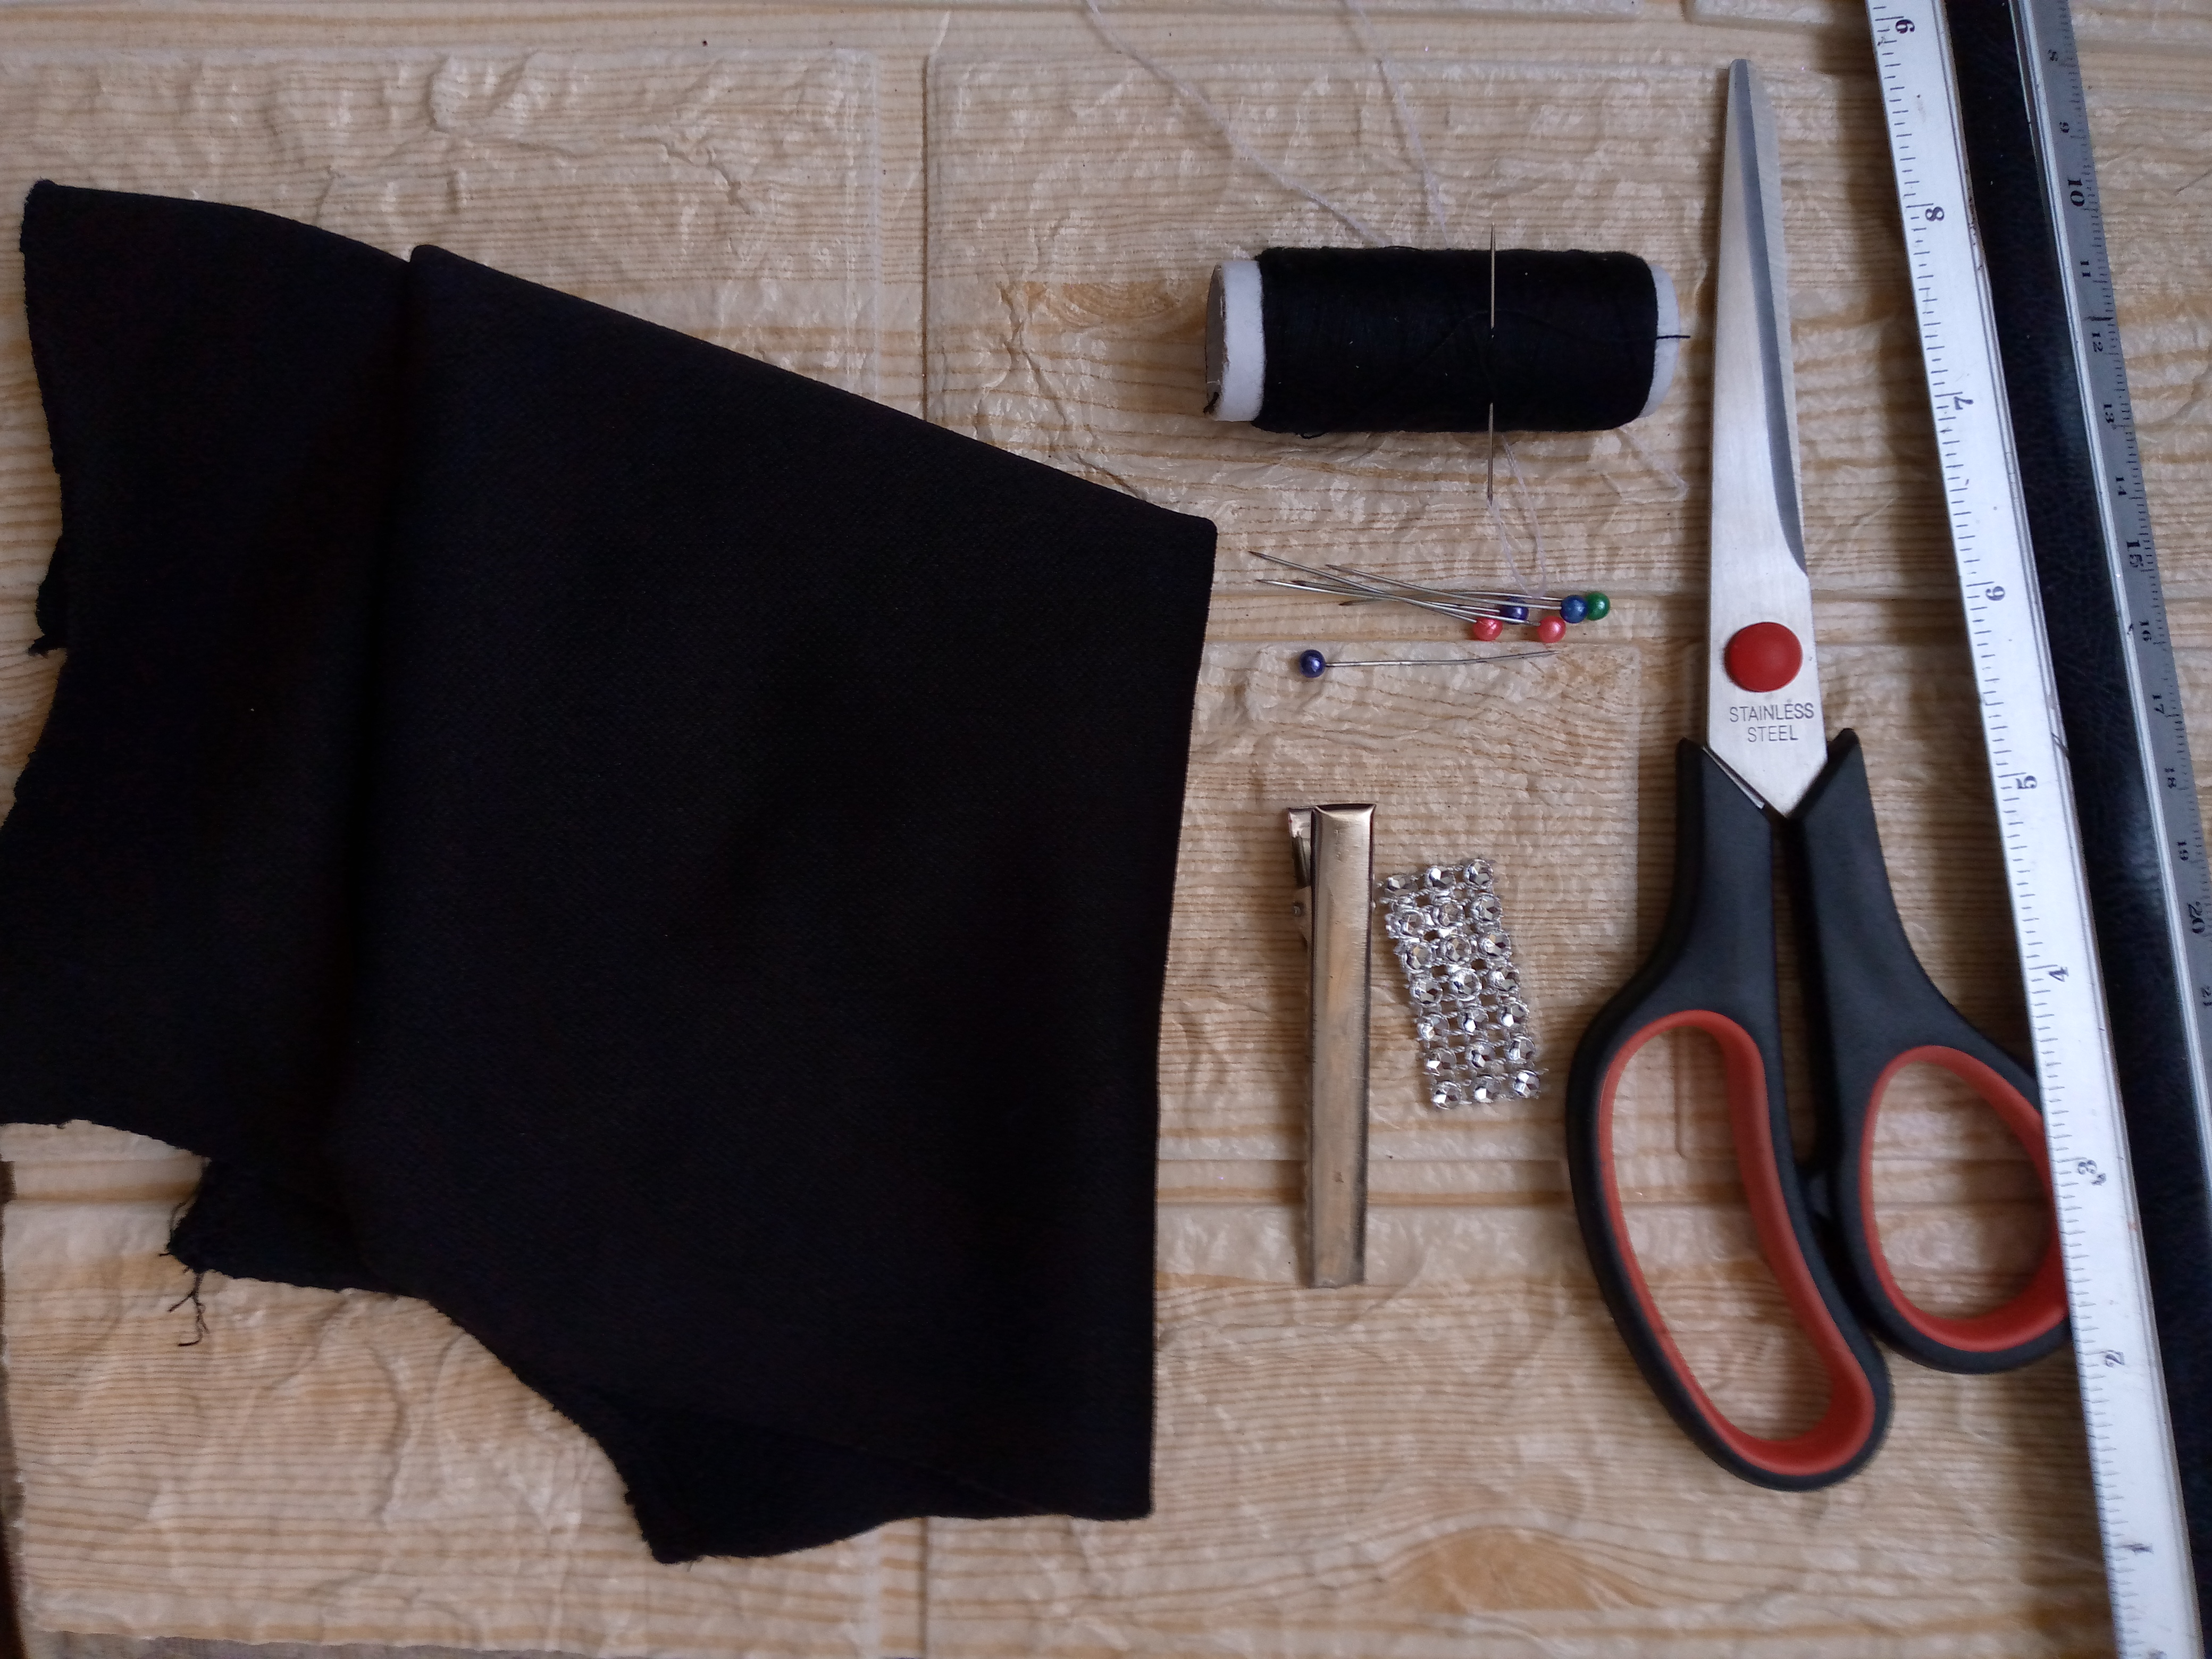
Materiales:// Materials:

EspañolInglish
• Trozo de tela Beverly• Beverly piece of fabric
• Alfileres• Pins
• Aguja• Needle
• Hilo• Thread
• Decoración plateada u otro adorno• silver decoration or other ornament
• Maquina de coser• Sewing machine
• Tijera• Scissor

Picsart_24-11-11_14-38-52-418 (1).jpg

Pasos a seguir:// Steps to follow:

IMG_20241117_124418_036.jpg

IMG_20241117_125703_636.jpg

IMG_20241117_125822_295.jpg

IMG_20241117_125838_193.jpg

Paso 01

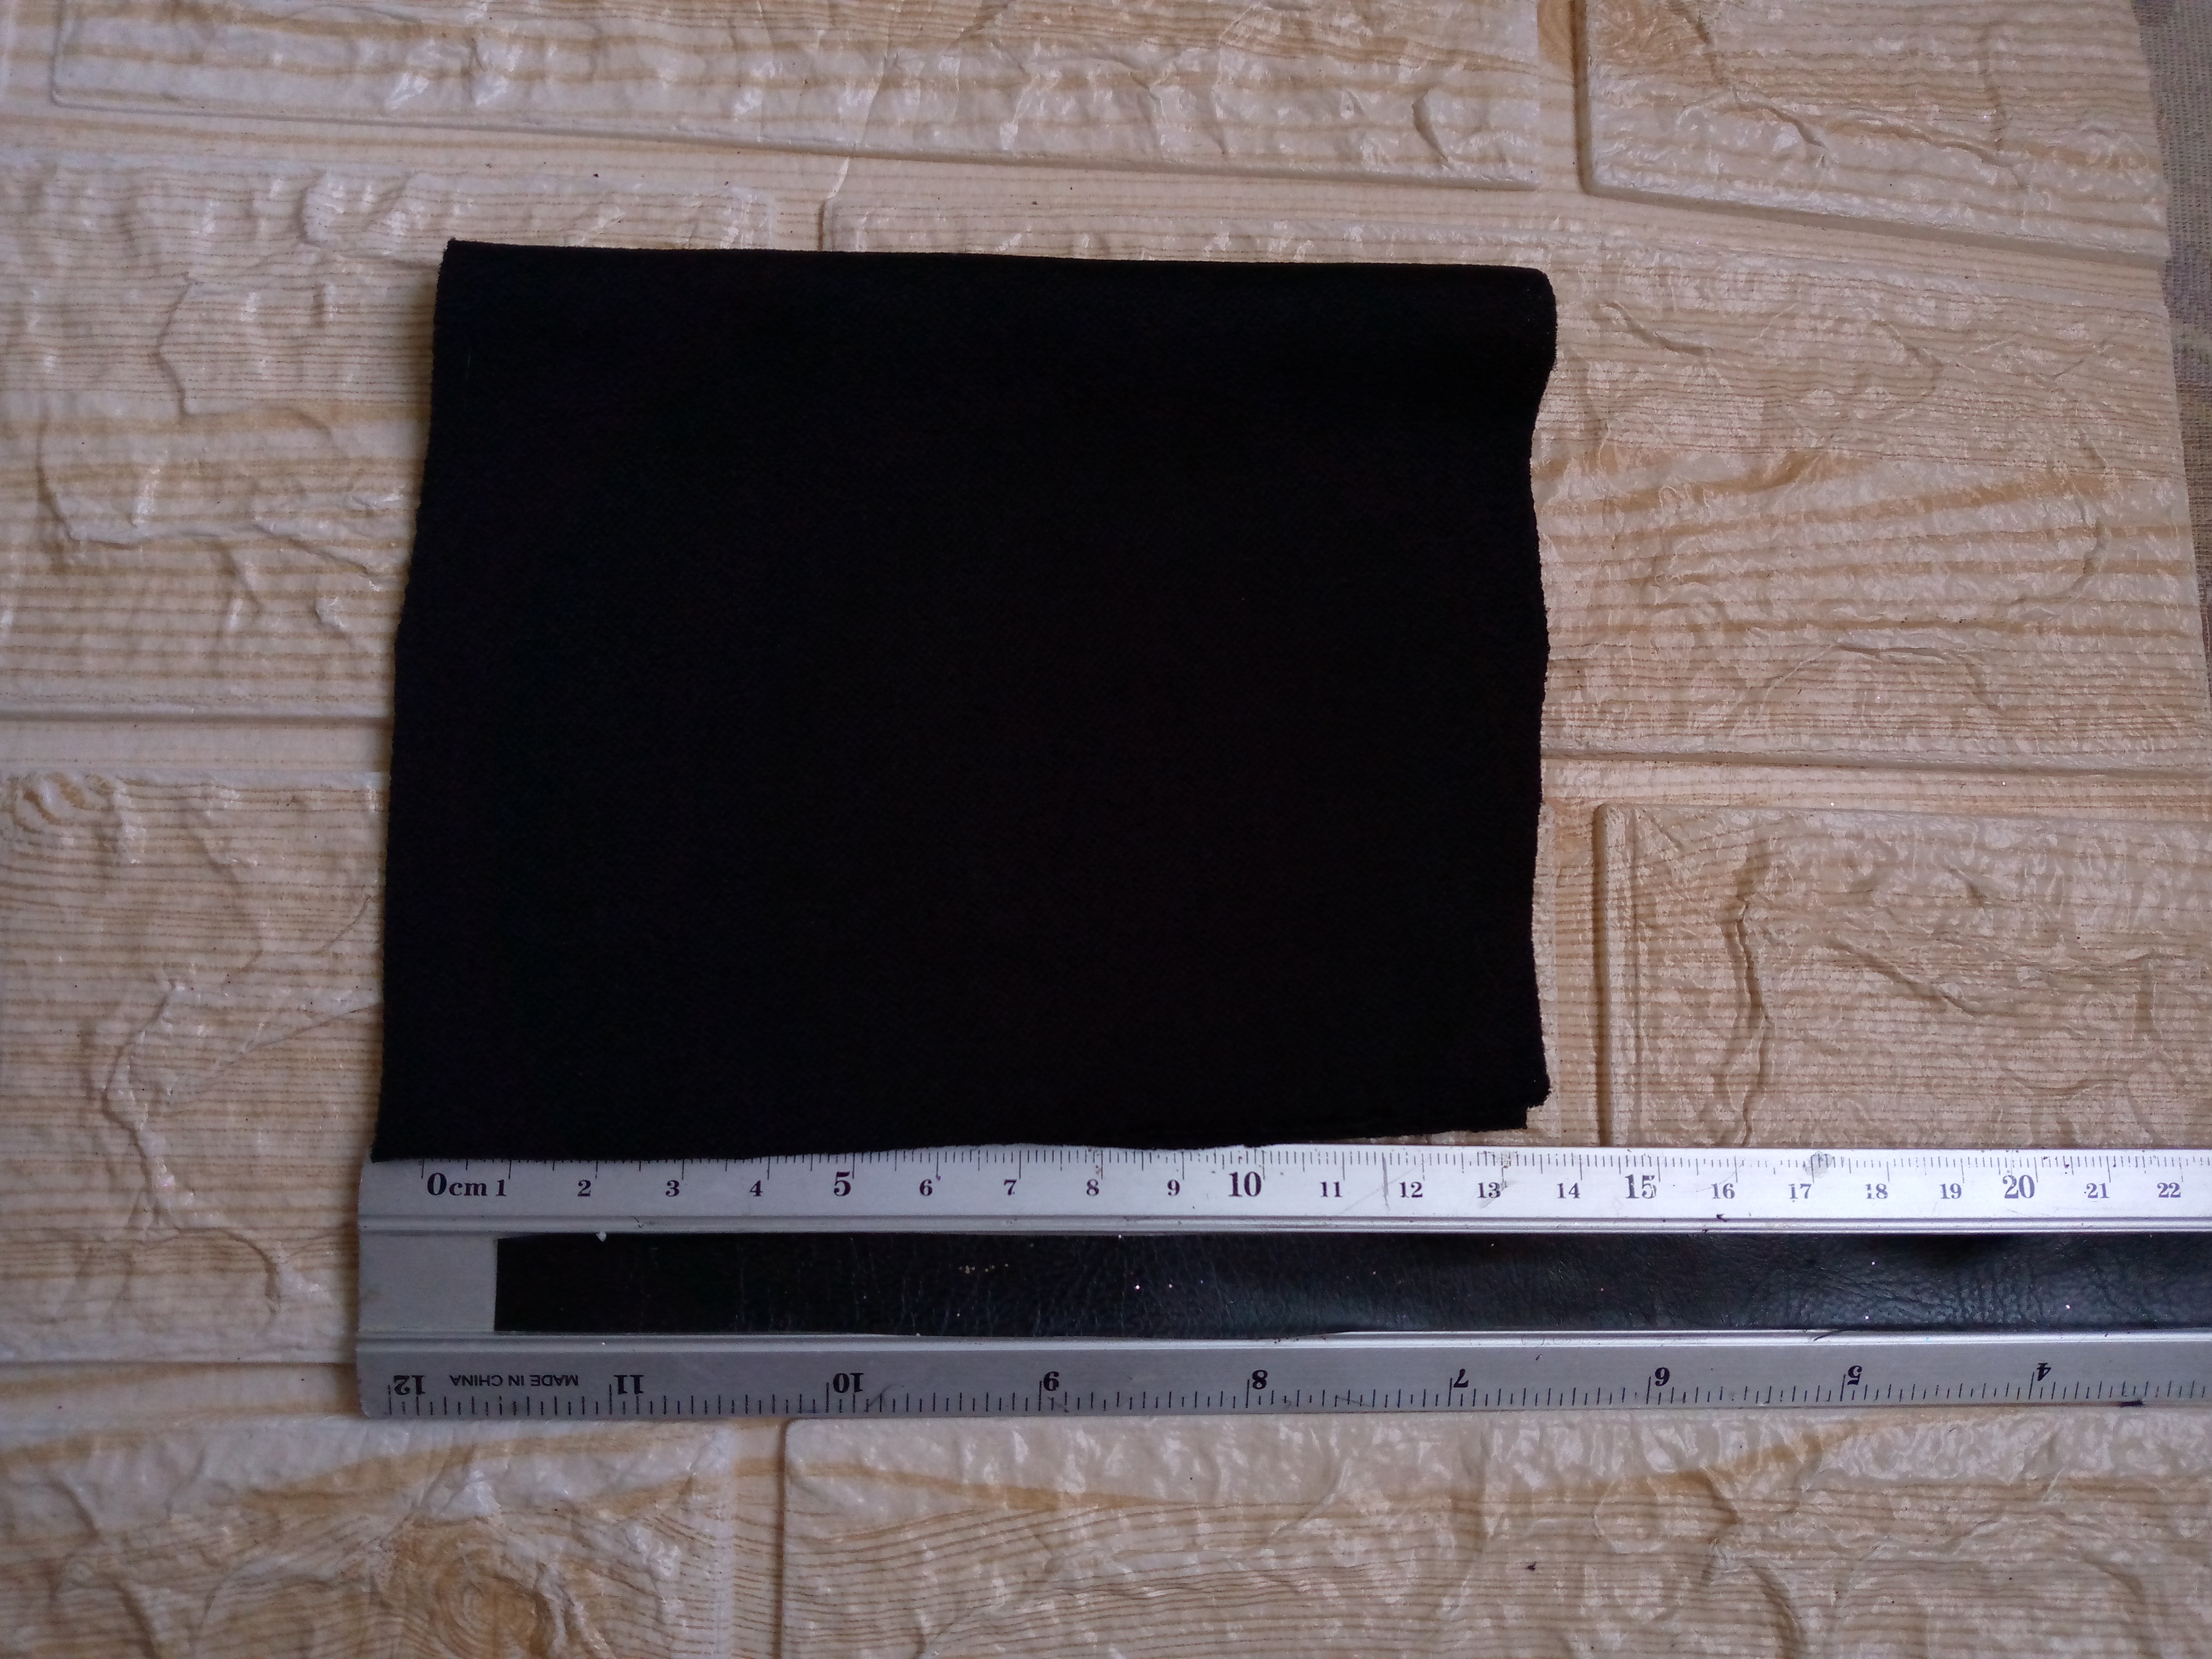
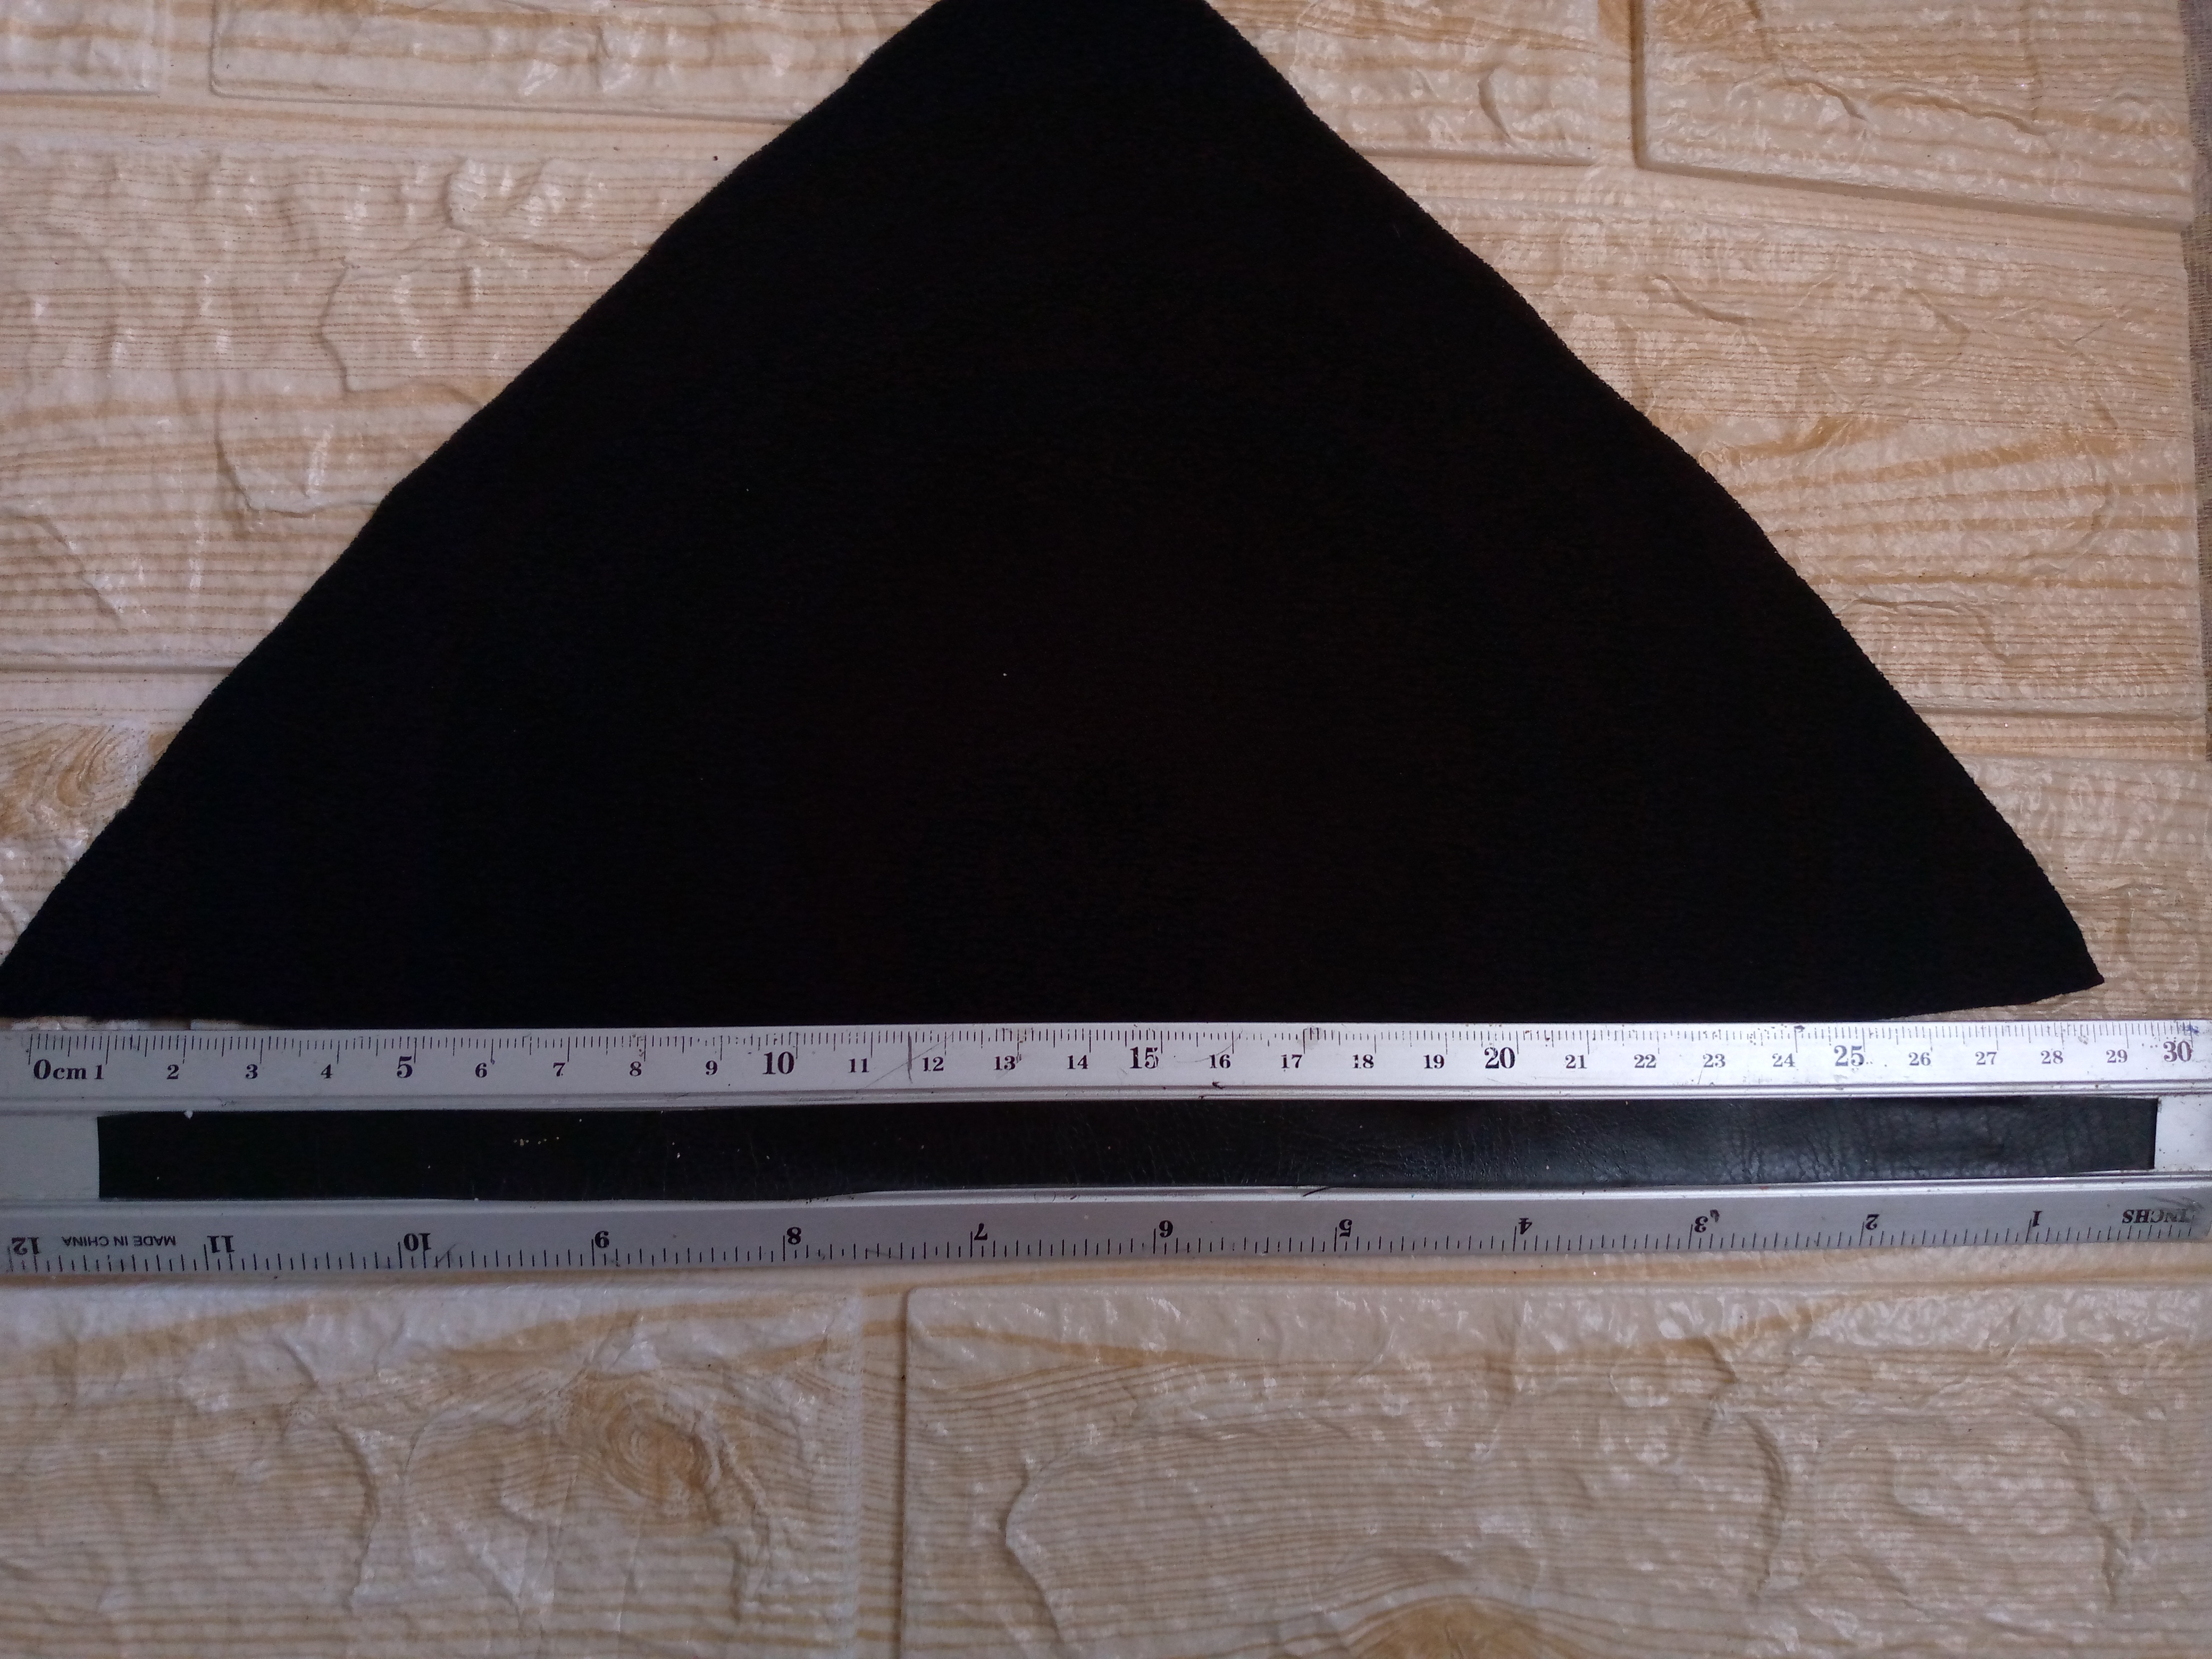
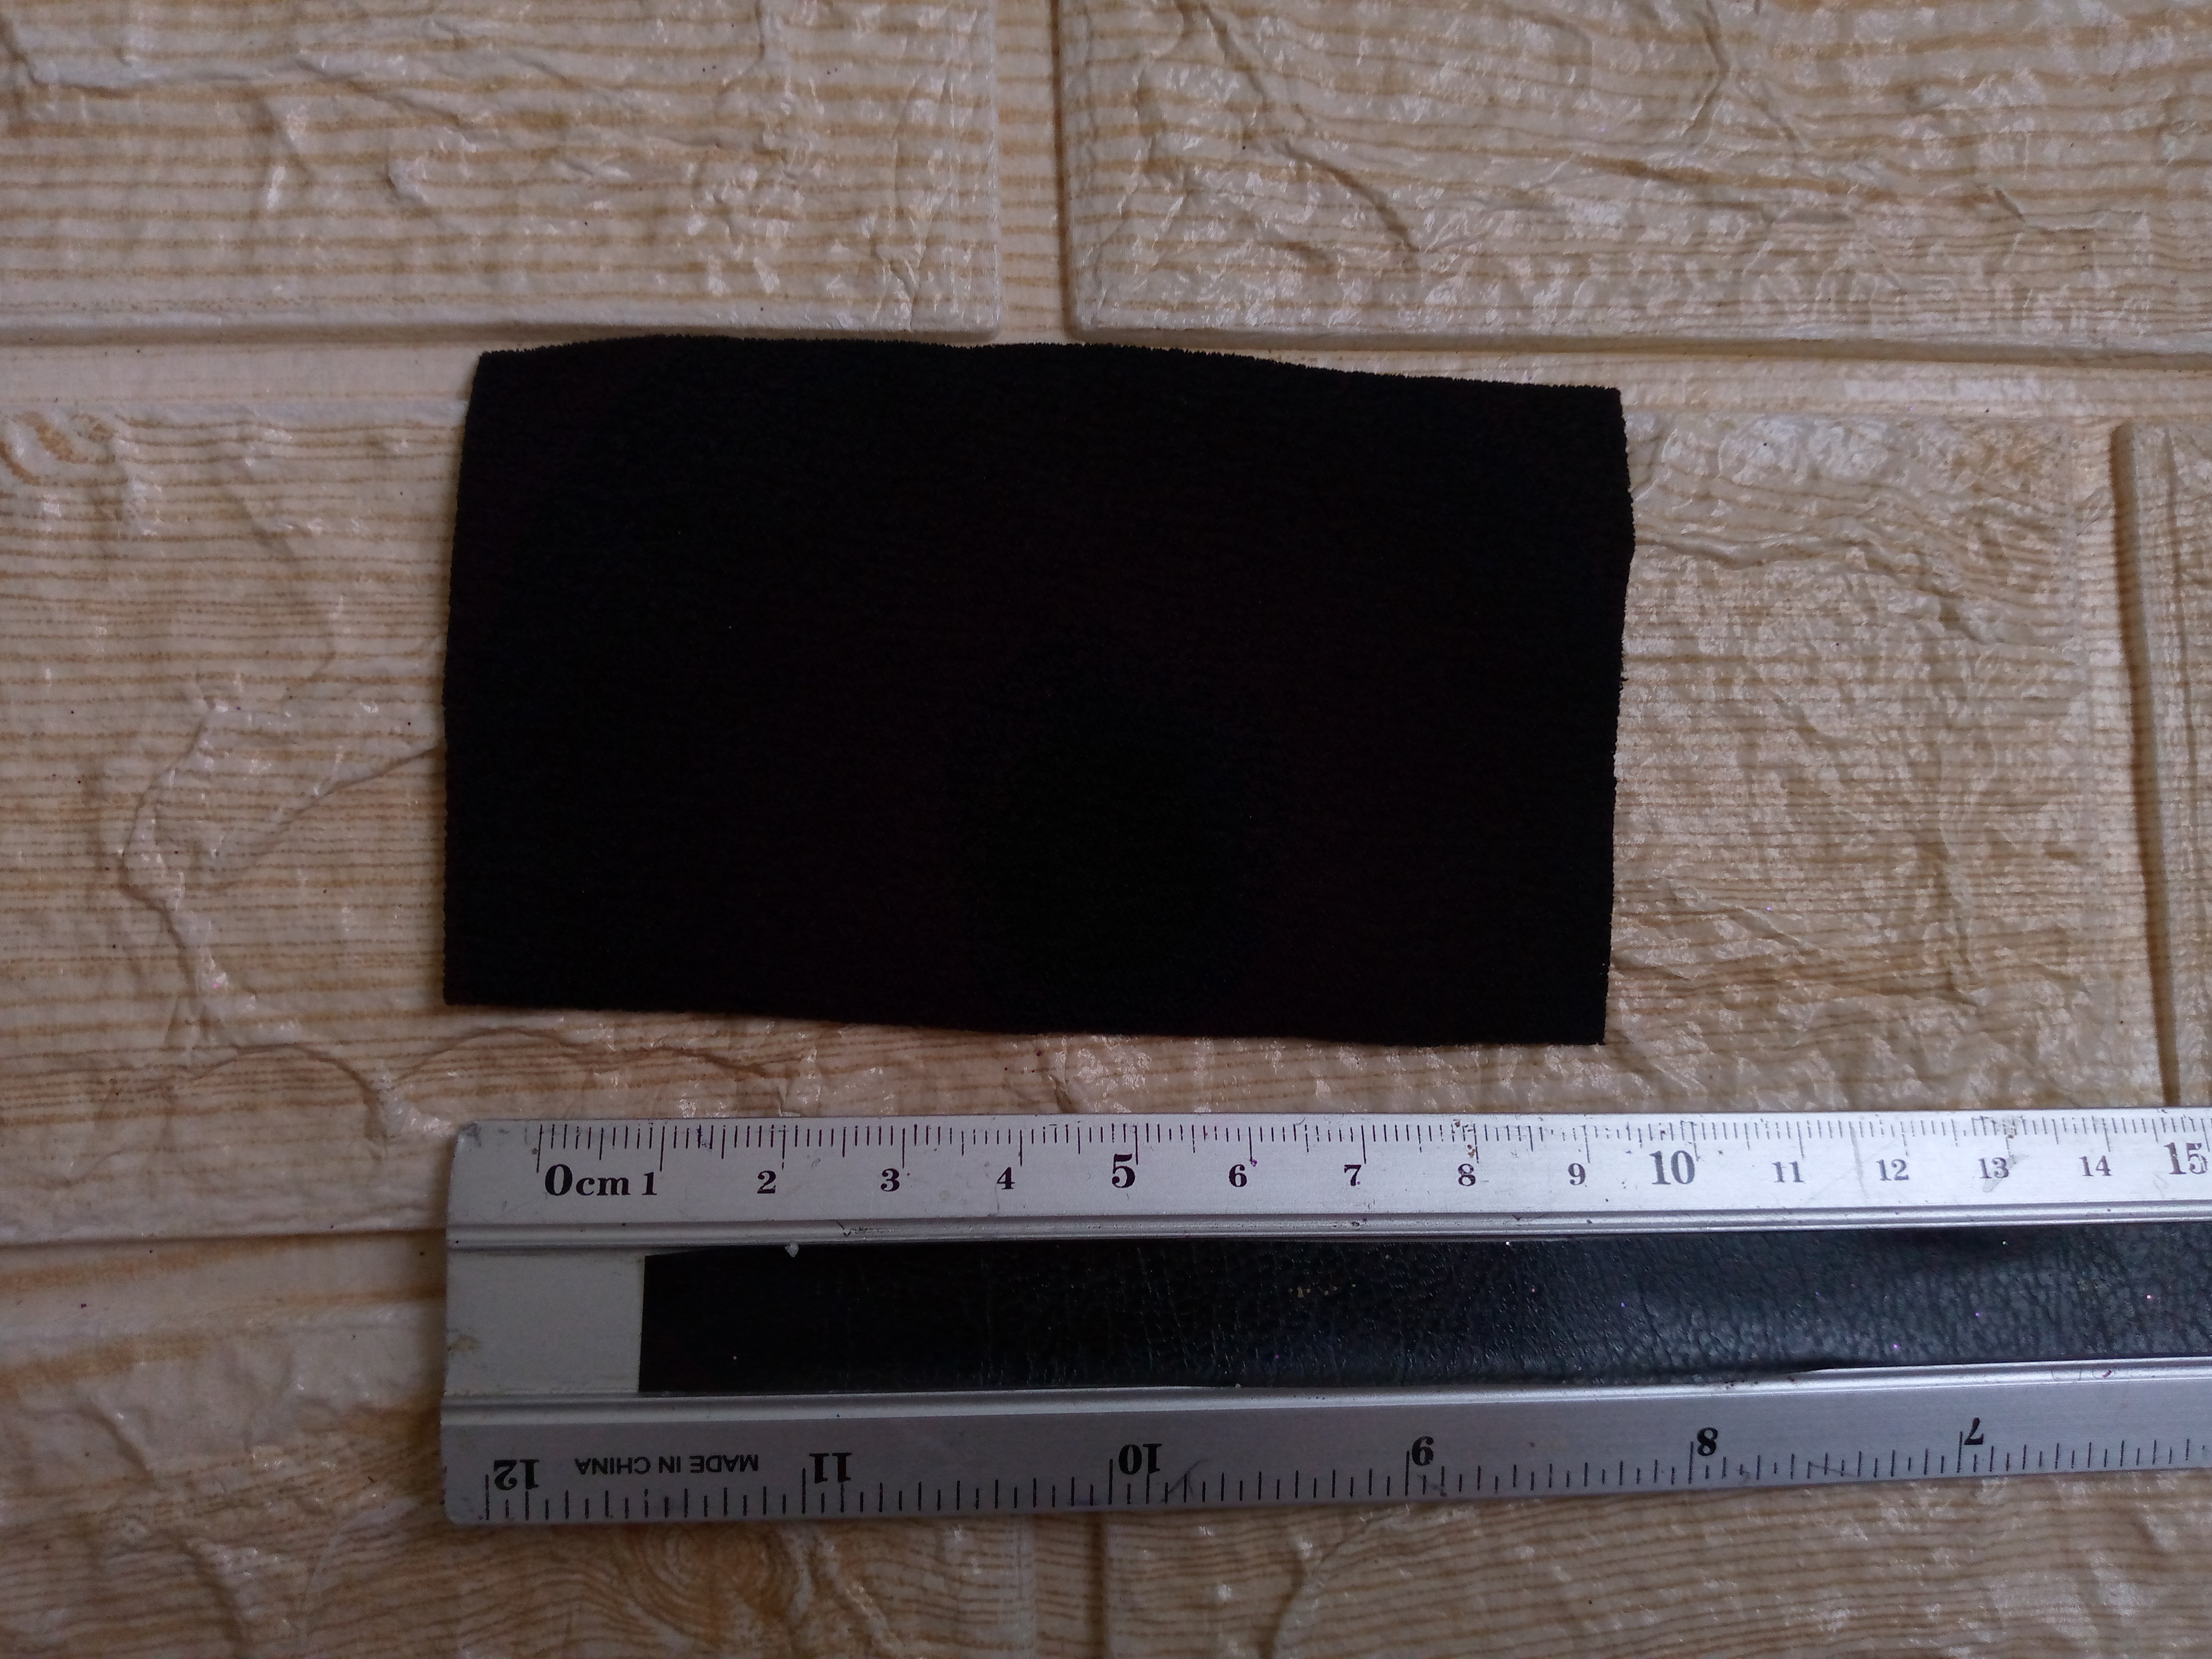
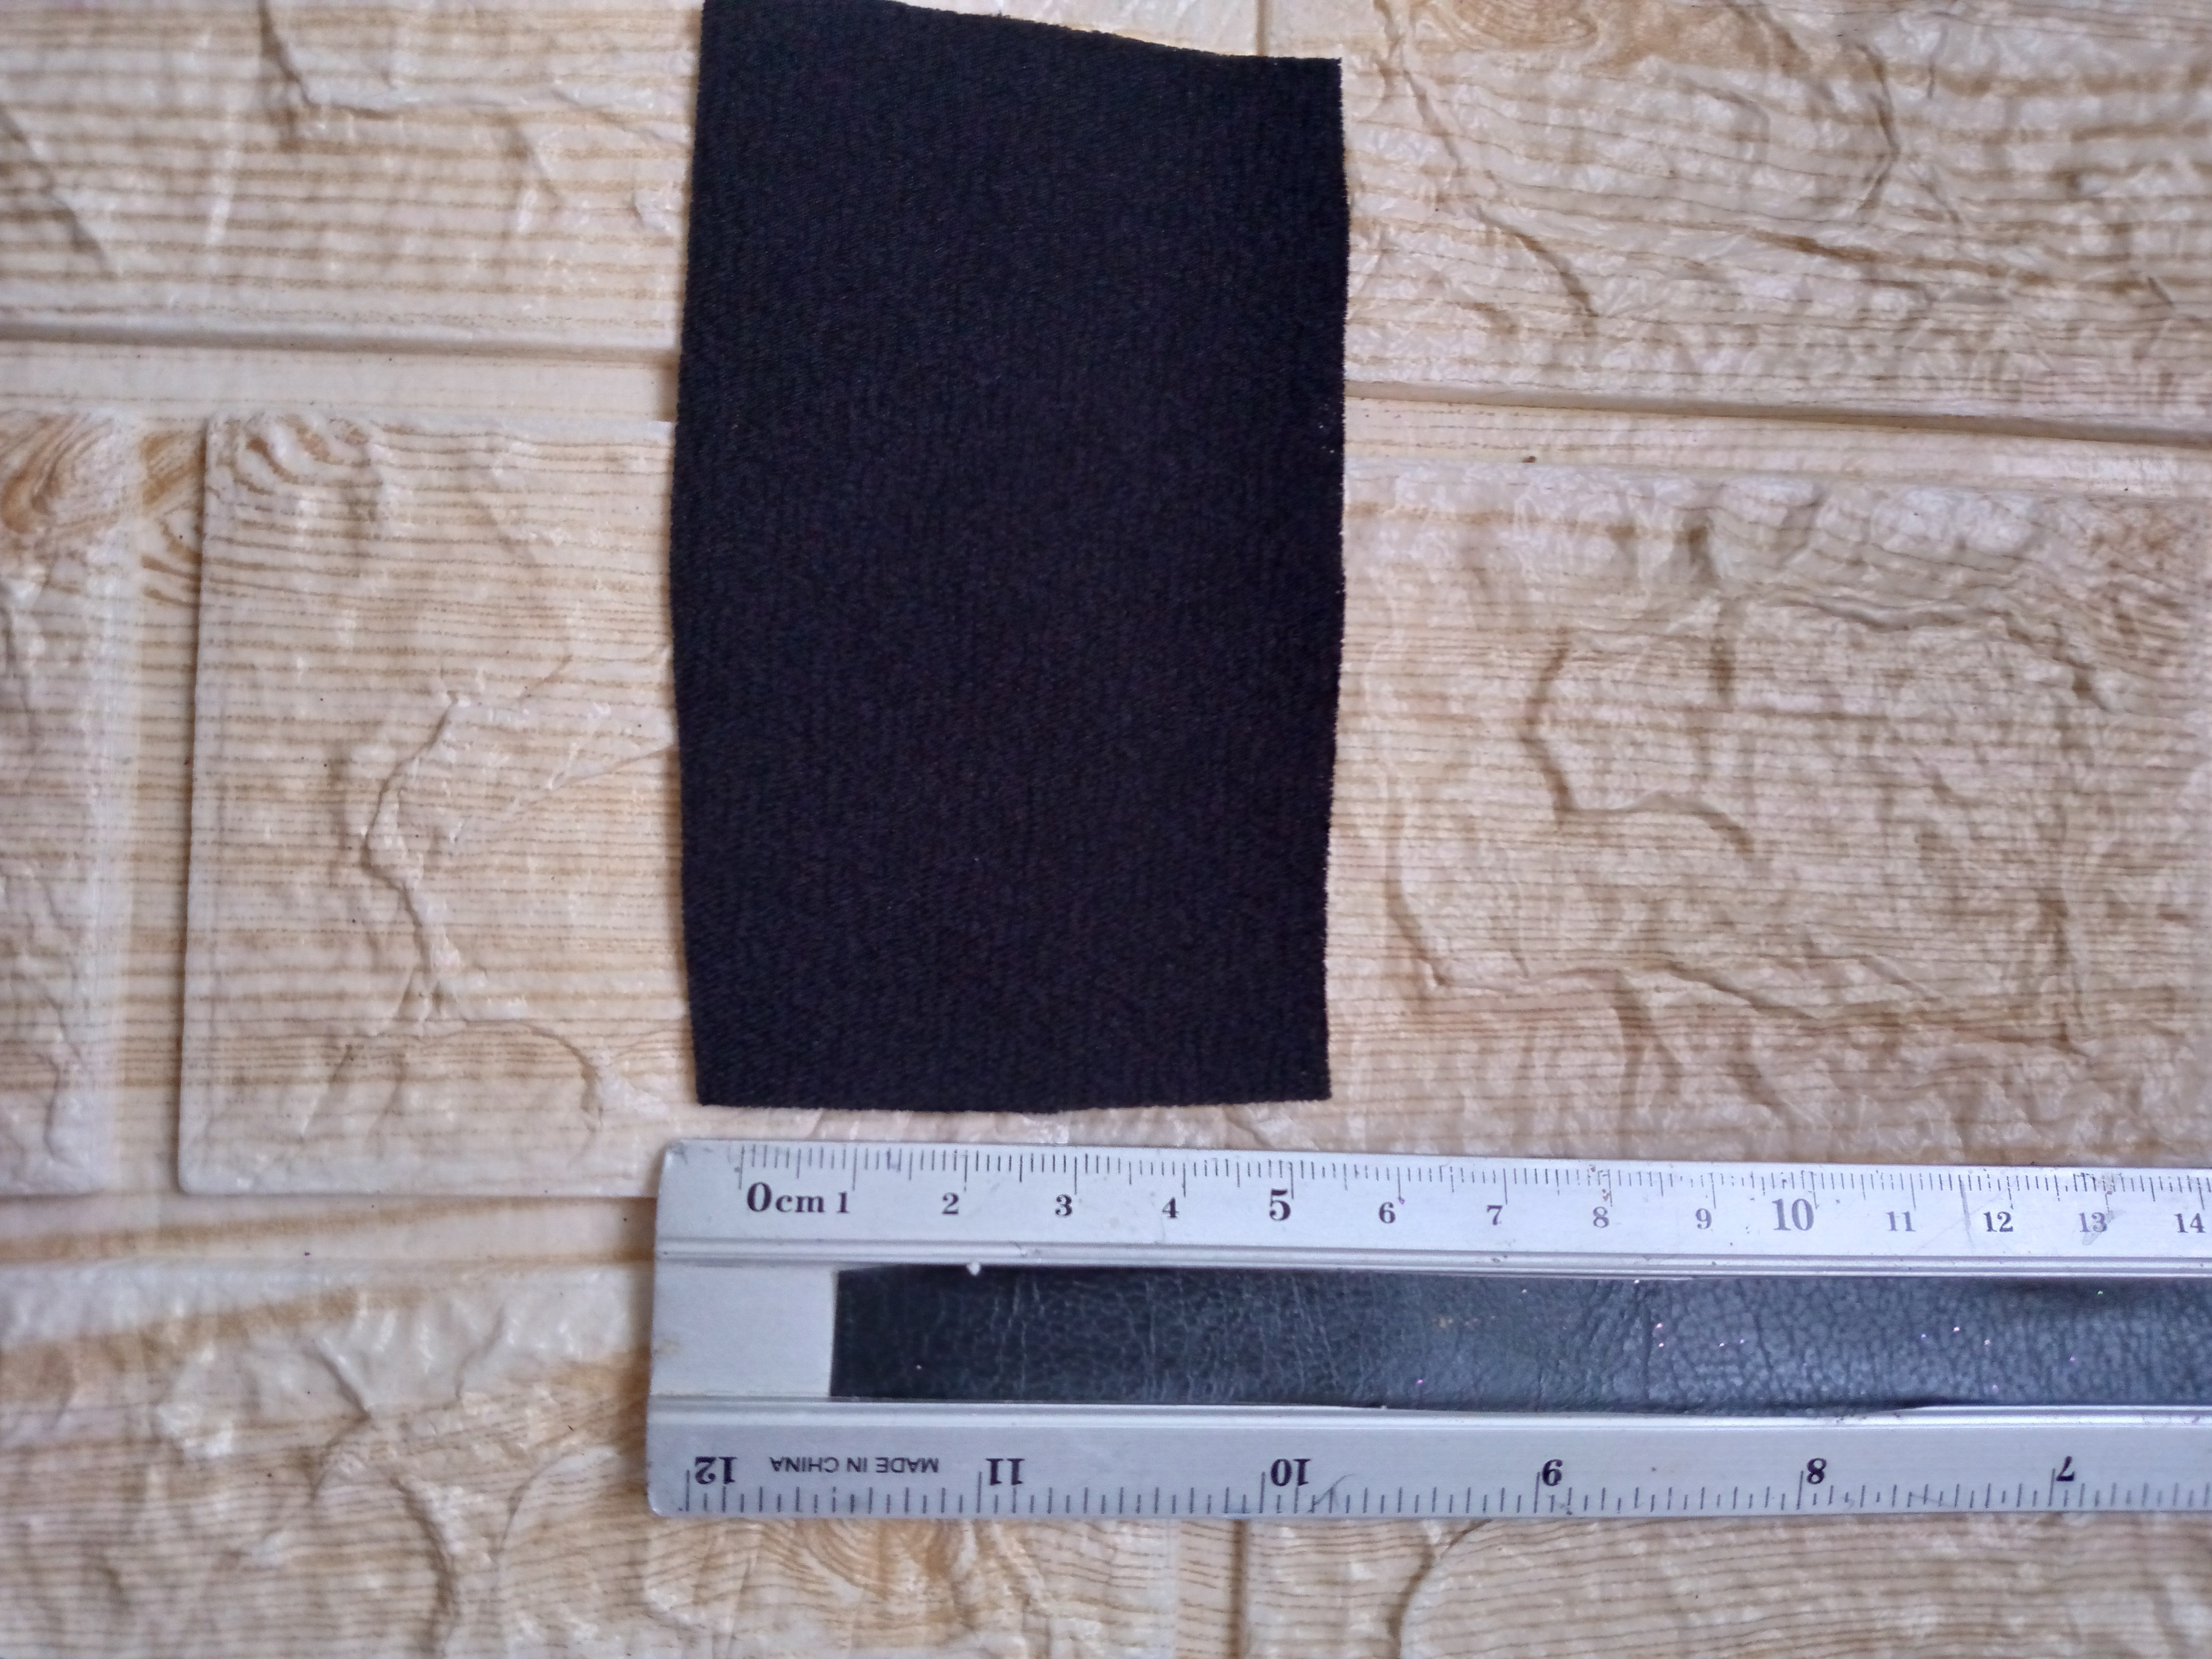
Comenzaremos primero cortando de nuestra tela un cuadrado de 13.5 cm de ancho x 13.5 cm de alto,un triángulo de 29 cm de ancho y de ambas partes de arriba y por ultimo la pieza que une nuestro moño el rectángulo,esta pieza tiene 9 cm de largo x 5 cm de ancho,estas piezas usaremos para hacer nuestro lazo o moño mediano.

Step 01

We will start by first cutting out a 13.5 cm wide x 13.5 cm high square from our fabric, a 29 cm wide triangle from both top parts, and finally the piece that joins our bow to the rectangle, this piece is 9 cm long x 5 cm wide, we will use these pieces to make our medium bow or bow.
IMG_20241117_130108_544.jpg

IMG_20241117_130215_588.jpg

IMG_20241117_130319_524.jpg

IMG_20241117_130456_290.jpg

Paso 02

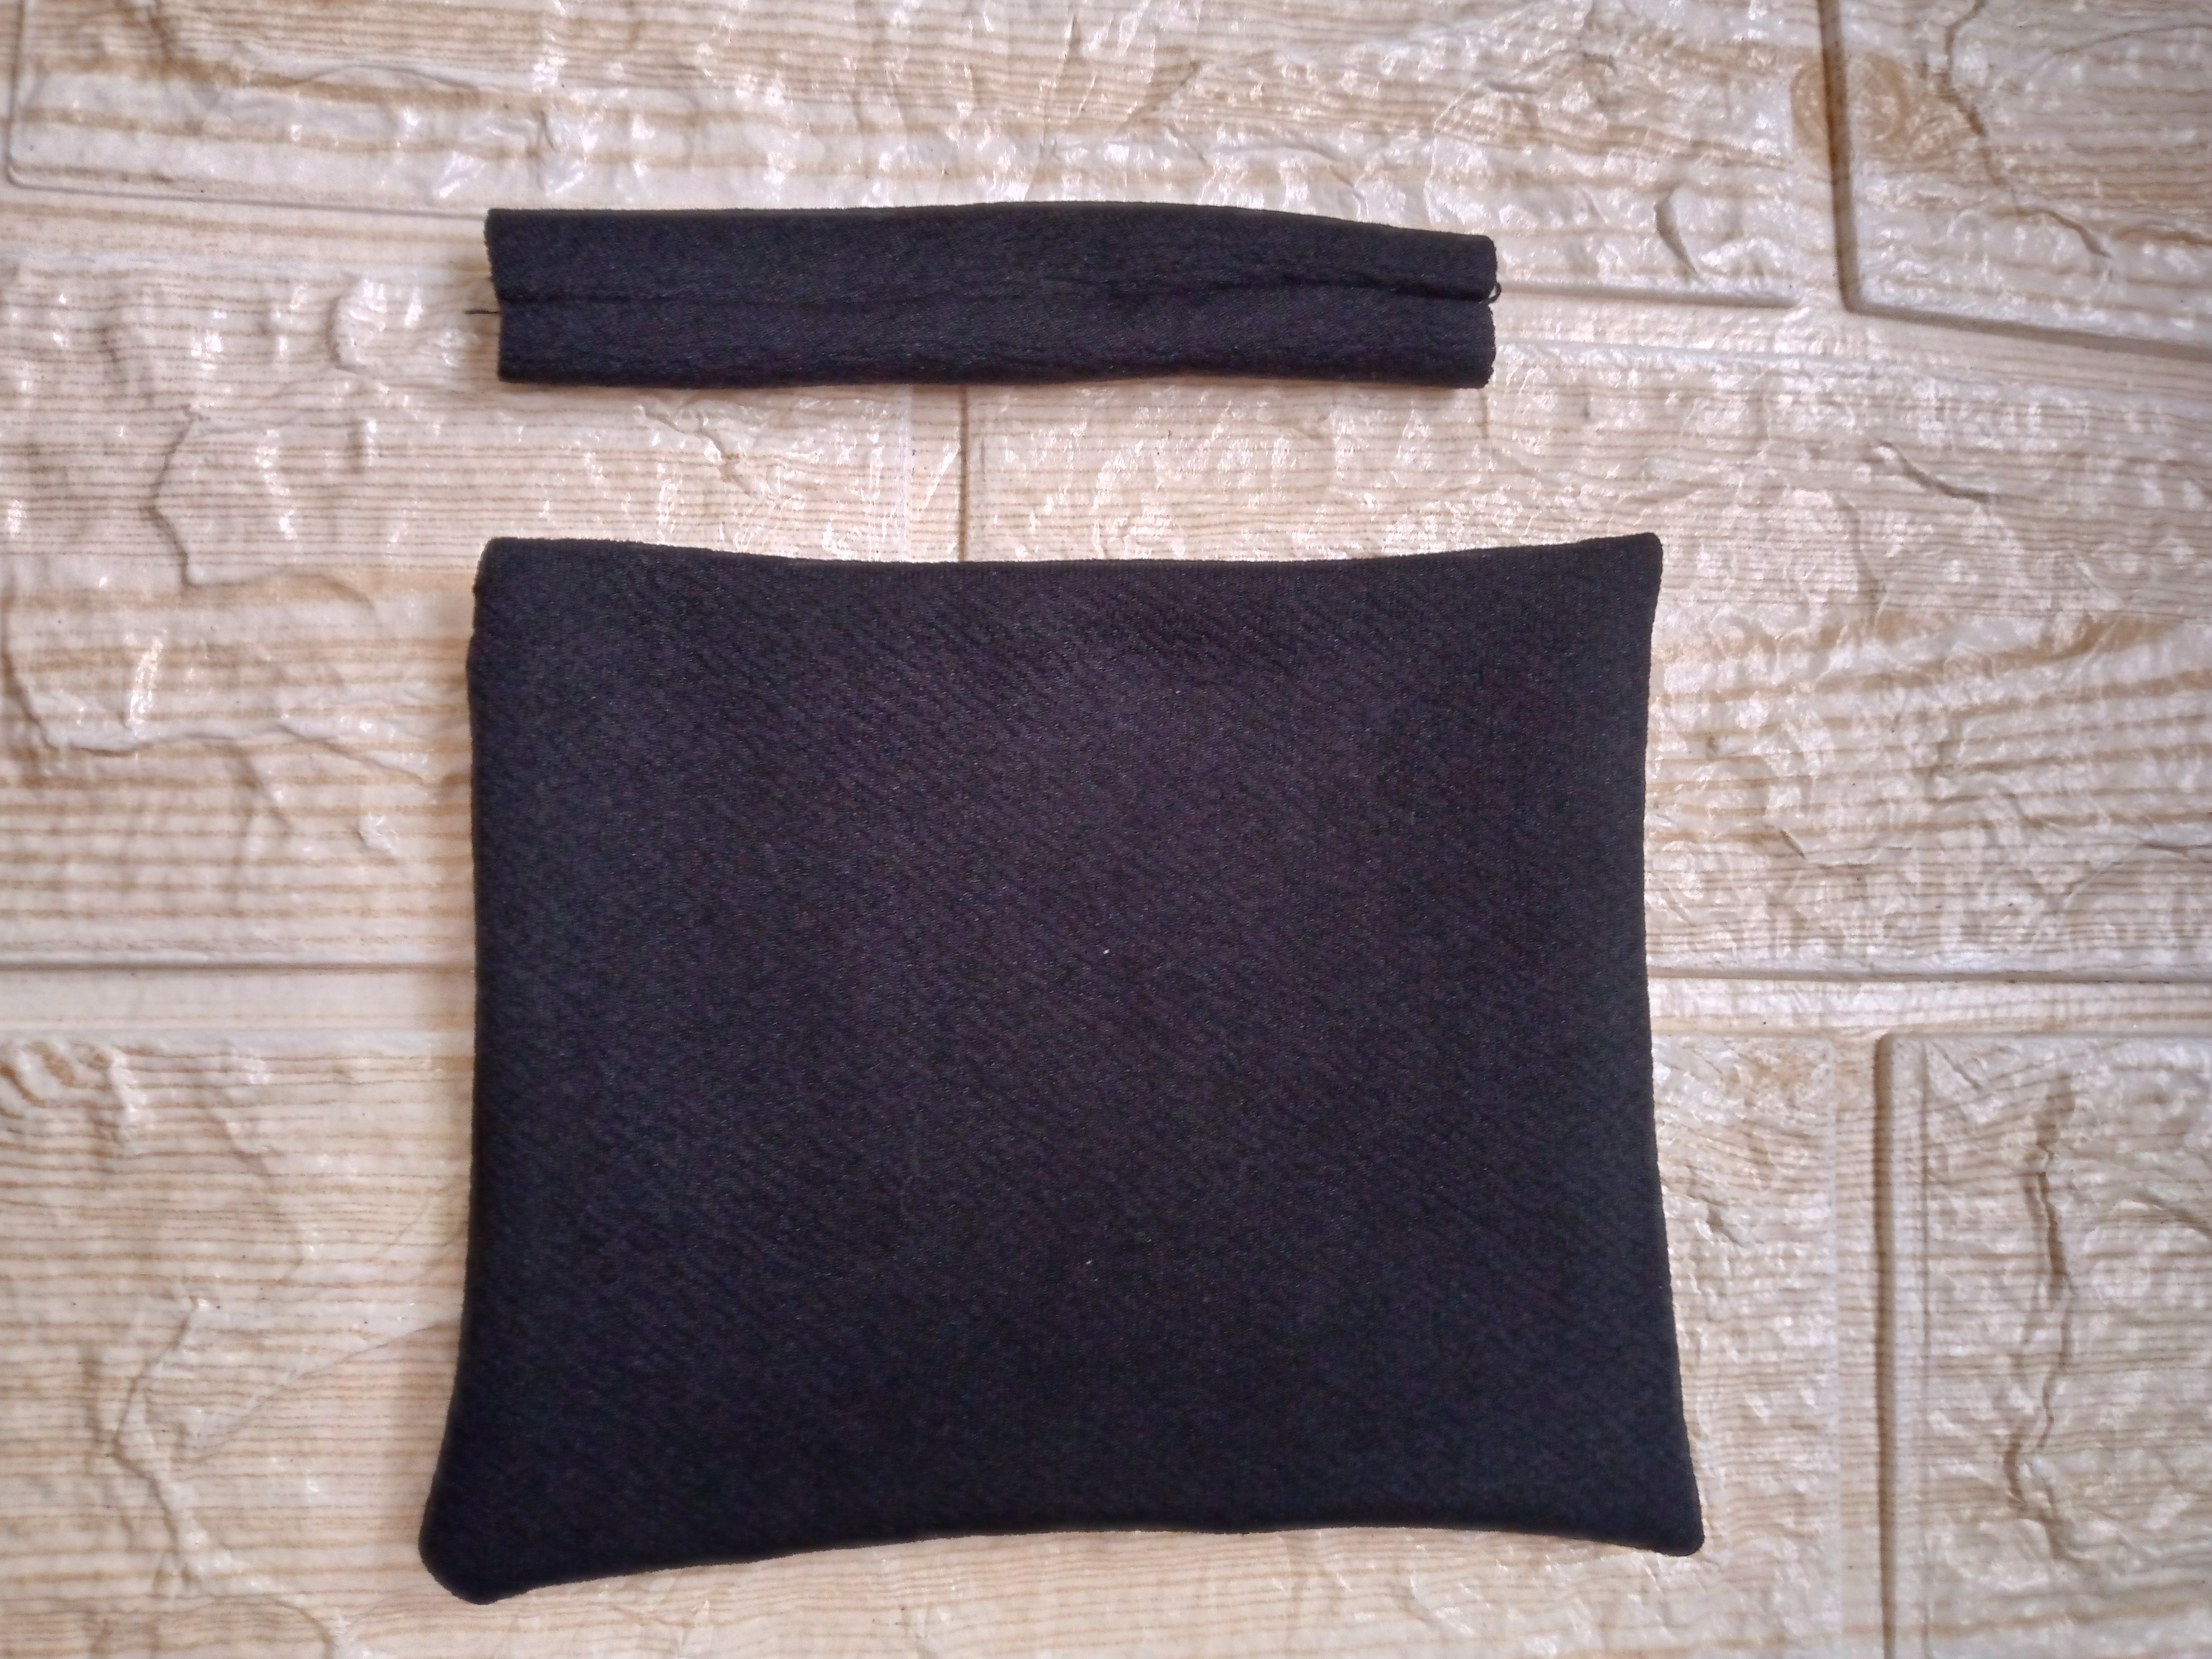
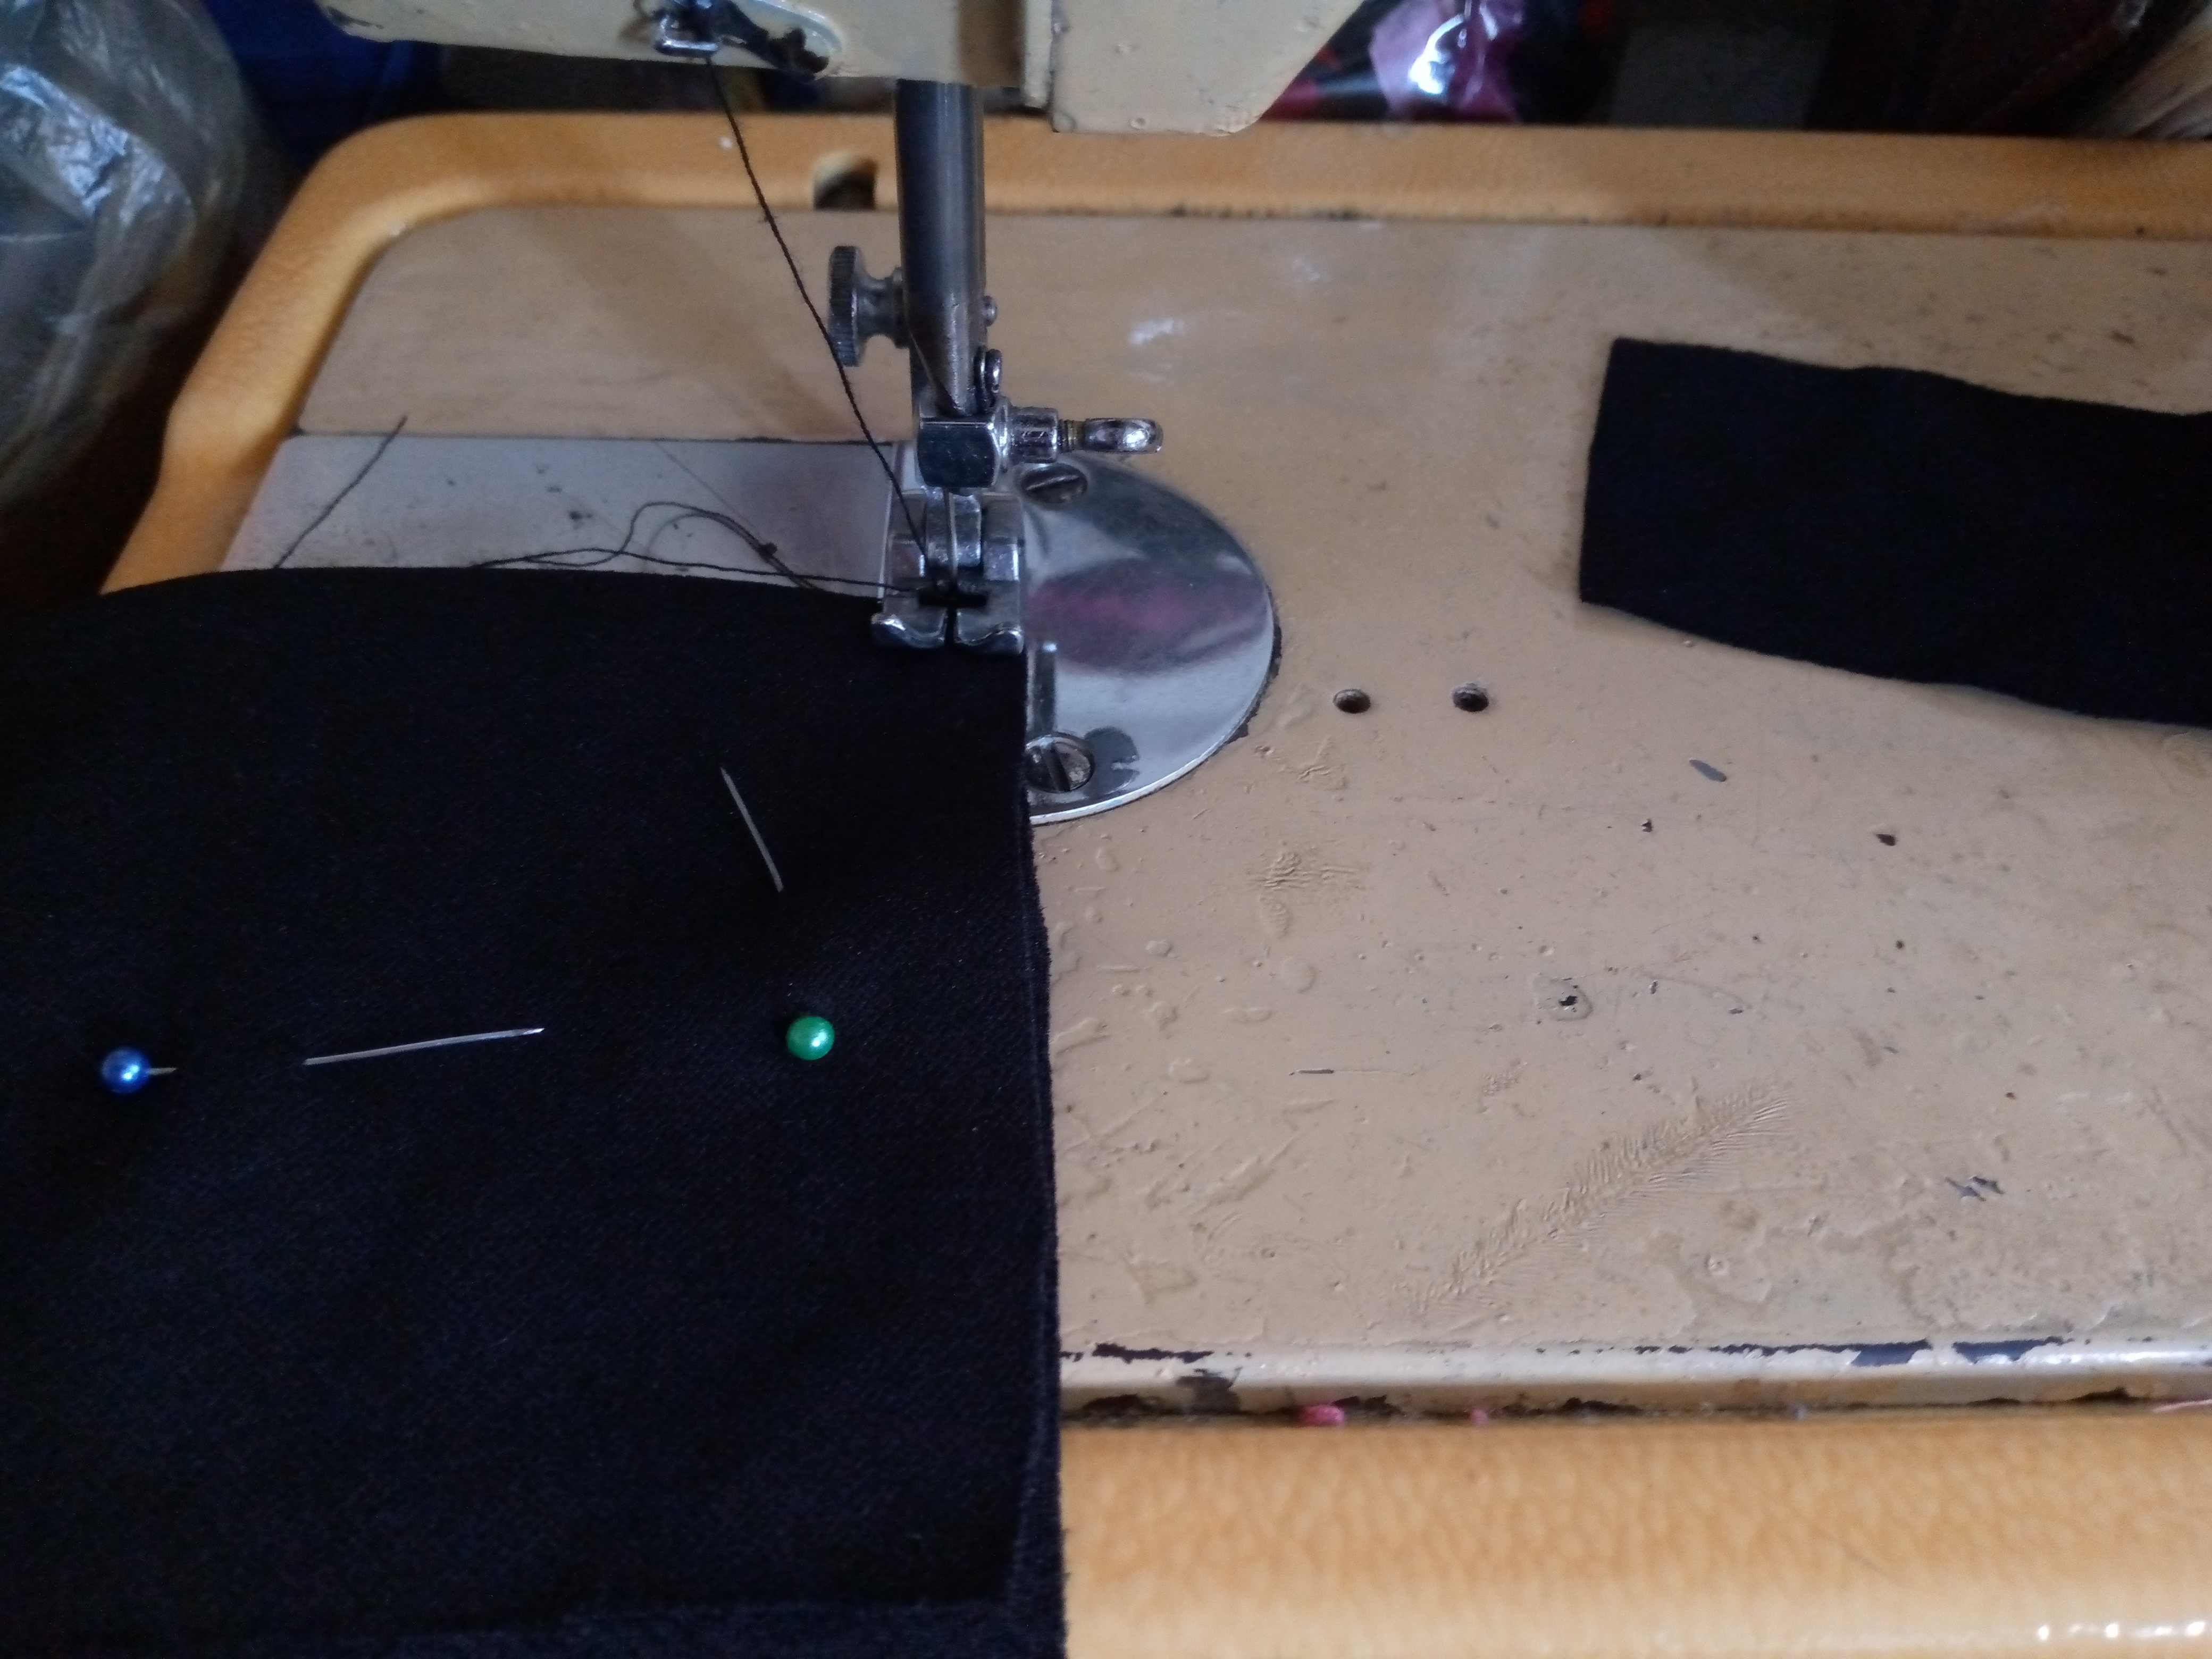
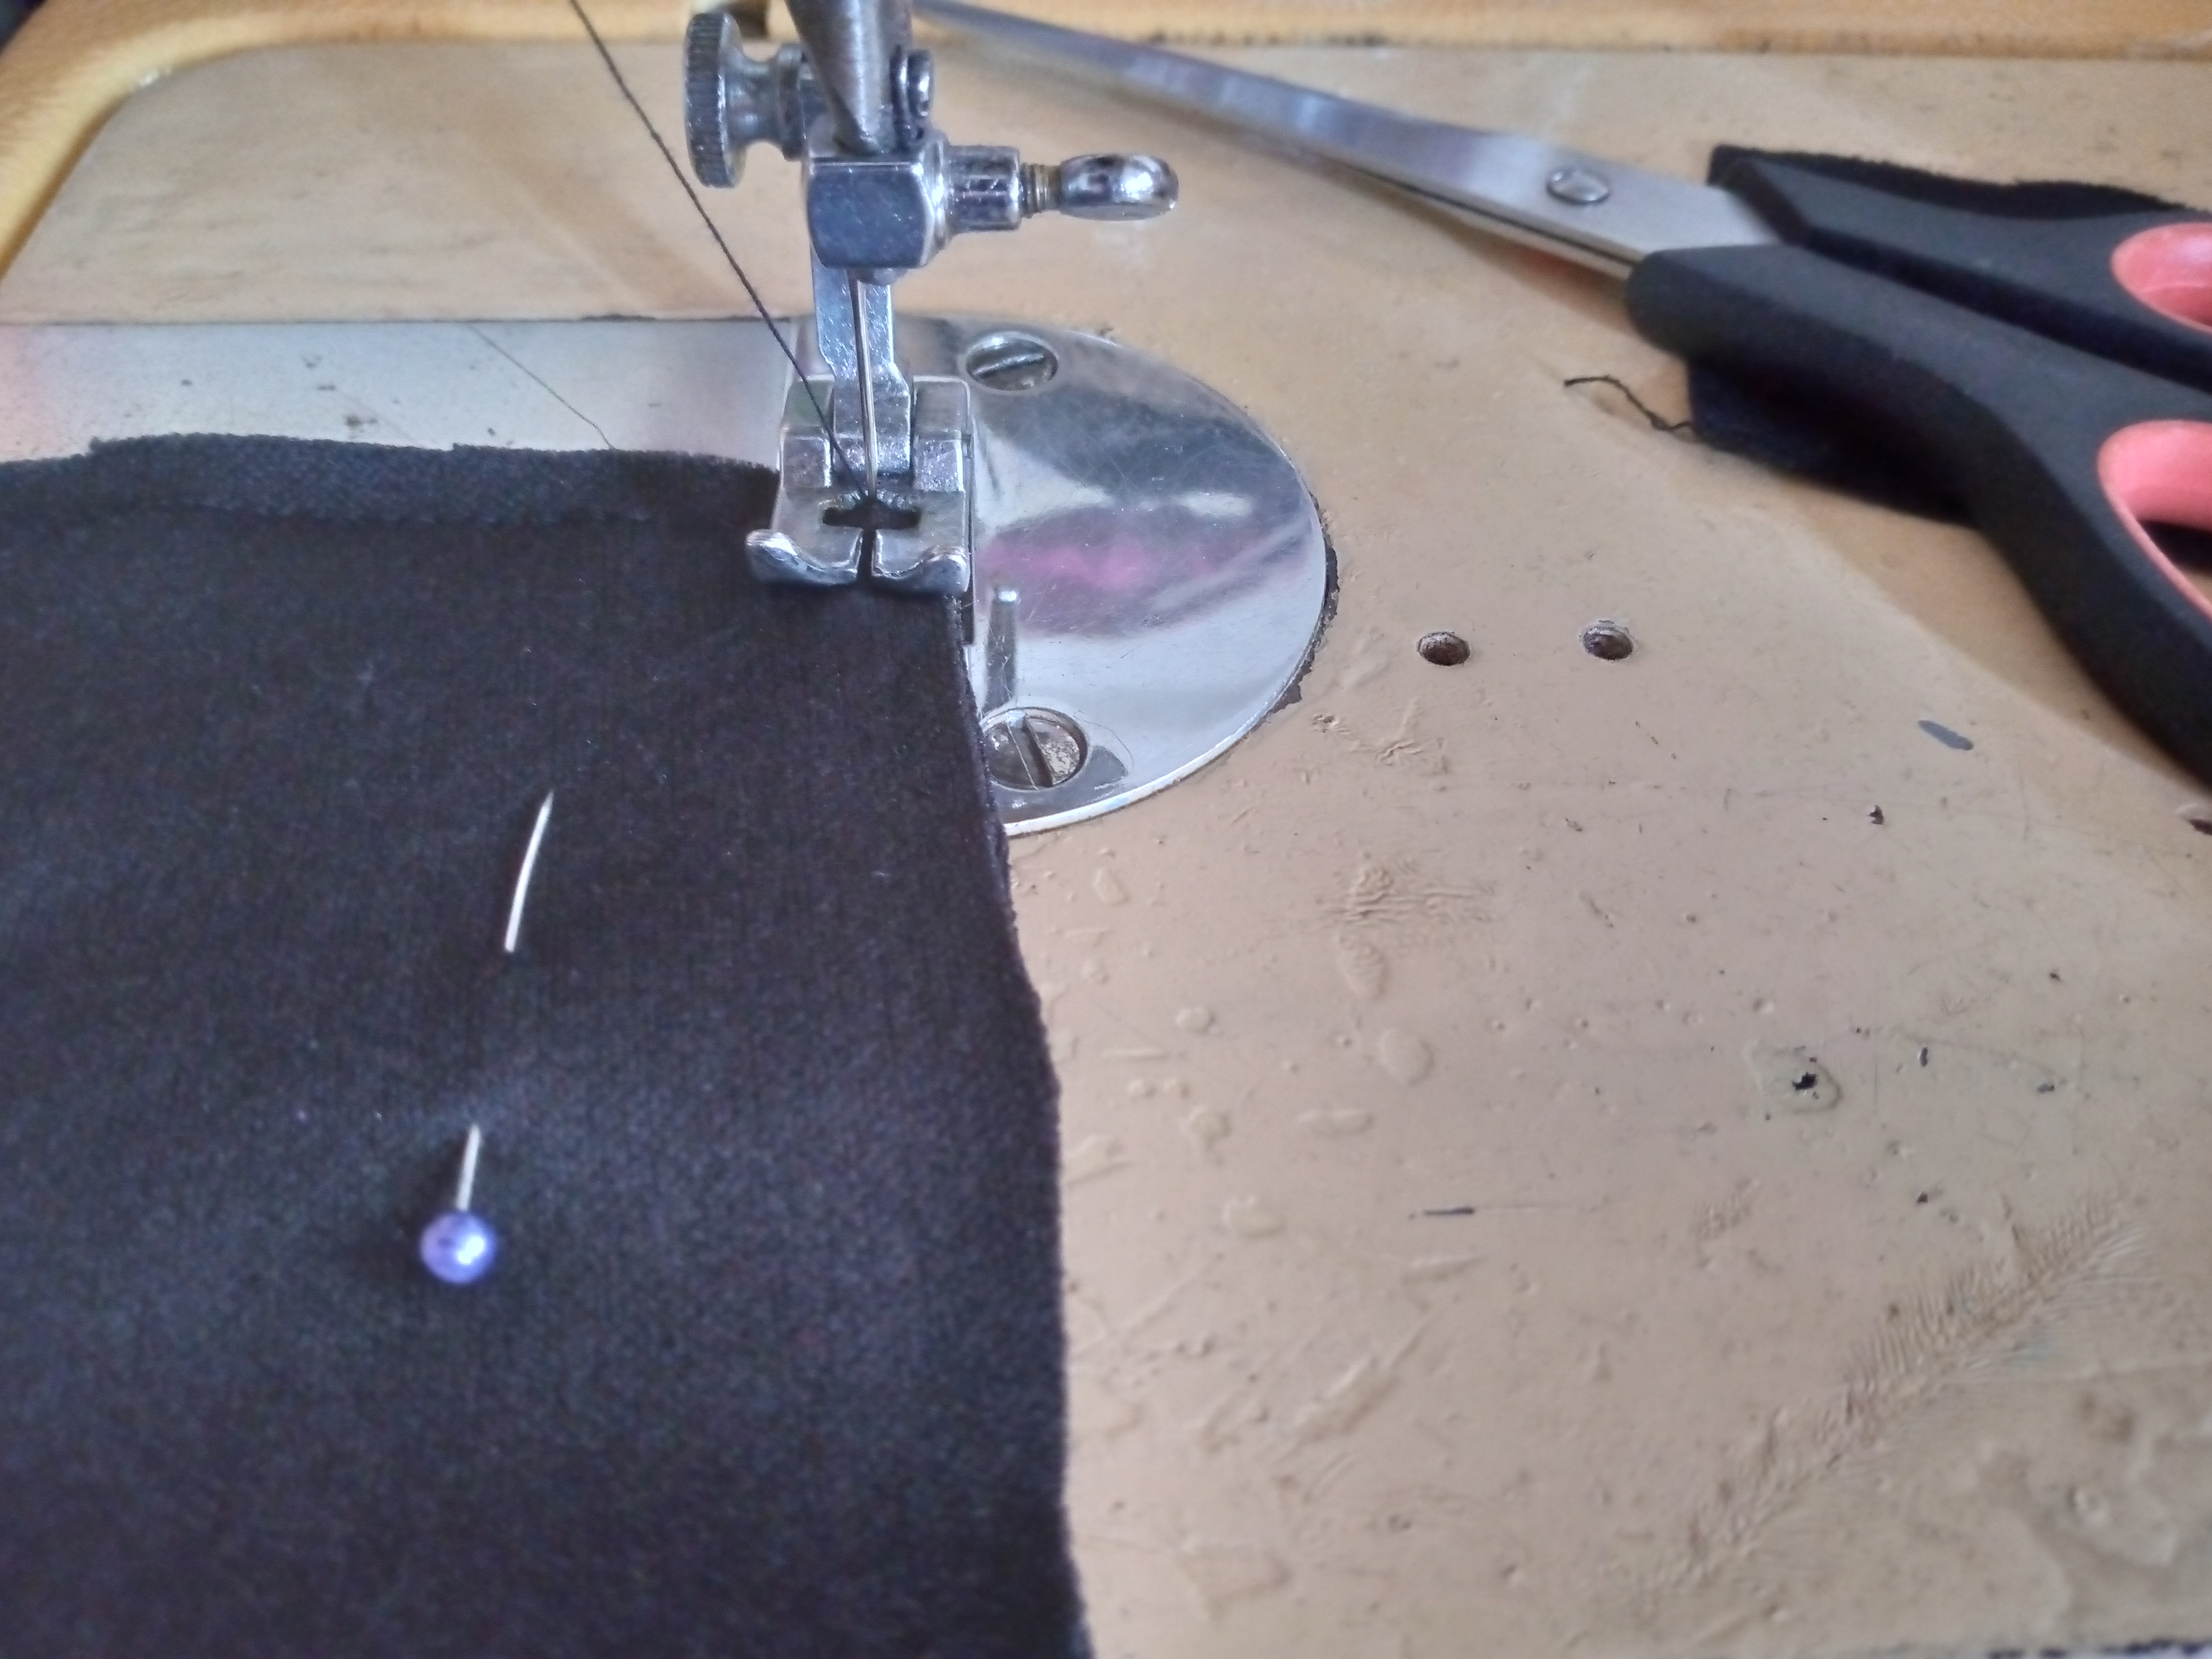
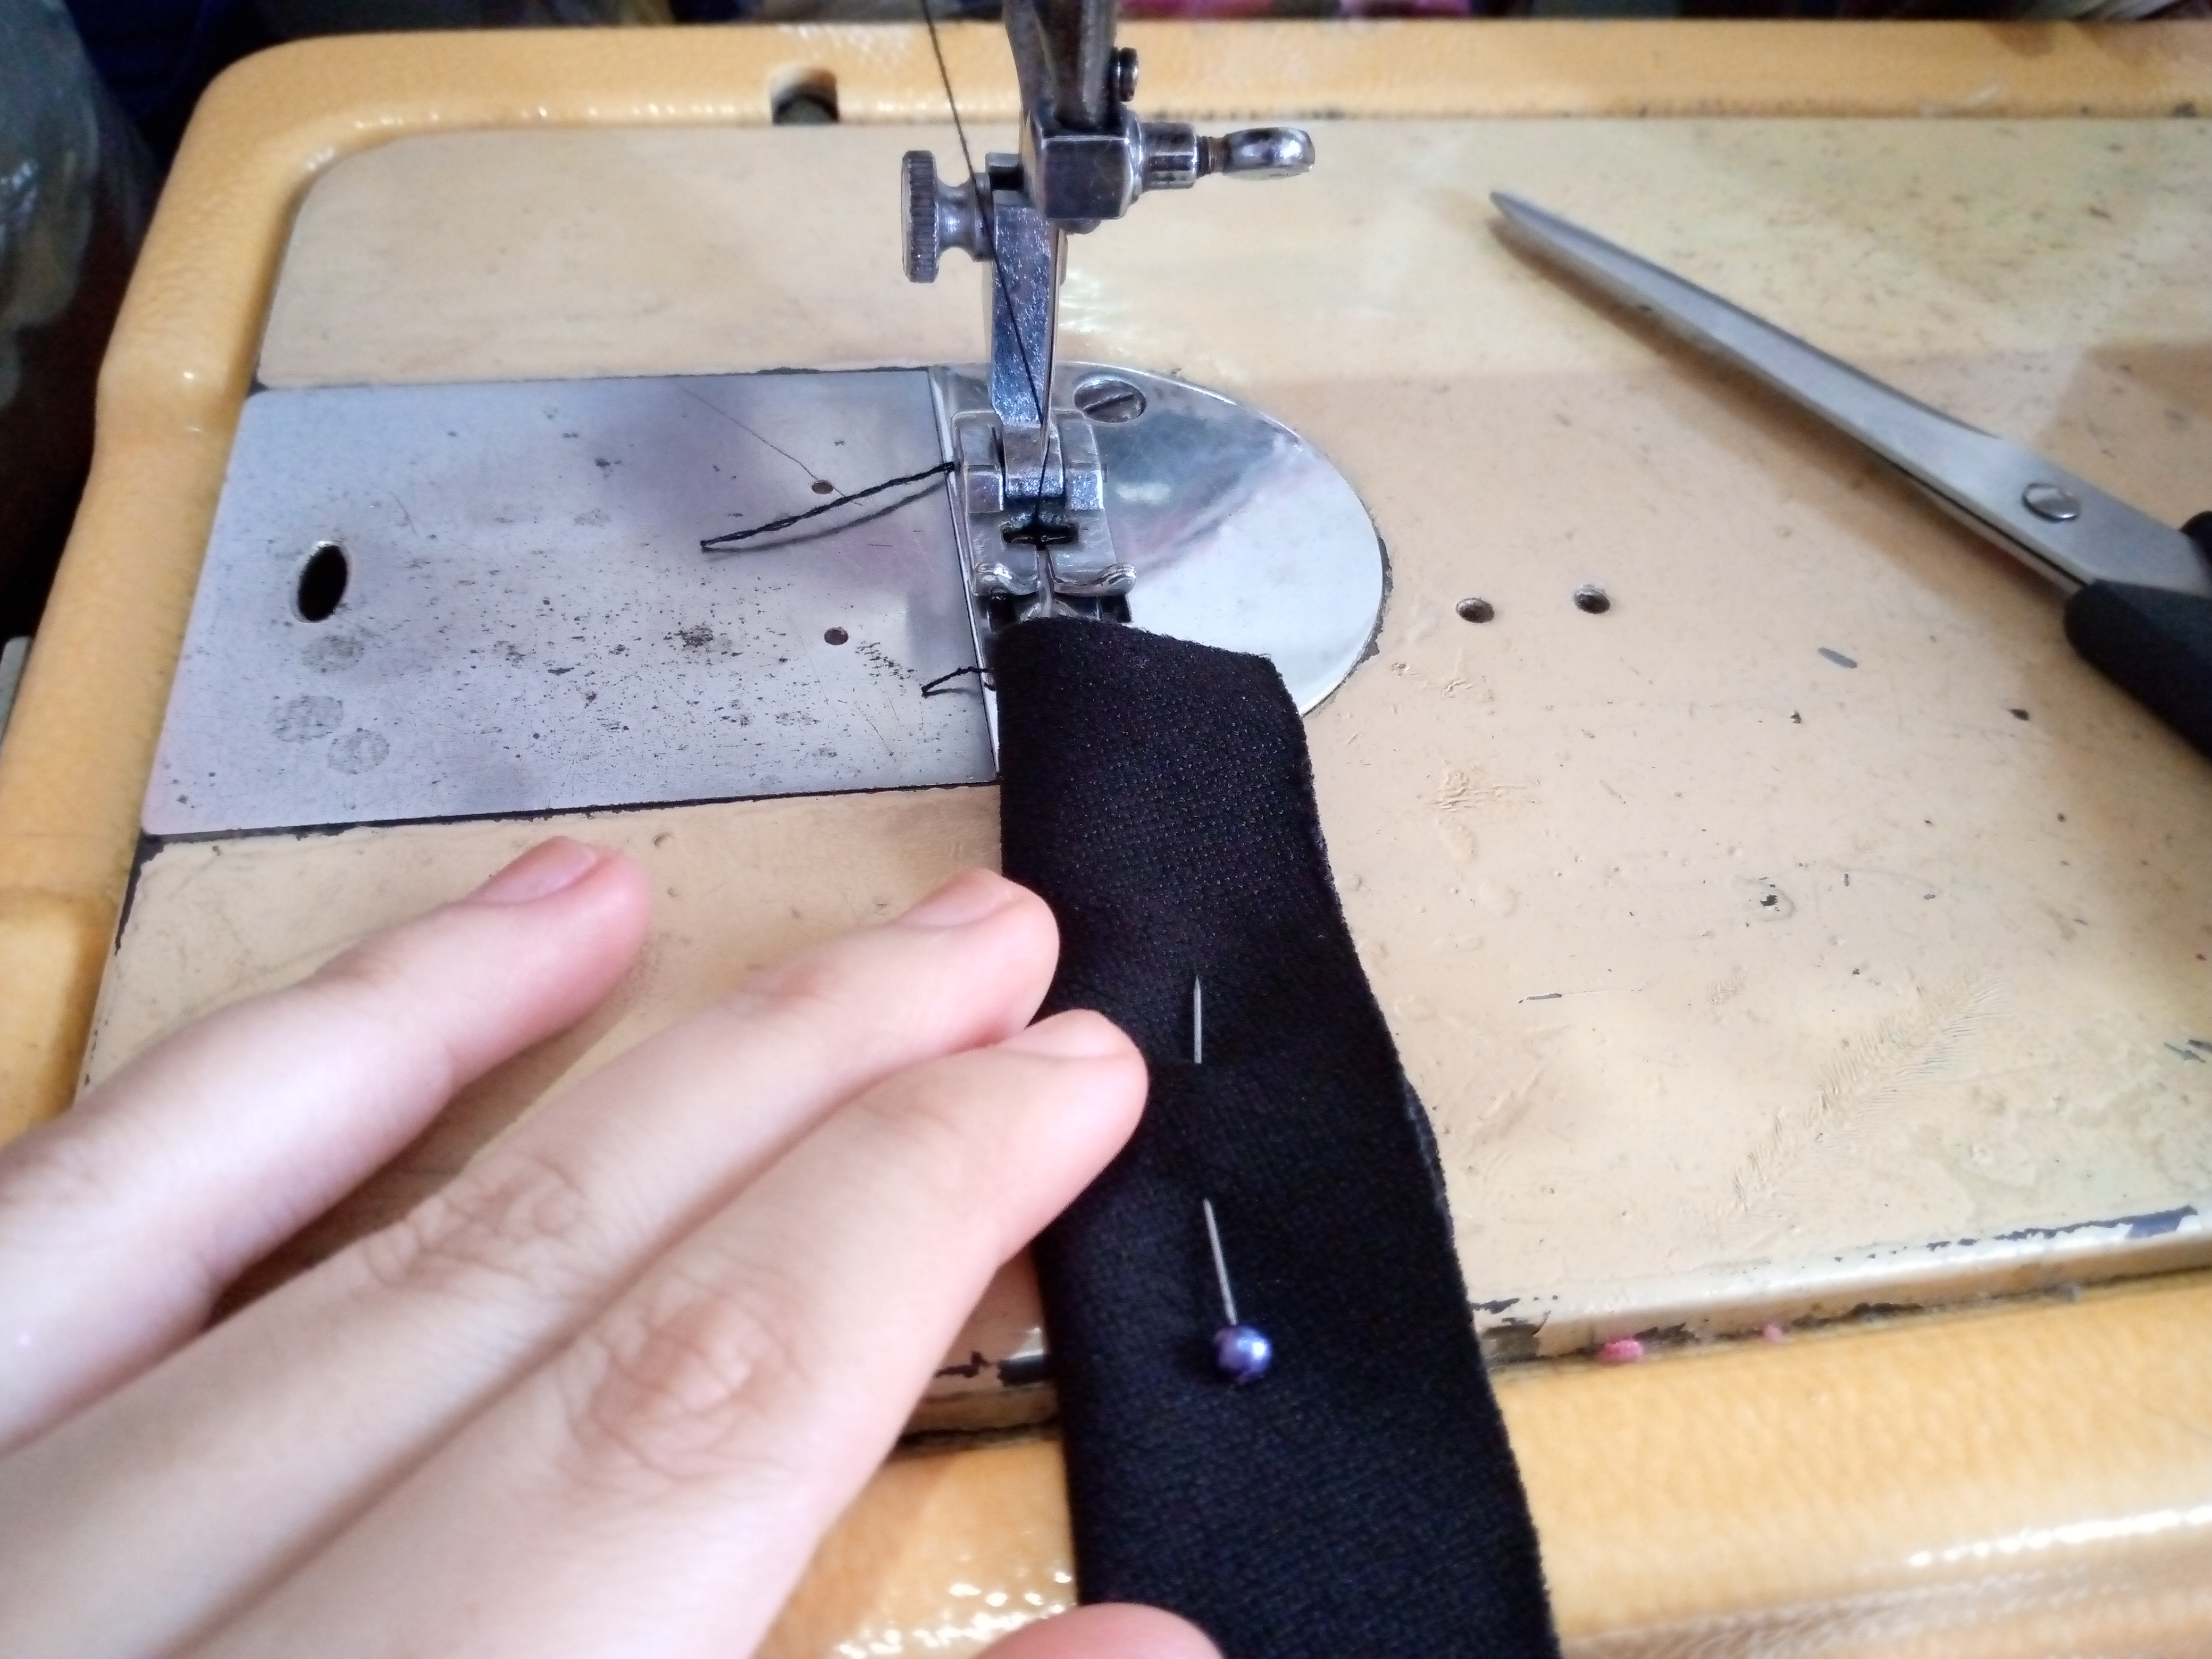
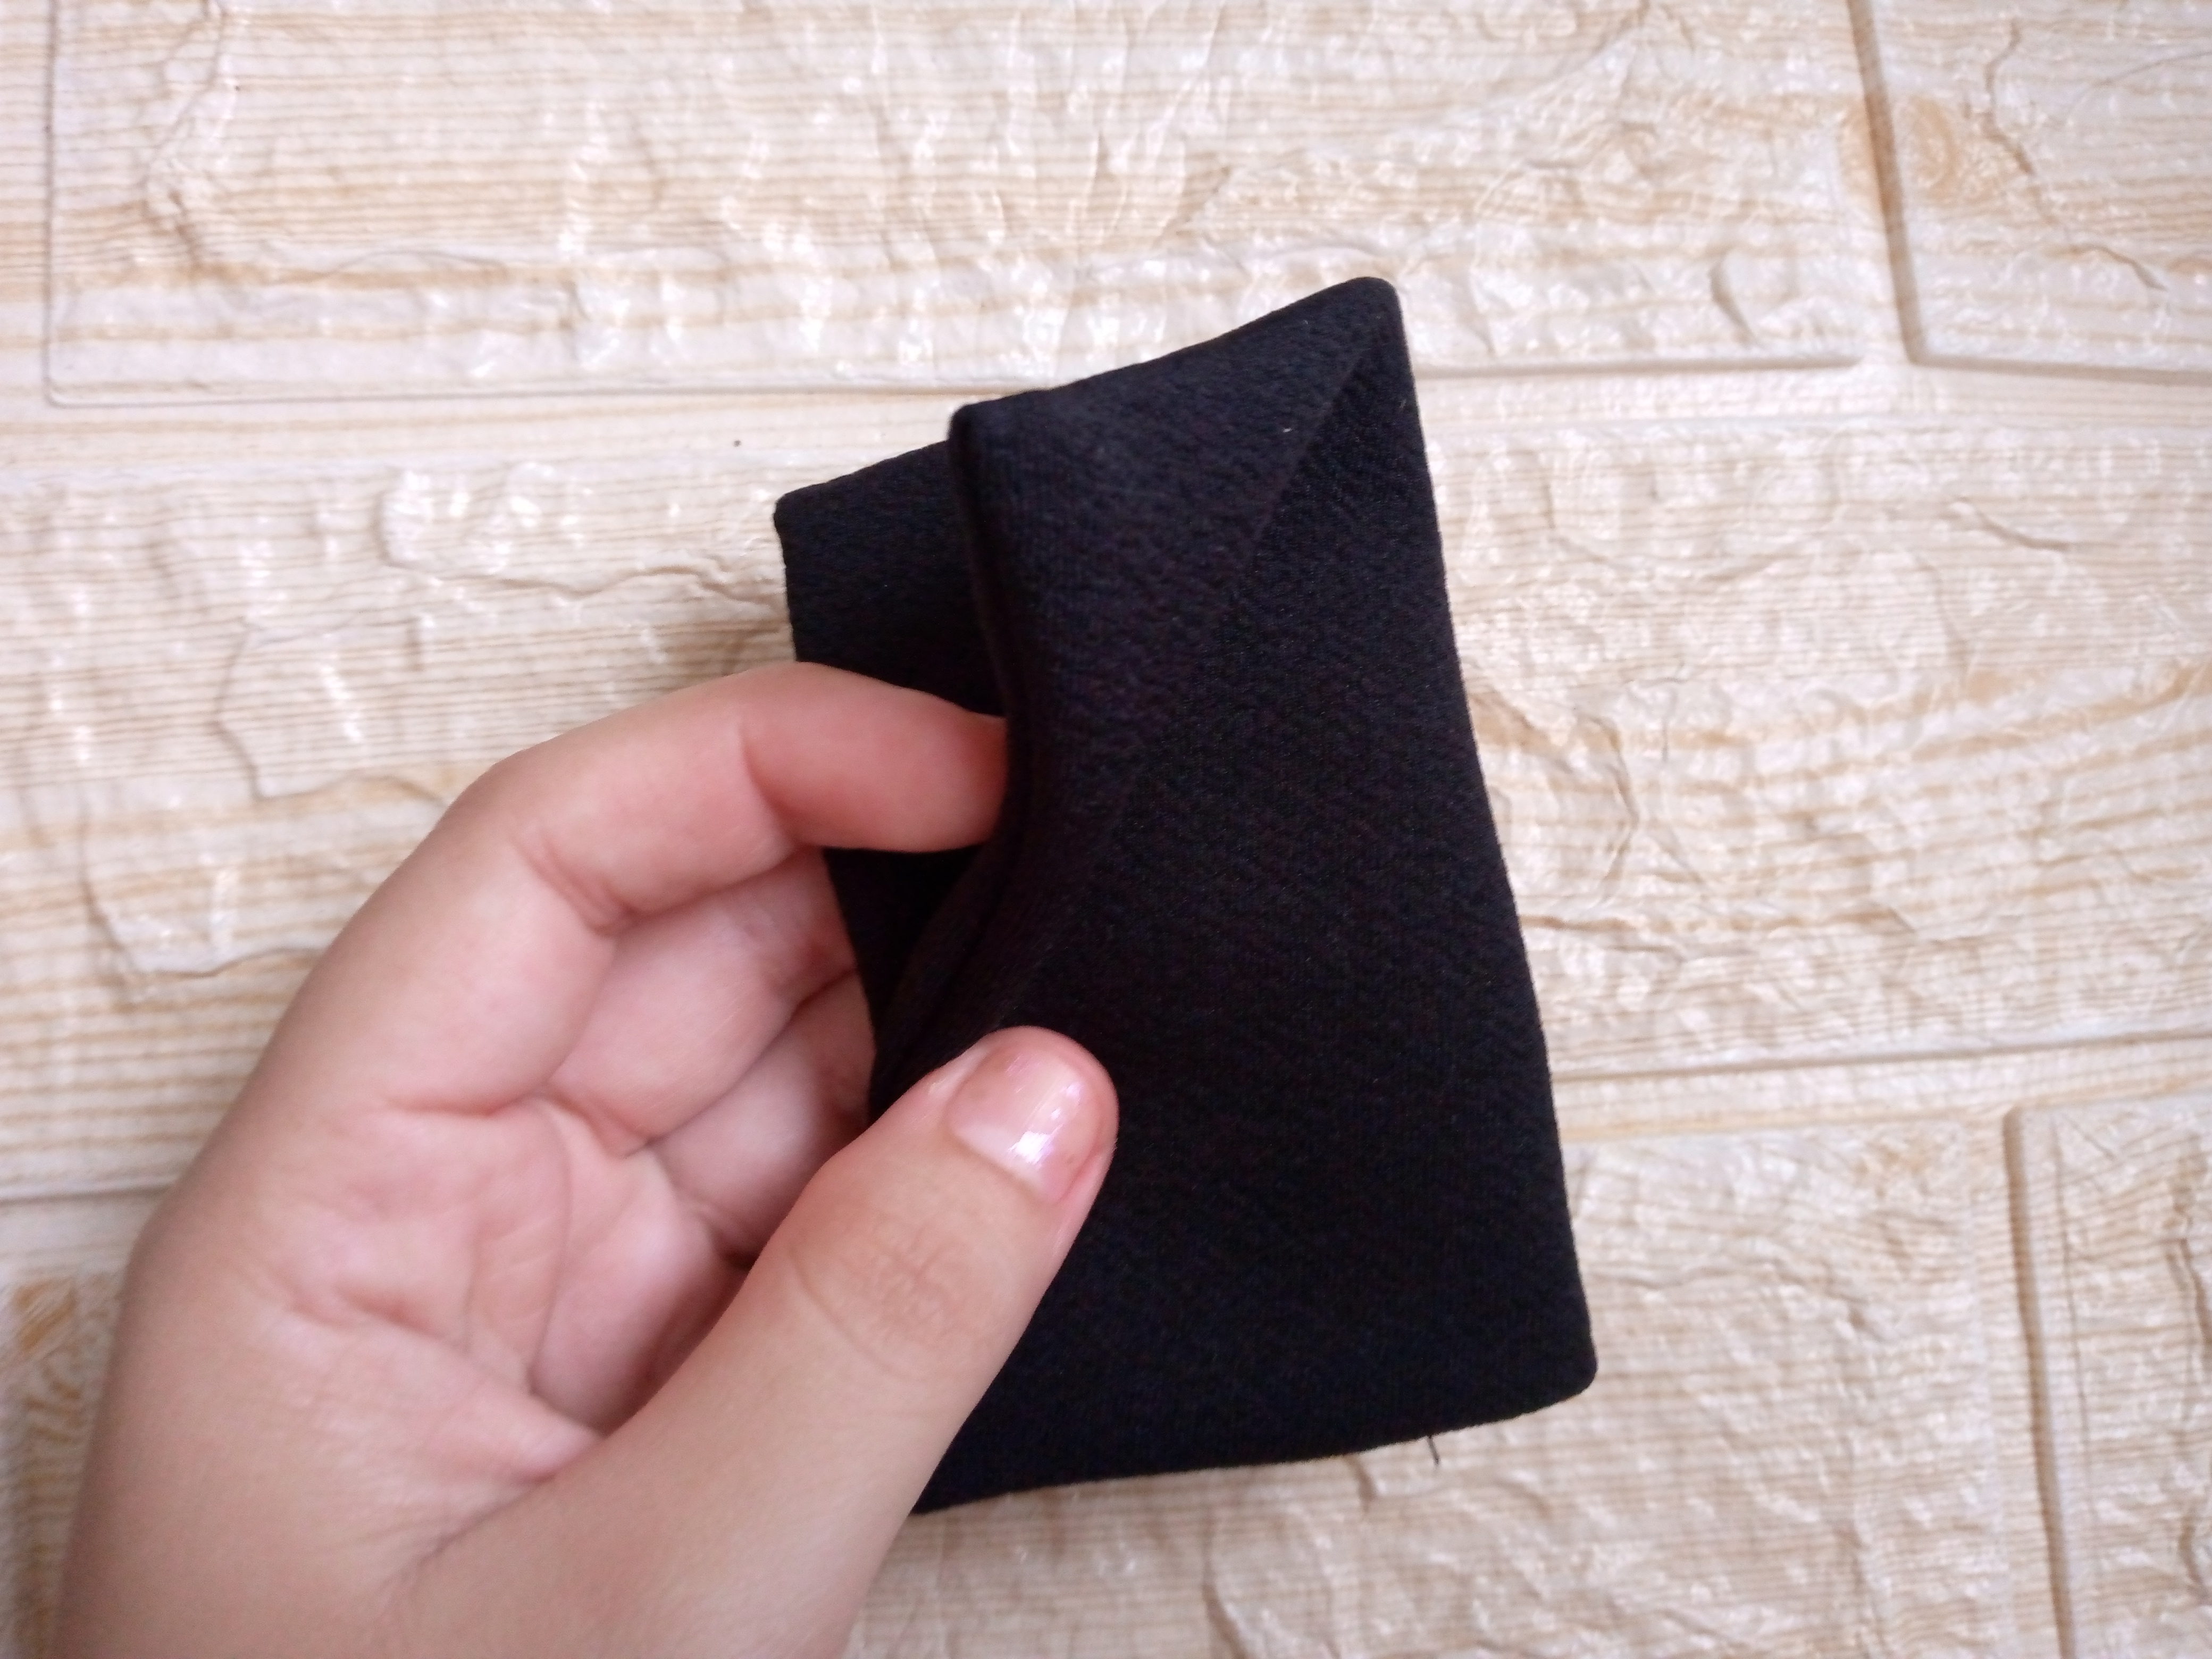
Antes de empezar a coser yo he colocado alfileres en cada pieza para que esté no se nos salga y evite rodarse a la hora de coser , entonces le colocamos alfileres casi cerca del borde y primeramente he cosido el cuadro para este lo he cosido con costura recta y dejo en la parte de abajo un hoyito que es por donde pienso voltearlo cuando termine de coserlo,para el rectangulo solo lo cosí por la parte recta ya que este fácilmente se puede voltear,luego he pasado a como les dije a voltear dichas piezas y al voltearlas os recomiendo plancharlas para un mejor acabado,sello con aguja he hilo el hoyito que dejamos del cuadro para que el hilo no se nos siga soltando.

Step 02

Before starting to sew I placed pins in each piece so that it does not come out and avoids rolling when sewing, then we placed pins almost close to the edge and first I sewed the square, for this I sewed it with a straight stitch and left a hole at the bottom which is where I plan to turn it over when I finish sewing it, for the rectangle I only sewed it on the straight side since it can easily be turned over, then I went on to, as I told you, turn said pieces over and when turning them over I recommend ironing them for a better finish, I seal with a needle and thread the hole that we left in the square so that the thread does not continue to come loose.
IMG_20241117_130600_925.jpg

IMG_20241117_130632_667.jpg

IMG_20241117_130726_259.jpg

Paso 03

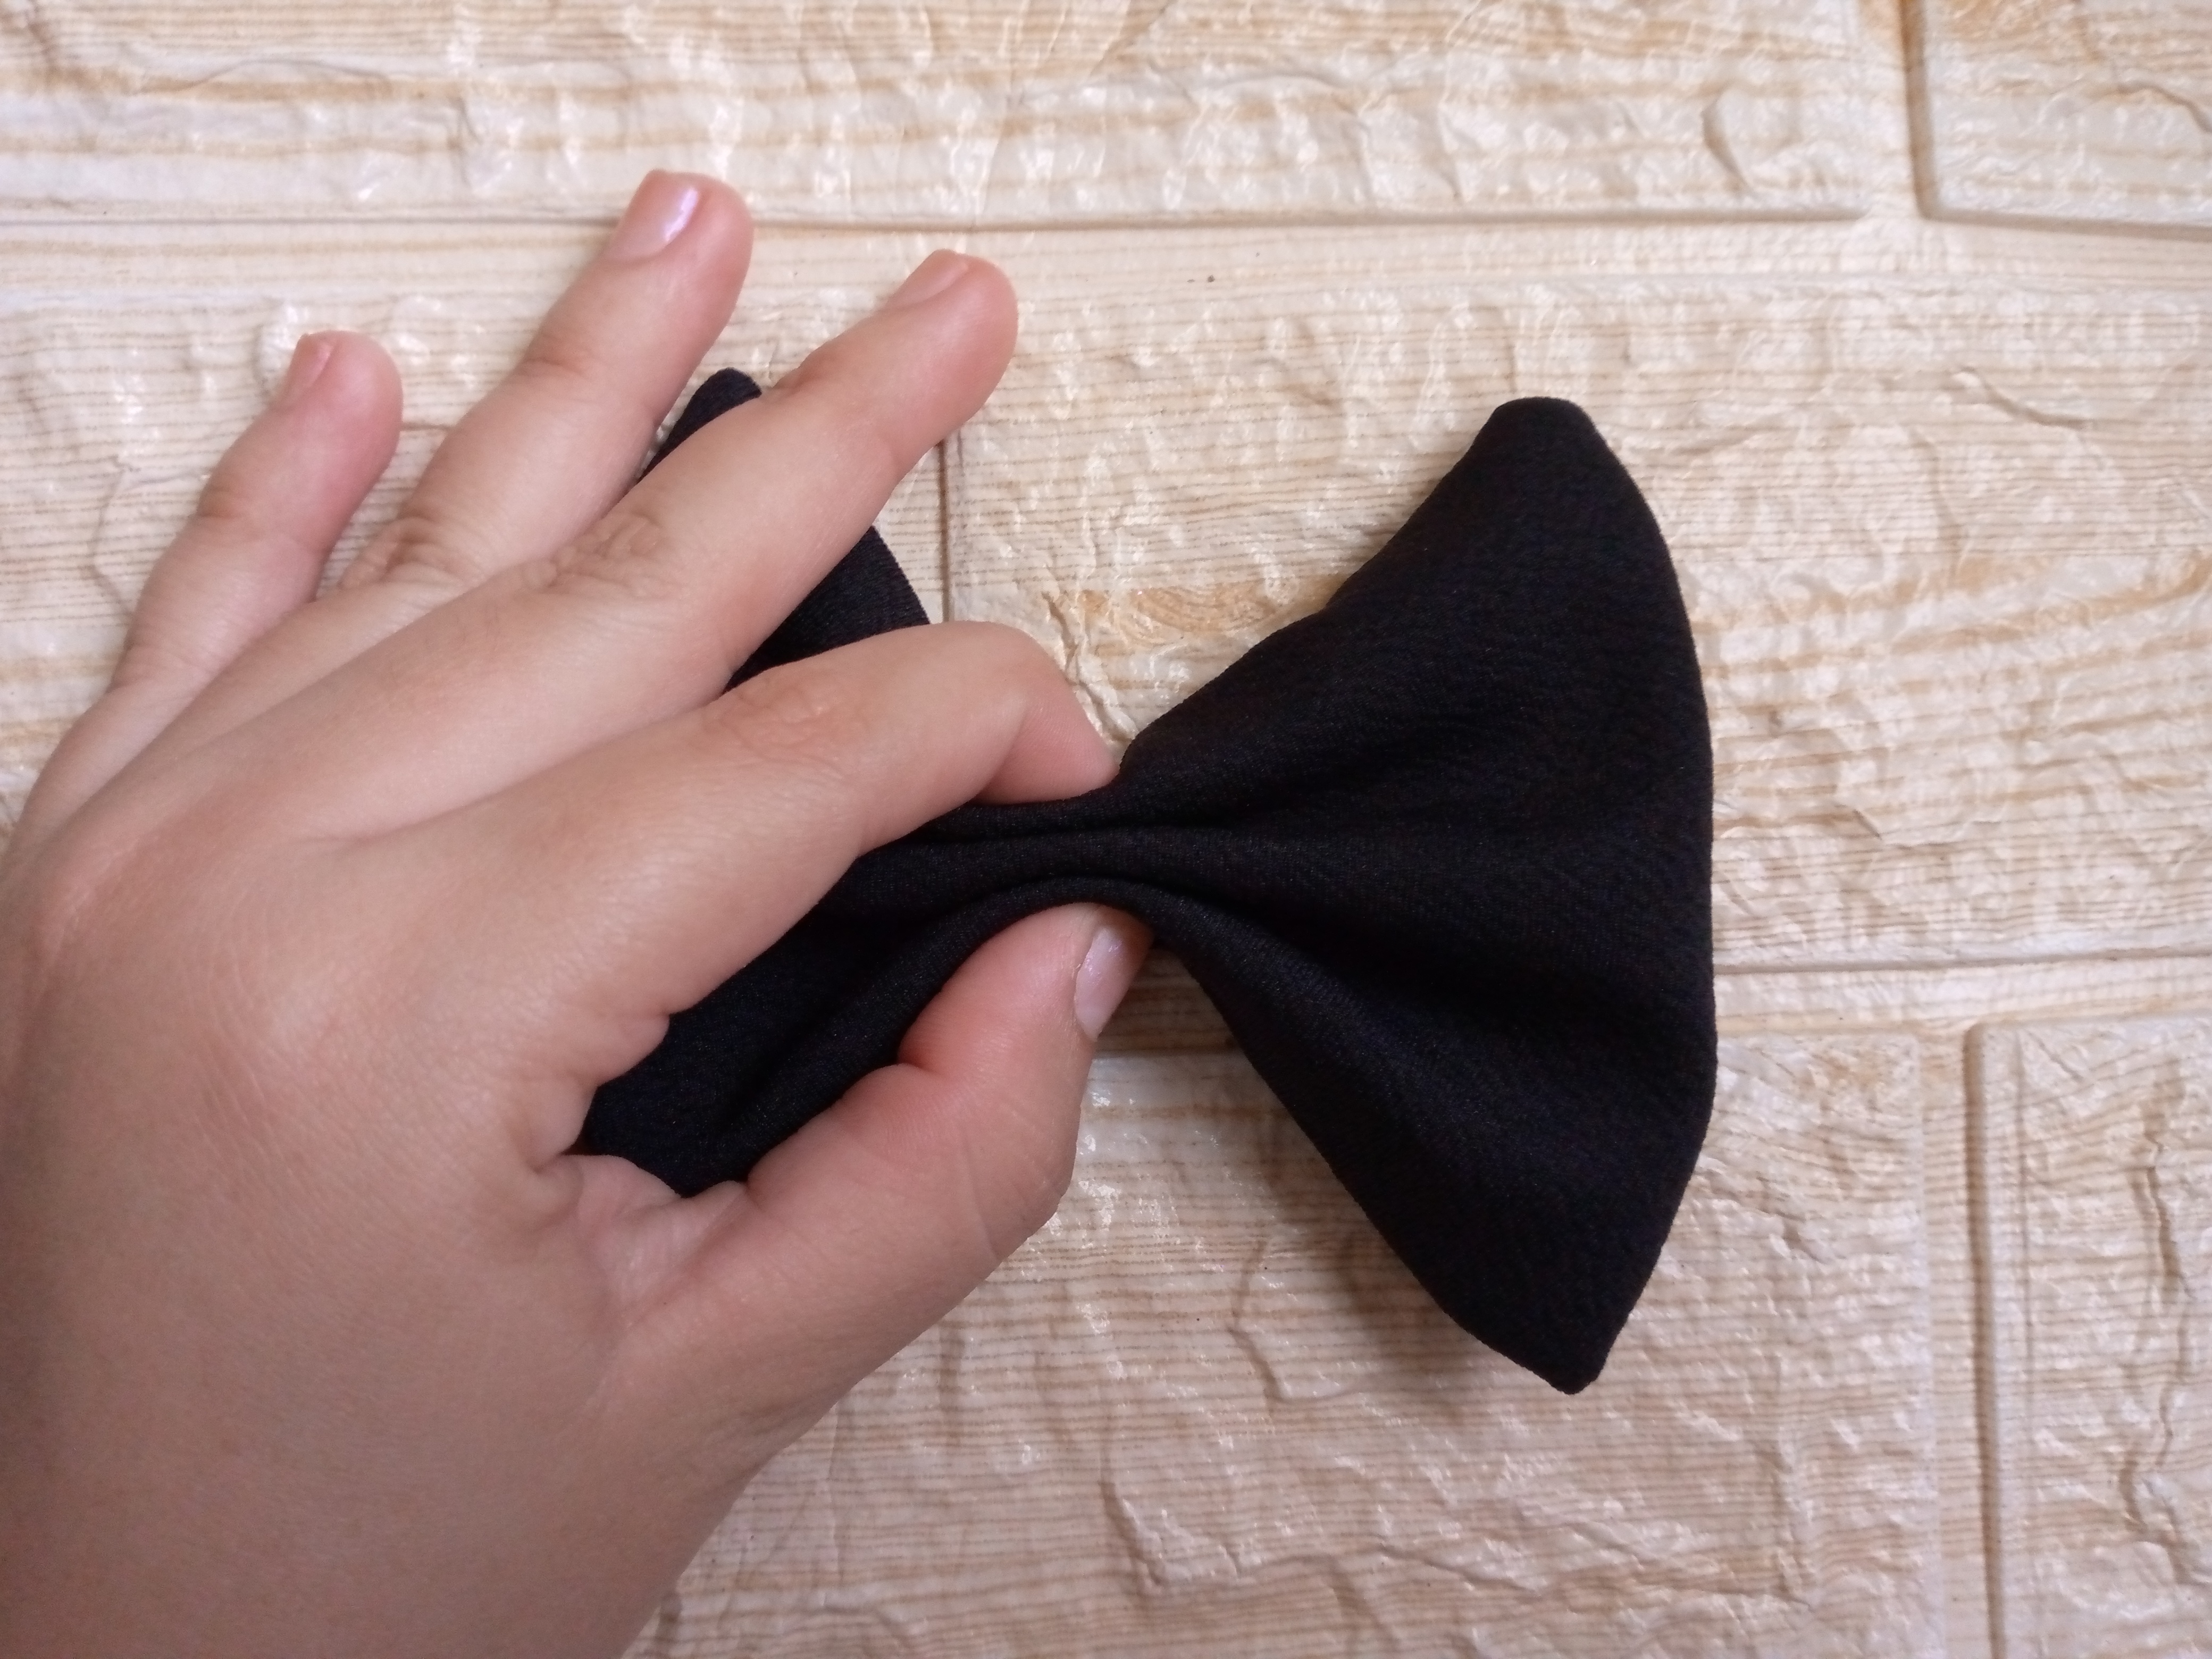
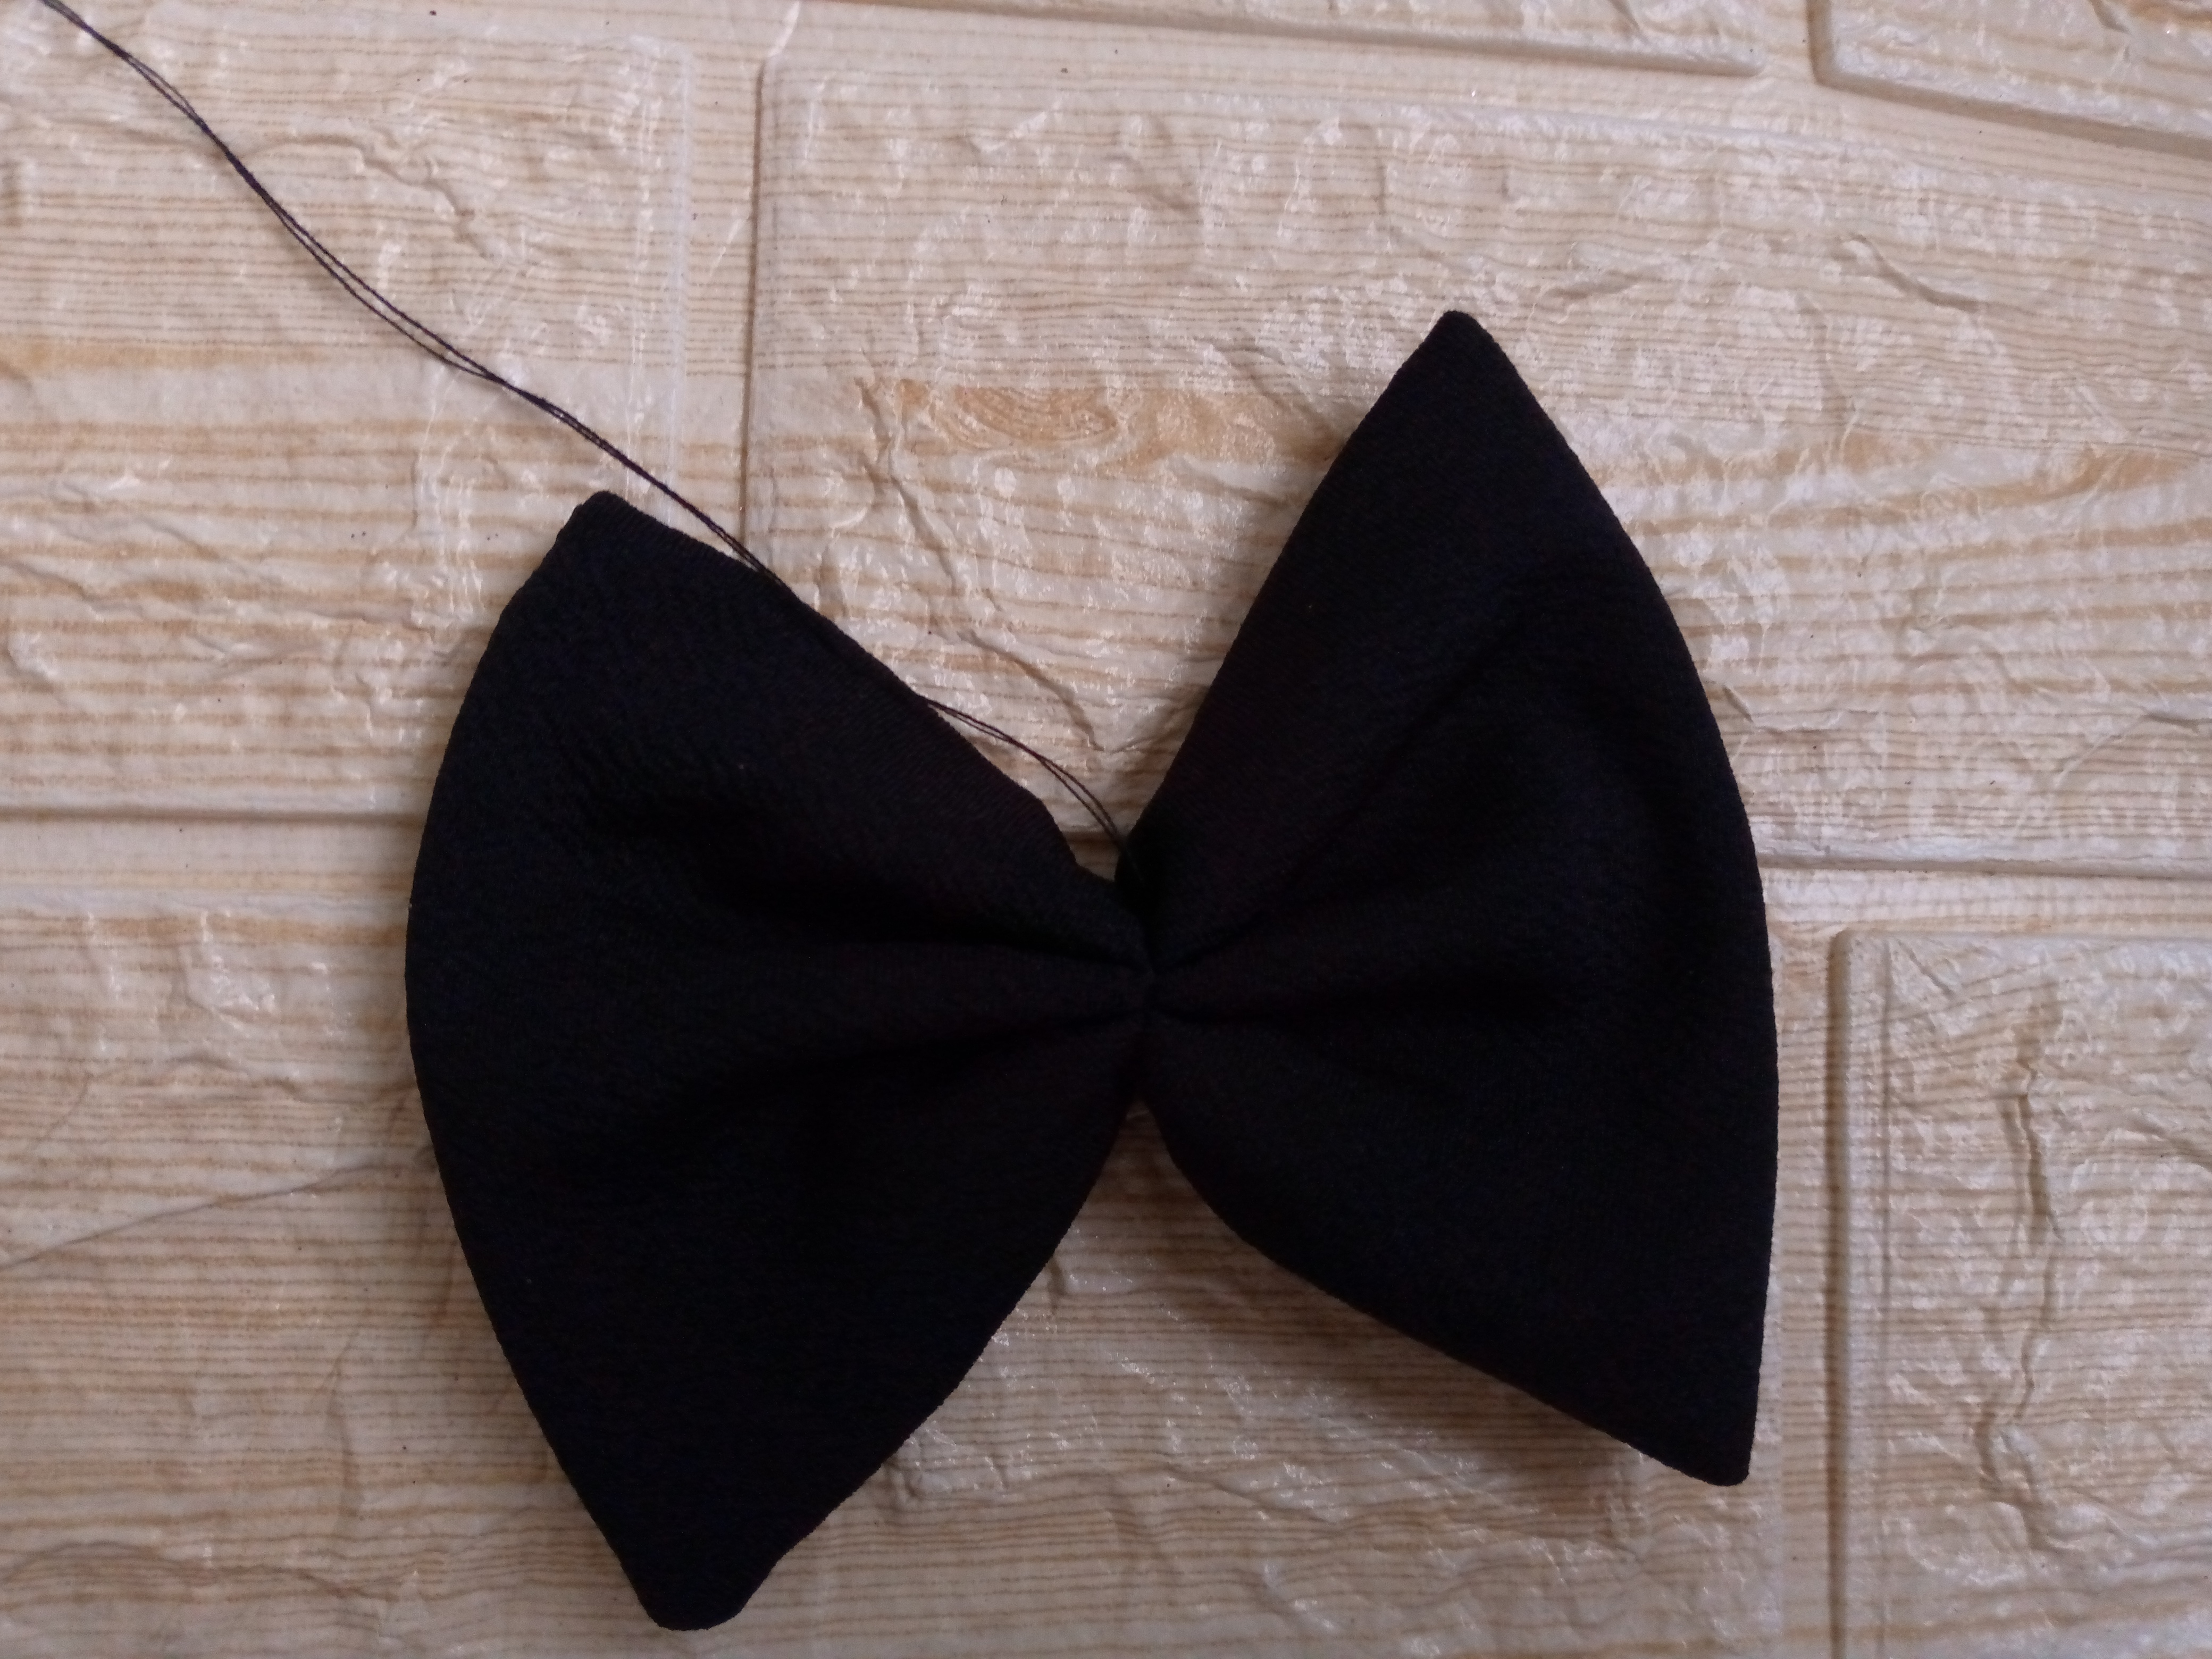
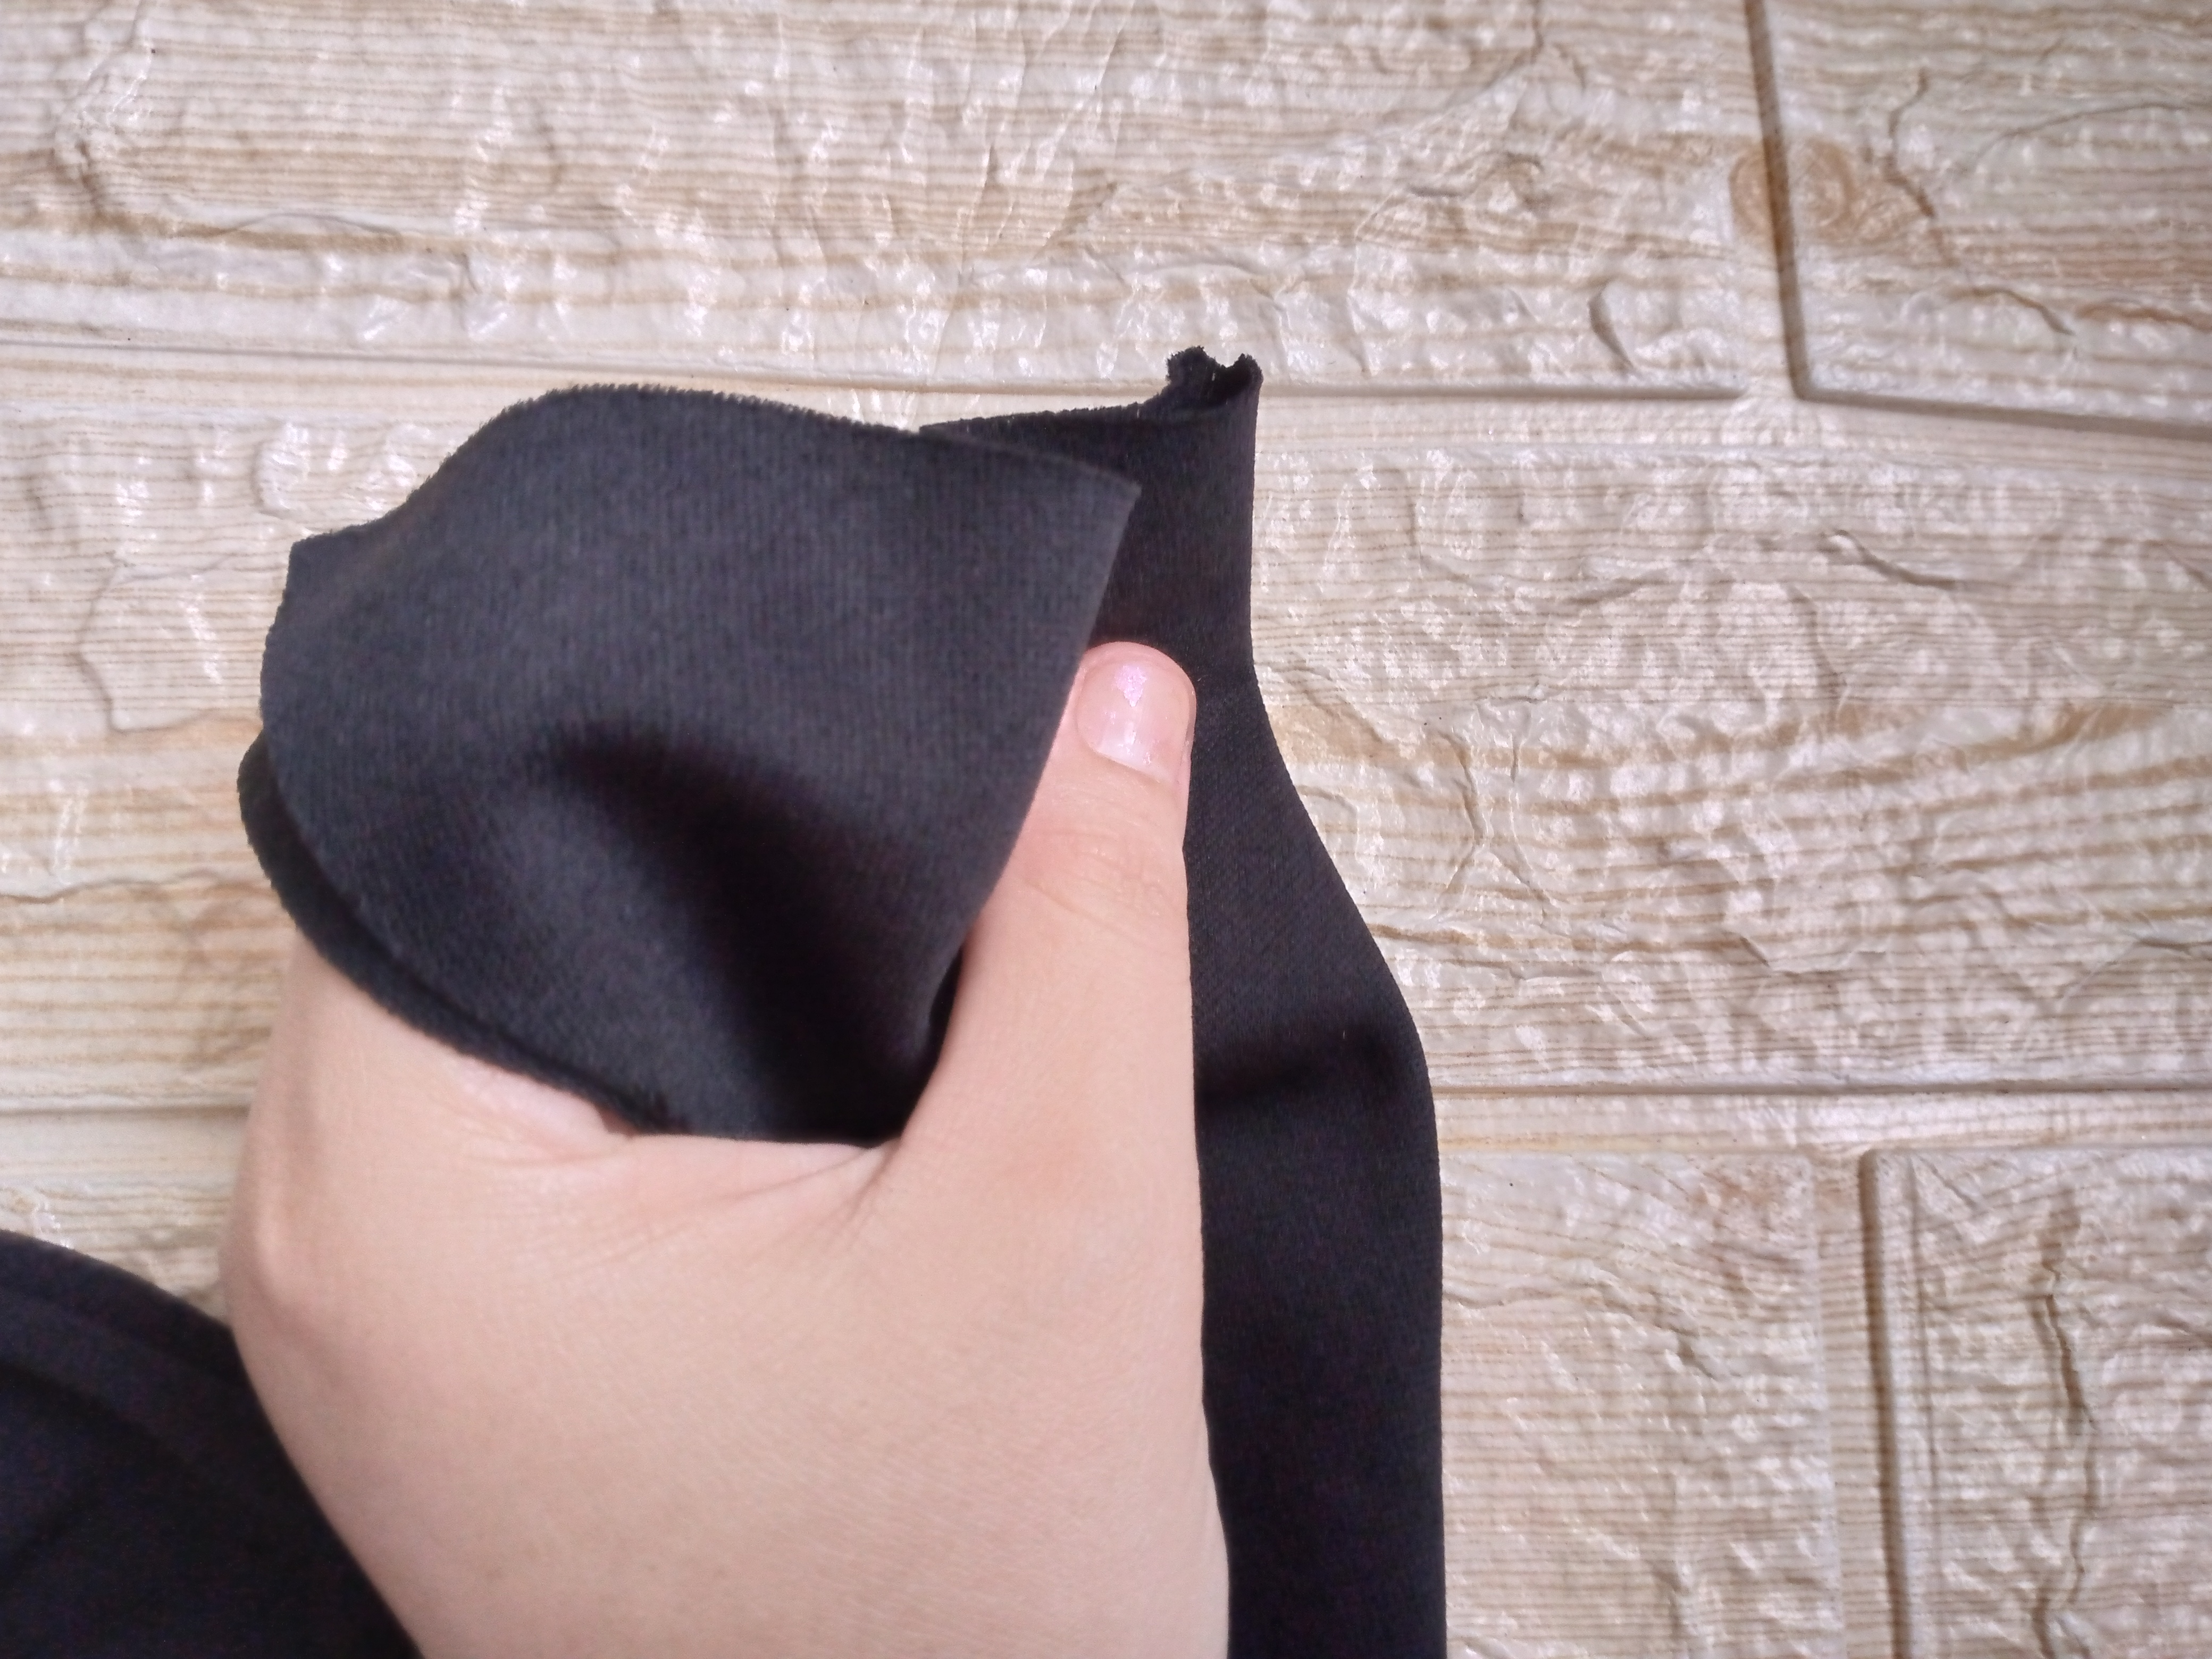
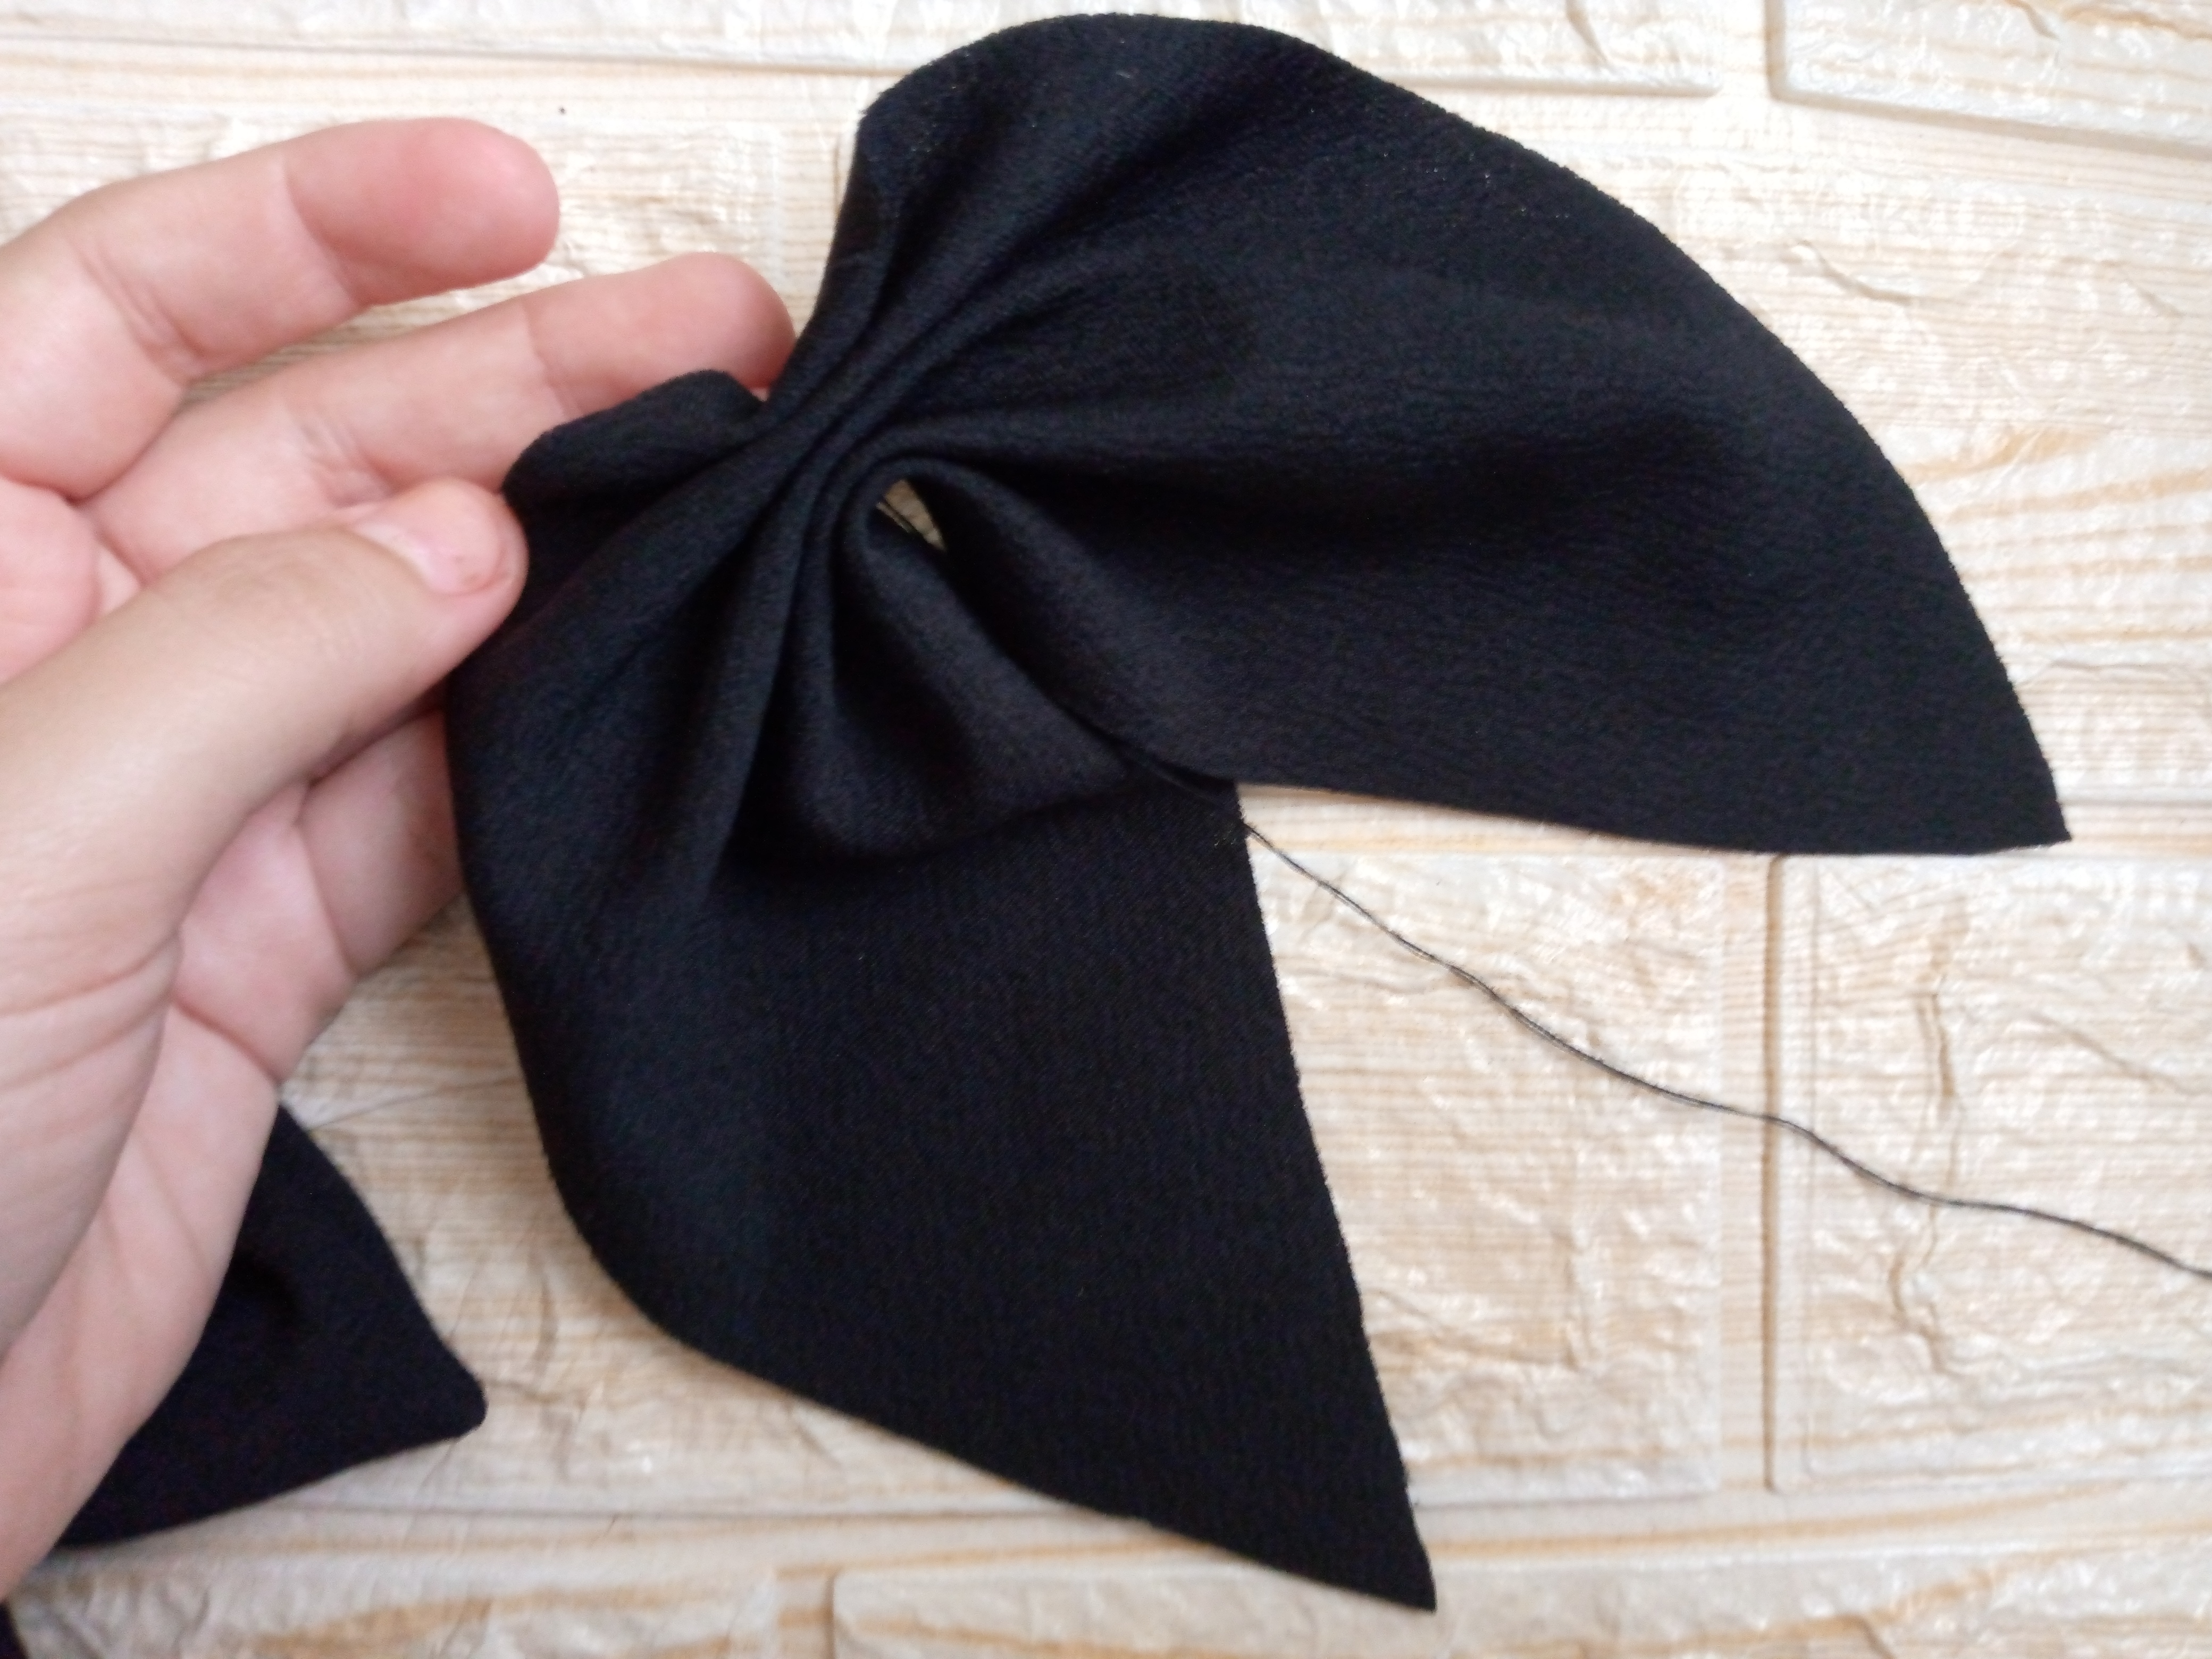
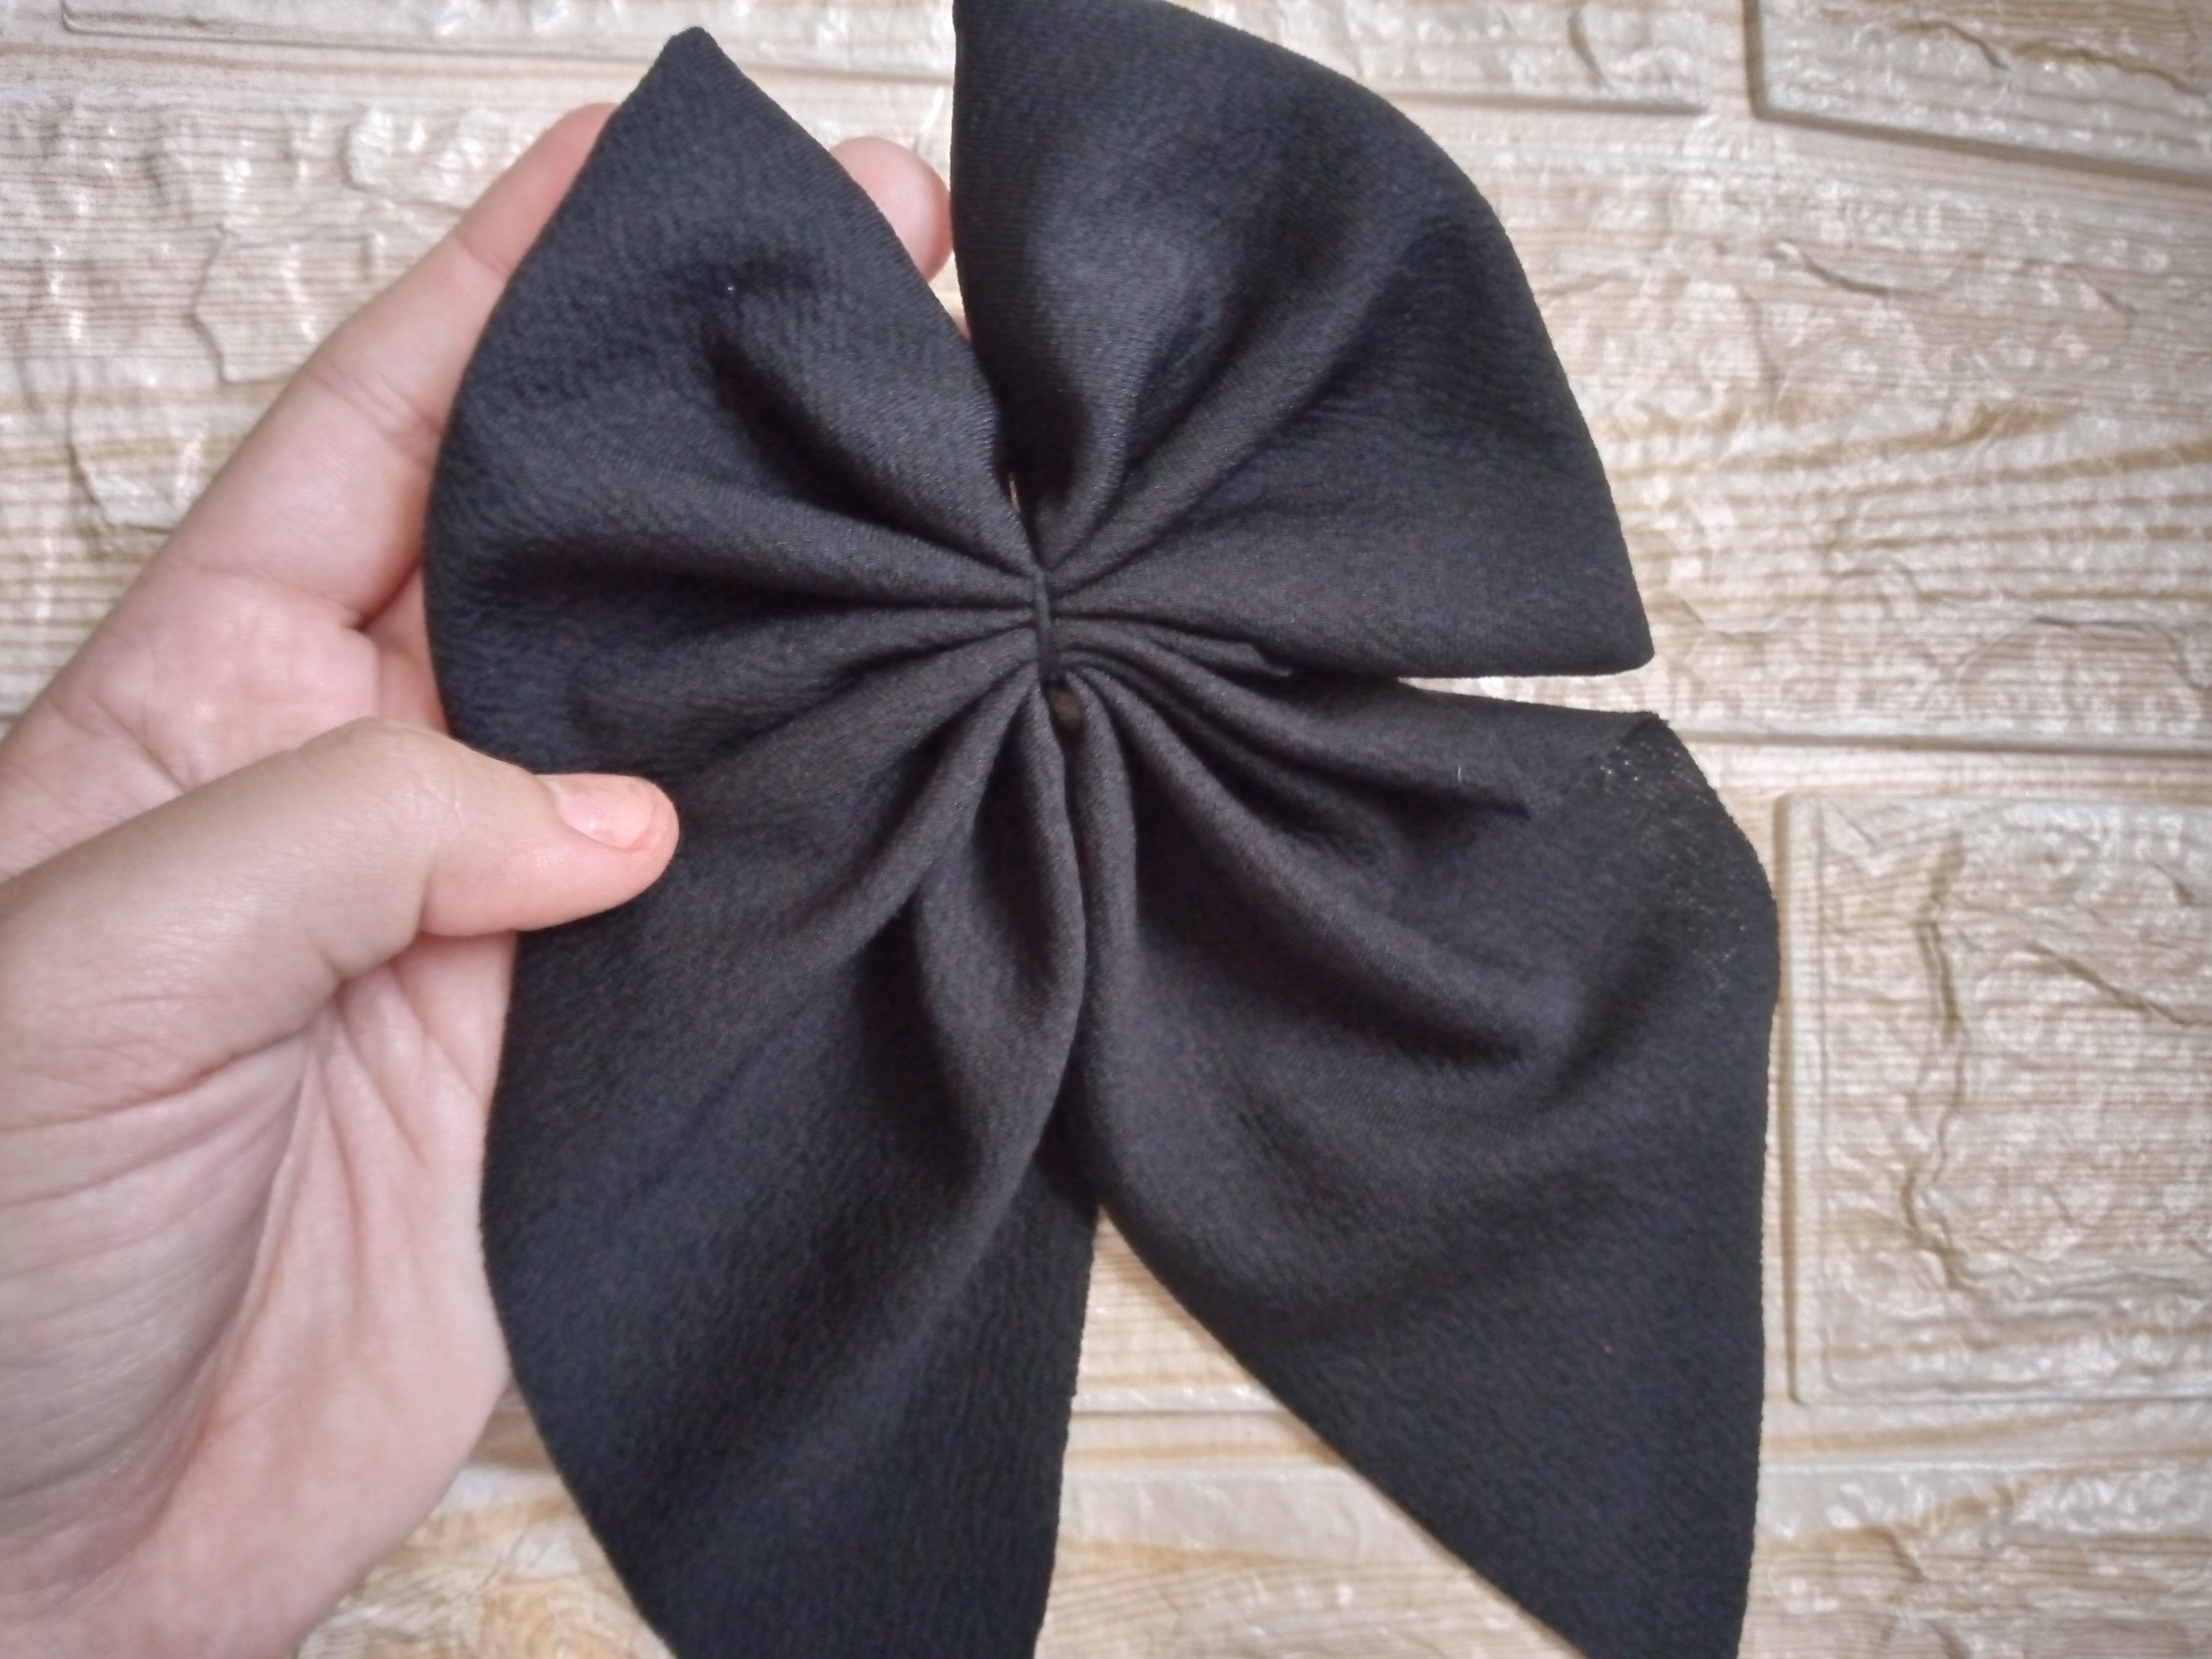
Aquí después de voltear ambas piezas lo que haremos será tomar el cuadro doblarlo a la mitad para saber que por allí vamos a coser y vamos a ir haciendo pequeños tablones yo le he hecho cuatro ,justo en el medio del lazo para luego con nuestra aguja e hilo coser ajustar bien y dar cuantas vueltas desees la idea es ajustarlo bien asi no se nos vayan a soltar los tablones y menos el moño de esta forma nos queda bien elaborado está pieza.

Step 03

Here, after turning both pieces over, what we will do is take the square, fold it in half to know where we are going to sew and we will make small planks. I have made four, right in the middle of the bow, and then with our needle and thread sew, adjust well and make as many turns as you want. The idea is to adjust it well so that the planks do not come loose and even less the bow. This way, this piece is well made.
IMG_20241117_130752_938.jpg

IMG_20241117_130824_724.jpg

IMG_20241117_130926_907.jpg

Paso 04

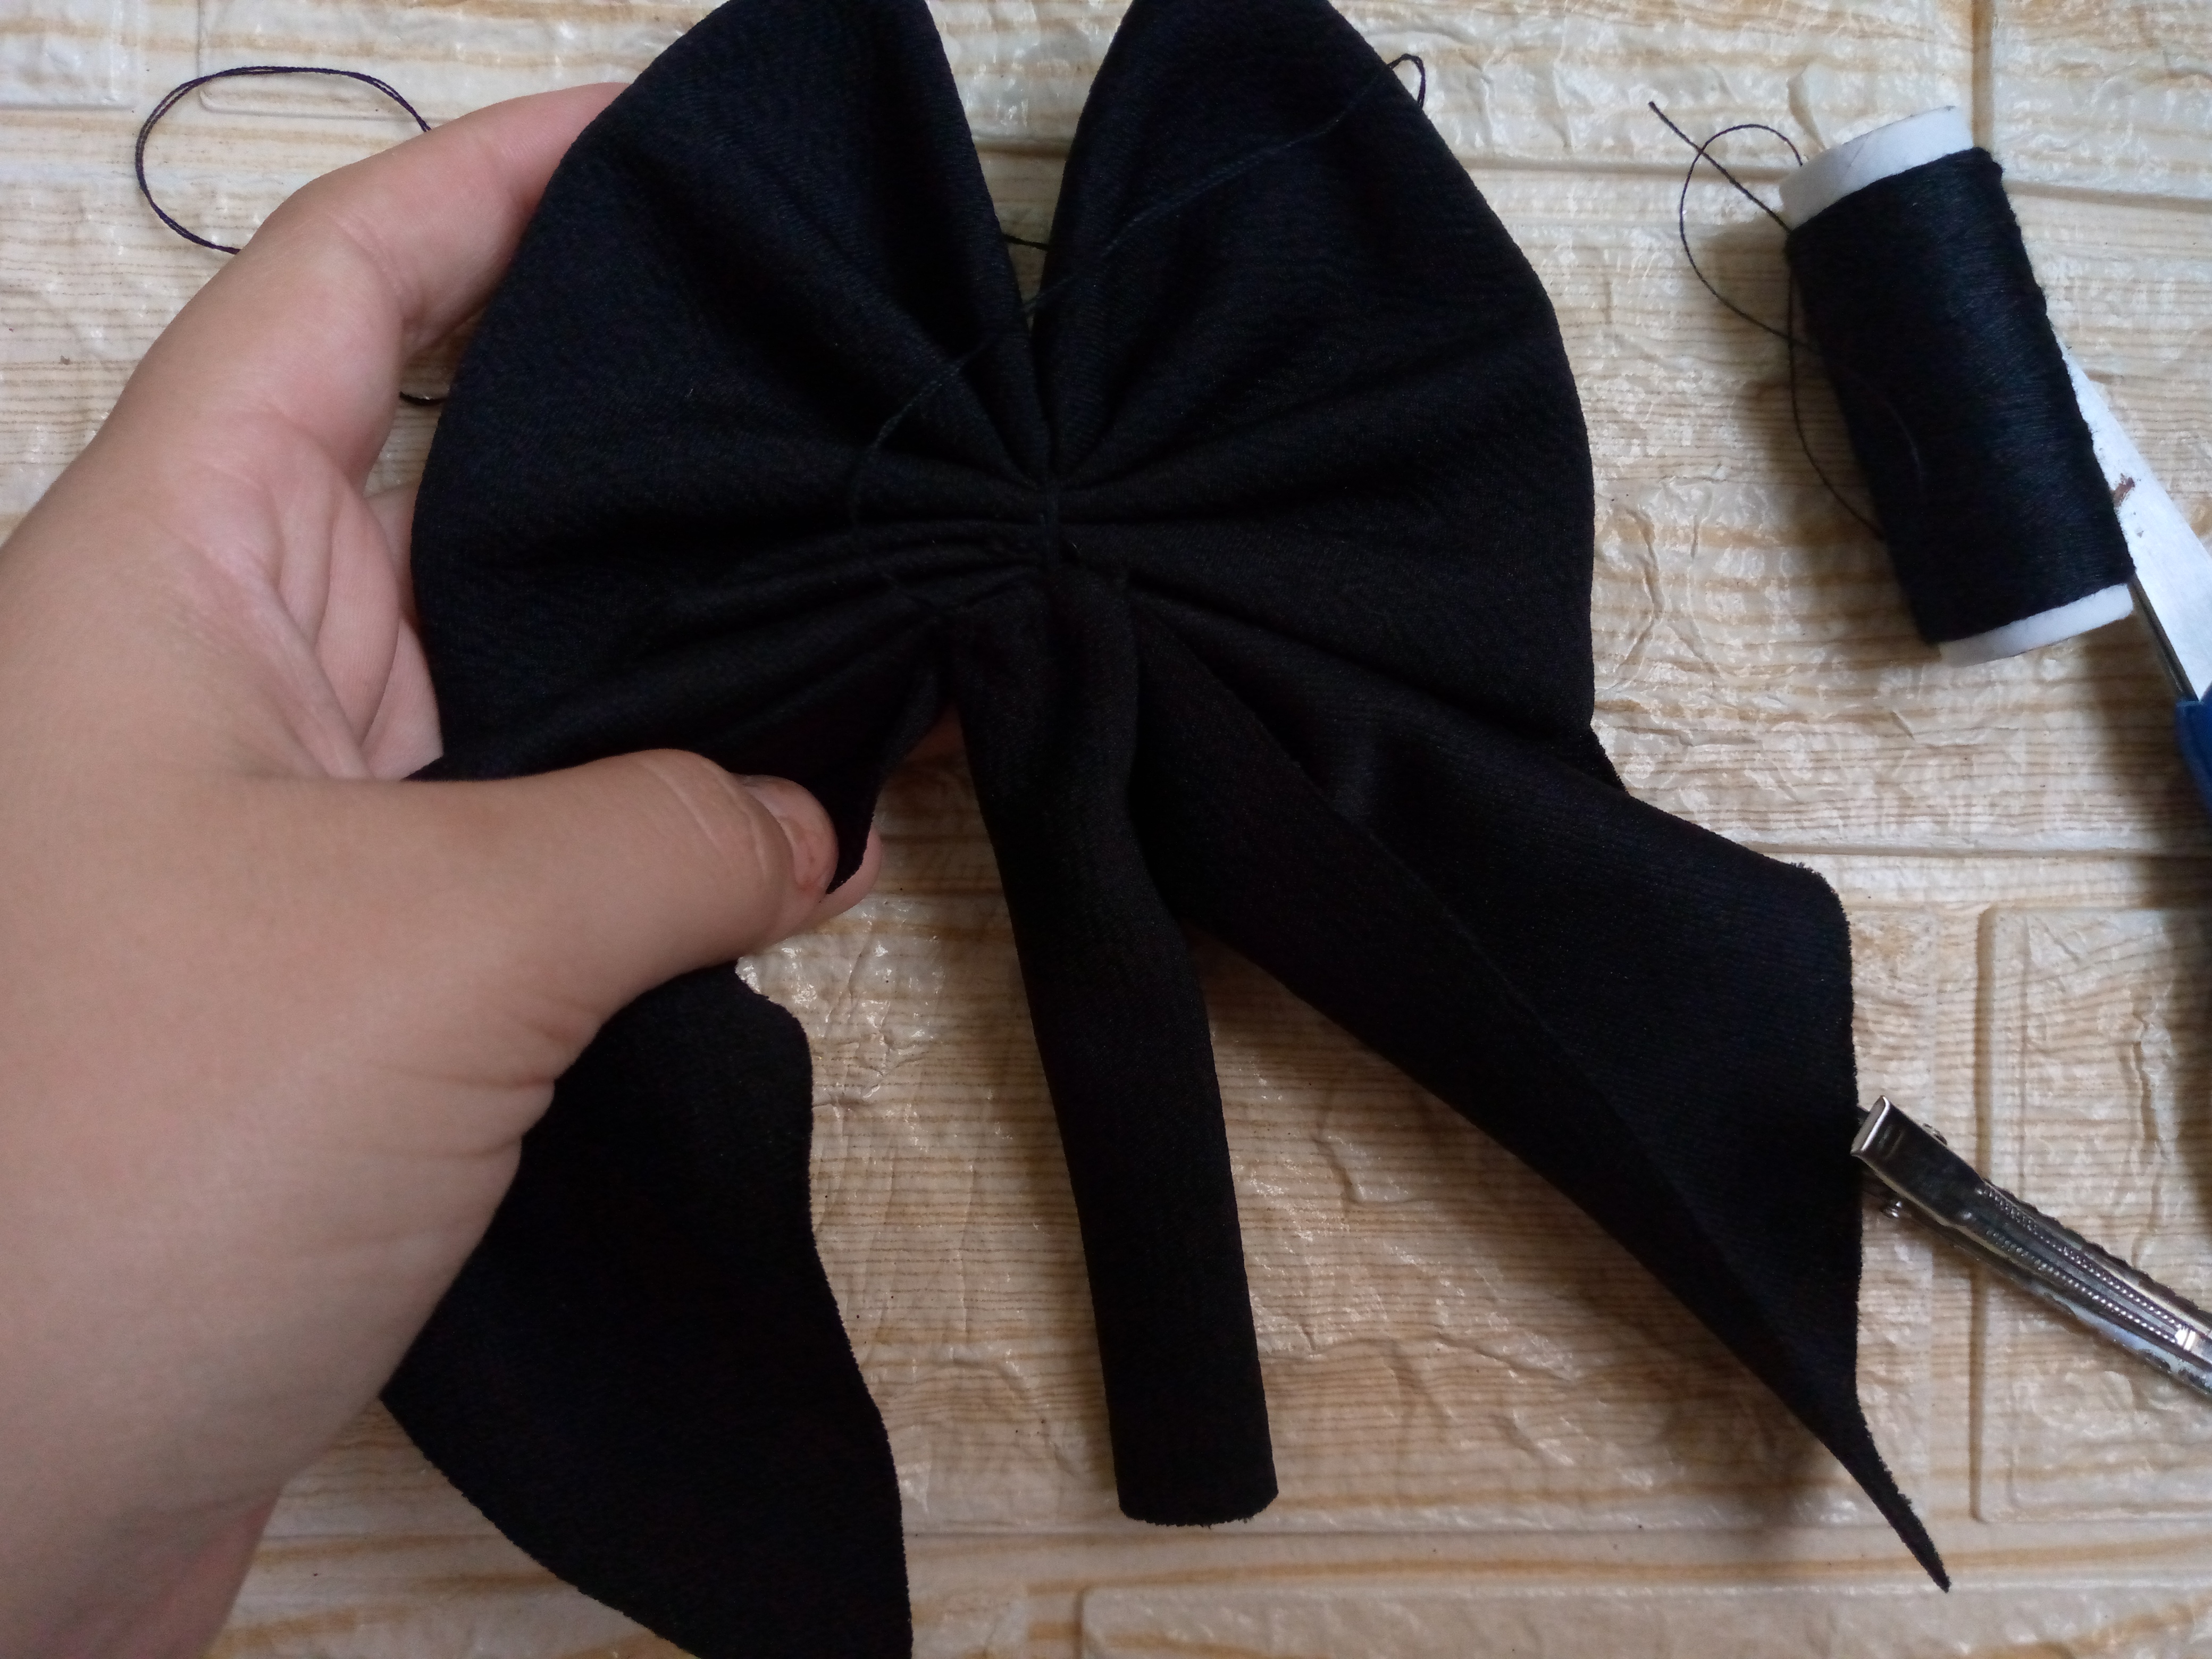
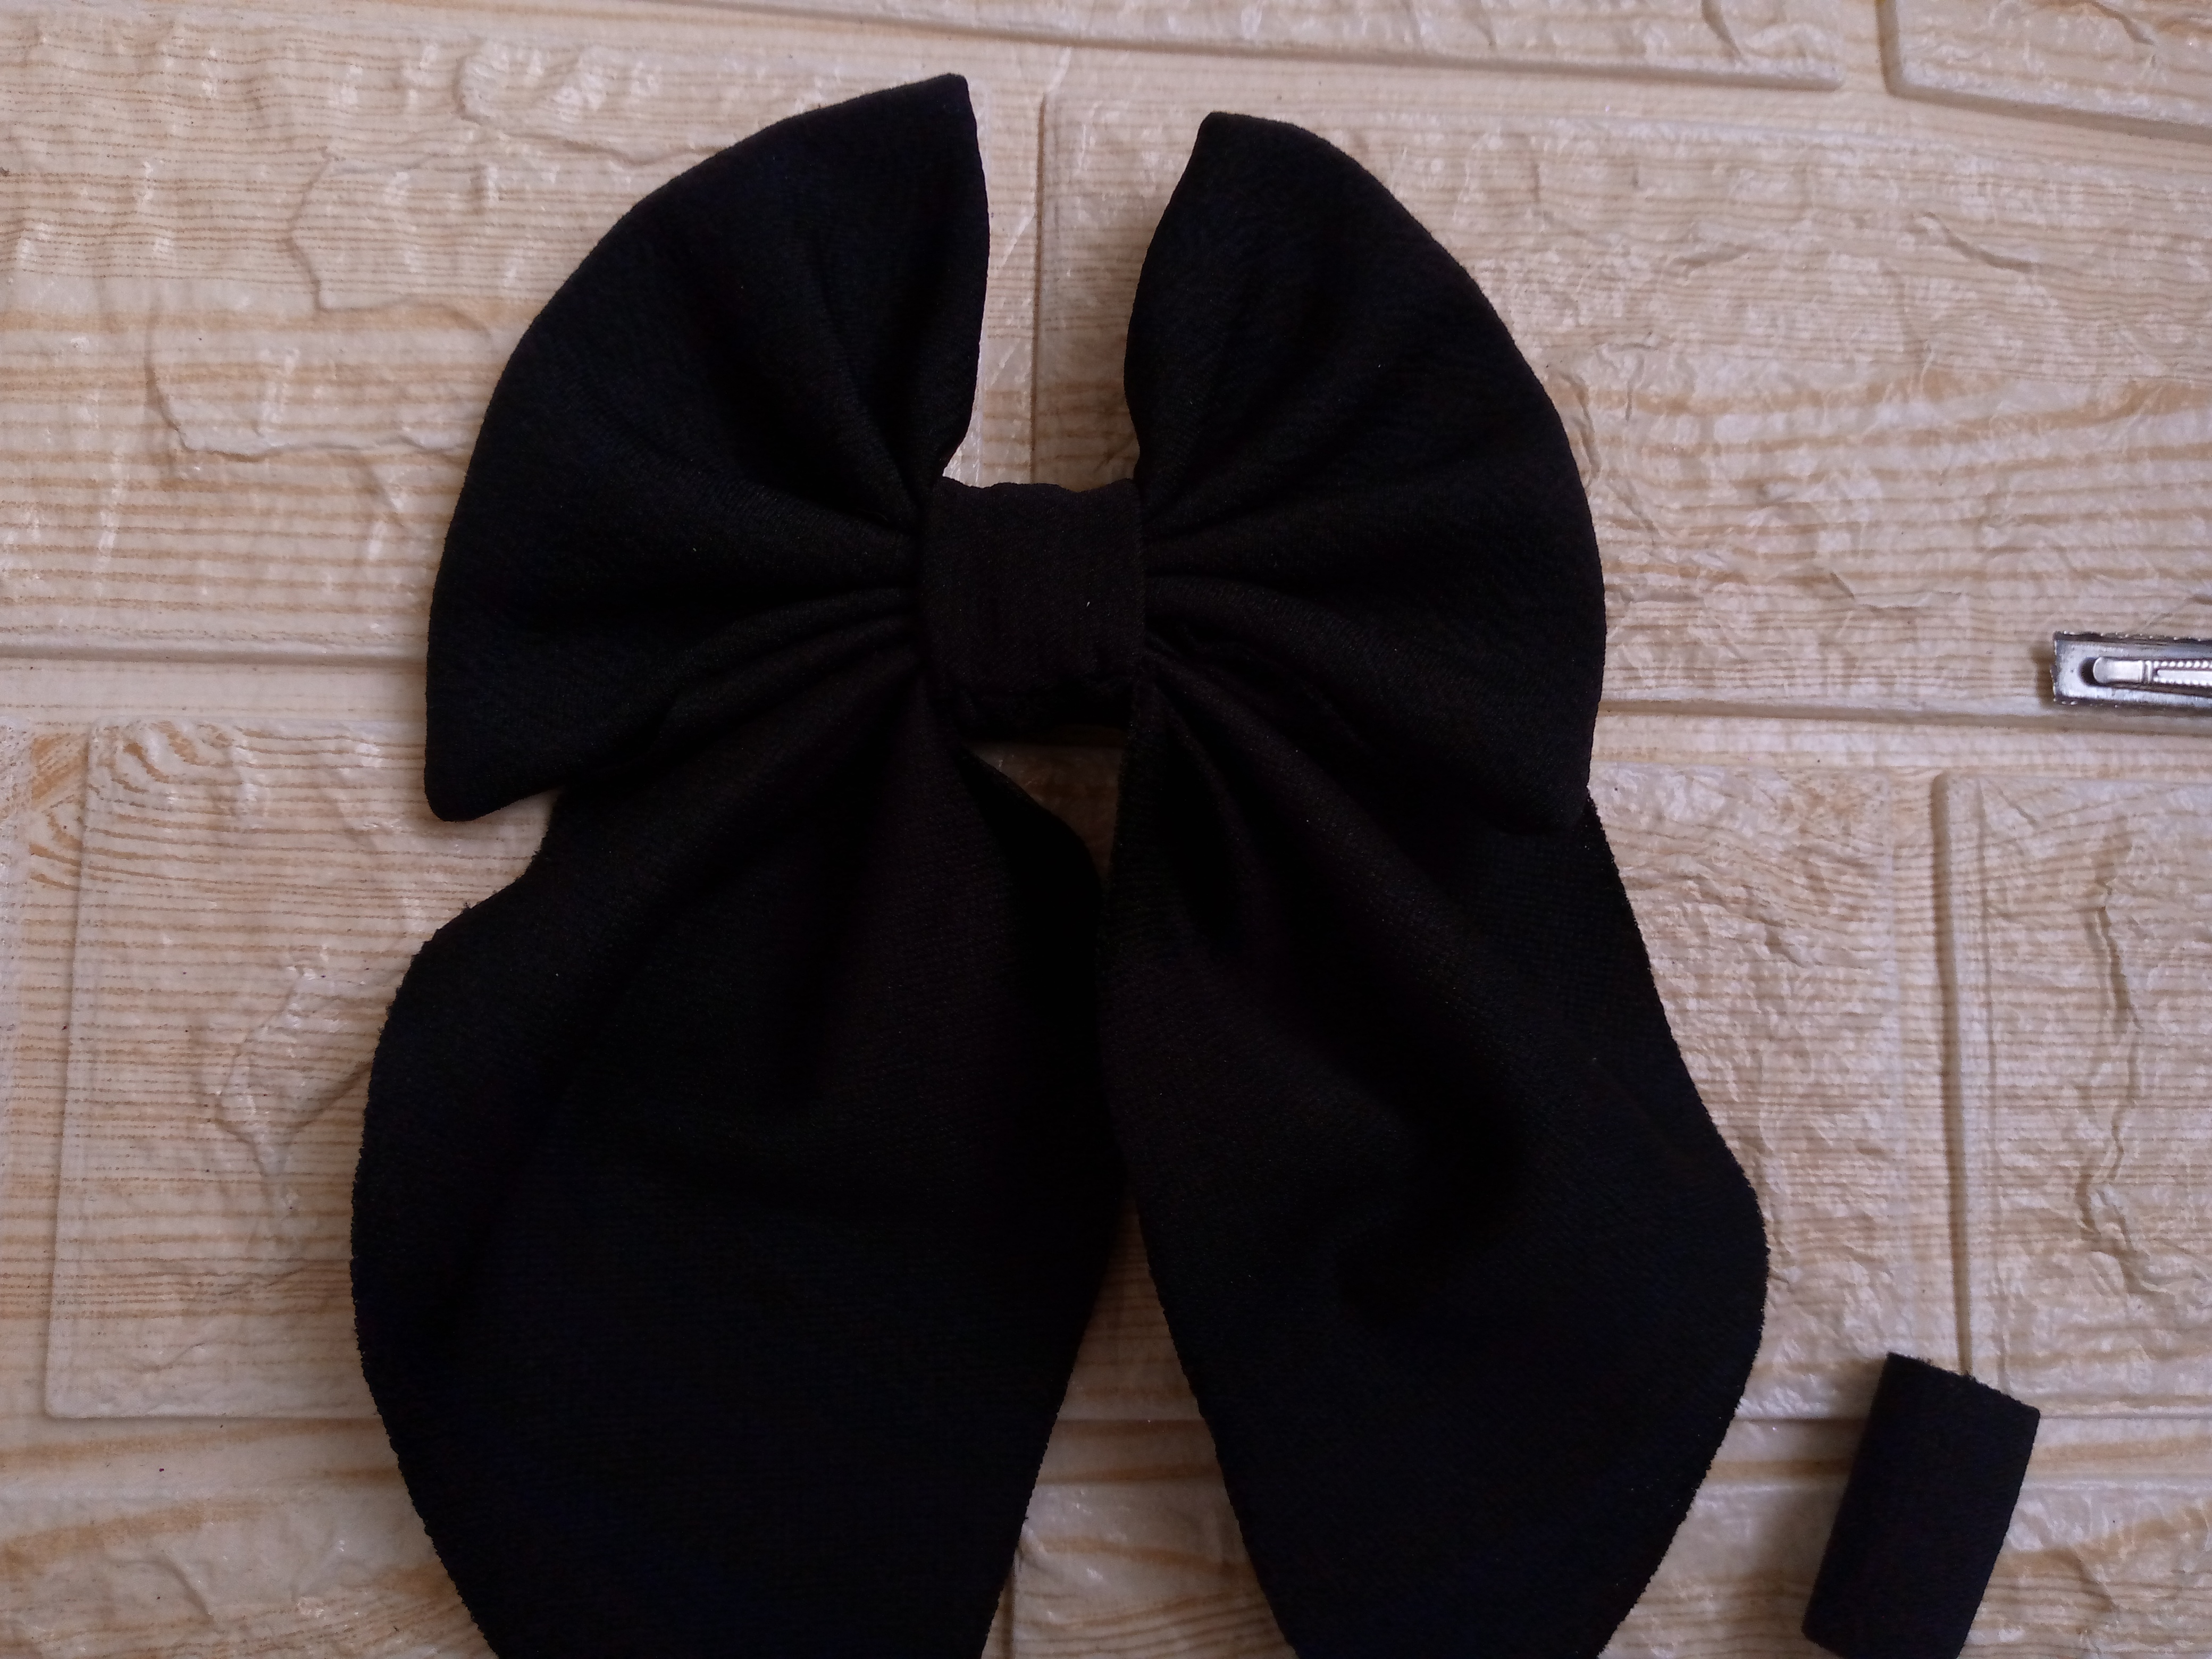
Vamos a estar pasando a coser el triángulo de la misma forma como cosimos el lazo,para ello voy a estar marcando en este caso la mitad del mismo con un pequeño corte que me indica a mi que por allí voy a estar frunciendo la pieza entonces lo que haré será hacer pequeños tablones como hice con el cuadro y pasar la aguja y el hilo por supuesto por todo el medio de esta forma también armamos la pieza que va bajo el cuadro asi nuestro lazo queda completo aquí he unido ambas piezas al final y ya esta agarrando forma de moño.

Step 04

We are going to sew the triangle in the same way as we sewed the bow, for this I am going to be marking in this case the middle of it with a small cut that indicates to me that there I am going to be gathering the piece, so what I will do is make small planks like I did with the square and pass the needle and thread of course through the entire middle, in this way we also put together the piece that goes under the square so our bow is complete here I have joined both pieces at the end and it is already taking the shape of a bow.
IMG_20241117_131039_905.jpg

IMG_20241117_131242_567.jpg

IMG_20241117_131309_566.jpg

IMG_20241117_131543_411.jpg

Paso 05

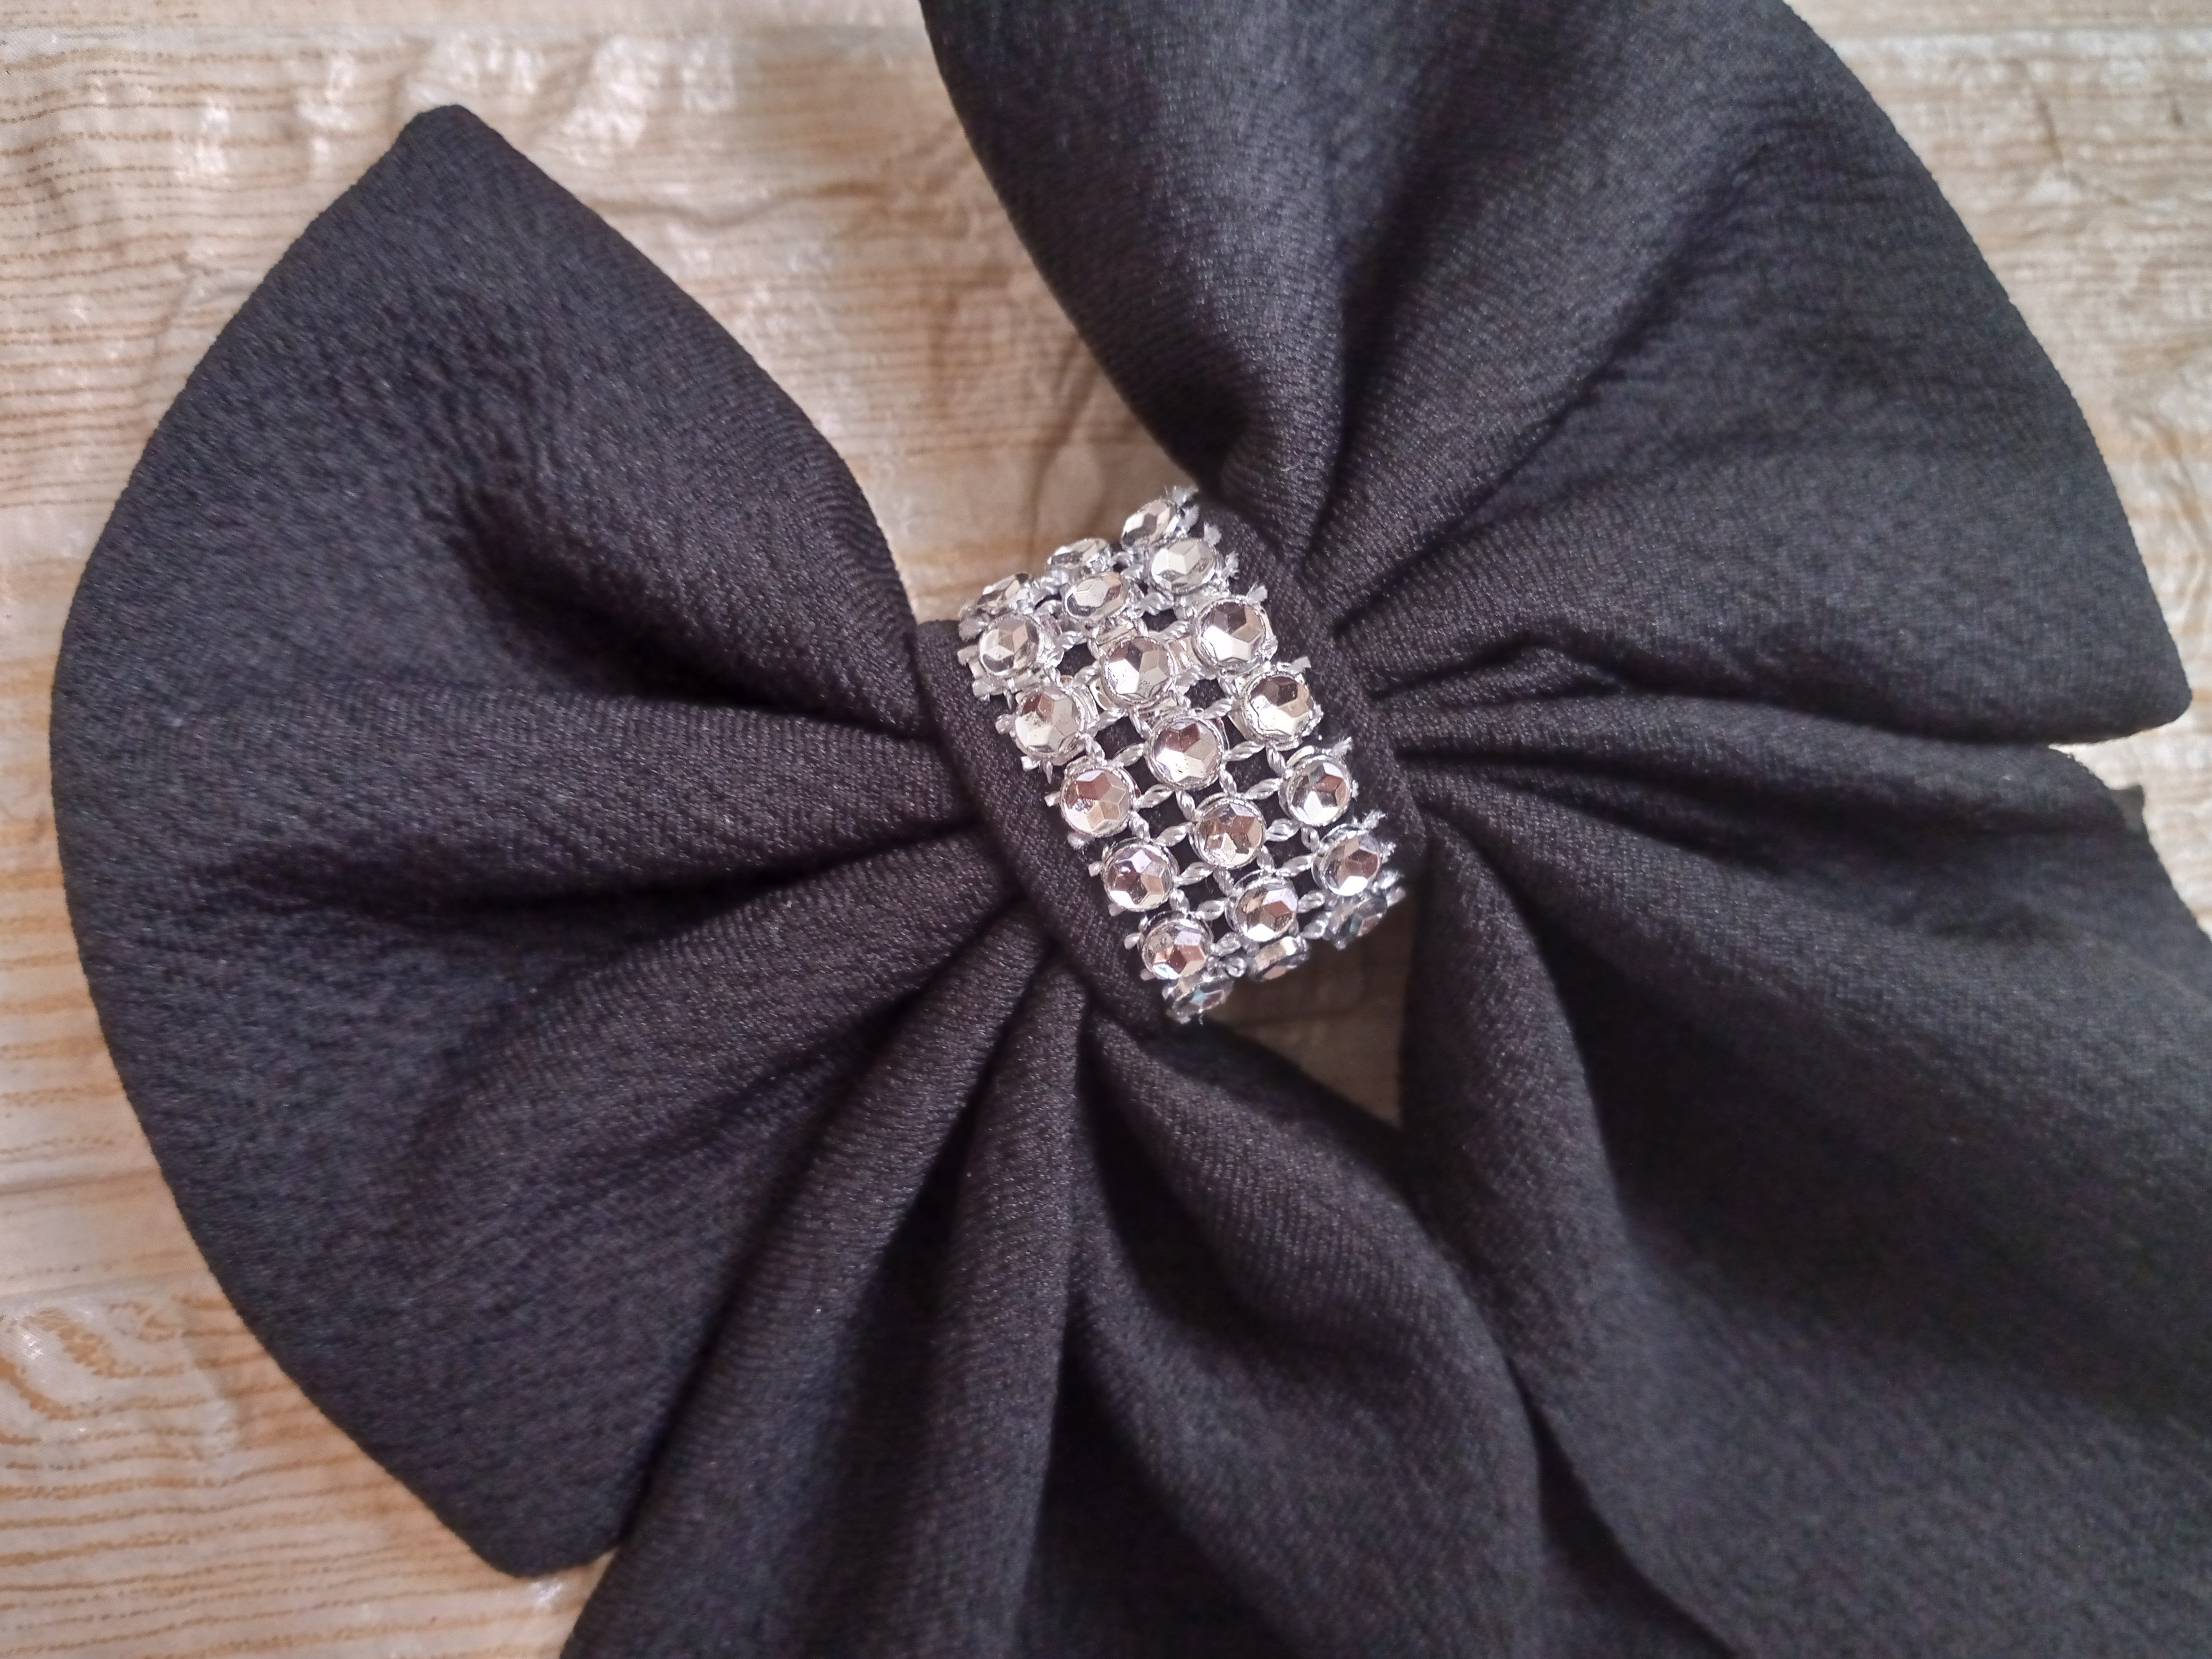
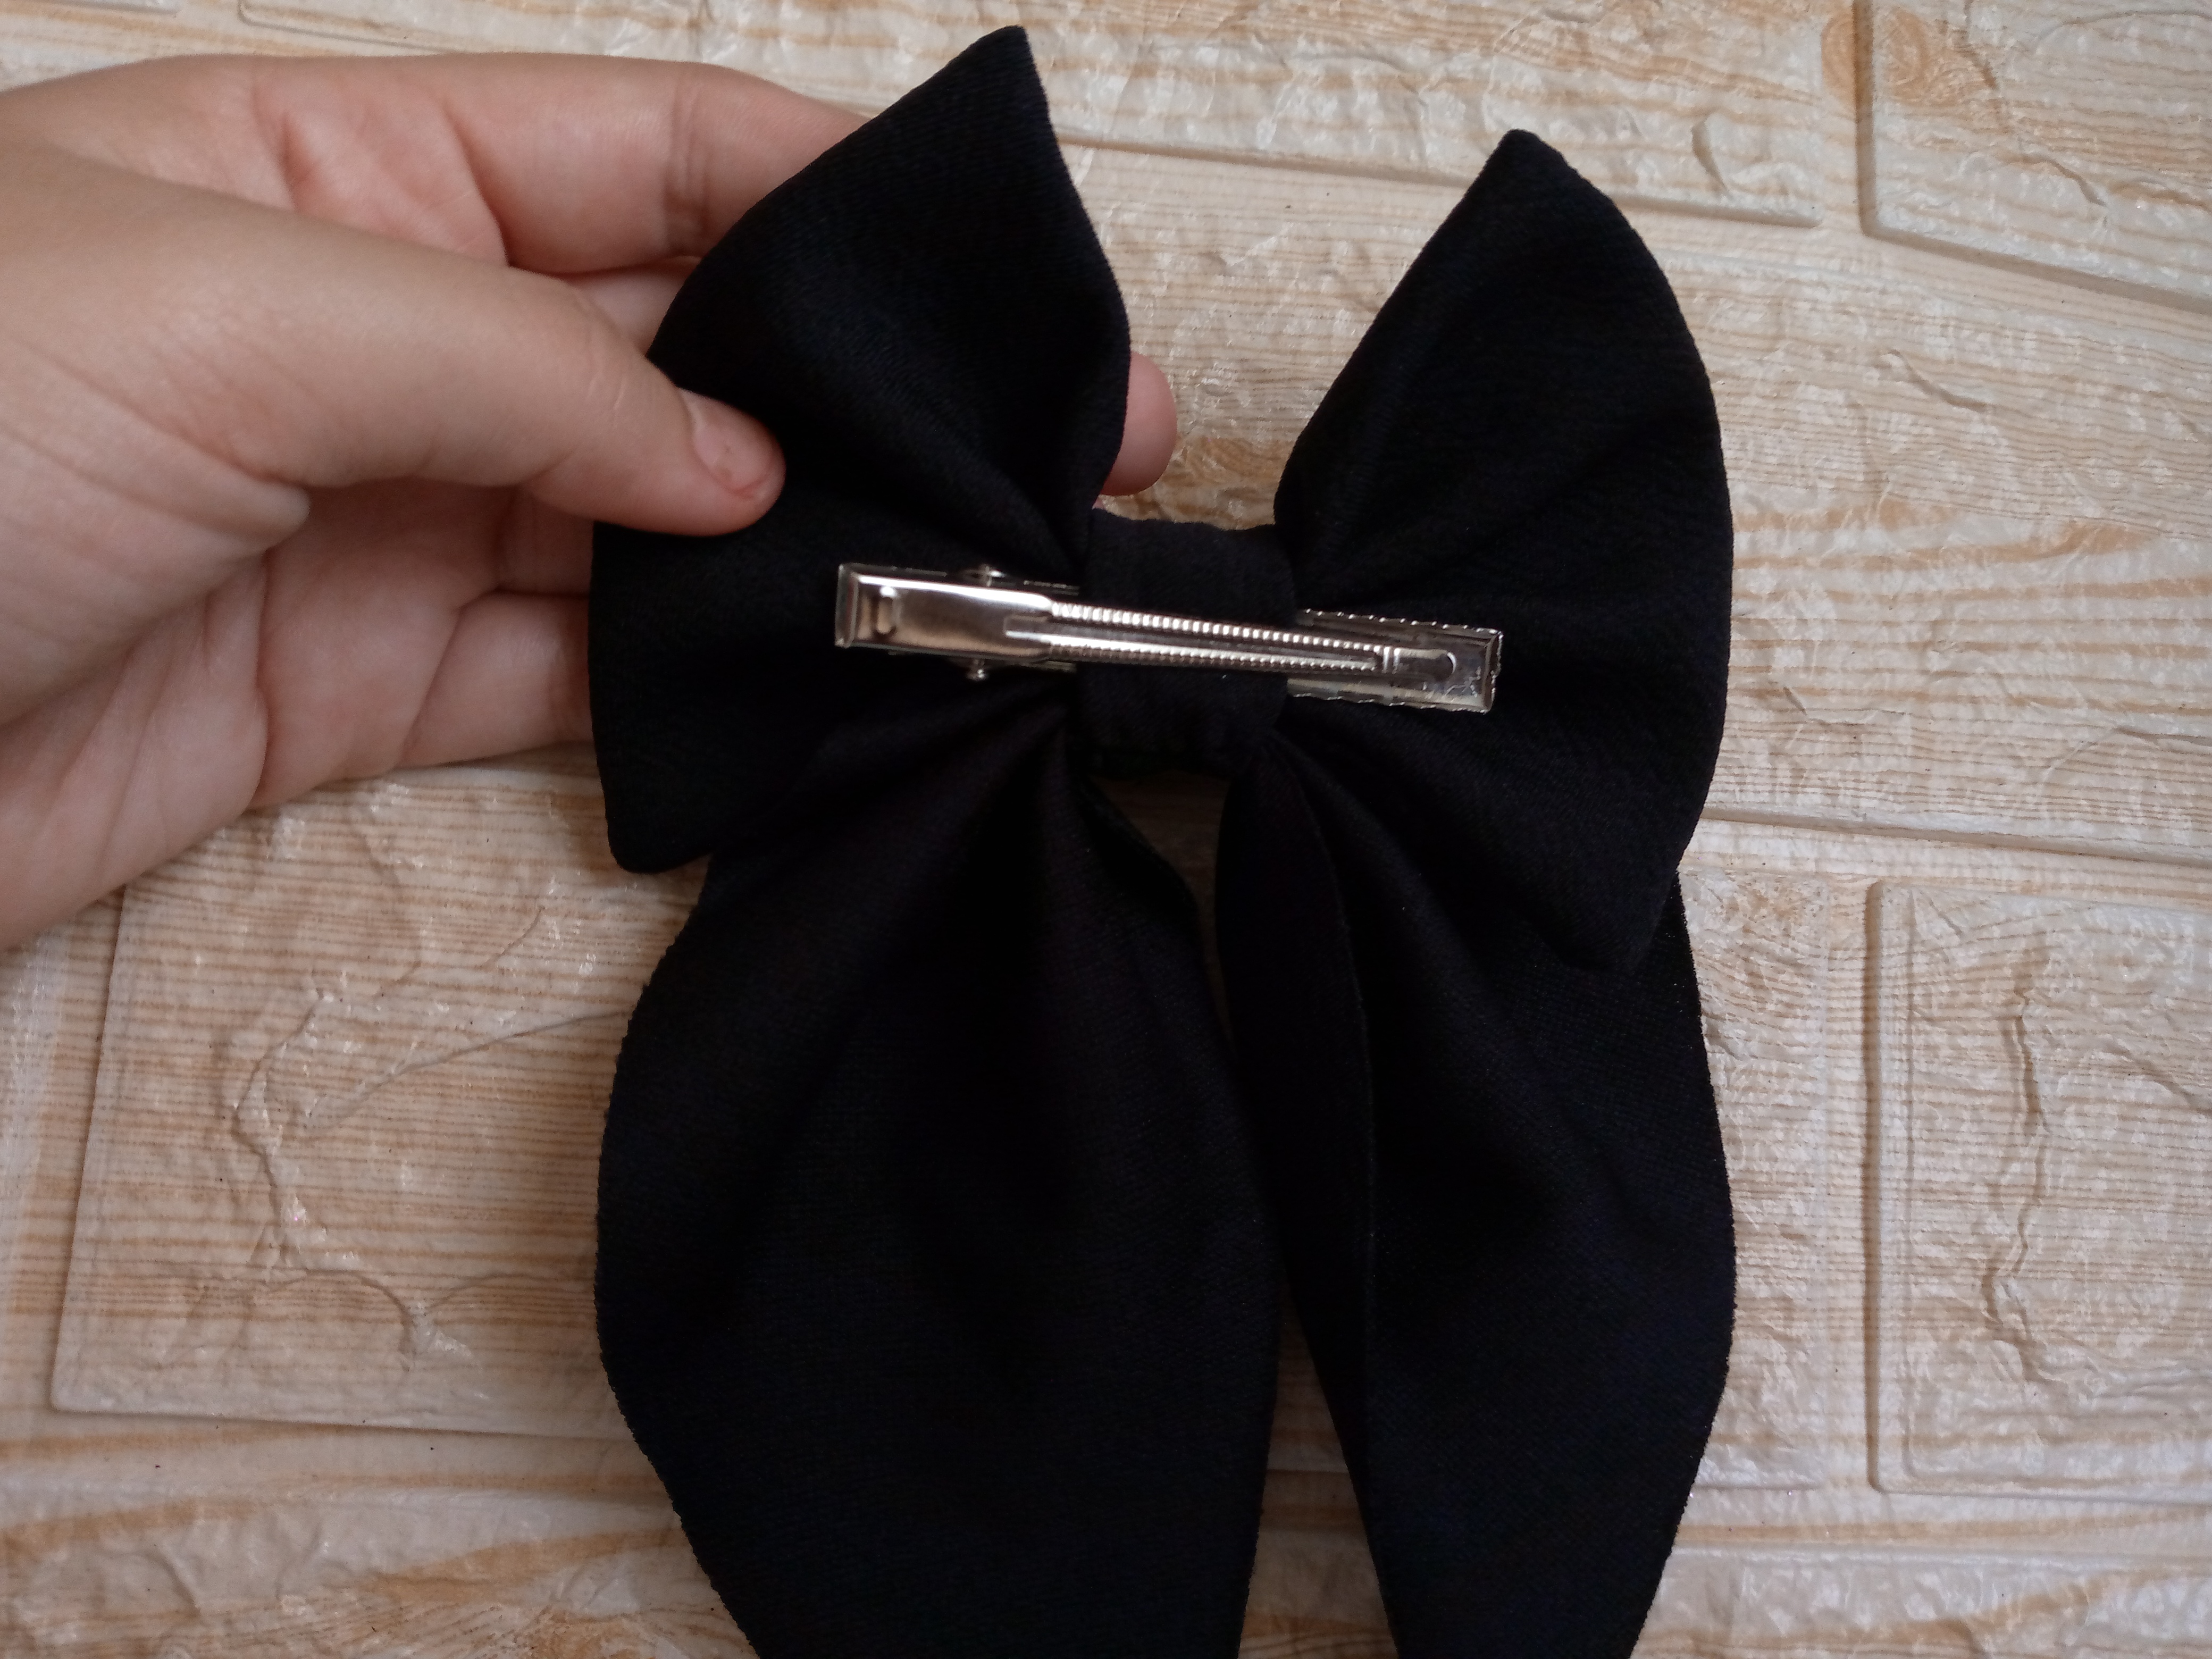
Finalizamos uniendo ambas partes de mi moño con nuestra pieza del rectangulo y cosemos por la parte de atrás con costura invisible damos vuelta y volvemos a coser el otro extremo que nos quedó,si nos sobra podemos fácilmente cortarlo antes de coserlo ,esto con el fin de que nos quede un orificio para insertar el gancho qu le pondremos en mi caso lo he hecho asi ya que me gusta cambiar de pinzas unas pequeñas y grandes como estas por eso lo decidí hacerlo asi,ya para terminar de decorarlo he usado un trozo de cinta de plástico plateada y lo cosí por los bordes sujetando bien de manera que no se nos vaya a salir o descoser.

Step 05

We finish by joining both parts of my bow with our rectangle piece and sew along the back with an invisible seam, turn it over and sew the other end that we have left over, if we have any left over we can easily cut it before sewing it, this in order to have a hole to insert the hook that we will put in it, in my case I did it like this because I like to change from small and large clips like these, that's why I decided to do it like this, to finish decorating it I used a piece of silver plastic ribbon and sewed it along the edges holding it well so that it doesn't come out or come undone.


Picsart_24-11-11_14-38-52-418 (1).jpg

Resultado //Result:

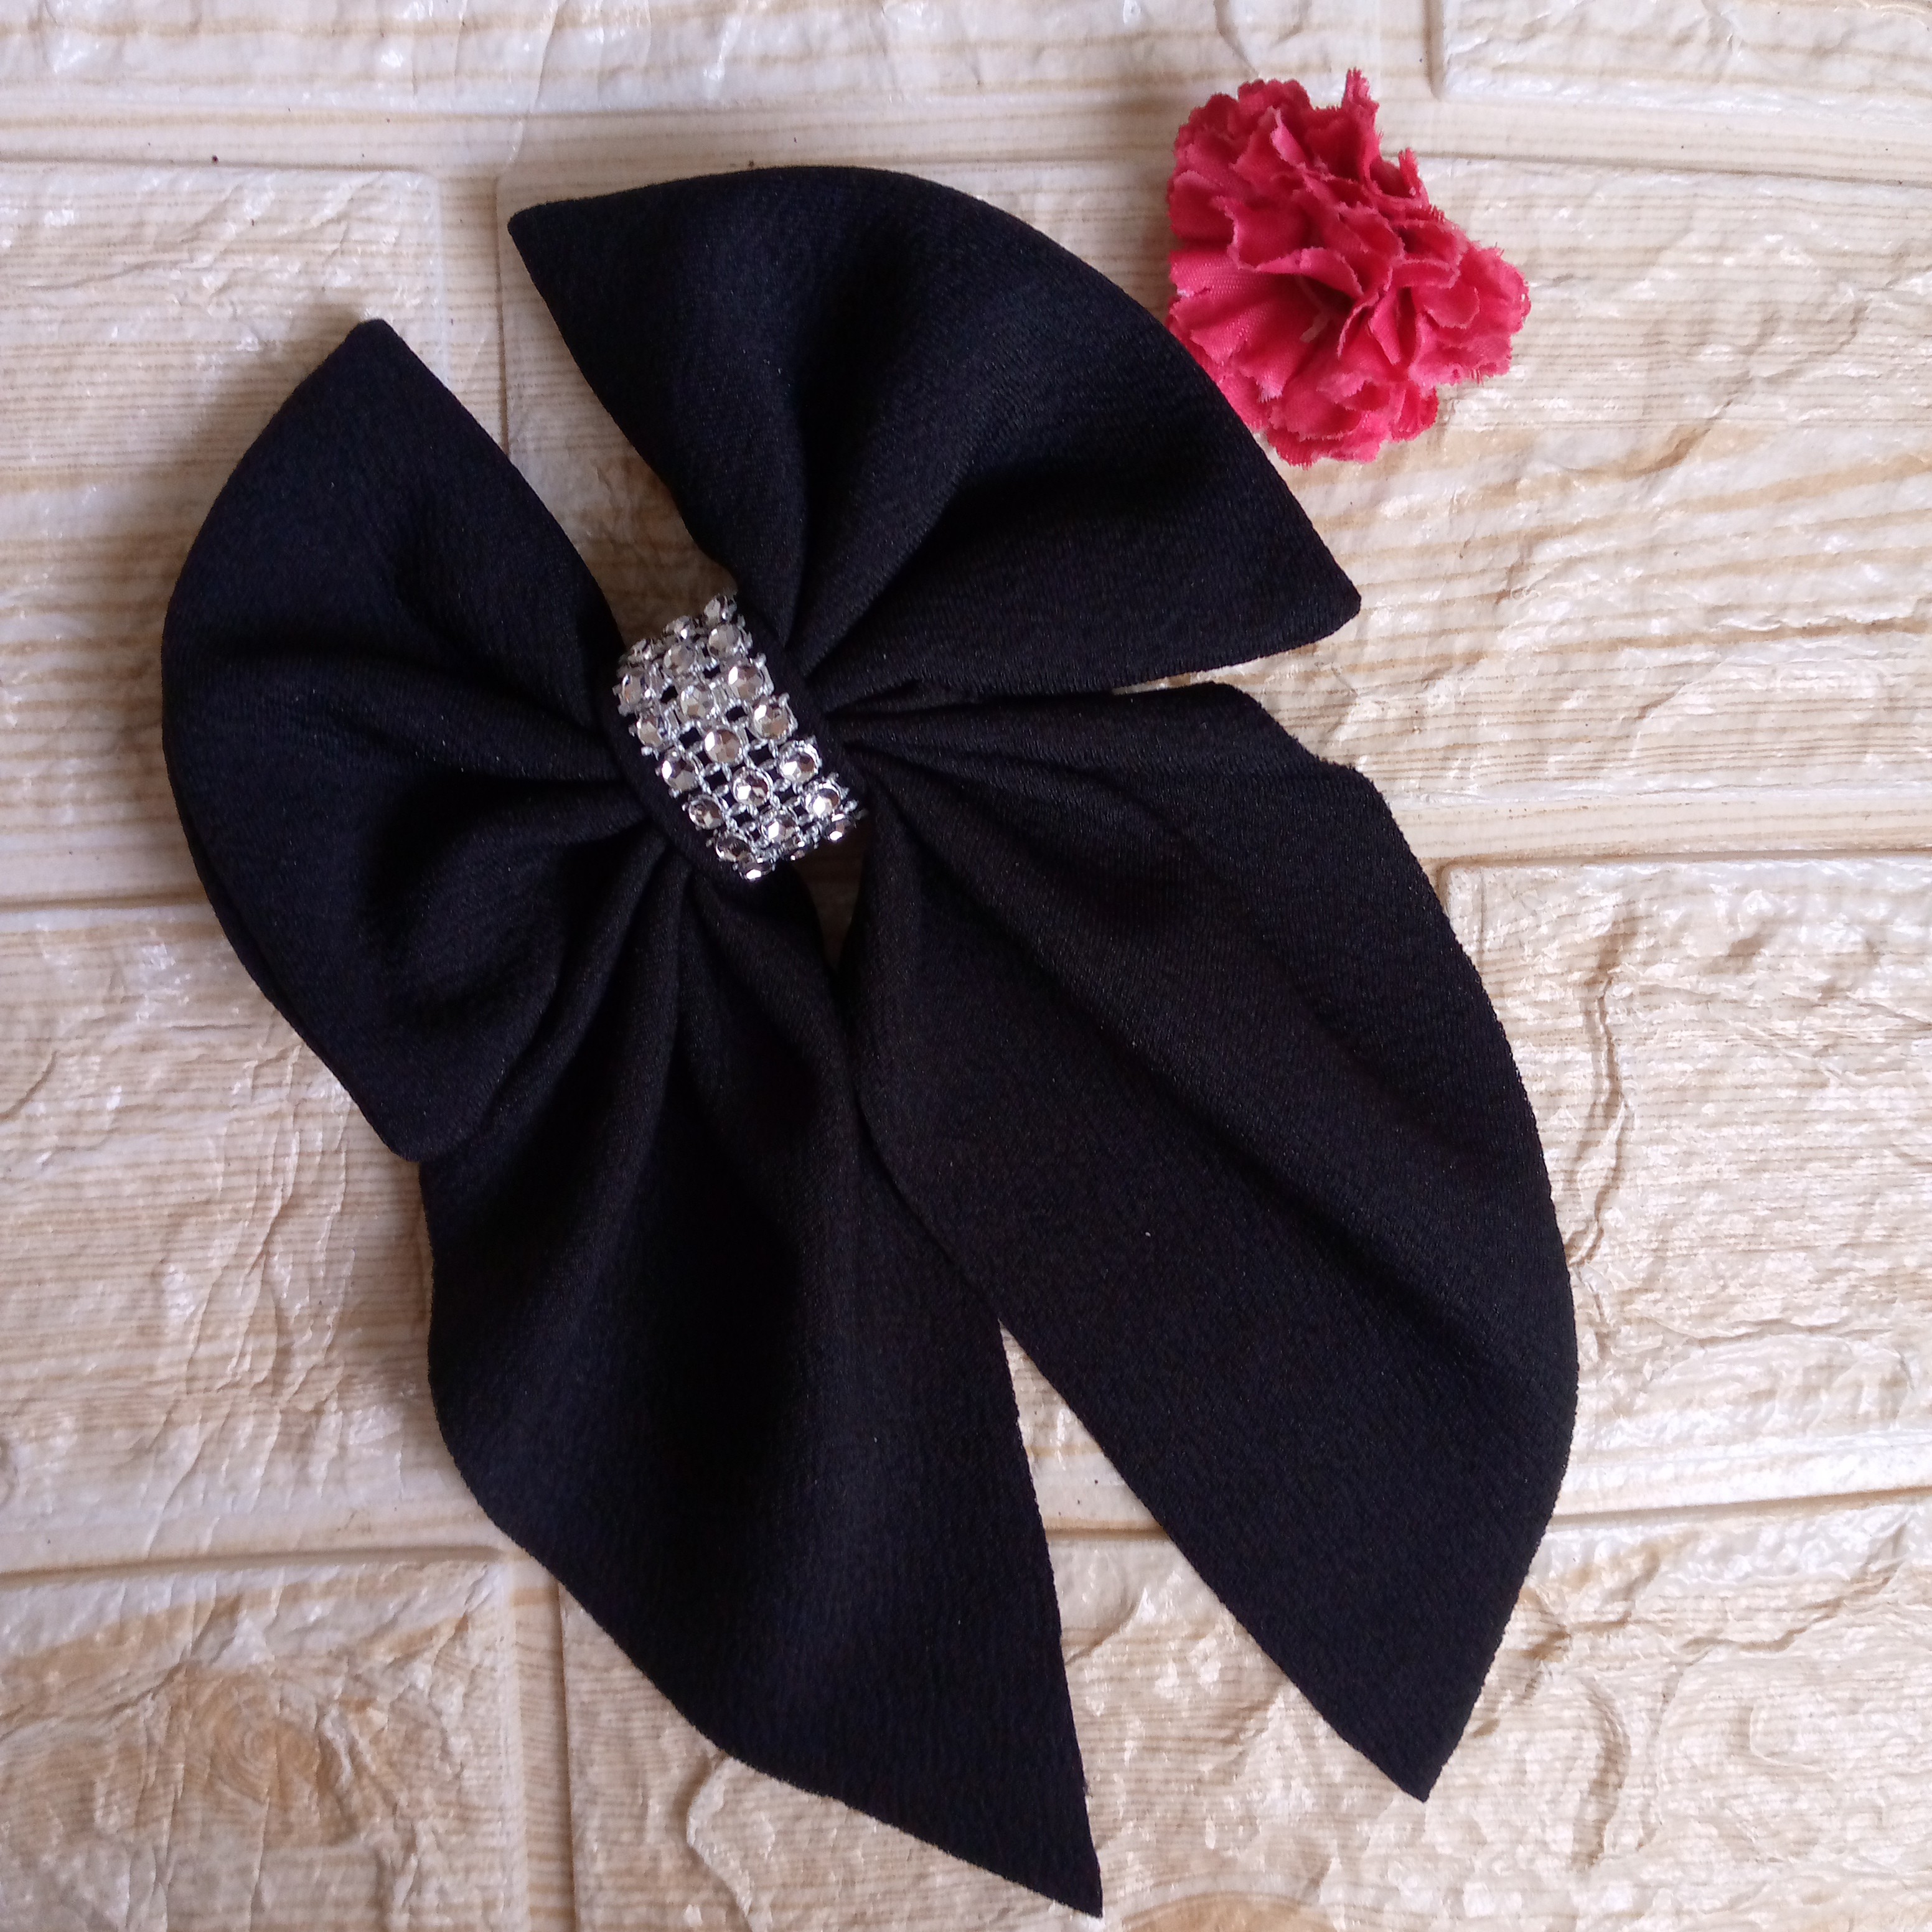
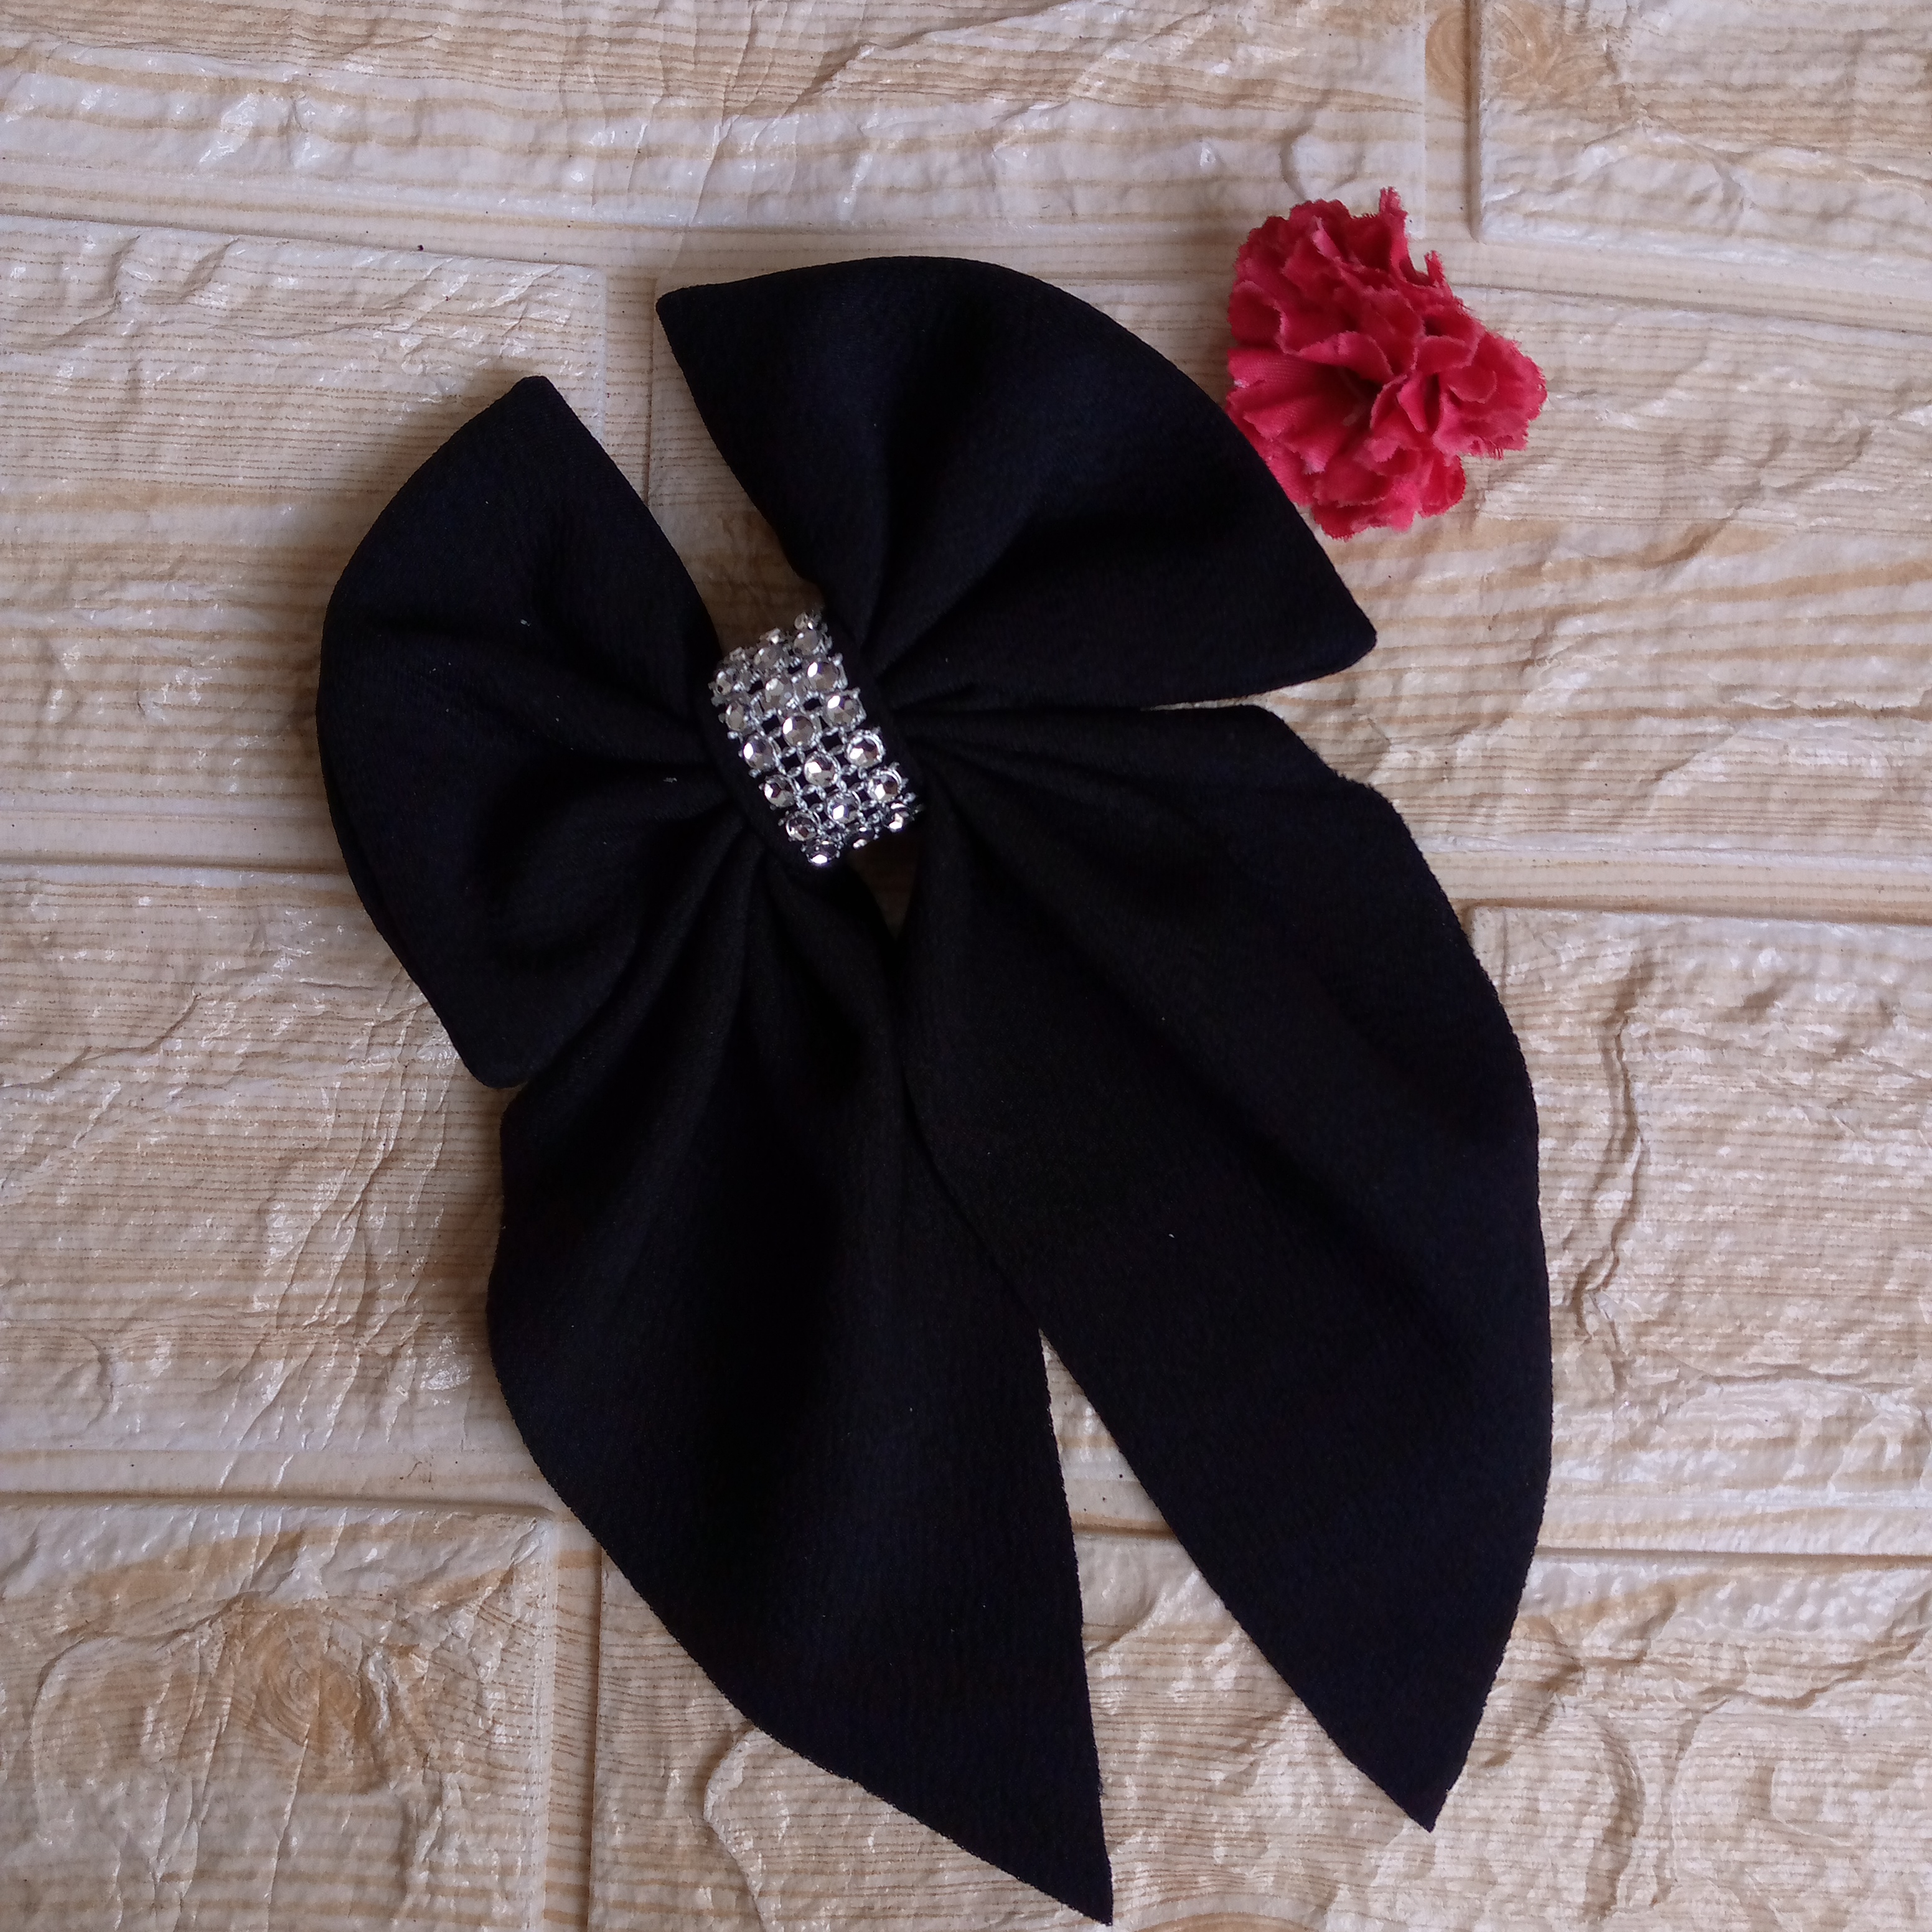
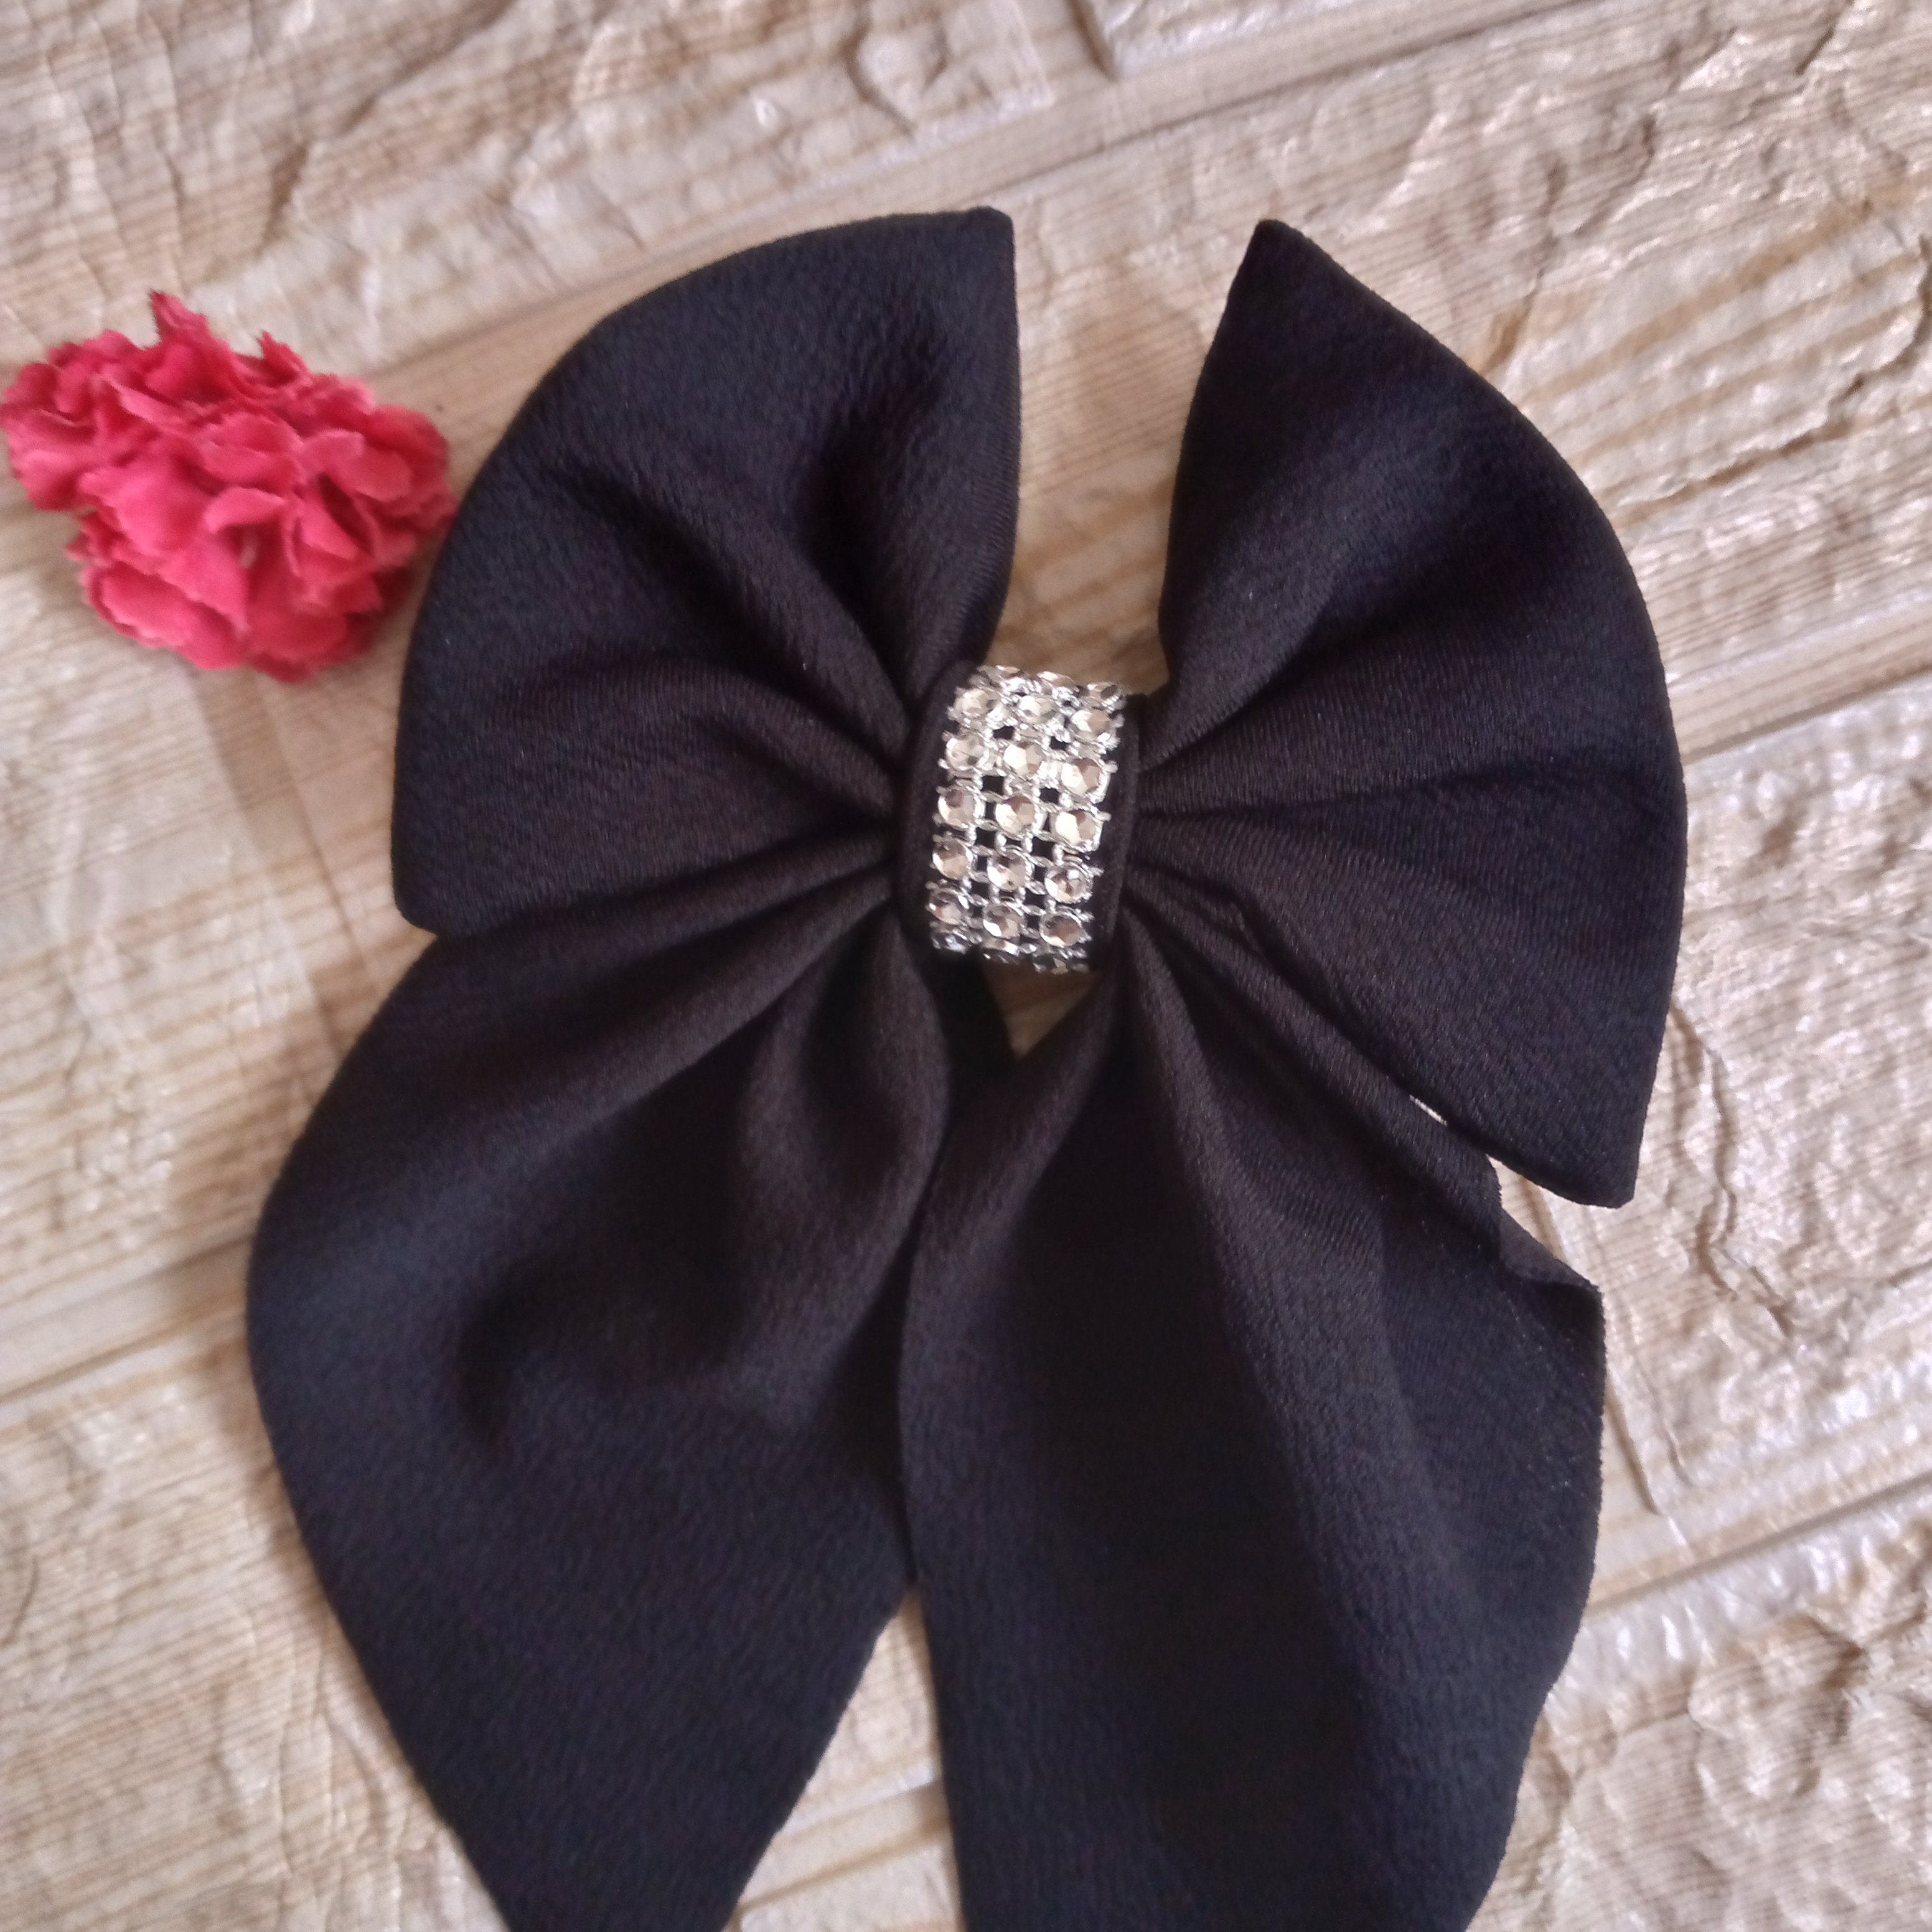
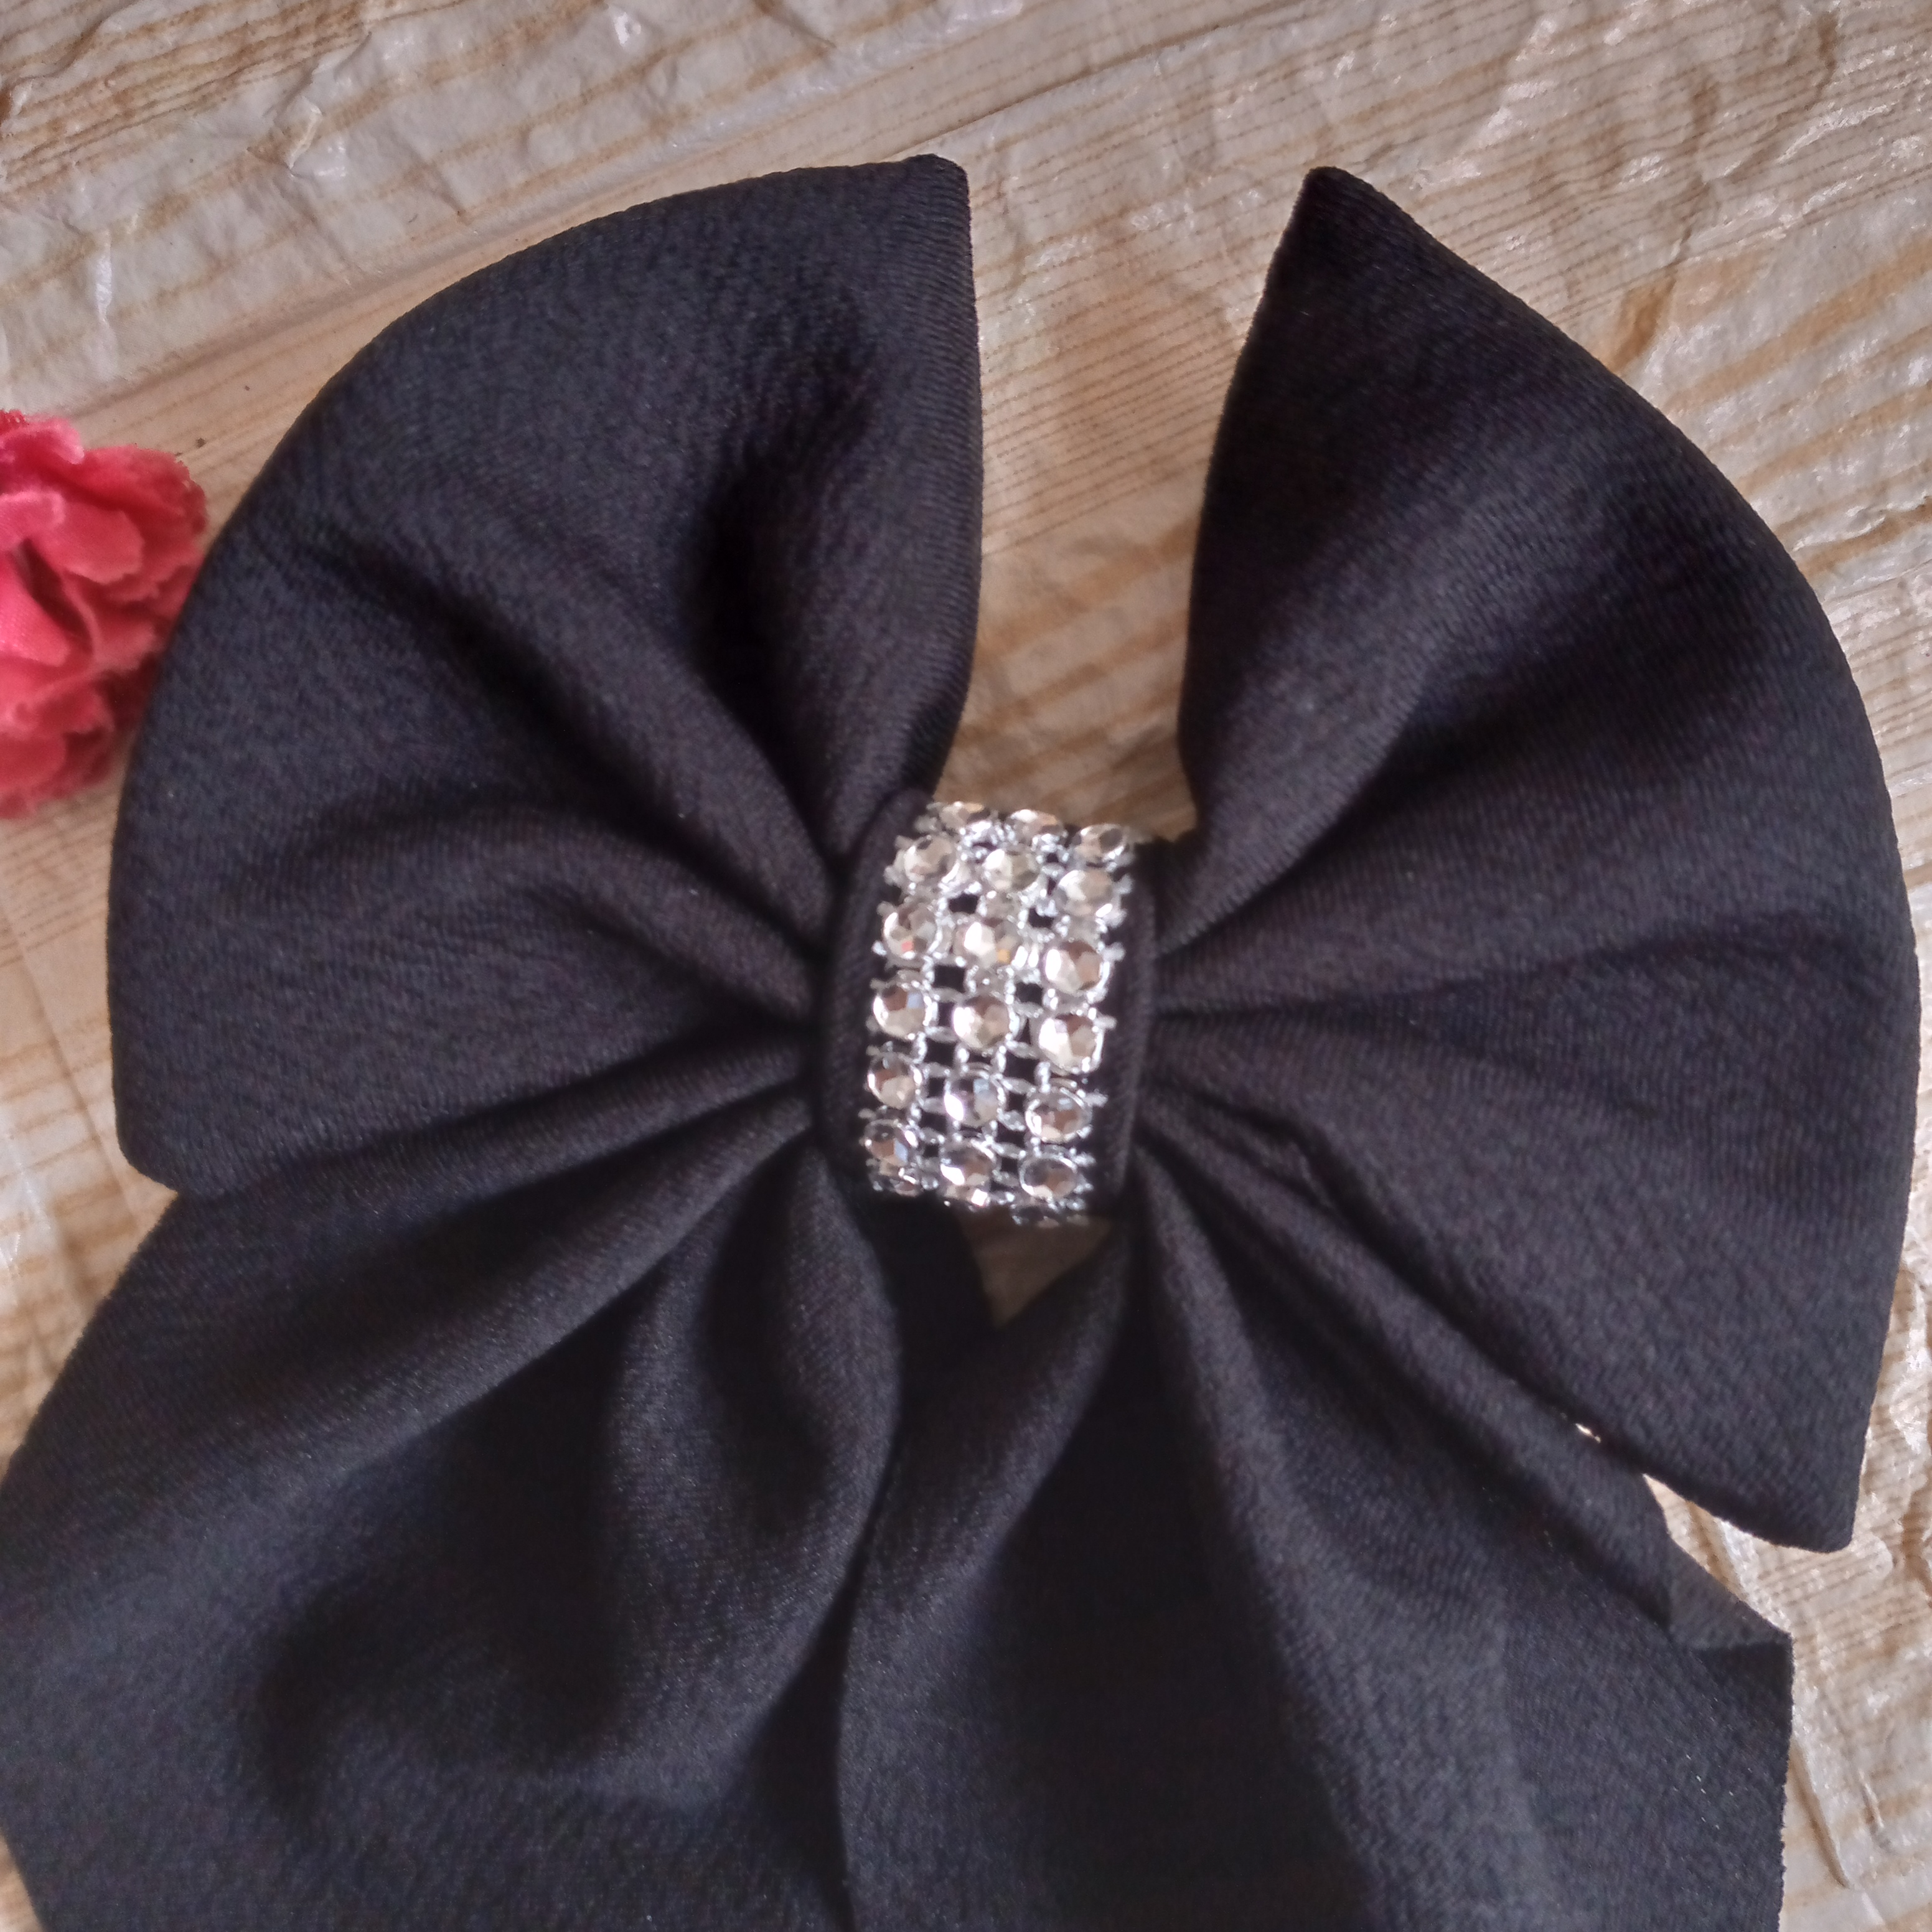
Estos son los resultados finales me está gustando mucho el tamaño de este lacito porque no es tan grande y con el cabello semi recogido podemos usarlo con mucha más facilidad en nuestro cabello ,si te ha gustado me alegraría saberlo aquí en los comentarios y comenta que tal te ha parecido,estos lazos son especiales para las niñas por su modelo tan coqueto ,si tienes una nena puedes intentar reciclar tus retazos de tela y fabricar un lindo lazo coquette amigos nos leemos en otro blog ,te doy gracias por visitar mi contenido,saludos y Dios les bendiga ,hasta pronto.

These are the final results. I really like the size of this bow because it is not that big and with our hair half up we can use it much more easily in our hair. If you liked it I would be happy to know about it here in the comments and tell me what you think. These bows are special for girls because of their flirtatious model. If you have a girl you can try to recycle your fabric scraps and make a nice flirtatious bow. Friends, I'll read you on another blog. Thank you for visiting my content. Greetings and God bless you. See you soon.
IMG_20241117_131647_495.jpg

IMG_20241117_131649_290.jpg

IMG_20241117_131851_702.jpg

IMG_20241117_131931_001.jpg

Picsart_24-11-11_14-38-52-418 (1).jpg

Creando las cosas con amor 🌷❤️

🦋✨Todas las imágenes de esta publicación son de mi autoria ,📱tomadas con mi celular TecnoSpark8C |📸Fotos editadas en PicsArt y Canva. Texto traducido en el traductor de Google.

Sígueme para más contenido 📌

Creating things with love 🌷❤️

🦋✨ All the images in this publication are my author ,📱taken with my TecnoSpark8C cell phone |📸Photos edited in PicsArt and Canva. Text translated in Google Translate.

Follow me for more content 📌

Gracias por visitar mi blog_20241117_145338_0000.png


Sort:  

Quedó lindo, lo bueno es que puedes reutilizar los retazos de tela y realizar estos bellos lazos 🎀

Gracias amiga 🥰

¡Felicitaciones!


Estás participando para optar a la mención especial de nuestra COMUNIDAD (Recompensa de 1 Hive), también has recibido 1 ENTROKEN.

1. Invierte en el PROYECTO ENTROPÍA y recibe ganancias semanalmente. Entra aquí para más información.

2. Contáctanos en Discord: https://discord.gg/hkCjFeb

3. Suscríbete a nuestra COMUNIDAD, apoya al trail de @Entropia y así podrás ganar recompensas de curación de forma automática. Entra aquí para más información sobre nuestro trail.

4. Creación de cuentas nuevas de Hive aquí.

5. Visita nuestro canal de Youtube.

Atentamente

El equipo de curación del PROYECTO ENTROPÍA