
| A special handmade card. | Una tarjeta especial artesanal. |
|---|---|
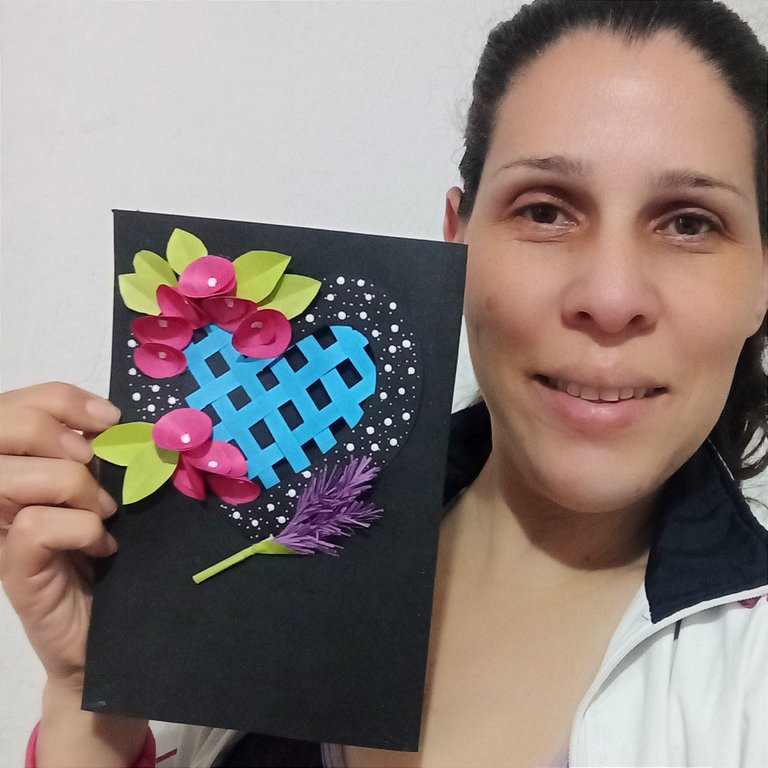
I have long wanted to make one of those beautiful cards that we have seen circulating through the various social networks. They are handmade creations where creativity has no limits, so I feel like a fish in water. It should be noted dear friends that these handmade works are really economical and worth doing since they can be personalized and are much more appreciated. The materials are as follows: | Hacia tiempo que deseaba hacer una de esas tarjetas hermosas que hemos visto circular por las distintas redes sociales. Son creación artesanales dónde la creatividad no tiene límites, así que me siento como pez en el agua. Cabe señalar queridos amigos que estos trabajos manuales son realmente económicos y vale la pena realizarlos ya que se pueden personalizar y son mucho más apreciadas. Los materiales son los siguientes: |
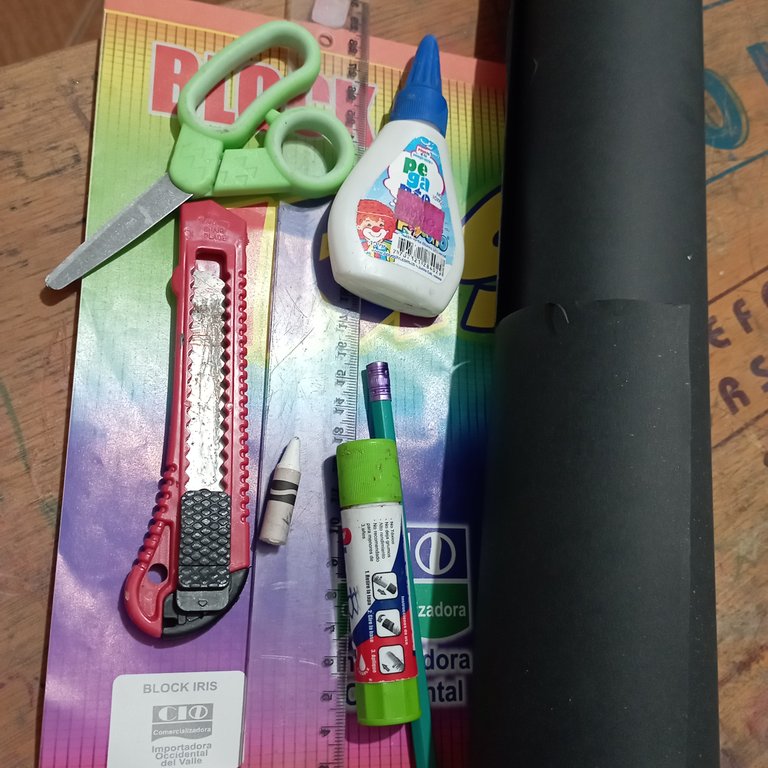
Materials:
Preferably colored paper.
1 black cardboard (the color of your choice).
Glue stick.
Liquid glue.
White cold paint.
Scissors.
Millimeter ruler.
Cutter.
Materiales:
Papel de colores de preferencia.
1 cartulina negra (el color a elegir).
Pegamento en barra.
Pegamento líquido.
Pintura al frío blanca.
Tijeras.
Regla milimetrada.
Cúter.
| First step | Primer Paso |
|---|---|
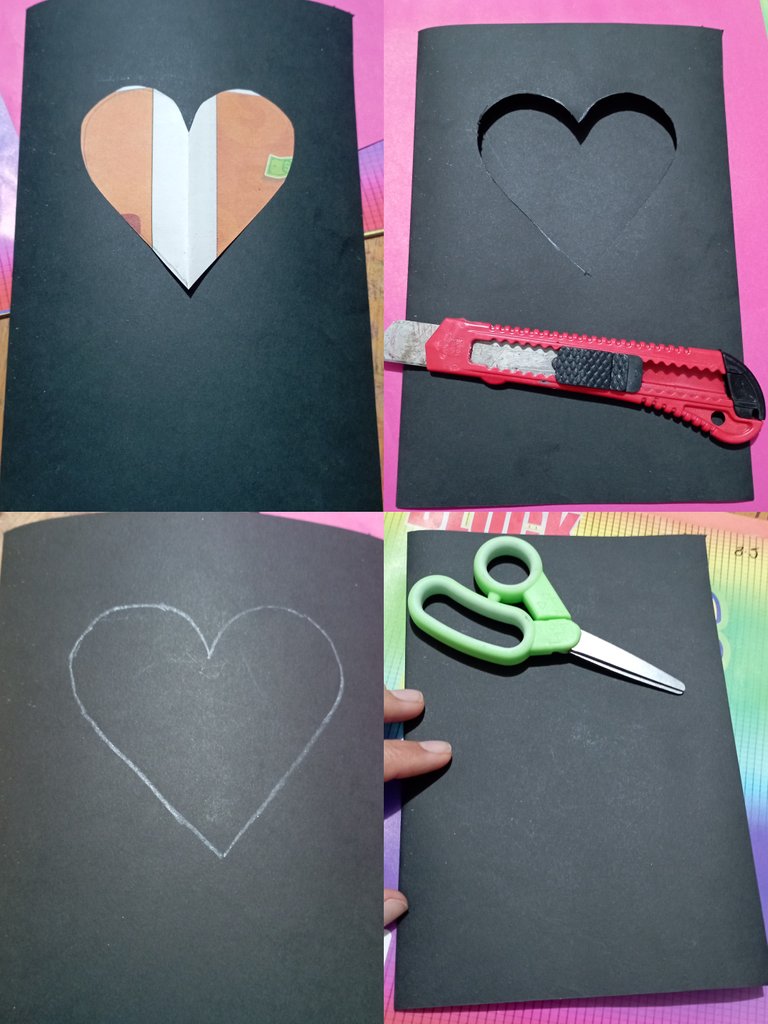
The first thing we are going to do is to define the size of our card. To do this measure the cardboard of the desired size multiplied by 2 and it will be folded in half for both sides. I measured 22 centimeters high by 30 centimeters wide so that the card is 22 centimeters high by 15 centimeters high. | Lo primero que vamos a hacer es definir el tamaño de nuestra tarjeta. Para ello medir la cartulina del tamaño deseado multiplicado por 2 ya será doblada a la mitad para ambas caras. Yo medí 22 centímetros de alto por 30 de ancho para que la tarjeta me quede de 22 centímetros de alto por 15 centímetros de alto. |


| Second Step | Segundo Paso |
|---|---|
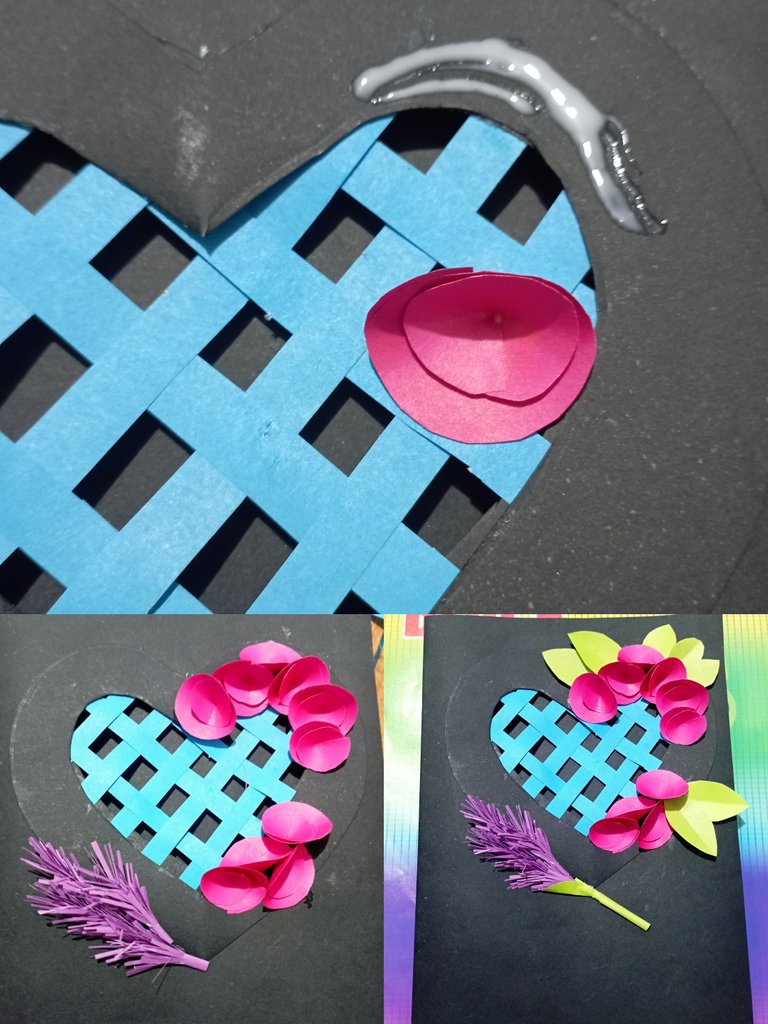
With a piece of scrap paper cut out a heart almost the size of the center of the card. After that use the heart as a pattern and transfer it to the card with a wax pencil. We take the cutter and cut out the heart. Then we cut several strips of blue paper and make an interweave on the inside of the card. We cut a heart two hearts a little larger than the opening and glue it to cover the edges of the blue paper interweave. We do the same on the outside. | Con un papel de reuso cortar un corazón casi del tamaño del centro de la tarjeta. Después de eso usar el corazón como patrón y transferirlo a la tarjeta con un lápiz de cera. Tomamos el cúter y cortamos en corazón. Luego cortamos varias tiras de papel azul y hacemos un entre tejido en la parte interna de la tarjeta. Cortamos un corazón dos corazones un poco más grande que el de la abertura y lo pegamos para cubrir los bordes del entre tejido de papel azul. Hacemos lo mismo en la parte de afuera. |

| Step Three | Tercer Paso |
|---|---|
To make the fuchsia flowers we cut several strips of paper. Some are 5 centimeters wide and some are 3 centimeters wide. Fold the strips over each other forming a square and with the help of a small cap or coin draw a circle in the center. Cut out the circles that will be of two sizes since we have strips of paper of two sizes. Make a cut in the radius of the circles and superimpose them by applying glue stick. It will be a kind of small cone. Place a small cone inside the big cone with school glue. | Para hacer las flores de color fucsia cortamos varias tiras de papel. Unas de 5 centímetros de ancho y unas de 3 centímetros. Doblar las tiras sobre si mismas formando un cuadrado y con la ayuda de una tapa pequeña o moneda dibujar un círculo en el centro. Recortar los círculos que nos quedarán de dos tamaños ya que tenemos tiras de papel de dos tamaños. Hacer un corte en el radio de los círculo y superponerlos aplicando pegamento en barra. Quedará una especie de pequeño cono. Colocar un cono pequeño dentro del cono grande con pegamento escolar. |

| Step Fourth | Cuarto Paso |
|---|---|
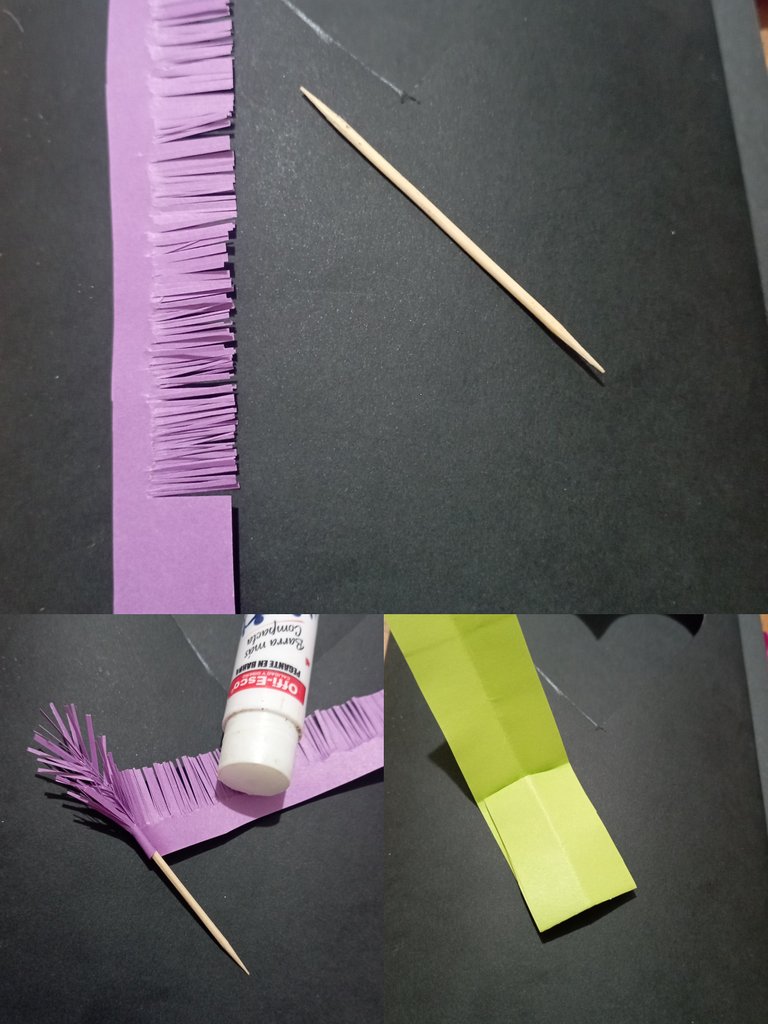
Repeat the procedure with green paper but this time instead of circles we cut ovals and we will have small leaves. To make the purple spikes we cut strips of purple paper and then we make bangs of one length along the entire length of the strip. We roll it diagonally on a toothpick and seal at the end with glue stick so that it does not fall apart. | Repetir el procedimiento con papel verde pero está.vez en lugar de círculos cortamos óvalos y tendremos pequeñas hojas. Para hacer las espigas moradas cortamos tiras de papel morado y luego hacemos flecos de un largo a todo lo largo de la tira. La enrollamos en diagonal sobre un palillo y sellamos al final con pegamento en barra para que no se desarme. |
| Step Five | Quinto Paso |
|---|---|
We place the flowers according to the location we want and the leaves. With white cold paint we make dots of different sizes on the heart of the outside and make white dots in the center of each fuchsia flower. . | Colocamos las flores según la ubicación que deseemos y las hojas. Con pintura al frío blanca hacemos puntos de diferentes tamaños sobre el corazón del exterior y hacemos puntos blancos en el centro de cada flor fucsia. |

And so we have a beautiful card to give as a gift that we can customize and also place a beautiful dedication. I say goodbye until next time friends thanking you for your attention and for visiting my blog. | Y así tememos una hermosa tarjeta para regalar que podemos personalizar y colocar además una hermosa dedicatoria. Yo me despido hasta la próxima amigos agradeciendo su atención y la visita a mi blog. |


Imágenes editadas en: itshot
Fotos tomadas con mi teléfono redmi 10
Images edited in: itshot
Photos taken with my redmi 10 phone.

Te quedo muy hermosa la tarjeta @artsugar. Muy delicada, y los colores que escogiste resaltan muchísimo sobre el color negro. Excelente trabajo.
Saludos.✨
Hola...muchas gracias. Hace tiempo que quería hacer una tarjeta así. Finalmente me puse manos a la obra y quedé bastante satisfecha con el resultado. Es un proceso sencillo y bonito.
Agradezco mucho el comentario.
Feliz día.
🎆🎇🎉🎊🌧️💐✨🌾🌱🌹🌙🌿🍃🥀⚡🌺☘️🍀🌈🌷⭐🪴🌵🌸🌟💮🌴🌳💫☀️💮☔🌲🌳🌍🌌🌠☄️🏵️🐝🌻🌼🍄🐞🦋💙☕💜🍍🎆🎇🎉🎊
Me encantó tu tecnica... está muy linda la tarjeta. Gracias por compartir
🎆🎇🎉🎊🌧️💐✨🌾🌱🌹🌙🌿🍃🥀⚡🌺☘️🍀🌈🌷⭐🪴🌵🌸🌟💮🌴🌳💫☀️💮☔🌲🌳🌍🌌🌠☄️🏵️🐝🌻🌼🍄🐞🦋💙☕💜🍍🎆🎇🎉🎊
Gracias por apreciarlo. Lo pase muy bien creándola.
También agradezco tu gentil comentario.
Éxitos y muchas bendiciones.
Congratulations @artsugar! You have completed the following achievement on the Hive blockchain and have been rewarded with new badge(s):
You can view your badges on your board and compare yourself to others in the Ranking
If you no longer want to receive notifications, reply to this comment with the word
STOPCheck out the last post from @hivebuzz:
Support the HiveBuzz project. Vote for our proposal!
Yay! 🤗
Your content has been boosted with Ecency Points, by @artsugar.
Use Ecency daily to boost your growth on platform!
Support Ecency
Vote for new Proposal
Delegate HP and earn more