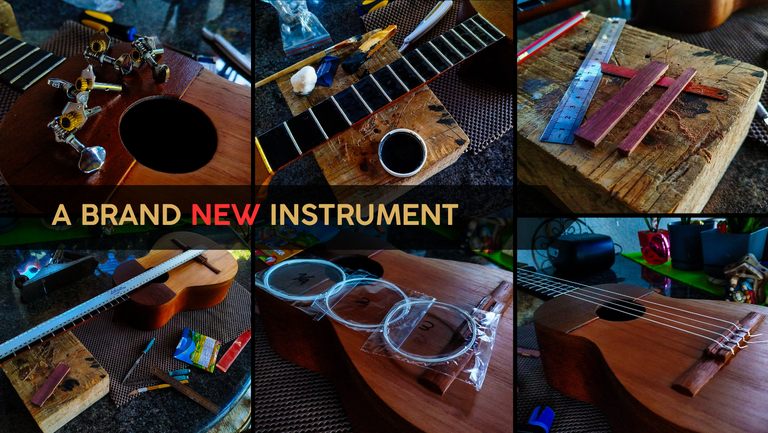

Welcome back to this project! Today, we are ready to close the chapter on this instrument. While you're at it, here's an invitation to take a look at the first entry. You know the instrument actually came to the workshop to have a look at how much it actually changed over the duration of the maintenance. You will be surprised as much as the the friend who brought it.
Let's get to it!
Fretboard and Tuners
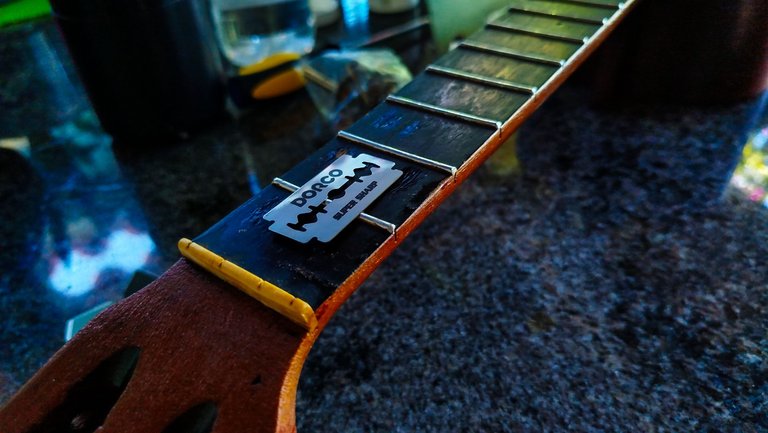
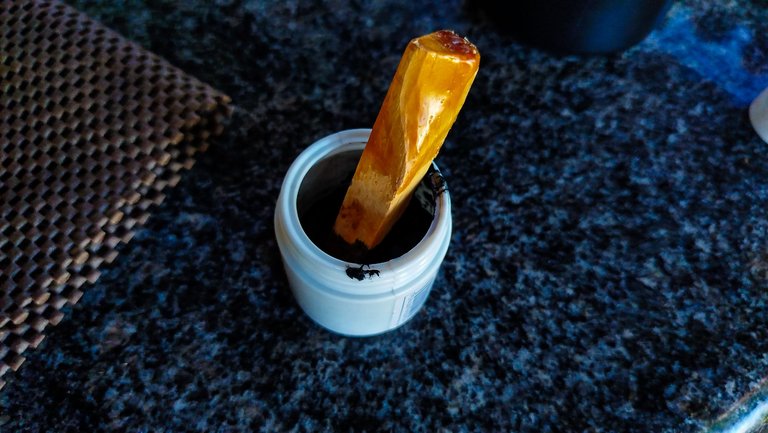
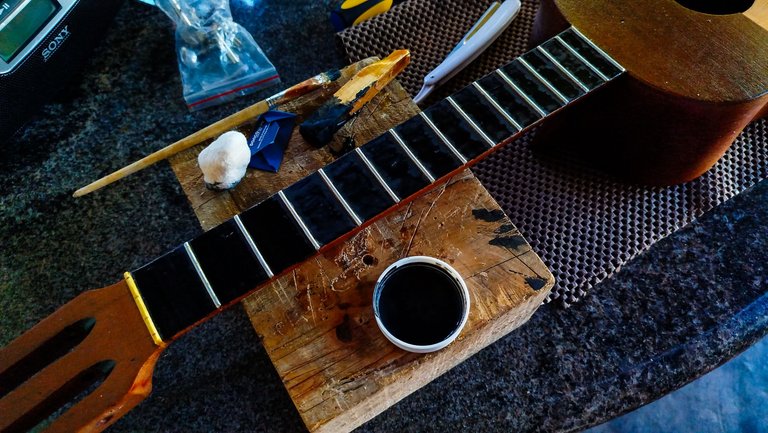
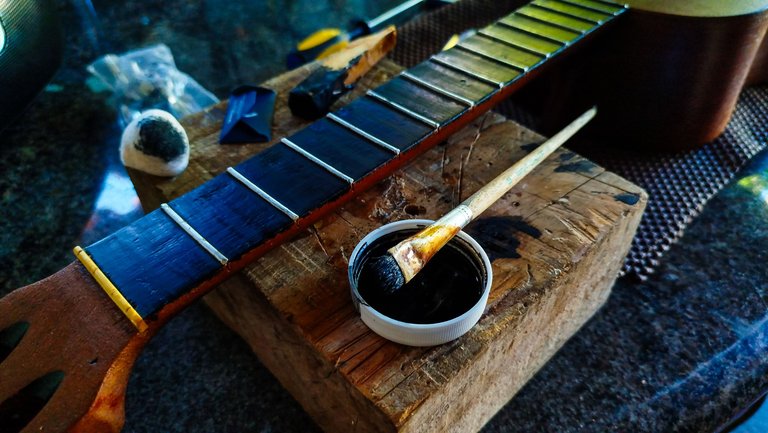
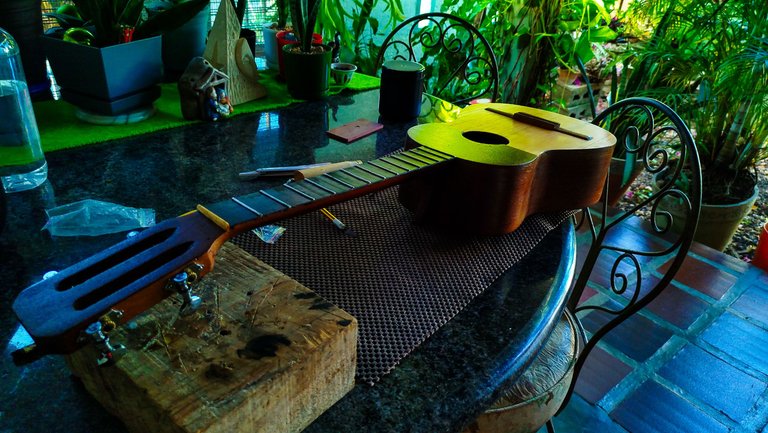
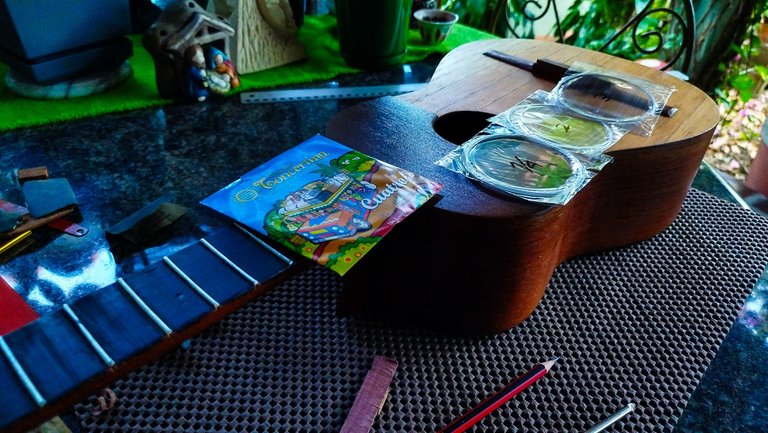
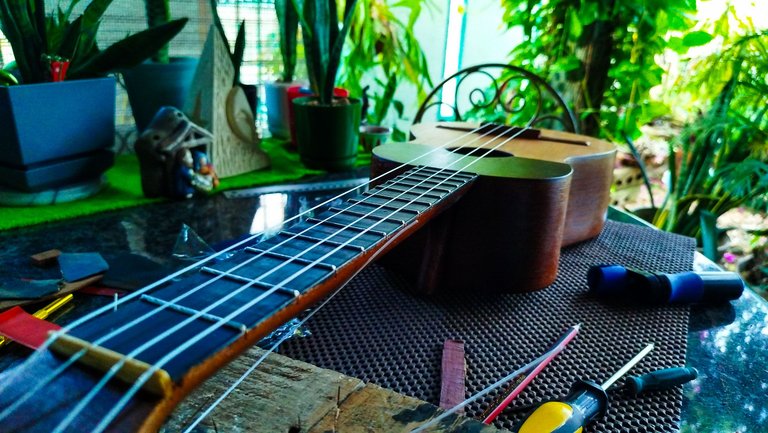
We never did any cleaning on the fretboard because it was an are we weren't going to even touch during the job. However, doing some work on it would be a nice idea. So, we use a razor to scrape the dirt in it. Also, we can take some acrylic base to cover the damaged areas. The action of the strings removes anything that is on the fretboard. That's why we usually leave this area with a natural finish. Anyways, we just need to dilute some black acrylic base and apply some to cover the old paint and make it look like new. We use a brush to make sure to just apply it to the fretboard area.
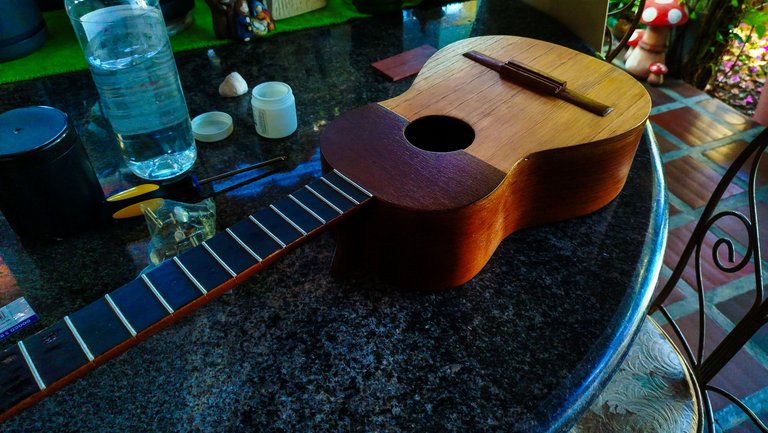
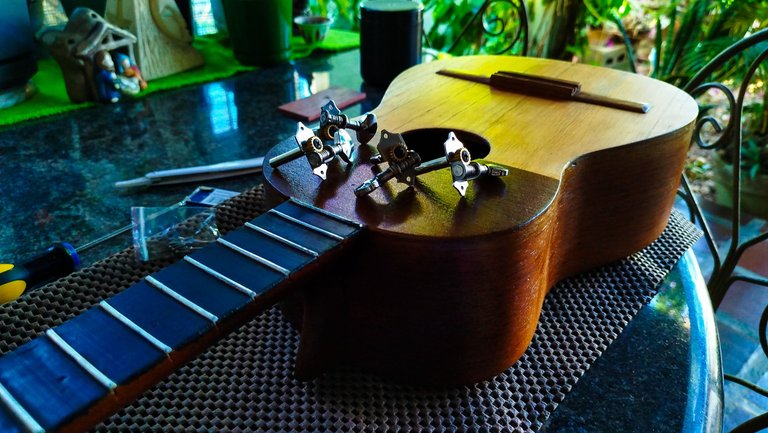
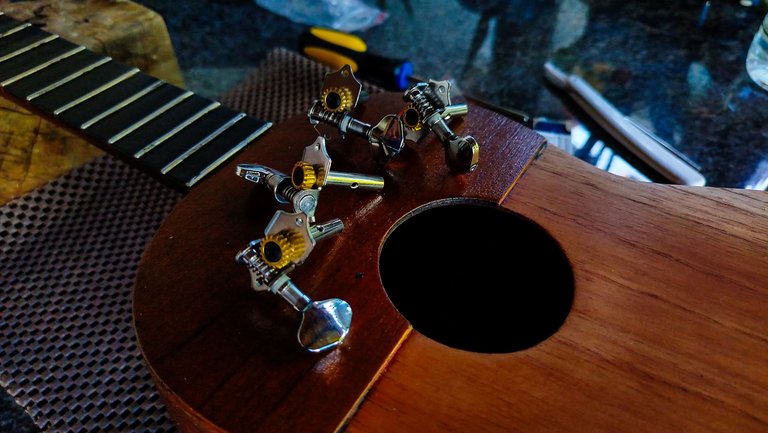
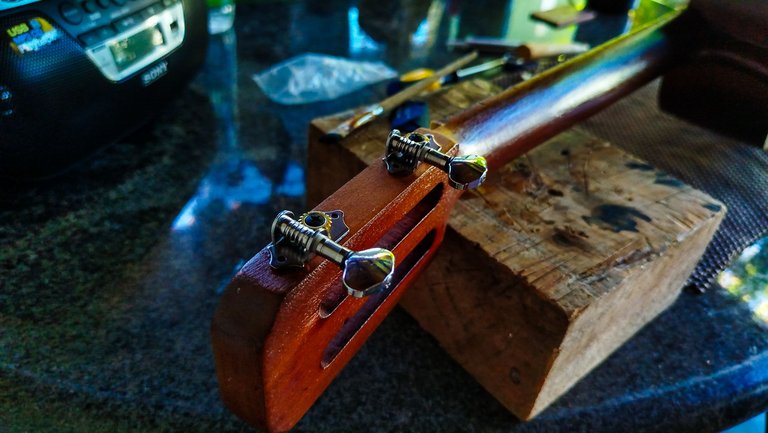
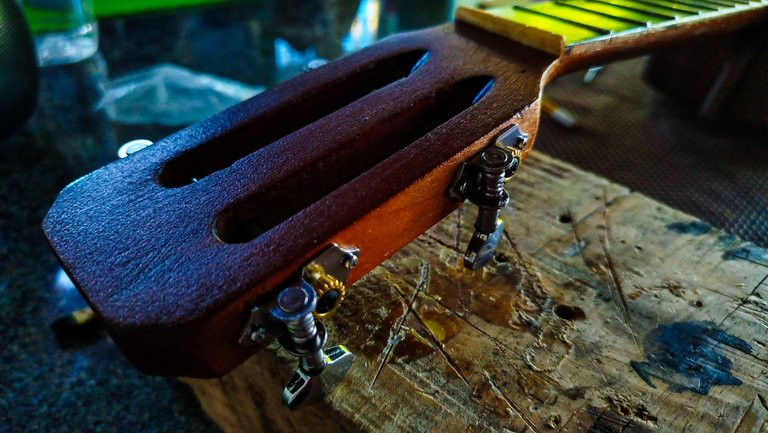
With this ready, we can get the new tuners in place. These are some cheap one that will last longer than the plastic kind. Besides, it is a nice change this new tuners have screws instead of the nails someone put to hold the older ones. Yeah, never do that.
It's looking even better now!
Saddle
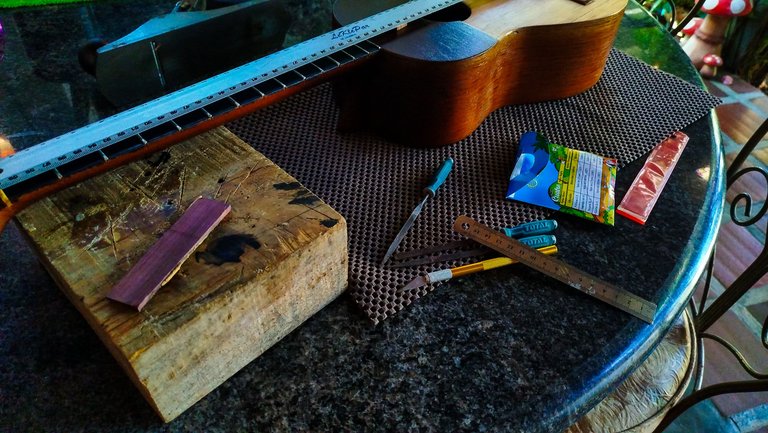
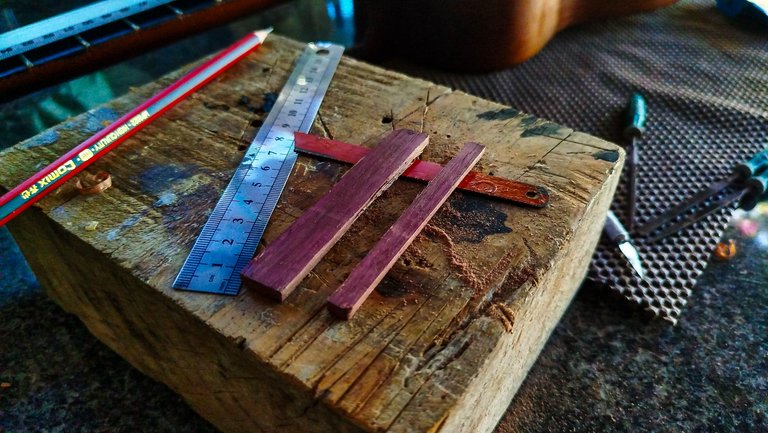
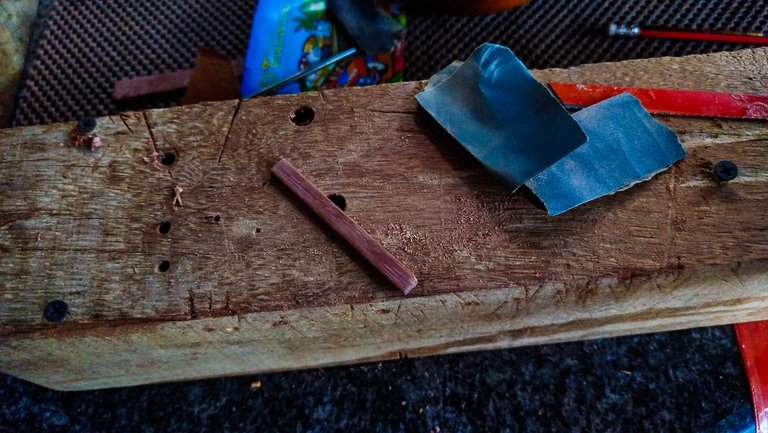
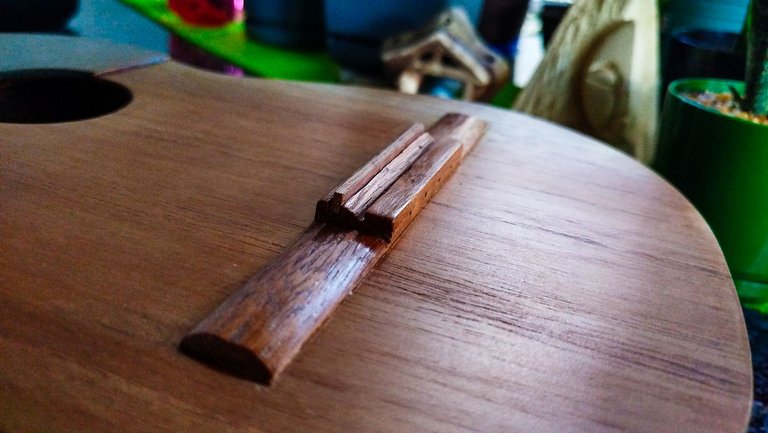
We made a new bridge for this instrument, but we also need to make a new saddle to fit in this new piece. We take a piece of purpleheart for it. The denser the material the better it is for transmitting sound. Hopefully in the future, there'll be some bone saddles and maybe even metal ones.
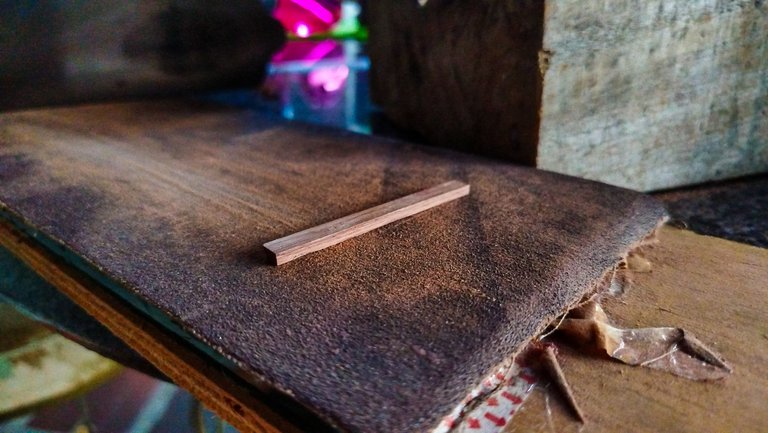
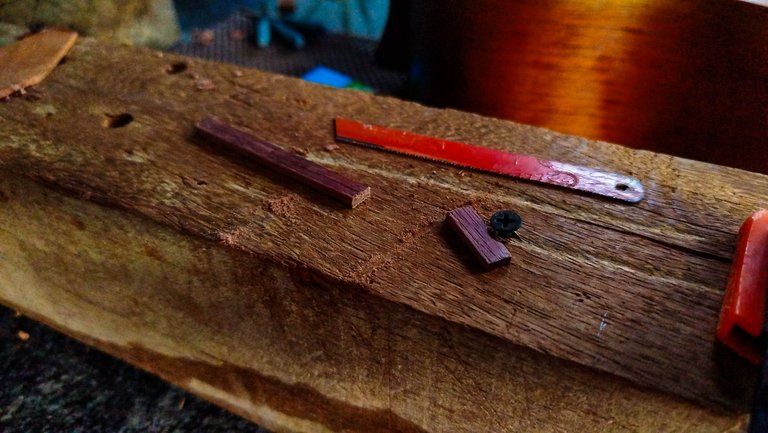
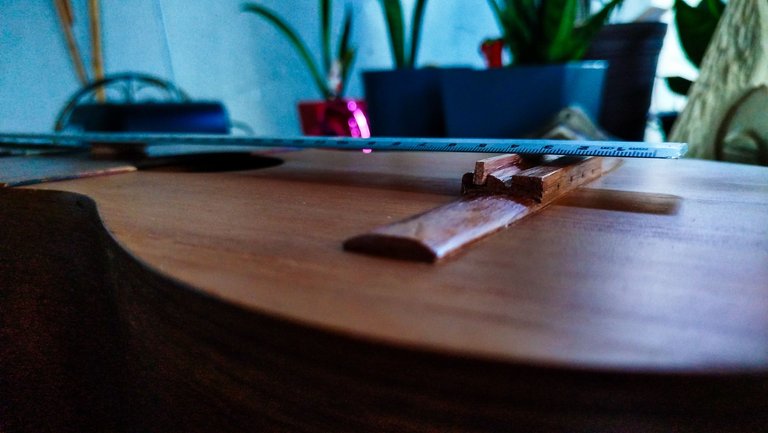
First, we cut a piece and then try to achieve the right thickness while sanding it. Since the saddle is around 3mm thick, sanding is the best way to achieve this measurement. Once we have it, we can fit in the slot on the bridge and then measure to make a cut lengthwise. The next step is to sand it again, but this time it is to remove any sharp edges from the top of the saddle. This way it won't add any stress to the strings. We also need to buffer it. So, we get up to 1500-grit sandpaper until the surface of the saddle has a certain shine on it.
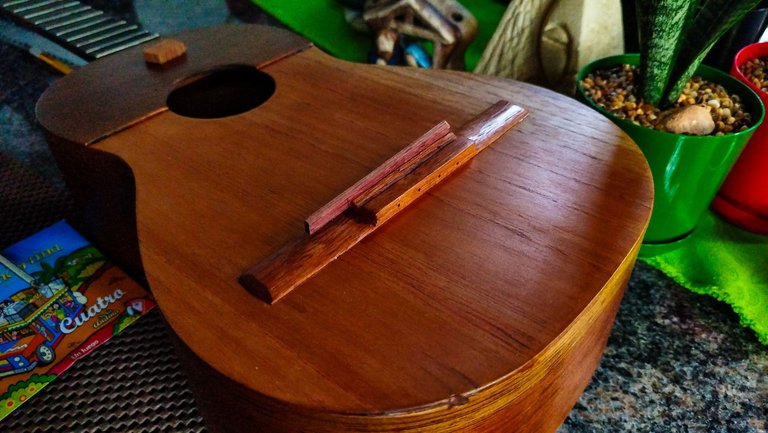
For the height and setting string action, we need to use another piece of wood that goes on the middle of the strum guard. That way we have a reference to the amount of material we need to remove from the bottom of the saddle. The average height goes around 6 to 7 millimeters. Some luthiers use less. I think it takes away too much from the instrument's sound projection.
String it up!
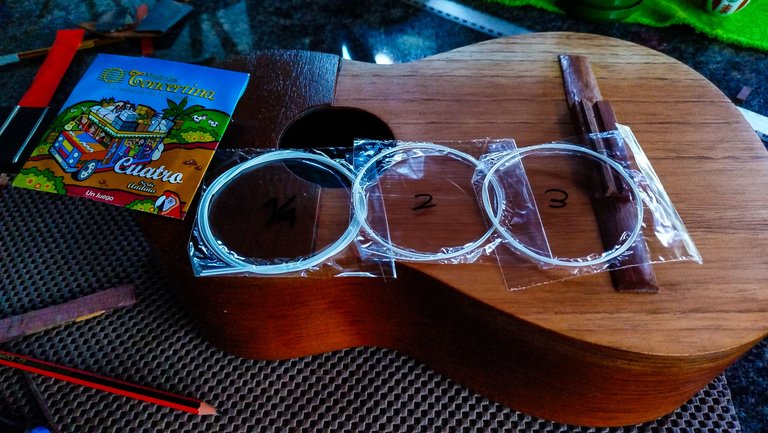
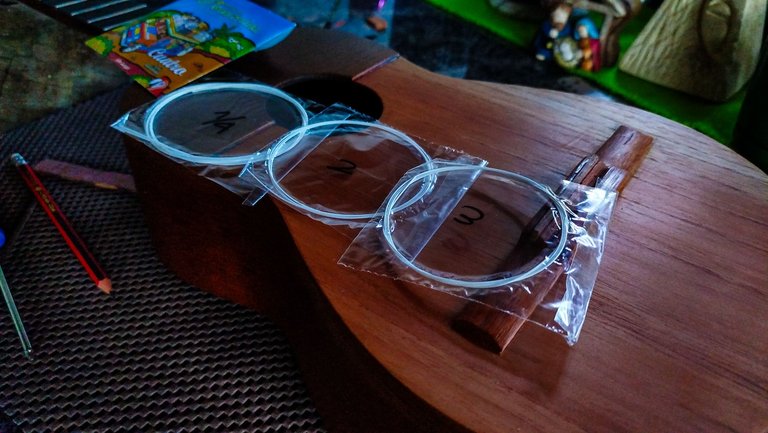
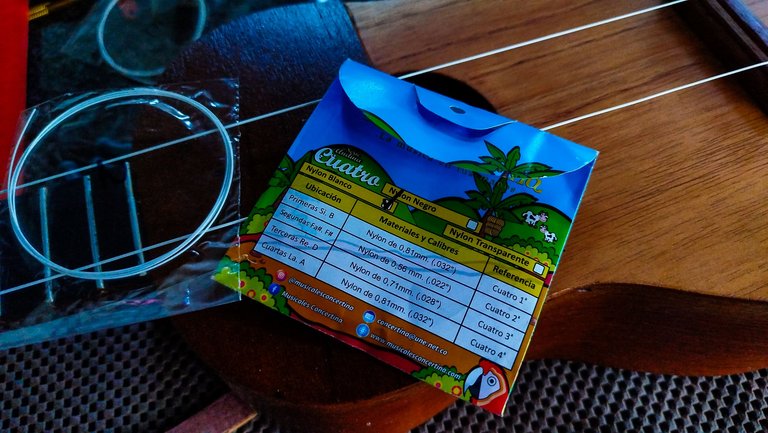
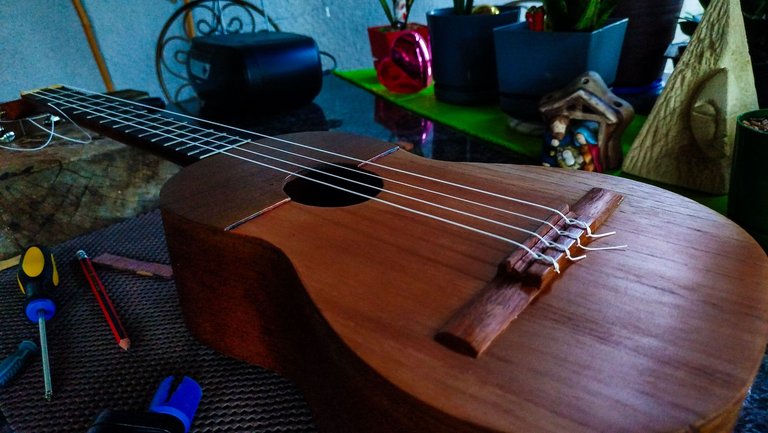
Stringing up an instrument is always a nice thing. We are trying these strings of the Concertina brand. They look amazing with this white color. We haven't tried them in the instrument at home, but I have had some good recommendations. And it is something that can be bought without needing international aid.
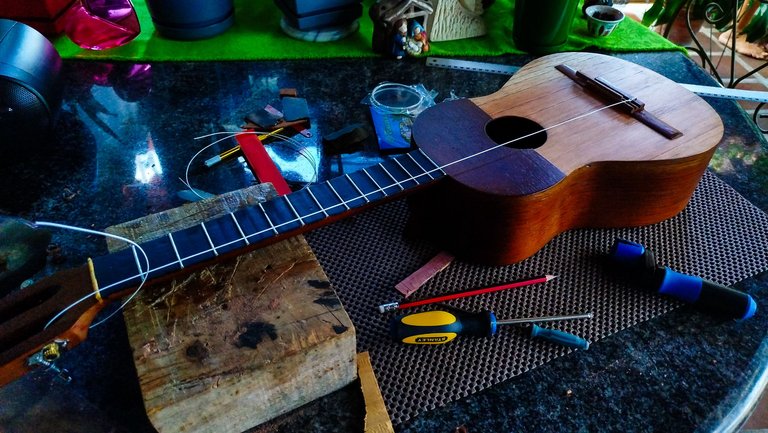
The strings look nice and have a good amount of tension. Putting them on this instrument was a test for the new bridge. However, since there were no sounds coming from it, we can infer that it is well glued to the sound board. And of course, the sound test after getting the strings in place also gave us some good feedback about the condition of the sound board and how it tolerated the repair on the crack it had.
The same day we out the strings on, we sent a photo to the owner and he was so happy about the work that he dropped by and took his instrument with him. He was pleased with the work and couldn't believe this was the instrument he had brought weeks ago. It is always nice to finish these jobs and see the reactions of clients.
Well, that was all for this project. Next week we'll start sharing photos of other things. More woodworking project and some new toys in the workshop.
Thanks a lot for reading! See you next time!

| Part | Title |
|---|---|
| 1 | Repair Job |
| 2 | Out with the Old |
| 3 | Fixing a Crack |
| 4 | A New Bridge |
| 5 | Bring on the Finish! |
| 6 | First Coat |
| 7 | As Good As New |

Photos 📷: Redmi Note 13
Thumbnail 🖼️: Canva.
Editing 🎬:Adobe Photoshop Lightroom.


Follow me on Instagram for enquires and commission.
If you'd like to help the workshop grow, you can make a donation here. You can find me at discord as bertrayo#1763

Your woodworking project shows your attention to detail. amazing work.
Thanks a lot
Guau me vuela la cabeza pensar que el tipo de madera afecta para determinado uso y el hecho de que sea más o menos densa por un lado me encanta ese tipo de conocimientos y por otro la técnica para poder aplicarlo a la realidad.
Sí, claro. No toda madera es buena para hacer lo mismo.