
Welcome back to another look at the workshop. This year started with some pending work from last year. To tell you the story, a friend brought two instruments, a mandolin and a Venezuelan Cuatro. The former needed a work on the bridge; the latter, more things. We are tackling the bridge on this entry. It was an interesting thing to. There was even some trial and error involved.
Let's get to it!
Gathering information

The first step when receiving an instrument is asking for the budget. Wait... technically, yes. However, the first thing one has to understand is the job at hand. What needs to be done. We need to ask and also asses ourselves. In the case of this mandolin, it is from the line of Ideal Music. This is the brand that is in charge of making the instruments for El Sistema in Venezuela (that is the System of Young Choirs and Orchestras). To be honest, they are low tier instruments. Some of them are kind of good; the rest, well, not worth the money.
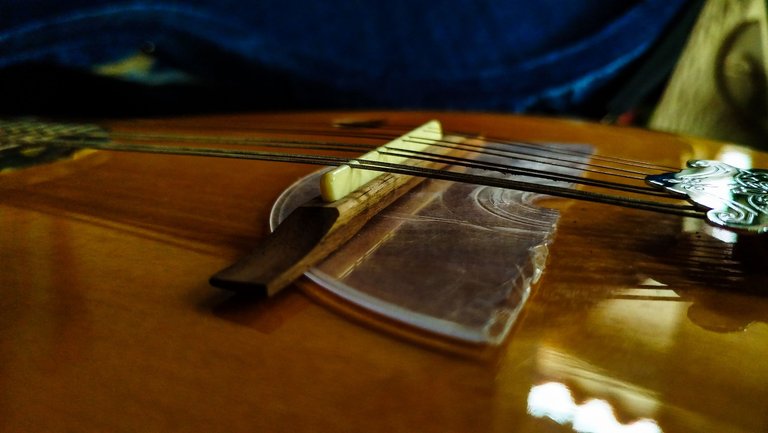
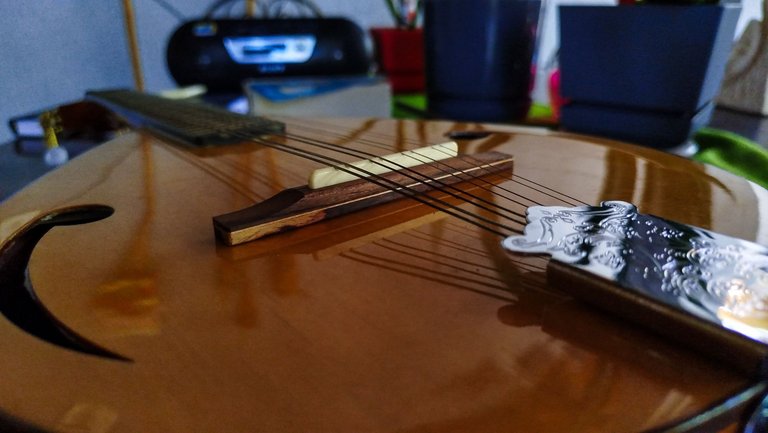
This mandolin has the problem of being made with too low string action. That means that the strings are so low that they cover the frets. And this makes it impossible for them to vibrate. So this instrument came out of the factory with this terrible defect. Fortunately, there are luthiers to fix this.
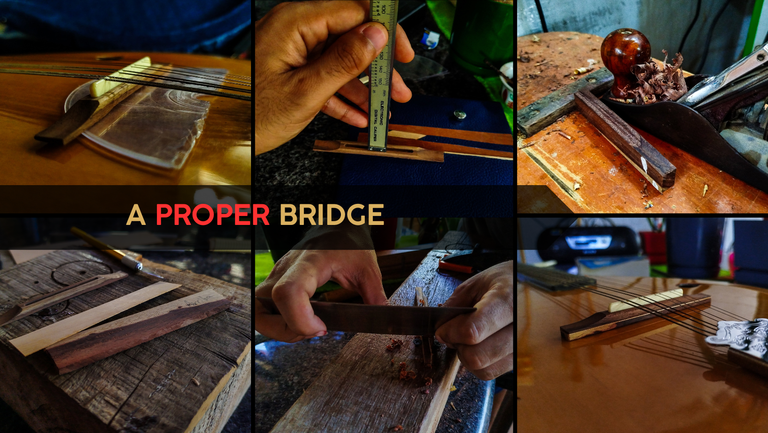
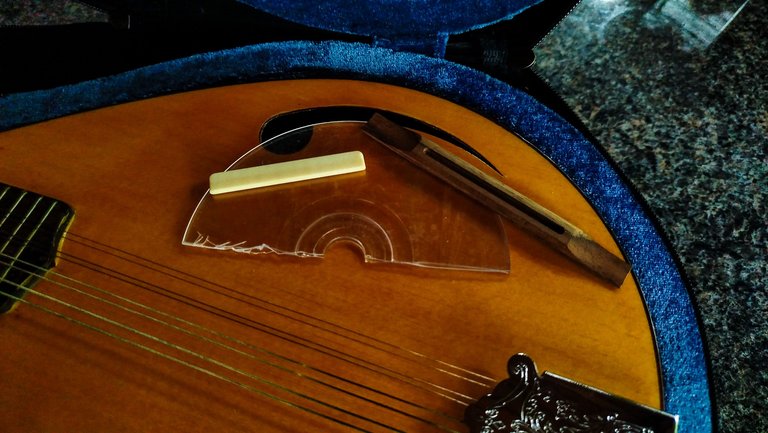
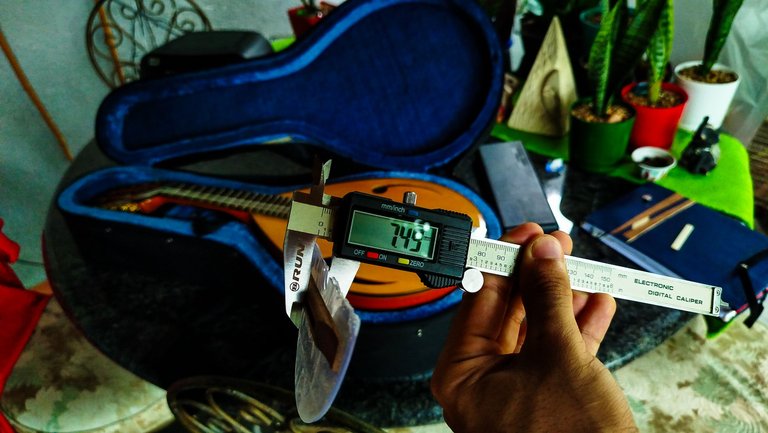
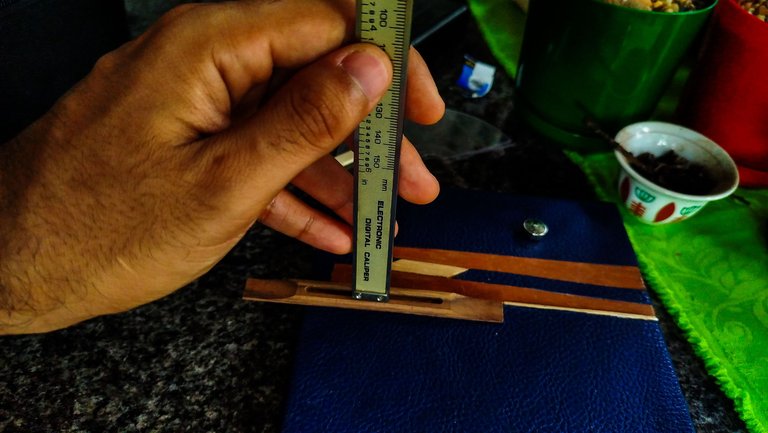
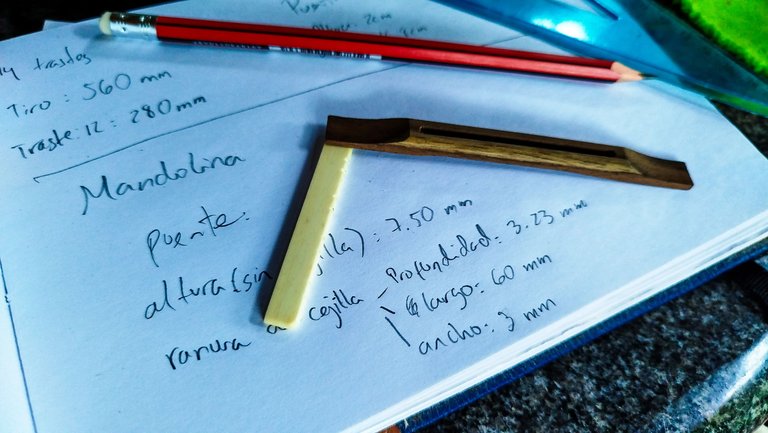
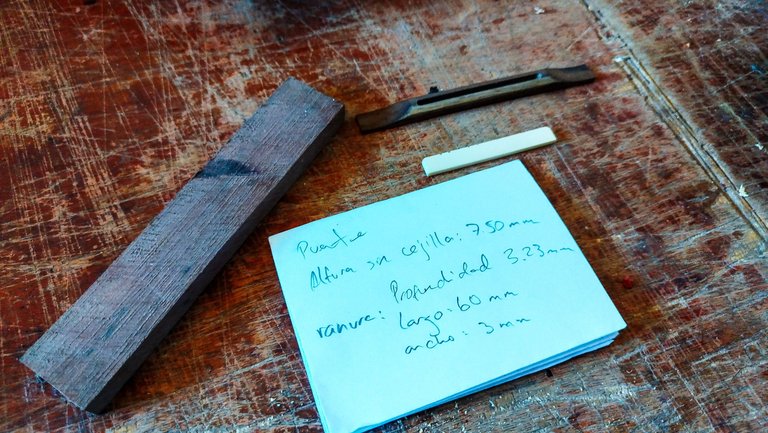
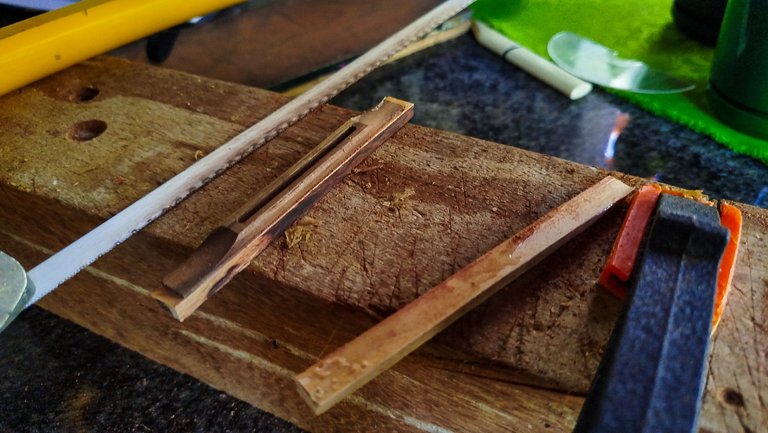
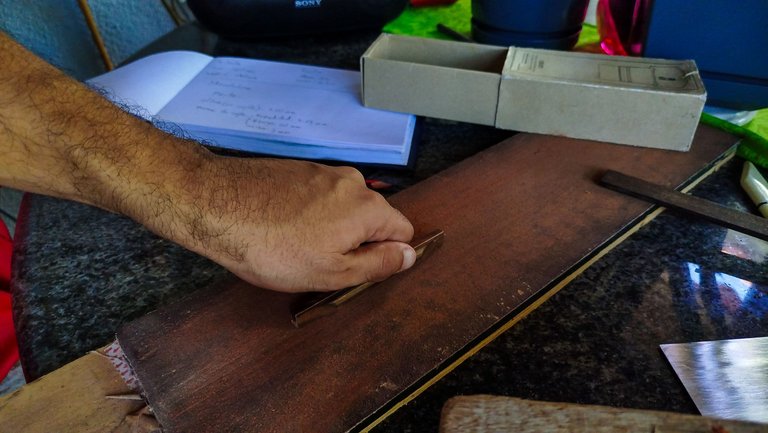
What we need to do in the first stage of work is measuring the things we need to have a good strings action. We can see someone made a sort of DIY repair adding a supplement to the bridge. That is a good idea. However, the plastic of disc isn't the best material for this task. We can use as our baseline for the total height of the bridge. We also collect information about the measures of the bridge, including the depth of the saddle slot. A caliper makes all of this an easy task to complete.
Looking for ideas and materials
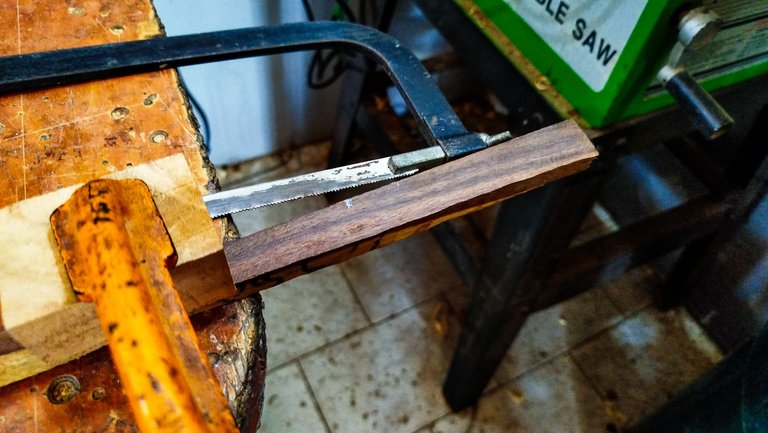
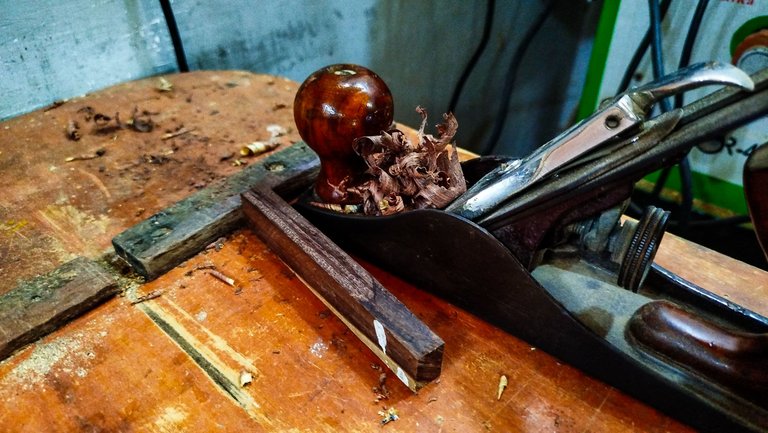
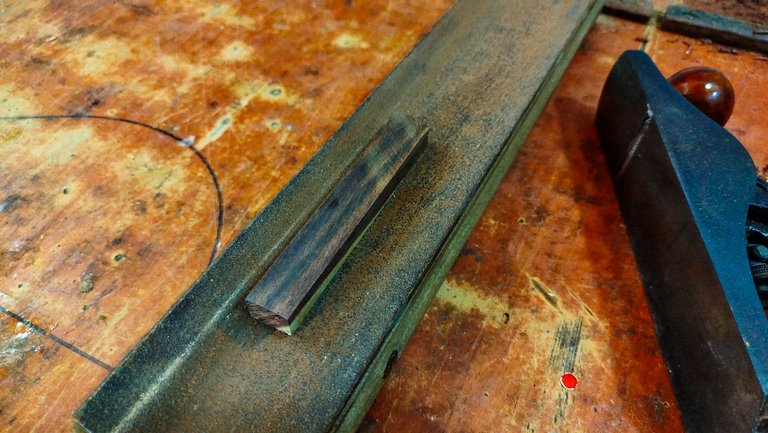
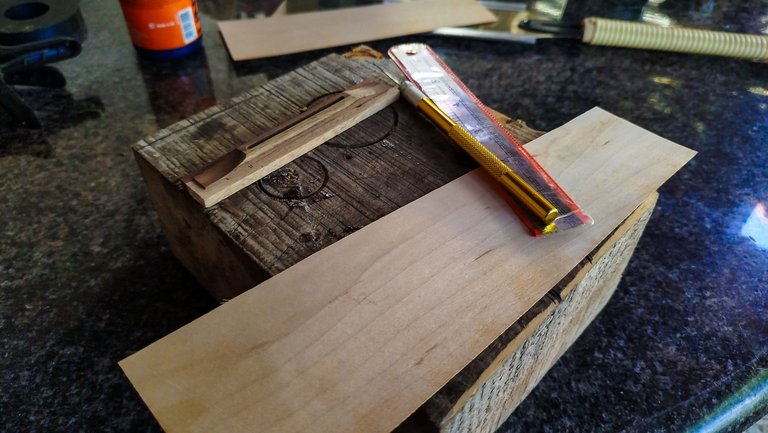
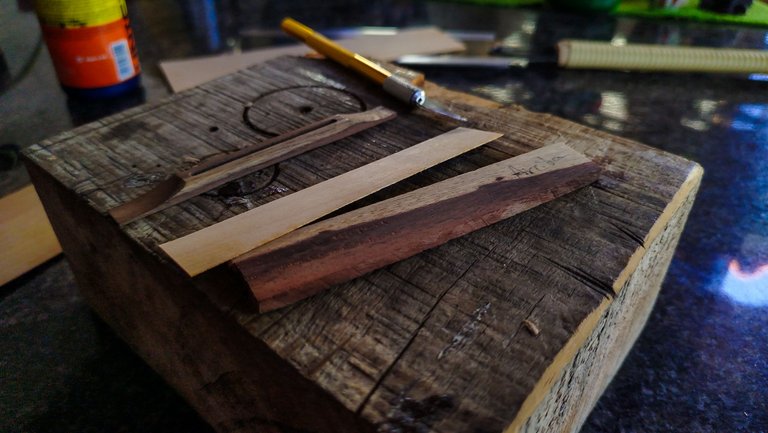
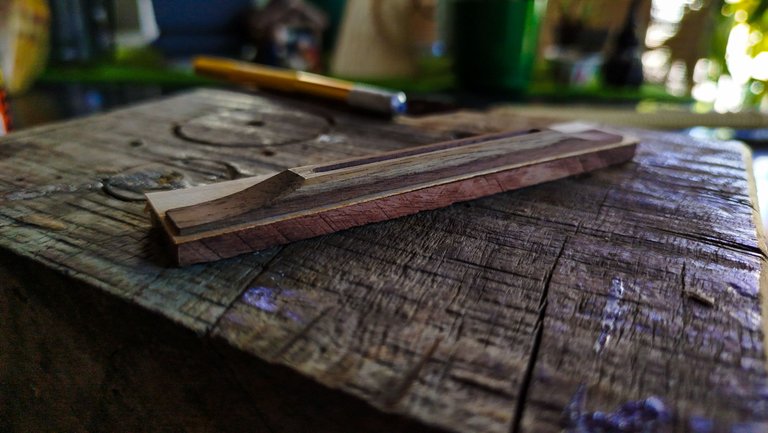

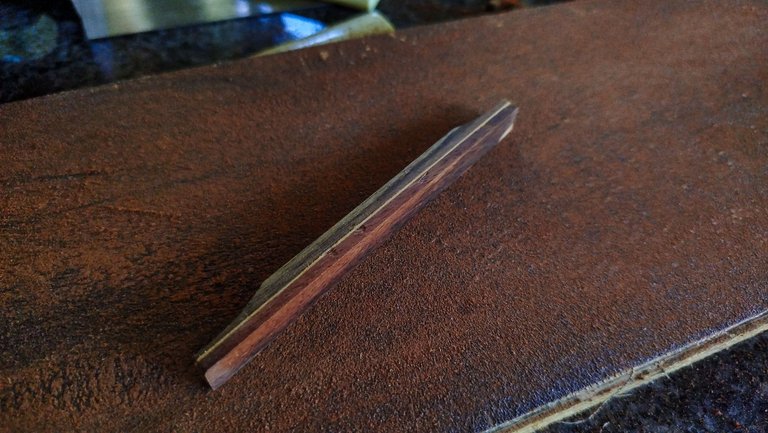
There was an attempt to make a bridge from scratch. It failed. Mostly because these bridges need some crazy precision to be made. There are no tools for that around. Nonetheless, I went to my teacher's workshop to get some wood that would be similar in tone to this bridge and followed the path of making a supplement to complete this piece. To do this, we need to cut a piece of wood, plane it and sand it. We also need to flatten the lower portion of the bridge to make it easier to glue down the way.
We can also add a piece of veneer as an ornament to the union of bridge and supplement. That way we can say there was some fancy work involved. It also help to have these things on. It makes a stronger bond between the pieces.
Also, by not having to make the bridge from scratch we can also save a lot of time.
Thus, a fully functioning bridge
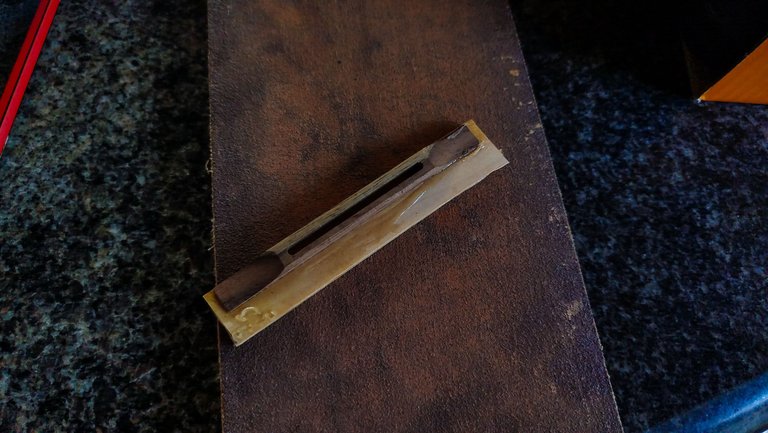
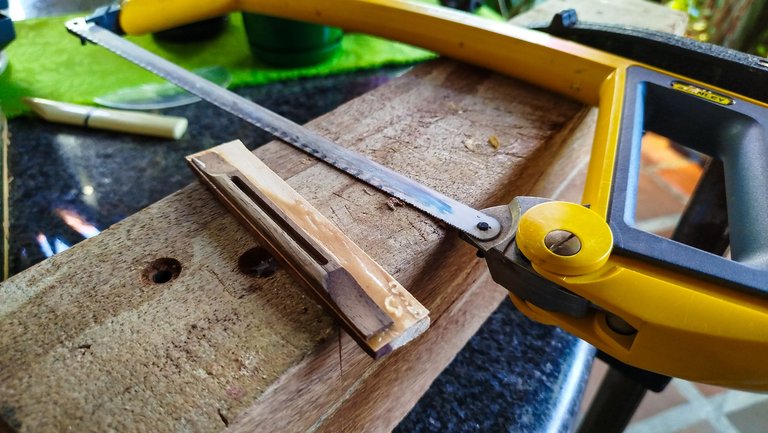
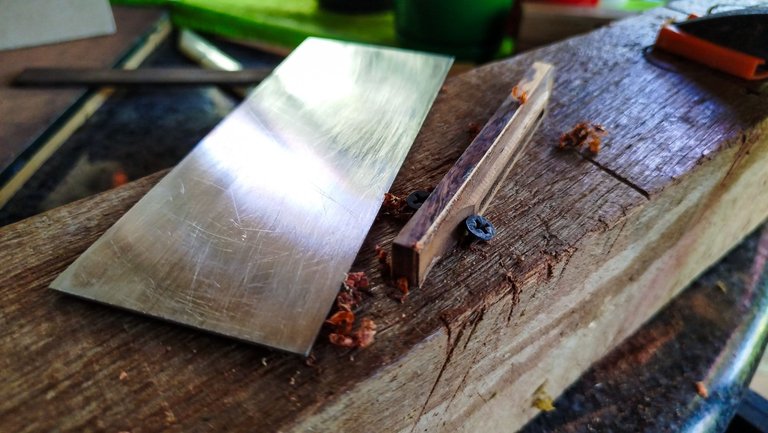

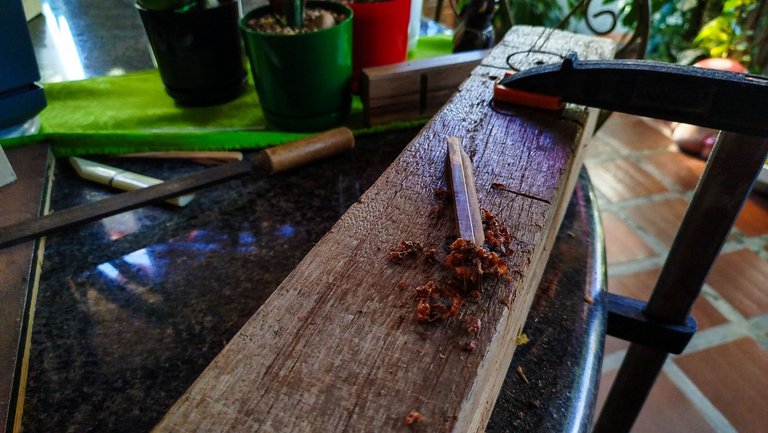
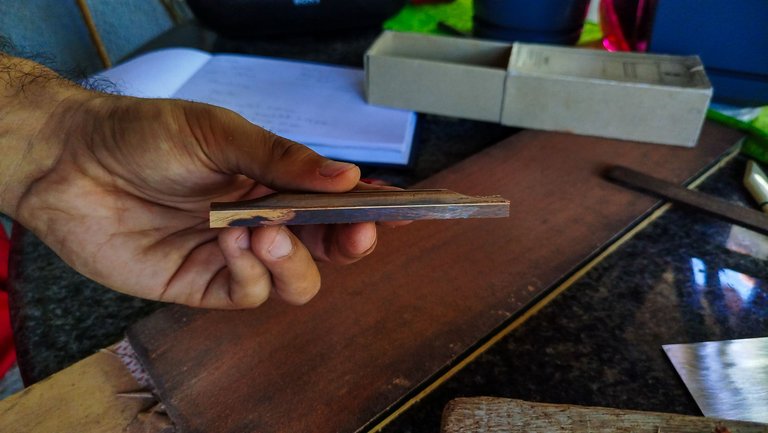
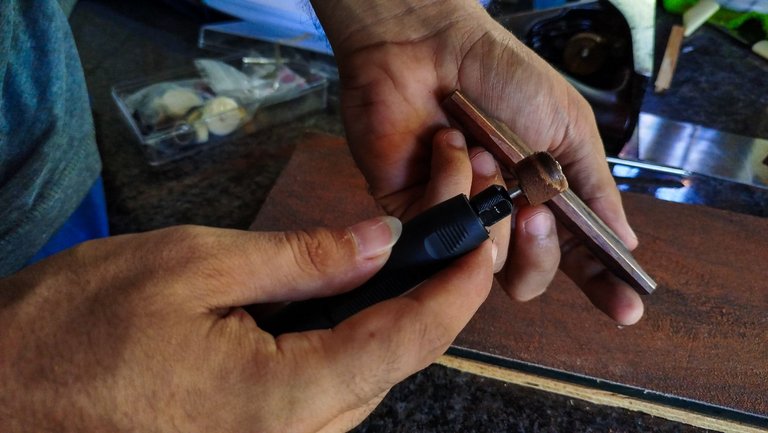

Once the glue dries and we have a taller piece to work with, we can do some more things to get it ready. First, we cut the excess with any saw we have. Then, we can use a card scraper to remove the rough cut leftovers until we make the heights even. Next up is sanding. There's always a lot on sanding involved in these project. In this case, it help us even all the sides of the bridge. It is also how we will tune the height. There's no way to plane this having such an uneven top.
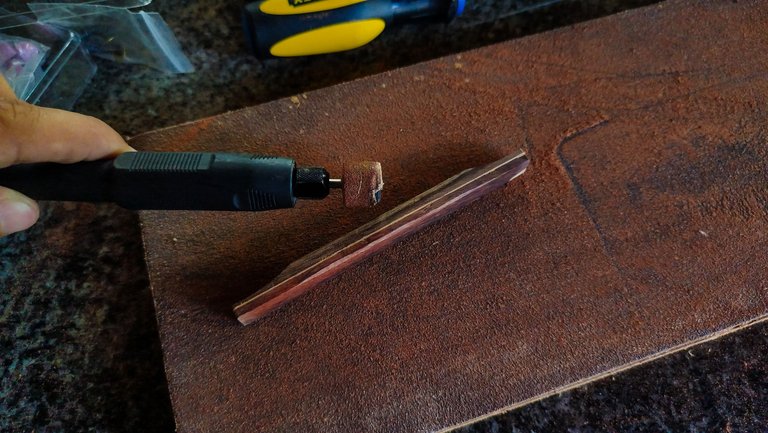
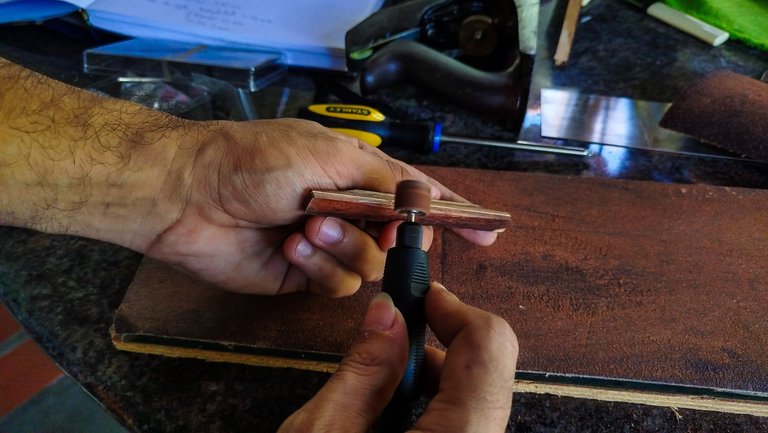
An extra step to make the bridge a bit lighter is repeating something that was part of the original design. It is a sort of arch in the bottom part. At first, this thing was an issue to make the bottom of the bridge even. Now that it has more mass, it is a nice idea to make it lighter. Weight is another important part in sound transmission. And doing this is no problem sanding with the rotary tool.
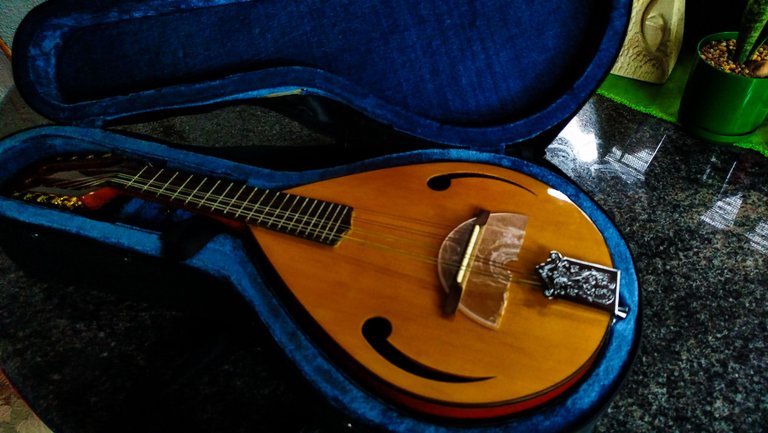
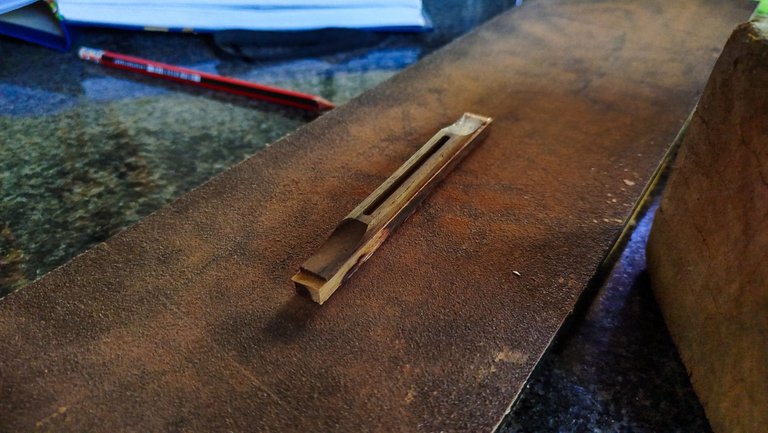
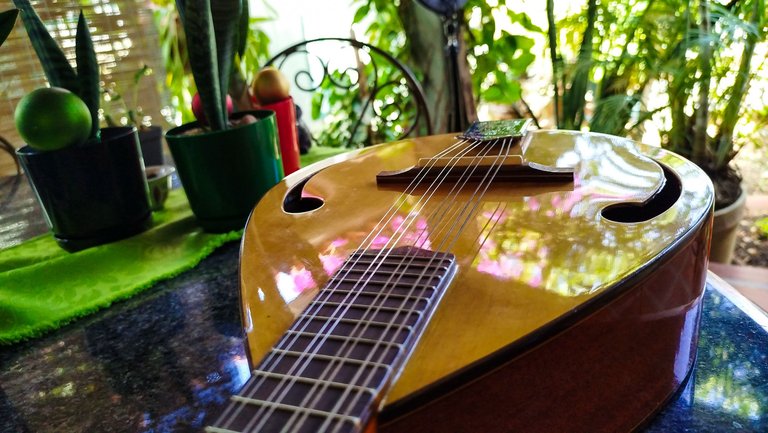
With all the tasks completed, we can finally get the bridge back on the mandolin for some tests. Spoiler alert, they were successful. And now we have a functional instrument. I guess that looking at these bad instrument from the bright side would be the right thing. Yes, I'd never buy one. However, I don't mind trying to fix them. Especially if I'm getting paid.
Thanks a lot for reading. Next week, a new series will start of the other instrument that came around. That one needed a little more work. See you then!
Photos 📷: Redmi Note 13
Thumbnail 🖼️: Canva.
Editing 🎬:Adobe Photoshop Lightroom.

Follow me on Instagram for enquires and commission.
If you'd like to help the workshop grow, you can make a donation here. You can find me at discord as bertrayo#1763