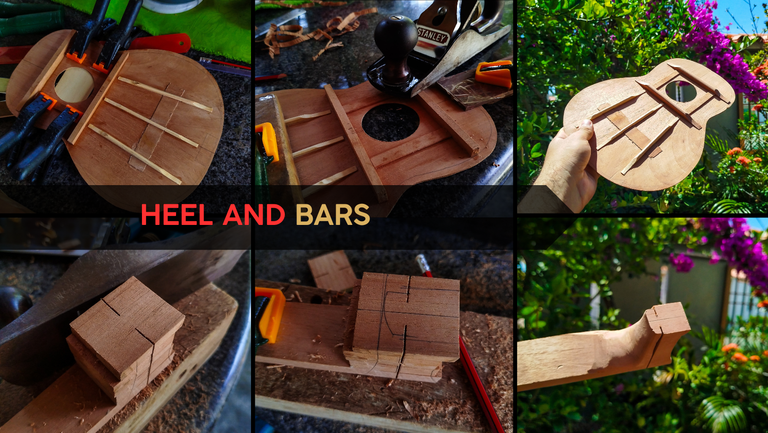

Welcome back to another entry into the projects of the workshop. Today, we are going to finish some work on the structures we had already put together, the heel and the bars on the sound board. Shaping them gets us closer to start the assembly process. Without further a due, let's get to it!
Bars
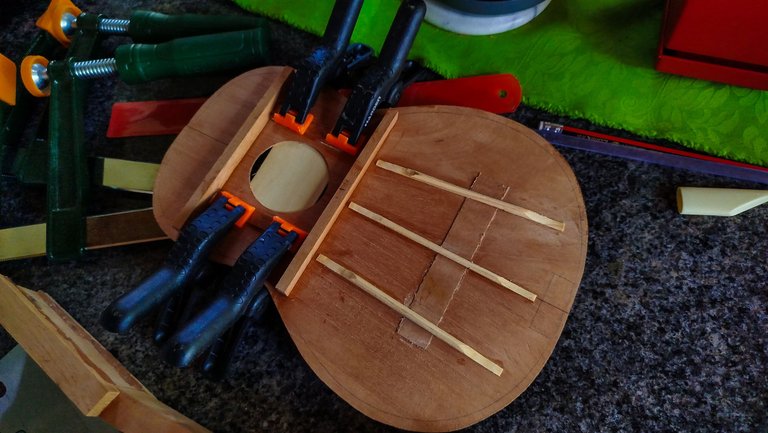


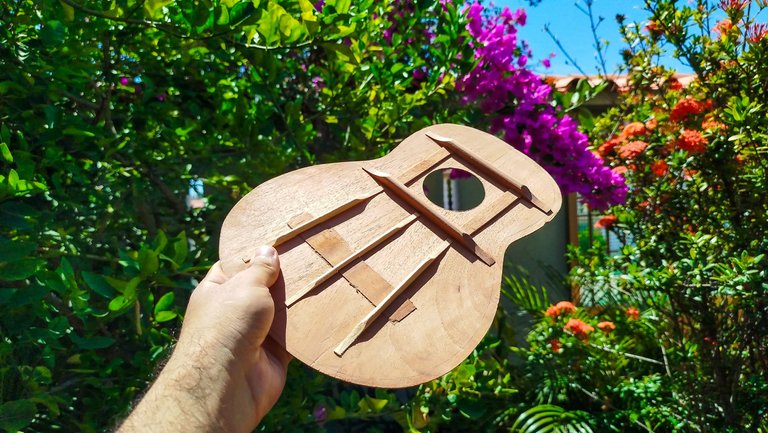
During the last entry, we managed to get the bars in place to prevent the sound board from curling inwards. Now, we need to shape them so the piece is complete and ready of assembly. Before doing that, we are adding some extra reinforcements near the sound hole. These go at each side of the sound hole. It is the kind of reinforcement that usually is skipped, but here it might work out in giving the instrument more structural strength. Since part of the fretboard goes on top of the sound board, having something extra to add rigidity to this part will work out well.
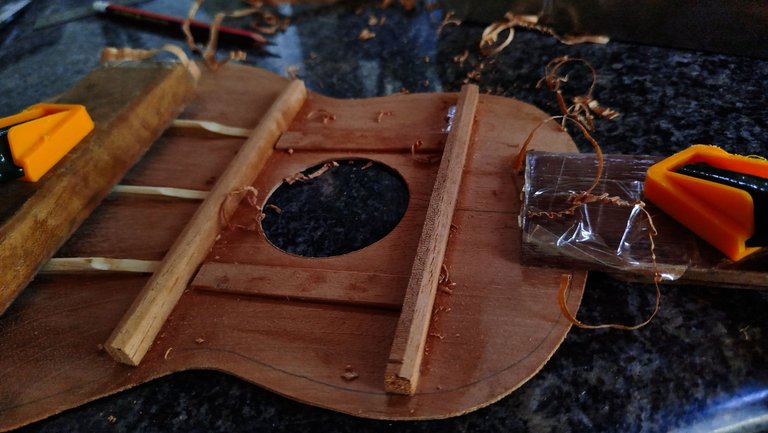
Once these reinforcements are glued in place, we can proceed to the carve the bars. We start by adjusting their height with the hand plane. Then we start removing material from the corners until we make the shape of the top of each bar round. Then we can carve the ends of each bar to give them a slope and an aesthetic look. The final step here is to sand the bards to give them a smooth finish. And we are ready with the sound board, for now.
Heel
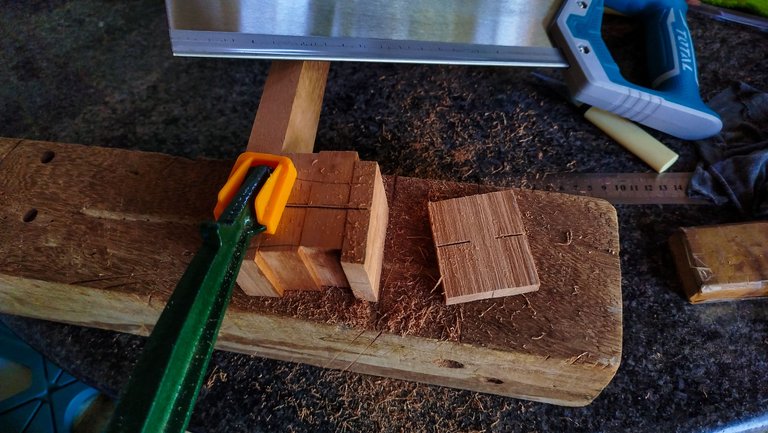
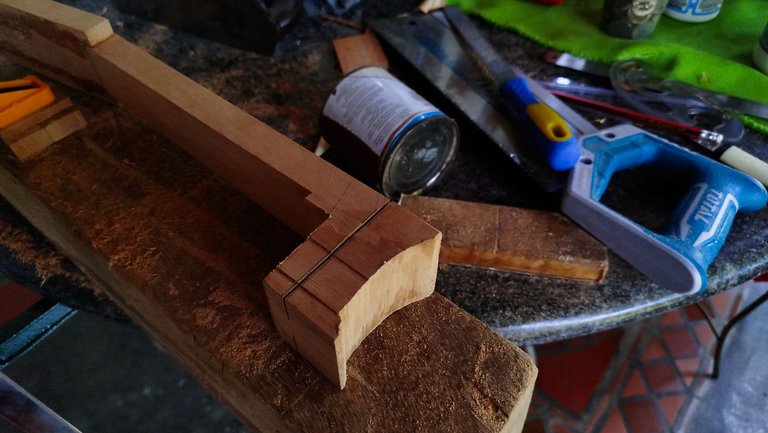

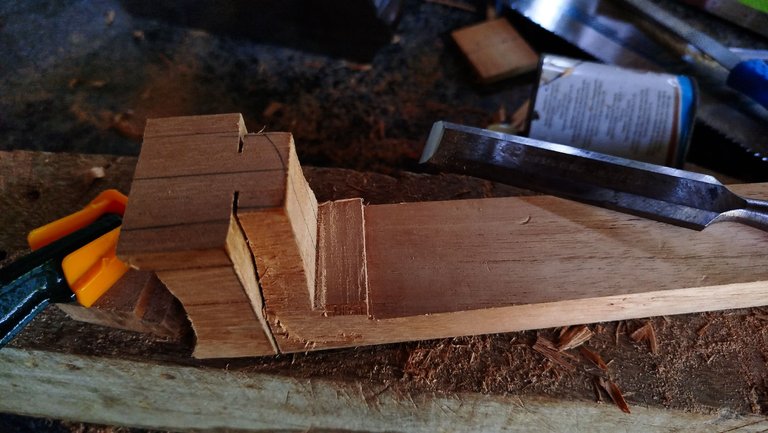
Making a smaller heel than usual posses many questions and routes of action. Here the idea is to give it a shape that looks interesting without compromising the structure of the piece. This part holds a lot of tension when the strings are in place. We start by cutting the extra material we have at the back of the heel. Then we use the hand plane to smooth the area. Then we can retrace the lines we had made to have the outline that will be carved out of the piece.
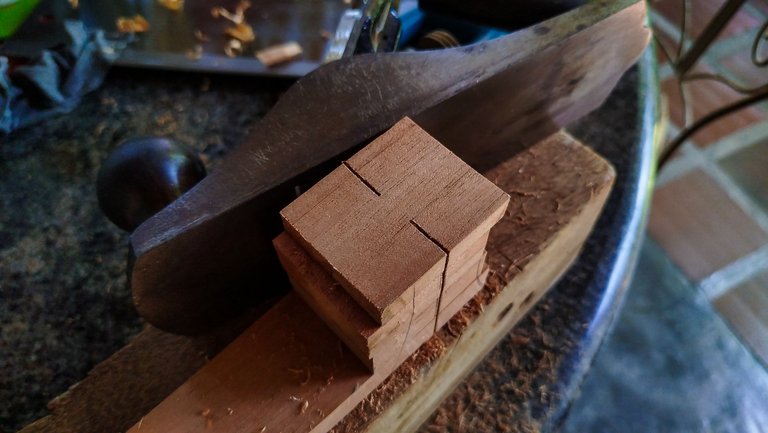
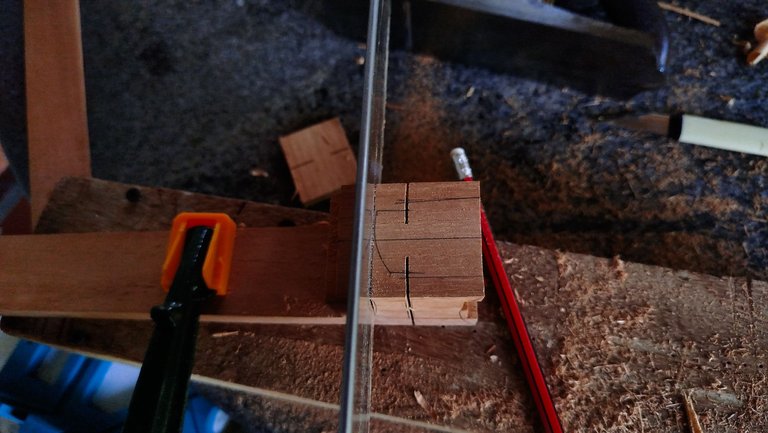
Now comes the cutting. We make the cuts needed to have the shape of the top portion of the heel and the part that will go inside the body. In this occasion, the bottom part has a slight curve. It is easy to get to this shape by using sandpaper glued to a round surface. For the top portion, we just make a slight curve by cutting with a saw. And now we can move to the carving portion of this task.
Carving
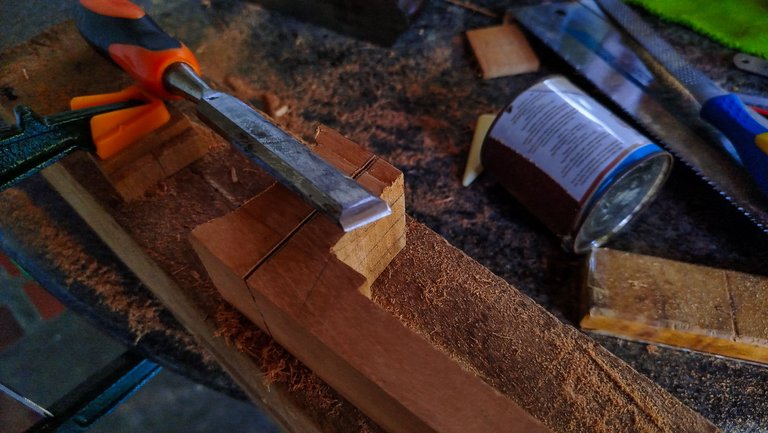

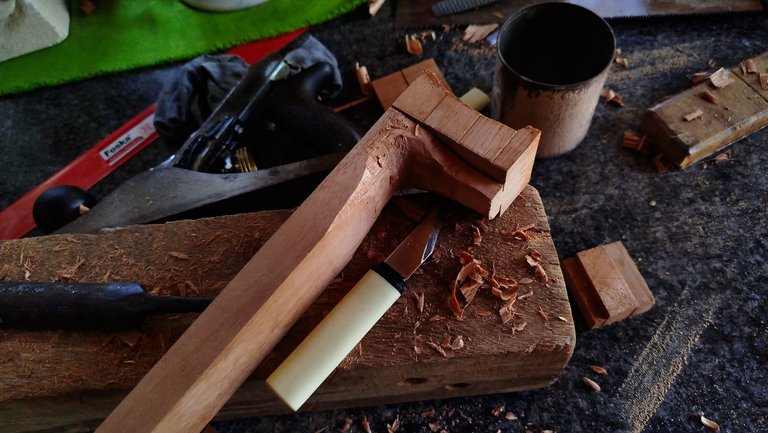

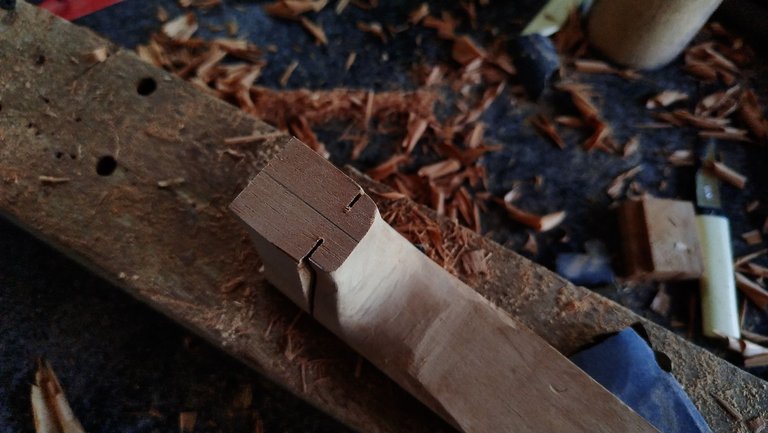

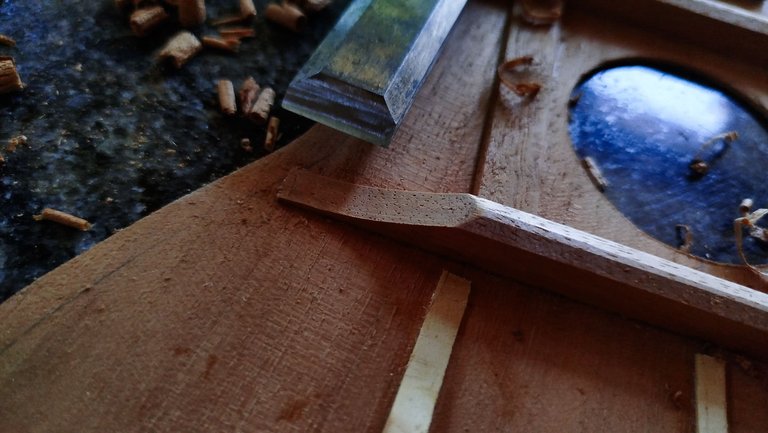
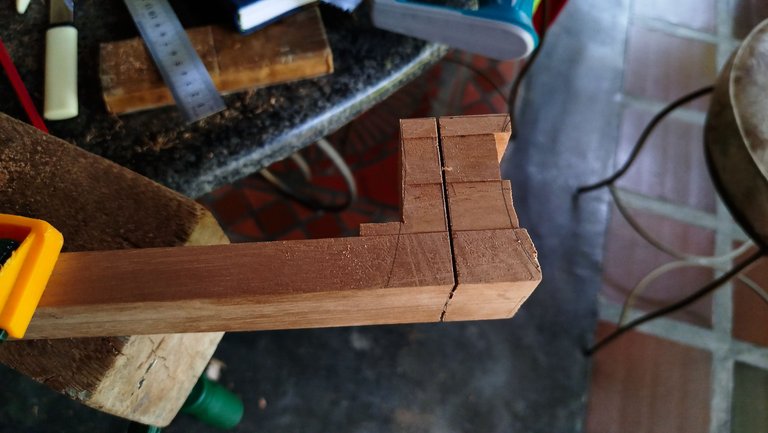
The heel gives a lot of work for carving. And there is the need to always change from one tool to another. In this case, change from a chisel to a knife. We need to trace the outline of the figure we drew in the previous step. We also have to determine the shape of the heel. Will it be thick or sleek? There are lots of considerations and all of them fall in the realm of preference.
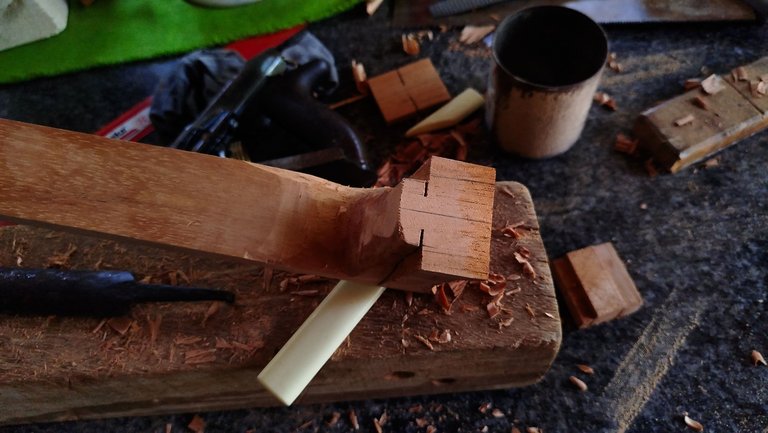
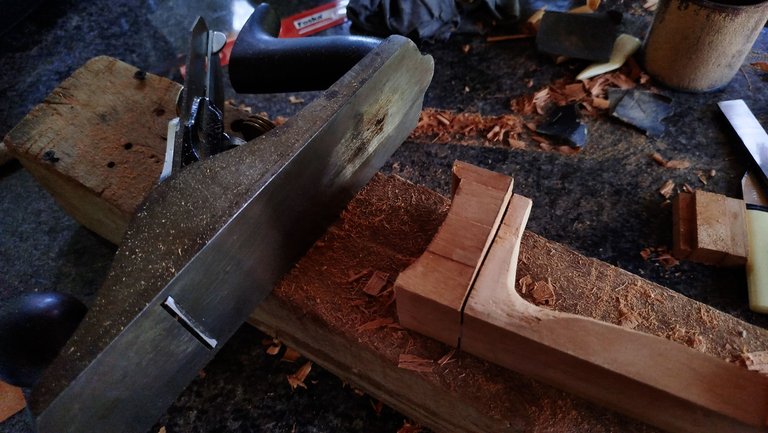
We start by carving from the sides to create the heel shape. Once we have removed material from this top portion, we can remove the extra material from the bottom portion. We make sure to smooth the sides of this part using the hand plane.
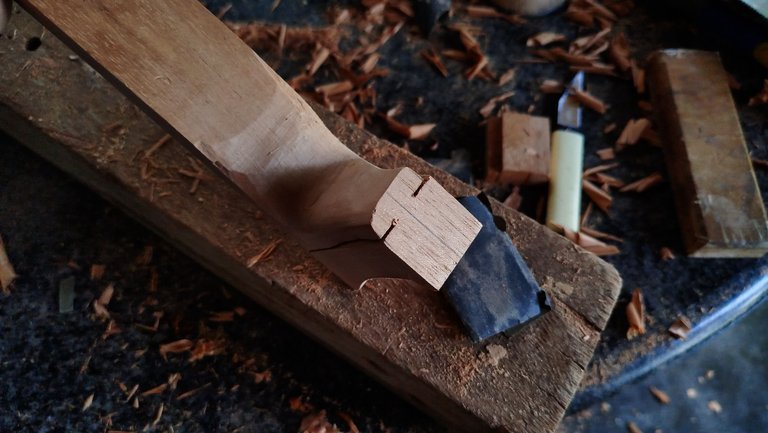
Moving on to the next portion of carving, we switch to the knife so make the curves and the rest of the shape we had already outlined. The last bits of shaping are done with sandpaper. We use it on the spots that need softening. And after some hours of work, we have carved the heel for this Ukulele.
On the next entry, we will finish the head stock portion by adding the veneer and giving it the shape of our design.
Thanks for reading. See you next time!
| Entry | Title |
|---|---|
| 1 | The Fist Ukuele |
| 2 | Structure |
Photos 📷: Redmi Note 13
Thumbnail 🖼️: Canva.
Editing 🎬:Adobe Photoshop Lightroom.

Follow me on Instagram for enquires and commission.
If you'd like to help the workshop grow, you can make a donation here. You can find me at discord as bertrayo#1763
Interesante proceso, gracias por compartir.