
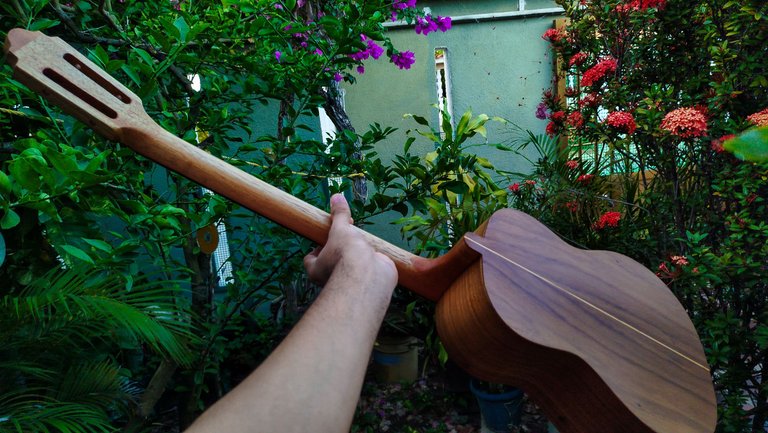
Welcome to the last entry on this maintenance project. We had some pending things to address. Fortunately, most of them were related to aesthetics. In this final post, we will get the rest of the finish applied to the instrument. It will be polished. Tuners and strings will go on it again.
Let's get to it!
Baptism by use
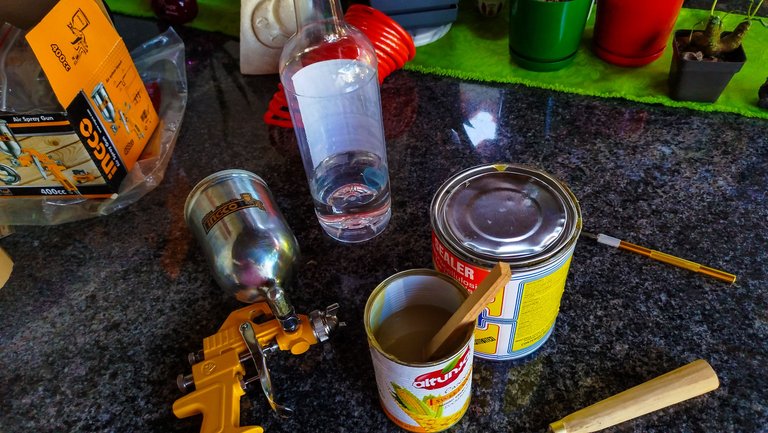
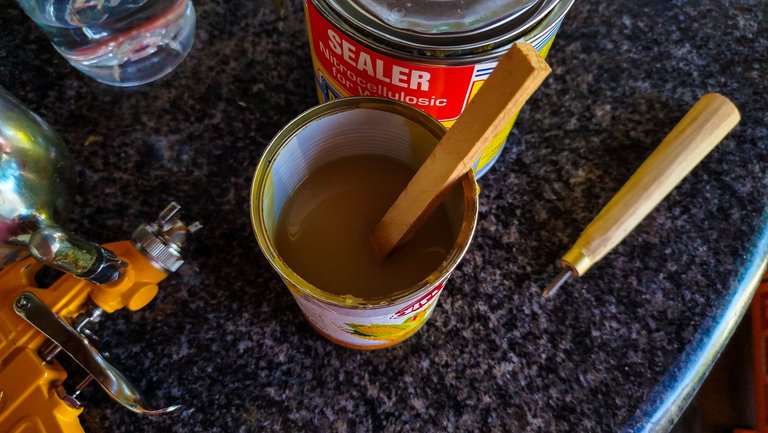


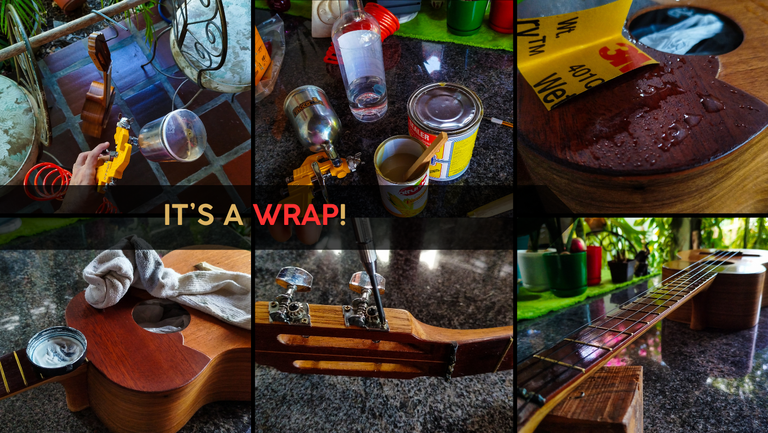
On the previous post you were able to see how the compressor did its first trial run. It worked perfectly. However, now it was actually time to do a bigger test. To start off, we prepared the things we will need to use. The mix of sealer and thinner. It has to have certain viscosity to be pulverized adequately and do not clog the pistol. That's easy enough. Besides, a thin layer of sealer dries faster.
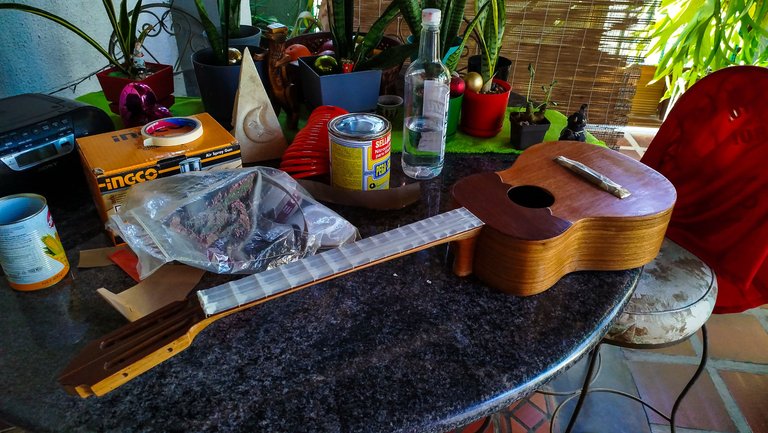
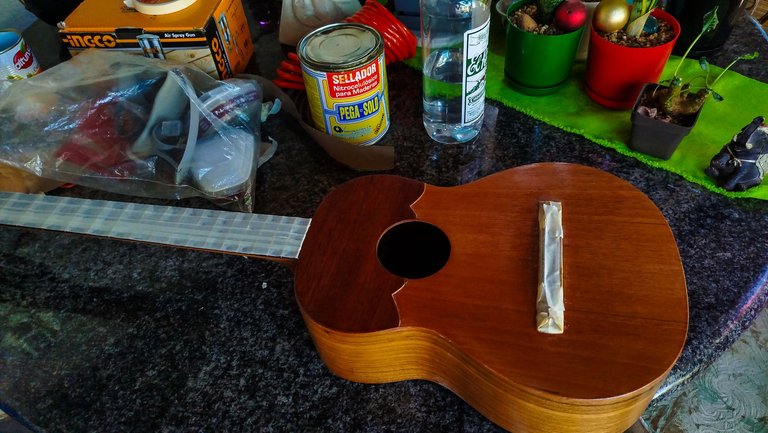
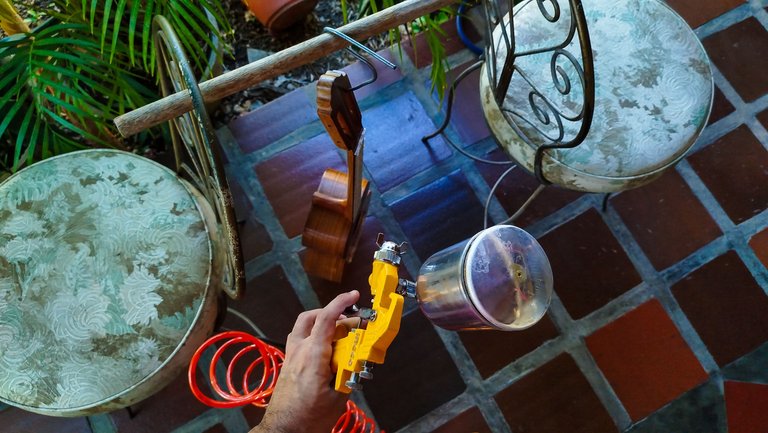
The contraptions needed to hold the instrument suspended and the wall against which to paint were improvised in the moment. In the future, have a specific area for this task will be necessary. Keeping the environment clean is an important part of this particular task.
The first try of applying finish over the instrument didn't go as planned. There were some white areas in some parts of the layers. It was mess. Checking everything, the problem was in the tank of the compressor. Luckily, there's a warning written on it that states that the tank needs to be purged to prevent condensation and rust. How so? Well, while the compressor is at rest, the metal tank is cold. In hot weather that creates condensation. Think of it as a metallic cup holding condensation in the inside. This condensation gets sent to the pistol and into the finish. It shows as white spots. The solution is to get the tank filled with air and then using the release valve to get the whole amount expelled. That way all condensation gets out of it.
And as easy as that, we can finish this task without any other problems.
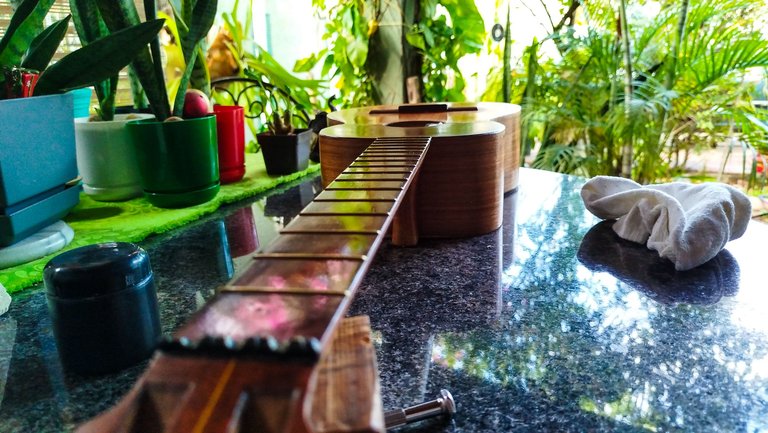
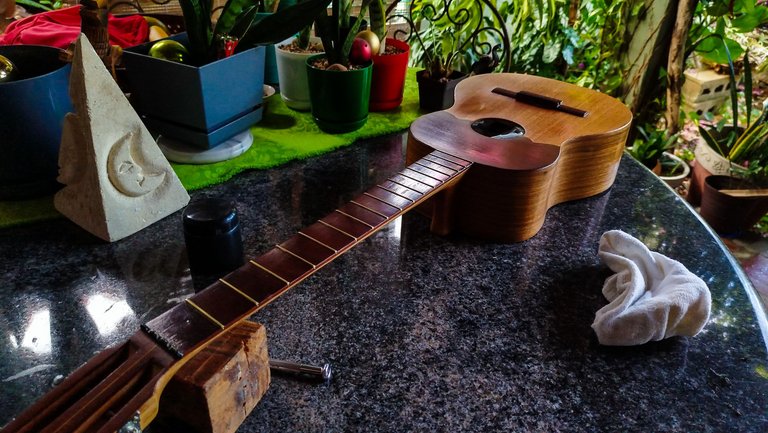
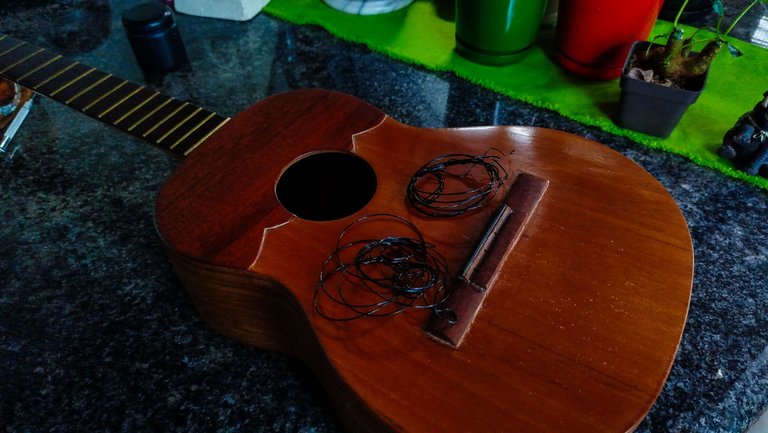
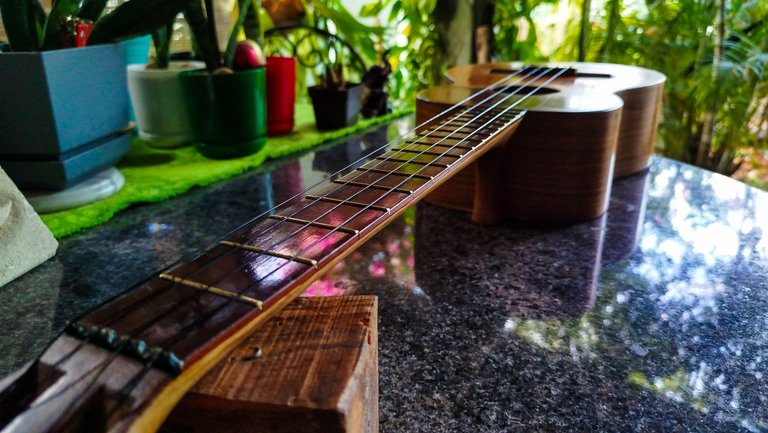
Sanding for the nth time
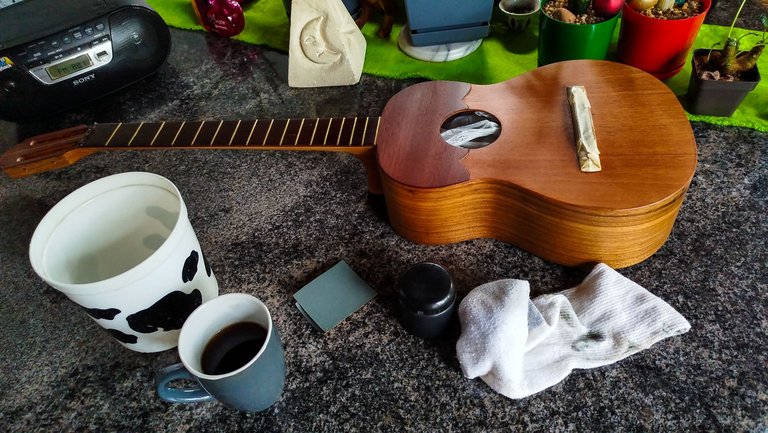
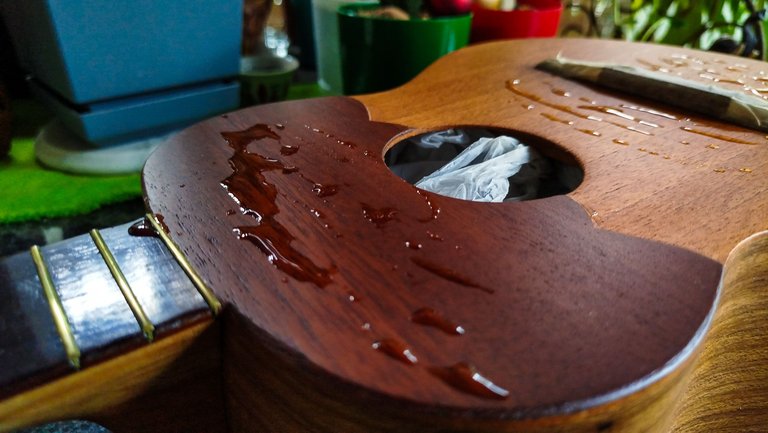
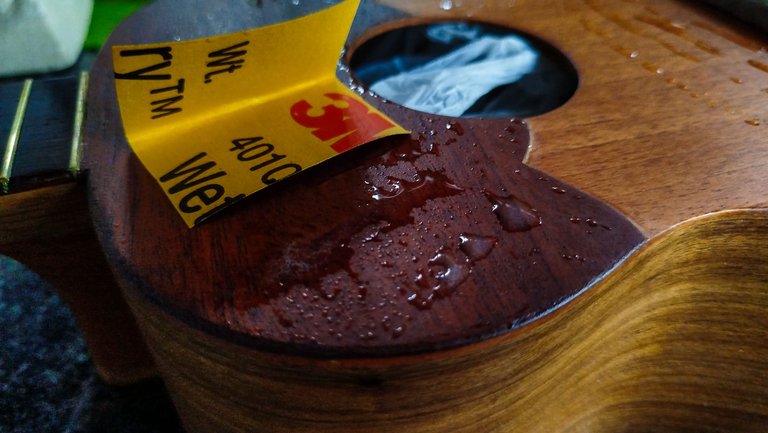
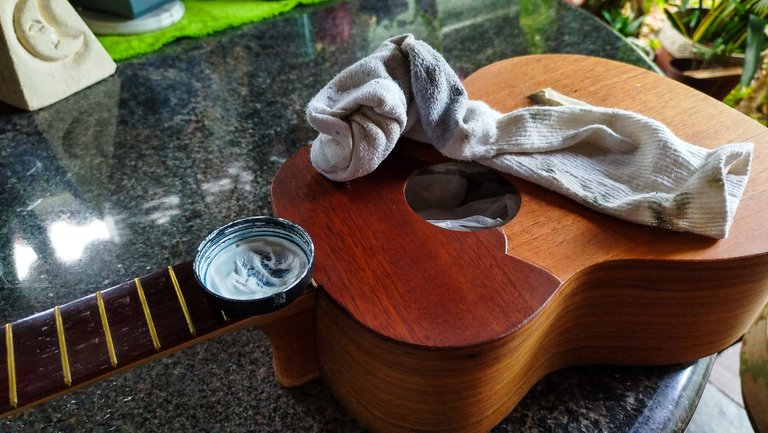
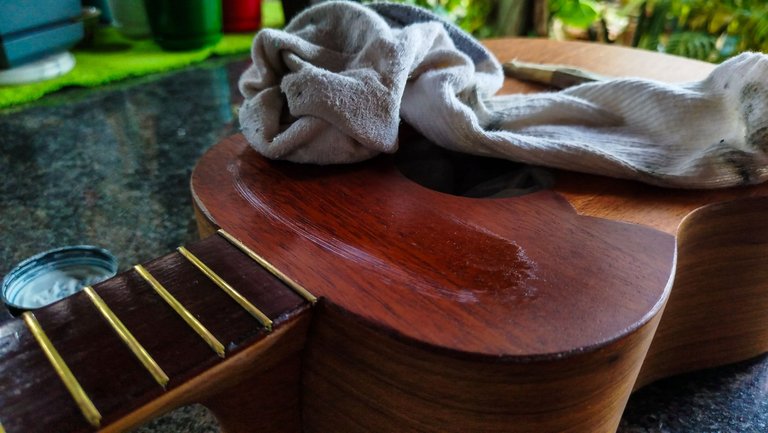

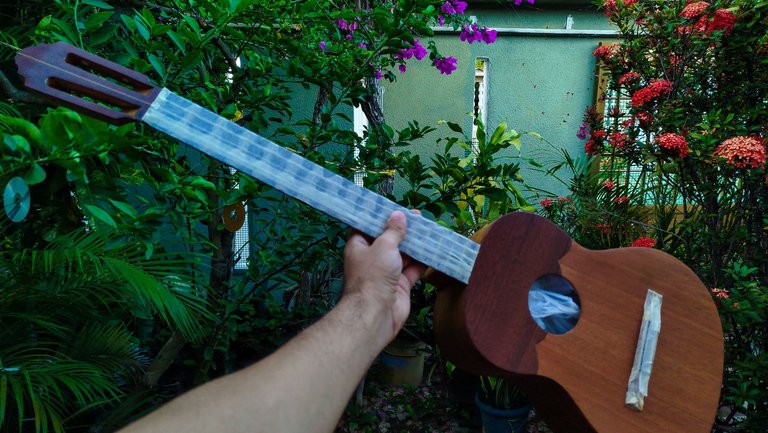
All roads lead to sanding. Now, it is time to do it for the last time. We need to have given the finish some time to dry properly. This bit of sanding is done with some water. The reason behind it is simple. We're trying to remove all the dust the outer layer of finish might have capture while it was fresh.
We use water and a 1500-grit piece of sandpaper to remove this dust. Also, we don't apply any pressure to the sandpaper and we need to stop once we start looking at the white particles gathering in the water. Then, we use a clean piece of cloth and keep repeating the process along the surface of the instrument.
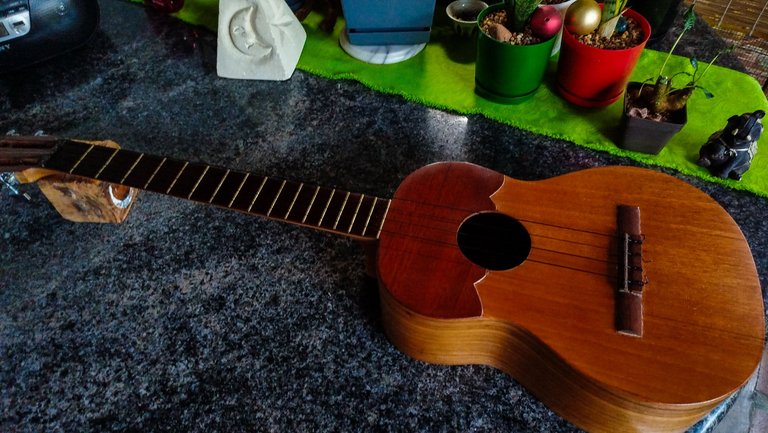
The next step is to apply wax to polish the surface. We are not going for a very bright and polished finished. The idea is to have a middle step between mate and polished. And for that we apply wax only once. We use a circular motion with it and then use a different cloth to remove it. This also help us even the looks after having passed sandpaper and water.
The last details.
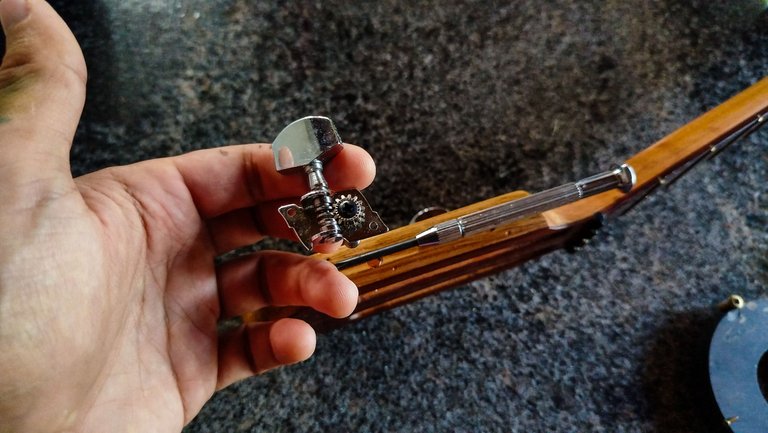
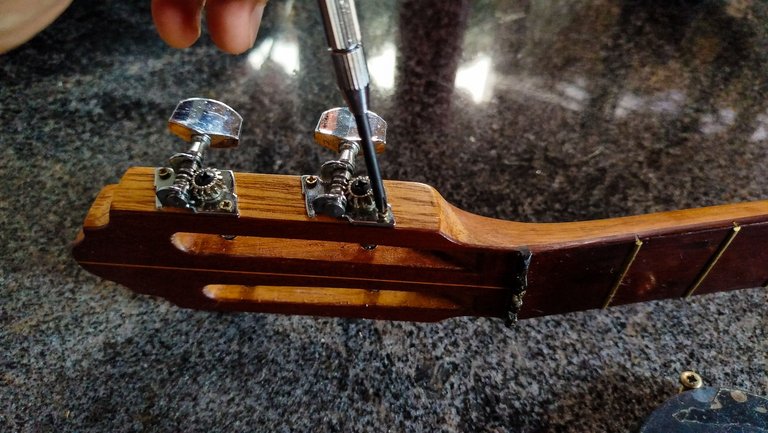

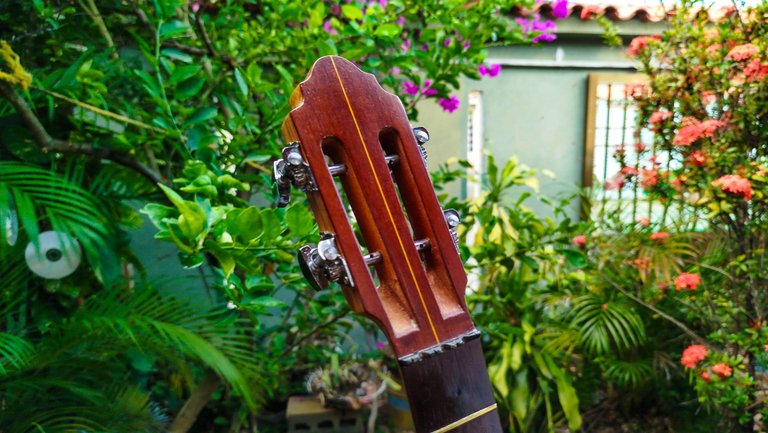
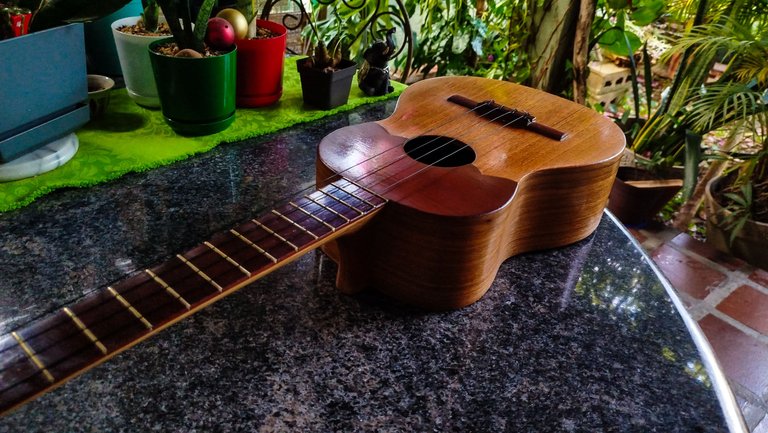
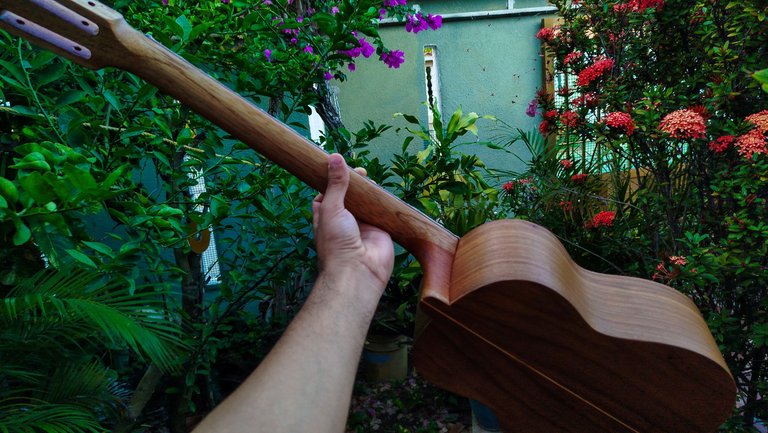
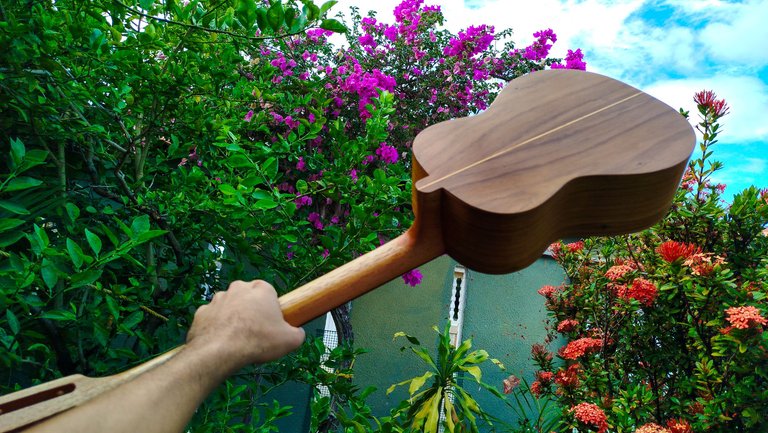
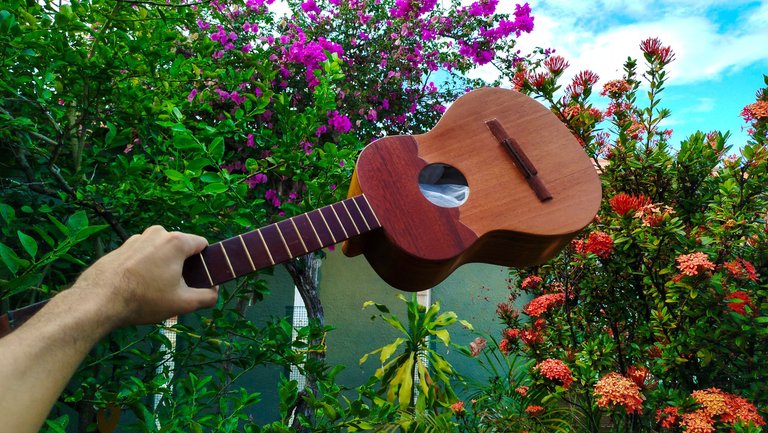
The last bits of this job are done by putting the tuners back into place and we finish by stringing up this instrument again. Then, it is just a matter of letting the wholeness of the project sink in and put a mental checkmark in our mind.
It is always interesting to get into the other side of luthierie works. Maintenance and repairs are not as flashy as making the instruments, but are more common jobs and the kind of thing any luthier should be able to do without too much trouble.
Thanks for following this series. See you on the next project!
| Entry | Title |
|---|---|
| 1 | Scrape, Scrape, Sand |
| 2 | New Coat, New Mask |
| 3 | Easier Task |
| 4 | Clean Frets |
Photos 📷: Redmi Note 13
Thumbnail 🖼️: Canva.
Editing 🎬:Adobe Photoshop Lightroom.

Follow me on Instagram for enquires and commission.
If you'd like to help the workshop grow, you can make a donation here. You can find me at discord as bertrayo#1763
Nicely done, good job 👍
Thanks a lot
Siempre es un gusto pasar y ver su trabajo amigo, mucha atención al detalle y constancia.
Que siga así por muchos años.
Muchas gracias, mi estimado. Por ahí siempre avanzando de a poco.