Español:
Materiales:
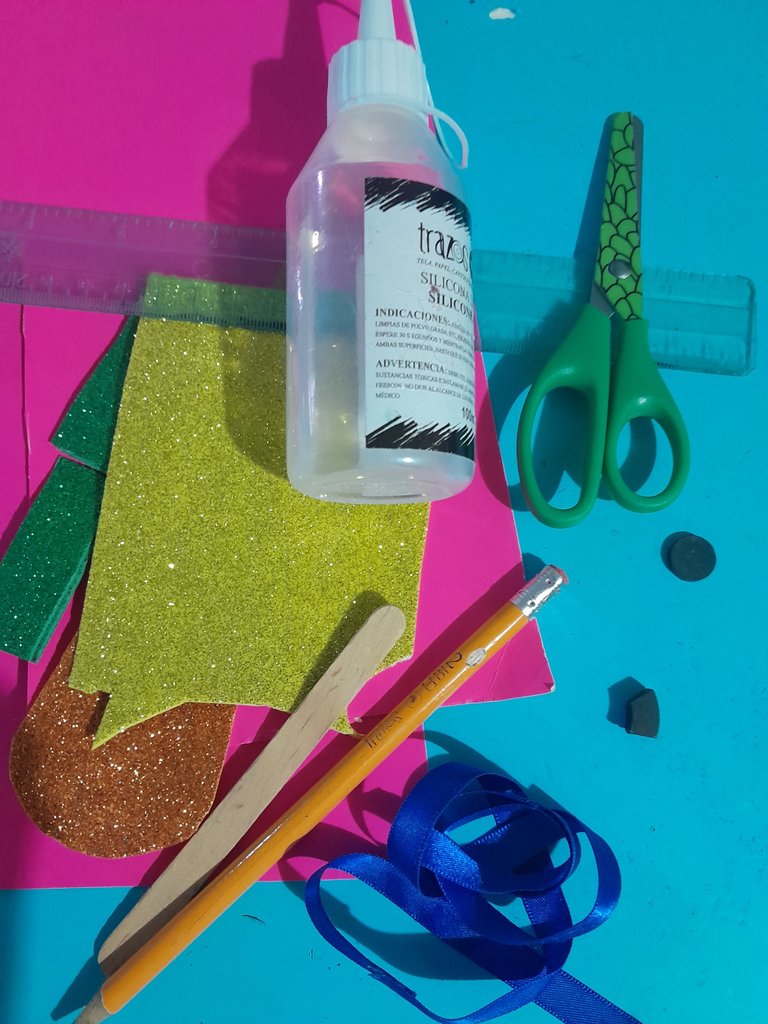
- 1 paleta de madera.
- Cinta de tela.
- Cartulina.
- foami.
- Silicon.
- Lápiz.
- Tijera.
- Regla.
- Imán.
English:
Materials:
- 1 wooden palette.
- Cloth tape.
- cardboard.
- foami.
- silicon.
- pencil.
- Scissors.
- ruler.
- Magnet.

Español:
Paso 1:
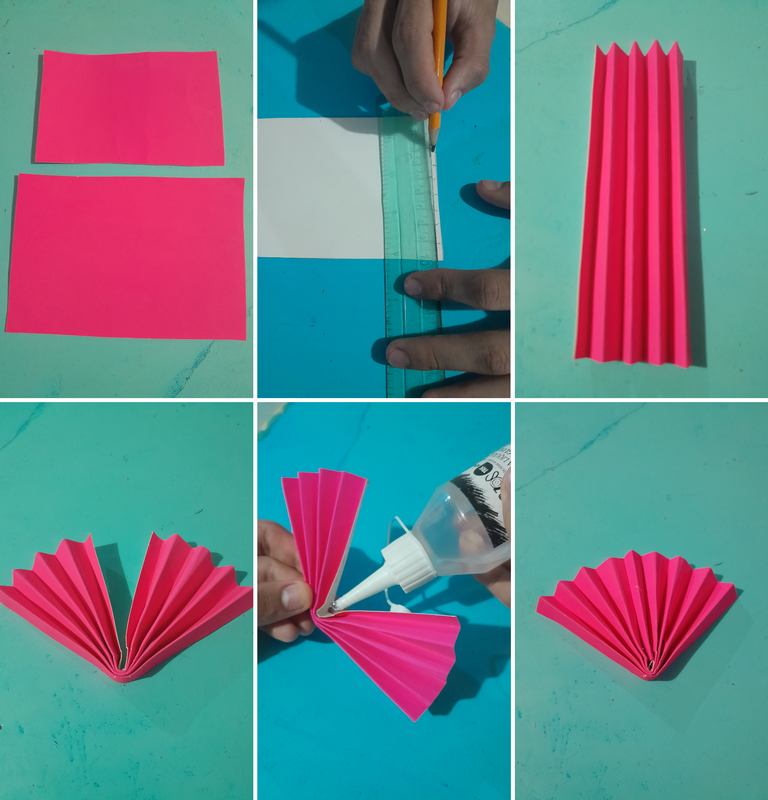
- Cortamos 2 trozos de cartulina, para hacer 2 abanicos uno más pequeño que el otro, uno de 14 x 12 cm, y el otro de 12 x 10 cm.
- Luego marcamos unas rayitas en ambos lados más pequeño de la cartulina a una distancia de 1 cm de cada una, para así guiarnos al doblar la cartulina en forma de acordeón, después la doblamos por la mitad, la pegamos y abrimos quedando en forma de abanico.
English:
Step 1:
- We cut 2 pieces of cardboard, to make 2 fans, one smaller than the other, one of 14 x 12 cm, and the other of 12 x 10 cm.
- Then we mark some lines on both smaller sides of the cardboard at a distance of 1 cm from each other, to guide us when folding the cardboard in the shape of an accordion, then we fold it in half, glue it and open it in the shape of a fan.

Español:
Paso 2:
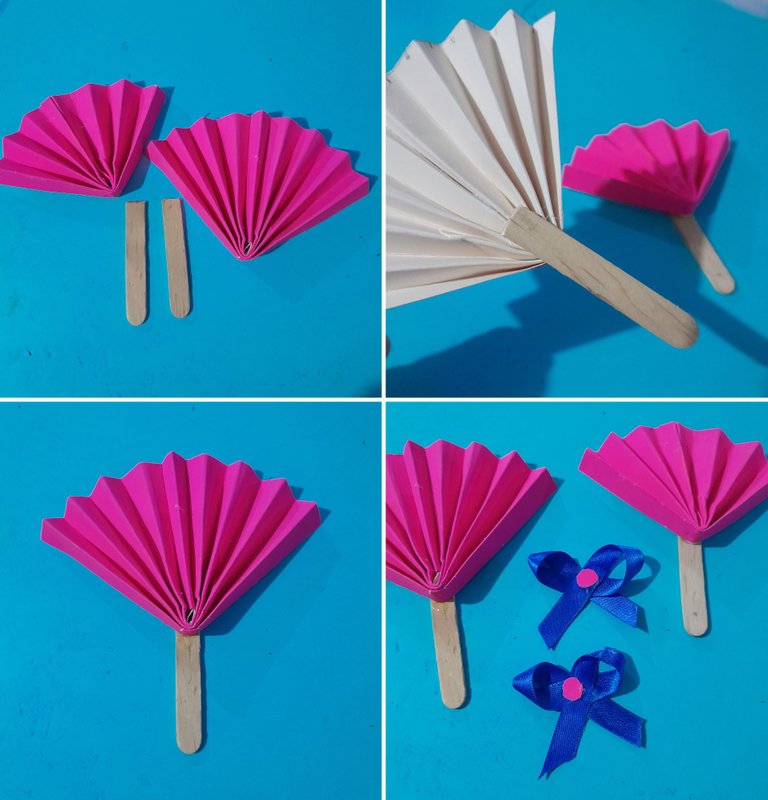
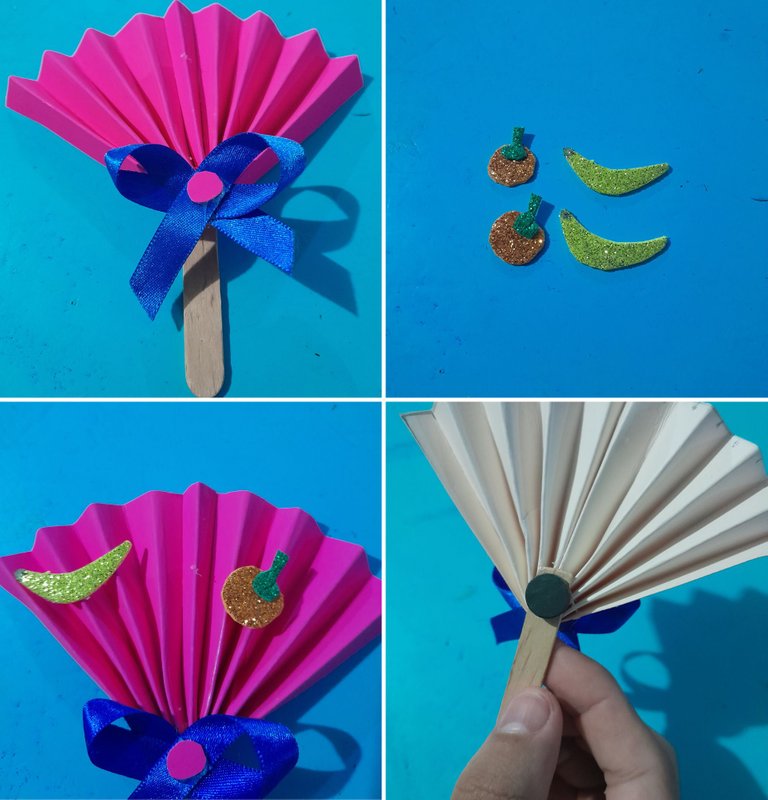
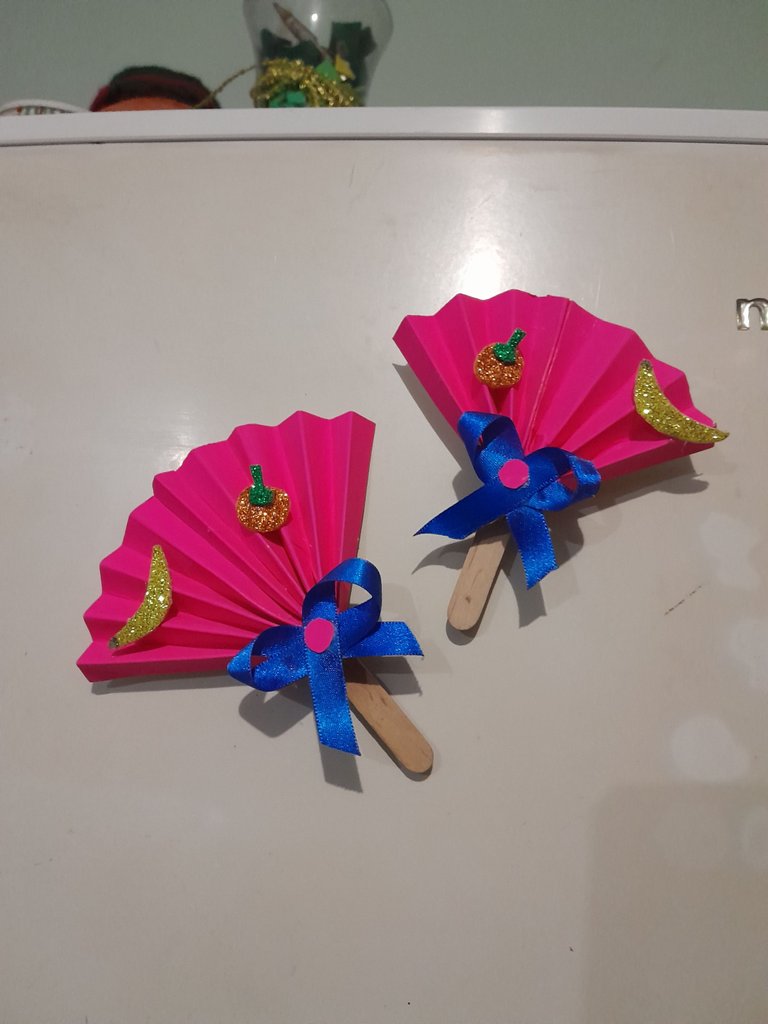
- Luego cortamos la paleta de madera por la mitad, la pegamos en la parte de atrás, y hacemos los 2 lazitos con la cinta azul colocándole un círculo de la misma cartulina al centro del lazo.
English:
Step 2:
- Then we cut the wooden pallet in half, glue it on the back, and make the 2 small loops with the blue ribbon by placing a circle of the same cardboard in the center of the loop.

Español:
Paso 3:
- Ahora procedemos a pegar el lazo en la parte de abajo del abanico donde esta la unión de la paleta de manera.
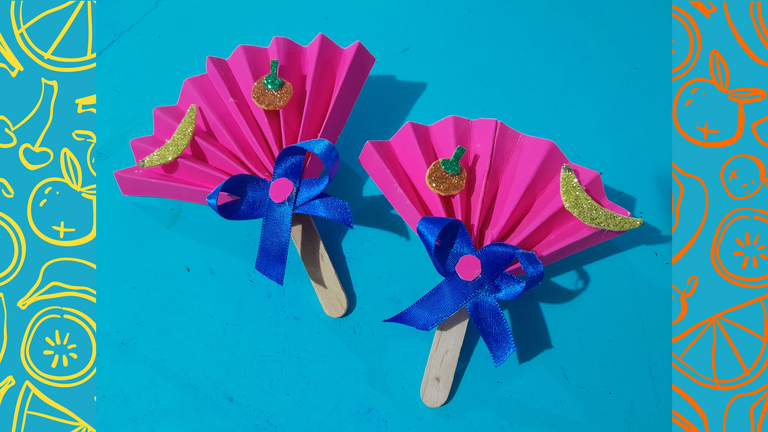
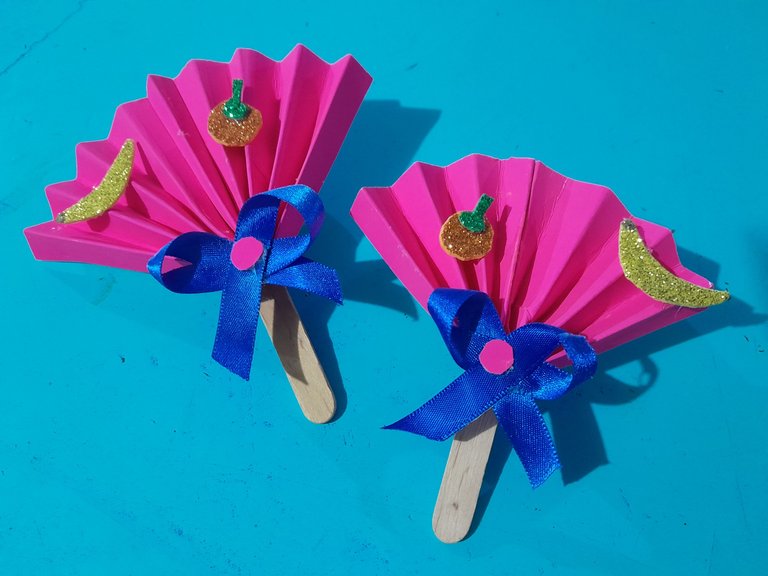
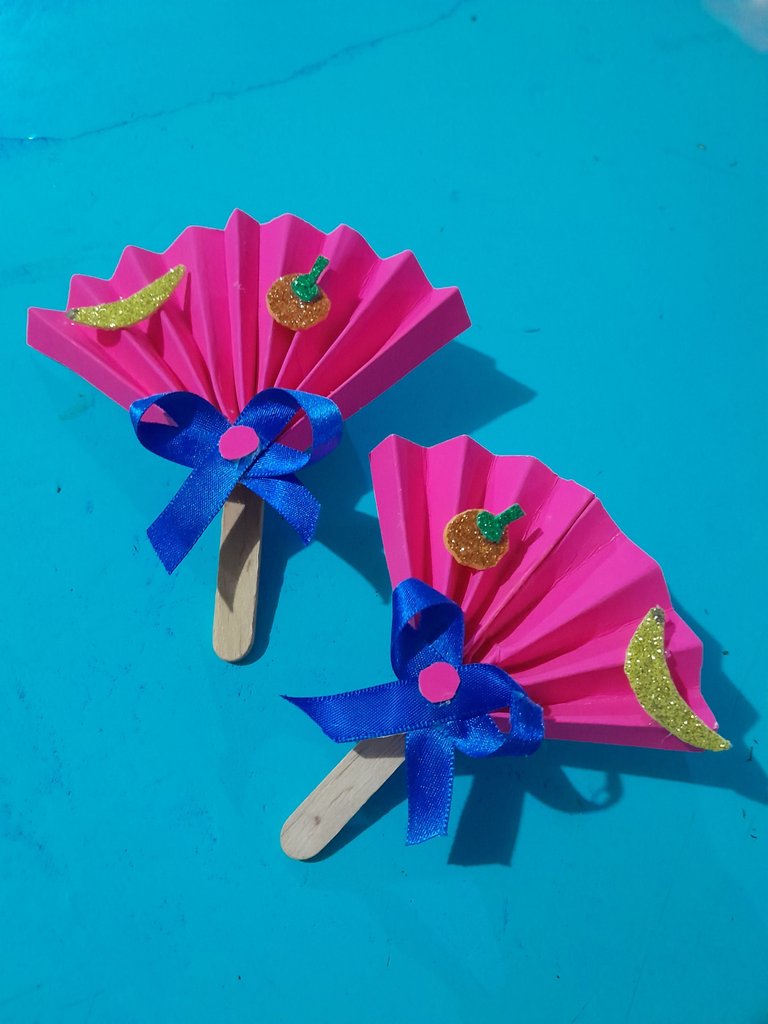
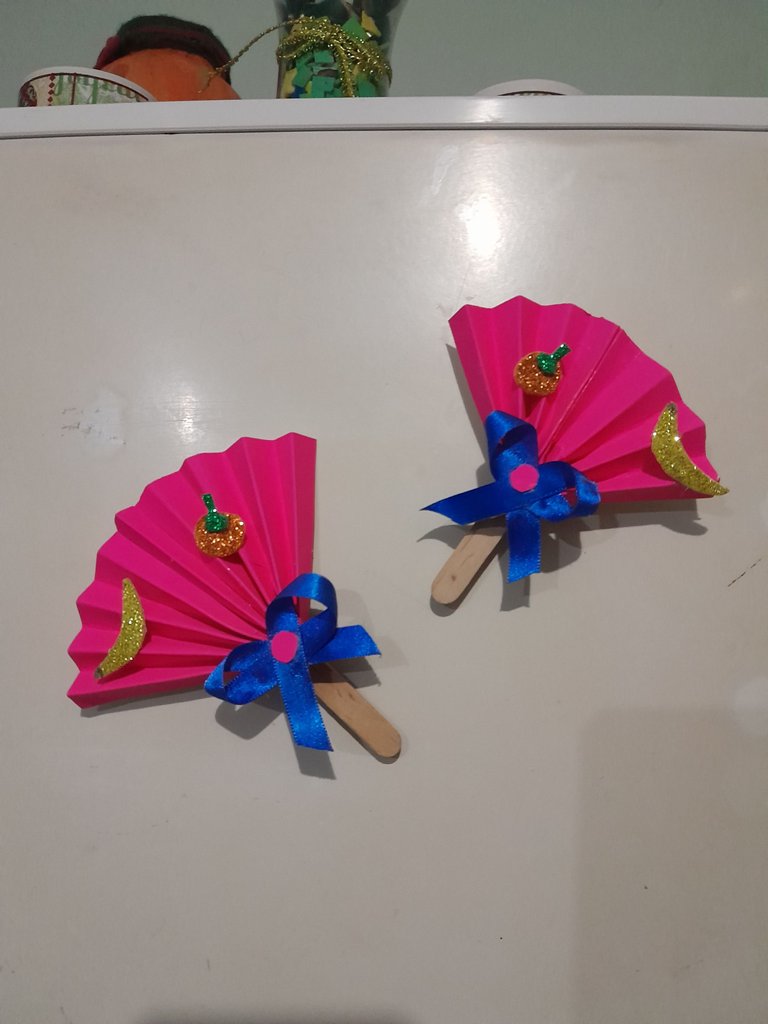
- Luego dibujamos y recortamos una naranja y un cambur en el foami, lo pegamos al abanico para decorarlo, y terminamos pegando el imán en la parte de atrás. Espero les haya gustado este pequeño detalle para decorar nuestra nevera.
English:
Step 3:
- Now we proceed to glue the ribbon at the bottom of the fan where the palette is attached.
- Then we draw and cut out an orange and a sweet potato in the foami, we glue it to the fan to decorate it, and we finish by gluing the magnet on the back. I hope you liked this little detail to decorate our fridge.

Saludos gracias por leer mi blog, nos vemos la próxima.
Greetings thanks for reading my blog, see you next time.

Todas las fotos son de mi autoria y editadas con Canva.
Traductor: DeepL Traslate.
All photos are my own and edited with Canva. Translator: DeepL Traslate.


Traductor: DeepL Traslate.
All photos are my own and edited with Canva. Translator: DeepL Traslate.


Thank you for sharing this post on HIVE!
Your content got selected by our fellow curator ashikstd & you just received a little thank you upvote from us for your great work! Your post will be featured in one of our recurring compilations which are aiming to offer you a stage to widen your audience within the DIY scene of Hive. Stay creative & HIVE ON!
Please vote for our hive witness <3
Hola @brahiam15, un hermoso detalle para adornar la nevera, además sencillo de realizar, gracias por compartir.
Bendiciones!
Gracias amiga @belkyscabrera por tu comentario, saludos feliz día.