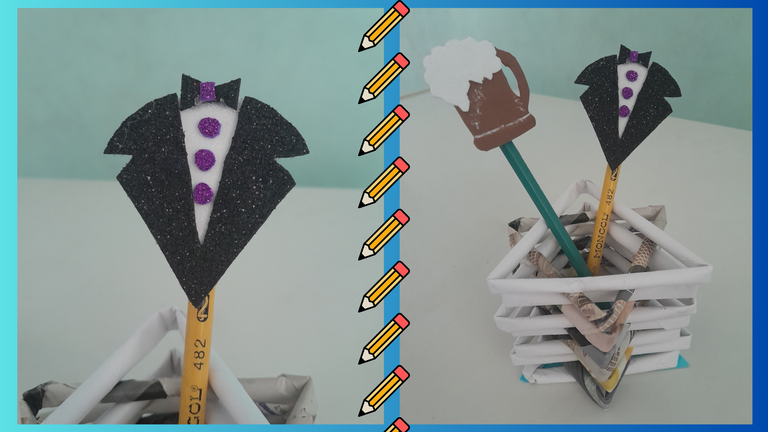
Hello dear and appreciated craft friends, it is a pleasure to be sharing a nice detail for father's day, a beautiful pencil decorated with foami to give to dad, very simple to make. Let's start.
Español:
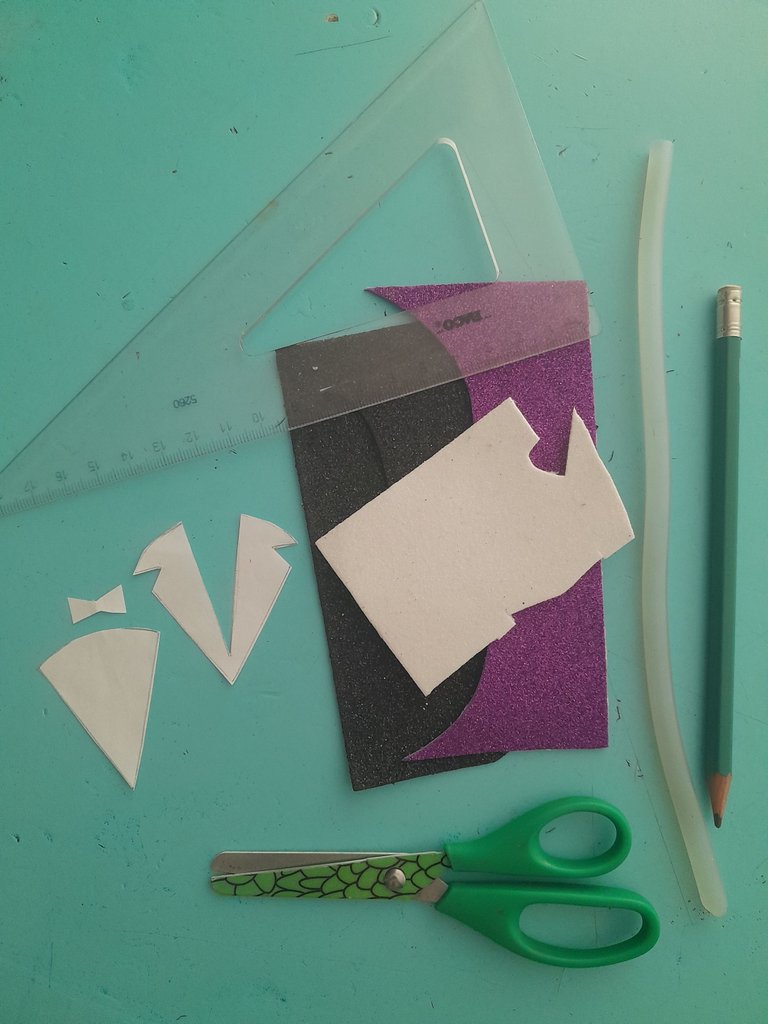
Materiales:
- Foami blanco, morado y negro.
- El patrón de un chaleco con corbatín, recortado en una hoja de papel.
- Silicon.
- Lápiz.
- Tijera.
- Regla.
English:
Materials:
- White, purple and black foami.
- Pattern of a vest with tie, cut out on a sheet of paper.
- Silicon.
- Pencil.
- Scissors.
- Ruler.

Español:
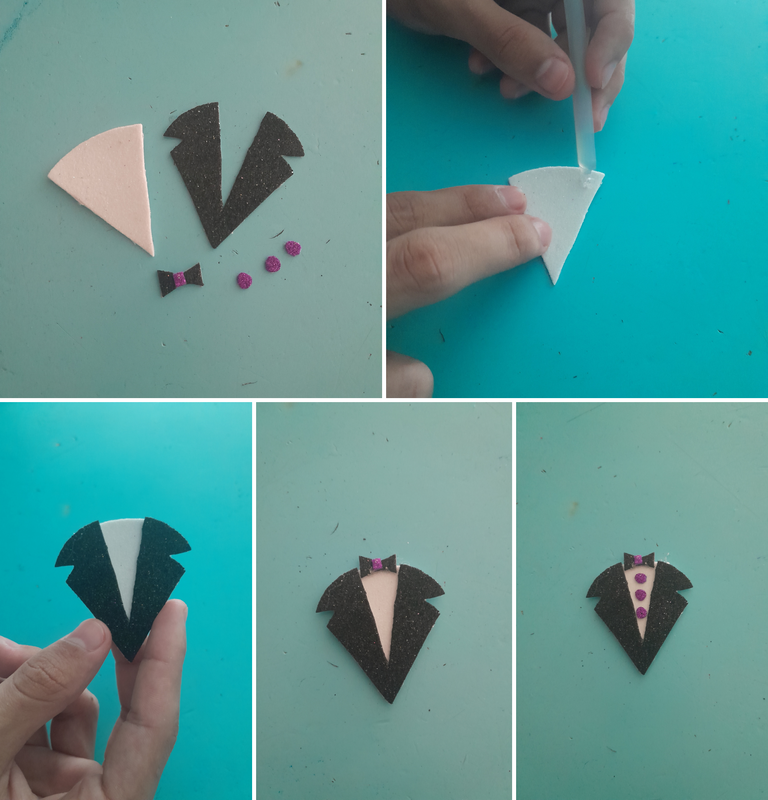
Paso 1:
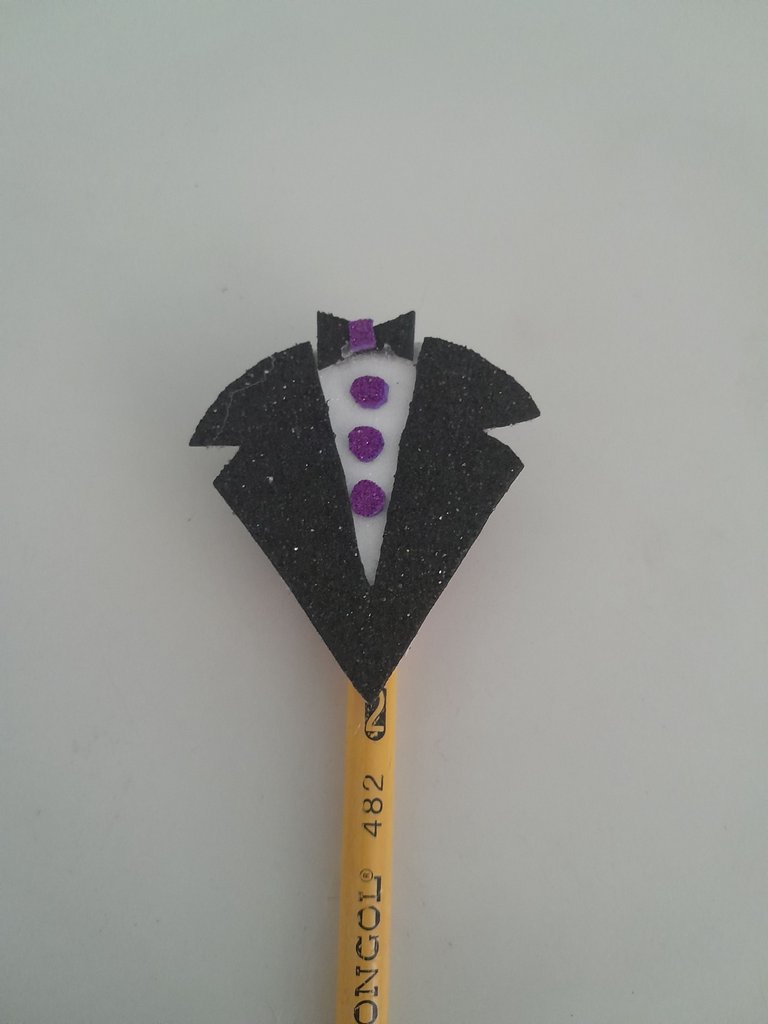
- Con el patrón de papel lo marcamos con el lápiz en el foami y recortamos, luego pegamos con silicon caliente las dos primeras piezas del chaleco así como lo muestro en la foto, después el corbatín y 3 círculos pequeños de foami morado que vendrían siendo los botones.
English:
Step 1:
- With the paper pattern we mark it with the pencil on the foami and cut it out, then we glue with hot silicone the first two pieces of the vest as shown in the photo, then the tie and 3 small circles of purple foami that would be the buttons.
Español:
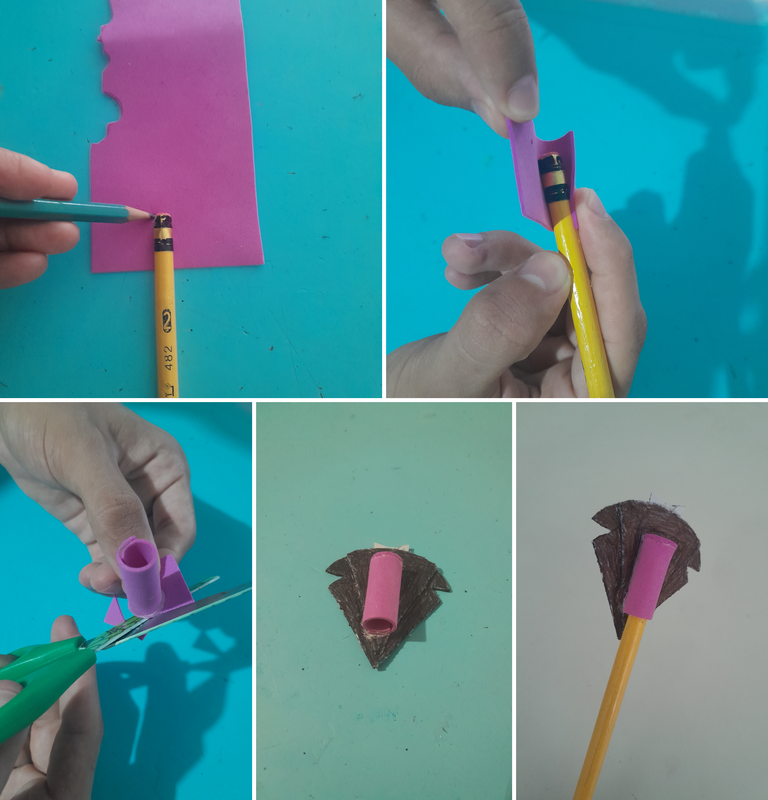
Paso 2:
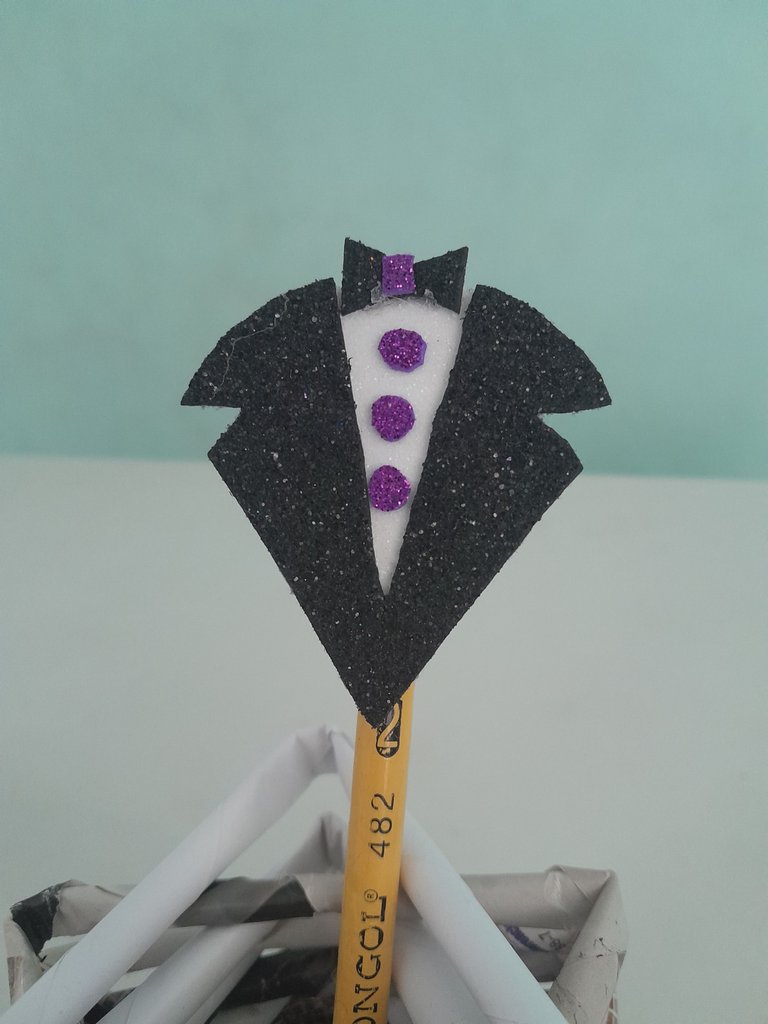
- ahora marcamos y recortamos un rectángulo de 3 x4 cm en el foami morado, esta medida es tomando en cuenta el grosor del lápiz y la altura hasta donde quieras introducir el lápiz, luego enrollamos el rectángulo ya recortado quedando en forma de un cilindro y lo tapamos en la parte de arriba pegando un pedacito del mismo foami, recortamos lo que sobra al rededor del cilindro con la tijera, para luego pegarla en la parte de atrás.
English:
Step 2:
- Now we mark and cut a rectangle of 3 x4 cm in the purple foami, this measure is taking into account the thickness of the pencil and the height to where you want to insert the pencil, then we roll the rectangle already cut in the shape of a cylinder and cover it at the top by gluing a piece of the same foami, cut what is left around the cylinder with the scissors, and then paste it on the back.
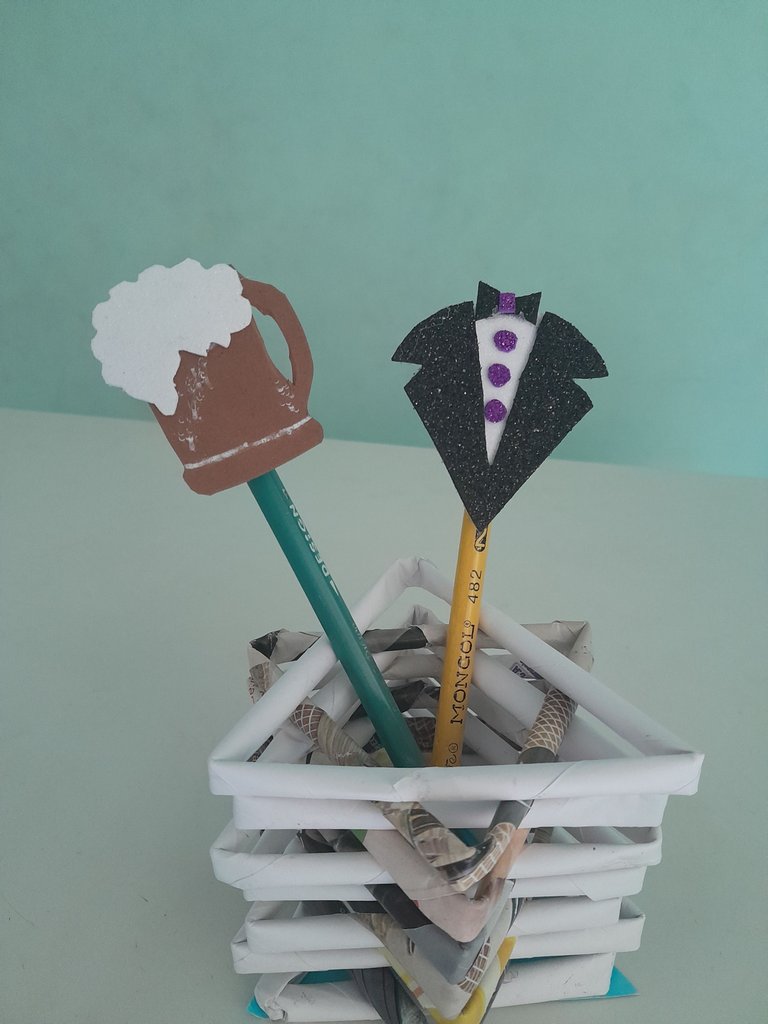
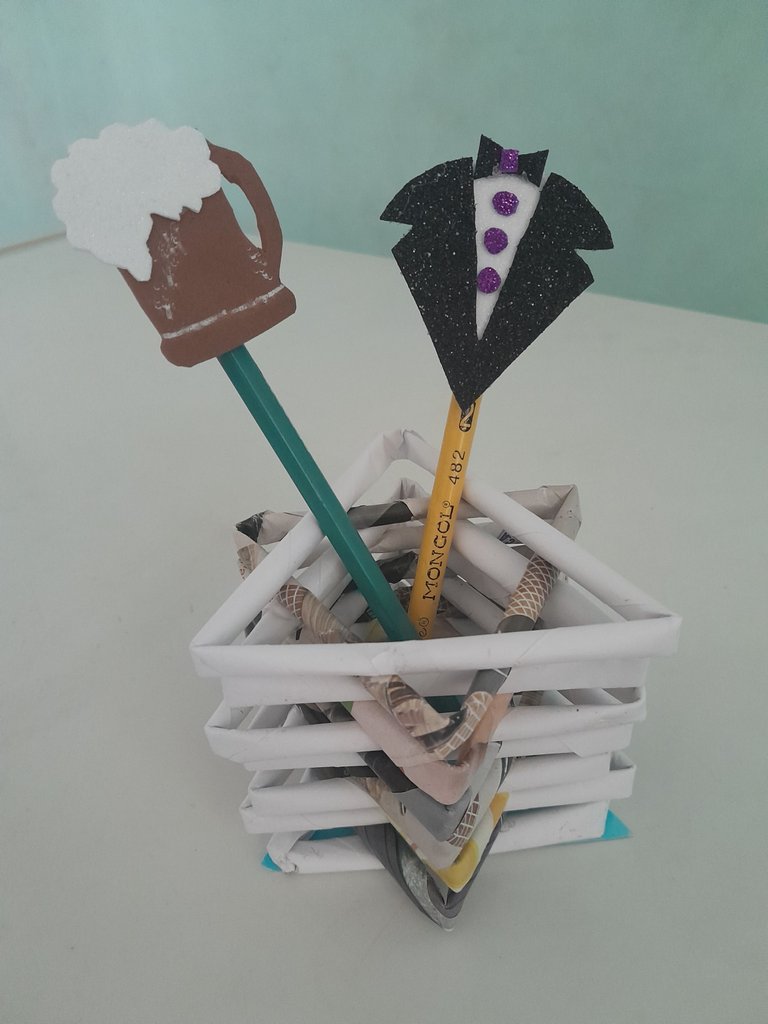
Resultado final, saludos nos vemos en el próximo post.
Final result, greetings and see you in the next post.

Todas las fotos son de mi autoria y editadas con Canva.
Traductor: DeepL Traslate.
All photos are my own and edited with Canva. Translator: DeepL Traslate.
Traductor: DeepL Traslate.
All photos are my own and edited with Canva. Translator: DeepL Traslate.
!discovery 30
!DIY
This post was shared and voted inside the discord by the curators team of discovery-it
Join our Community and follow our Curation Trail
Discovery-it is also a Witness, vote for us here
Delegate to us for passive income. Check our 80% fee-back Program
thank you for your valuable support.
Está muy cuchi. Me gustó mucho ese mini trajecito.
Gracias, que buen comentario, saludos.
Congratulations @brahiam15! You have completed the following achievement on the Hive blockchain And have been rewarded with New badge(s)
Your next target is to reach 400 replies.
You can view your badges on your board and compare yourself to others in the Ranking
If you no longer want to receive notifications, reply to this comment with the word
STOPCheck out our last posts: