
Hello friends of HIVE, I hope you are very well, right now resuming my Posts with a lot of energy and a lot of strength! Since I was sick, my wife and I got a strong flu and right now, thank God, coming out of this discomfort.
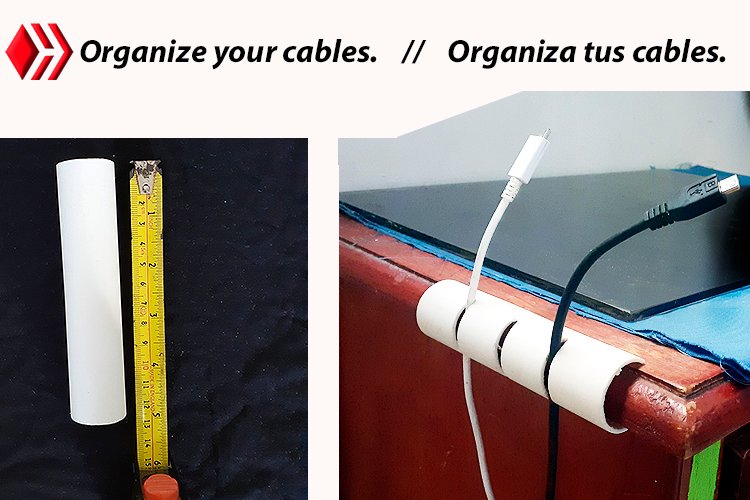
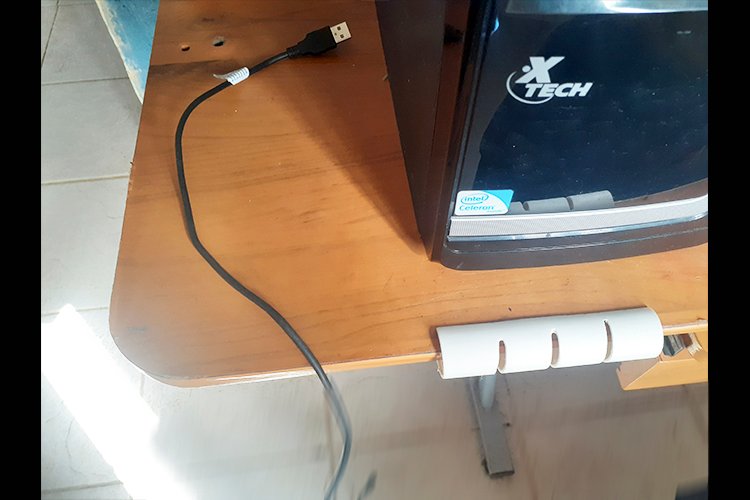
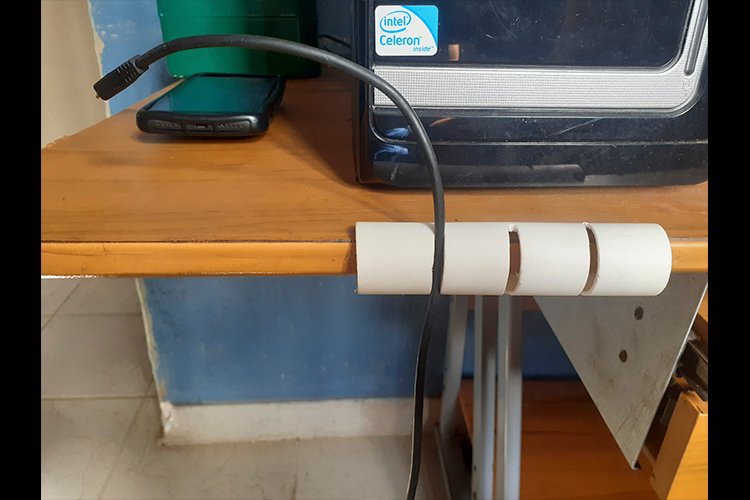
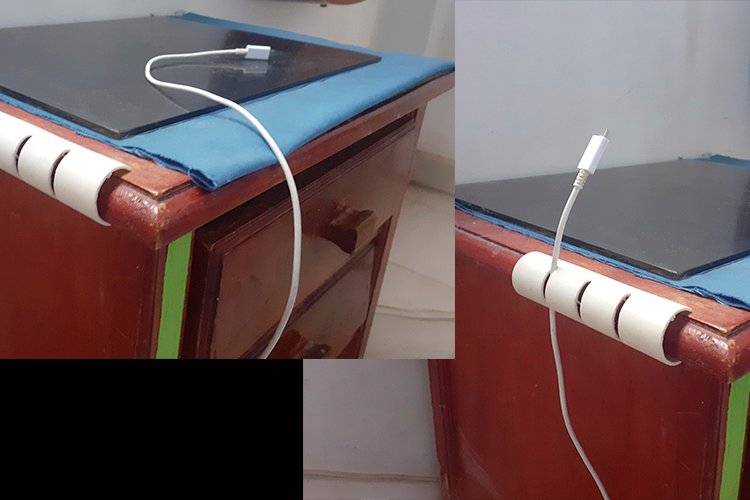
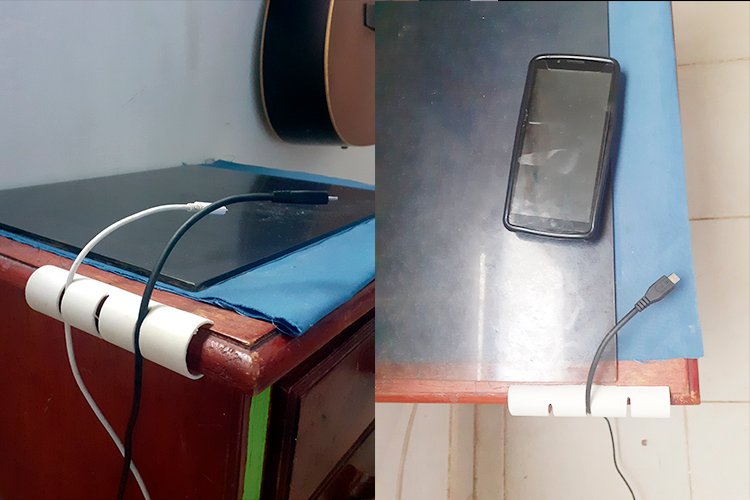
Well today I bring you a small cable order, this accessory gives us comfort, when it comes to keeping our cables in order, such as chargers on the pc table, on our nightstand or any table where you put your electronic equipment to charge, preventing the cable from falling to the ground by keeping it in place.
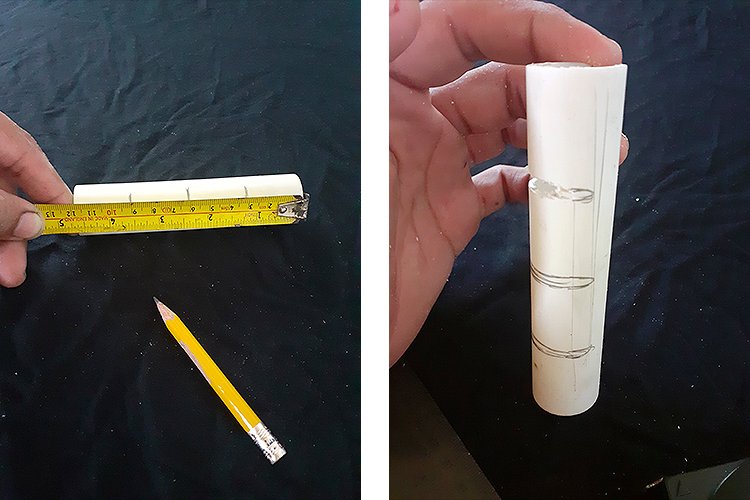
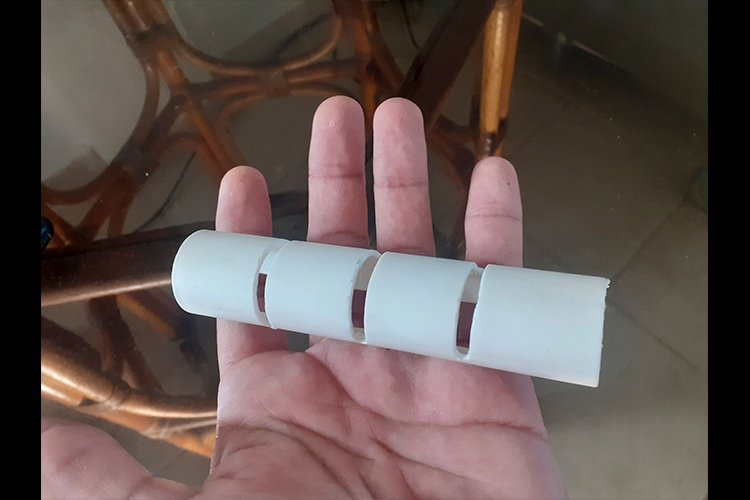
We can manufacture this accessory in many ways with materials available at home, I opted for the fastest and easiest way for me, with 12cm of PVC, and 3 openings for the telephone cables as an example, the number of openings that catch the wire can be the ones you need.
¡Hola amigos de HIVE, espero se encuentren muy bien, ahorita retomando mis Posts con bastante energía y mucha fortaleza! ya que estaba enfermo, a mi esposa y a mí nos agarró una fuerte gripe y ahorita gracias a Dios saliendo de este malestar.
Bueno hoy les traigo un ordena cable pequeño, este accesorio nos brinda comodidad, a la hora de mantener en orden nuestros cables, como los cargadores en la mesa del pc, en nuestra mesa de noche o cualquier mesa donde usted ponga a cargar sus equipos electrónicos, evitando que el cable caiga al suelo manteniéndolo en su lugar.
Este accesorio lo podemos fabricar de muchas maneras con materiales disponibles en casa, opte por la manera más rápida y fácil para mí, con 12cm de tuvo PVC, y 3 aberturas para los cables de los teléfonos de manera de ejemplo, el numero de aberturas que atrapan el cable pueden ser las que ustedes necesiten.
Let us begin;
Materials:
-12cm PVC pipe
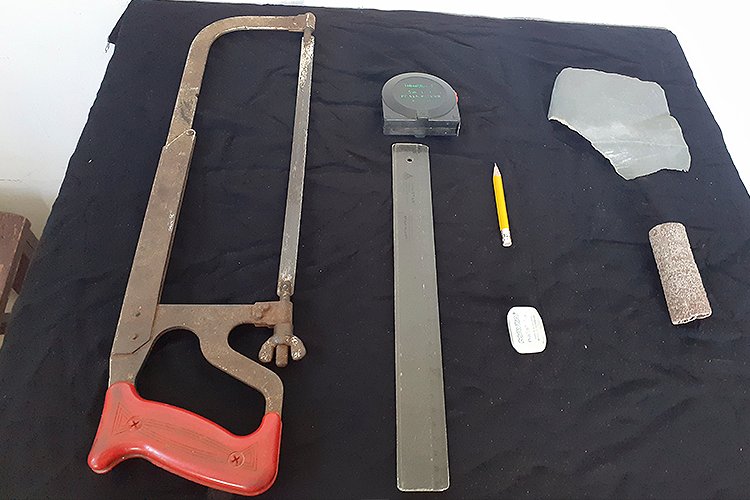
Tools:
-Hacksaw blade
-Rule
-Pencil
-Coarse and fine sandpaper.
Empecemos;
Materiales:
-12cm de tubo PVC
Herramientas:
-Hoja de segueta
-Regla
-Lápiz
-Lija gruesa y fina.
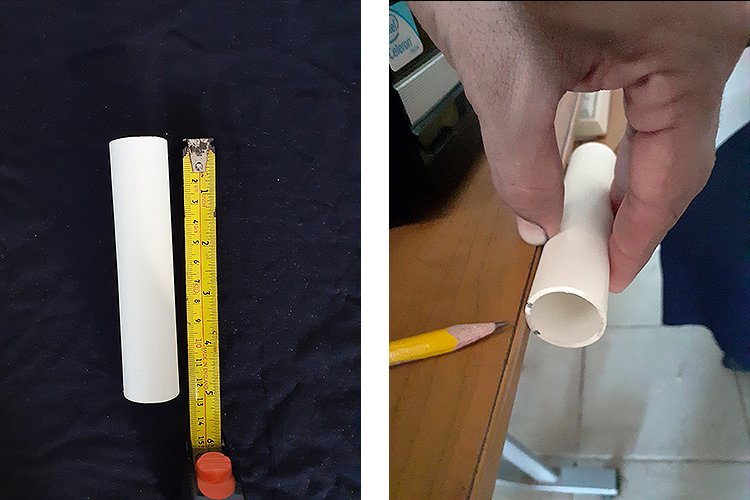
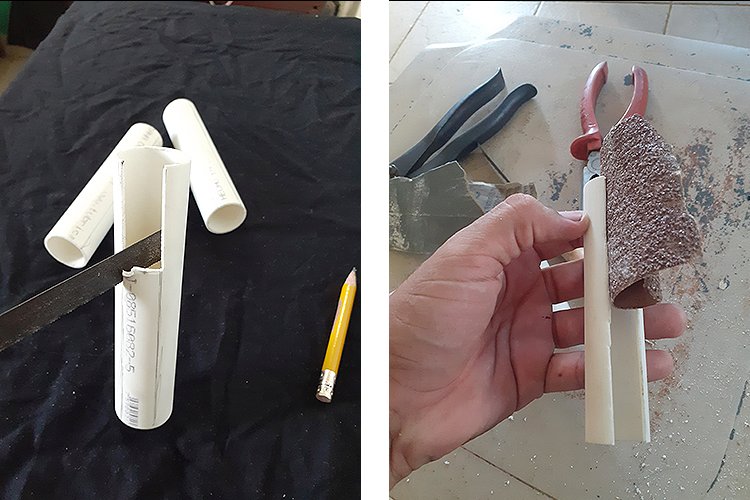
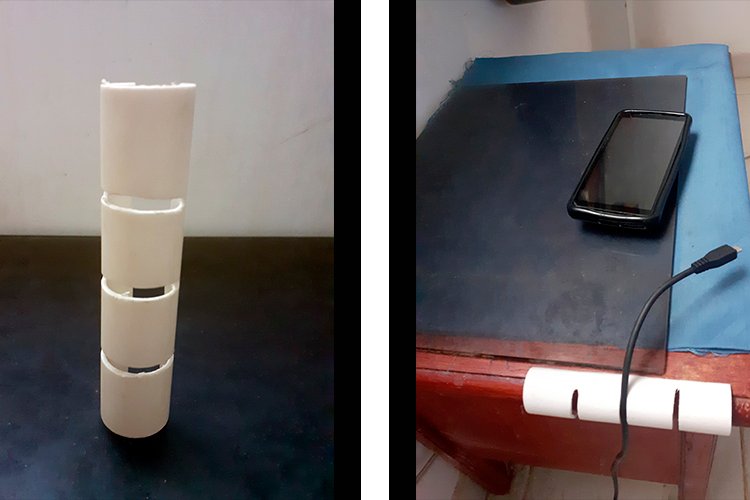
Step 1
• We cut 12cm of tube.
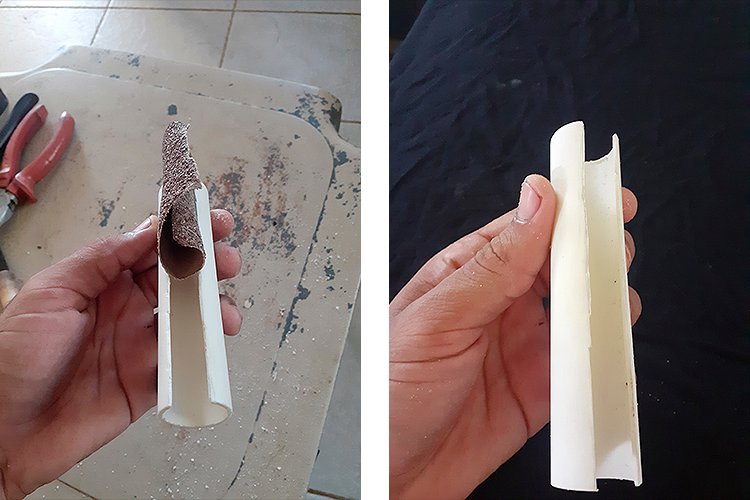
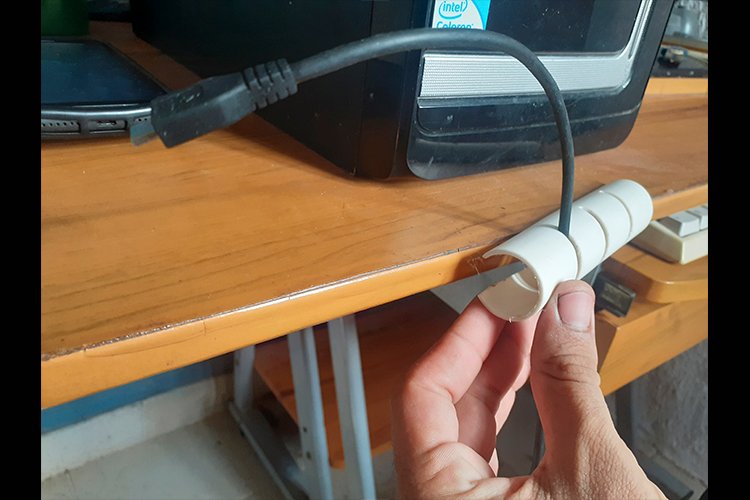
• We mark the estimated thickness of our table.
• We sand the edges.
Paso 1
• Cortamos 12cm de tubo.
• Marcamos el grosor estimado de nuestra mesa.
• Lijamos los bordes.
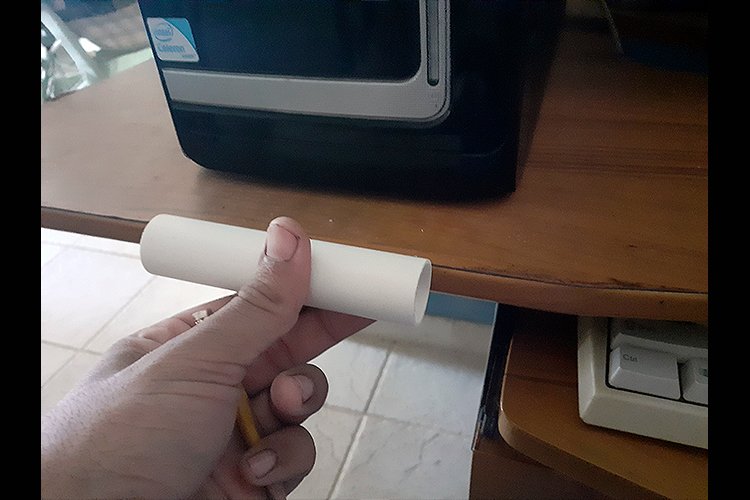
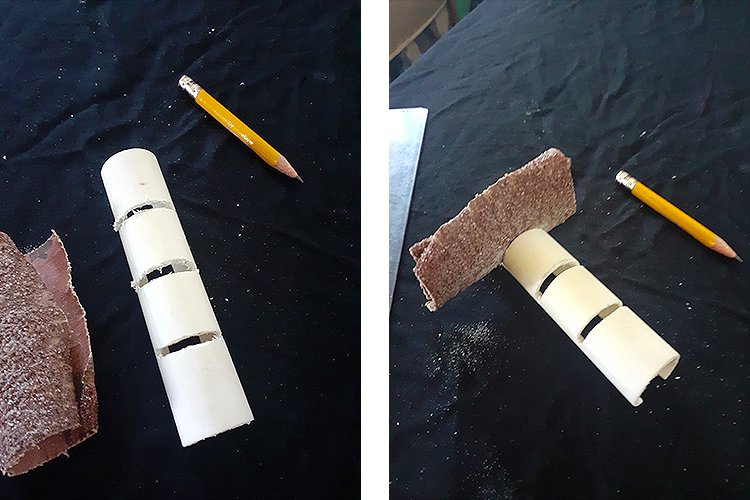
Step 2
• We draw on the surface where the openings that will catch the cables will go.
• We sand the openings and the exterior for a better finish.
Paso 2
• Dibujamos sobre la superficie donde irán las aperturas que atraparán los cables.
• Lijamos las aperturas y el exterior para un mejor acabado.

I hope you liked it! See you in my next post, Thanks and regards!
¡Espero les haya gustado! Nos vemos en mi próximo post, ¡Gracias y saludos!

Congratulations @carlossteele! You have completed the following achievement on the Hive blockchain and have been rewarded with new badge(s):
Your next target is to reach 2000 upvotes.
You can view your badges on your board and compare yourself to others in the Ranking
If you no longer want to receive notifications, reply to this comment with the word
STOPCheck out the last post from @hivebuzz: