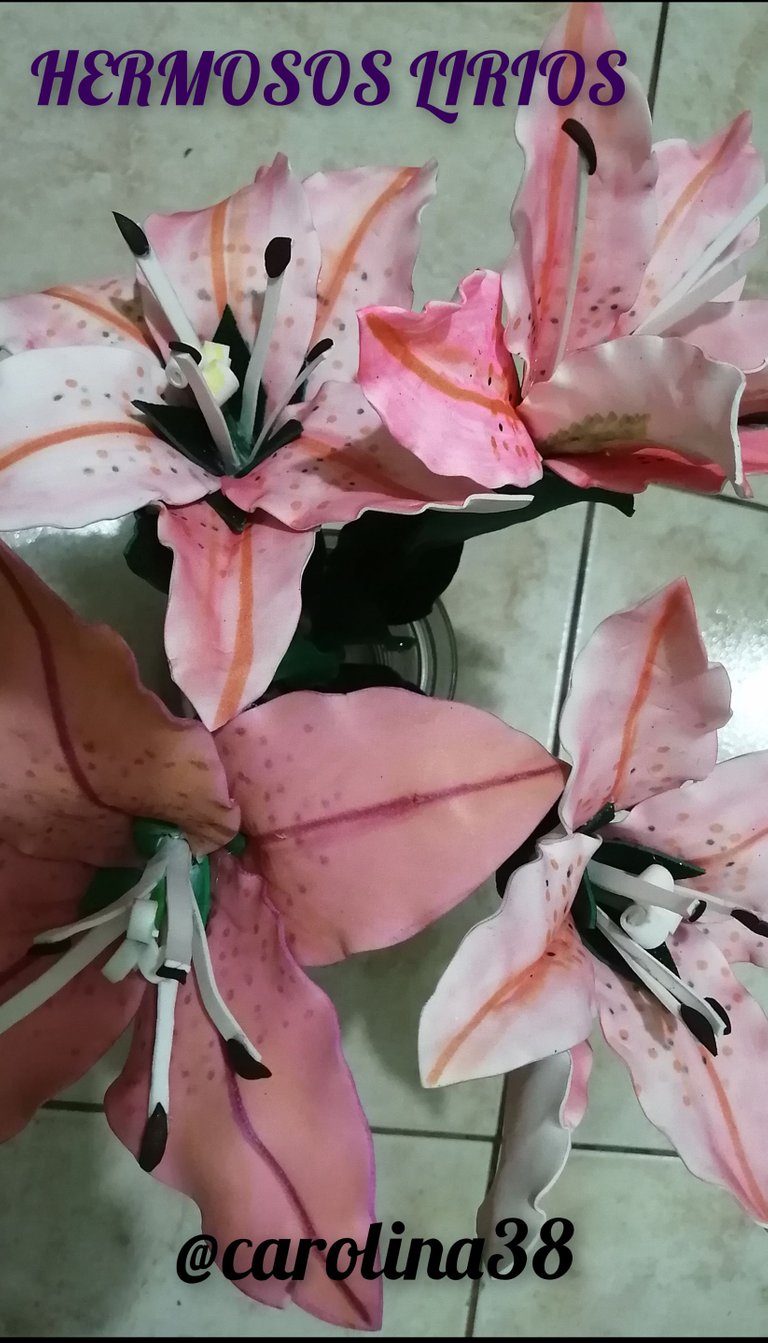
Buenos hermosa comunidad de hive diy dios me los bendiga hoy vengo con la elaboración de unas lindos y hermosos lirios hechos con material de goma eva esta pueden realizar para embellecer nuestro hogar o para regalar a amigos y familiares como obsequios esperi y les guste la realizacion y puedan aprender algo creativo y embellecedor.
Hello beautiful community of hive diy god bless me today I come with the development of a cute and beautiful lilies made with eva rubber material this can be done to beautify our home or to give to friends and family as gifts esperi and like the realization and can learn something creative and beautifying.
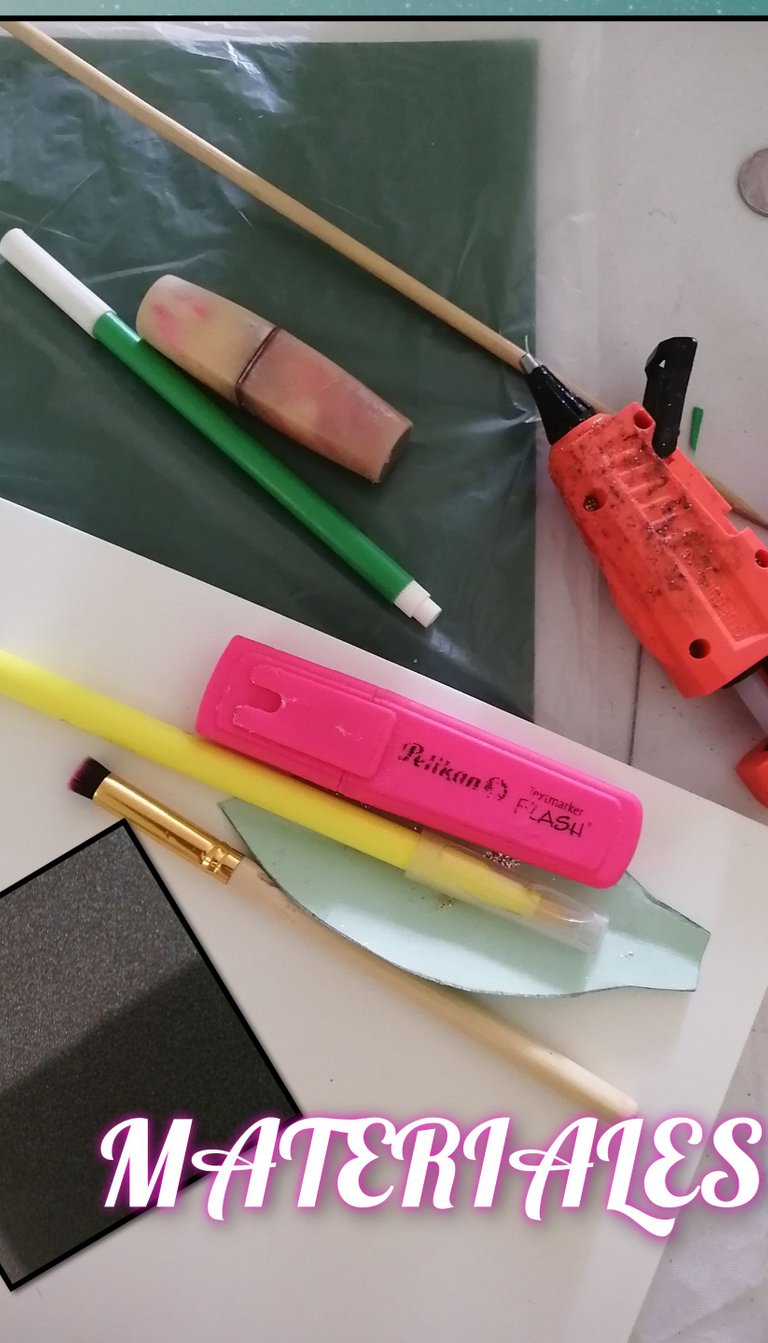
Materiales
_ foami color blanco
_ marcadores
_ pistola de silicon
_ tijera
_ patrones
_ pincel
- labial
-palitos de altura
_ foami escarchado color verde
_ cinta floral
_ foami marron oscuro
_ Patrones
Materials
_ white foami
_ markers
silicone gun
_ scissors
_ stencils
_ brush
- lipstick
-height sticks
_ green frosted foami
_ floral tape
_ dark brown foami
Patterns
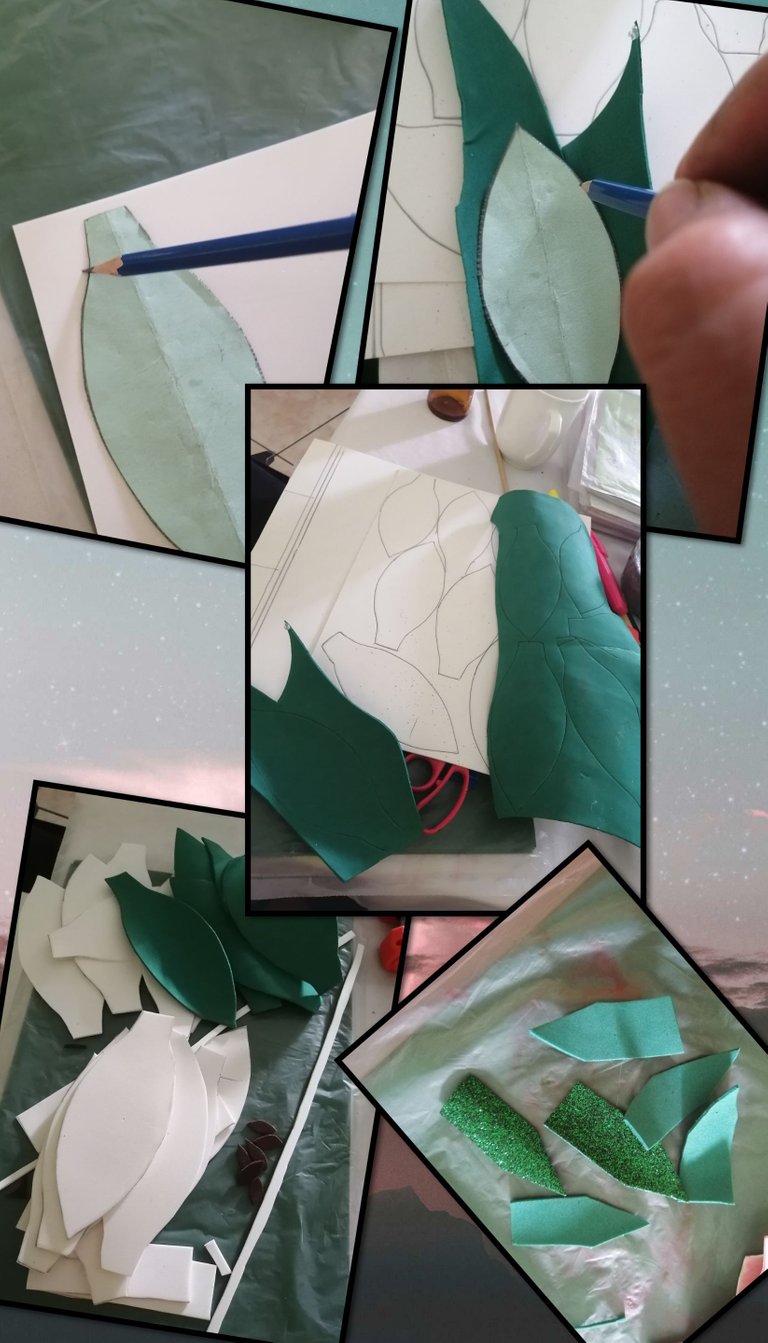
Marcamos y recortamos los patrones en los distinios colores de foami o goma eva col la ayuda de un patron que sirvira para hojas y flores de 4.5cm x 8cm.
We mark and cut out the patterns in the different colors of foami or eva rubber with the help of a pattern that will serve for leaves and flowers of 4.5cm x 8cm.
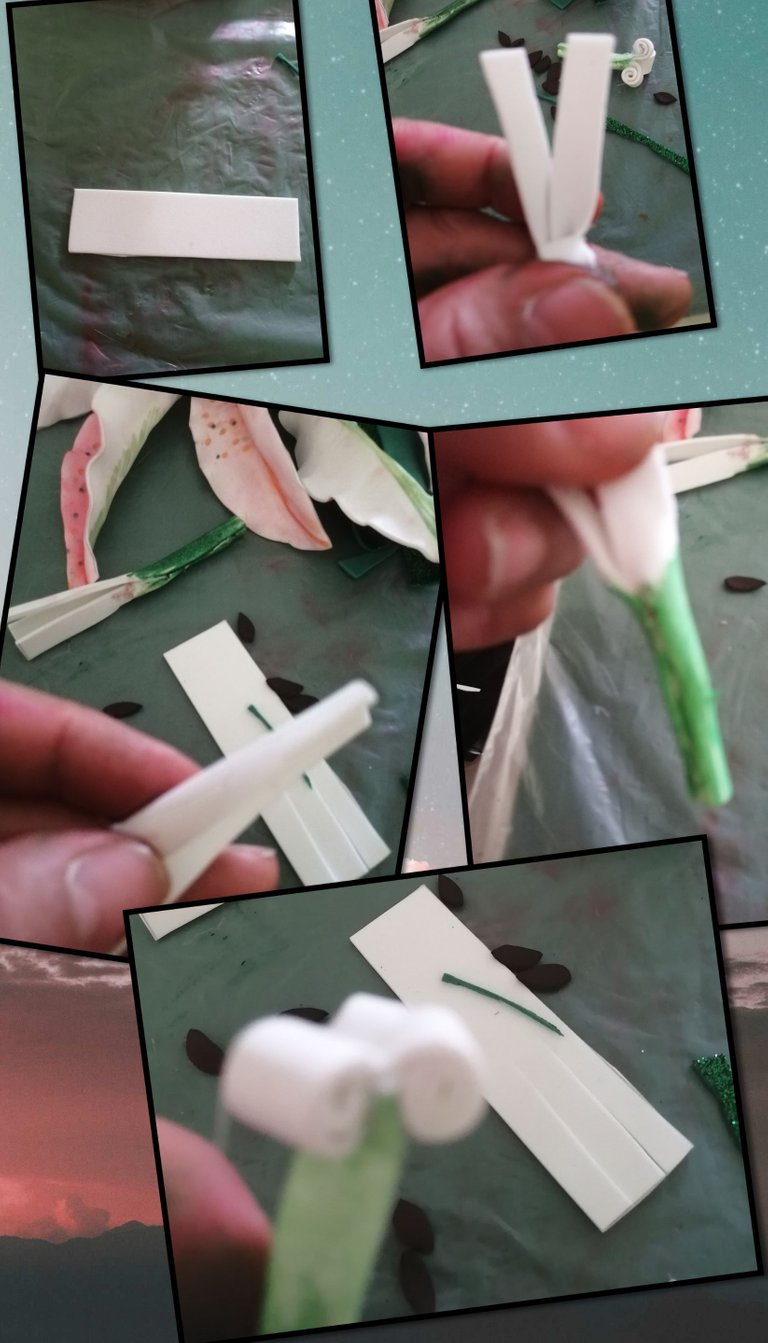
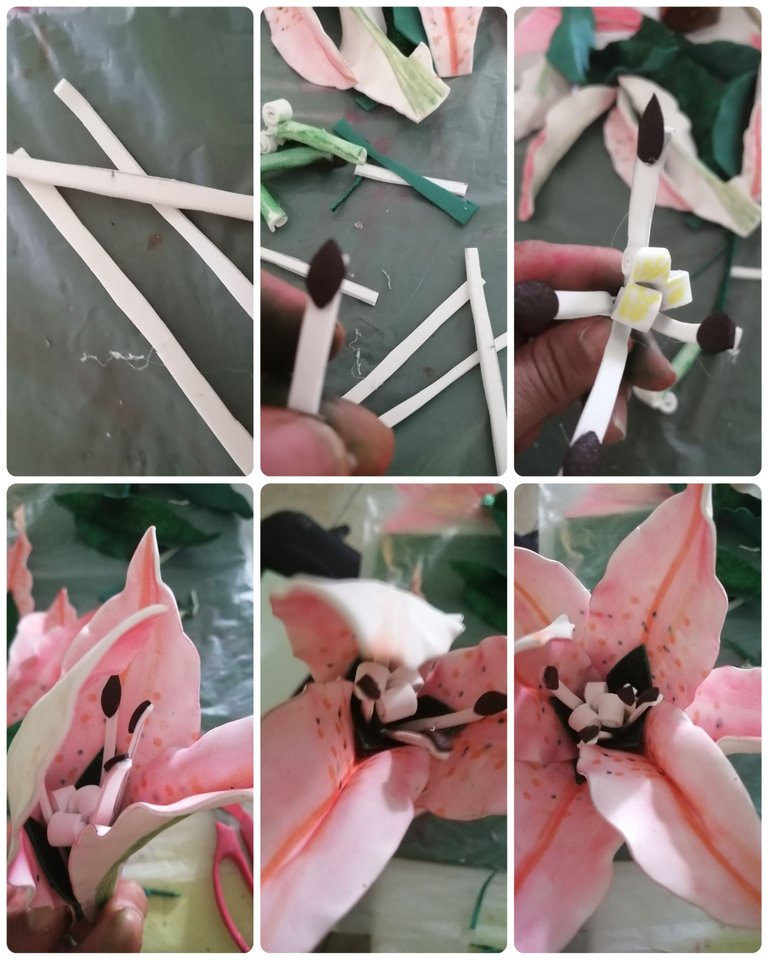
_ ahora recortamos tiras de 2.5cm x 8cm y de 1cm x8cm esto serviran como los colgantes de las semillas y pistilos, le haremos alas tiras de 2.5x 8cm dos cortes a la altura de 2 cm y luego enrrollamos y pegamos los 5.5cm formando el pistilo central y pintamos com marcador verde y luego enrrollamos los cortes anteriore y pegamos en la base.
now we cut strips of 2.5cm x 8cm and 1cm x 8cm this will serve as the pendants of the seeds and pistils, we will make two cuts on the 2.5x 8cm strips at the height of 2 cm and then we roll and glue the 5.5cm forming the central pistil and paint with green marker and then we roll the previous cuts and glue at the base.
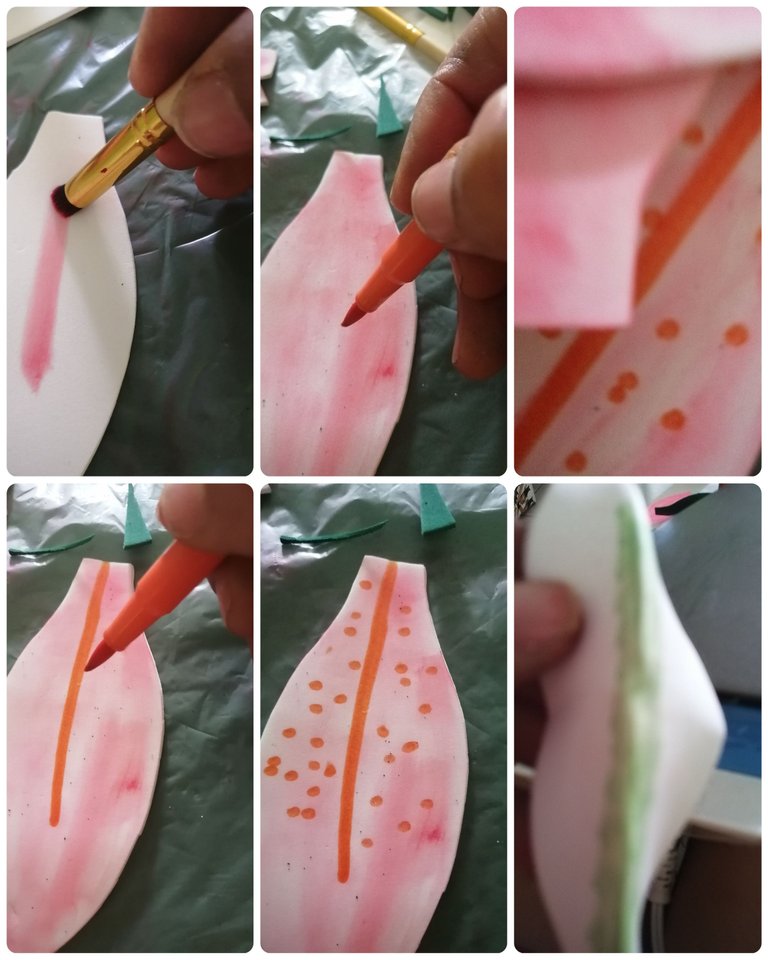
ahora tomamos los petalos y los sombreamos con ayuda del labial y el pincel luego con un marcador naranja pasamos una linea por el centro del petalo y le hacemos puntos con el marcador negro y naranja, por atrás marcamos una linea con el marcador verde.
Now we take the petals and shade them with the help of the lipstick and the brush, then with an orange marker we pass a line through the center of the petal and we make dots with the black and orange marker, at the back we mark a line with the green marker.
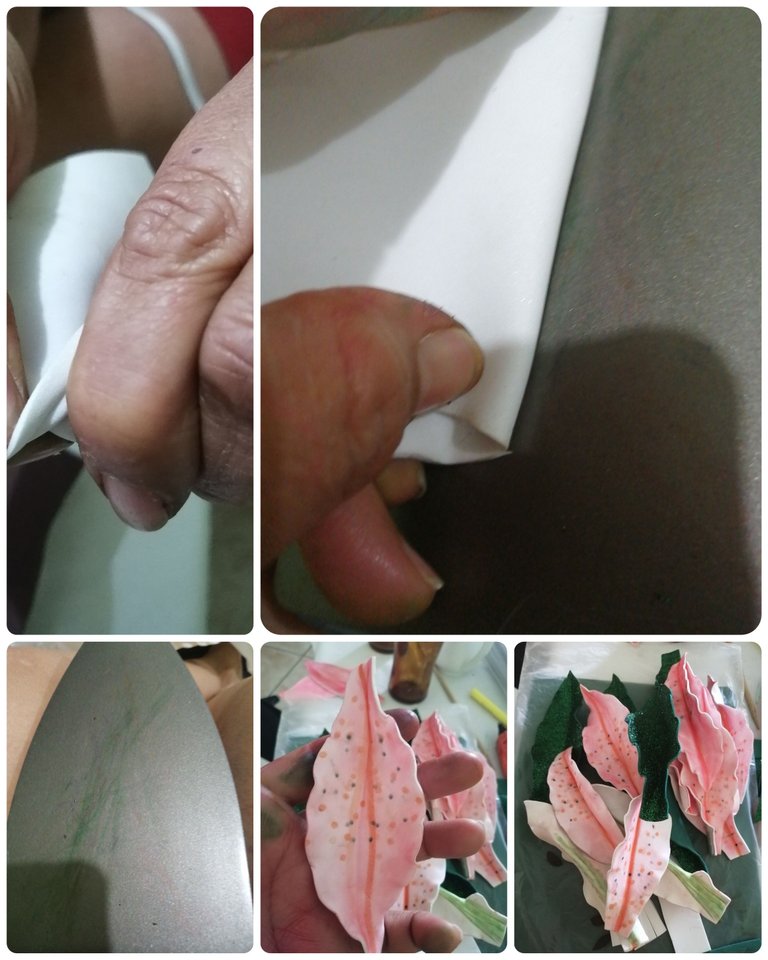
Ahora tomamos los petalos antes pintados los doblamos a la mitad y los colocamos sobre la plancha, luego calentamos los bordes y con ayuda de los dedos torcemos los mismos, luego tomamos unos rectangulos de 1.5cm x 3cm cortamos las puntas en forma de triangulo y pegamos en la base del petalo.
Now we take the petals previously painted, fold them in half and place them on the iron, then we heat the edges and with the help of our fingers we twist them, then we take some rectangles of 1.5cm x 3cm, cut the tips in the shape of a triangle and glue them at the base of the petal.
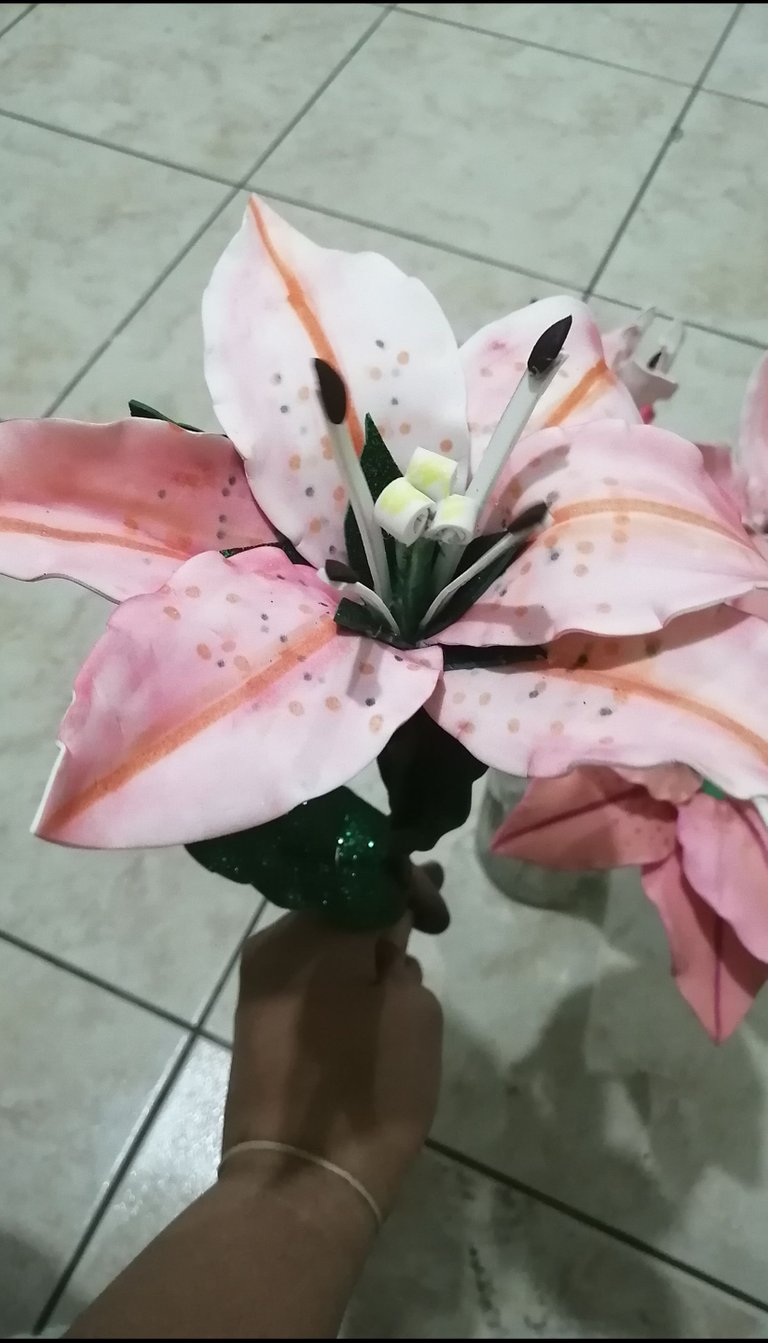
_ ahora tomamos las tira de un cm y le pegamos en las puntas gotas pequeñas que simularan las semillas, luego pegamos al rededor del pistilo antes hecho luego pegamos poco a poco los petalos tres primeros y luego los otros tres intercalados formabdo la flor.
now we take the strip of one cm and we glue small drops on the tips that simulate the seeds, then we glue around the pistil previously made, then we glue little by little the first three petals and then the other three intercalated forming the flower.
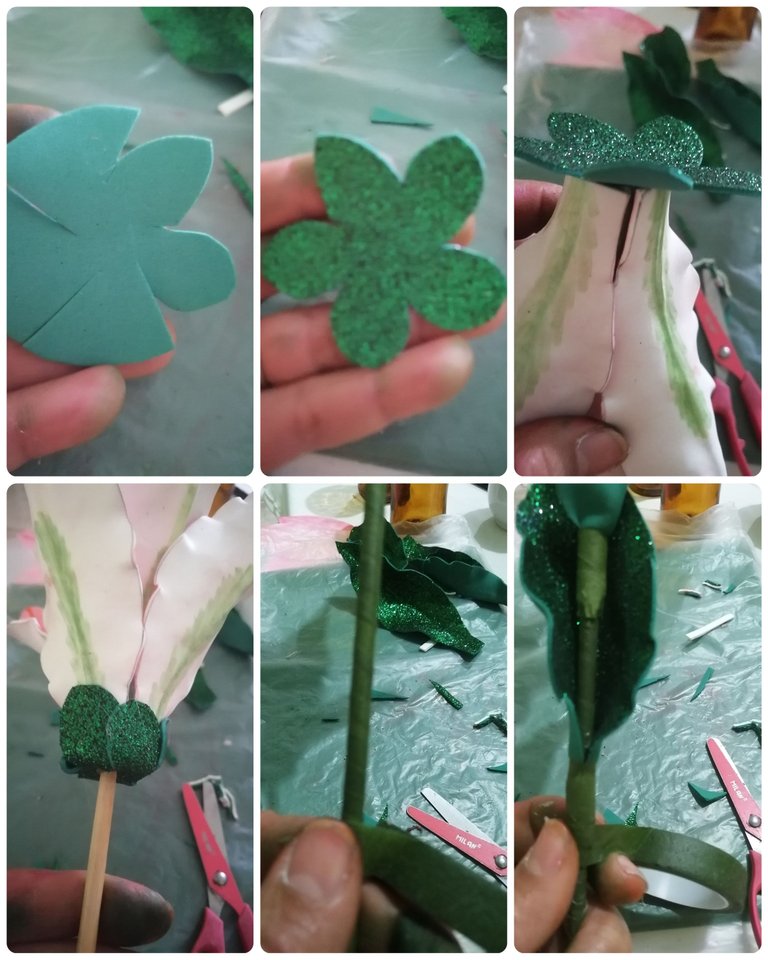
por ultimo cñortamos un ciculo de 5cm y le hacemos 5 cortes y luego cortamos la punta de los cortes y formamos el bastago inferior, luego pegamos en la base de la flor para tapar la base de las mismas, colocamos el palillo de altura con silicos y luego forramos con la cinta floral yluego tomaos las hojas antes cortadas y le hacemos lo mismo que a la flor y pegamos en el tallo de la misma.
finally we cut a 5cm circle and we make 5 cuts and then we cut the tip of the cuts and form the lower stem, then we glue at the base of the flower to cover the base of the same, we place the height stick with silicon and then we cover with floral tape and then we take the leaves before cut and we do the same as the flower and glue on the stem of the same.
Gracias por leer mis publicaciones dios me los bendiga espero y realizen este lindo trabajo gracias por el apollo hasta una próxima ocasión
Thank you for reading my publications God bless you and I hope you do this nice job, thank you for your support until next time.
Te quedaron super hermosos esos lirios amiga, quisiera aprender hacerlos. Gracia spor compartir.
Que bueno que te gusten son super faciles y quedan muy bonitos en la mesa de centro gracias
Muy hermoso tu trabajo...me encantan los lirios.... Gracias por compartir...saludos.
🎆🎇🎉🎊🦋🌲🥰🌳🐞🐝🌴💐🌵🪴☺️😘🍀☘️🌹🥀🍃🌿🌺🌷🌻🌾🌼😊👍🏼🍄🍂🍁🌹🥀🌺🌷🌸💮🏵️🎊🎉🎇🎆
Gracias amiga si son muy lindos
Congratulations @carolina38! You have completed the following achievement on the Hive blockchain and have been rewarded with new badge(s):
Your next target is to reach 9000 upvotes.
You can view your badges on your board and compare yourself to others in the Ranking
If you no longer want to receive notifications, reply to this comment with the word
STOPCheck out the last post from @hivebuzz:
Support the HiveBuzz project. Vote for our proposal!