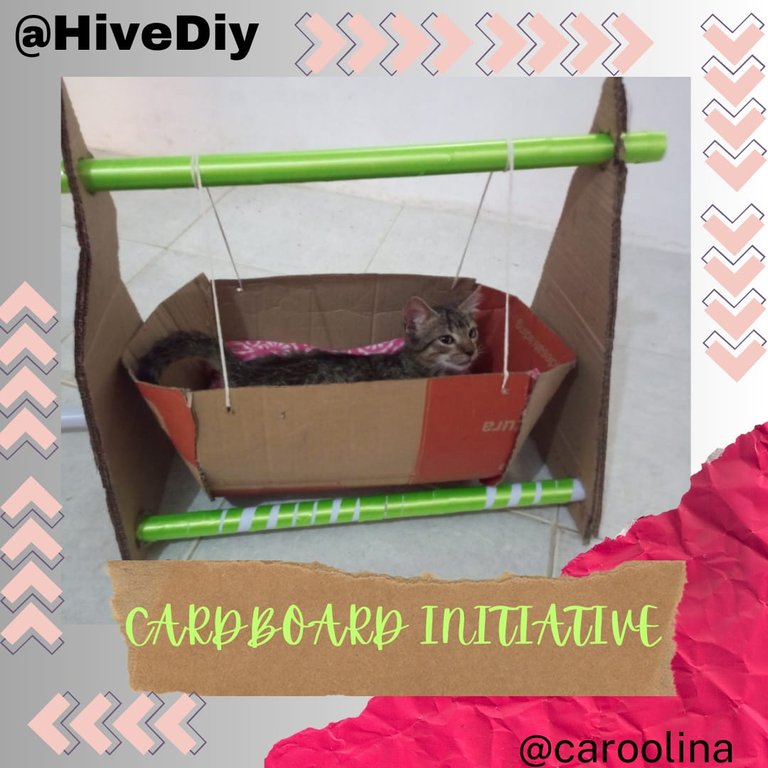

Hola querida comunidad de @Hivediy, vengo a traerles mi participación en la iniciativa con cartón.
Primero que todo les cuento que esta iniciativa me pareció muy divertida, aunque amo dibujar, pero si les soy sincera no me llevo muy bien con todo aquello que lleve una tijera de por medio, pero me anime a participar y aquí les cuento como hice mi camita cuna para mi Garu, mi nene peludo más pequeño.
Hello dear @Hivediy community, I come to bring you my participation in the initiative with cardboard.
First of all I tell you that I found this initiative very funny, although I love to draw, but if I'm honest I don't get along very well with anything that involves scissors, but I decided to participate and here I tell you how I made my little cradle bed for my Garu, my smallest furry baby.

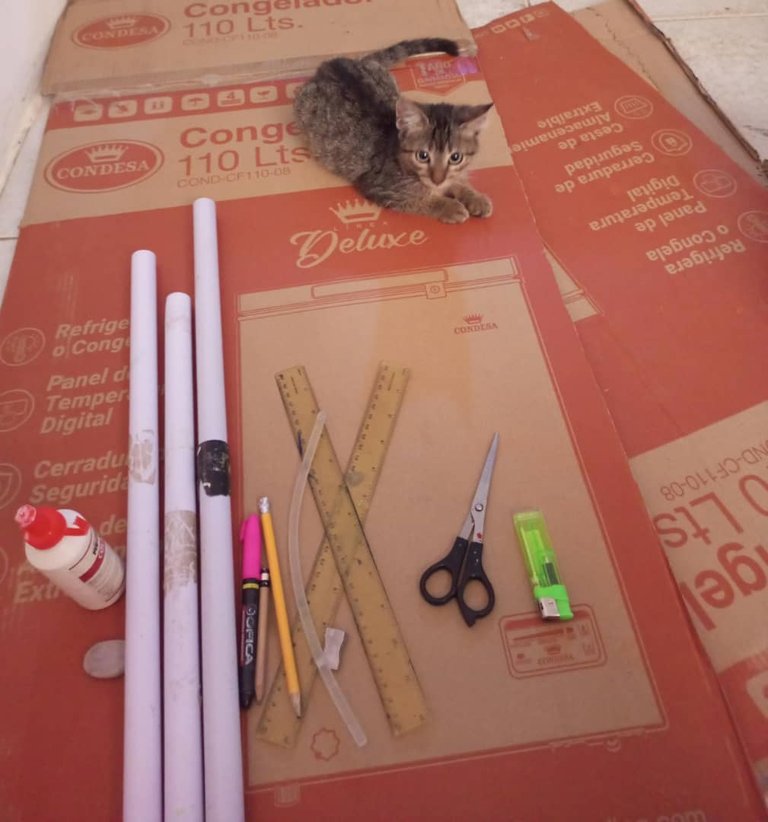
Los materiales que use para hacer esta cuna hamaca de cartón fue:
*CARTON.
*TIJERA.
*LAPIZ.
*GOMA DE BORRAR.
*SACAPUNTA.
*CINTA VERDE.
*PEGA BLANCA.
*SILICON EN BARRA.
*REGLA.
*YESQUERO.
*MARCADOR.
*TRES TUBOS PLASTICOS.
*PABILO O CUERDA.
The materials I used to make this cardboard hammock cradle were:
*CARDBOARD.
*SCISSORS.
*PENCIL.
*ERASER.
*HANDKERCHIEF.
*GREEN TAPE.
*WHITE GLUE.
*SILICON BAR.
*RULLE.
*YESKER.
*MARKER.
*THREE PLASTIC TUBES.
*PAVILION OR ROPE.
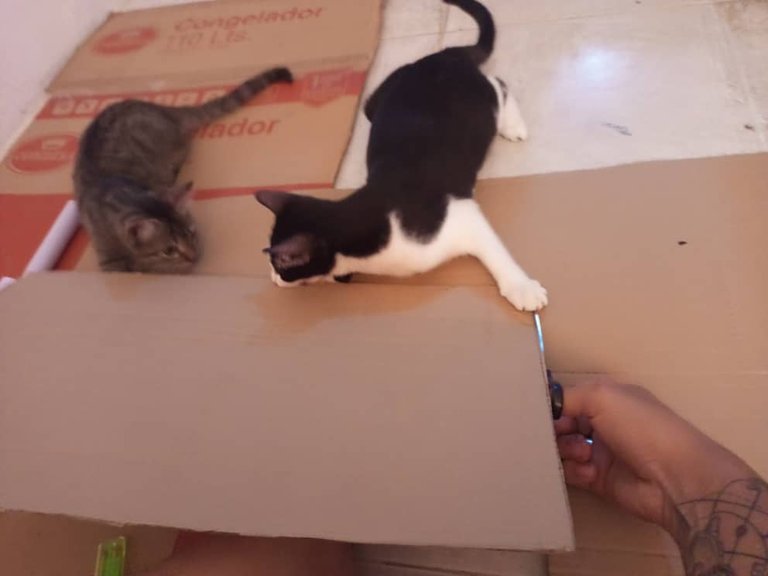
PASO1.
Para empezar con el proyecto, agarre un cartón largo y marque con el lápiz lo que será la parte de debajo de la cama, con la regla medimos su largo que fue 40 centímetros, y de ancho 25 centímetros.
Luego agarramos la tijera y recortamos todo el cartón por el borde marcado con el lápiz.
STEP 1.
To start with the project, take a long cardboard and mark with the pencil what will be the bottom of the bed, with the ruler we measured its length which was 40 centimeters, and width 25 centimeters.
Then we took the scissors and cut the whole cardboard along the edge marked with the pencil.

PASO2.
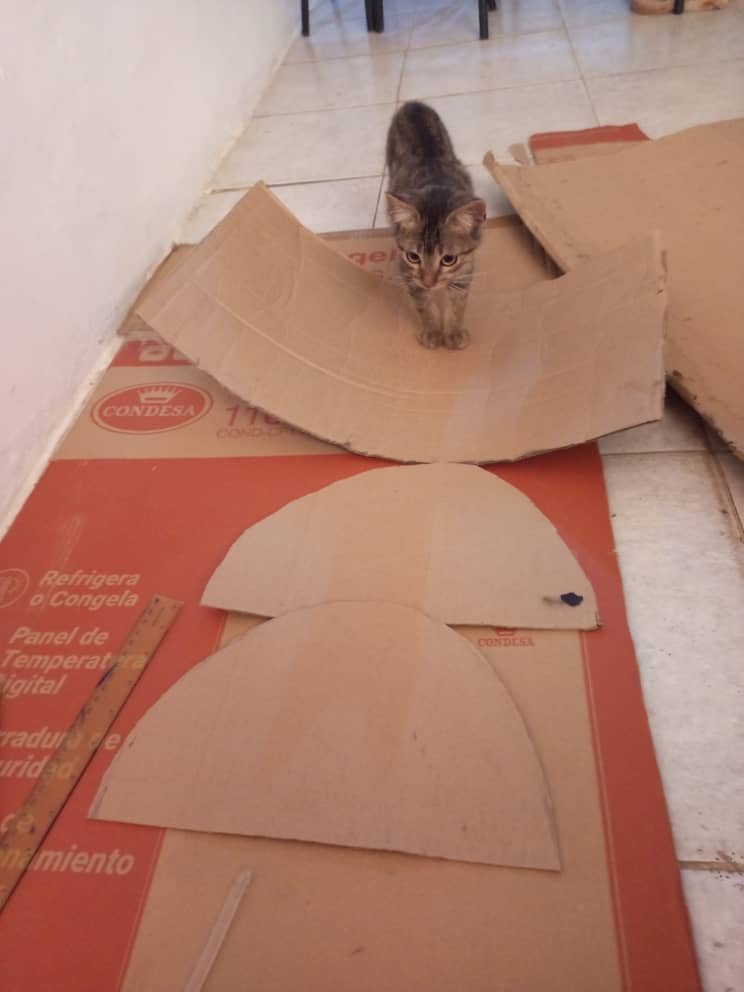
En otro pedazo de cartón marcamos ahora lo que será la tapa de la cama cuna, son dos tapas tipo semicírculo como se ve allí en la imagen, de un tamaño casi igual al largo del primer cartón.
STEP 2.
On another piece of cardboard we mark now what will be the lid of the crib bed, there are two semicircle type lids as seen there in the image, of a size almost equal to the length of the first cardboard.
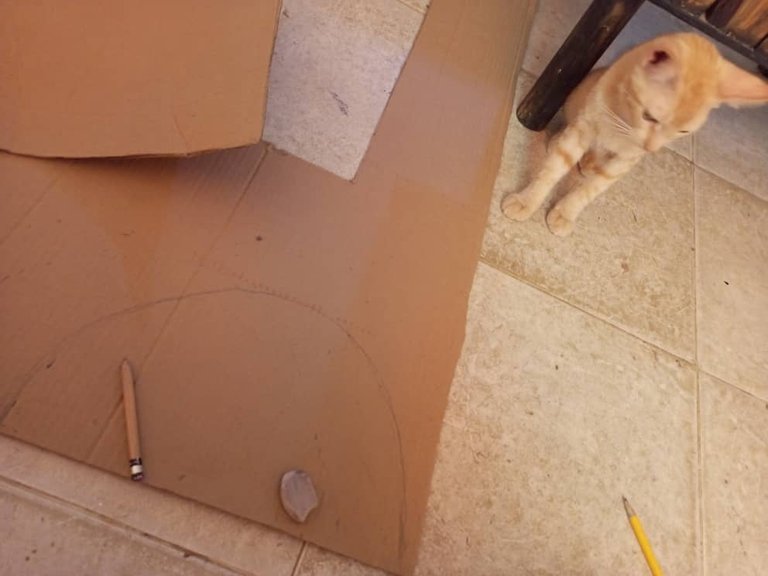
PASO3.
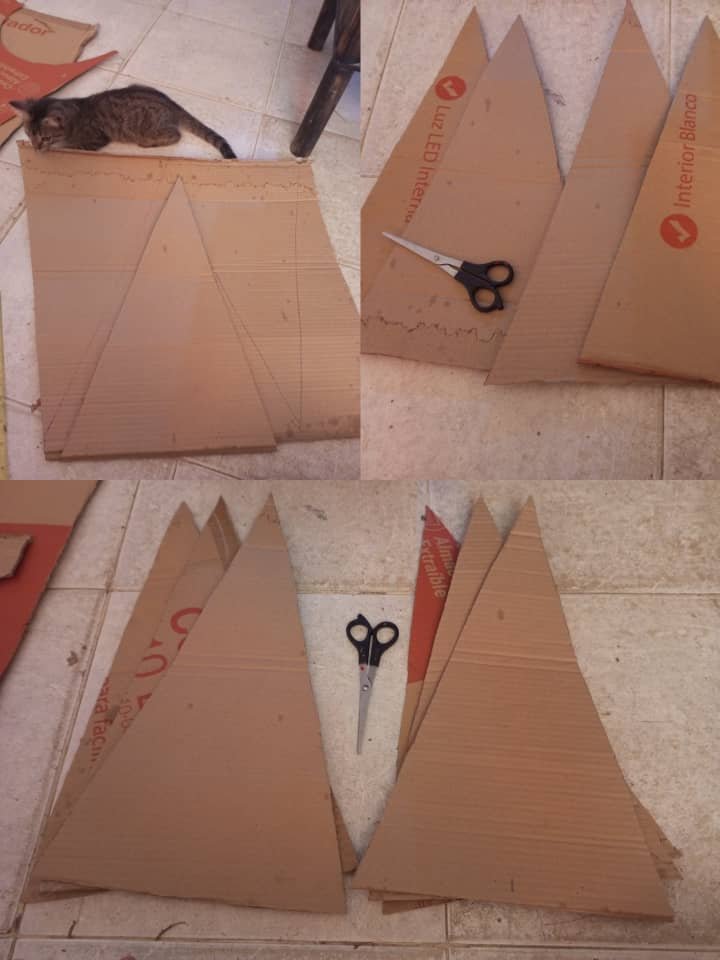
En otro pedazo de cartón marcaremos ahora lo que serán sus bases laterales en forma de triángulo.
Aquí su altura debe ser un poco mayor, yo pique los triángulos de una altura de 50 centímetros.
Mientras más triángulos piquemos más resistente quedara, en este caso yo pique 6 caras, tres para cada lado.
STEP 3.
On another piece of cardboard we will now mark what will be its lateral bases in the shape of a triangle.
Here its height should be a little higher, I cut the triangles with a height of 50 centimeters.
The more triangles we cut the more resistant it will be, in this case I cut 6 faces, three for each side.
PASO4
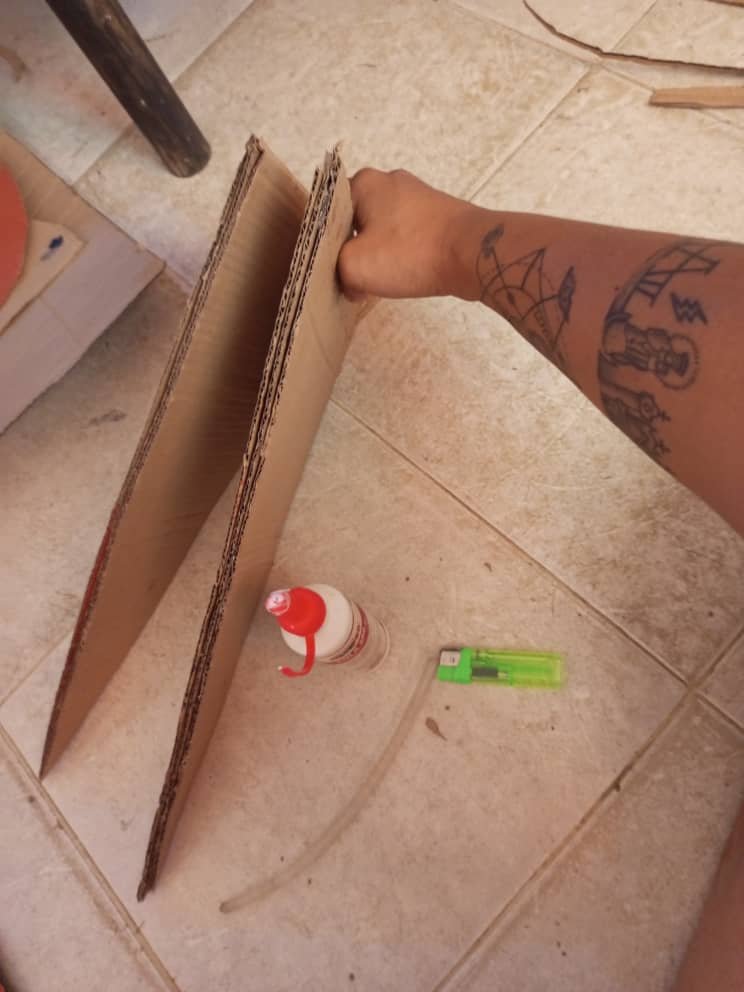
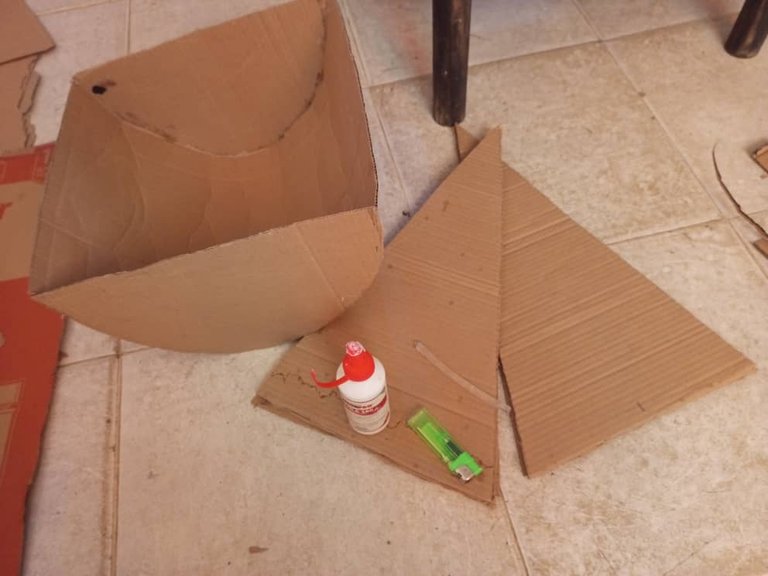
Armamos ahora todas las piezas que recortamos con el silicón y la pega.
Pegamos los tres cartones de la cama.
Luego pasamos a pegar los triángulos, en este caso fue 3 caras por lado.
STEP4.
Now we assemble all the pieces that we cut out with the silicone and glue.
We glue the three cardboards of the bed.
Then we glue the triangles, in this case it was 3 sides per side.
PASO5.
Al estar bien seco la pega, se procede a hacerle los agujeros donde van colocado los tres tubitos que van a mantener en pie los triángulos de los lados.
STEP 5.
Once the glue is dry, proceed to make the holes where the three little tubes that will hold the triangles on the sides will be placed.

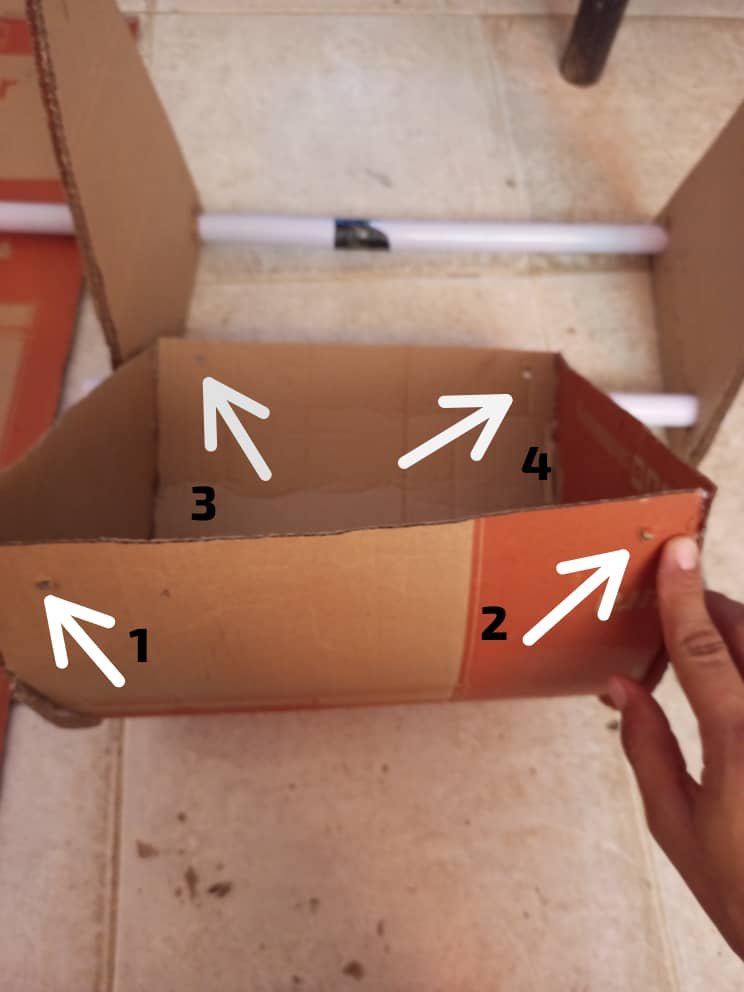
PASO 6.
Agarramos la cama y también le hacemos 4 huequitos como se ve allí en la foto, de allí la vamos a guindar con el pabilo o cuerda, lo que sea de su preferencia.
STEP 6.
We take the bed and we also make 4 holes as shown in the photo, from there we will hang it with the wick or rope, whatever you prefer.
PASO 7.
Con la cinta verde forramos los tubos para que se vea un poco más llamativas para tus gatos.
STEP7.
With the green ribbon we line the tubes to make it look a little more eye-catching for your cats.

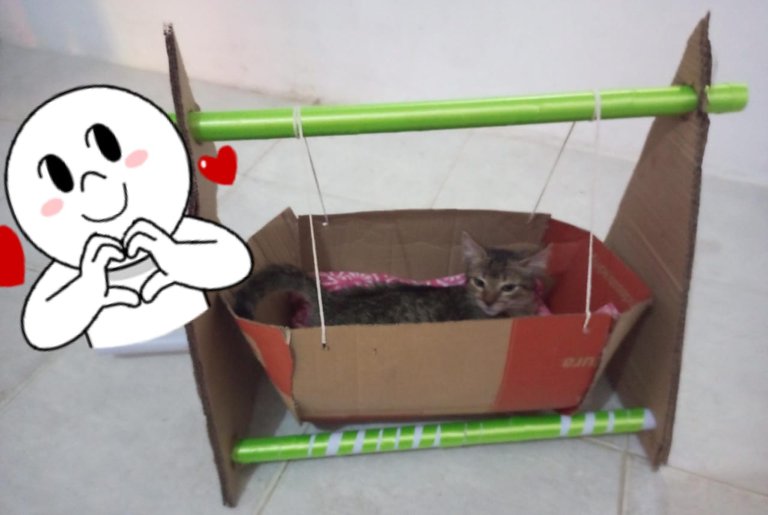
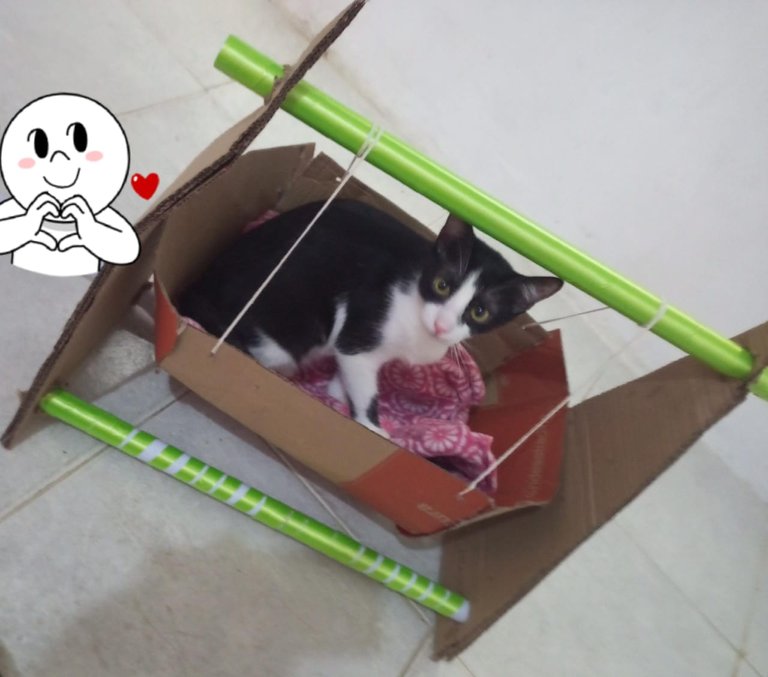
PASO8.
Después de tener listo y decorado los tubos armamos de nuevo el cartón y los tubos y montamos la cama previamente ya con su pabilo puesto y listo, terminamos con la ayuda de mis nenes, AYUDA LA CUAL CABE DESTACAR QUE DIRFRUTE MUCHO, me encanto esta iniciativa del cartón.
A Garu le encanto y disfruta su nuevo rincón para descansar, espero disfruten el post tanto como el, gracias por leerme.
INVITO A PARTICIPAR A @dayanass.
STEP 8.
After having the tubes ready and decorated, we put the cardboard and tubes back together and assembled the bed with the wick already in place and ready, we finished with the help of my kids, HELP WHICH I MUST HIGHLIGHT, I loved this initiative with the cardboard.
Garu loved it and enjoys his new corner to rest, I hope you enjoy the post as much as he does, thanks for reading.
I INVITE THE FOLLOWING TO PARTICIPATE @dayanass
Kitty looks so comfy!
THANK YOU for reading me, if you sleep your happy dates.
Tienes unos gatitos muy lindos y adorables, em encanta como parece que se quieren robar el carton jaja
Se ve muy conforme en su camita y esta muy bonita, muy buen trabajo para esos seres peludos que llenan de alegria un hogar ❤️
Jajaja si, exactamente se quería quedar con todo el cartón, me divertí mucho con ellos en esta iniciativa. Gracias por leerme.
Una iniciativa genial. Veo mucho reciclaje y mucho confort felino, ambas cosas son importantes.
jaja si totalmente.
I think cats like to feel that something special was done for them. They'll even make assumptions in many cases. This is creative and I'm sure that the cat loves it, and would be happy if you held it all day.😁
Thank you, yes Garu chases me all day throughout the house, he is my smallest child of the 4, and he loves that I pet him.
Jaj que divertida se ve
Gracias, si fue bastante divertido el proceso.
Hola te quedó buenísima tu cama mecedora. Tu misu se sentirá consentido. Felicidades. Gracias por compartir. No tengo gatito y mi perro está muy grande pero se lo voy a enseñar a la vecina que si tiene. Saludos
Gracias, si le encanto. Jaja sería divertido que hicieras uno en una escala más grande para tu perrito. Saludos.
Congratulations @caroolina! You have completed the following achievement on the Hive blockchain And have been rewarded with New badge(s)
Your next target is to reach 15000 upvotes.
You can view your badges on your board and compare yourself to others in the Ranking
If you no longer want to receive notifications, reply to this comment with the word
STOP