The paperworks that crossed my mind to make were paper fans, paper telephones, paper wristwatches and, this, a paper boat.

The fan used to be our regular back then, as kids, as we could easily craft it, then connect a fairly long stick of broom along it's smooth undented edge and viola, we had a complete toy. All we needed to do was hold the free end of the stick and run around. The force of breeze during our running episode was enough to push the supposed fan-blades and made them rotate.
It would have been fun to try to make that, but, how do I go about the running? Ouch!
I don't remember owning as much toys as I'd have wanted. Not all of us had that luxury, and so, we put our creative minds and came up with so many thrilling games and game-gears that were exciting. I feel a sense of nostalgia about the freedom and carefreeness of that time. To think I did not play very very much.
Whenever the rains came or we were idle, this was our go-to craft. Always fun and kept our minds and hands busy. Good stuff.
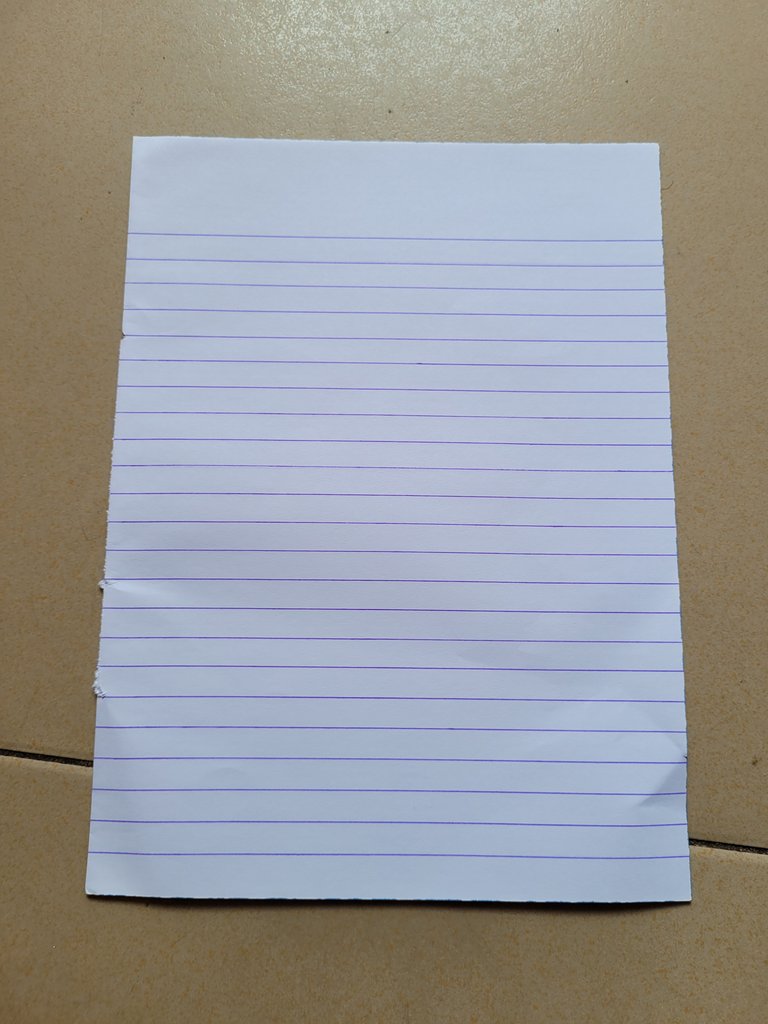
So, I'll be sharing how we used to make paper boats with only one material. Yes, just one, which is, a paper. Nothing extra.
Let's get in, into the steps;
• Lay out a piece of paper as seen
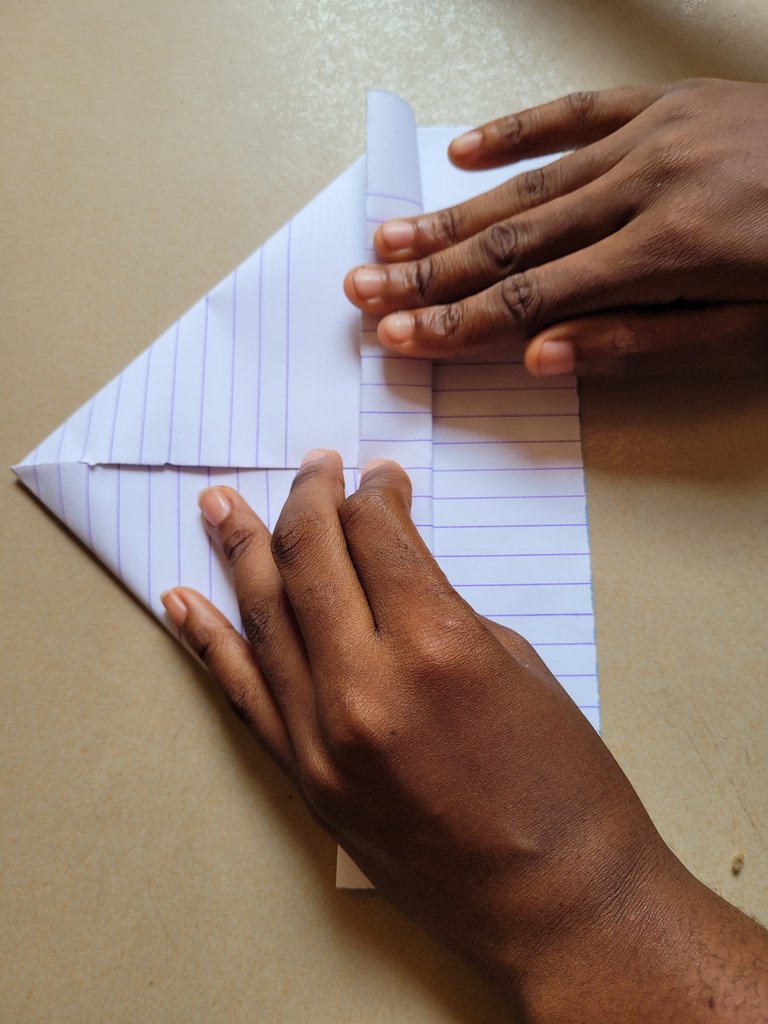
• Take one edge of the longer part of the paper and fold it unto the middle. Do same for the other edge.
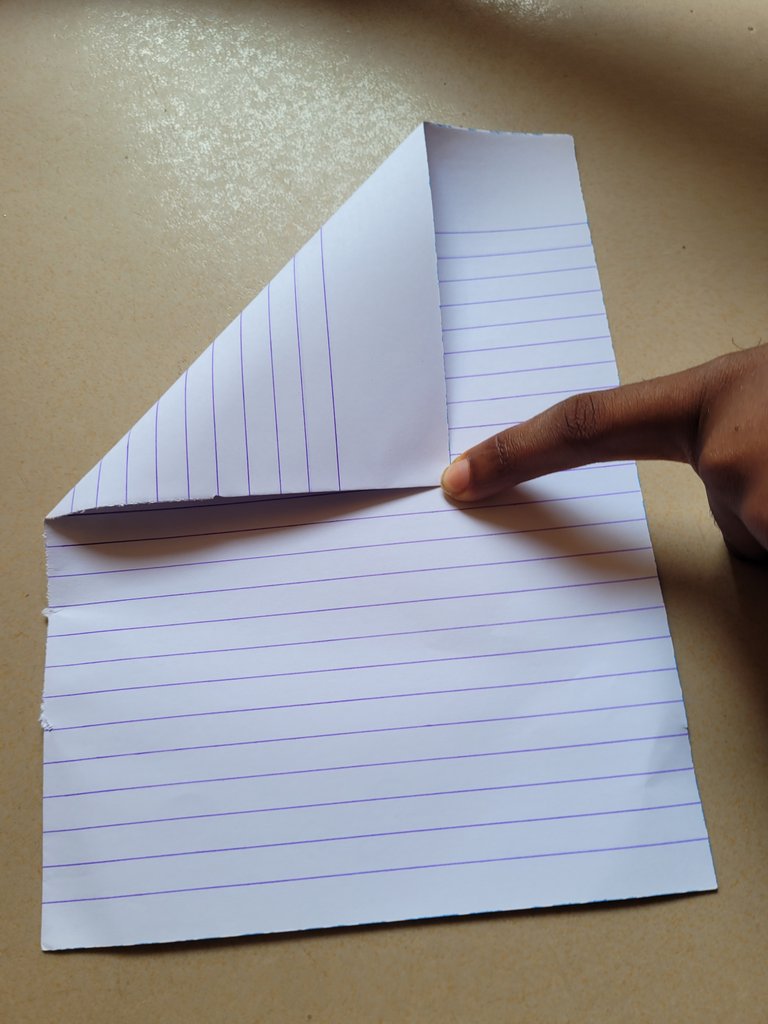
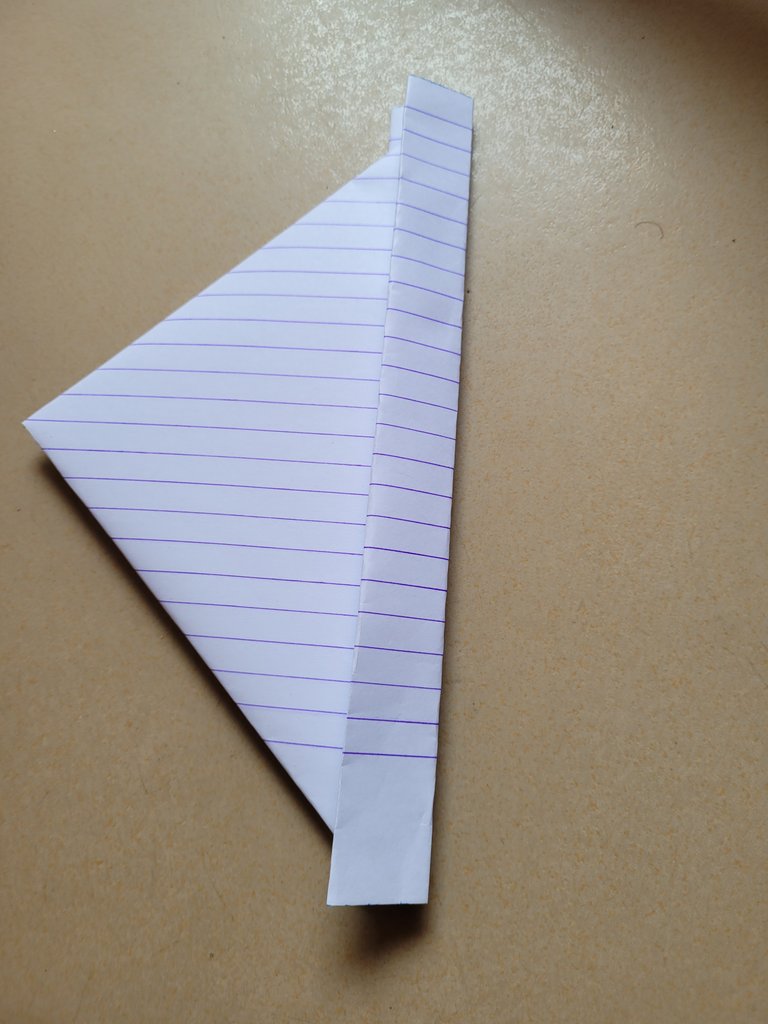
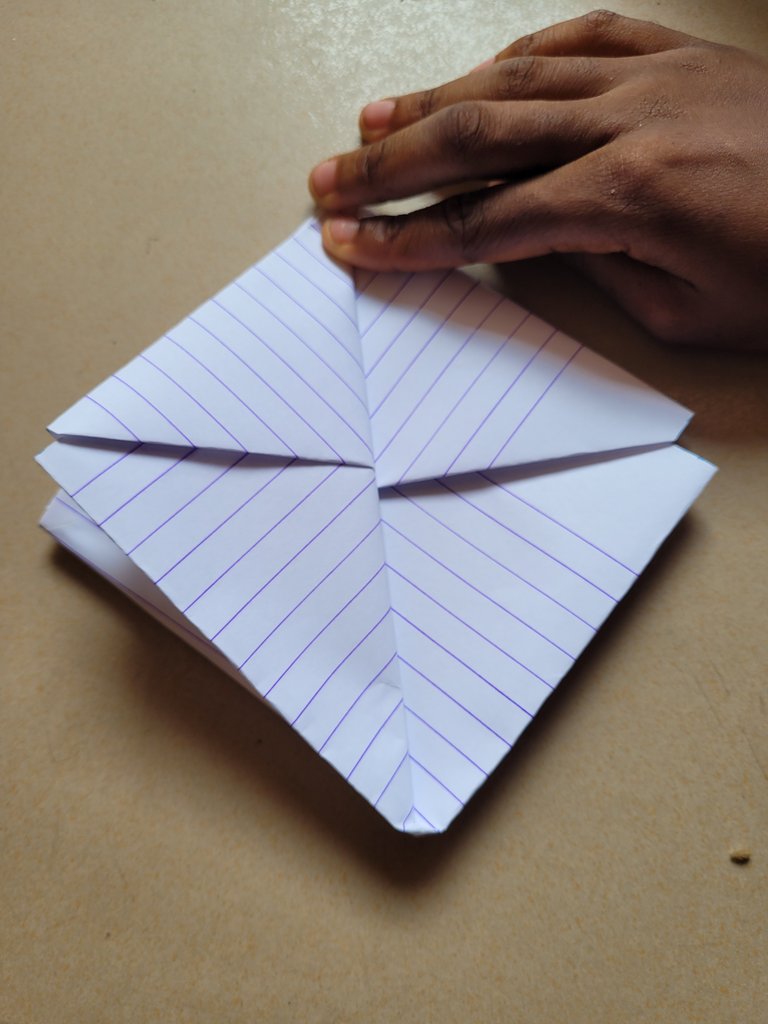
• You should have something that looks like a triangle, like so.
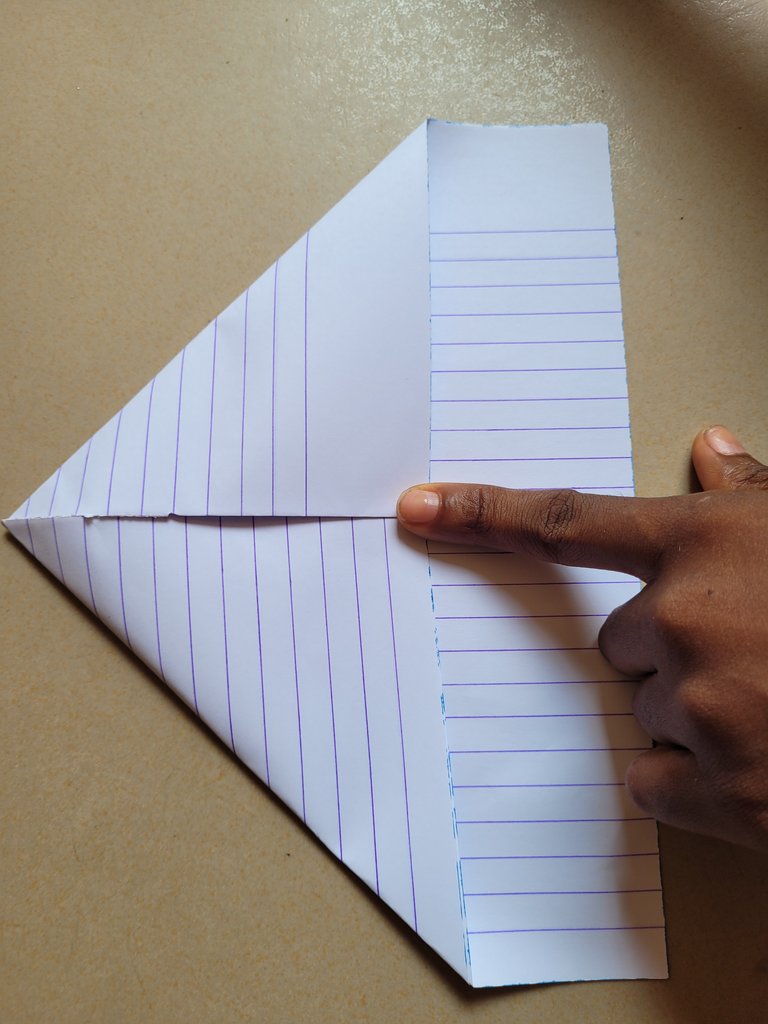
• Of the folded parts, fold out a small portion of the base area.
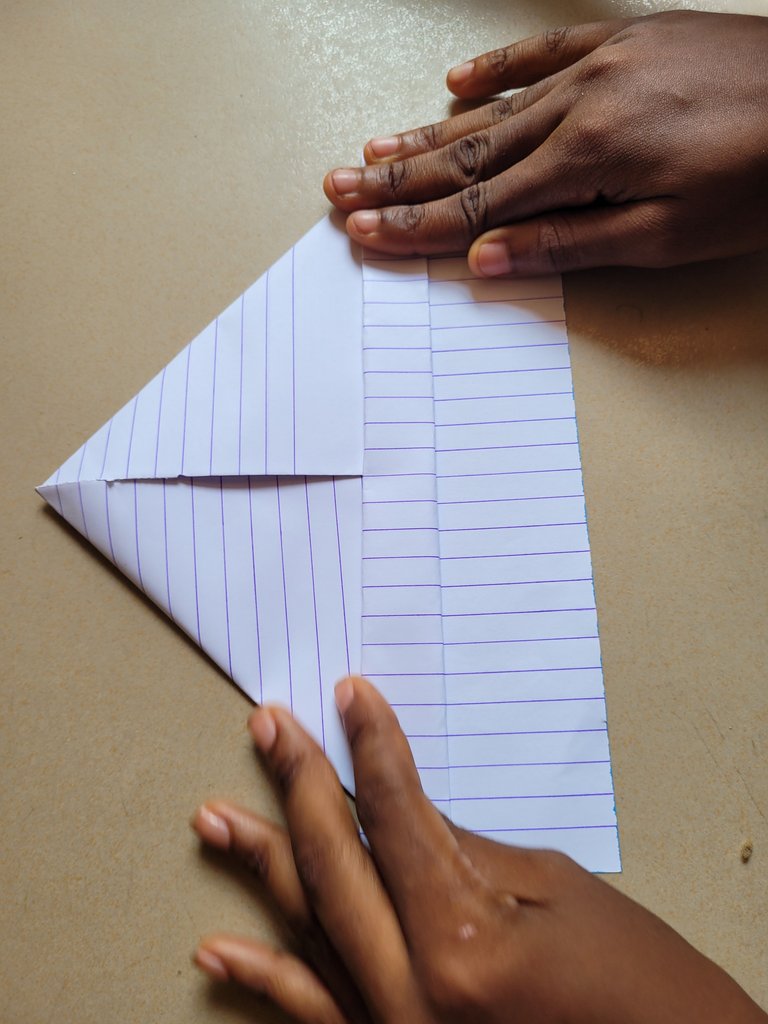
• Flip the paper to the other side and do sane for the ends of the paper, so both front and back are of equal lengths.
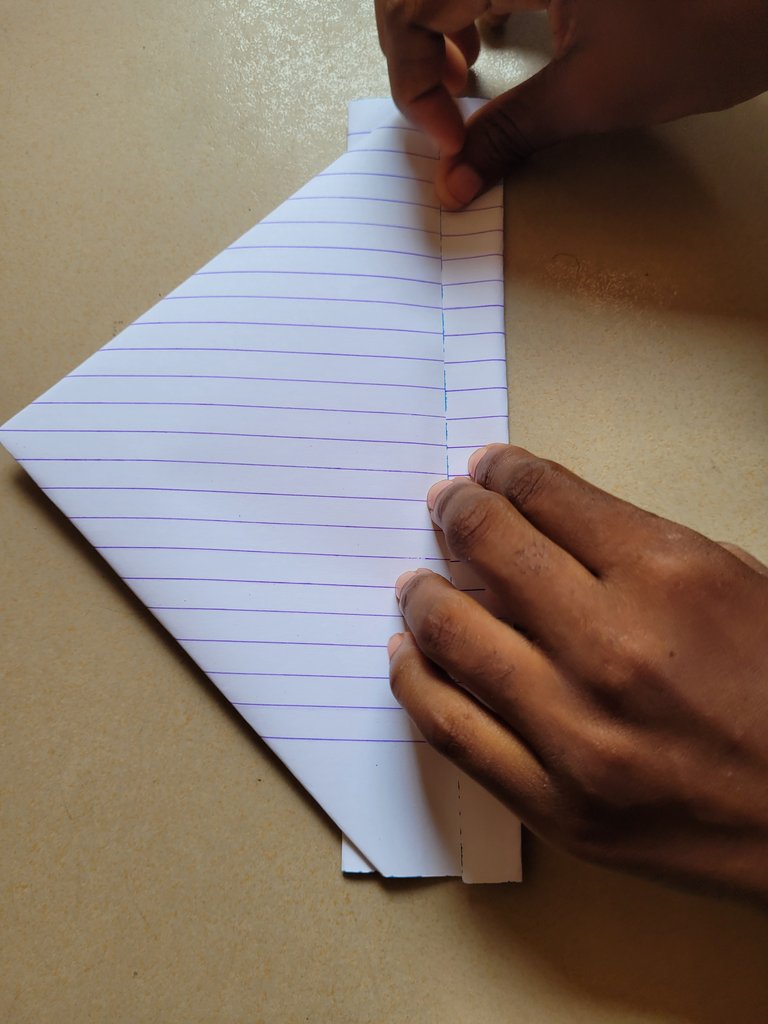
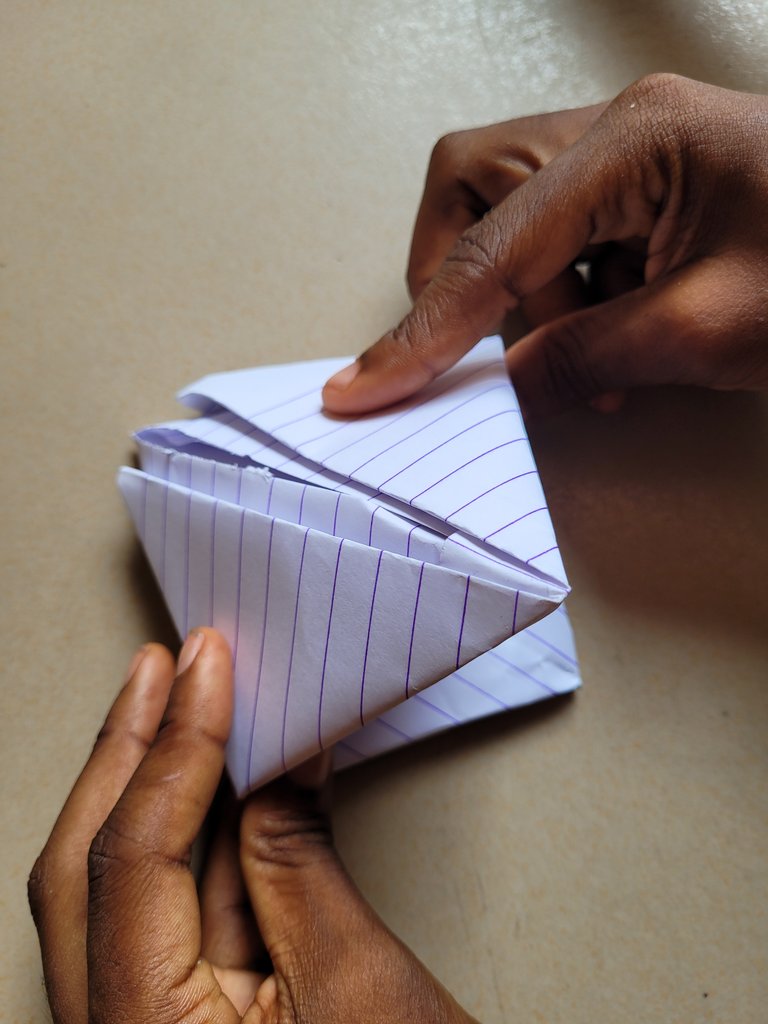
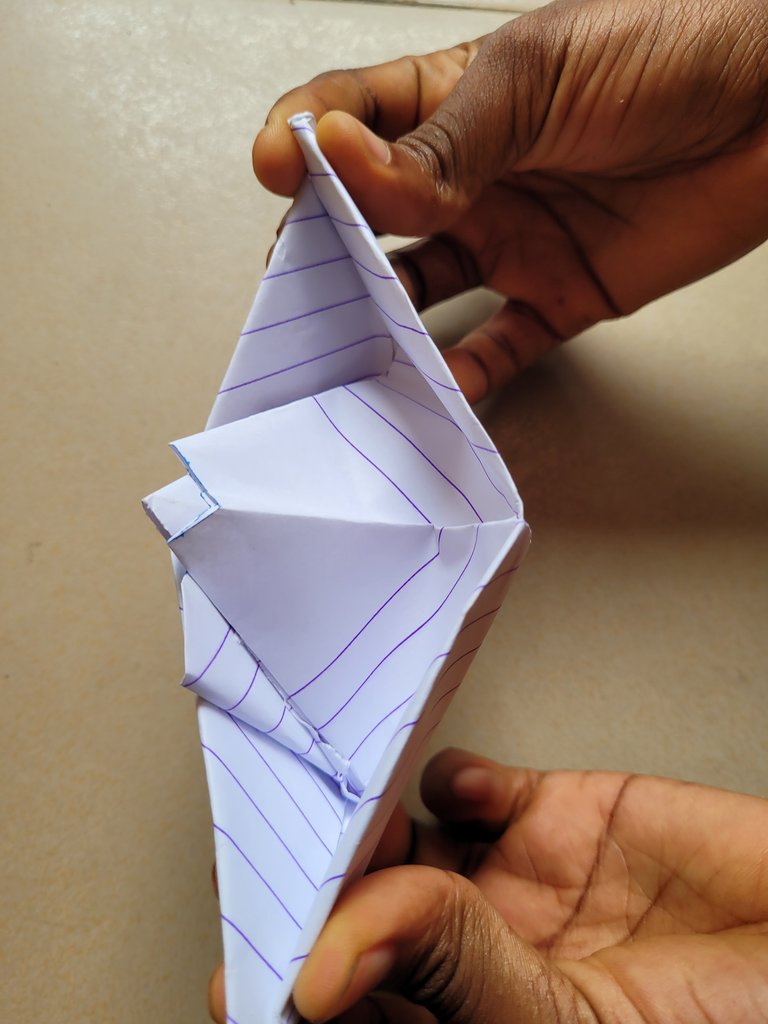
• Now, open up the paper slightly to reveal a purse-like space.
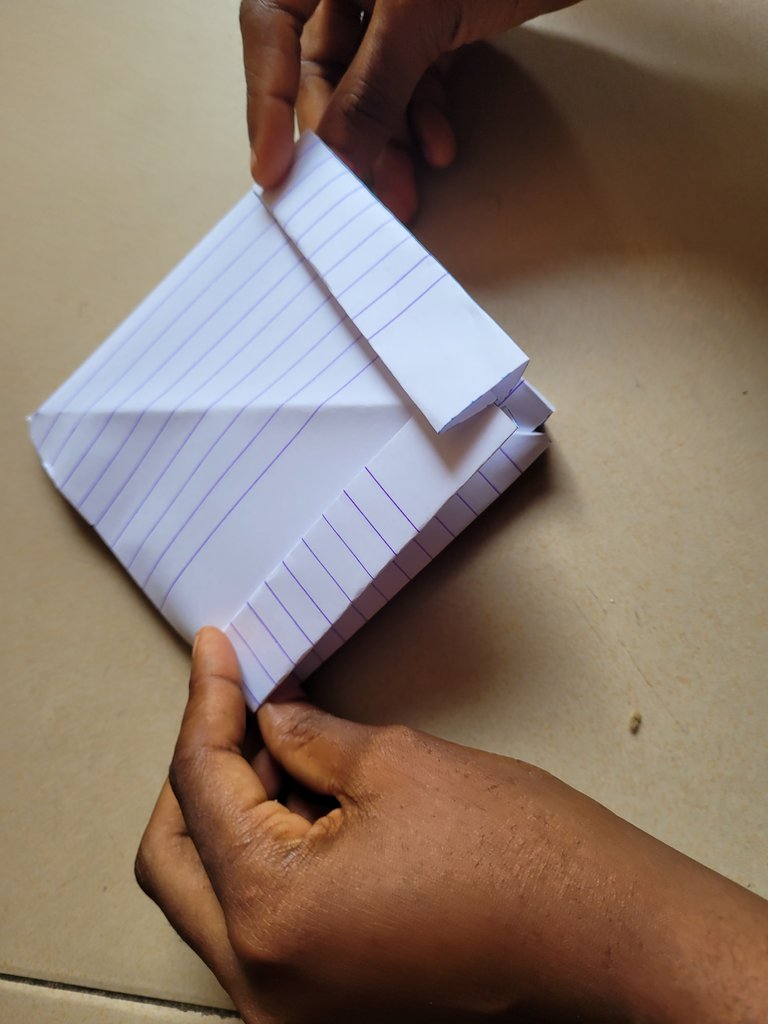
• Next, connect/bring-together the two pointed and opposite ends of the paper.
• Fold and press it down to get a square-shaped pouch.
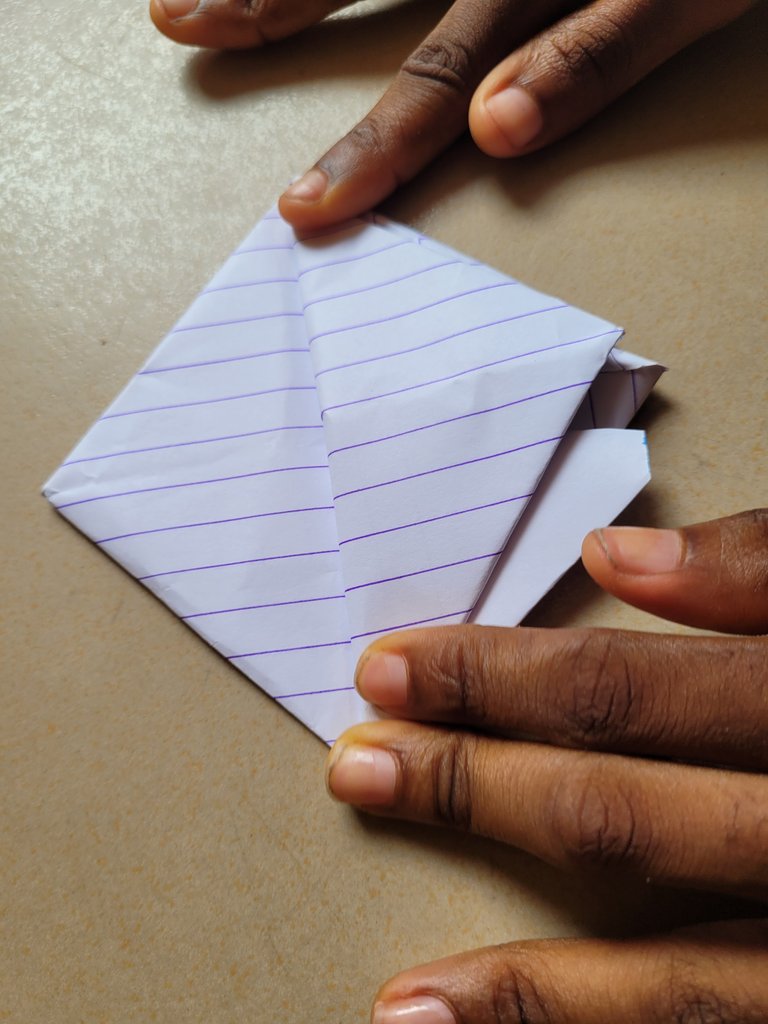
• Take one of the free ends of the paper and fold it inside out as seen. Do same for the other end.
• You will have an opening as this. As was done earlier before, connect the two pointed ends to achieve a square-shaped pouch.

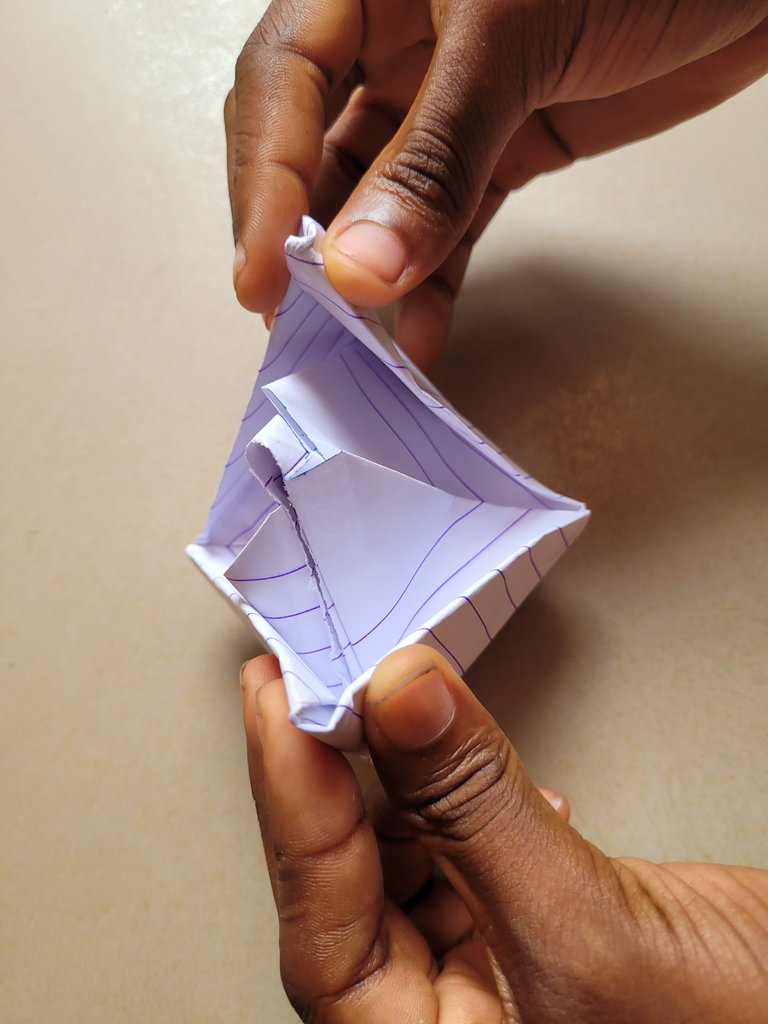
• Take one open end and fold it inside out. Flip to the other side and do same.
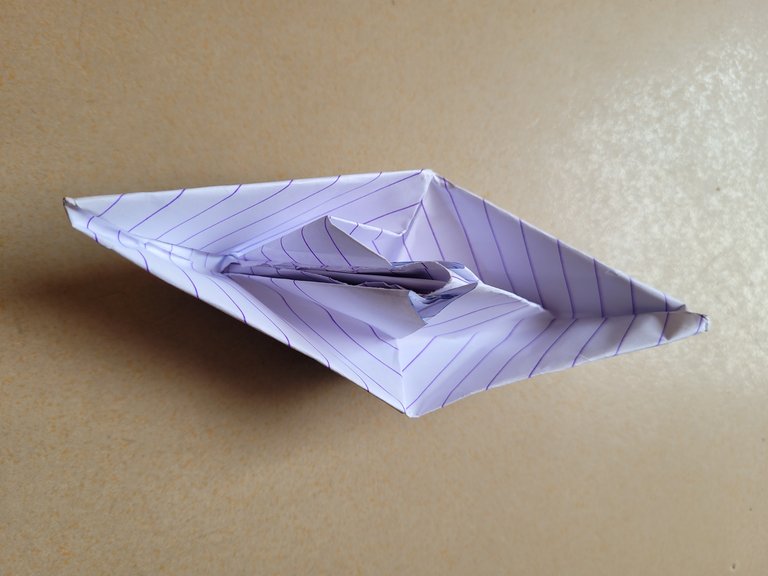
•Next, open the base of the paper to reveal the pouch-like space, and then connect the opposite ends as done before. This gets a square pad.

• Finally, hold the free opposite ends and gently drag to reveal the object.
•Viola, we have our little paper boat.
I know that this work isn't complete cause, what's a boat without water? My apologies for that. Maybe, some other time.
After making this, I was tempted to make a paper airplane. Too bad, I don't remember how to. My friends were the ones who used to make for me.
All in all, it was exciting making this paperwork after so many years. I felt very childlike while at it.
Meanwhile, I hope you found this detailed and enjoyable? Great!
That's it.
That's my participation to the #JulyInleo prompt Day- 24..
Images are mine.

Thanks for gracing this post.
Greetings!
Posted Using InLeo Alpha
This was nostalgic for me! I did run a bit for my paper fan back then. I even ran a lot, fell, and got bruised badly. The next day, I still made another. Lmao.
Paper crafts were so fun for me as a kid. I don't remember how to make them anymore, but I think I could make out time and give some of the classics a try.
This post is beautiful to me. Loved the steps, the clear photos, and that you did a neat job.
Classics - best describes them.
After making this, I thought to myself that if/whenever my childhood friends and I get together, I'll make sure we get around to being kids again. Even if for some minutes. This was so nostalgic, I agree.
Did you ever get to make and own the paper phones then?
Im glad you found the post pleaseant, too. Thank youuuuu!
It refreshes my childhood memories....
And you did a fabulous job .... explained very well 😀👍
Thanks for sharing this reminds me of the memory of my childhood days thanks.
Aww, this made me remember the old days 😁