 Hello dear hive diy community and also to all the artists of the hive ecosystem, I hope you had a great weekend and full of new productive experiences, it's me again cristhenos and today we will be talking about a peculiar and quite interesting shading technique that I had already talked about briefly in one of my posts which is the contouring shading or it can also be known as contour shading, this is something that I deduced after spending a few days researching on the subject as both have similar concepts and apart contouring in Spanish means contour so from my point of view are the same technique but with different names, returning to the initial topic in this post will explore with a little more depth this technique which I liked a lot. I won't distract you any more, I'll leave you with the rest of the post.
Hola estimada comunidad de hive diy y también a todos los todo artistas del ecosistema hive, espero hayan tenido un fin de semana genial y lleno de nuevas experiencias productivas, soy yo nuevamente cristhenos y en el dia estaremos hablando sobre una técnica de sombreado un tanto peculiar y bastante interesante y que ya había hablado brevemente un poco en uno de mis post el cual es el achurado contouring o también se le puede conocer como sombreado de contorno, esto es algo que deduje después de pasar unos días investigando sobre el tema ya que ambos presentan conceptos similares y aparte contouring al español significa contorno asi que desde mi punto de vista son la misma técnica pero con nombres distintos, volviendo al tema inicial en este post exploraremos con un poco mas de profundidad esta técnica la cual me gusto bastante. No los distraigo más, los dejo con el resto del post.
Let's start with the basics first: what exactly is contouring or contour shading? Well, this is a technique that is slightly similar to shading and very similar to conventional contouring of lines joined together. However, instead of parallel lines, this technique consists of following contour lines, that is, lines that are mostly curved and serve to highlight a shape or give volume to an object. By adjusting the direction and density of the lines according to the shape of the object, we can give our object a more realistic three-dimensional look.
Empecemos primero por lo básico: ¿en qué consiste exactamente el achurado contouring o sombreado de contorno? Pues esta es una técnica que es ligeramente similar al sombreado y muy parecida al achurado convencional de líneas unidas entre sí. Sin embargo, en lugar de líneas paralelas, esta técnica consiste en seguir las líneas de contorno, o sea, líneas que mayormente son curvas y que sirven para resaltar una forma o dar volumen a un objeto. Al ajustar la dirección y la densidad de las líneas según la forma del objeto, podemos brindarle a nuestro un aspecto tridimensional más realista.
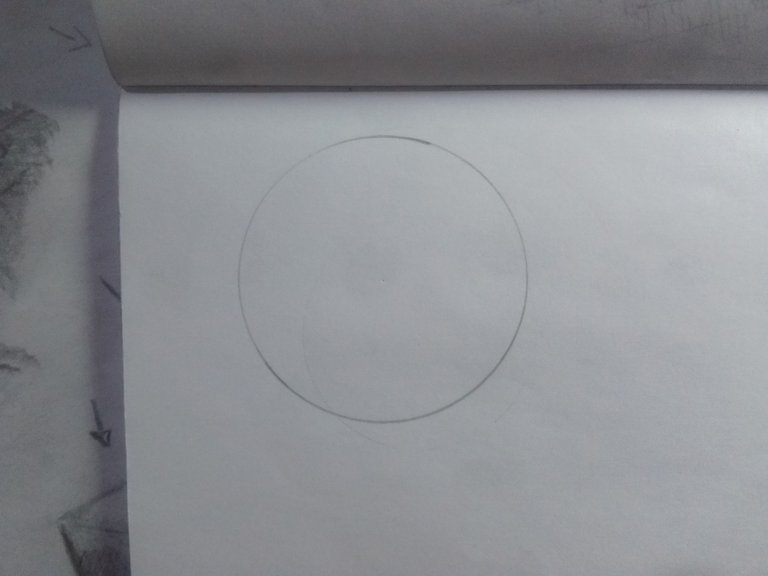
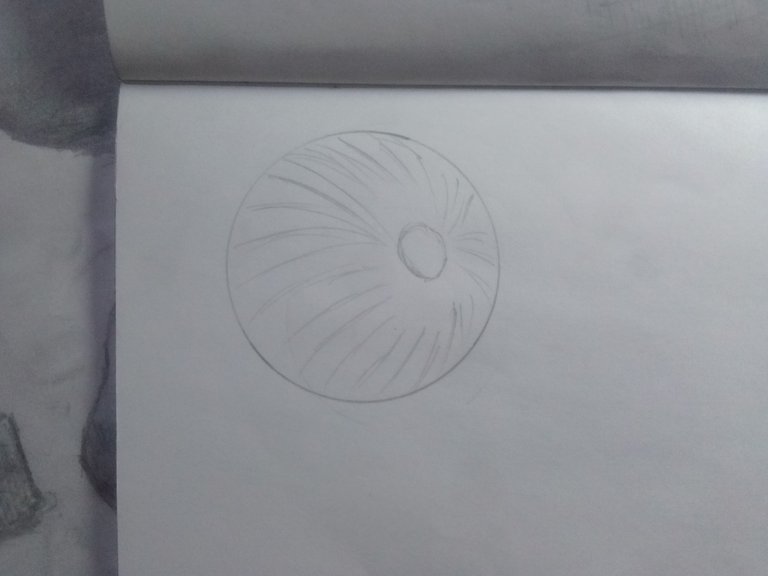
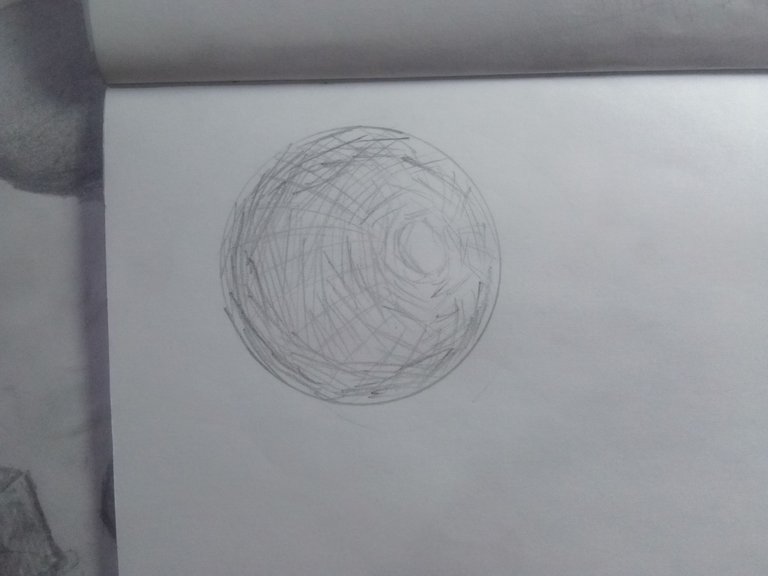
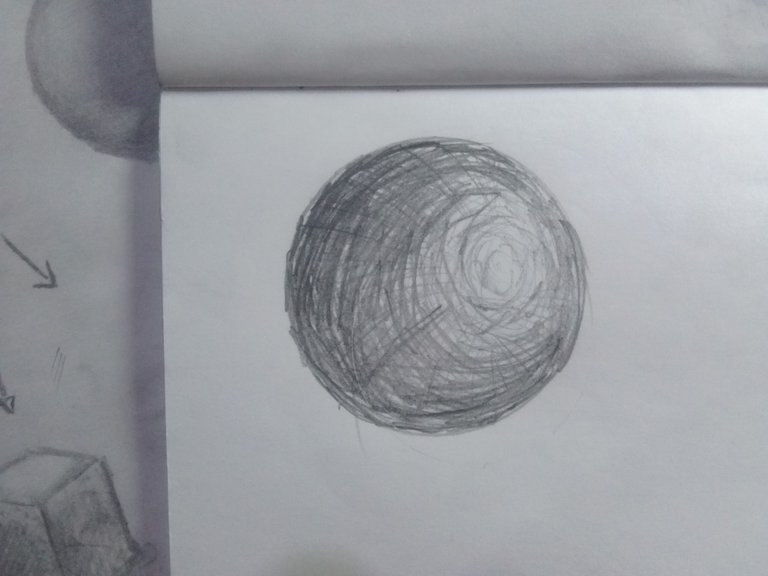
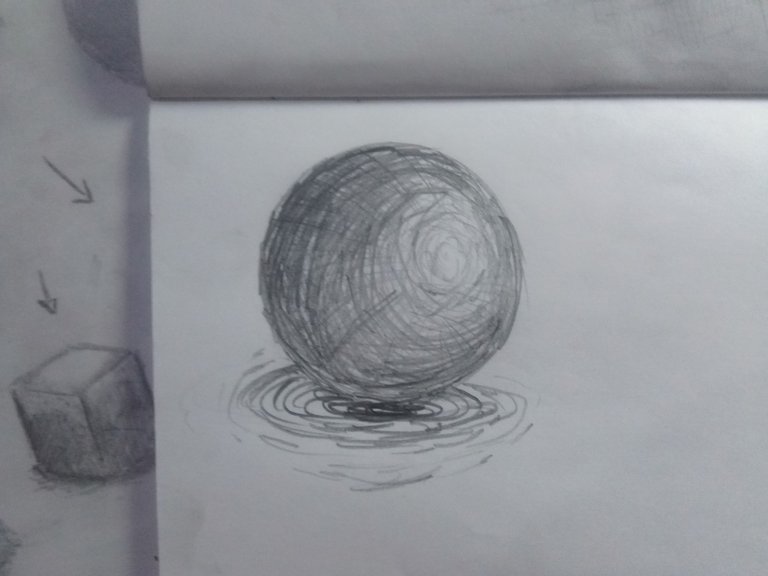
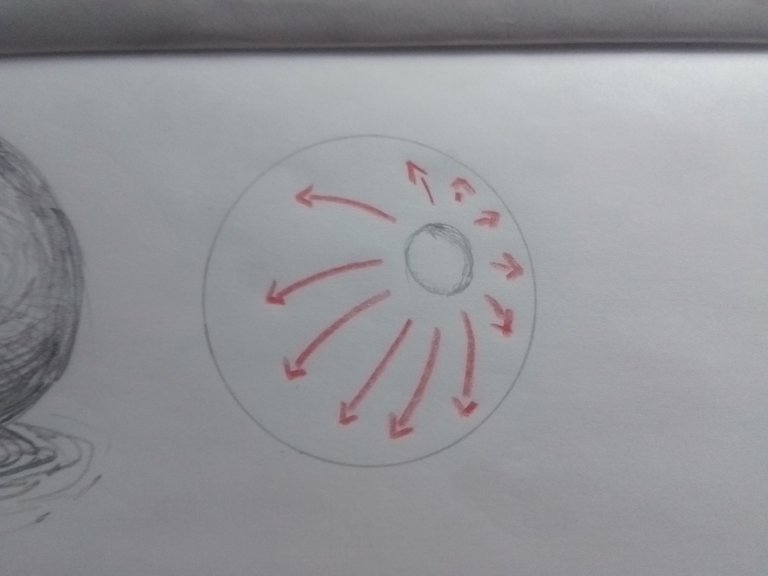
An example is this sphere that I drew and which the first step to follow is to locate the area which will have the highest light value, once located the area we draw a small circle and then go drawing lines which will not serve as guides as to the shape of the object, at the moment of giving volume to the drawing we will draw small curved lines that are strong at the beginning of the sphere but as they get closer to the light these will become clearer and clearer and the final step would be to give shadows which are small ovals similar to when an object is touching the water and the reaction of the water generates those shockwaves in the water.
Un ejemplo es esta esfera que dibuje y el cual el primer paso a seguir es ubicar el área el cual tendrá el valor de luz mas alto, una vez ubicado la zona dibujamos un pequeño circulo para luego ir trazando líneas las cuales no servirán como guías en cuanto a la forma del objeto, al momento de darle volumen al dibujo trazaremos pequeñas líneas curvas que sean fuertes al inicio de la esfera pero conforme se vayan acercando a la luz estas vayan aclarándose cada vez mas y el paso final seria darle sombras el cual son pequeños óvalos parecidos a cuando un objeto esta tocando el agua y reacción del agua genera esas ondas expansivas en el agua.
This would be the method to work with this style, but to give you more examples, let's take into account the following drawings:
Este sería el método para trabajar con este estilo, pero para darles más ejemplos, tomemos en cuenta los siguientes dibujos:
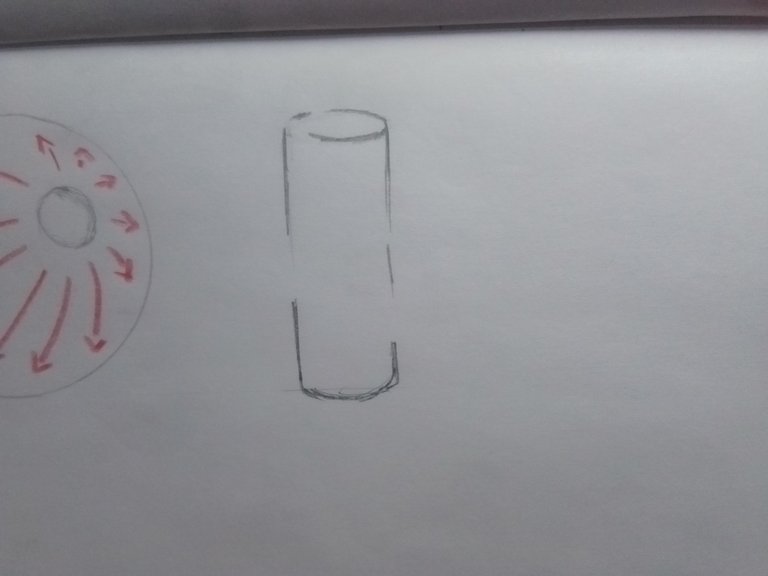
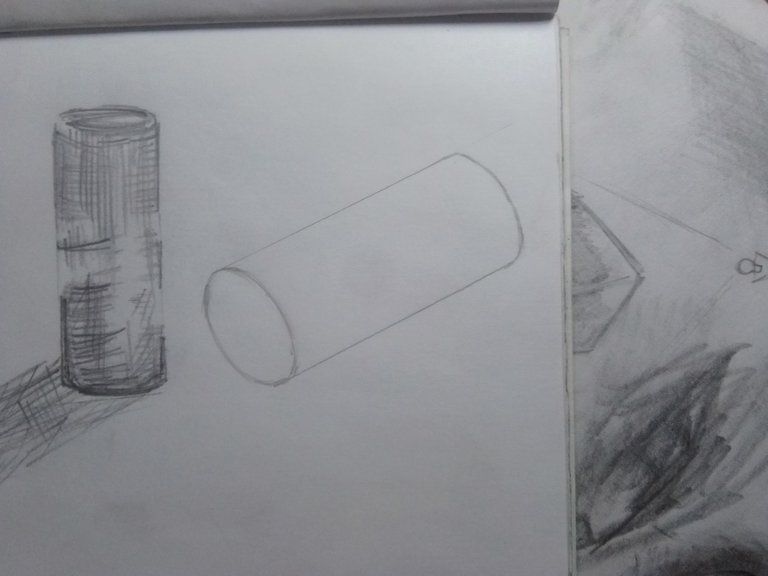
In this drawing we can see a cylinder in a vertical plane and to give it that 3D touch, what I did was to make lines that resemble a circle on the sides of the cylinder and some vertical lines to give it texture.
En este dibujo podemos ver un cilindro en un plano vertical y para darle ese toque 3D, lo que hice fue hacer líneas que asemejen un círculo por los lados del cilindro y algunas líneas verticales para darle textura
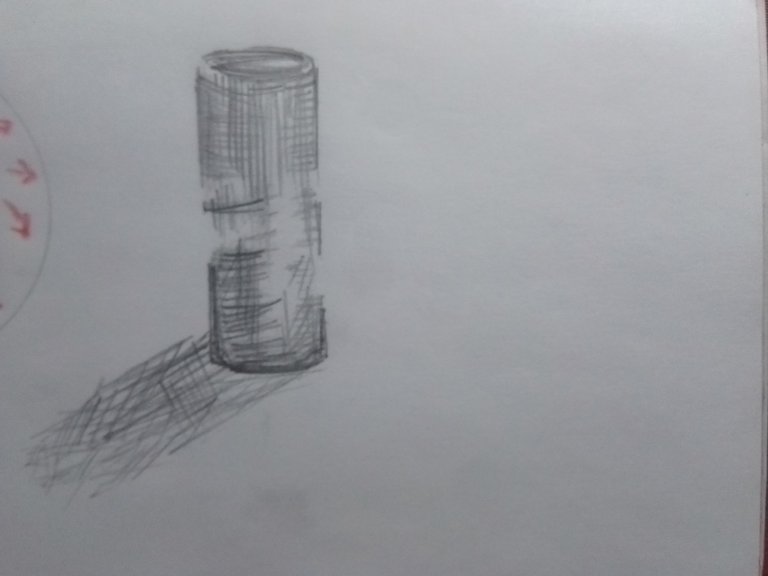
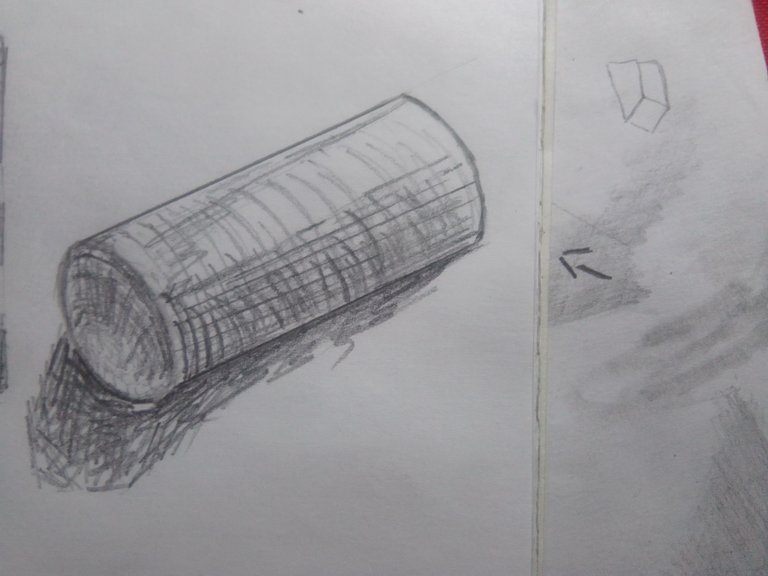
In the next one we can see the same cylinder, but this one is in a horizontal plane and, if we look closely, it does not suffer many changes in terms of lines; we have the same crossed lines to imply that it is a cylindrical object and the horizontal lines to give it more texture.
En el siguiente podemos ver el mismo cilindro, pero este está en un plano horizontal y, si nos fijamos bien, este no sufre muchos cambios en cuanto a las líneas; tenemos las mismas líneas cruzadas para dar a entender que es un objeto cilíndrico y las líneas horizontales para darle más textura.
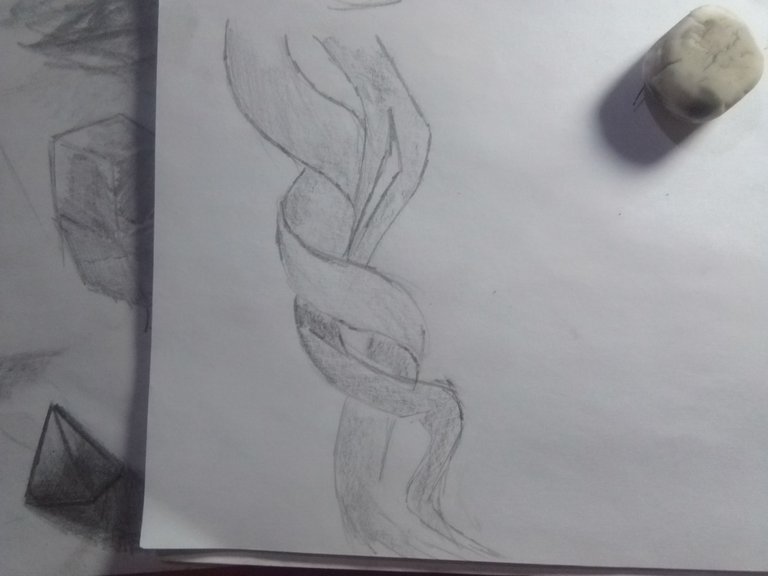
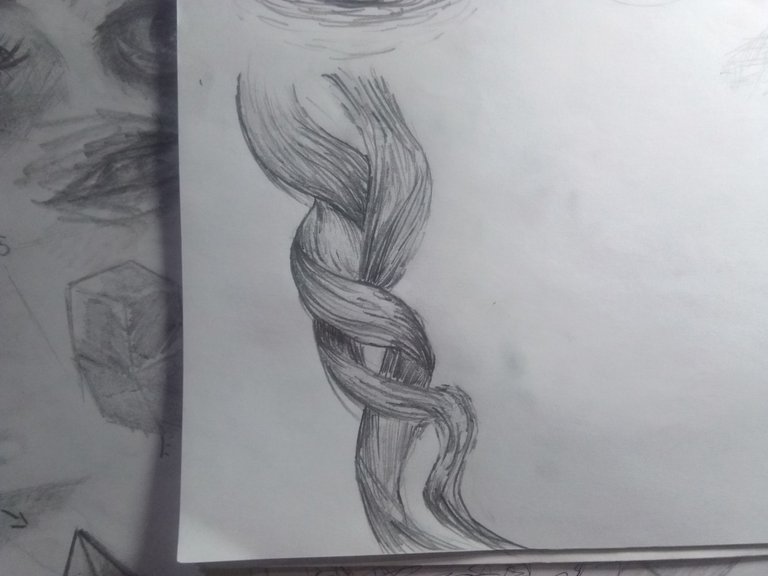
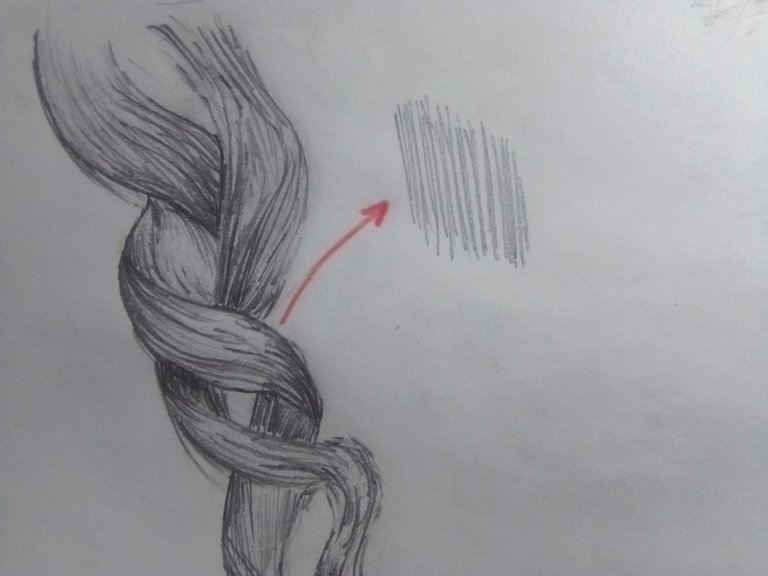
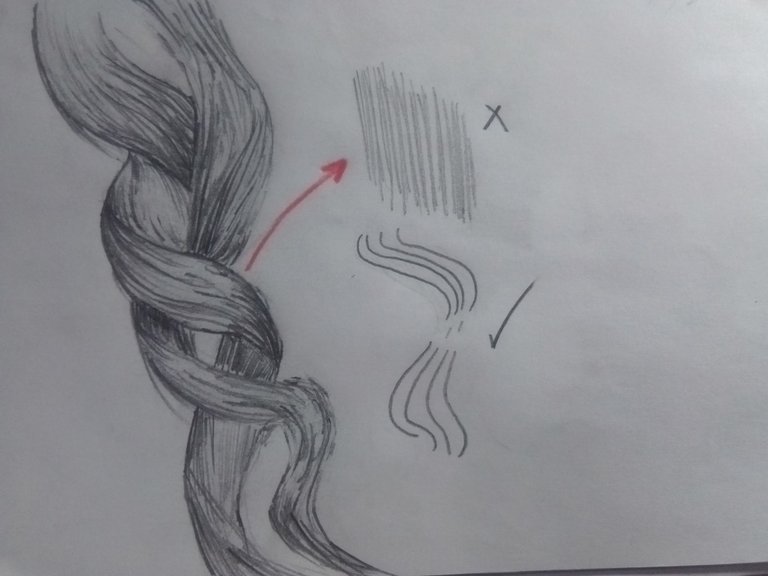
This method is also quite good when drawing hair, since it allows us to draw those curved lines that follow the contour of the hair and in this way we can give the impression that we are drawing and give a more realistic sensation.
Este método también es bastante bueno a la hora de dibujar cabello, ya que nos permite trazar esas líneas curvas que siguen el contorno del cabello y de esta manera se puede dar a entender que estamos dibujando y damos una sensación más realista


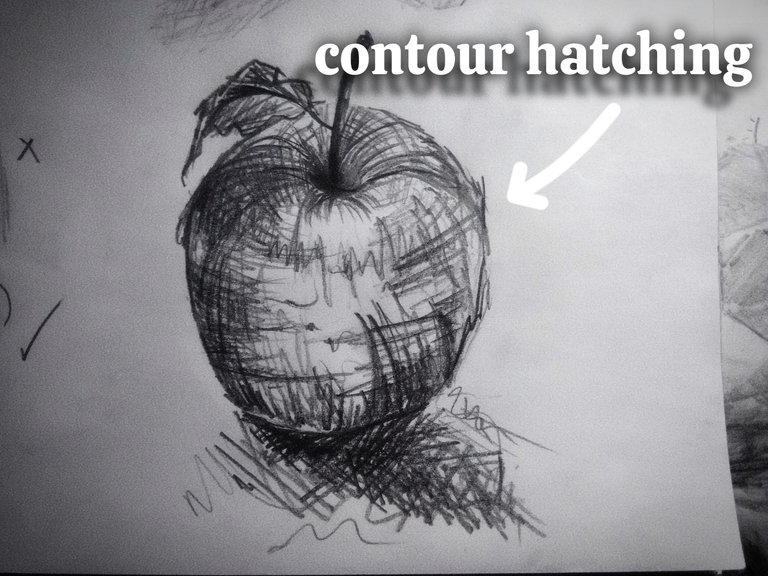
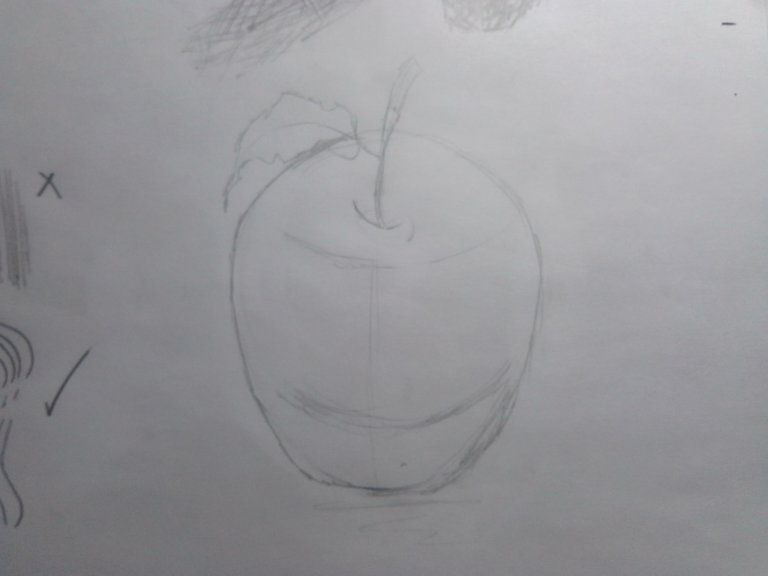
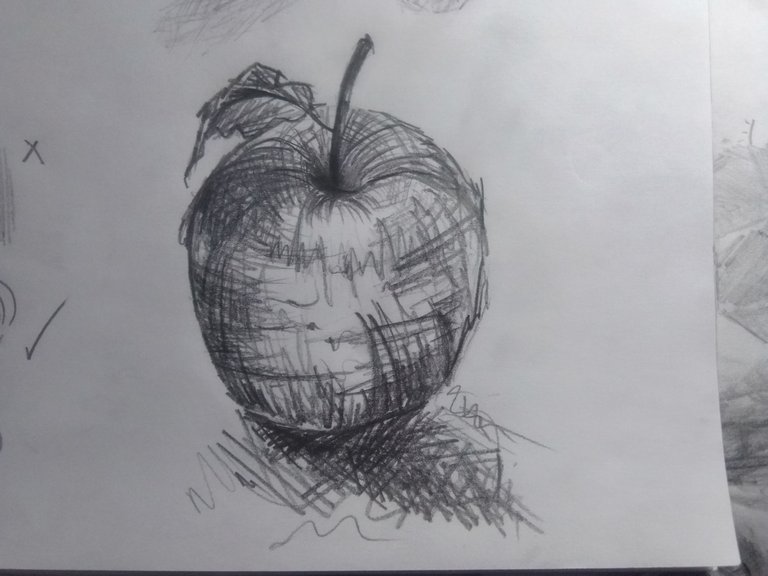
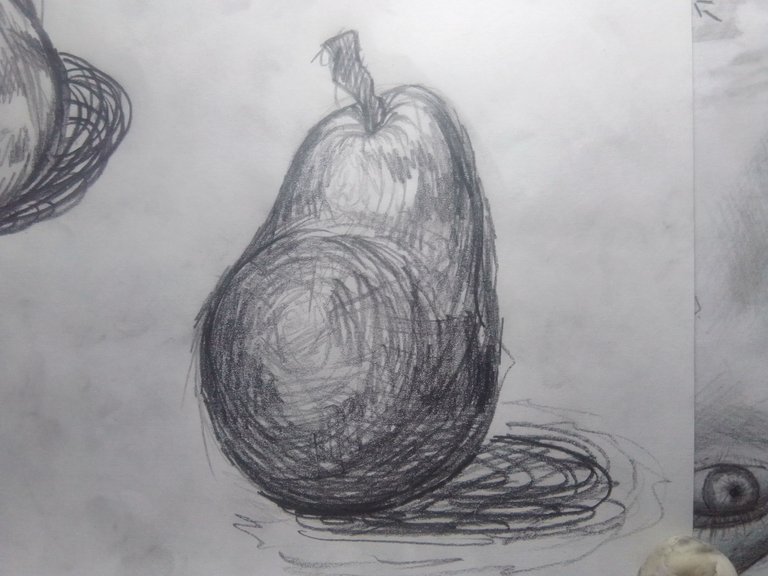
If you want to practice with more irregular objects, you can take this example I made with an apple. The first thing we are going to do is to create the sketch of our drawing.
Si quieren practicar con objetos más irregulares, pueden tomar este ejemplo que hice con una manzana. Lo primero que vamos a hacer será crear el boceto de nuestro dibujo.

Once we have the structure ready, we give it the sensation of volume through the curved lines.
Una vez tengamos la estructura lista, pasamos a darle esa sensación de volumen a través de las líneas curvas.
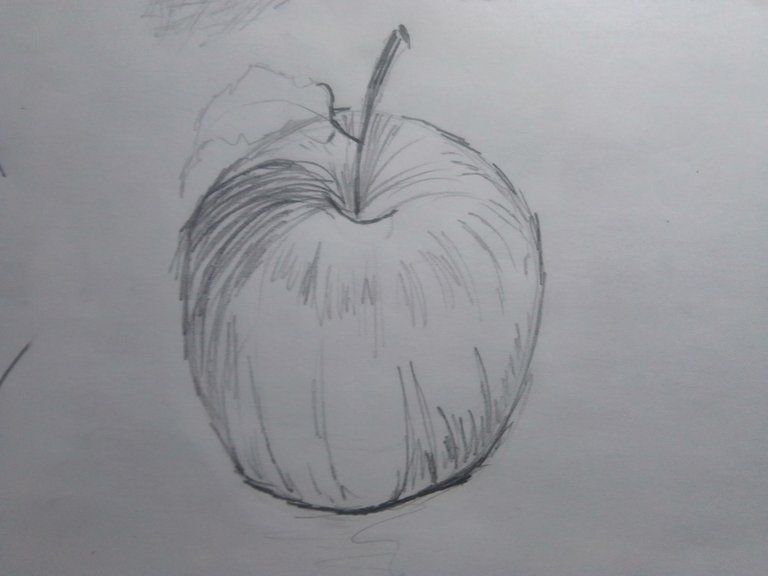
I recommend you to use strong values to highlight those dark parts and have a tip on the pencil and you are done.
Les recomiendo utilizar valores fuertes para resaltar esas partes oscuras y tener una punta en el lápiz y listo
The trick is to know from which point we are going to draw the lines that will give shape to our drawing and the other is to know how to use those lines that go from one side to another and that unify our drawing, another thing to keep in mind is to know how to use in which direction we are going to orient the lines in order to transmit correctly the object we are drawing.
El truco de todo esta en saber desde que punto vamos a sacar las líneas que darán forma a nuestro dibujo y la otra es saber utilizar esas lineas que van de un lado a otro y que unifican nuestro dibujo, otra cosa a tener en cuenta saber utilizar en que sentido vamos a orientar las lineas para de esta manera transmitir correctamente el objeto que estamos dibujando.

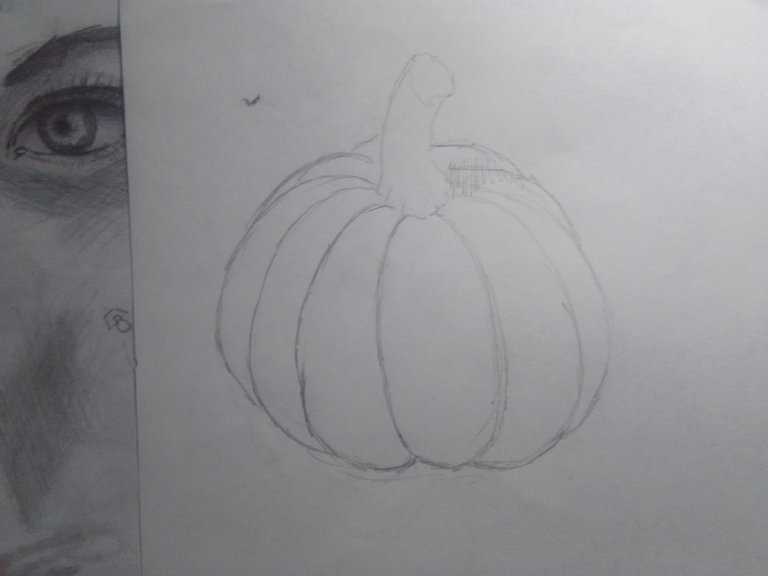
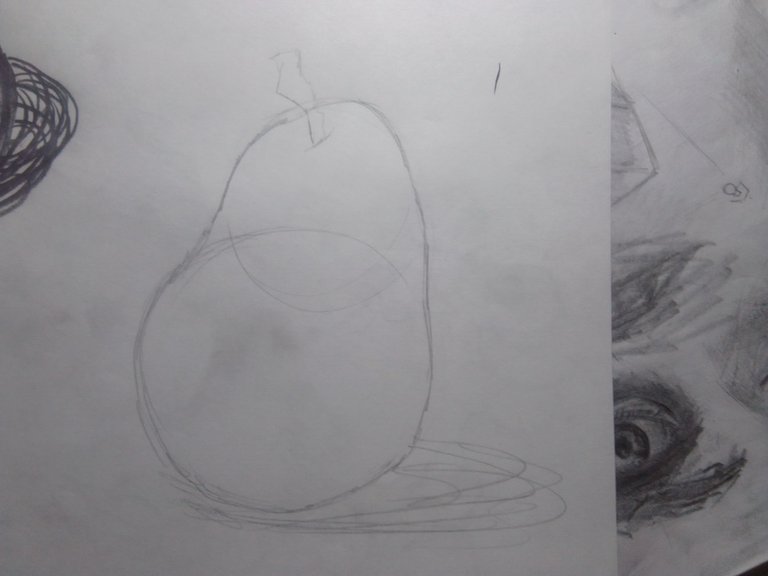
Here you can see other examples with different objects.
Aquí pueden ver otros ejemplos con objetos distintos.


Thank you very much for coming here. I hope you liked my post a lot. This was a very relaxing technique, since it is not so frustrating and we can just sit and draw any object that comes to our mind and thus lose the fear of what will be the result of our drawing, which sometimes many beginner artists present and many times so much in something that becomes stressful and we lose sight that there are methods that possibly do not provide that feeling of realism that many are looking for, can help us to free the mind and soul. Well, that's all for today. See you until the next post. Bye.
Muchas gracias por haber llegado aquí. Espero que les haya gustado mucho mi post. Esta fue una técnica bastante relajante, ya que no es tan frustrante y podemos simplemente sentarnos y dibujar cualquier objeto que se nos venga a la mente y de esta forma ir perdiendo el miedo a cuál será el resultado de nuestro dibujo, que a veces muchos artistas principiantes presentan y muchas veces tanto en algo que se vuelve estresante y perdemos de vista que existen métodos que posiblemente no brindan esa sensación de realismo que seguro muchos están buscando, pueden ayudarnos a liberar la mente y el alma. Bueno, esto fue todo por el día de hoy. Nos vemos hasta el siguiente post. Bye.
todas las fotos fueron tomadas con mi telefono Yezz art 2 pro/all photos were taken with my Yezz art 2 pro phone.
link de la imagenes utilizadas en este post/link to the images used in this post👇
| Muchas gracias por leer mi publicación! | Thank you very much for reading my post! |
|---|
| Redes Sociales | Social Network |