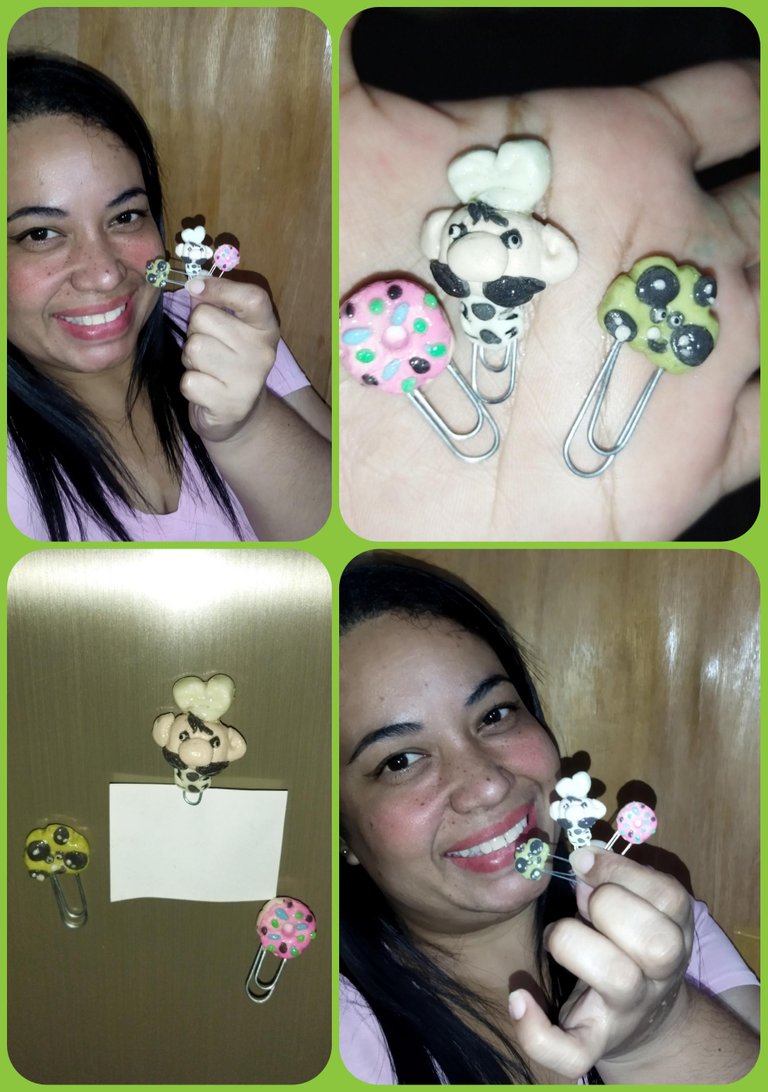
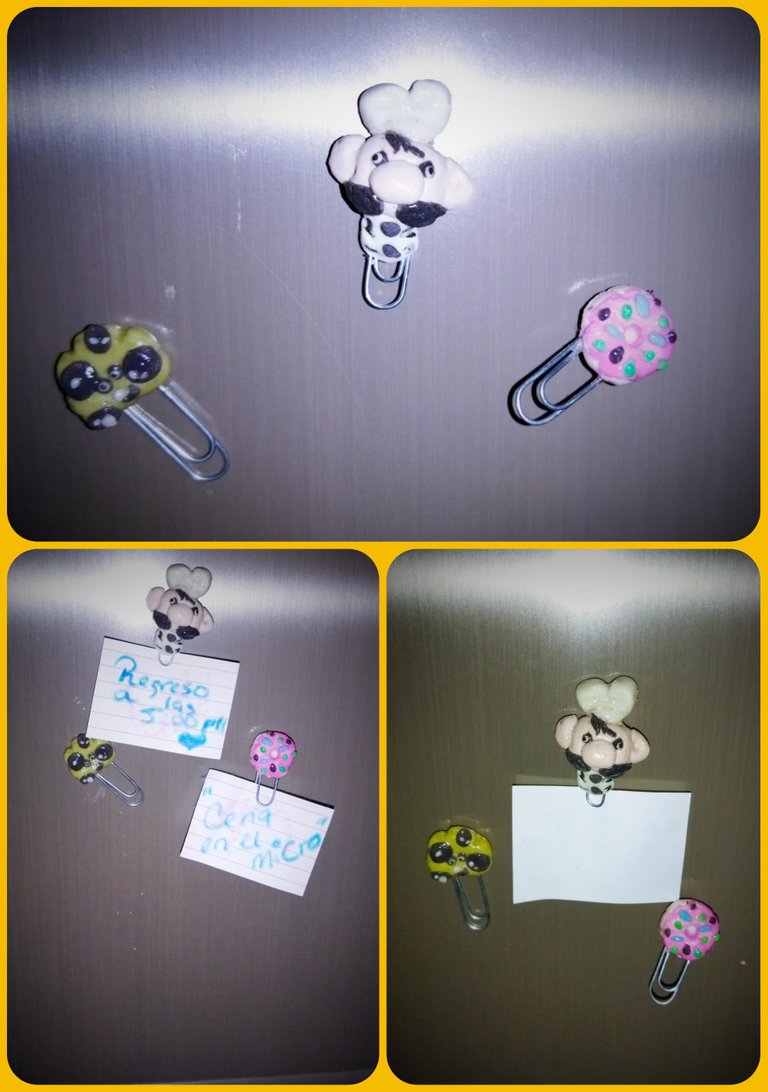
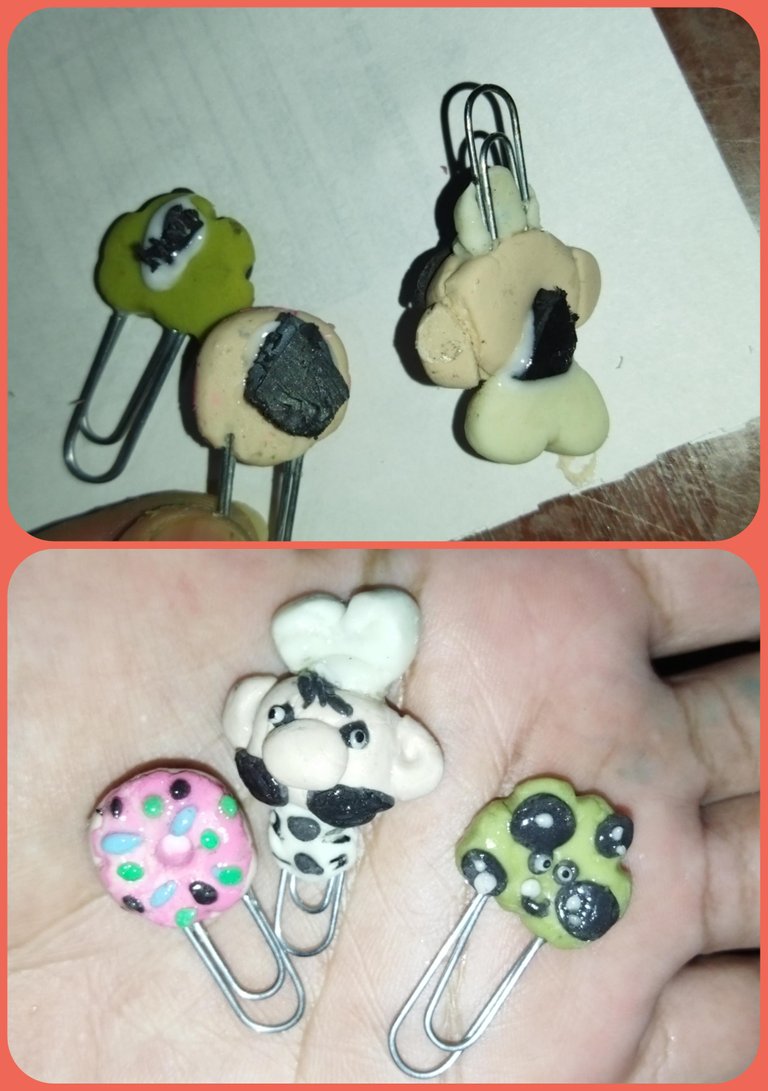
These are magnetic clips ideal for leaving notes and/or messages. I made this original idea with flexible dough, creating three cute characters with a kitchen theme, since we usually leave notes on the fridge or microwave.
Feliz y bendecido día tengan todos los usuarios, el día de hoy les muestro una linda, creativa y práctica manualidad, con elementos súper sencillos que fácilmente podemos encontrar en nuestros hogares. Se trata de unos clips magnéticos ideales para dejar notas y/o m mensajes. Está original idea la realicé en masa flexible, creando tres simpáticos personajes con temática de cocina, ya que generalmente dejamos notas en la nevera o microondas.
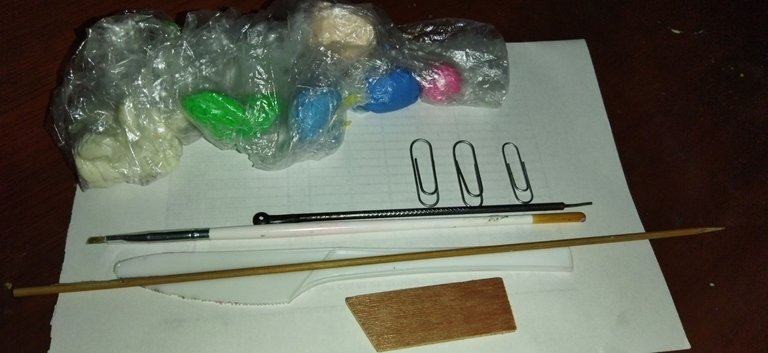
Here I show you the materials used and the simple steps to make them.
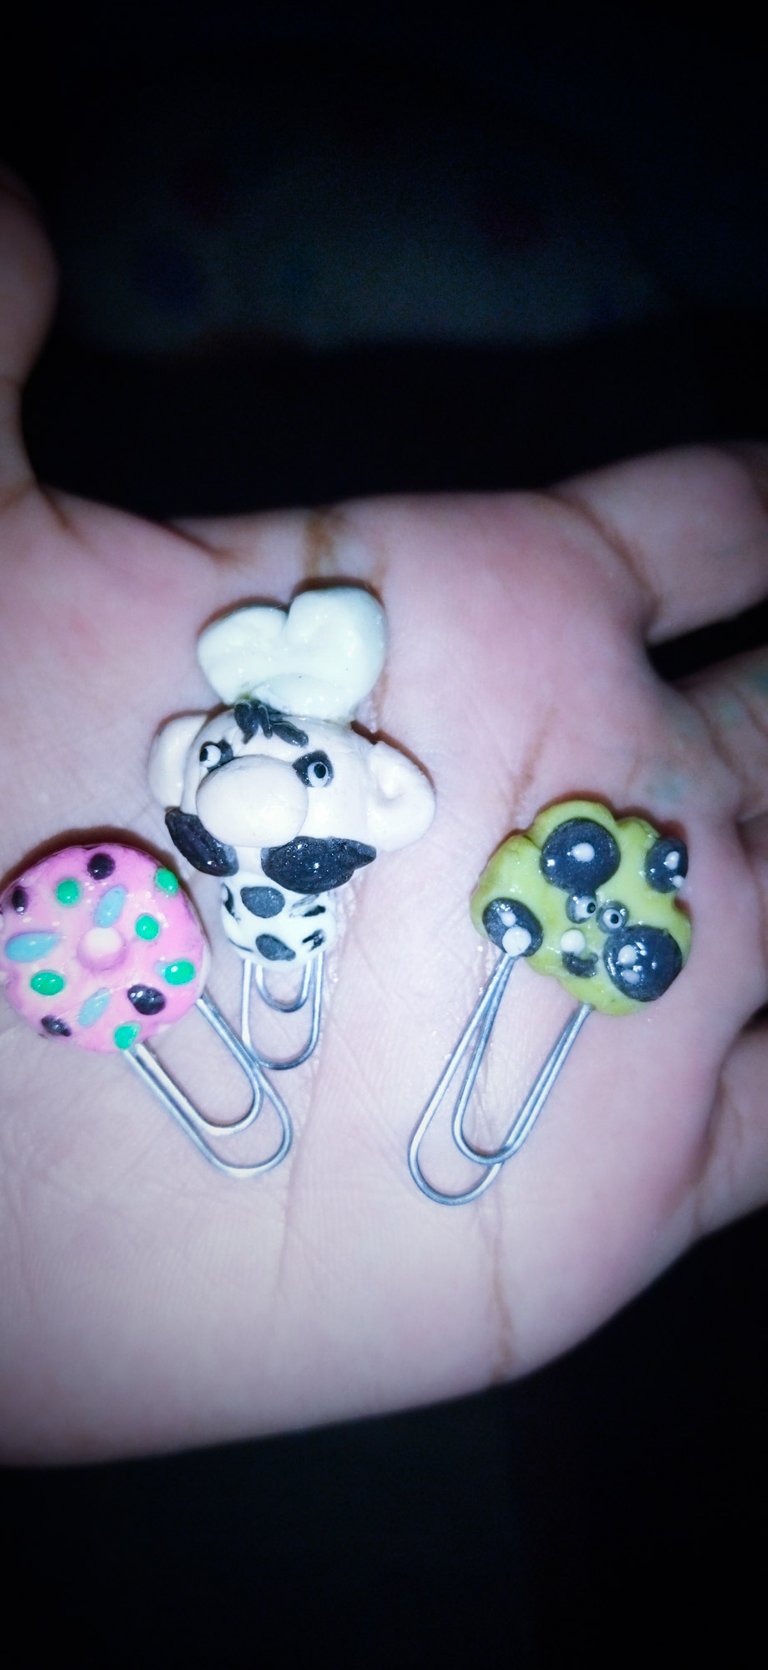
El personaje principal es un cheff bigotudo con su uniforme carácteristico. El segundo es una galleta con chispas de chocolate y el tercero es una jugosa Dona con glaseado de fresa y lluvia de colores. Aquí les muestro los materiales utilizados y los sencillos pasos para su elaboración.
masa flexible casera en diferentes colores, clips, pega blanca y trocitos de imanes.
1. Para la elaboración del cheff, vamos a tomar una bolita de masa en tono piel y con cuidado la colocamos encima del clips con un poquito de pega blanca, redondeamos los bordes y colocamos otra bolita en el centro para crear su nariz, y con otra bolita más pequeña la cual vamos a aplanar suavemente y dividiremos a la mitad hacer sus orejitas.
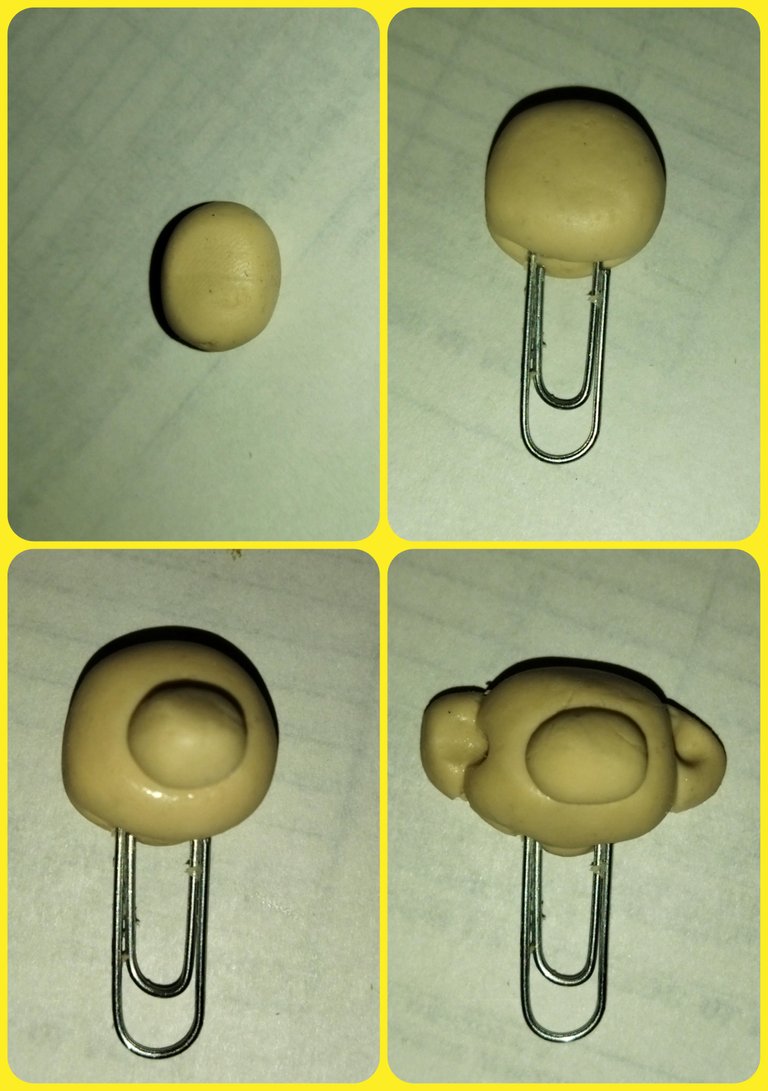
2. Para la parte del cuerpo vamos a tomar un poco de masa en tono blanco y hacemos la forma de un triángulo y recortamos los bordes para que nos quede parejita,con otro pedacito de masa blanca hacemos un corazón que sería la parte del gorro, y pegamos ambas piezas, una en la cabezay la otra debajo de la cabeza. Y en masa negra le hacemos los ojos, los cabellos y su mostacho muy propio de un cheff.
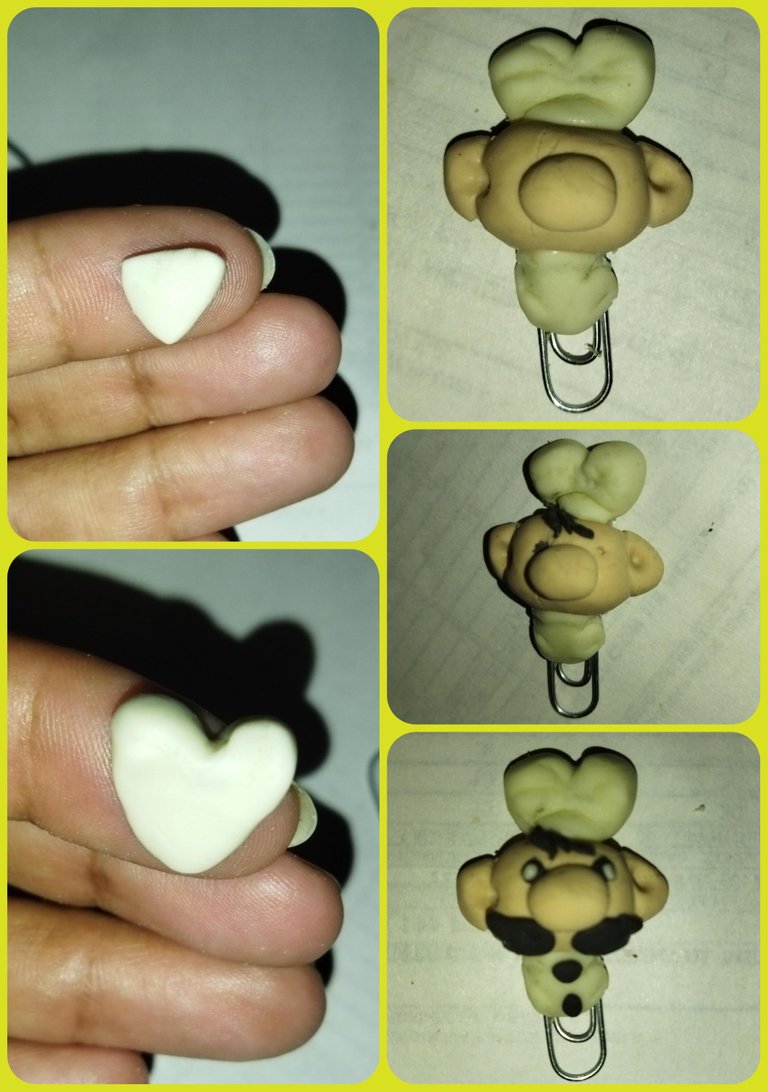
3. Para finalizar le colocamos con pega blanca un trozo de imán y dejamos secar muy bien.

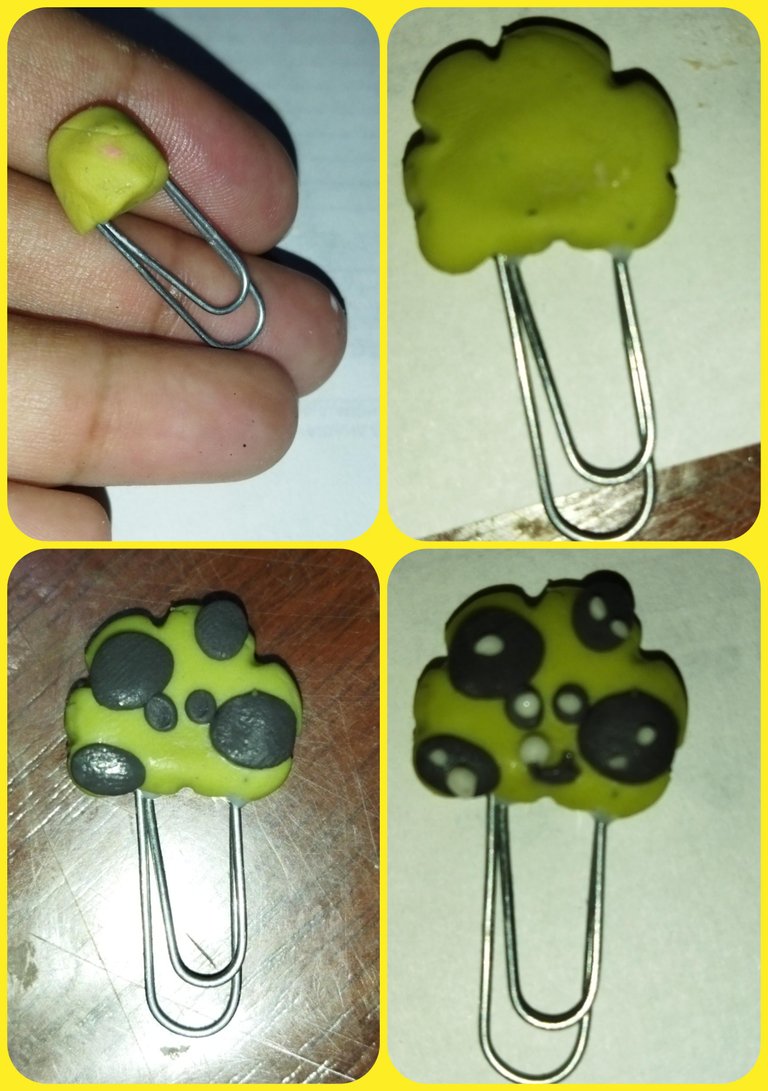
4. La elaboración de la galletas es súper sencilla, simplemente tomamos un trocito de masa flexible amarilla, y haciendo una bolita vamos. Introducir en el clip con un poco de pega blanca, y vamos a ir aplanando poco a poco,en los bordes hacemos pequeñas muecas, y le colocamos encima pelotitas en marrón como chispas de chocolate. Le haremos dos ojitos decorativos y una boca sonriente. Dejamos secar y le adicionamos el imán con pega blanca en la parte posterior.
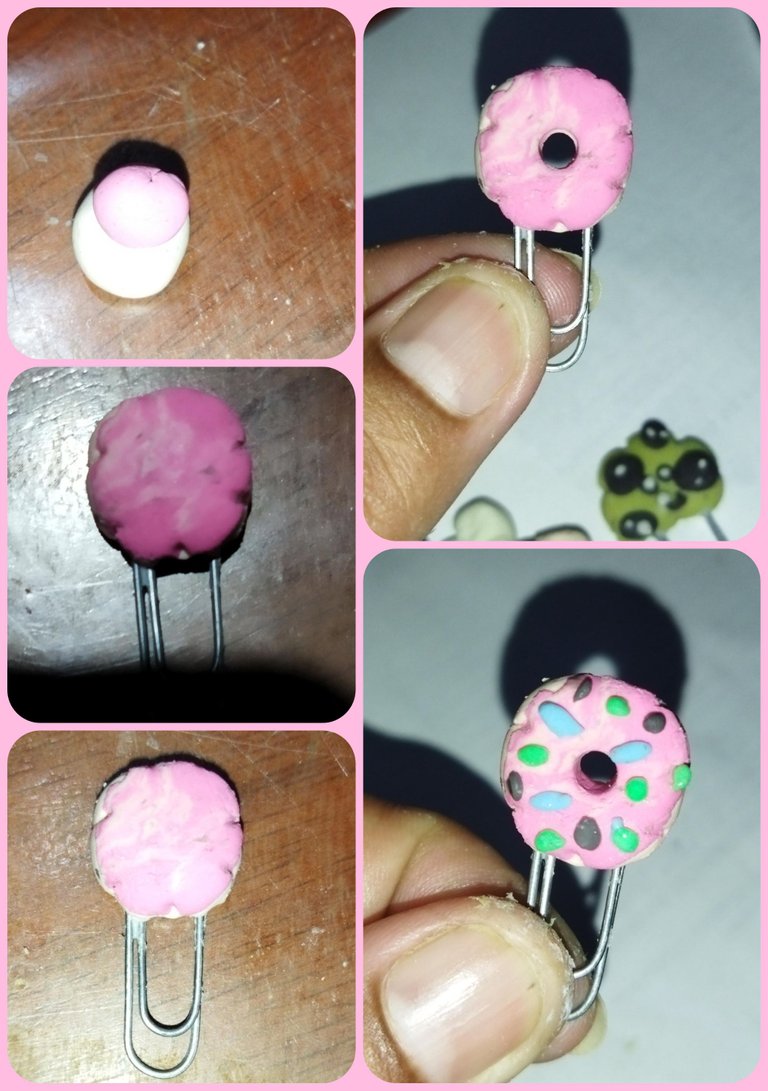
5. La Dona, la elaboramos colocando una bolita de masa marrón claro y una más pequeña color rosa encima, las cuales vamos a introducir en el clip con pega blanca y luego aplanamos juntas y en el centro hacemos un hoyito con la ayuda del palito del pincel, y encima le colocamos lluvia de colores, elaborada con masa de diferentes colores y formas.
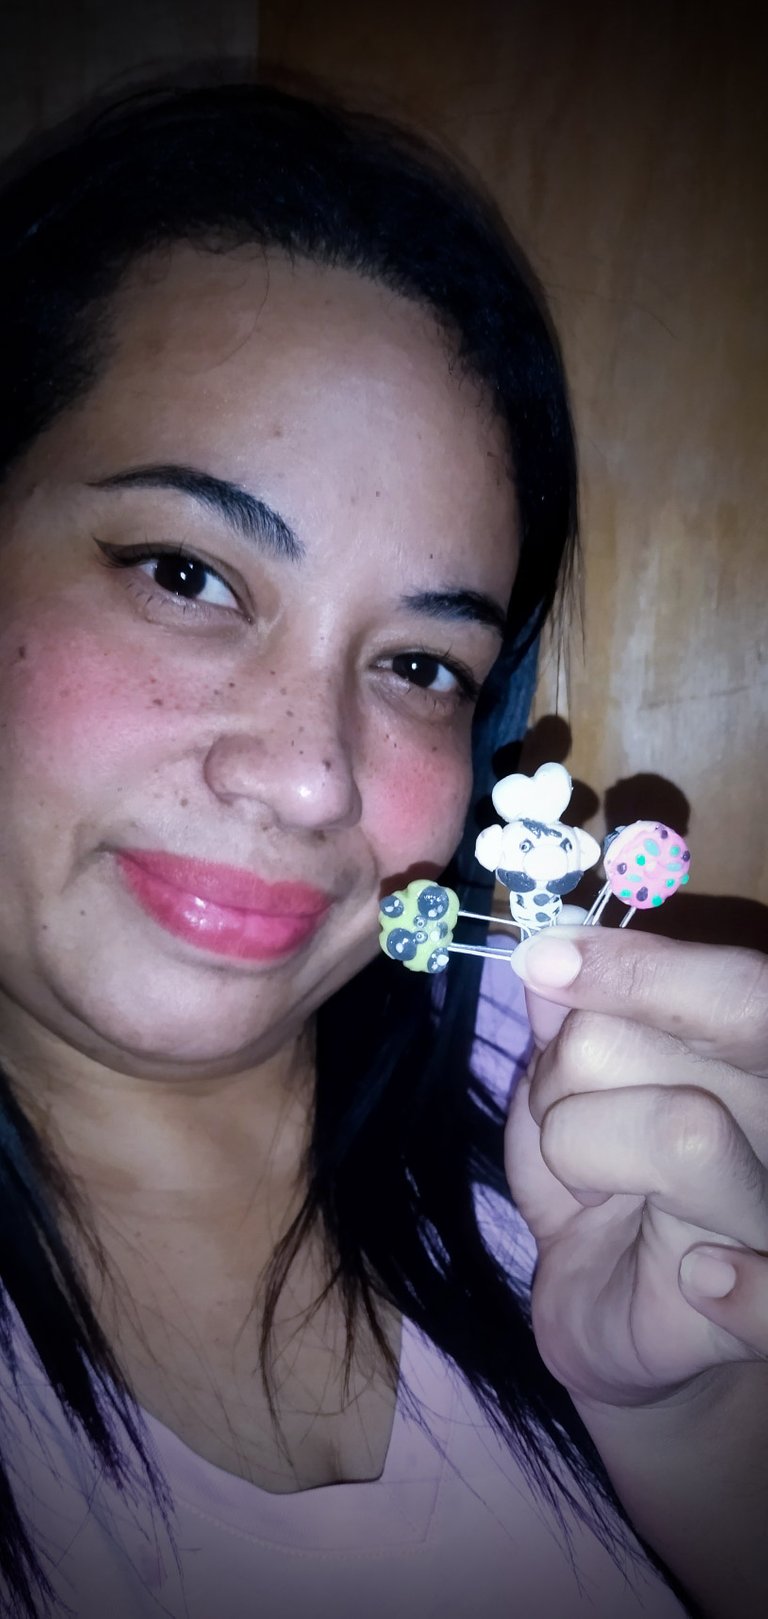
6. Una vez seca todas las piezas vamos a colocarle barniz de uña para darle mayor brillo y mayor resistencia y de esta manera tenemos culminado estos ingeniosos clips magnéticos para hacer notas, elaborados con masa flexible, de una forma súper sencilla y económico.
Esperando que este post haya sido de todo su agrado me despido hasta la próxima saludos!!
Todas las imágenes son de mi propiedad tomadas con Redmi 9t y editadas con Photoshop Express para Android.
Your content has been voted as a part of Encouragement program. Keep up the good work!
Use Ecency daily to boost your growth on platform!
Support Ecency
Vote for new Proposal
Delegate HP and earn more
Gracias @ecency 🤗🤗
La idea es genial. Muchas gracias por compartir. Suerte y mucho ánimo.
Gracias por su comentario es usted muy amable 😘. saludos!!
Nunca he trabajado con masa flexible pero se ve gracias a ti que no es muy dificil gracias por compartir
Hola amiga solo es cuestión de ponerle ganas y mucho interés y así poder lograr manualidades muy bonitas e ingeniosas, yo de esto no sabía nada, pero siempre llamó la atención así que investigue por mi cuenta y aquí están los resultados. Anímese y verá que no se arrepentirá. Saludos y un fuerte abrazo 😘😘
Hola, es muy practica tu idea, uno siempre esta dejando notas en cualquier lado y asi ya todos sabrian donde mirar. Felicitaciones.
Gracias @jessiencasa precisamente ese es un detalle aquí en casa ahora hay más orden 😘😂😂😅 saludos!!