Greetings, my fellow creators.
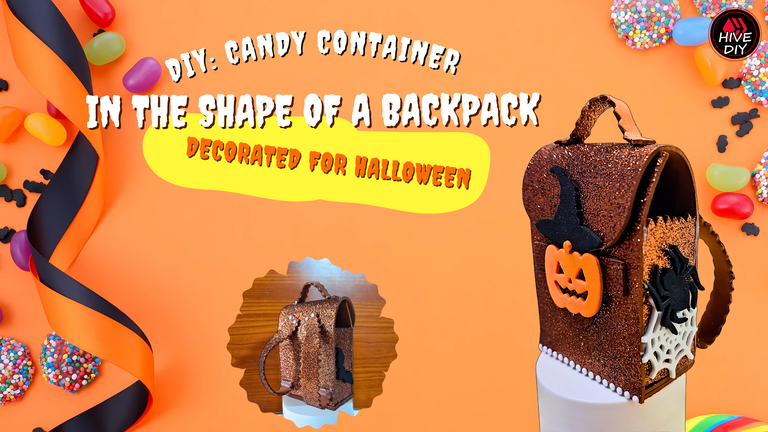
Halloween is over, but the festive spirit hasn't left my house yet. The thing is that after celebrating that special night, there were some small candies with very funny shapes, and I decided to create a container to store them. This container was going to have a peculiar shape, with a peculiar decoration, because the date deserved it.
As the idea formed in my head, the more I became convinced that the candy container should also be a decorative object, since I had decided to give it as a gift. I had planned to make something like a chest or a tomb, but I decided to take a risk and make a decorated backpack for Halloween, and this was the result.
Saludos, compañeros creadores.
Ya Halloween pasó, pero el espíritu festivo aún no abandona mi casa. La cuestión es que luego de celebrar esa noche tan especial, quedaron algunos caramelos pequeños con formas muy divertidas, y decidí crear un envase para almacenarlos. Dicho envase iba a tener una forma peculiar, con una decoración peculiar, porque así lo amerita la pasada fecha.
Mientras la idea se formaba en mi cabeza, más me convencía de que el envase de los caramelos también debía ser un objeto decorativo, ya que me había decidido a regalarlo. Tenía pensado hacer algo como un cofre o una tumba, pero decidí arriesgarme y hacer una mochila decorada para Halloween, y este fue el resultado.
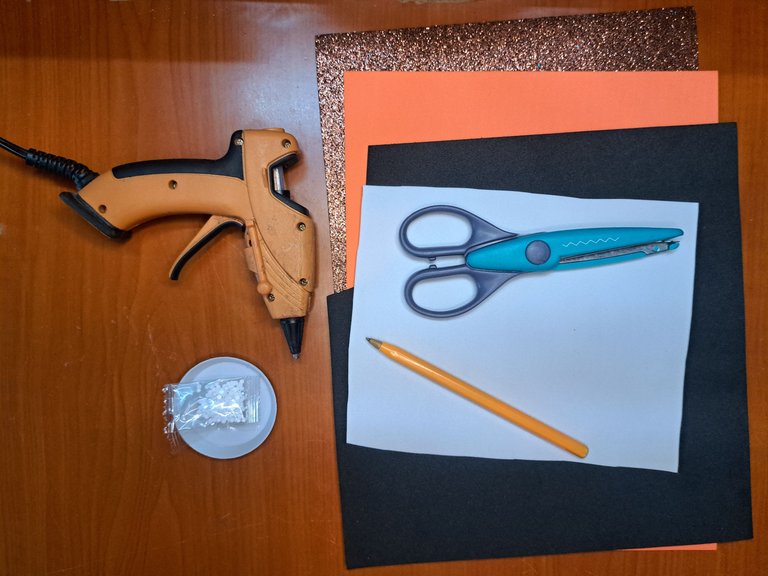
Materials // Materiales
| English | Español |
| ✔️ Carmelite frosted fomi | ✔️ Fomi escarchado carmelita |
| ✔️ Plain black, white and orange fomi | ✔️ Fomi liso negro, blanco y naranja |
| ✔️ Irregular cutting scissors | ✔️ Tijera de corte irregular |
| ✔️ Marker | ✔️ Marcador |
| ✔️ White pearl stockings | ✔️ Medias perlas blancas |
| ✔️ Hot silicone | ✔️ Silicona caliente |
Step by step // Paso a paso
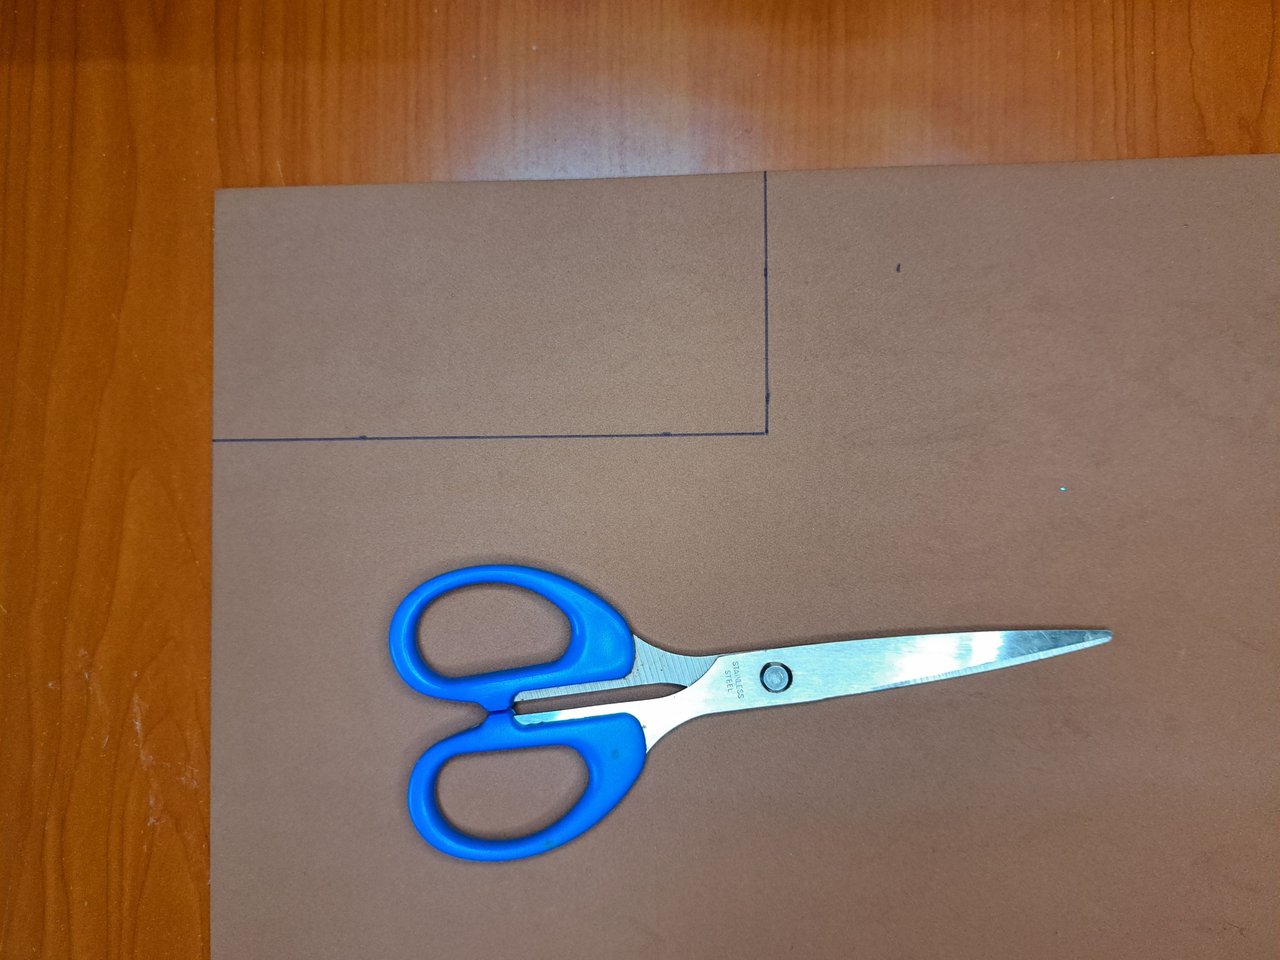
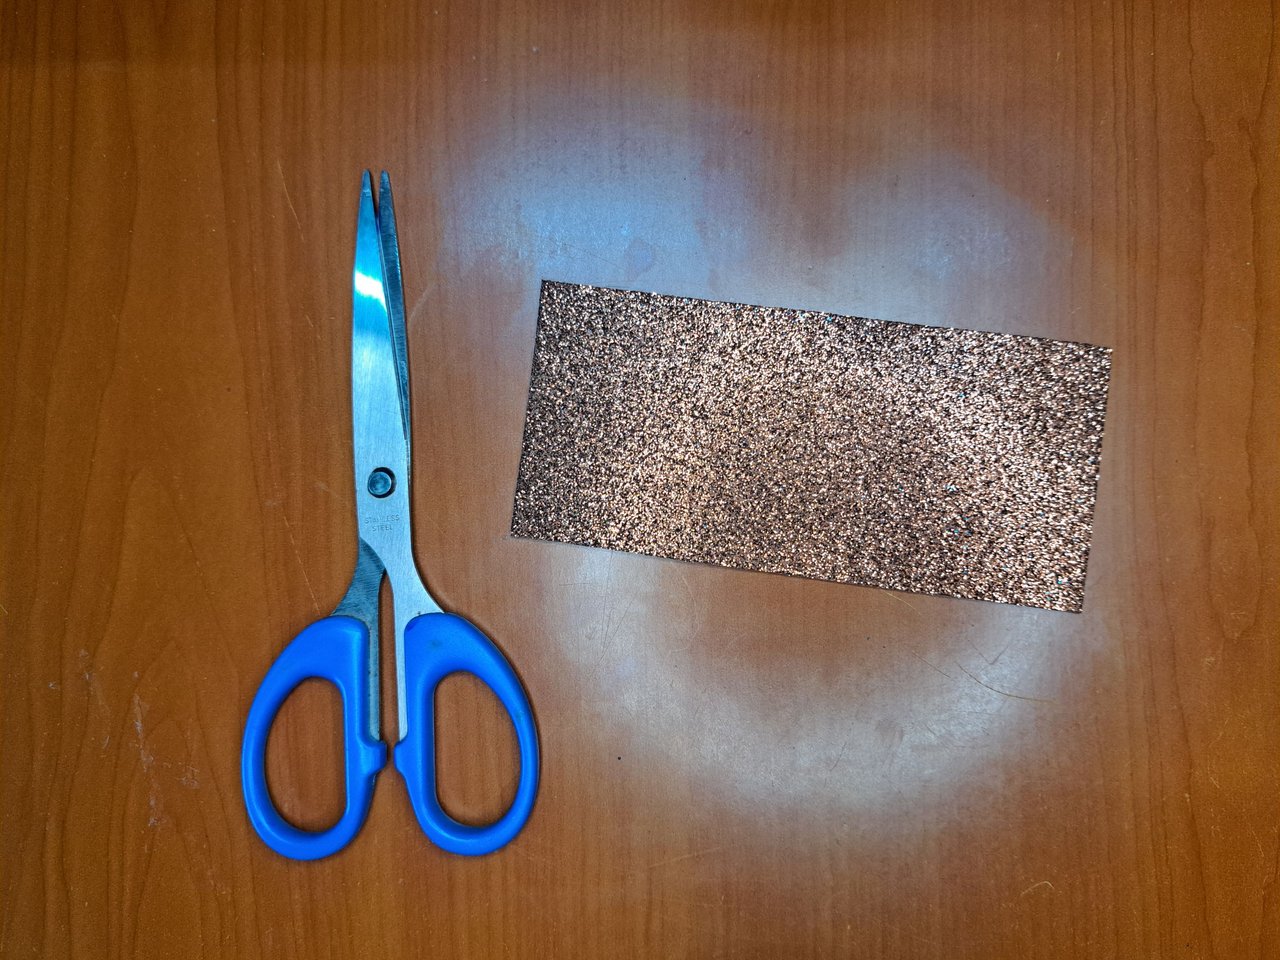
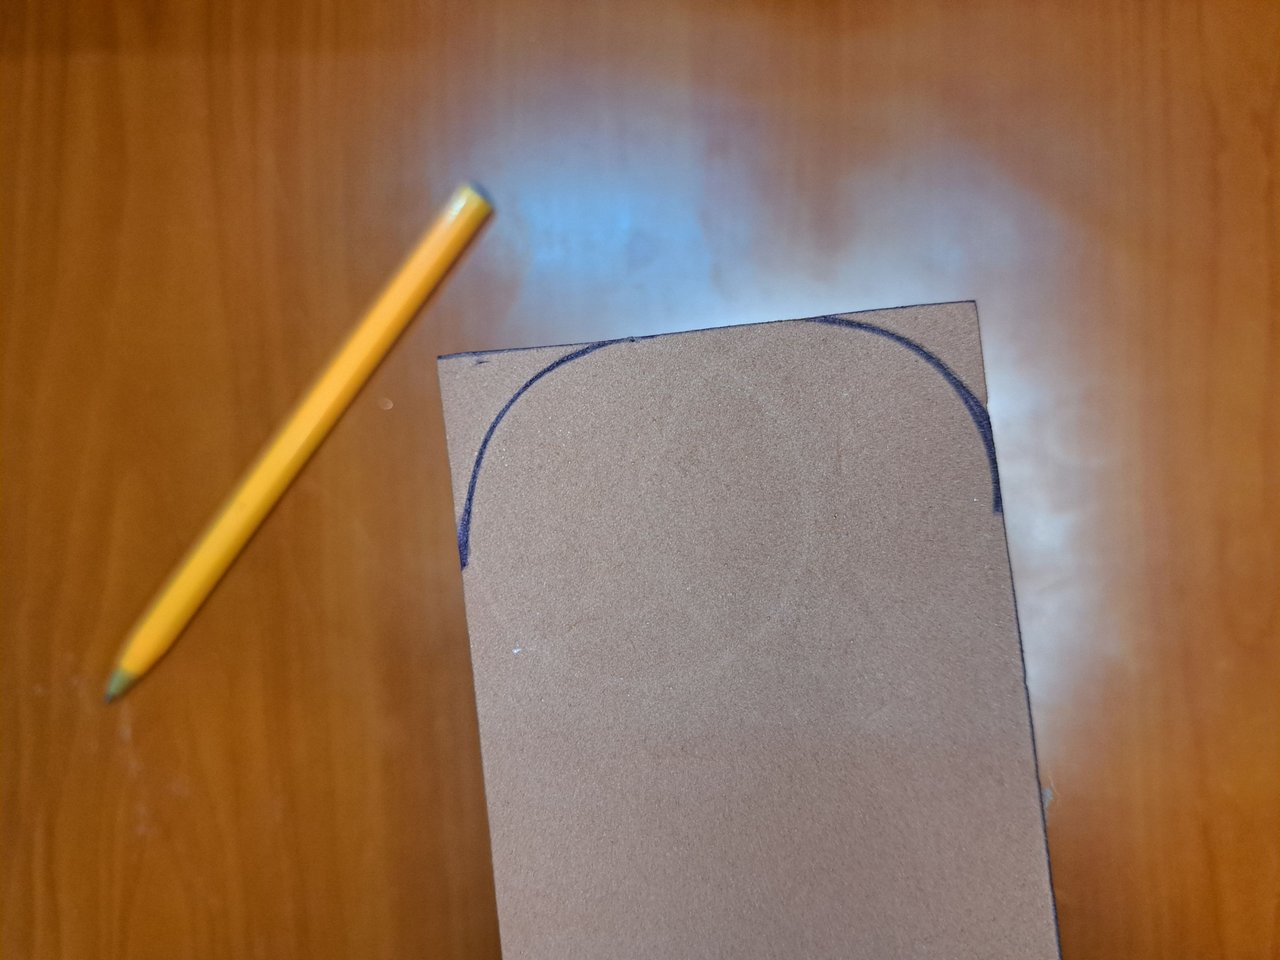
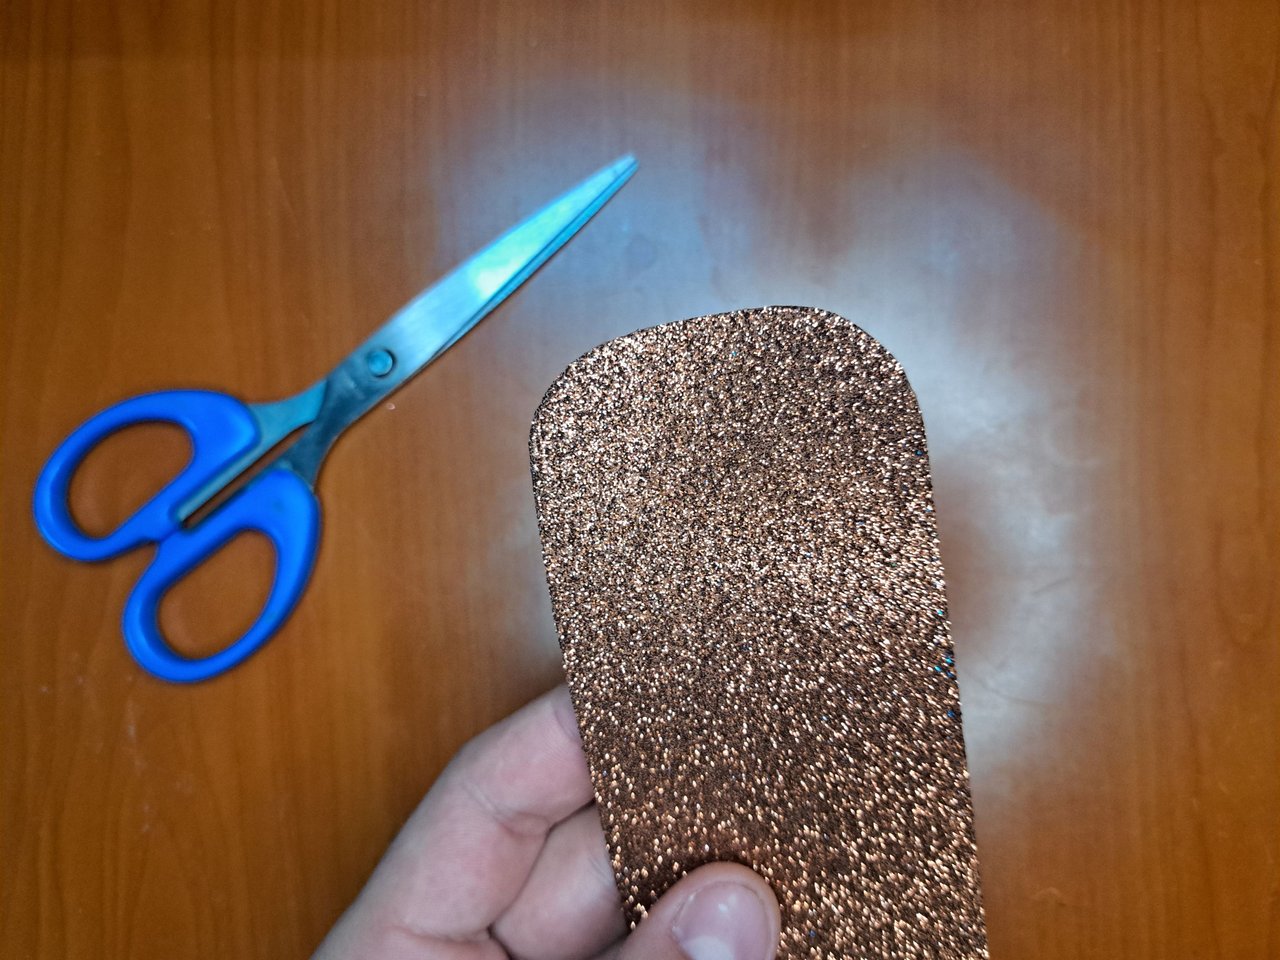
1️⃣ To form the top and back of the backpack, mark and cut out a 14 cm x 6 cm piece of carmelite frosted fomi. Then, round off one end.
Para formar la tapa y el reverso de la mochila, marca y recorta una pieza de 14 cm x 6 cm de fomi escarchado carmelita. Luego, redondea uno de sus extremos.
 |  |
 |  |
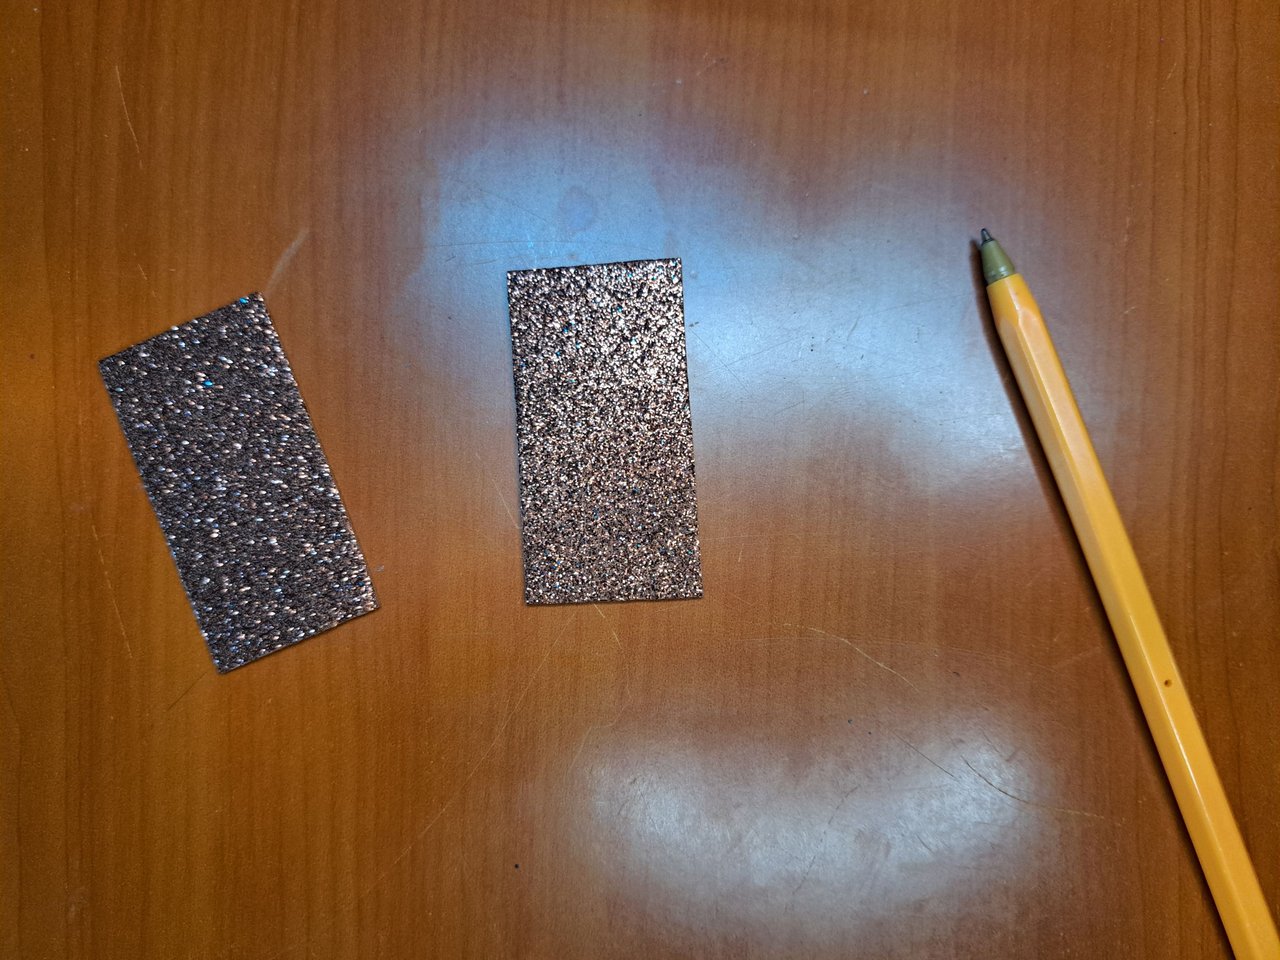
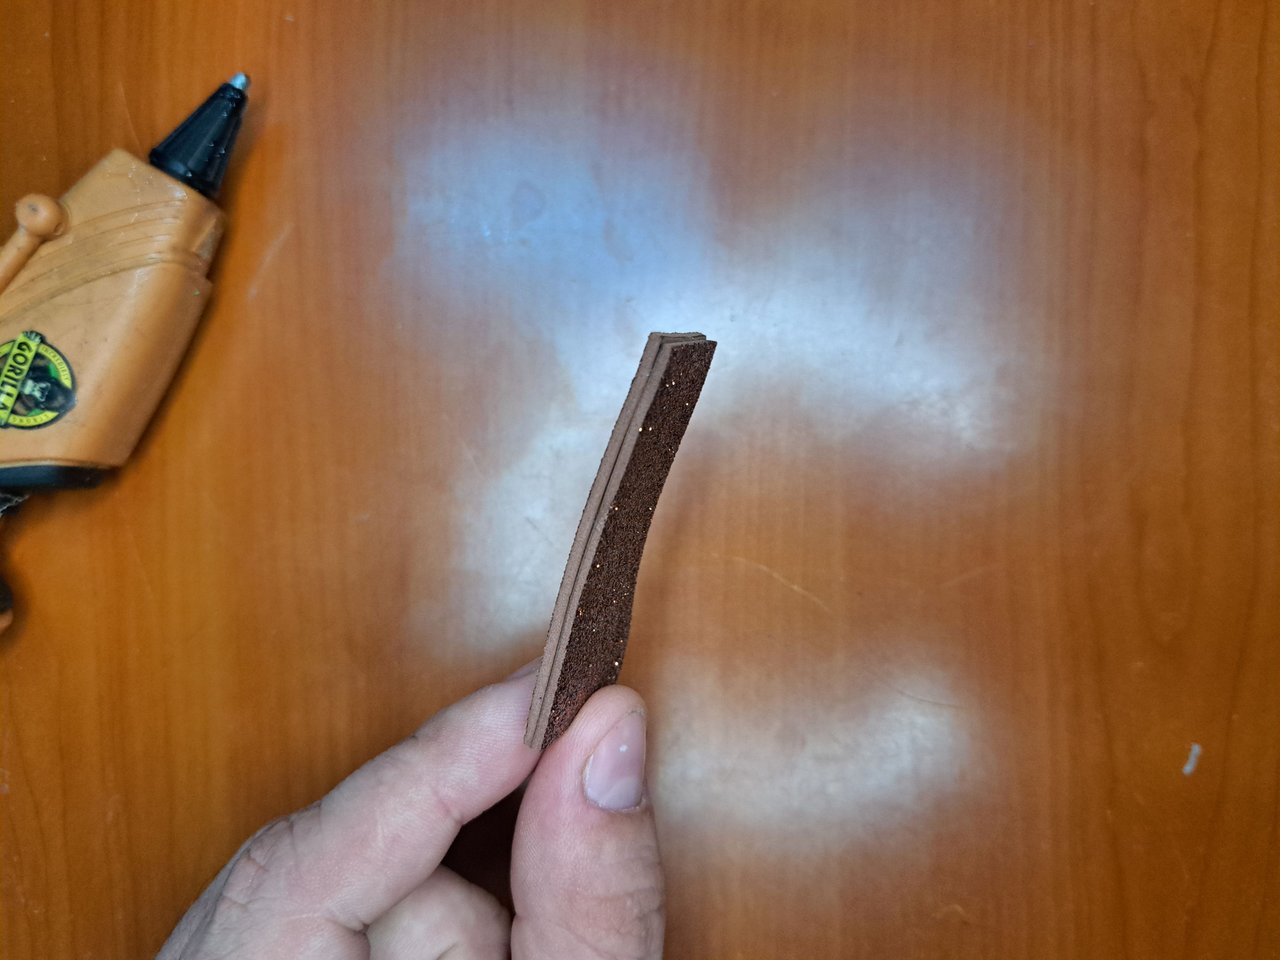
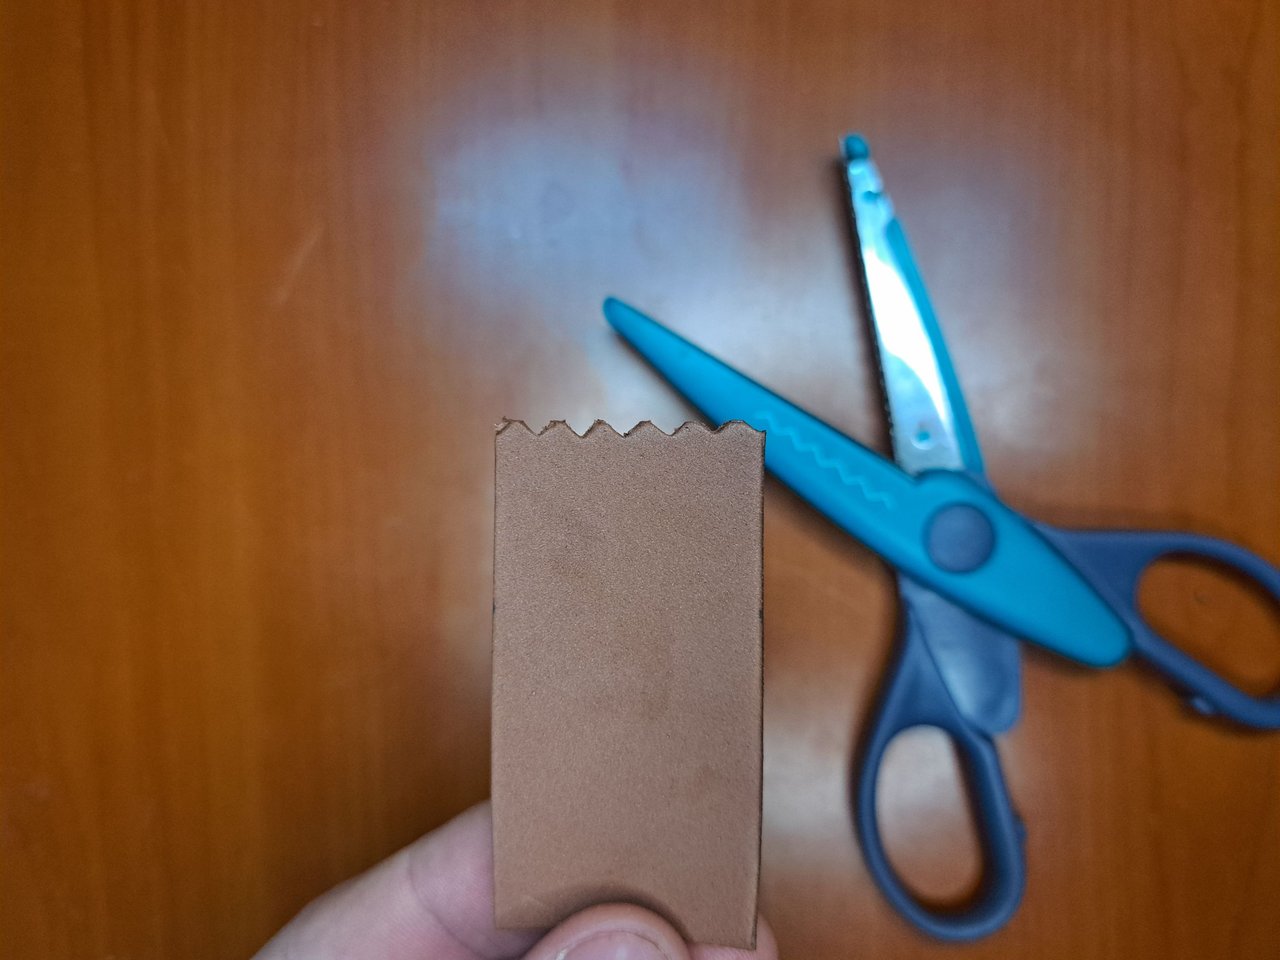
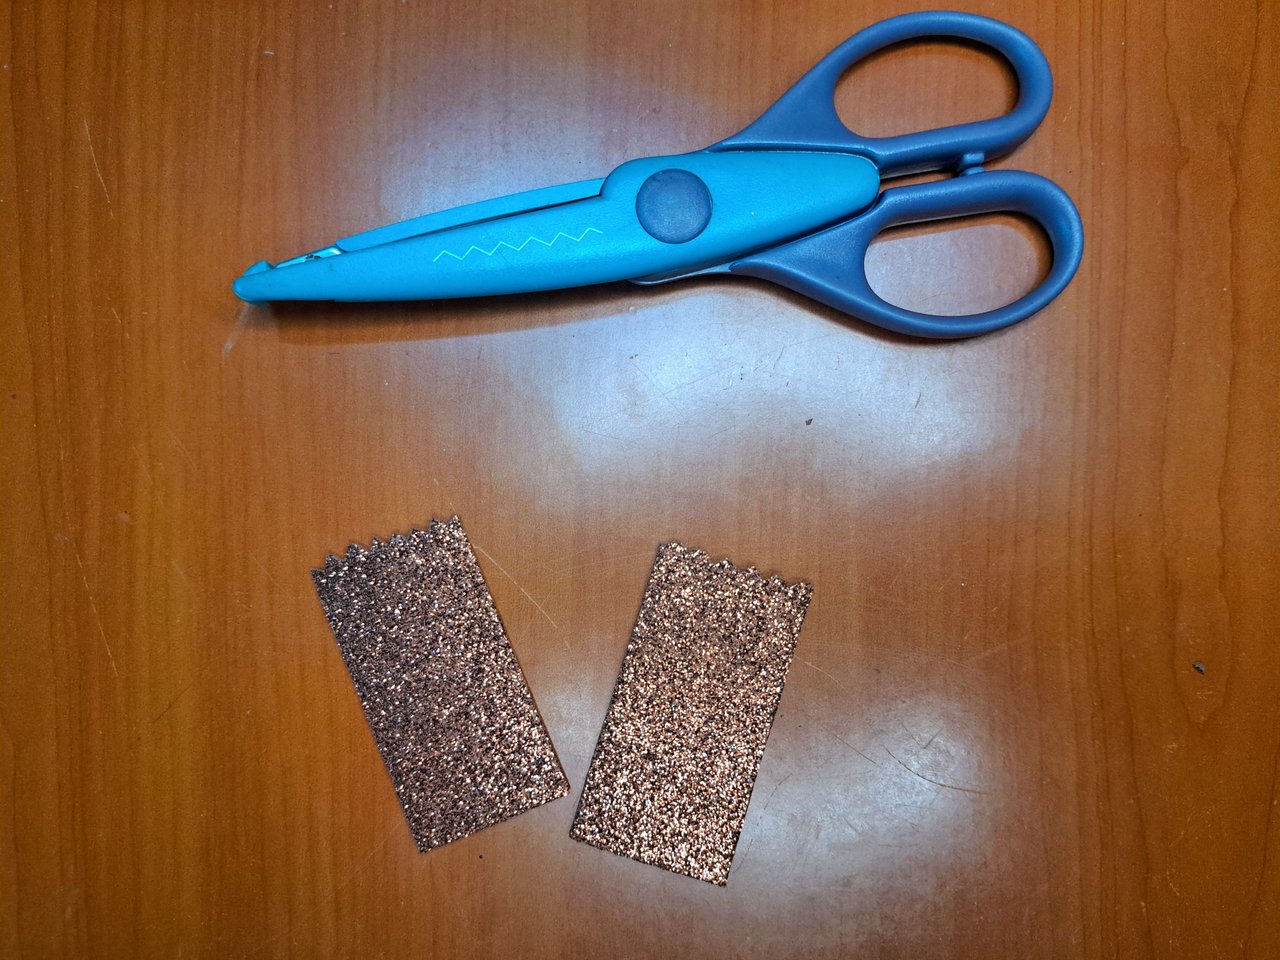
2️⃣ The base will be two pieces of 6 cm x 3 cm of fomi, which will be glued together on the smooth side. For the sides, cut out two pieces of the same size as the base and make an irregular pattern on one of the short sides.
La base serán dos piezas de 6 cm x 3 cm de fomi, de las cuales irán pegadas entre sí por la parte lisa. Para los costados recorta dos piezas de igual medida que la base y hazles un patrón irregular en uno de sus lados cortos.
 |  |
 |  |  |
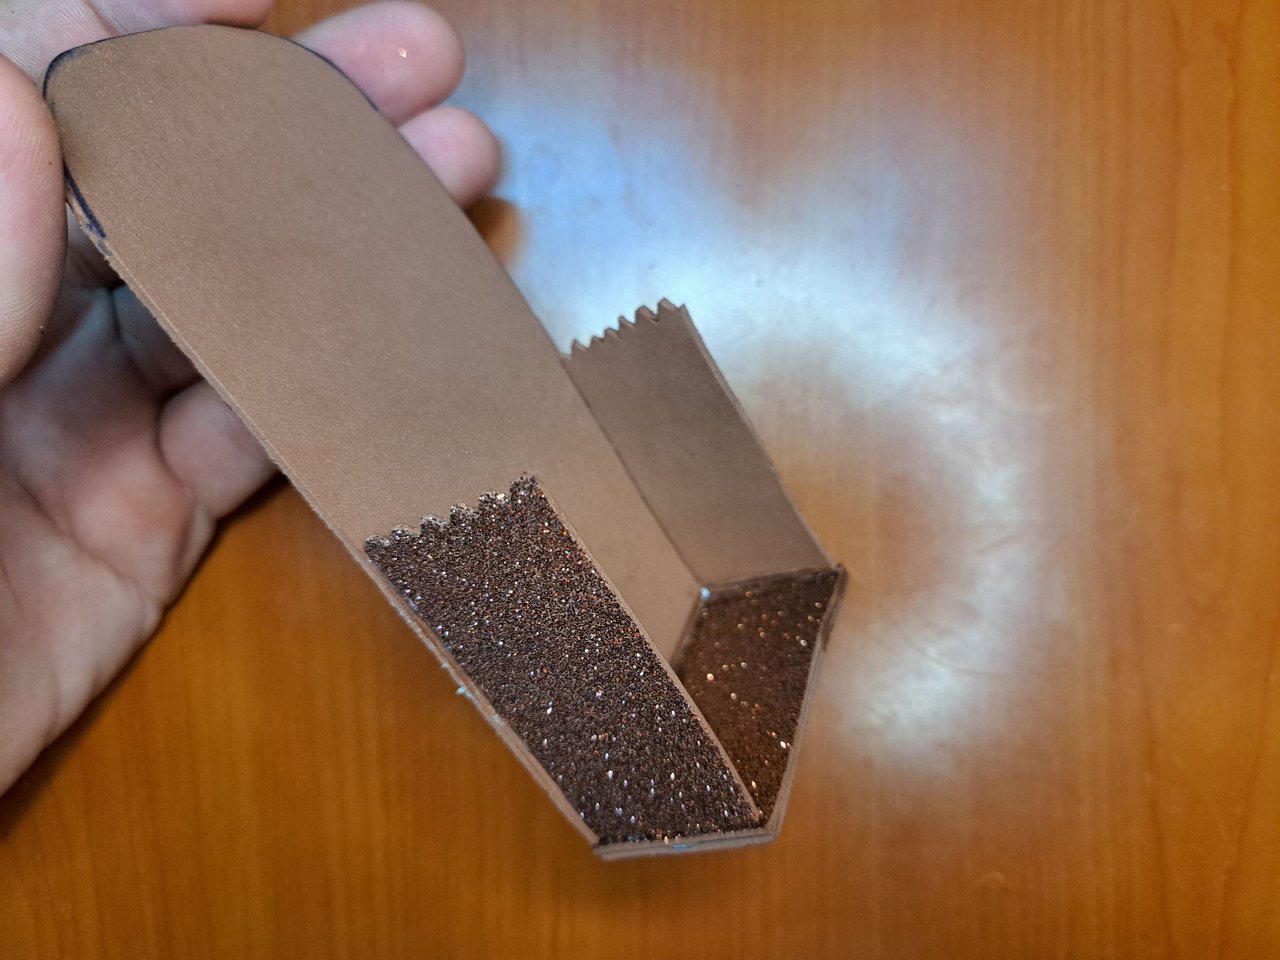
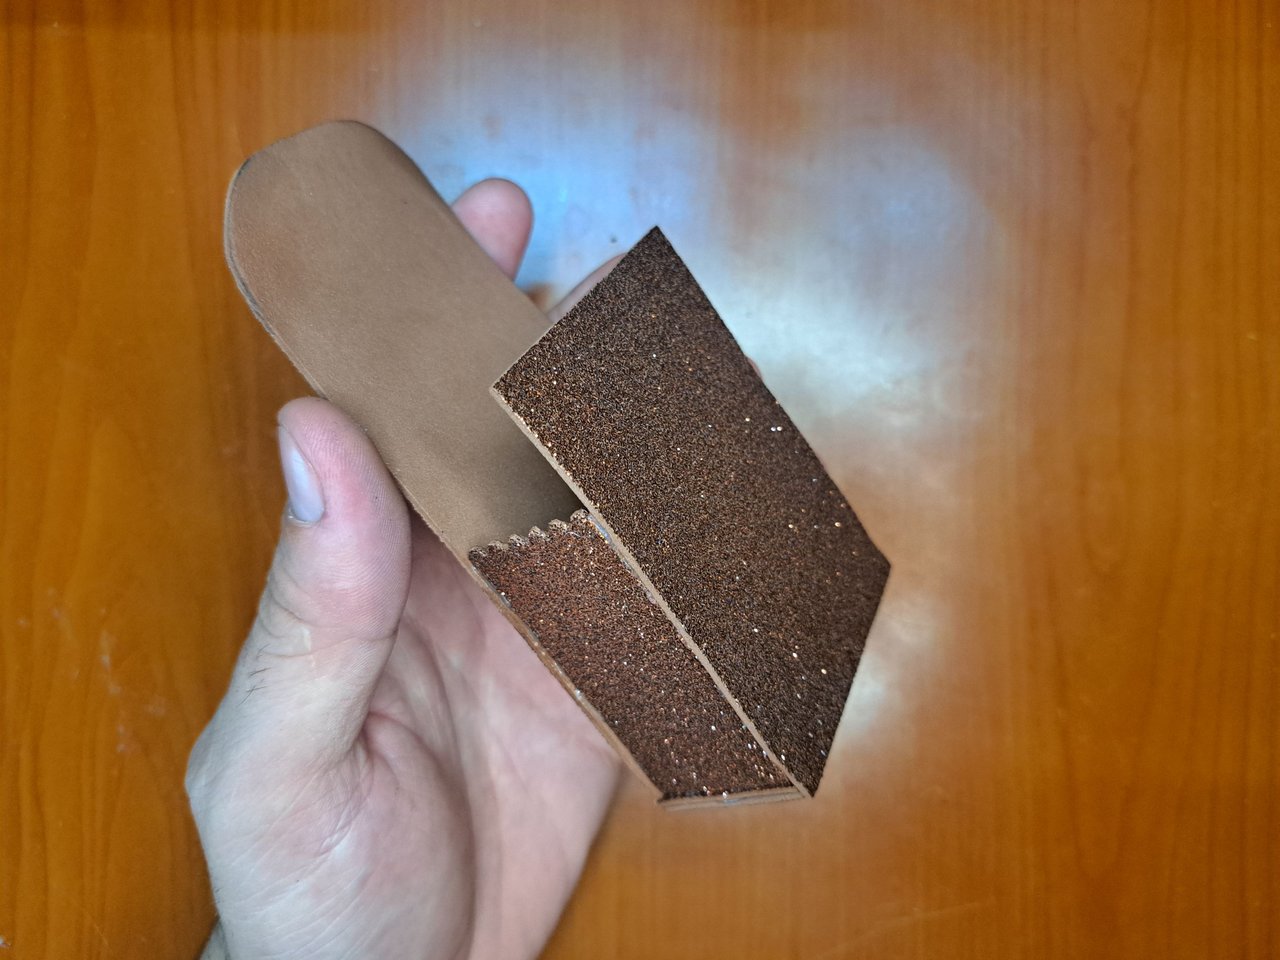
3️⃣ Cut out the front part of 9.5 cm x 6 cm and start gluing all the pieces together. Glue the base to the back, then the sides with the jagged edges facing up and finally glue the front.
Recorta la parte frontal de 9.5 cm x 6 cm y comienza a unir todas las piezas. Pega la base, a la parte trasera, luego los costados con los bordes irregulares hacia arriba y al final pega la parte frontal.
 |  |
 |  |
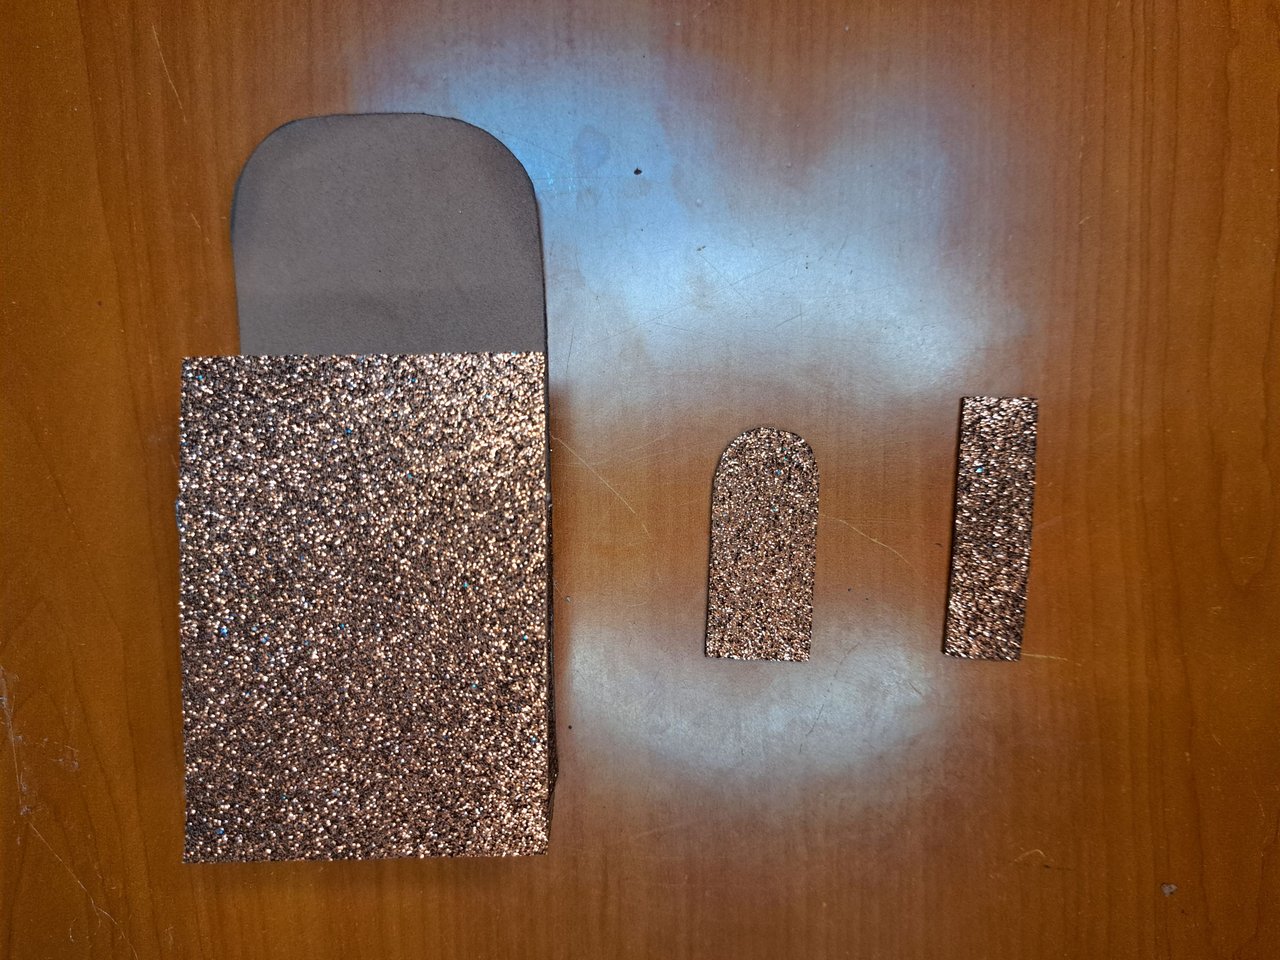
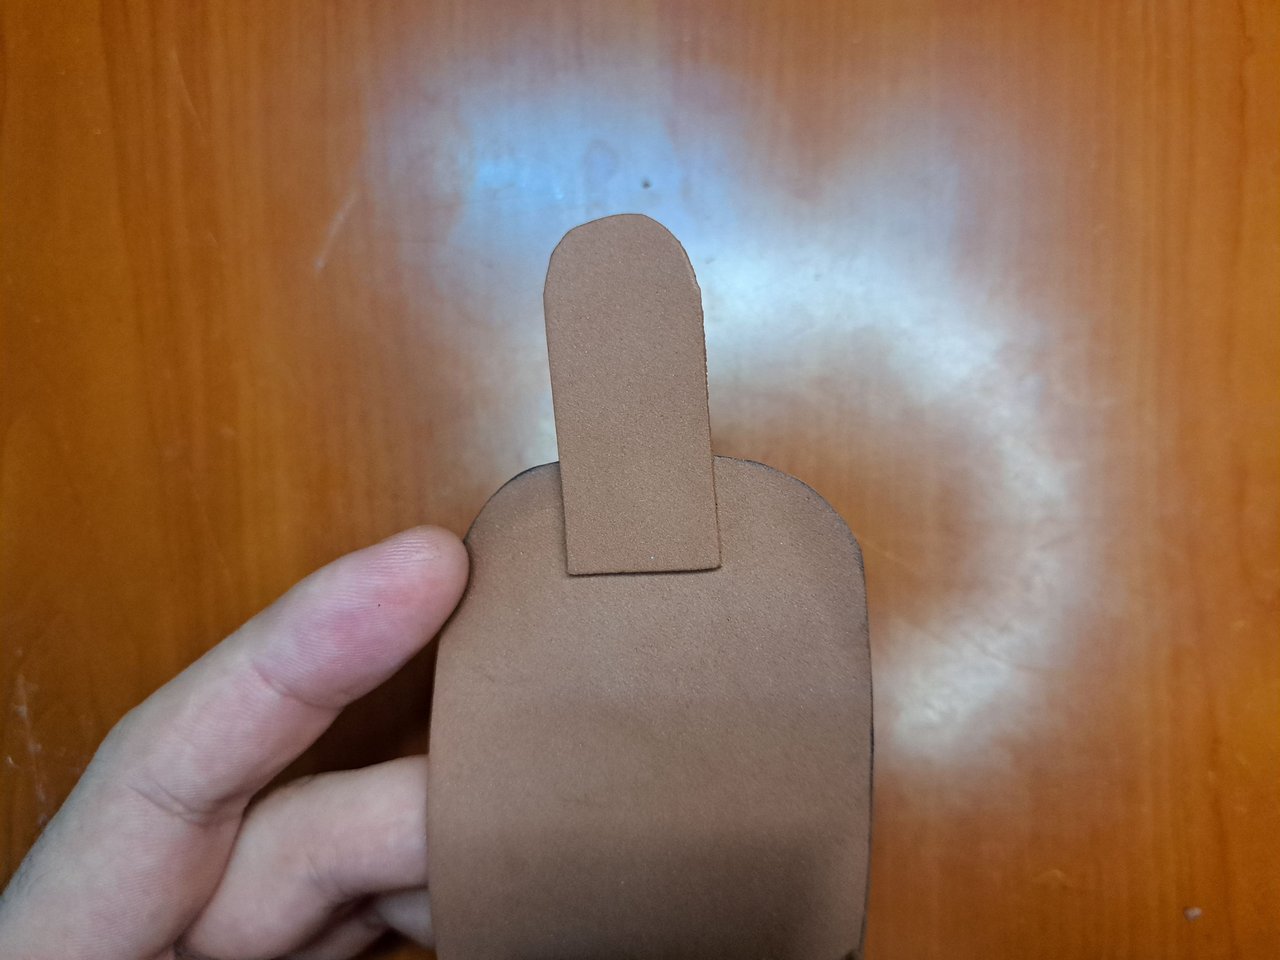
4️⃣ Cut out a 5 cm x 2 cm piece and a 5 cm x 1.5 cm piece. Round one of the edges of the wide piece and glue it to the inside of the lid, leaving a large part outside. Glue the small piece perpendicular to the wide piece, but on the front of the backpack. Insert the wide piece inside the thin piece and the closing mechanism of the backpack will be ready.
Recorta una pieza de 5 cm x 2 cm y otra de 5 cm x 1,5 cm. Redondea uno de los bordes de la pieza ancha y pégala por la parte interior de la tapa, dejando gran parte fuera. La pieza pequeña pégala perpendicularmente a la pieza ancha, pero en la parte frontal de la mochila. Introduce la pieza ancha dentro de la fina y de esta forma quedaría listo el mecanismo de cierre de la mochila.
 |  |  |
 |  |
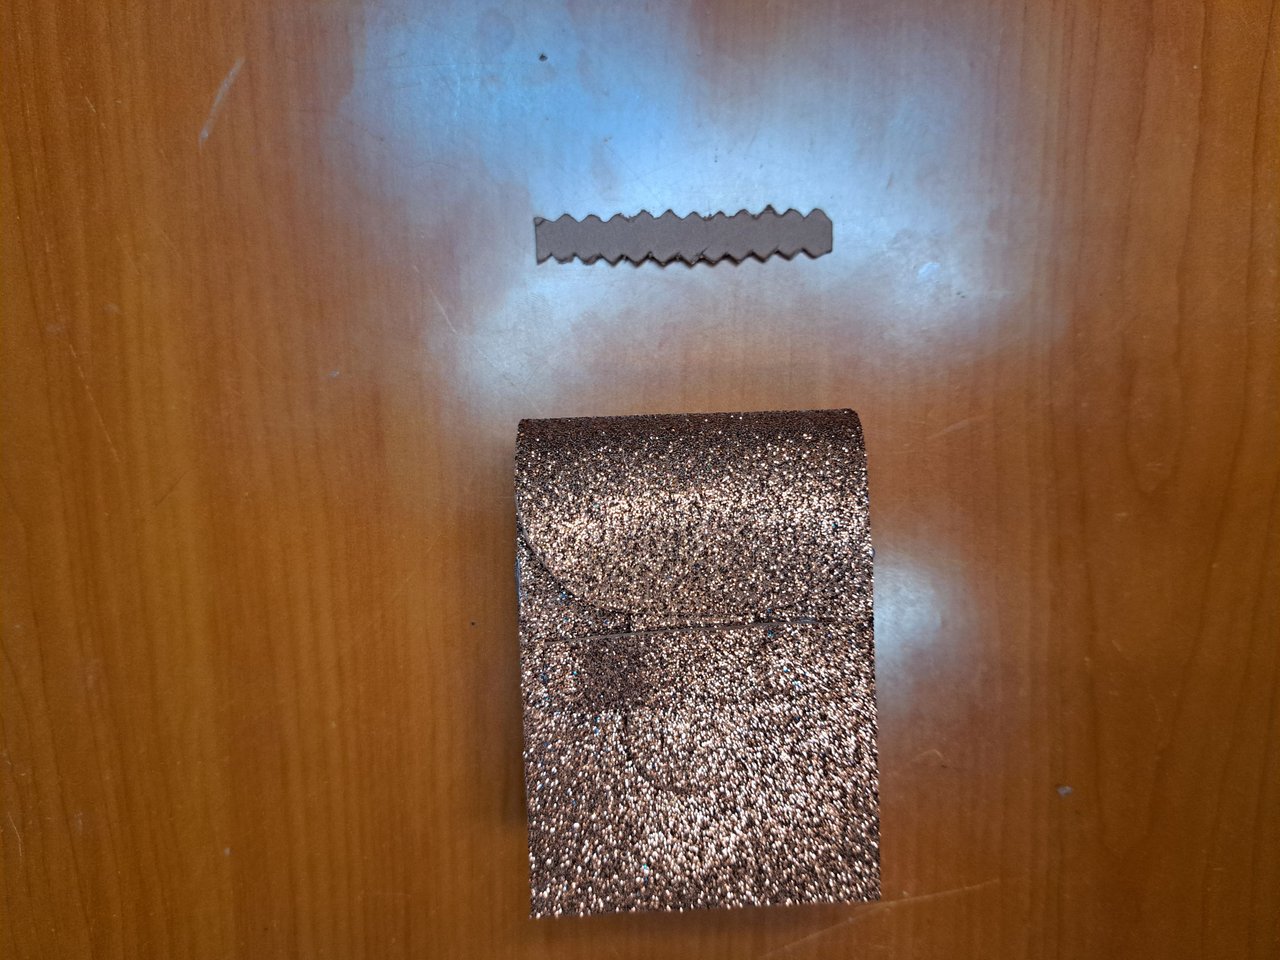
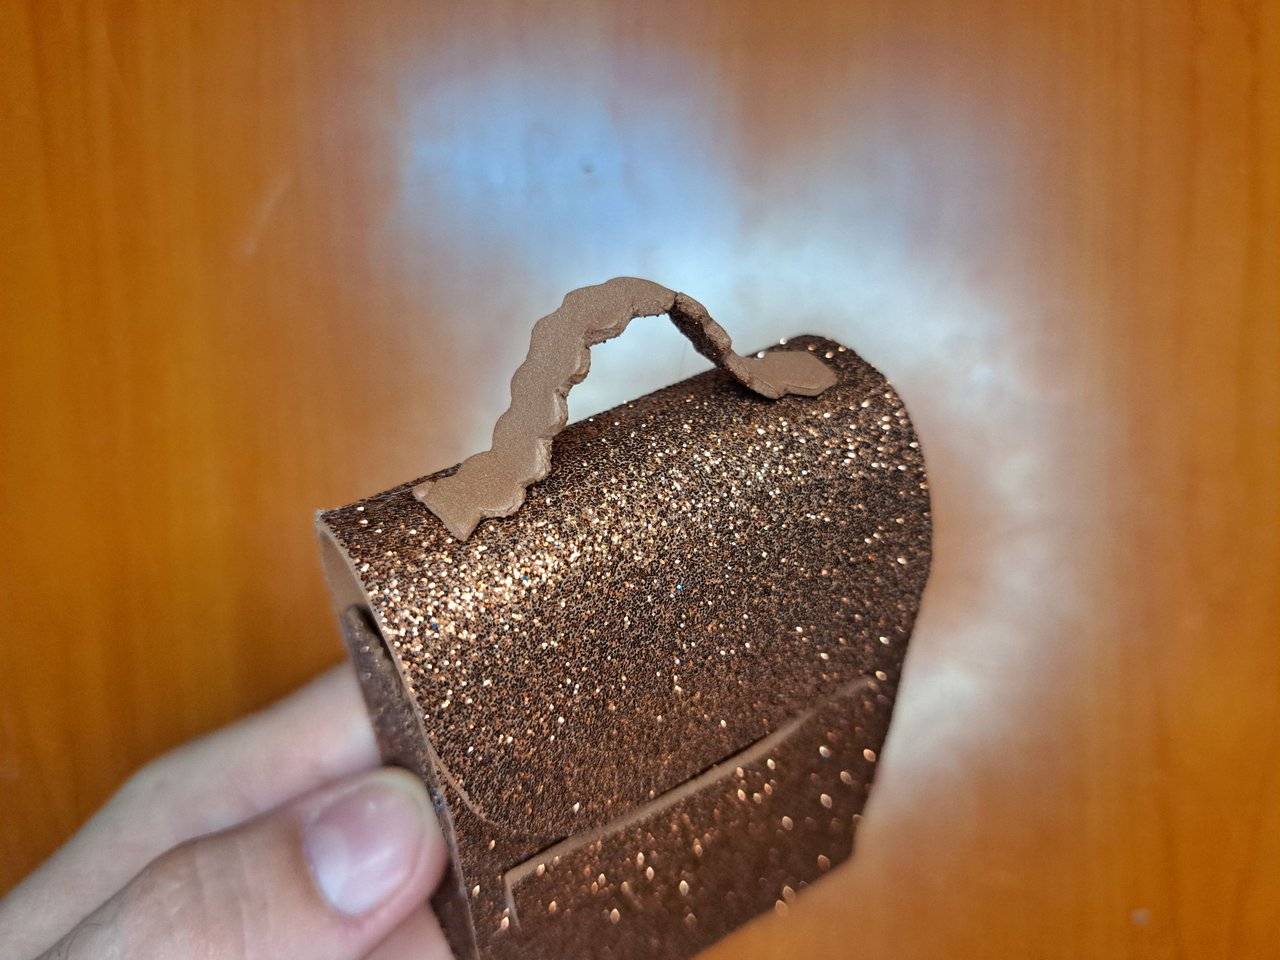
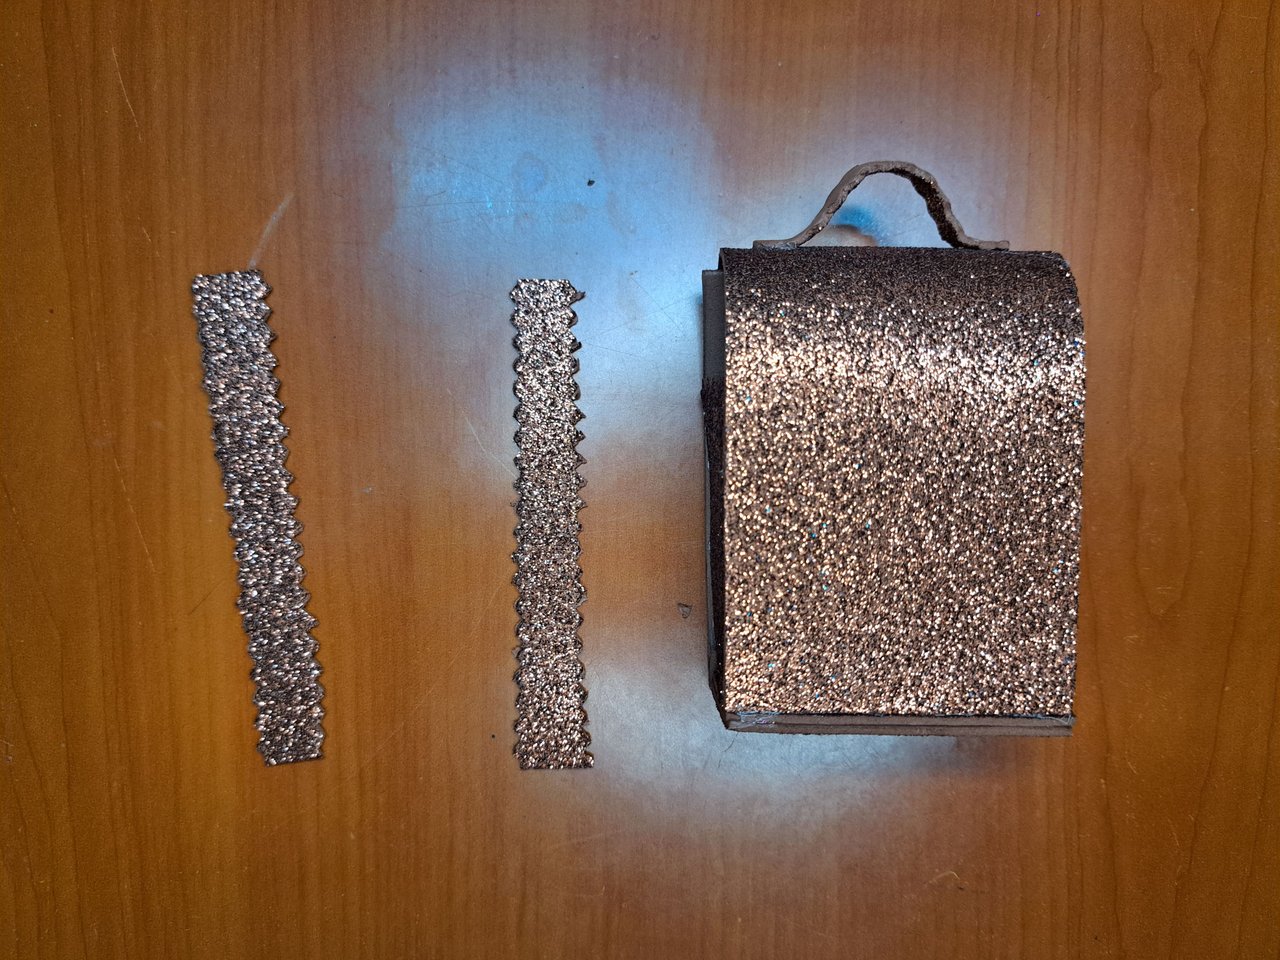
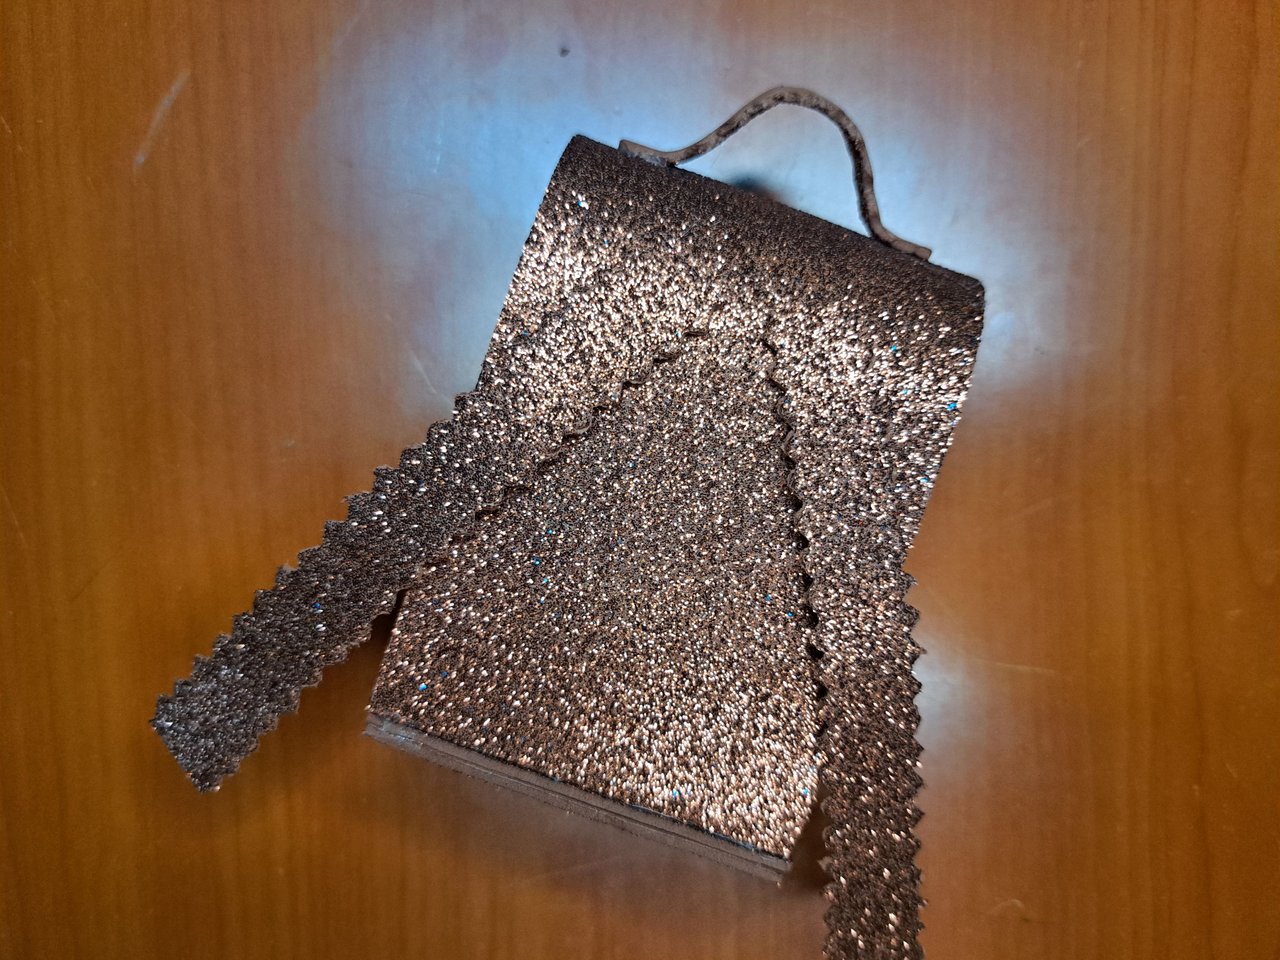
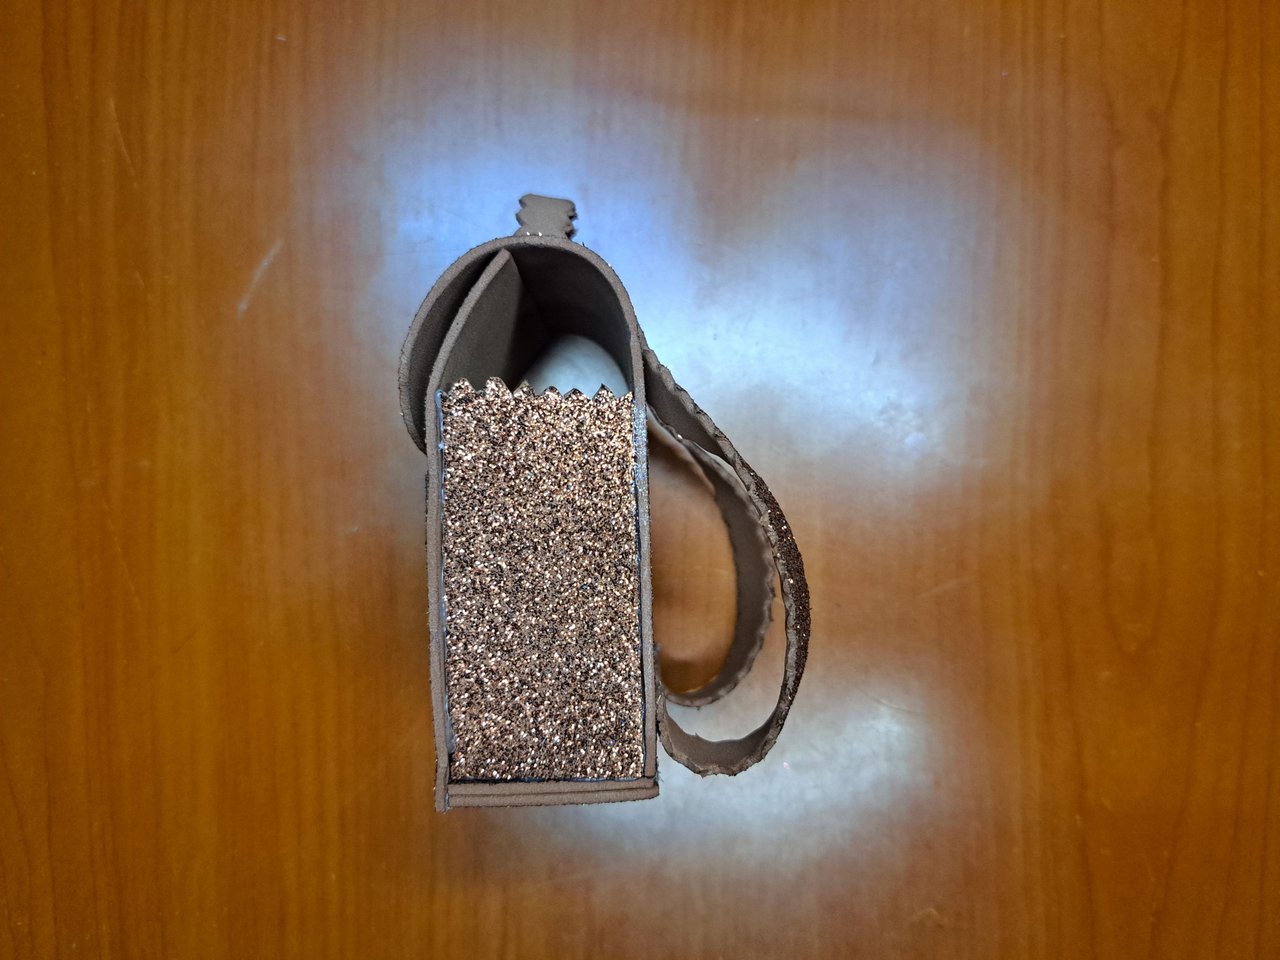
5️⃣ For the top handle, cut out a 6 cm x 1 cm strip of fomi and make an irregular edge on both sides, then glue it to the top of the backpack. For the shoulder straps, cut out two larger 11 cm x 1.5 cm strips and glue them to the back of the backpack after making a jagged edge.
Para el asa superior, recorta una tira de fomi de 6 cm x 1 cm y hazle un borde irregular en ambos lados; luego, pégala en la parte superior de la mochila. En el caso de las correas para los hombros, debes recortar dos tiras más grandes de 11 cm x 1,5 cm, a las cuales, después de hacerles un borde irregular, las pegarás en la parte trasera.
 |  |
 |  |  |
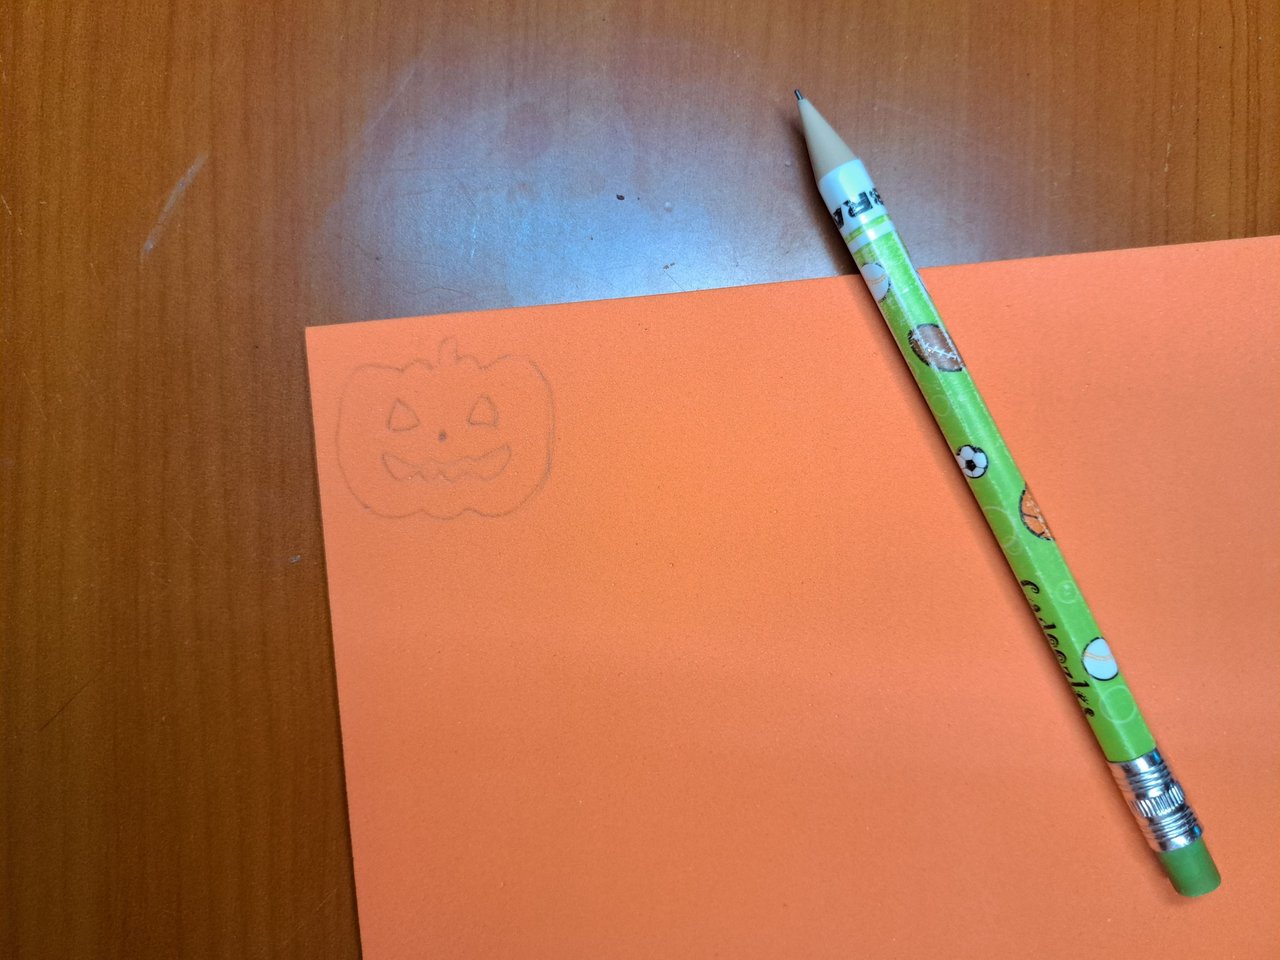
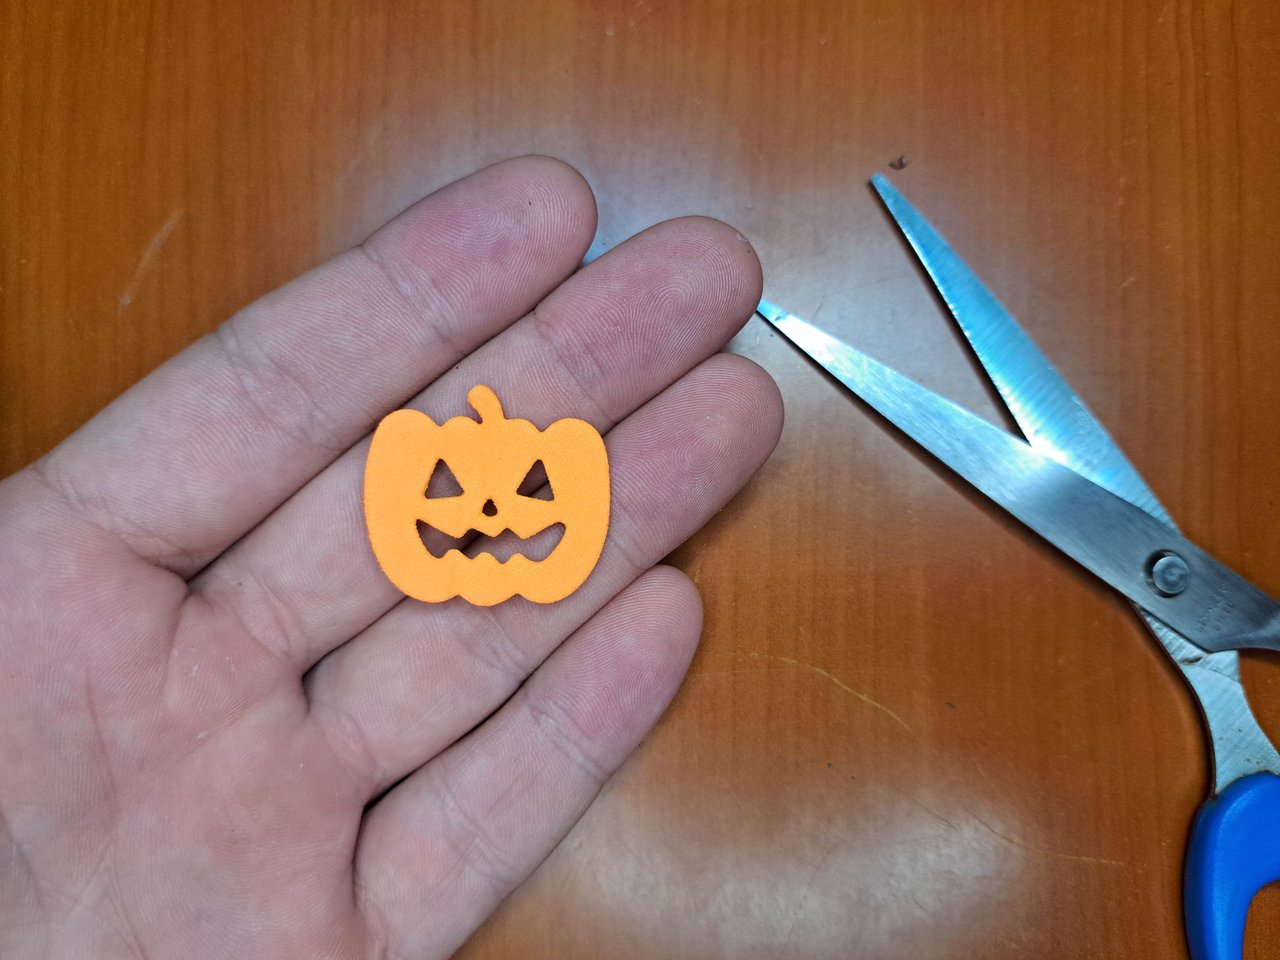
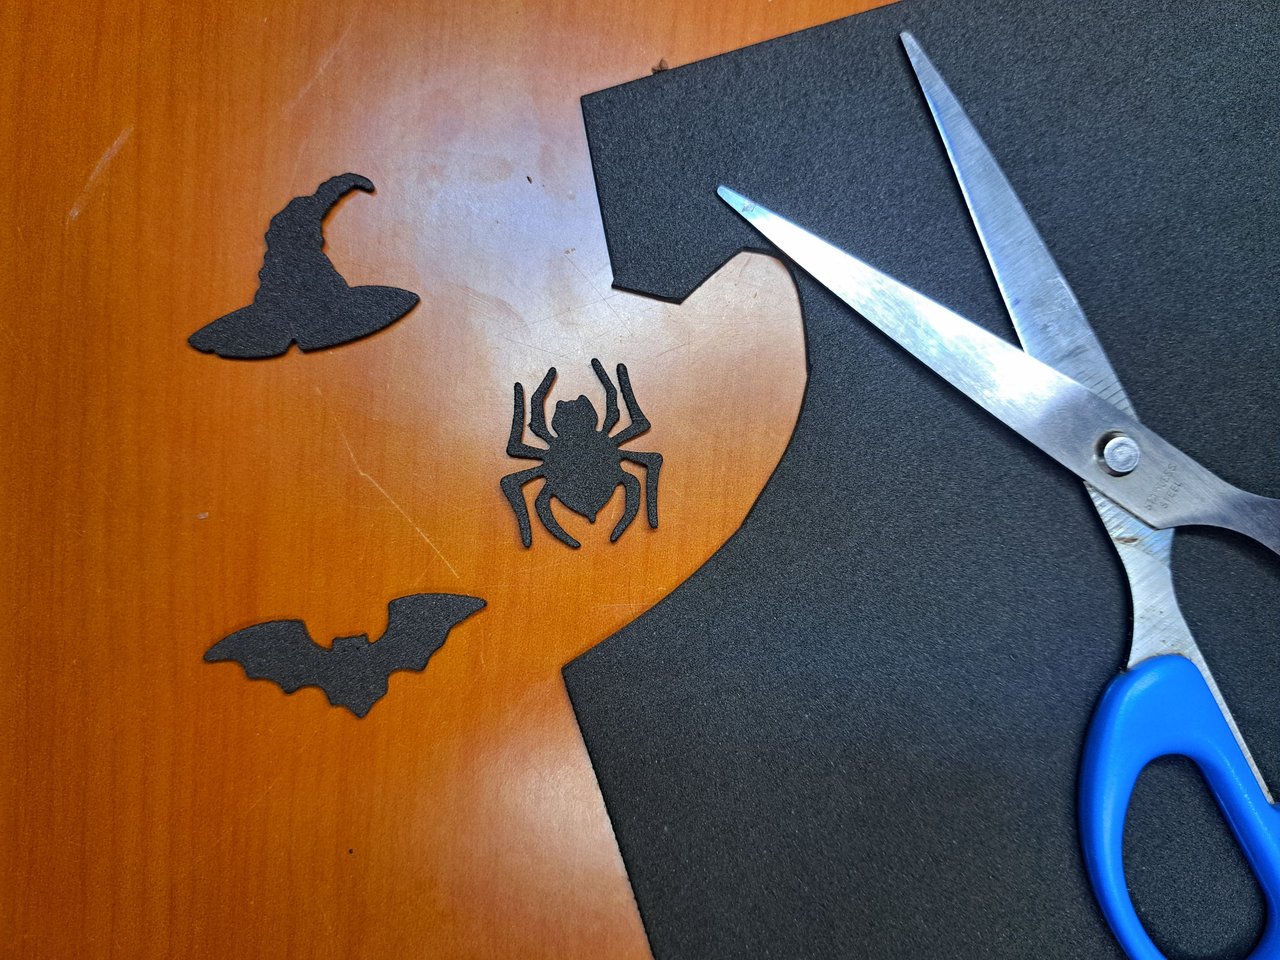
6️⃣ The structure of the backpack is ready, but the decorations are missing. On an orange fomi sheet, mark and cut out a pumpkin with an evil face. On white fomi, mark and cut out a spider web, and on black fomi, mark and cut out a witch's hat, a spider and a bat.
Ya la estructura de la mochila está lista, pero faltan las decoraciones. En una lámina de fomi naranja, marca y recorta una calabaza con rostro malvado. En fomi blanco, marca y recorta una tela de araña, y en fomi negro, marca y recorta un sombrero de bruja, una araña y un murciélago.
 |  |
 |  |
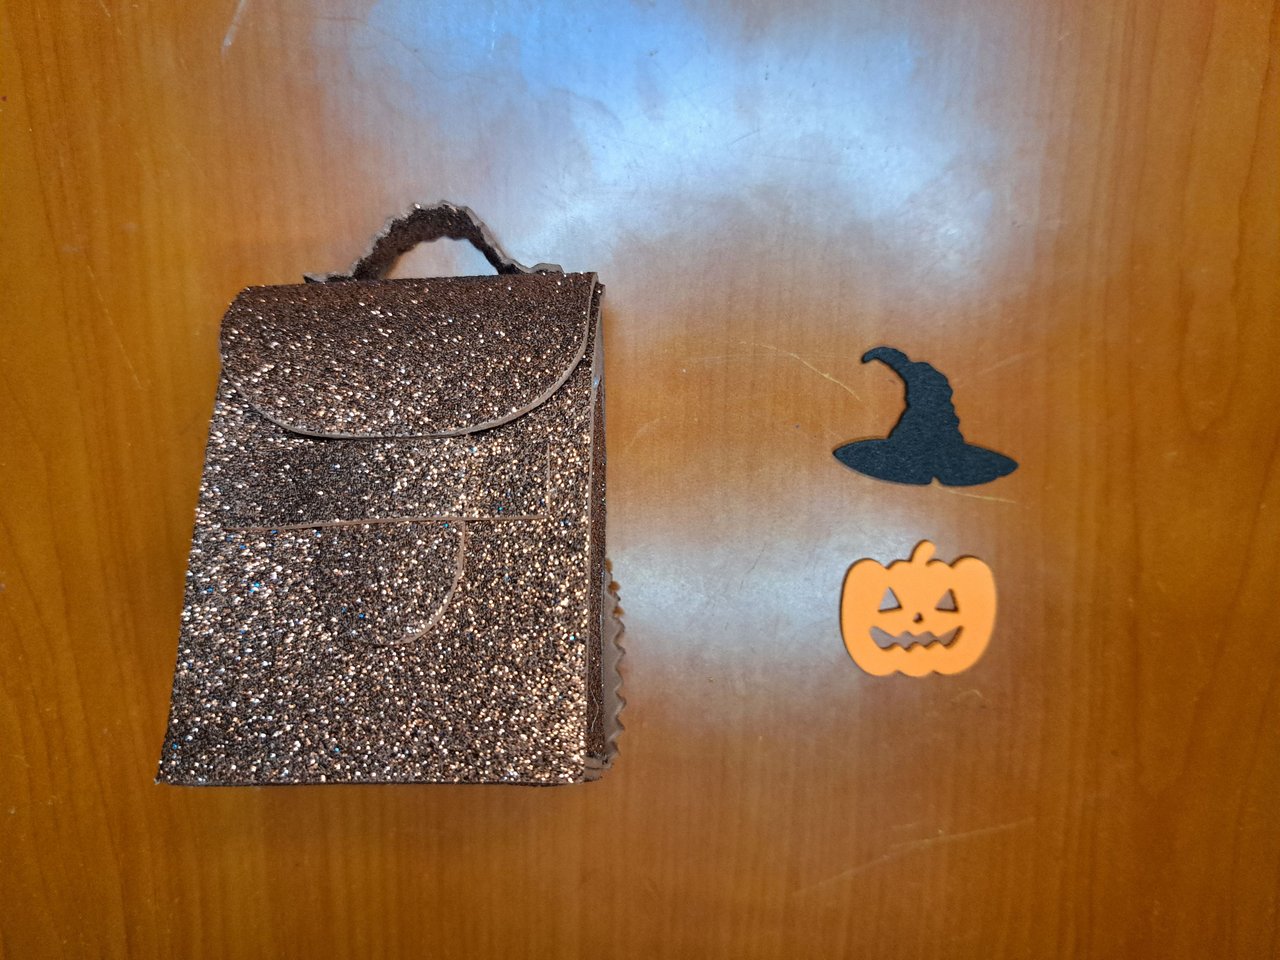
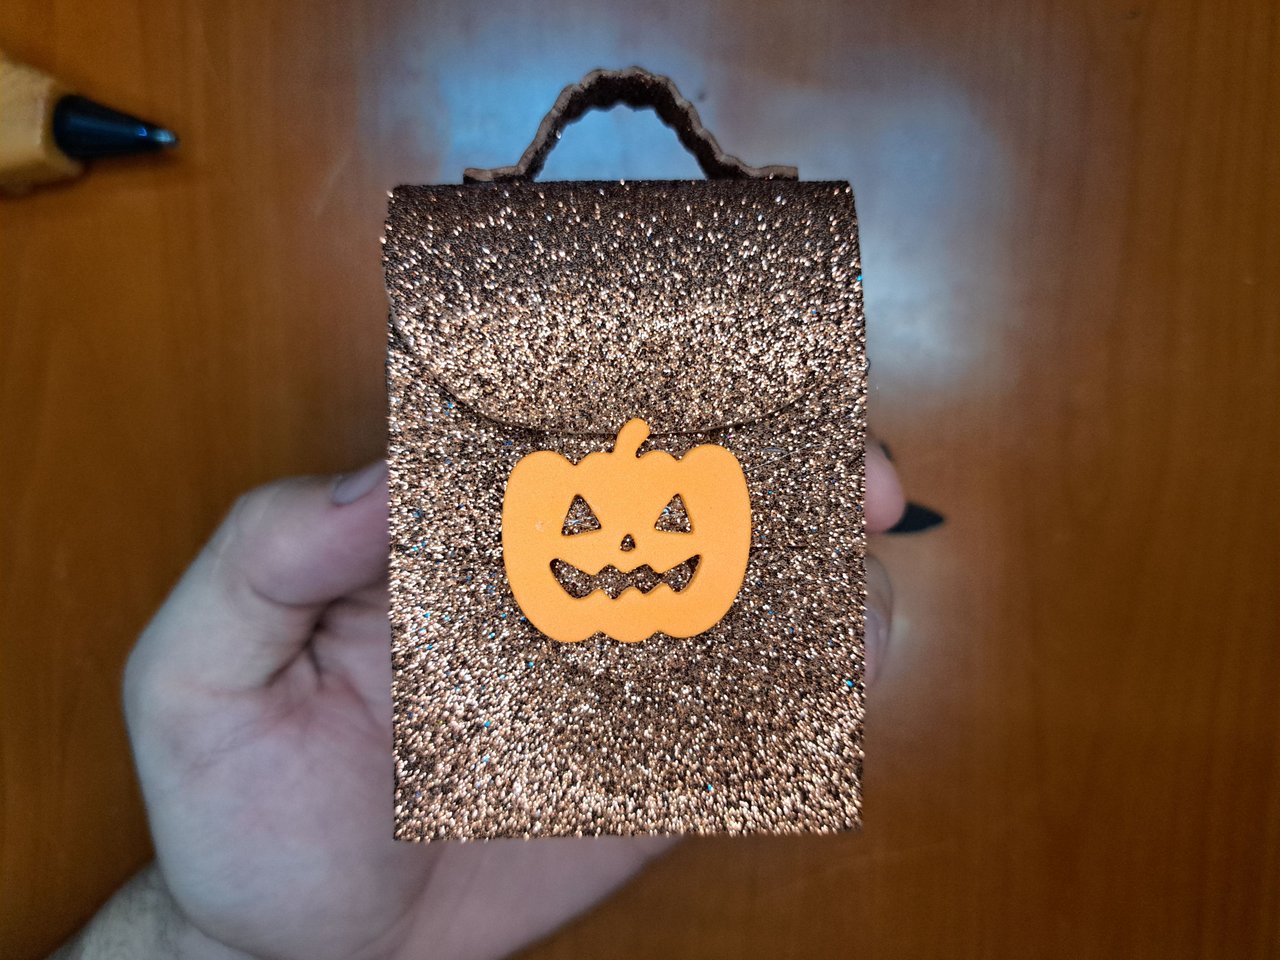
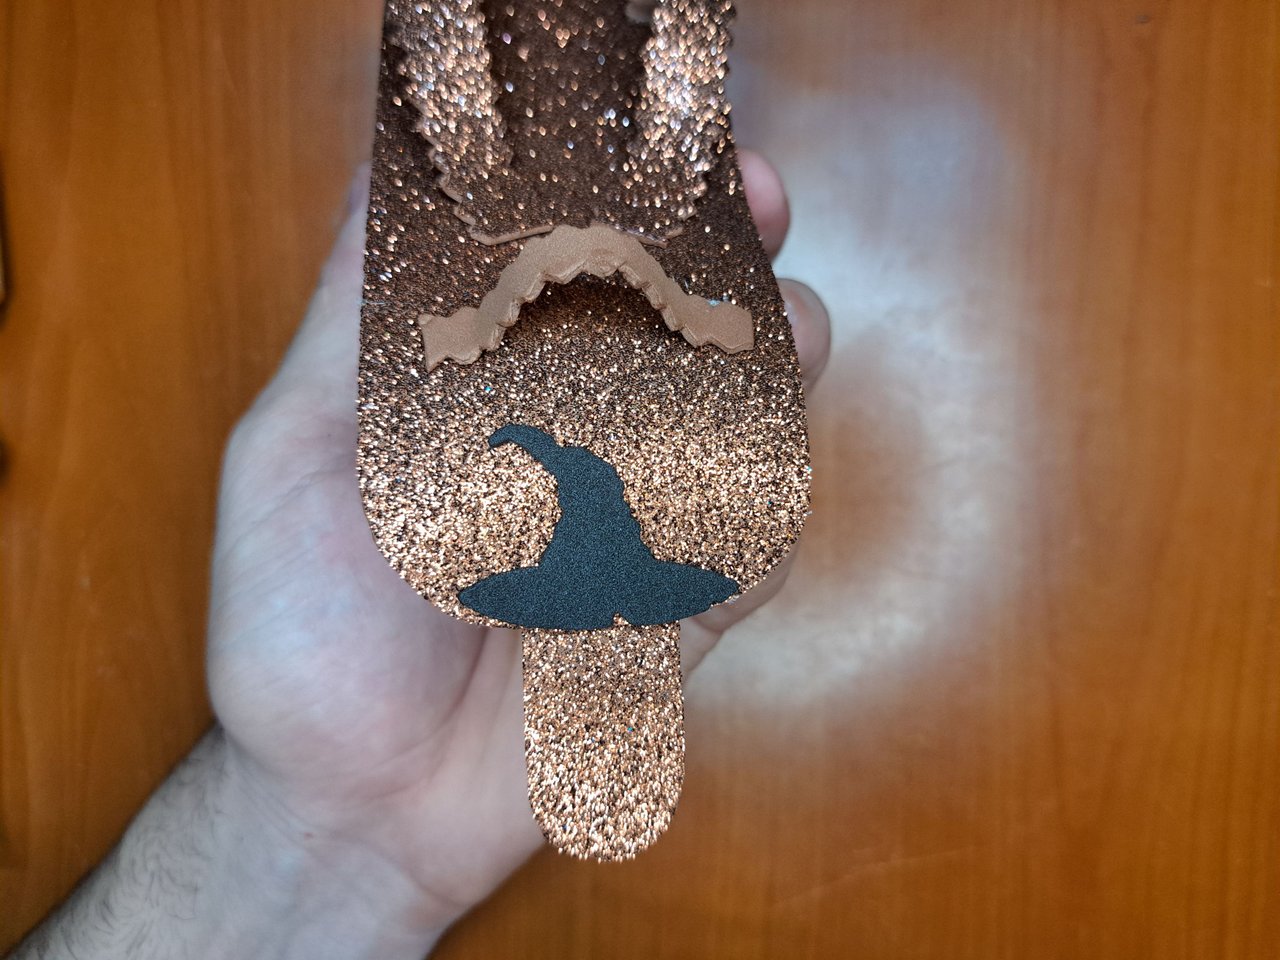
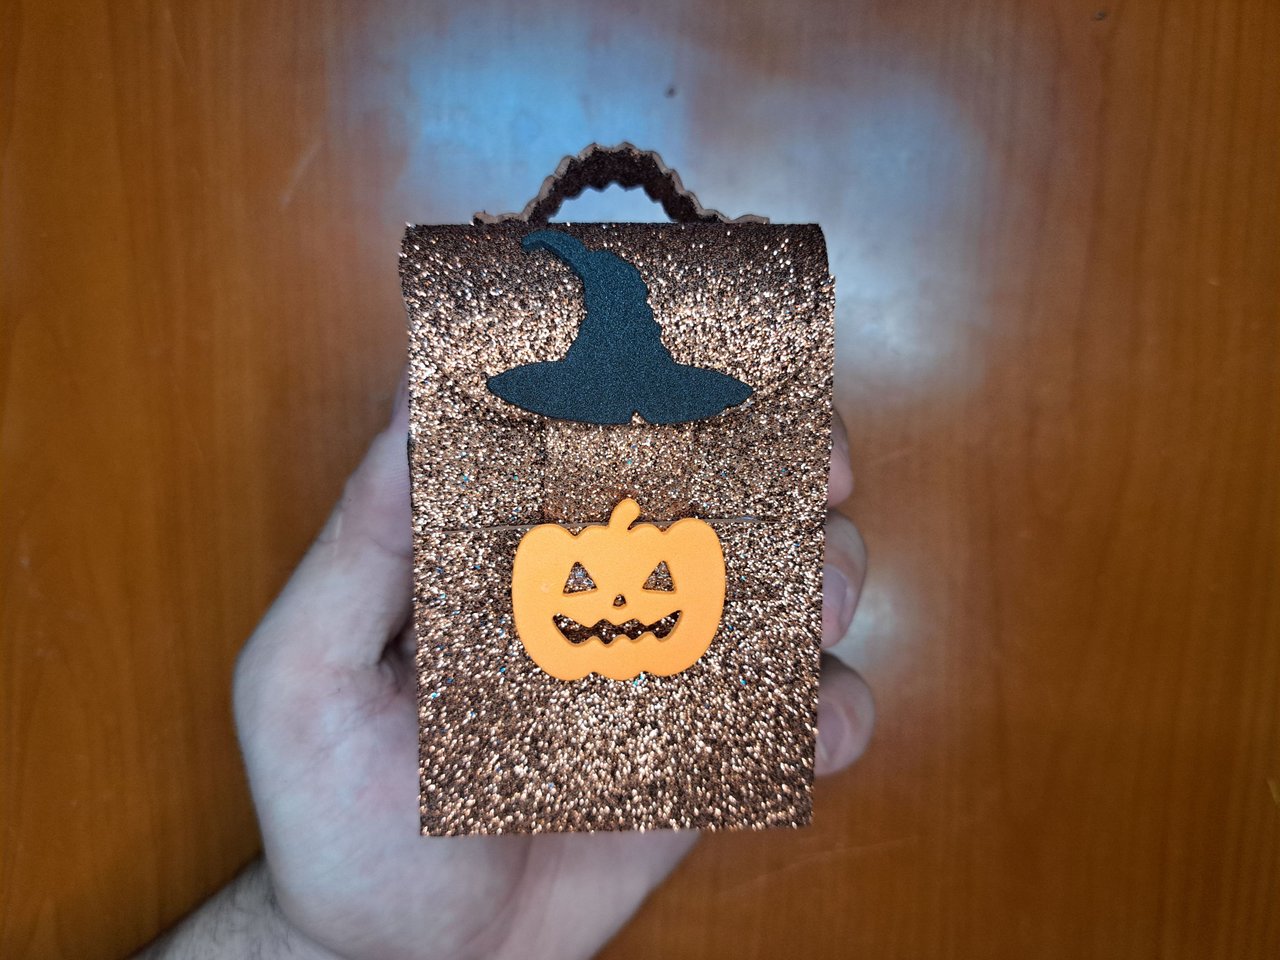
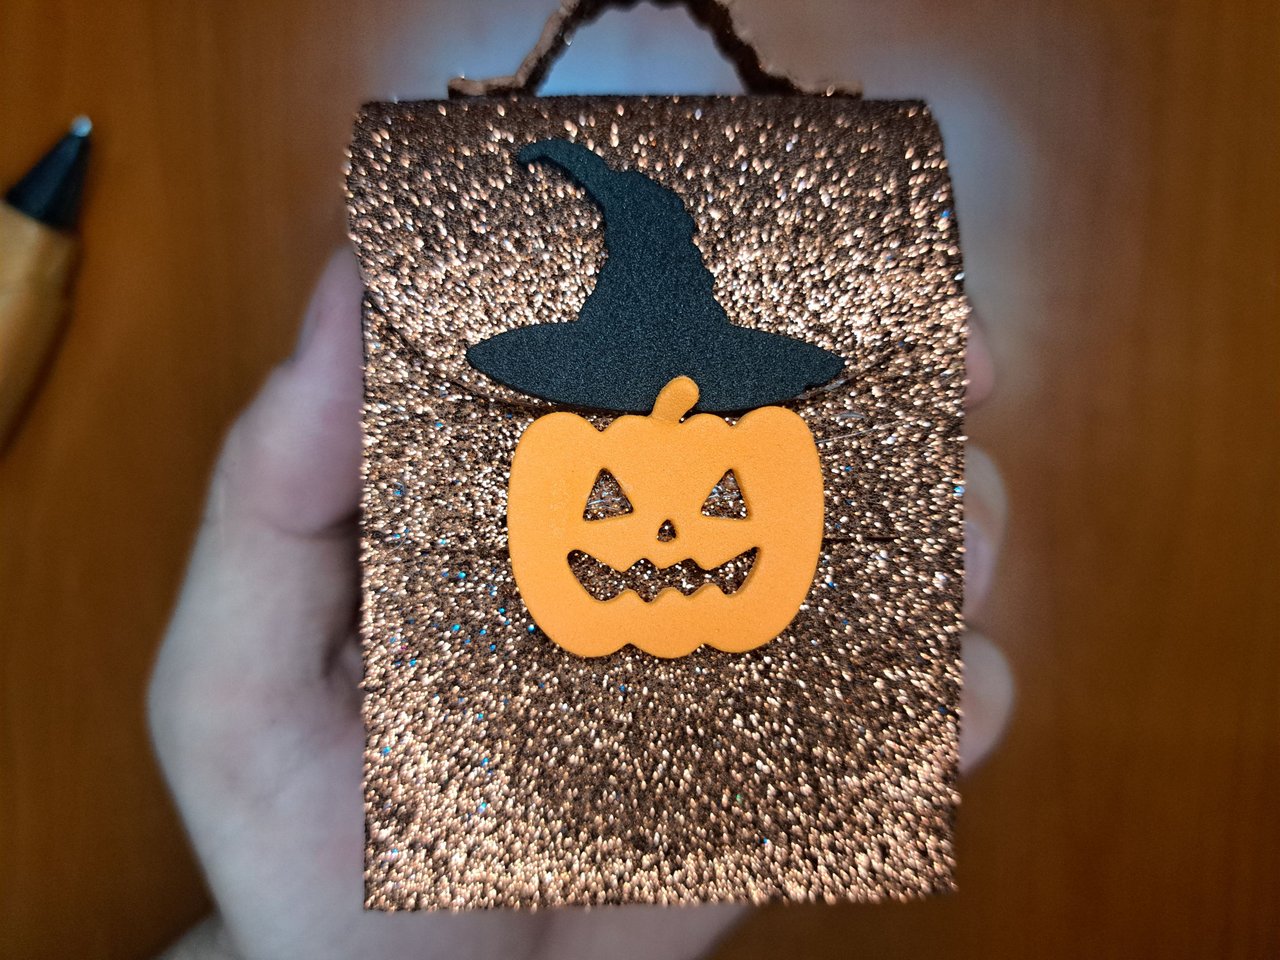
7️⃣ Glue the pumpkin right in the center of the locking mechanism on the front of the backpack, then glue the hat on the edge of the lid. This is done so that once the backpack is closed, it will look like the pumpkin is wearing the witch's hat.
Pega la calabaza justo en el centro del mecanismo de cierre de la parte frontal de la mochila, luego pega el sombrero en el borde de la tapa. Esto se hace con el objetivo de que, una vez la mochila esté cerrada, parezca que la calabaza está usando el sombrero de bruja.
 |  |  |
 |  |
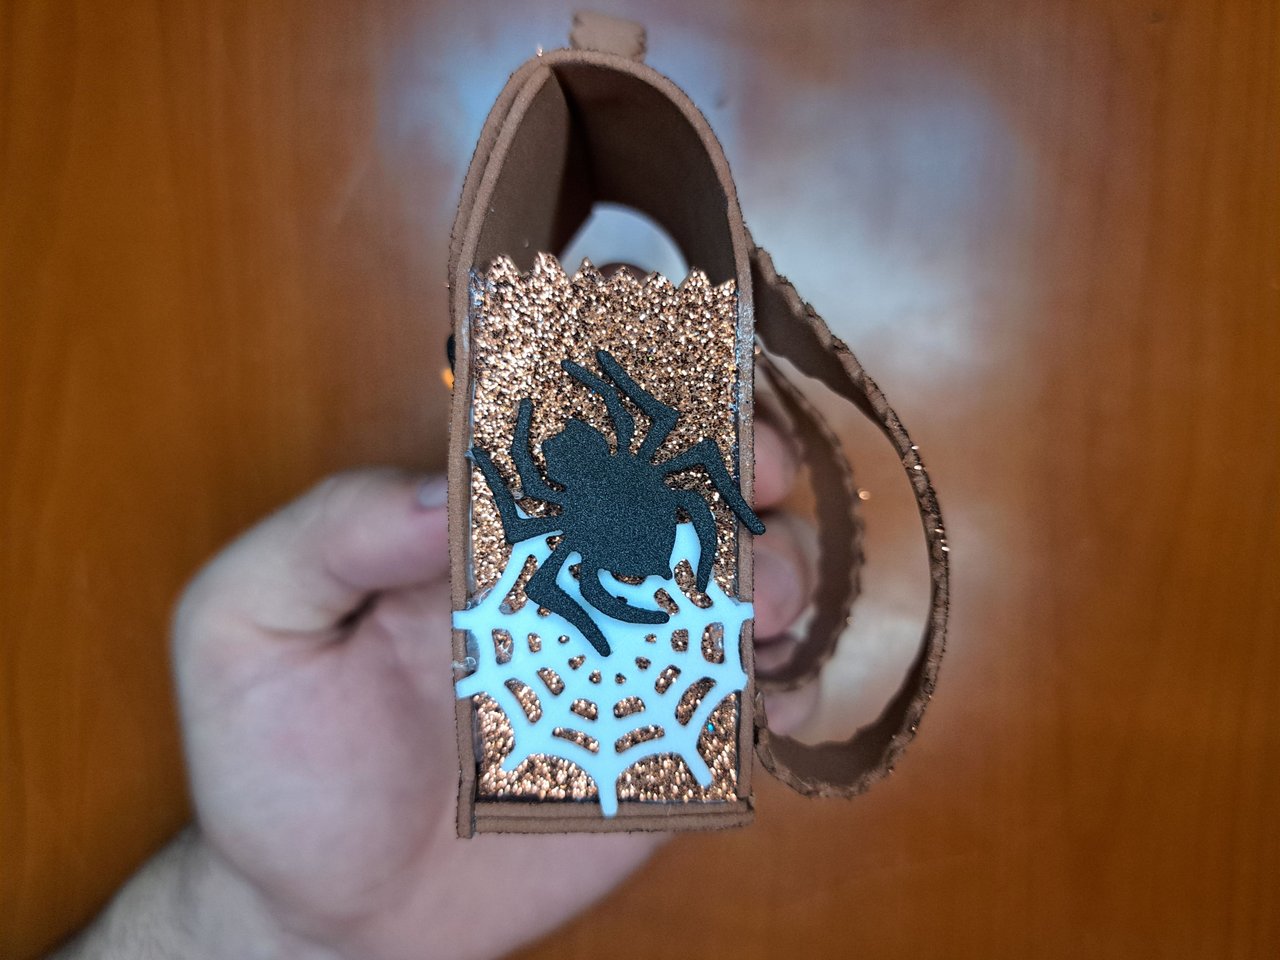
8️⃣ On the right side glue the spider web and the spider on top. On the left side glue the bat leaning to one side. If any of the side decorations go beyond the surface, use scissors to cut them out.
En el costado derecho pega la tela de araña y encima la araña. En el costado izquierdo pega el murciélago inclinado hacia uno de los lados. Si alguna de las decoraciones laterales sobrepasen la superficie, utiliza unas tijeras para recortarlas.
 |  |
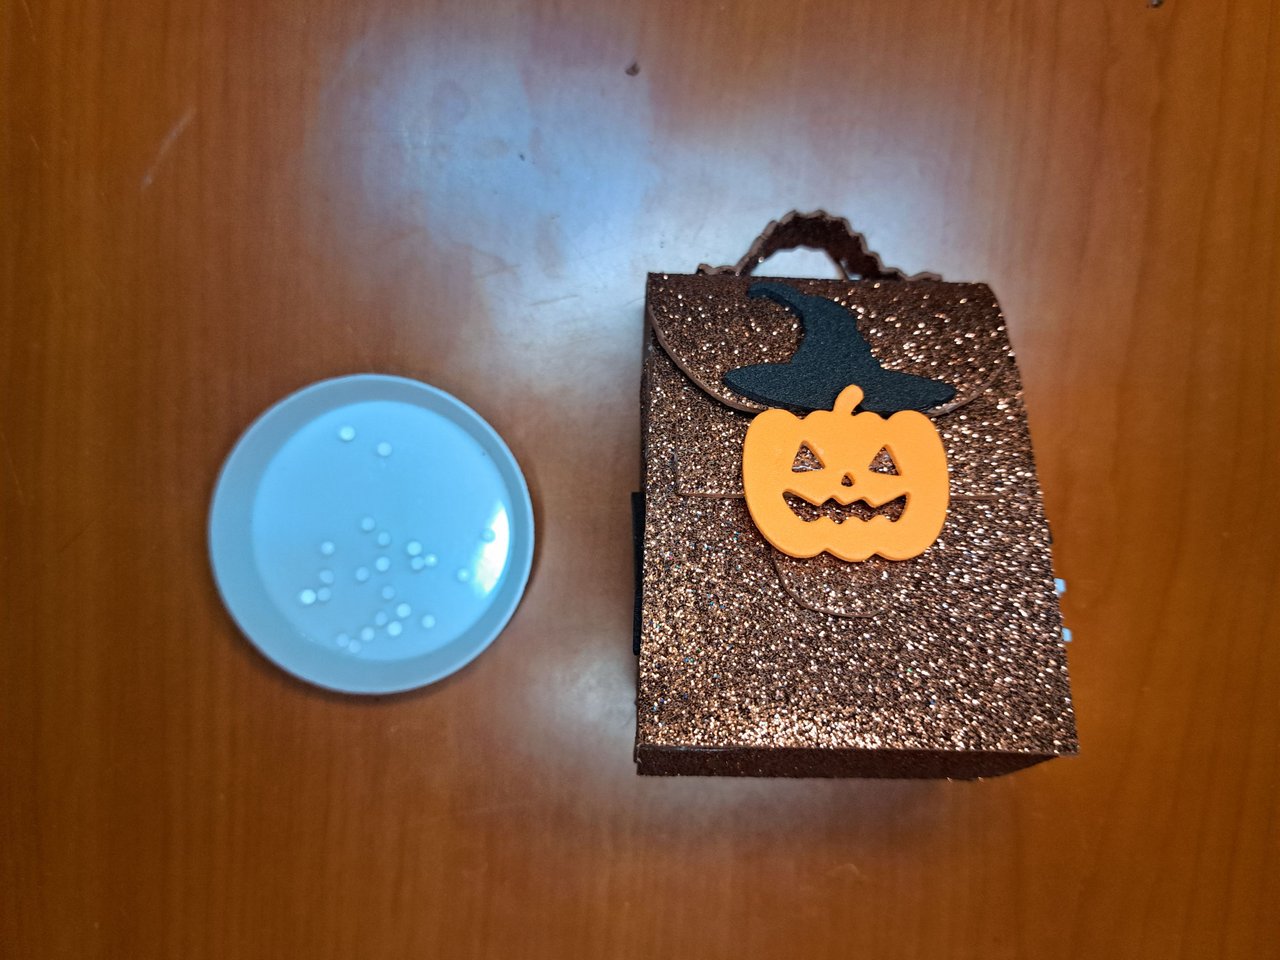
9️⃣ To finish, glue the white half pearls all around the bottom edge of the front of the backpack. Glue two half pearls on the ends of the top handle and four on the shoulder straps to look like binding rivets or snaps.
Para finalizar, pega las medias perlas blancas por todo el borde inferior de la parte frontal de la mochila. Pega dos medias perlas en los extremos del asa superior y cuatro en las correas de los hombros para que parezcan remaches de unión o broches.
 |  |
 |  |
Finished Work // Trabajo Terminado
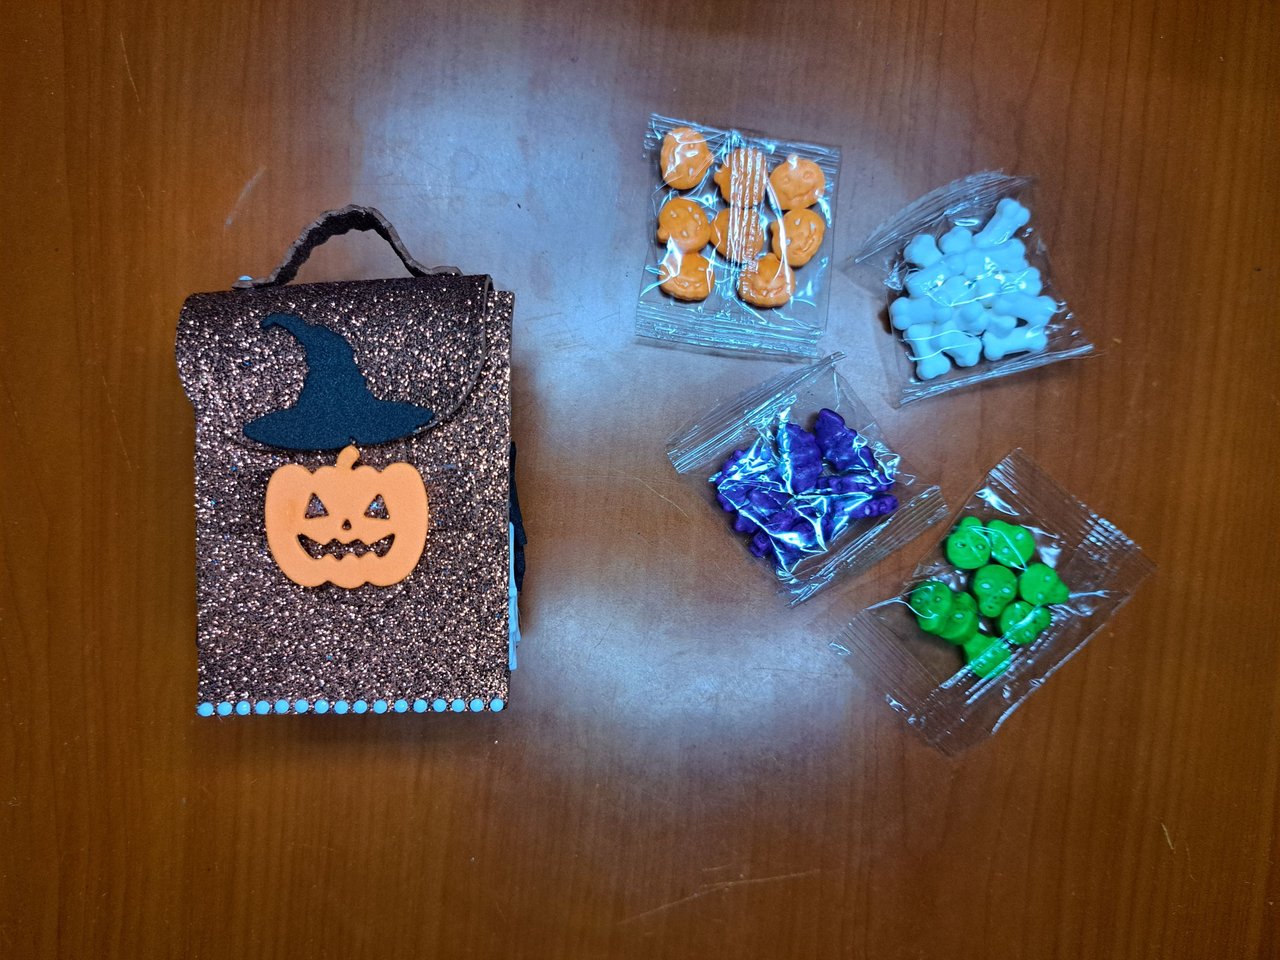
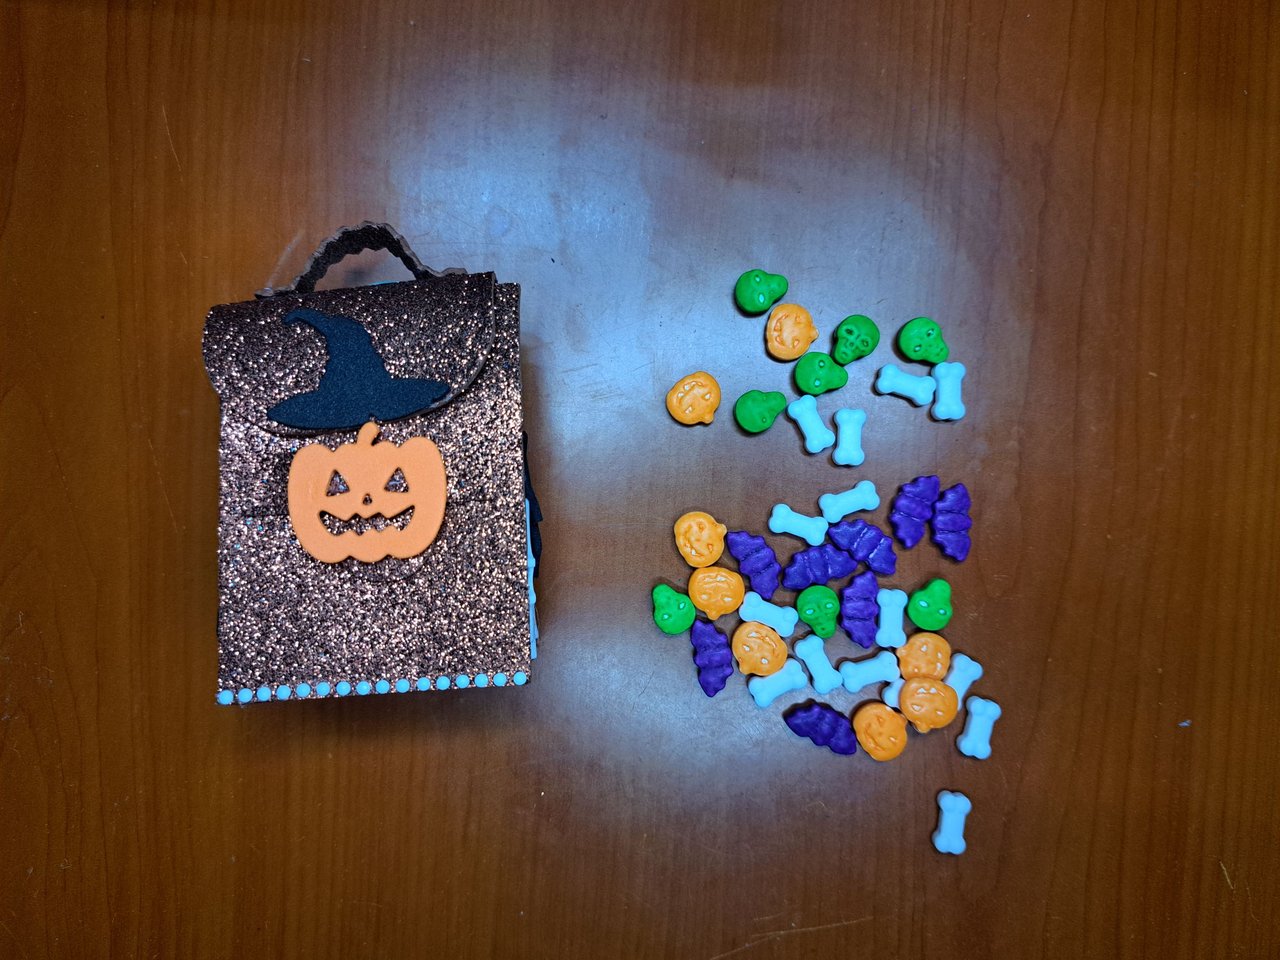
The Halloween themed backpack is now ready. Now all that's left is to fill it with the little candies left over from the previous party. These candies with such bright colors and fun shapes contrast perfectly with the backpack and I'm sure that the person I'm going to give it to will be delighted. That's all for now, but I'll be back soon with more of my creations, so stay tuned. Bye.
Ya estaría lista la mochila con temática de Halloween. Ahora solo queda rellenarla con los pequeños dulces que quedaron de la fiesta anterior. Estos dulces con colores tan llamativos y formas divertidas contrastan perfectamente con la mochila y estoy seguro de que a la personita a la cual se lo voy a regalar quedará encantada. Por ahora esto sería todo, pero próximamente volveré con más de mis creaciones, así que estad atentos. Chao.
 |  |  |
 |  |

Thank you very much for reading my post. If you liked it, please leave a comment and consider following me so you don't miss my next posts. I'd love to know your opinion and your thoughts about the topic I discussed in this post, see you in the next one!

Credits and Resources // Créditos y Recursos
Cover page created in Canva
Translated by DeepL
Images captured with my Samsung Galaxy A53


Posted Using InLeo Alpha
Cover page created in Canva
Translated by DeepL
Images captured with my Samsung Galaxy A53


Posted Using InLeo Alpha
This post has been manually curated by @steemflow from Indiaunited community. Join us on our Discord Server.
Do you know that you can earn a passive income by delegating to @indiaunited. We share more than 100 % of the curation rewards with the delegators in the form of IUC tokens. HP delegators and IUC token holders also get upto 20% additional vote weight.
Here are some handy links for delegations: 100HP, 250HP, 500HP, 1000HP.
100% of the rewards from this comment goes to the curator for their manual curation efforts. Please encourage the curator @steemflow by upvoting this comment and support the community by voting the posts made by @indiaunited.
Oh, thanks for the support.
Quedó chulísima, lo que me encantó es que cuando se cierra la mochila, el sombrero cae justo en la cabeza de la calabaza, bien pensado. 🥰😍😘
Fue un toque único que le agregué para que fuera más divertido a la hora de abrir y cerrar.
Wow amigo, pero qué preciosura ese morralito te quedó hermoso me encantó...
Una idea genial para colocar almacenar esos residuos golosos que te quedaron de Halloween.
!discovery 40
Así mismo, resultó ser algo útil con un toque inusual. Una mochila con caramelos no es algo que se ve a menudo.
This post was shared and voted inside the discord by the curators team of discovery-it
Join our Community and follow our Curation Trail
Discovery-it is also a Witness, vote for us here
Delegate to us for passive income. Check our 80% fee-back Program
Thanks for the support 🤗
A great idea for Halloween even if the season has passed It turned out very beautiful and it is something to save and materialize in later years.You are a great artist with foam. Thank you for sharing your step by step and creative process with all of us.
Thank you very much for all the support. This year I have been a little out of sync with the dates. I hope the same thing doesn't happen to me at Christmas.
A real pleasure
Me encantó el bolsito <3
Gracias 🥰
Congratulations @edeyglezsosa! You have completed the following achievement on the Hive blockchain And have been rewarded with New badge(s)
Your next target is to reach 55000 upvotes.
You can view your badges on your board and compare yourself to others in the Ranking
If you no longer want to receive notifications, reply to this comment with the word
STOPCheck out our last posts:
Que creatividad 😍,me encantó como te quedó, está muy lindo 🧡
Muchísimas gracias 🤗
Muy bonita mochilita. Debe ser trabajoso hacer tantos detalles, y más de ese tamaño. Bien bonito el resultado
Da un poco de trabajo, pero el resultado vale la pena.
Qué lindo, me encantaron los detalles no solo la bella calabaza del frente, sino también al lado, que detalles tan bellos @edeyglezsosa
Me alegra saber y me anima a seguir creando. Saludos.
Cada detalle está perfecto, me encantó mucho🥰.
Buen trabajo!!
Agradecido con tu comentario, muchísimas gracias.