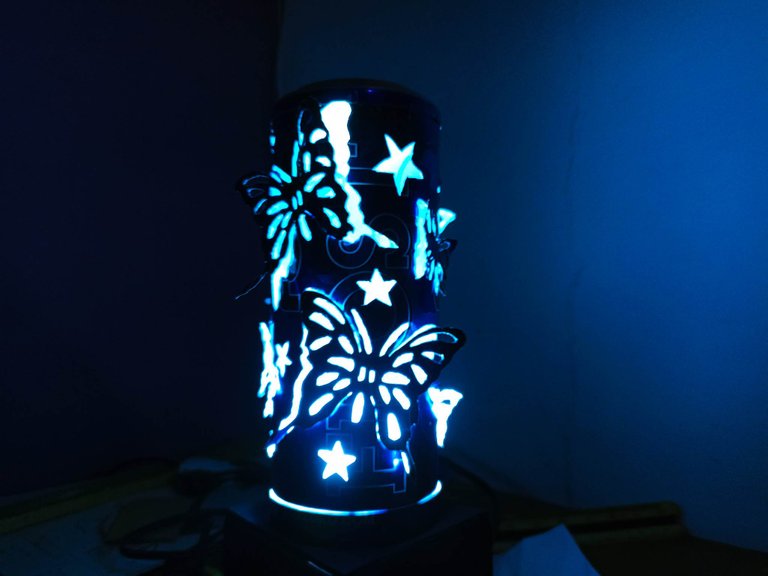
Hello dear friends, I hope you are very well, today I want to share with you a very special work, a lamp made to illuminate my daughter's room, it is a night lamp, perfect for sleeping, with a very soft light and minimal consumption. of energy. It is made with reusable materials such as aluminum from soda cans and cardboard, and the system to light it, it is very easy to make and very versatile to let your imagination run wild, it is perfect for any corner of the home, it left you with the process of construction, I hope you like it.
Hola queridos amigos, espero que se encuentren muy bien, hoy quiero compartir con ustedes un trabajo muy especial, una lámpara realizada para iluminar la habitación de mi hija, es una lámpara de noche, perfecta para dormir, con una luz muy suave y mínimo consumo de energía. Esta realizada con materiales de reutilizables como aluminio de las latas de refresco y cartón, y el sistema para encenderla, es muy fácil de hacer y muy versátil para dejar volar la imaginación, es perfecta para cualquier rincón del hogar, los dejó con el proceso de construcción, espero que les guste.

TOOLS
Can of soda
Shoe Box
Glue
Cable and Light Bulb
Zocket
Switch
Blue colored vinyl
Scissors and razors
HERRAMIENTAS
Lata de Refresco
Caja de Zapato
Pegamento
Cable y bombillo
Enchufe
Interruptor
Vinil de color azul
Tijeras y Navajas
 |  | |
|---|---|---|
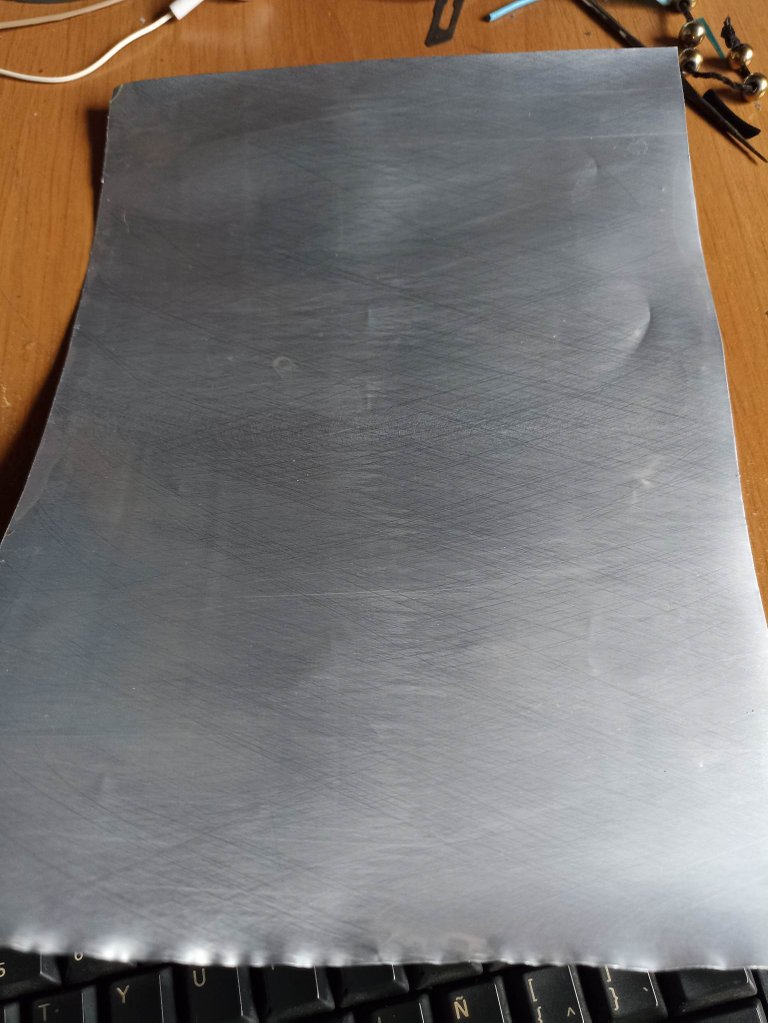 | 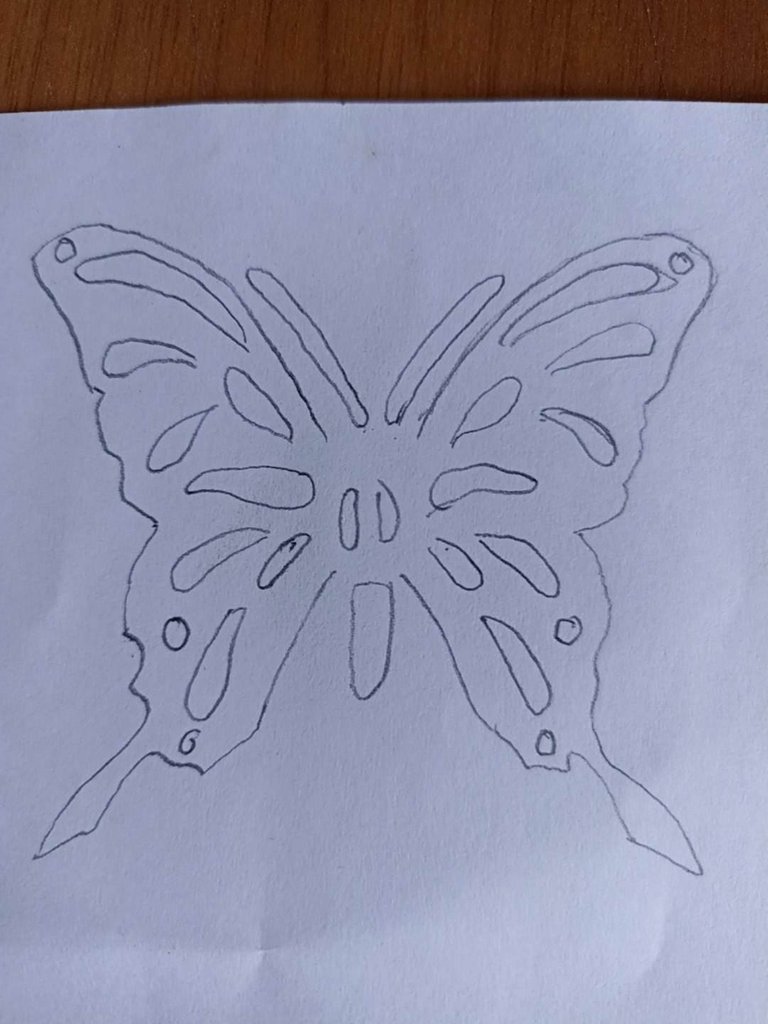 |
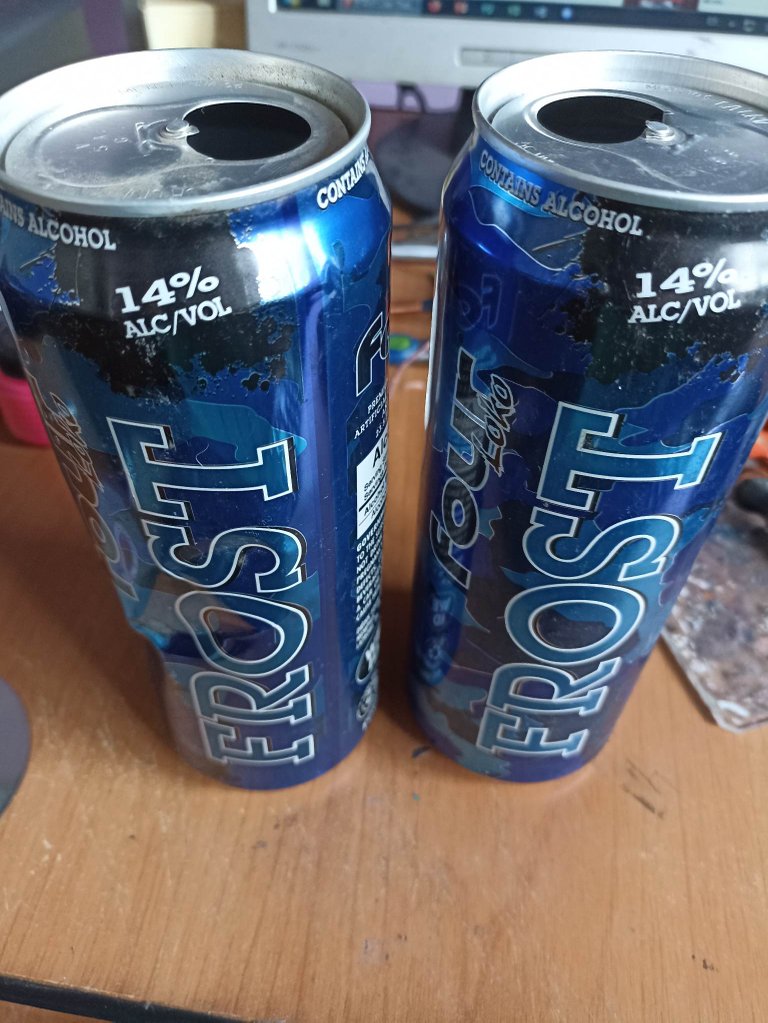
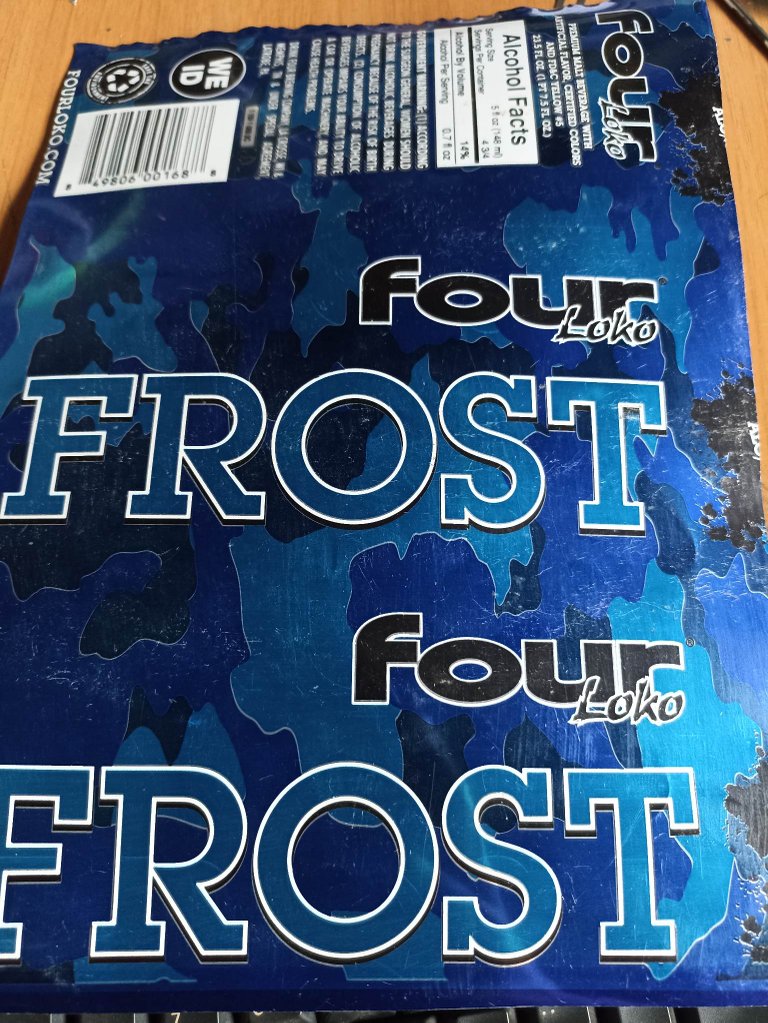
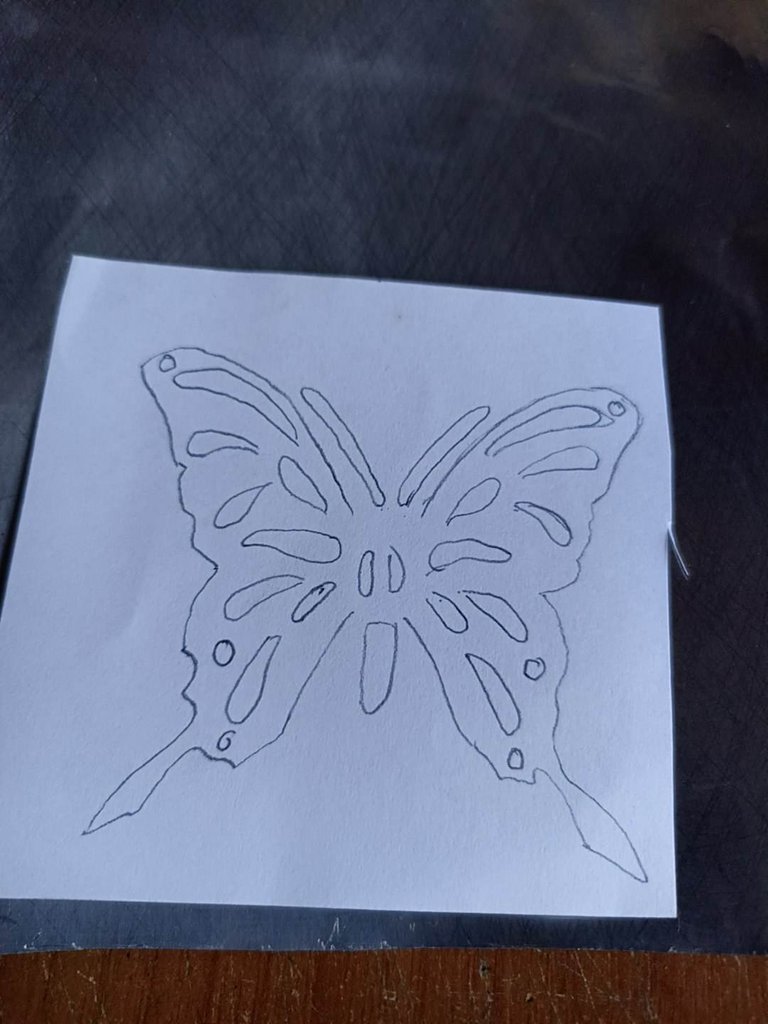
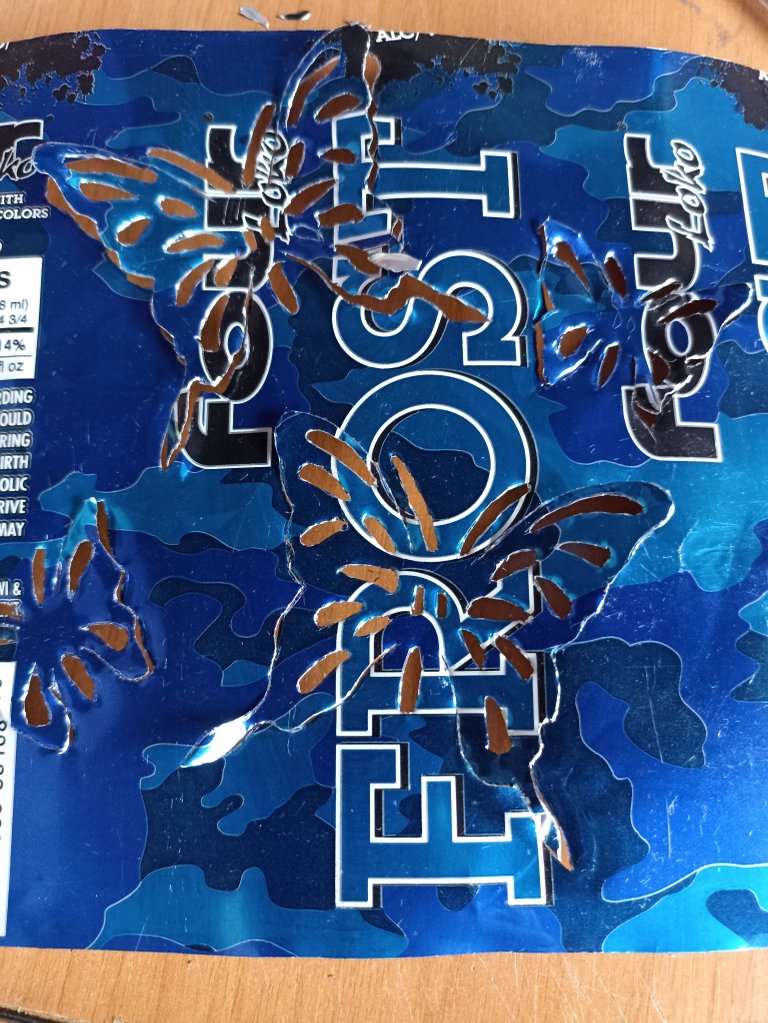
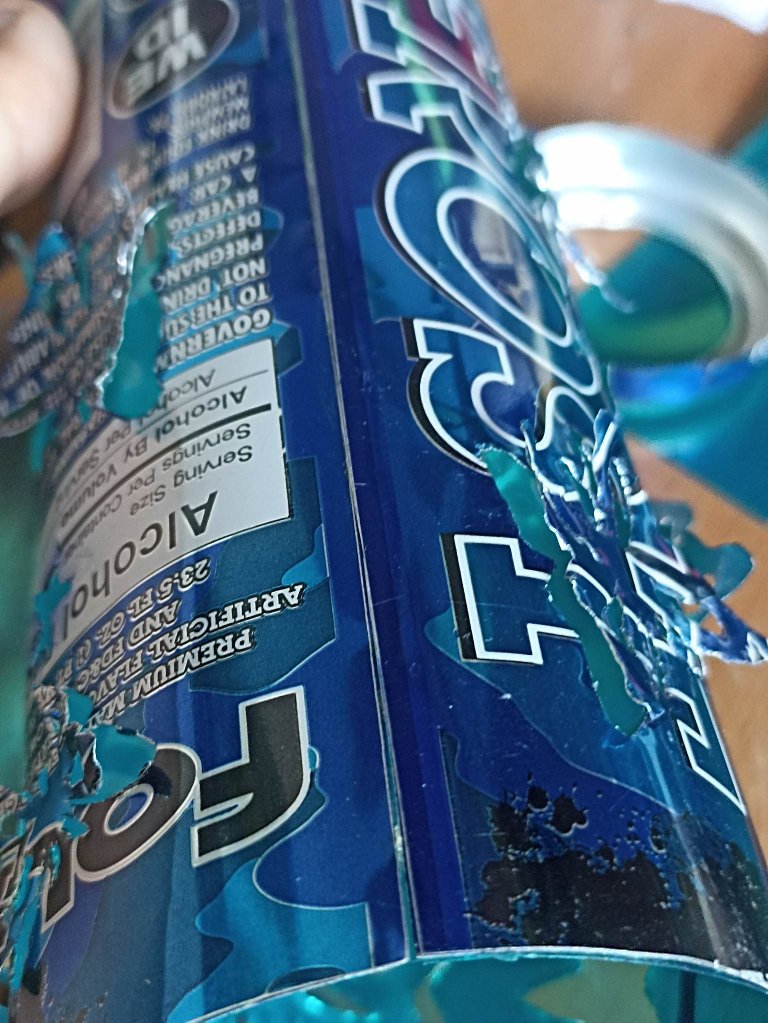
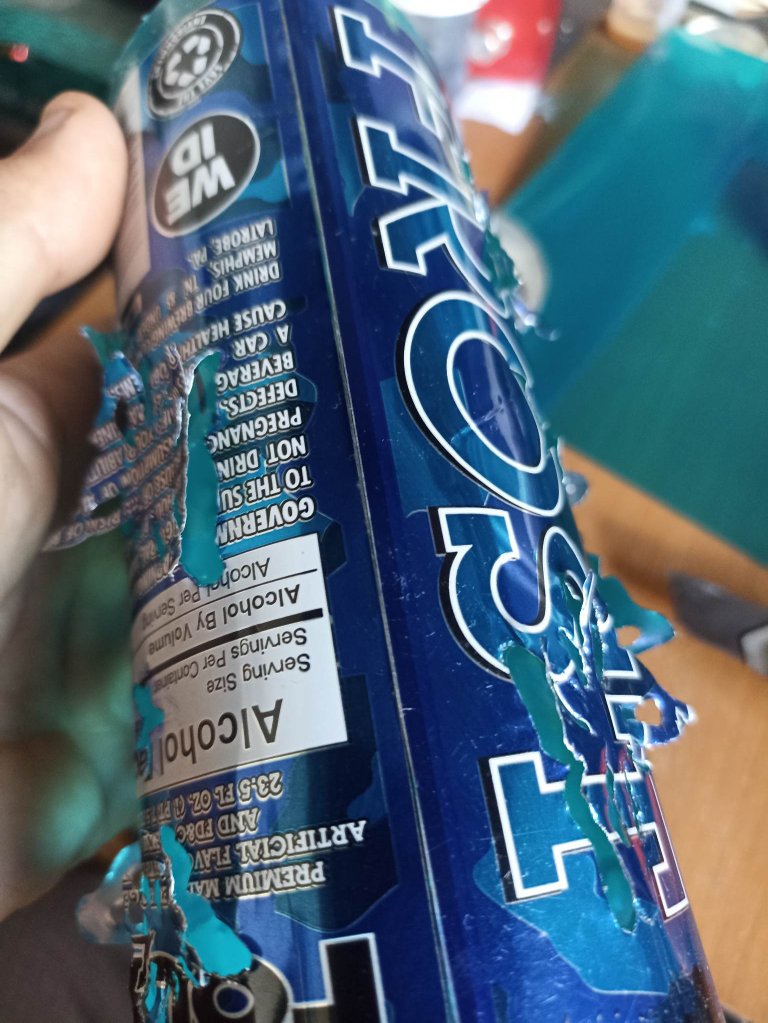
I chose these cans, I thought it was a very nice design apart from the fact that it is blue, I only used one of the two, I cut the can until it became an aluminum sheet, I crushed it to remove the tube effect and be able to work better. Then on a piece of paper I made a drawing of a butterfly stencil, the goal is to stick it on the can and then draw and cut it on the aluminum and thus decorate the entire can. I made this butterfly which is the biggest but then I also made smaller butterflies and I also decorated it with stars that you can see later.
Escogí estas latas, me pareció un diseño muy bonito a parte de que es de color azul, de las dos solamente utilicé una, corté la lata hasta convertirla en una lámina de aluminio, para la aplaste para poder quitar el efecto de tubo y poder trabajar mejor. Luego en un papel hice el dibujo de una plantilla de una mariposa, el objetivo es pegarla en la lata y para luego dibujarla y cortarla sobre el aluminio y así decorar toda la lata. Hice esta mariposa que es la más grande pero luego hice también mariposas más pequeñas y también la adorné con estrellas que podrán ver más adelante.
 |  | |
|---|---|---|
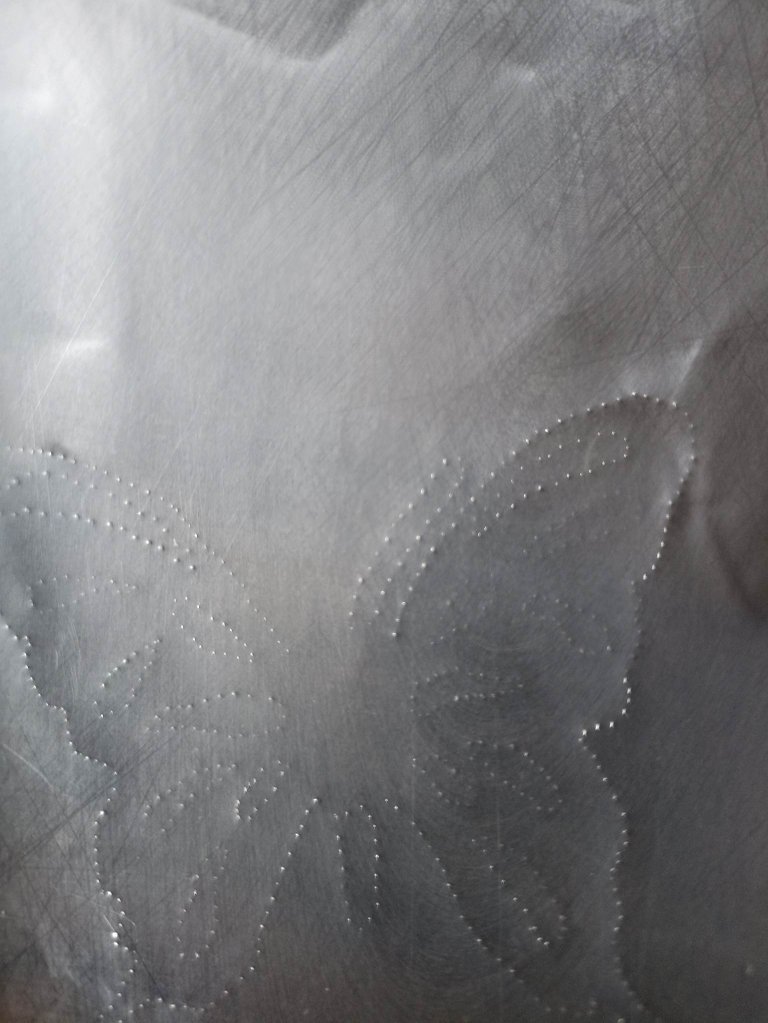 | 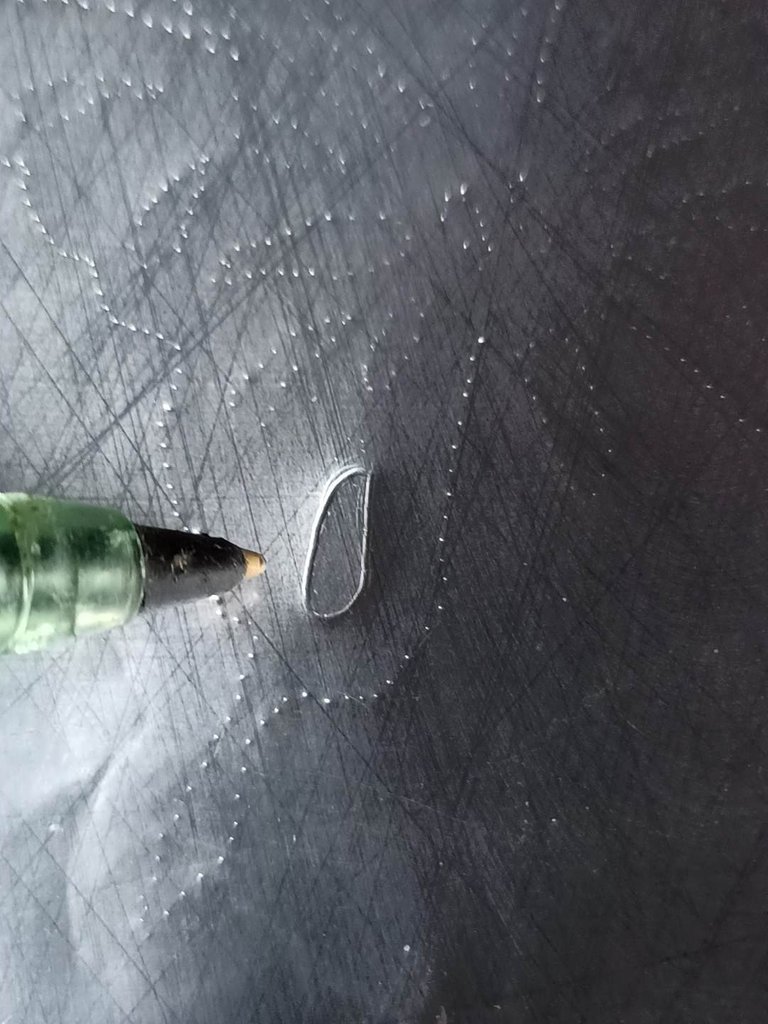 |
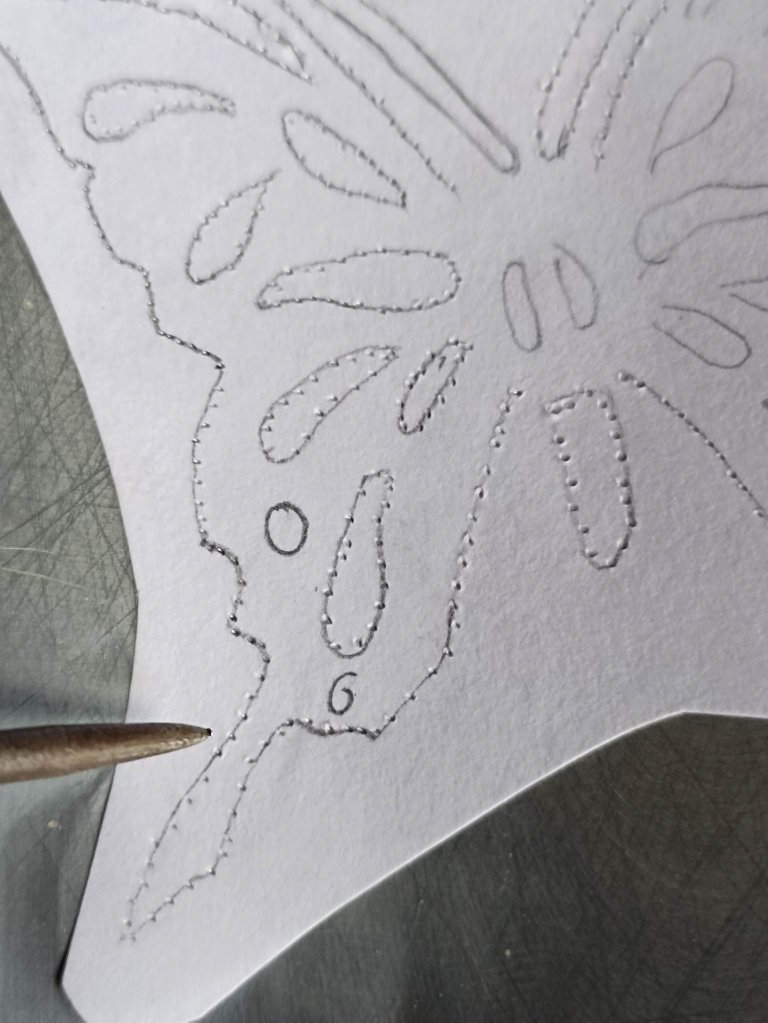
To draw the figure, the process is as follows: We cut and paste the template on the reverse side of the can, then with a needle we can go point by point marking the entire figure of the butterfly, it is to guide us, since if we highlight above of the paper the template would be damaged. Once remarked with the needle, we look for a pen that no longer has ink and on the front side of the can we remark the drawing with great force, so the figure of the butterfly will be engraved and it will be easier to cut.
Para dibujar la figura el proceso es el siguiente: Cortamos y pegamos la plantilla por el lado reverso de la lata, luego con una aguja podemos ir marcando punto por punto toda la figura de la mariposa, es para guiarnos, ya que si remarcamos por encima del papel la plantilla se dañaría. Una vez remarcado con la aguja buscamos un bolígrafo que ya no tenga tinta y por el lado frontal de la lata remarcamos el dibujo con mucha fuerza, así quedará grabada la figura de la mariposa y será más fácil recortar.
 |  |  |
|---|---|---|
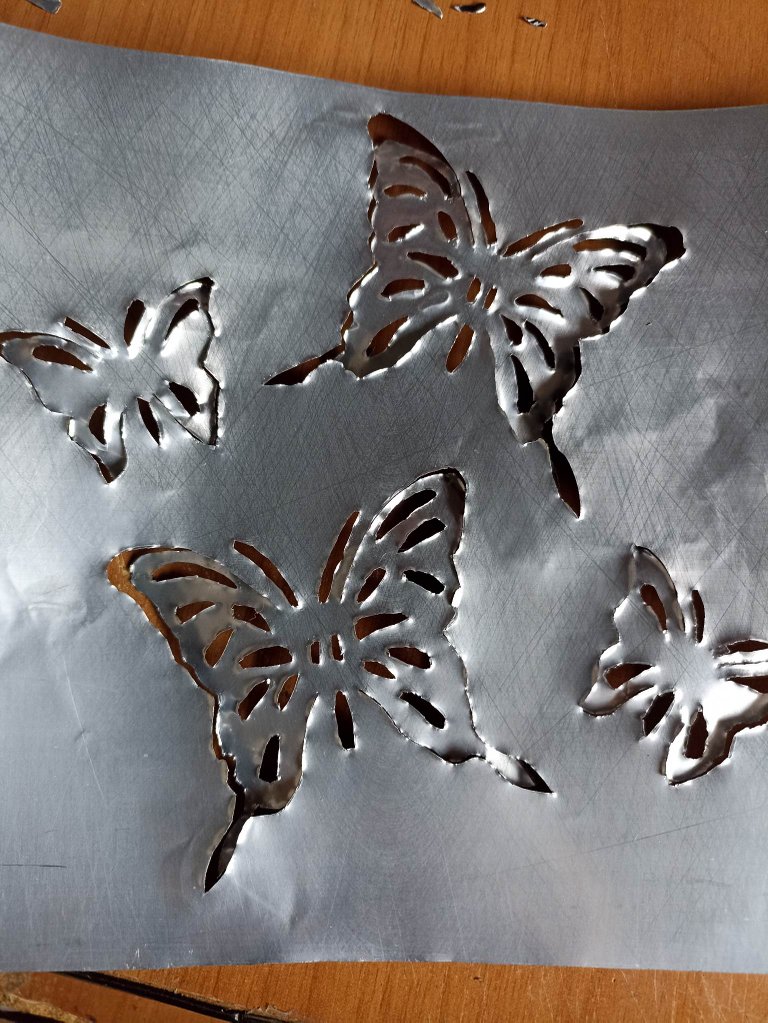 |  | 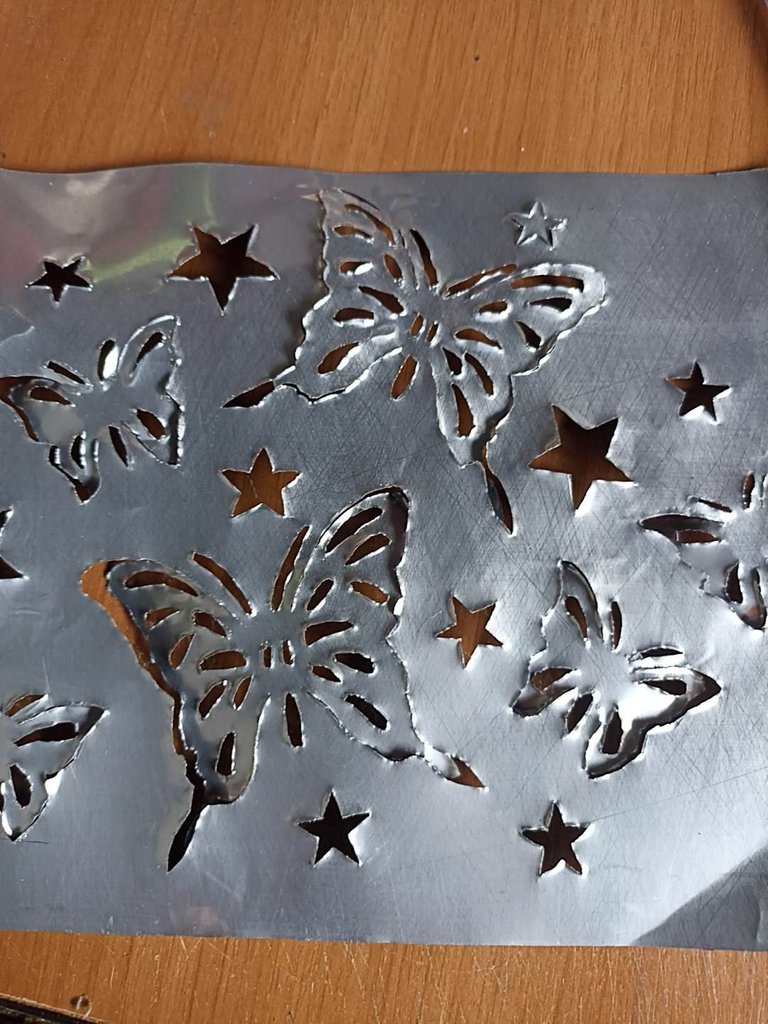 |
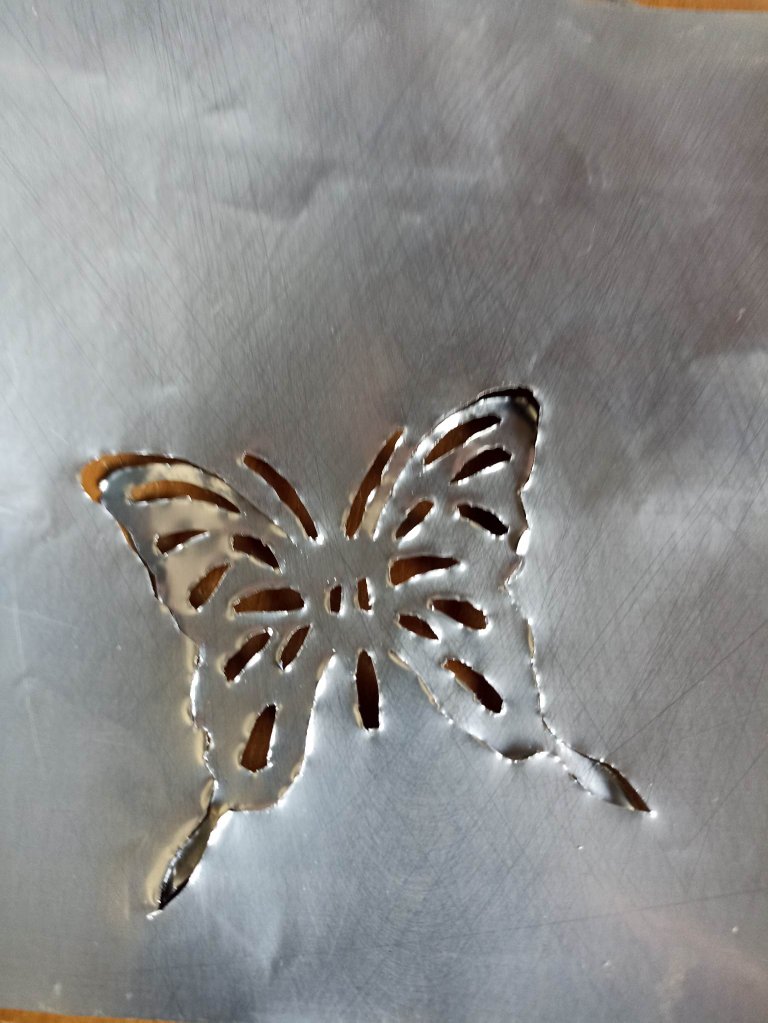
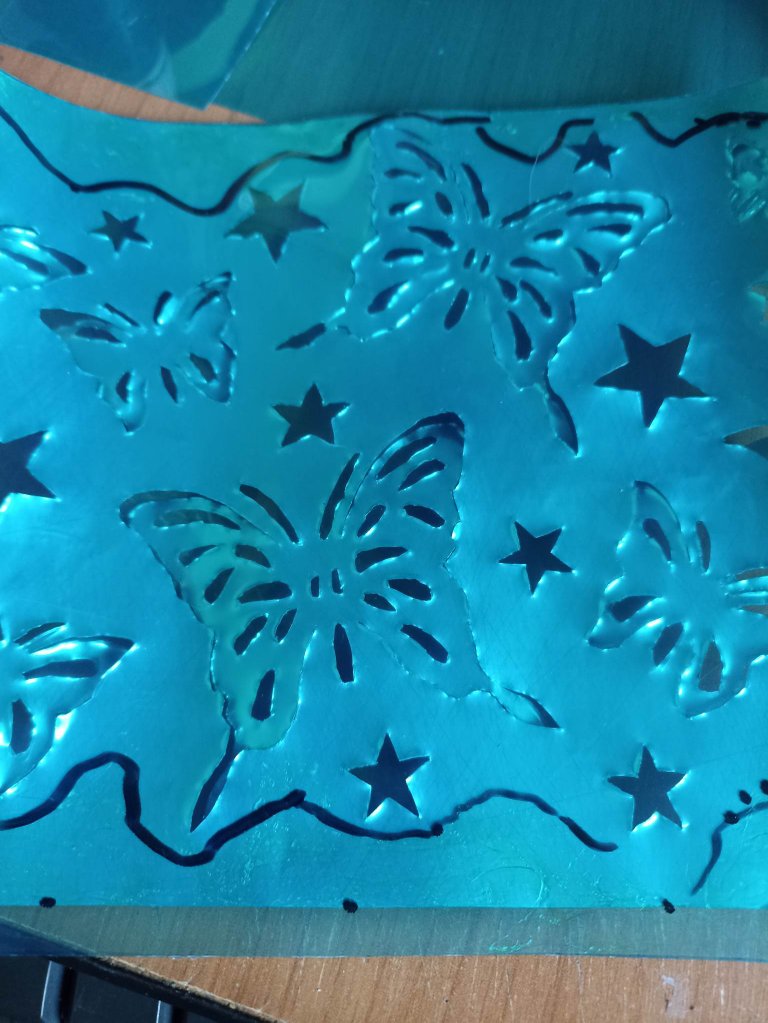
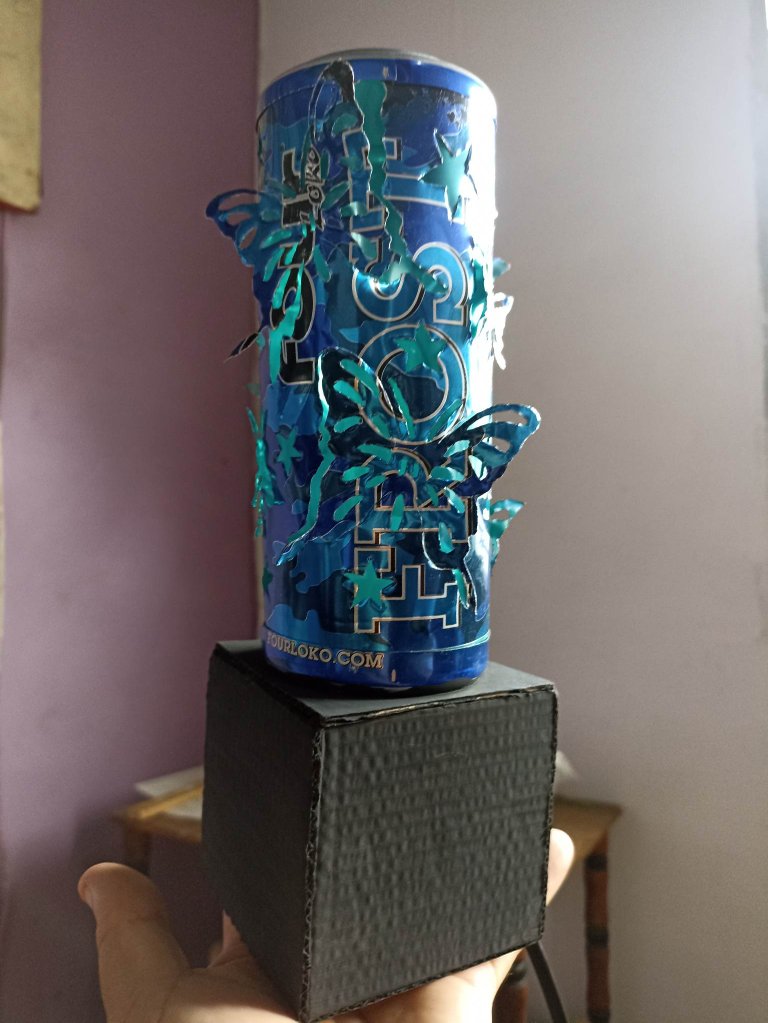
Now comes the most difficult and complicated part, the difficult thing is not to do it but to have the time and patience to do it very carefully so as not to damage the can while we make the figure of the butterfly. As I said before, when drawing the drawing with the pen, the can is easier to cut, with the tip of the knife we cut little by little until we get the figure out. In the image you can see that I made smaller butterflies and also added many stars in order to take up as much space in the can as possible.
Ahora viene la parte más dificil y complicada, lo dificil no es hacerlo sino tener el tiempo y la paciencia para hacerlo con mucho cuidado para no estropear la lata mientras hacemos la figura de la mariposa. Como dije anteriormente, al trazar con el bolígrafo el dibujo, la lata queda más facil para cortar, con la punta de la navaja vamos cortando poco a poco hasta ir sacando la figura. En la imagen se observa que hice mariposas más pequeñas y también agregué muchas estrellas para así ocupar la mayor cantidad de espacio en la lata disponible.
 |  |  |
|---|---|---|
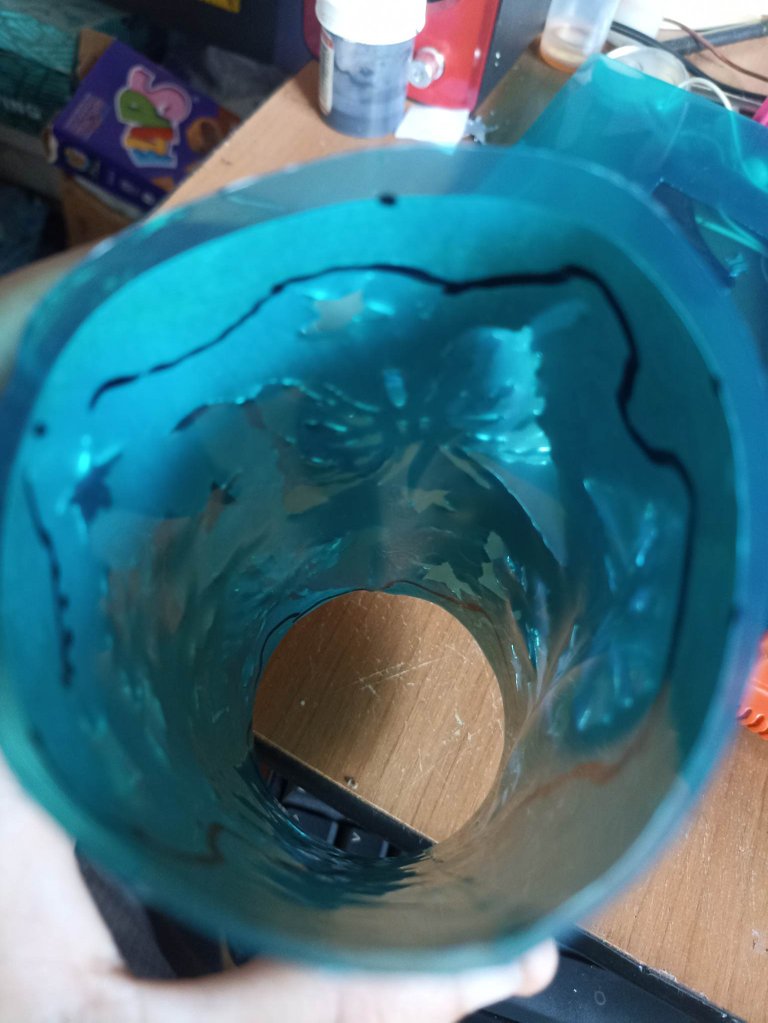 |  |  |
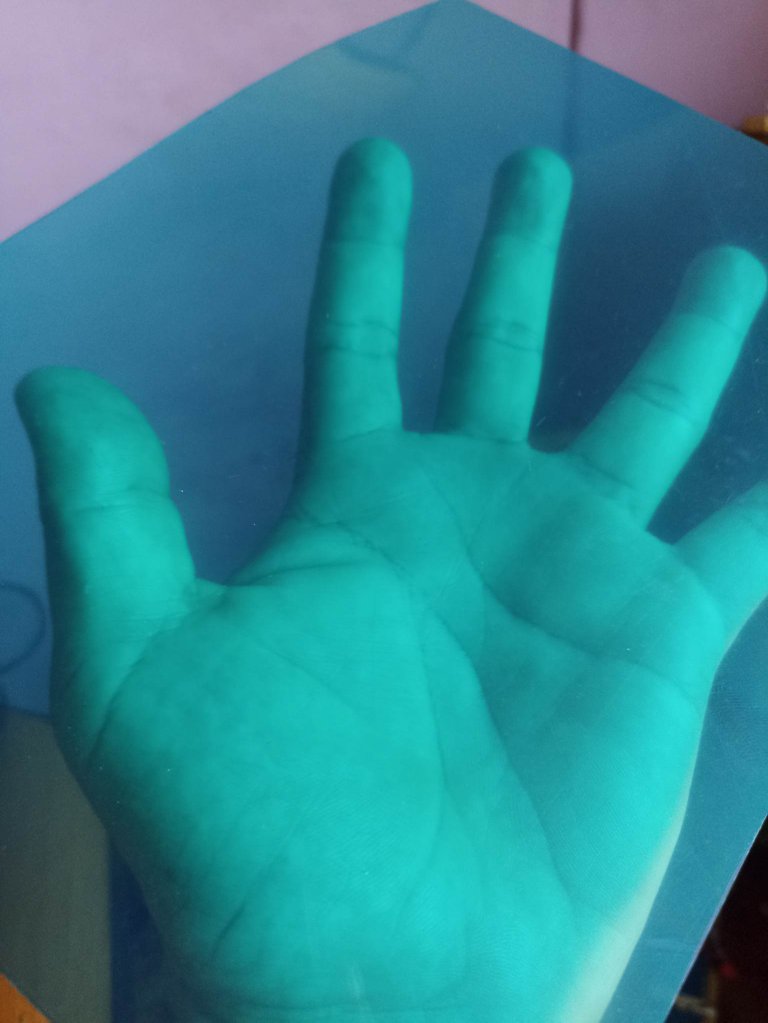
When we finish making the cuts we are going to take the blue vinyl and we are going to cut it to the same size as the can, after doing so we are going to mark the points where we will put glue on the vinyl and in the same way on the can. Later, when we have let the glue dry a little bit, we are joining the wine and the aluminum little by little, finally we are going to glue both ends of the can until it becomes a tube as in its original shape.
Al terminar de hacer los cortes vamos a tomar el vinil de color azul y lo vamos a cortar de la misma medida de la lata, después de hacerlo vamos a marcar los puntos donde pondremos pegamento en el vinil y de la misma forma en la lata. Después cuando hayamos dejado secar unos poquito el pegamento vamos uniendo el vini y el aluminio poco a poco, por último vamos a pegar ambos extremos de la lata hasta convertirla en un tubo como en su forma original.
 |  |  |
|---|---|---|
 | 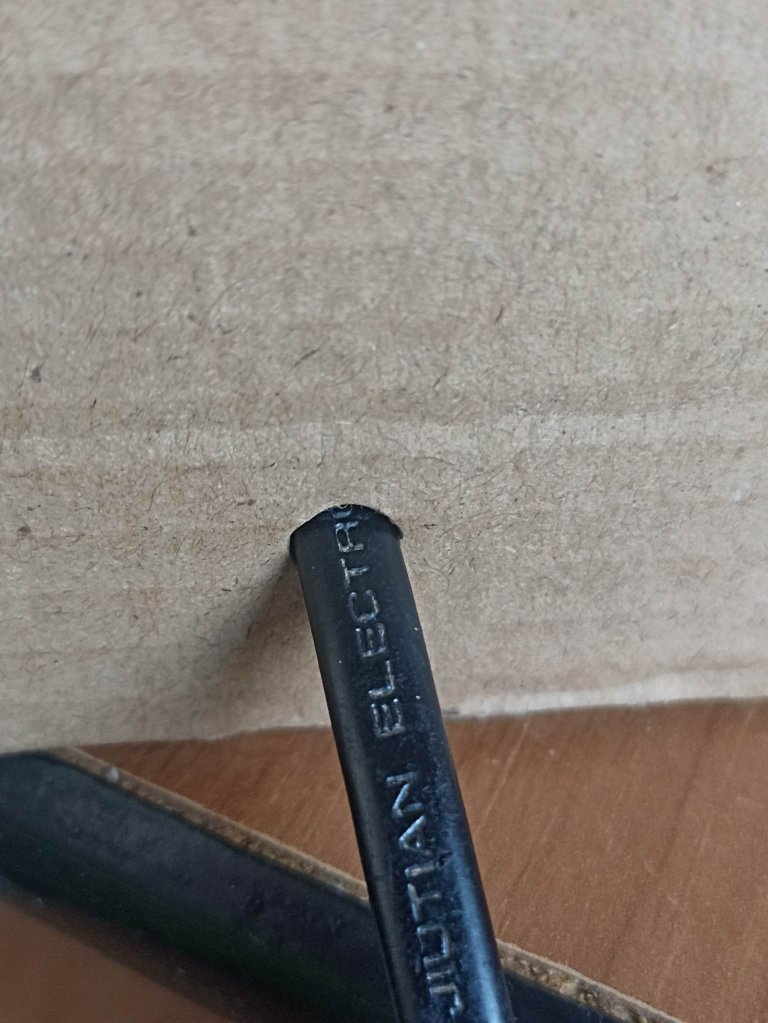 | 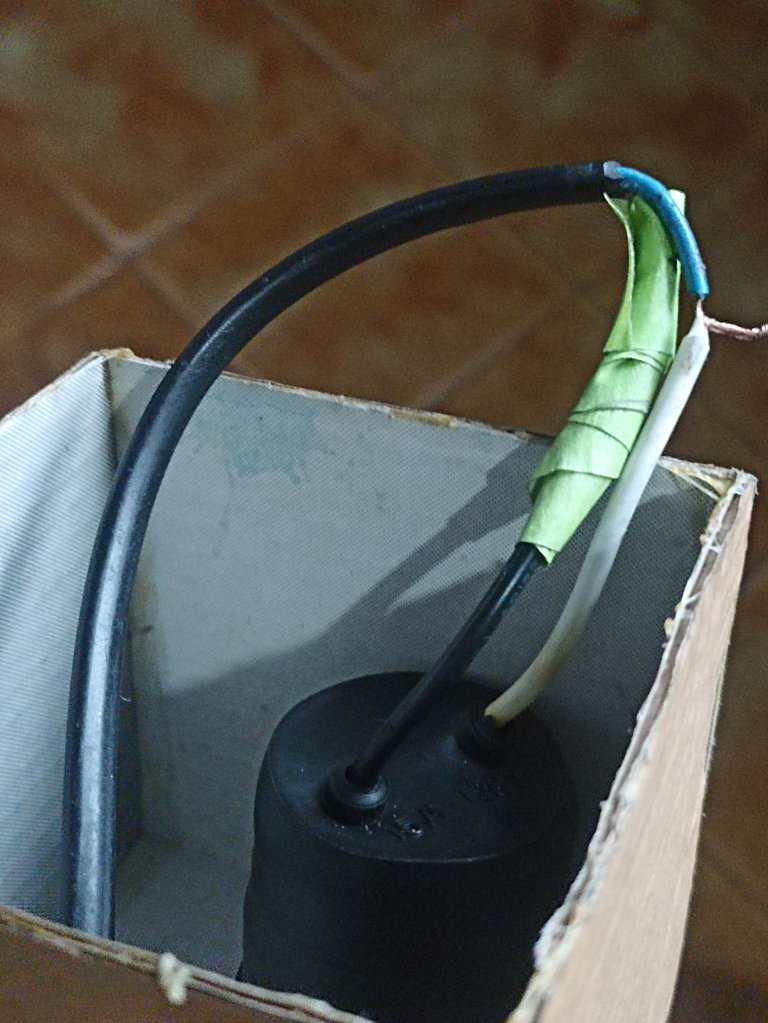 |
Now comes the second part of the lamp, which is to make the base and the system to turn the light on and off. For the base I used cardboard from a shoe box, I cut 6 squares of 8 centimeters each, in the piece that goes on top I opened a hole of 7 centimeters in diameter, then I took the cable and installed it inside the base, in one At its ends I put the plug for the light bulb and on the other side for the socket, and in another part of the cable a simple switch to turn it on and off.
Ahora viene la segunda parte de la lámpara que es hacer la base y el sistema para encender y apagar la luz. Para la base utilicé cartón de una caja de zapatos, corte 6 cuadros de 8 centímetros cada uno, a la pieza que va arriba abrí un agujero de 7 centímetros de diametros, luego tomé el cable y lo instalé en dentro de la base, en uno de sus extremos puse el enchufe para el bombillo y en el otro lado para la toma de corriente, y en otra parte del cable un sencillo interruptor para encender y apagar.
 |  |  |
|---|---|---|
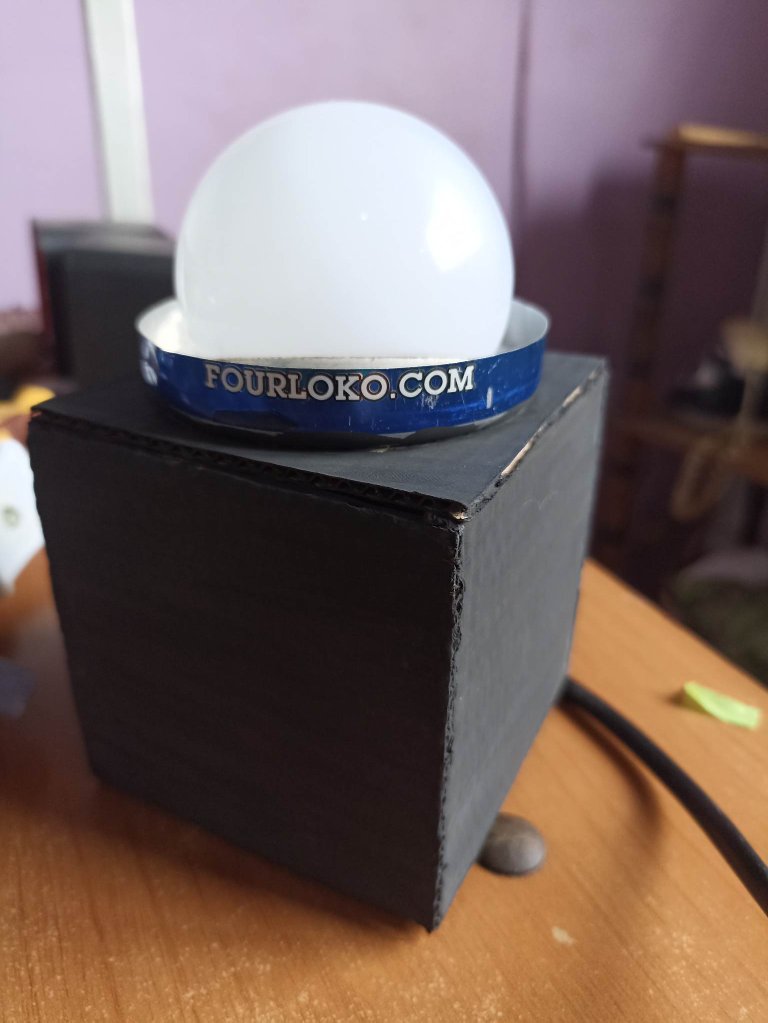 |  |  |
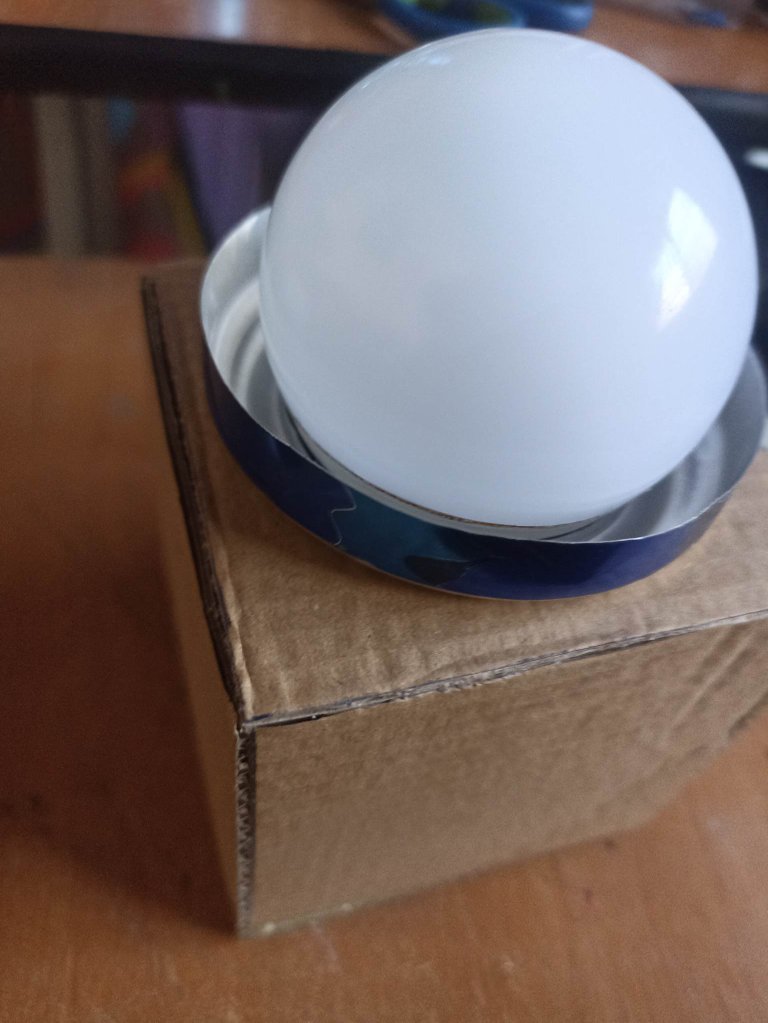
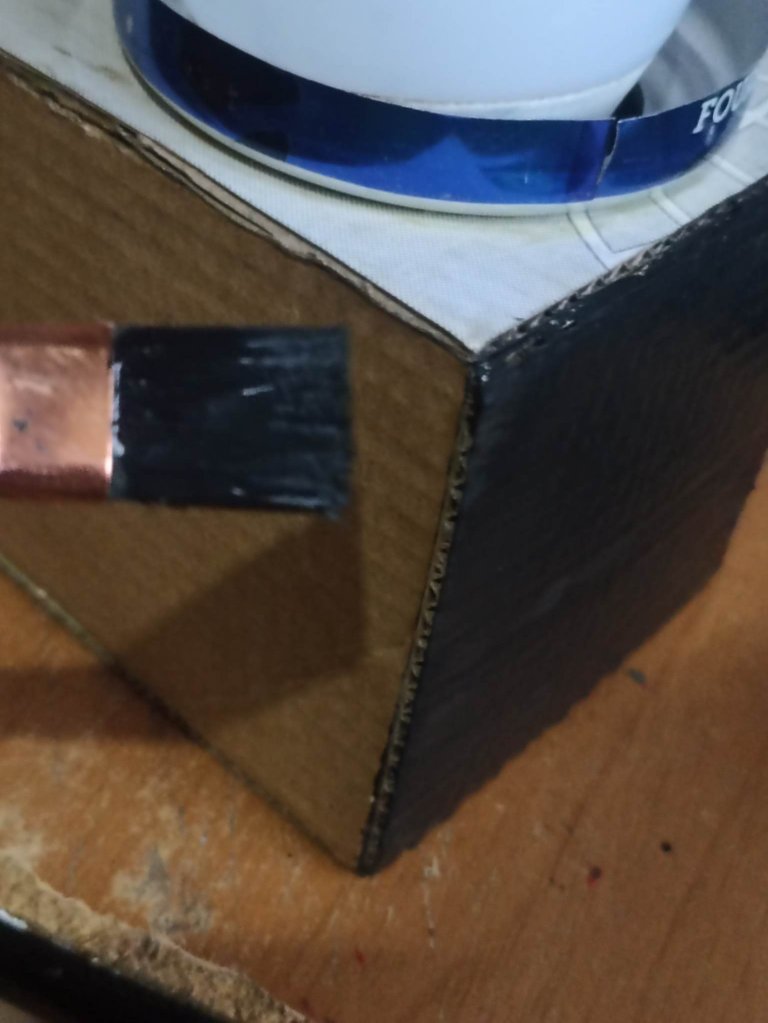
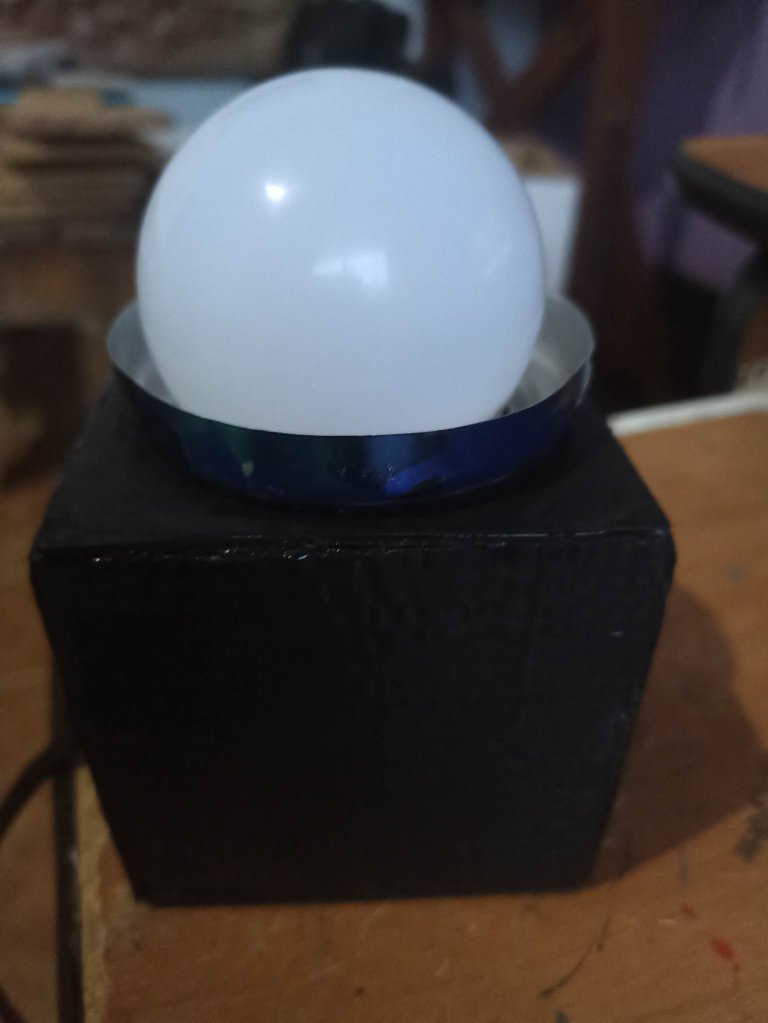
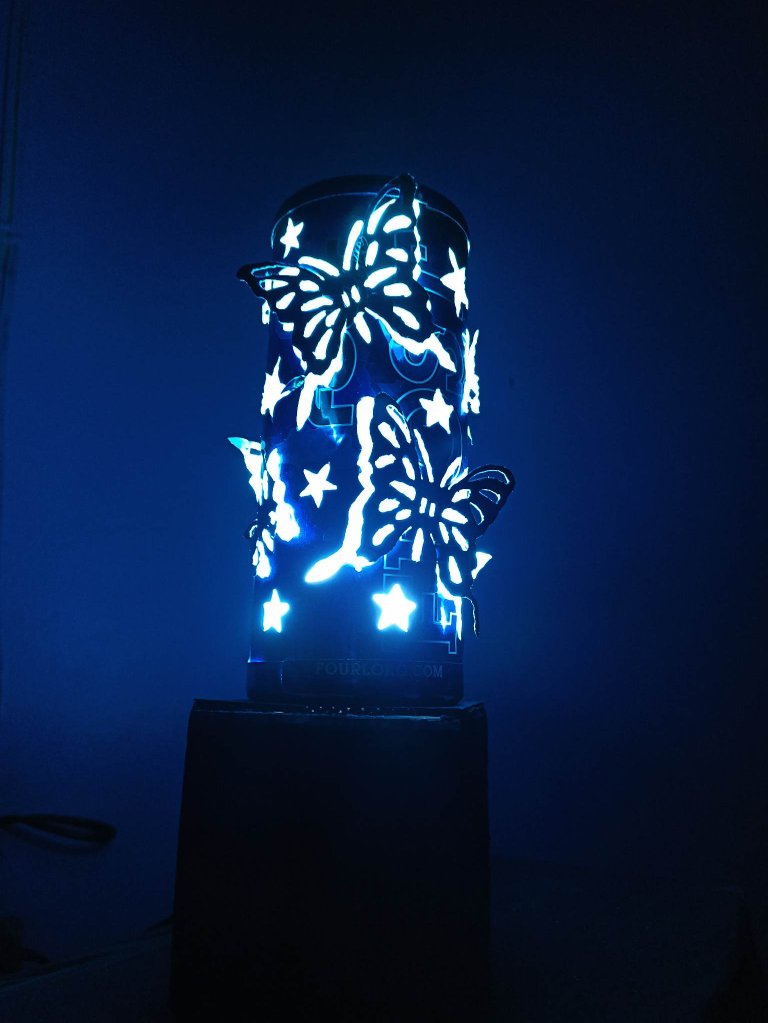
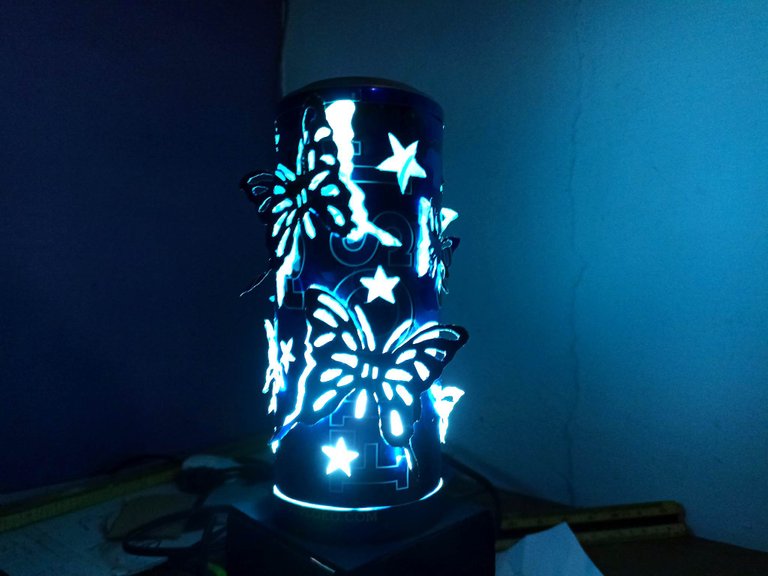
The final steps are to finish assembling the base, placing the light bulb in its place, the base that we removed from the can will be its base again, only with a hole to put the light bulb in, and we will use another base to put in the part of the top, but also if we want we can leave it without anything, if we want to illuminate the room more. We also apply a few layers of cold paint on the cardboard to give a touch to the decoration, finally we finish assembling all the parts and this project is finished.
Los pasos finales son terminar de armar la base, colocando el bombillo en su lugar, la base que quitamos de la lata volverá a ser su base, solo que con un agujero para poder meter el bombillo, y otra base la utilizaremos para poner en la parte de arriba, pero tambien si queremos podemos dejarla sin nada, si queremos iluminar más la habitación. También aplicamos unas capas de pintura al frío sobre el cartón para darle un toque a la decoración, por último terminamos de ensamblar todas las partes y queda finalizado este proyecto.
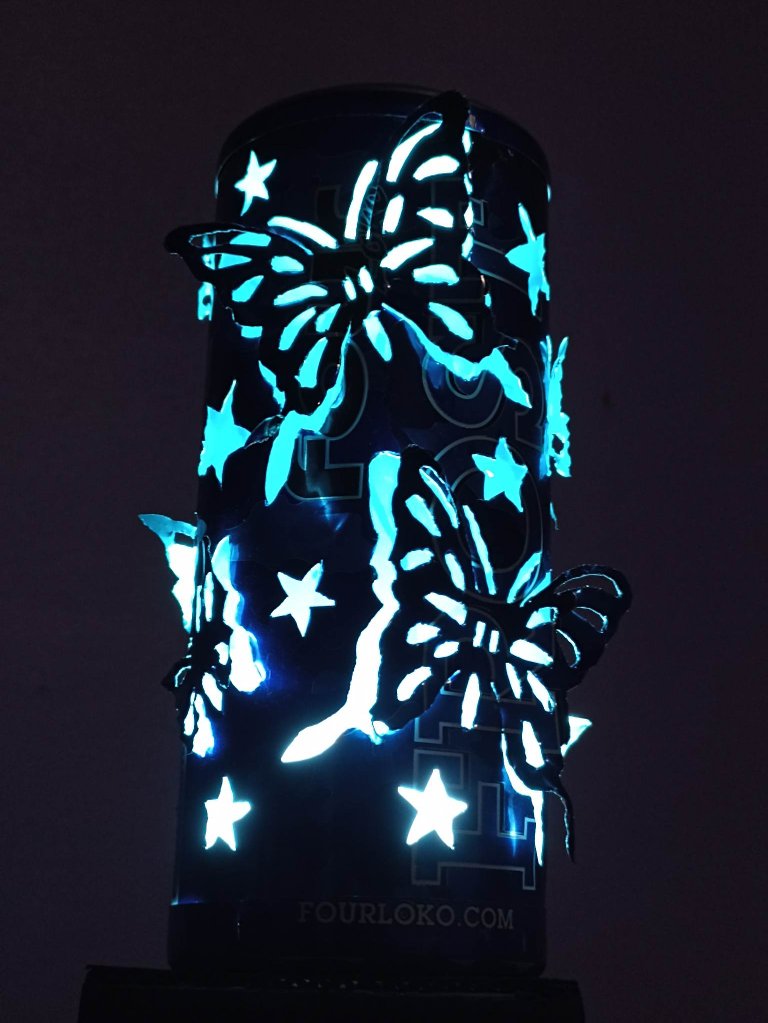
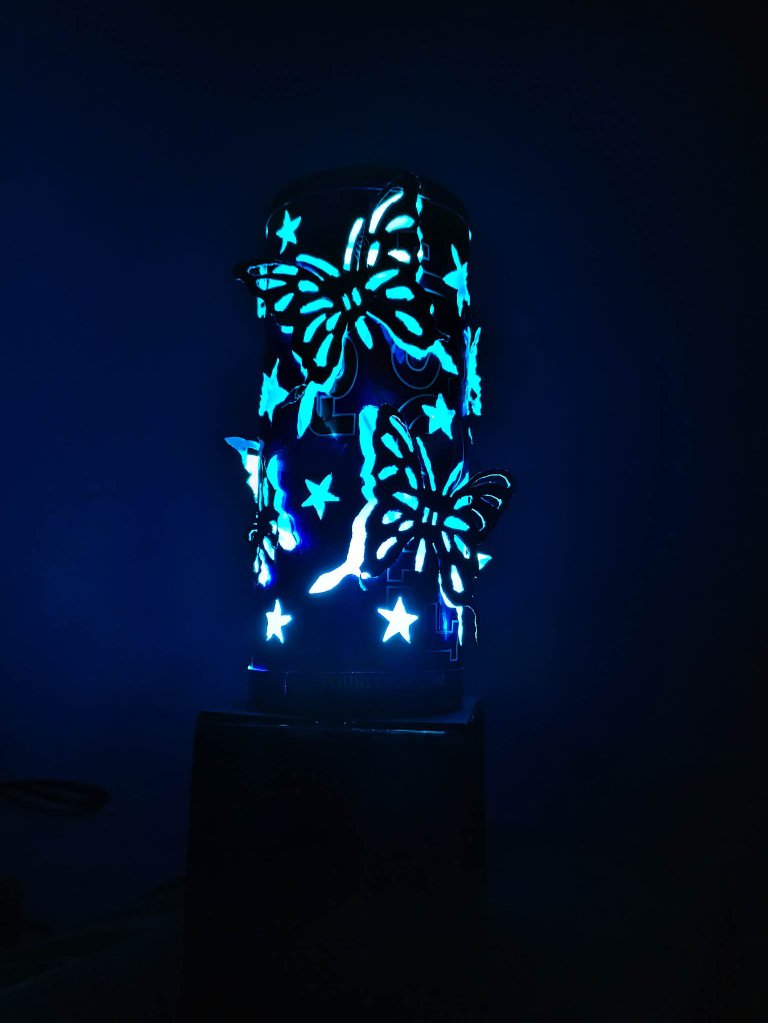
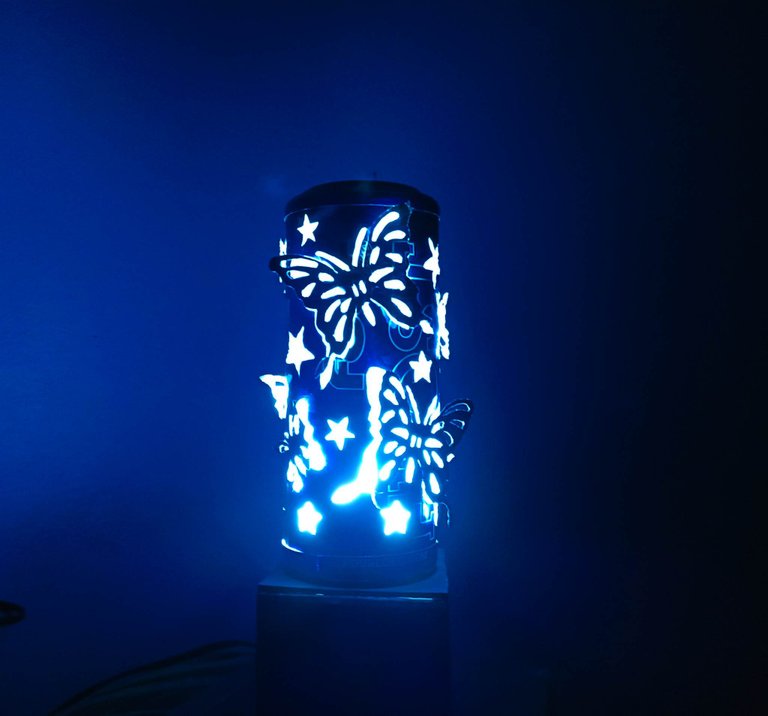
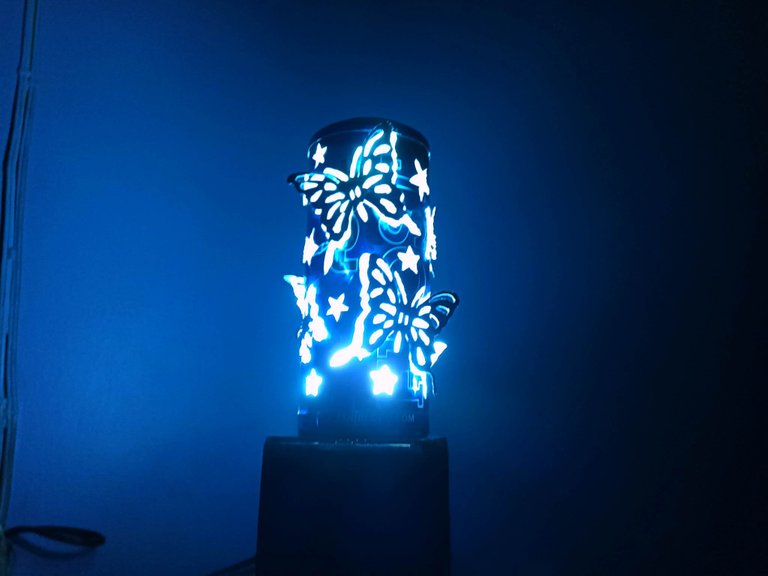
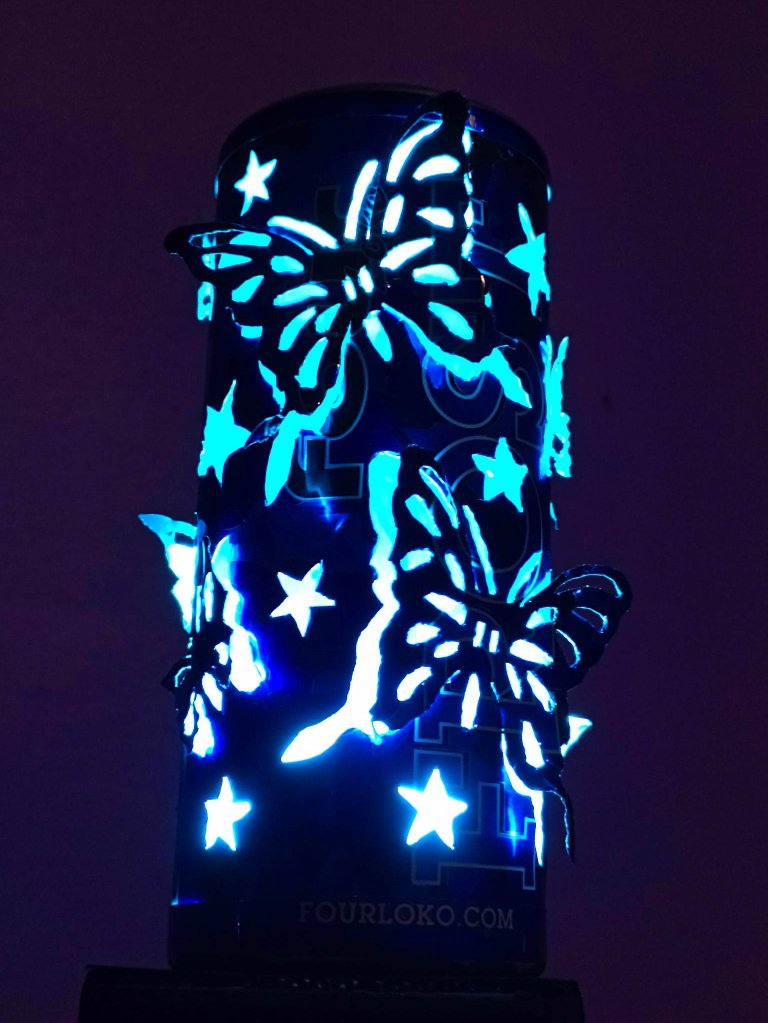
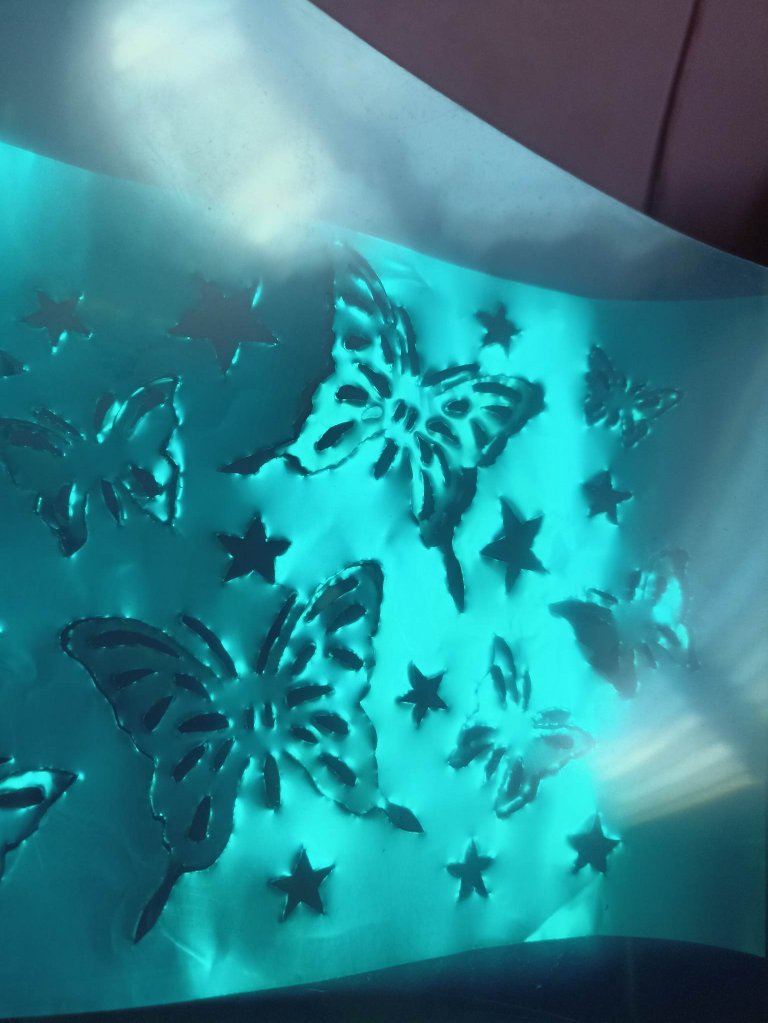
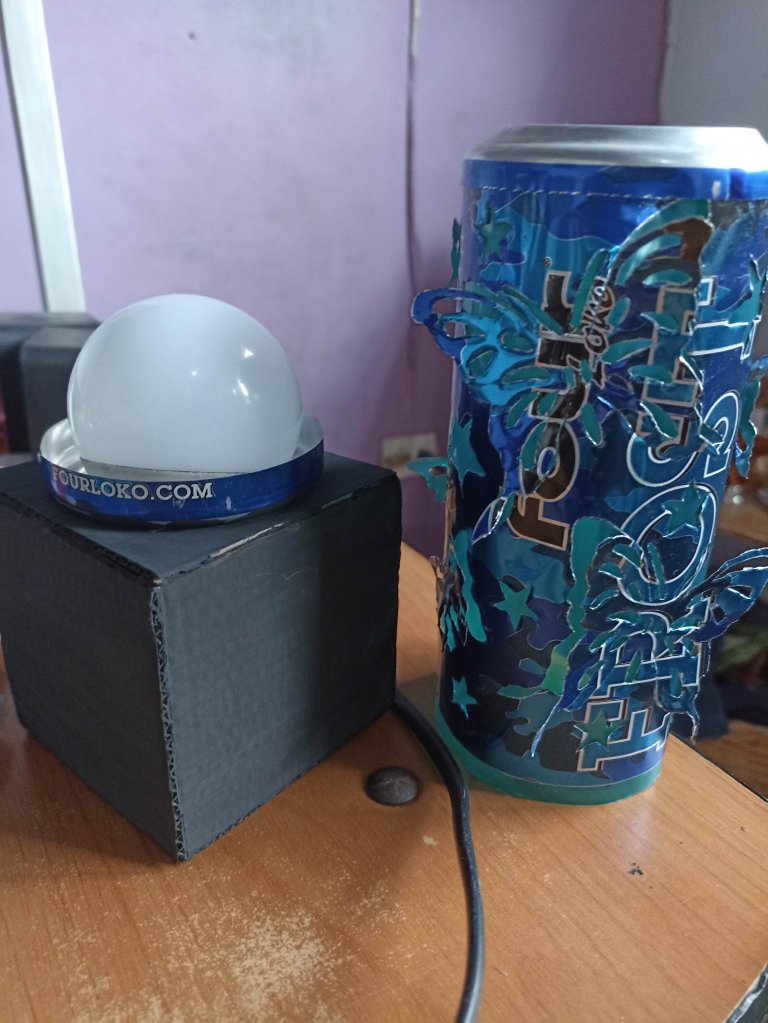
This is how this luminaire made with reusable materials was finished, as I had 3 more cans I had originally thought of making it higher, but it would have taken me too much work, perhaps if I had other tools I could advance the work, but doing it manually although it is faster rewarding, the time invested is greater. However, I was very pleased with the results, especially because it illuminates the way I wanted, thanks to the blue vinyl the glow fades making the lighting dim, it is special for my daughter, who does not like to sleep in total darkness, so her room was as she wanted, also with a simple but very striking design. This project can be done in many ways and we can adapt it to our needs, I hope you liked it, it was a pleasure to share it in this beautiful community. For now I say goodbye, and I hope to return soon with something new.
Así quedó finalizada esta luminaria hecha con materiales reutilizables, como tenía 3 latas más había pensado hacerla originalmente más alta, pero me hubiera llevado demasiado trabajo, tal vez si tuviera otras herramientas podría adelantar el trabajo, pero hacerlo de forma manual aunque es m´pas gratificante, el tiempo invertido es mayor. Sin embargo quedé muy complacido con los resultados, especialmente porque ilumina de la forma que quise, gracias al vinil de color azul el resplandor se difumina haciendo que la ilumación sea ténue, es especial para mi hija, quien no le gusta dormir en oscuridad total, así que su habitación quedó como ella quería, además con un diseño simple pero muy llamativo. Este proyecto puede hacerse de muchas formas y podemos adaptarla a nuestras necesidades, espero que les haya gustado, fue un gusto poder compartirlo en esta hermosa comunidad. Por ahora me despido, y espero volver pronto con algo nuevo.
https://leofinance.io/threads/dayadam/re-leothreads-28b2dntkw
The rewards earned on this comment will go directly to the people ( dayadam ) sharing the post on LeoThreads,LikeTu,dBuzz.
Que belleza de trabajo y esta vez con latas. Wowwwww 😍 La Ame...
Por vigésima quinta vez mi admiración para ti amigo @fixie ✨
!DIY
Gracias amiga bella, la habitación de mi chamaca quedó genial, ahora si quiere dormirse bien temprano jajaja..
Excellent work, very well elaborated with a lot of detail and worthy of admiration. Great tutorial. Congratulations @fixie // Excelente trabajo, muy bien elaborado con muchos detalle y digno de admirar. Gran tutorial. Felicidades
It is one of the many ways in which we can use aluminum cans that are often wasted. So we can give it a second chance in terms of use. Thank you very much for supporting my work!
Es una belleza de trabjo amigo...me encanta cuando le das vida útil a una lata 😊👍🏼
!discovery 40
Como casi todas las cosas tiene una segunda oportunidad, especialmente para hacer lámparas, quedan geniales
This post was shared and voted inside the discord by the curators team of discovery-it
Join our Community and follow our Curation Trail
Discovery-it is also a Witness, vote for us here
Delegate to us for passive income. Check our 80% fee-back Program
Thank you very much for your support
¡Qué hermosa te quedó!✨ Siguiendo cada uno de tus pasos no está tan difícil de hacerla, probablemente me anime a hacer una,porque está bellísima 💗
Si es facil, solo donde hay que tener paciencia es al momento de recortar las figuras, pero el resto es pan comido. Por ejemplo, puedes buscar una lata con un diseño muy lindo, hasta puedes hacerla con 2 y te quedará más alta!
Wow!😍 cuánta creatividad!! Admiro mucho la prolijidad y la paciencia con la que lo hicise!! A tu hija le debe haber encantado este regalo!! ✨ te felicito por este trabajo!! Saludos!
Le encantó muchísimo, cuando llegó la noche y la encendimos su felicidad fue inmediata.. ME alegra que te haya gustado como quedó!
Wooow que genial te quedo, no solo nos llevamos una bonita lampara sino que ademas fomentas el reciclaje cosa que es muy importante hoy en dia 😍
Así es, dos en uno jjejeje. Es muy facil de hacer y los materiales más fácile aún de encontrar.
Es una idea ingeniosa, me encanta, no solo porque es práctica de hacer aunque lleve su tiempo. El diseño de mariposas es lo que más me gusta, incluso me dieron ganas de intentar hacerlo para mi habitación, siento que le daría un aspecto muy bonito, especialmente de noche. Estoy fascinada.♥️
Hazlo, será una gran experiencia para ti. Si lo haces no dudes en etiquetarme. Me encantaría verlo.. el proceso es fácil pero hay que tener paciencia para que los diseños salgan bien bonitos