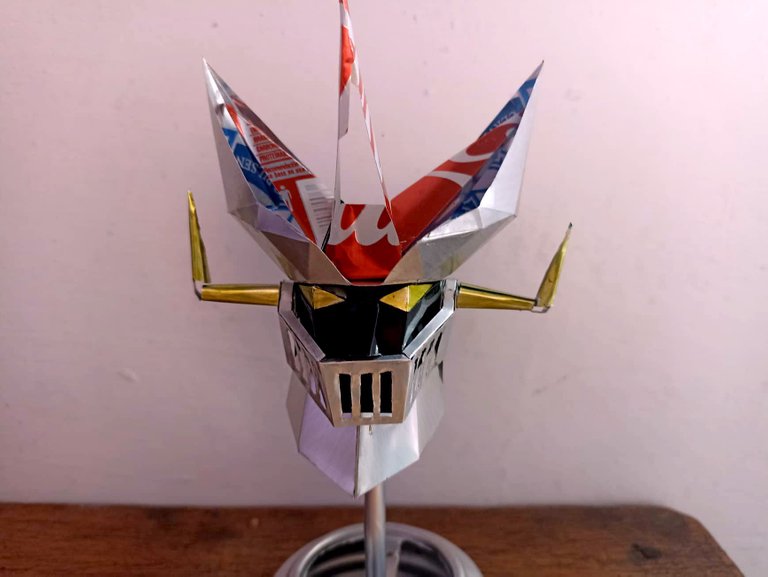
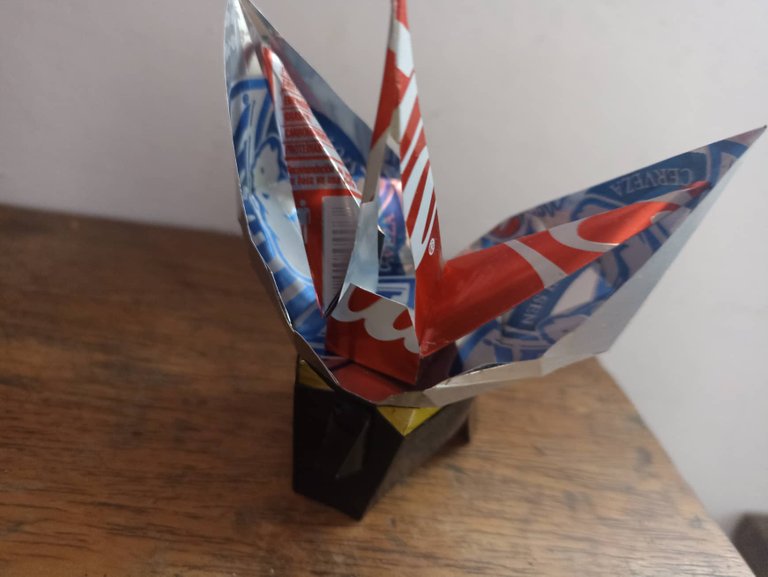
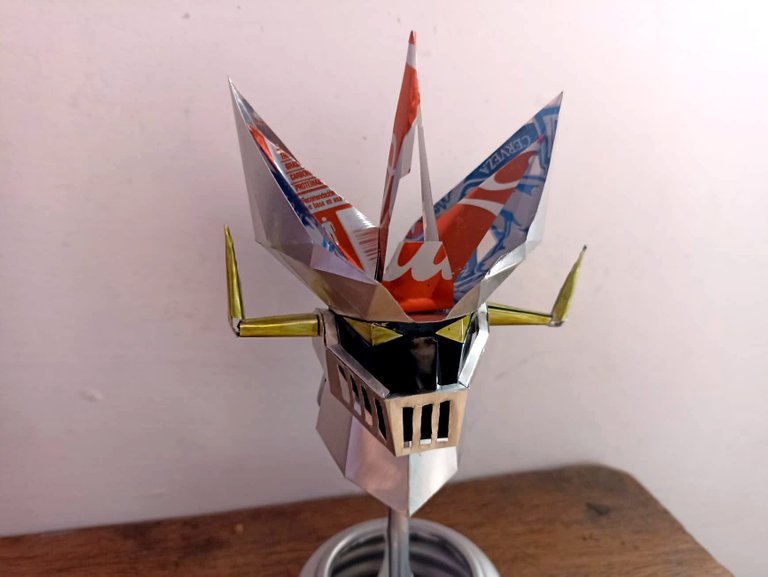
Hello friends, I hope you are very well and have had a happy weekend. Today I want to share my latest work, I made the helmet of the Great Mazinger robot, the evolution of Mazinger Z that became more powerful and the original design was modified in many aspects. I made this helmet following the original model only incorporating the modifications of the new design which vary in color and also in the cockpit. Hope you like..
Hola amigos, espero que se encuentren muy bien y hayan pasado un feliz fin de semana. Hoy quiero compartir mi último trabajo, hice el casco del robot Gran Mazinger, la evolución de Mazinger Z que se hizo más poderoso y el diseño original fue modificado en muchos aspectos. Hice este casco siguiendo el modelo original solamente incorporando las modificaciones del nuevo diseño el cual varíen en el color y tambien el la cabina del piloto. Espero que les guste..

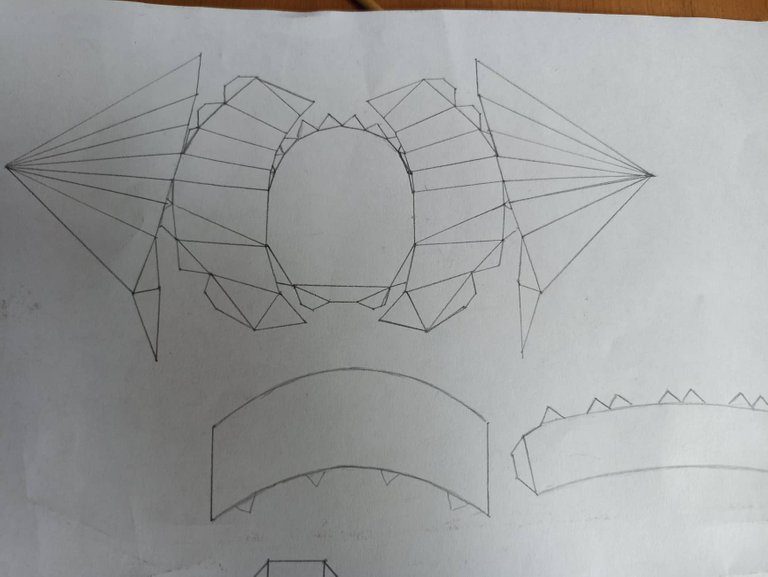
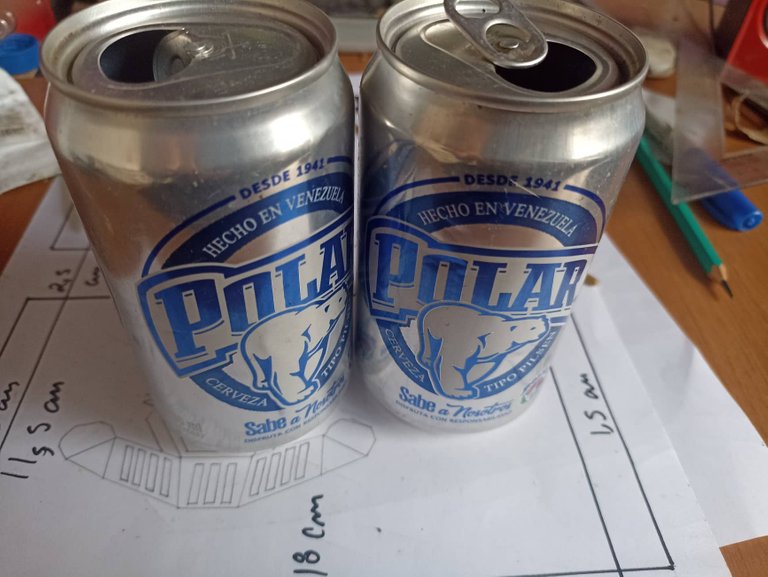
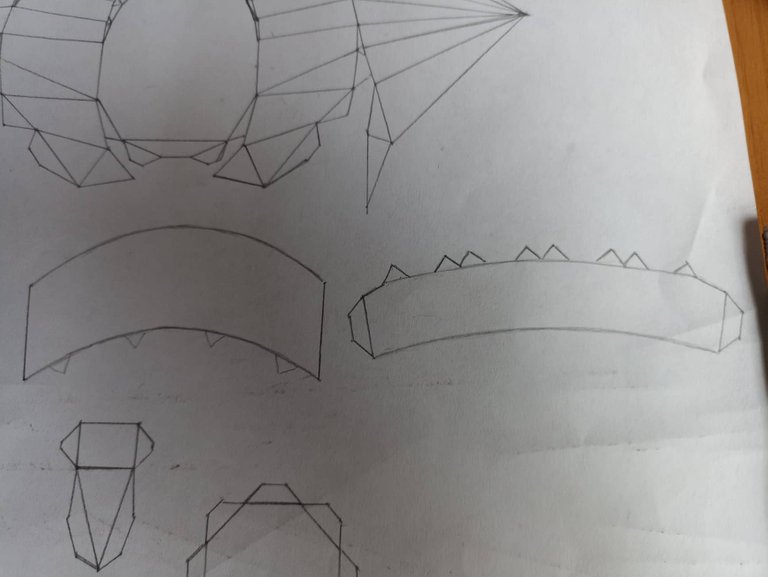
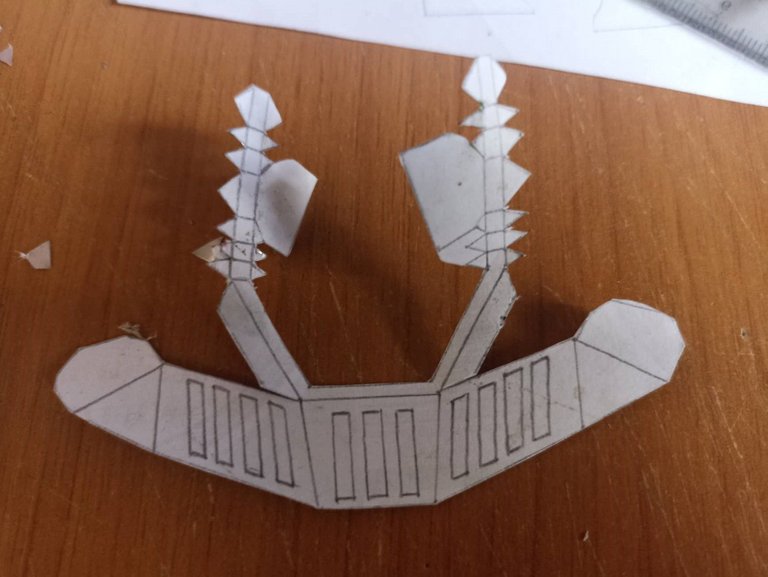
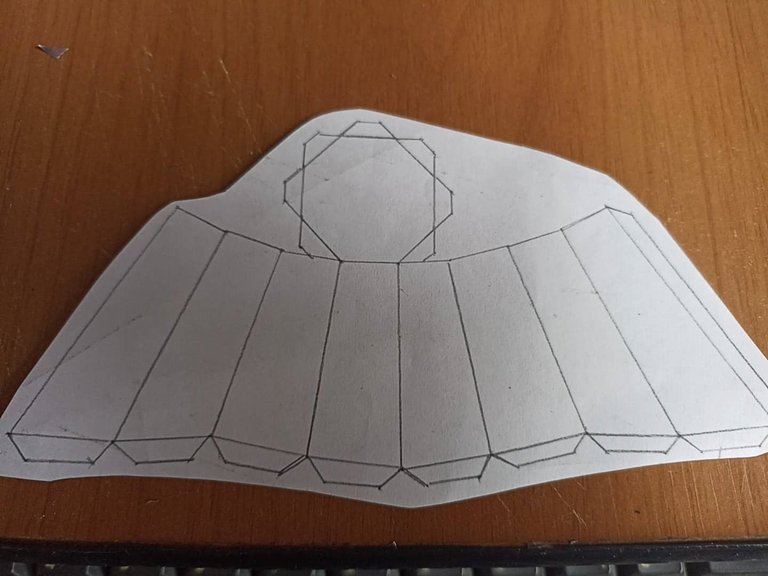
To start I drew the templates of the classic Mazinger Z model modifying the crown, since the classic model is a circular crown and the Great Mazinger model is pointed, so the horns are also different from the original model and the cockpit. As material I used 3 soda cans, including a coke can for the red pieces.
Para comenzar dibujé las plantillas del modelo clásico de Mazinger Z modificando la corona, ya que le modelo clásico es una corona circular y el modelo del Gran Mazinger es puntiaguda, así tambien los cuernos son diferentes al modelo original y la cabina del piloto. Como material utilicé 3 latas de soda, incluyendo una de coca cola para las piezas de color rojo.
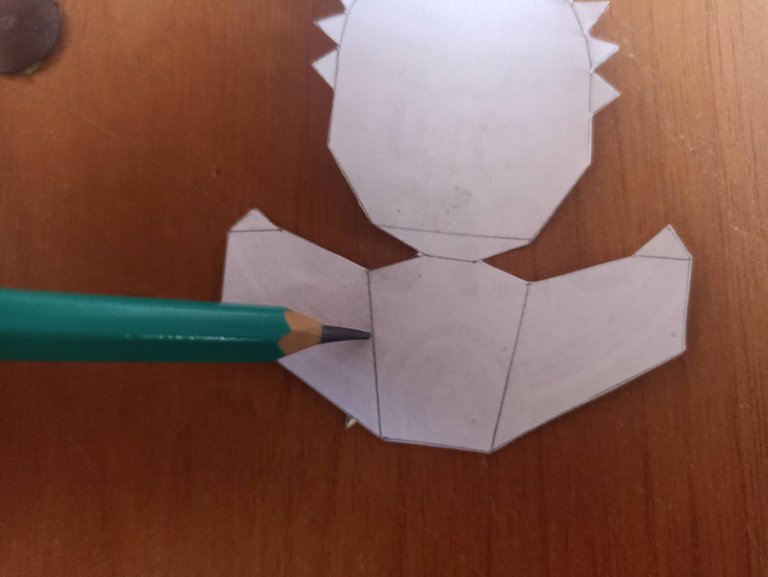
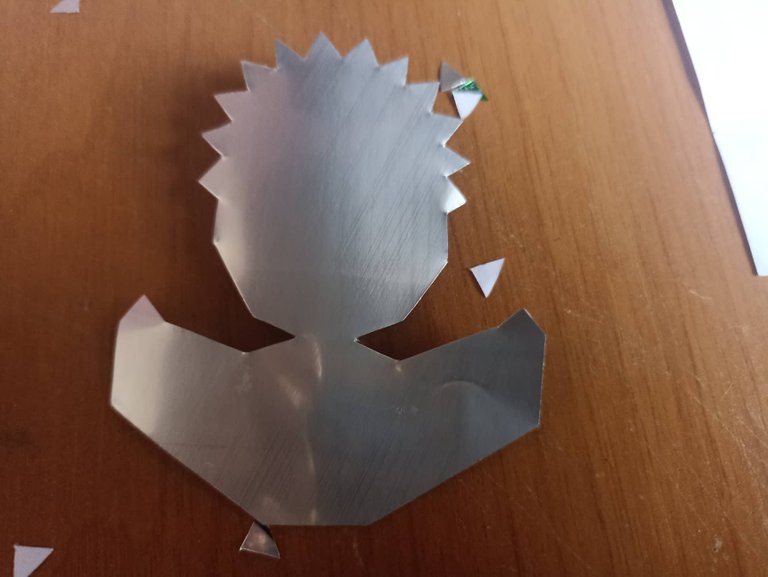

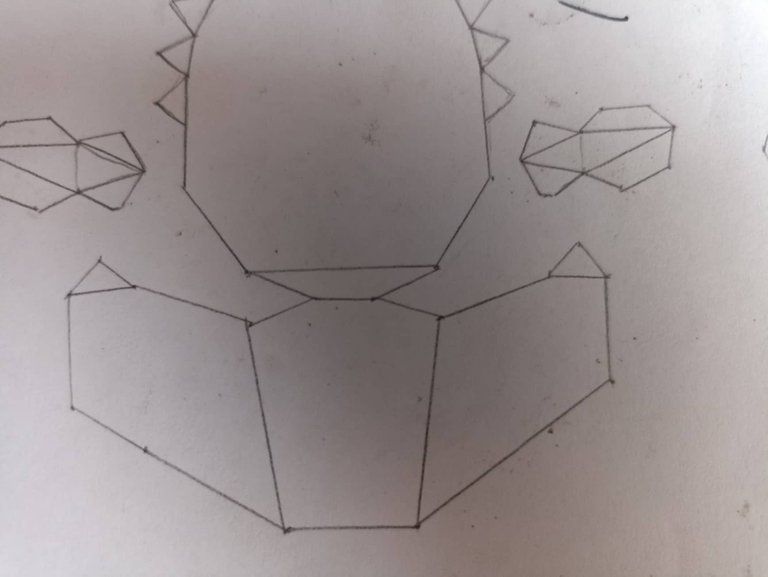
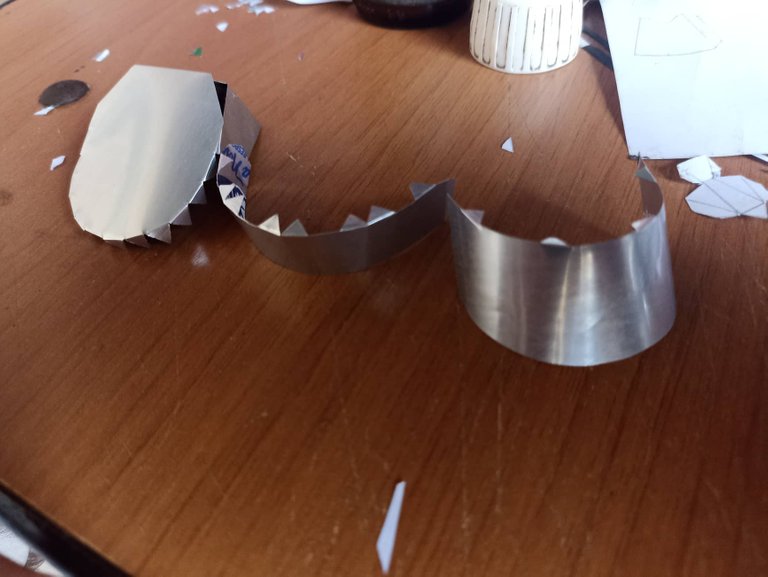
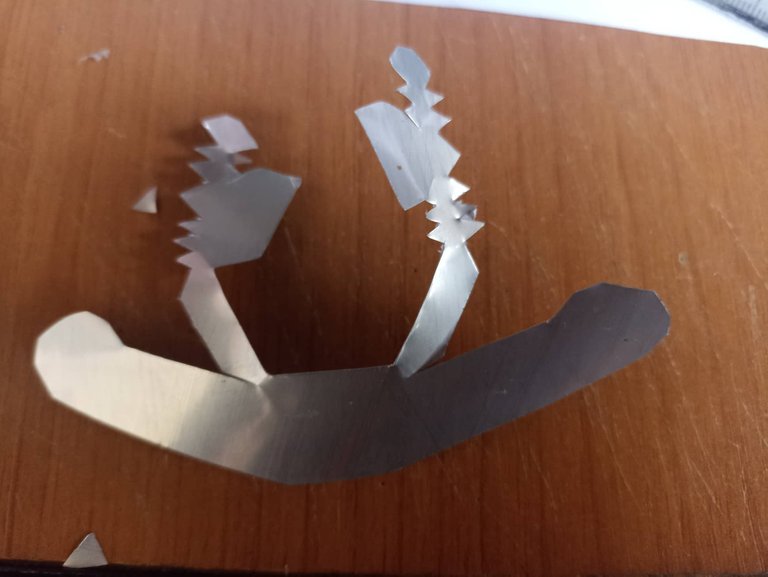
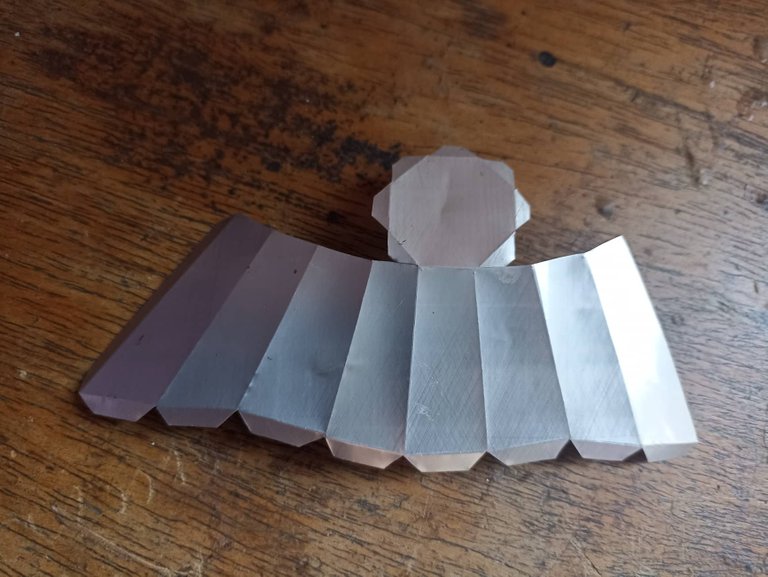
The first step is to make the lower part of the head, since it is the base of the entire helmet. We cut the template that we drew and on a can we cut out the shape and then we fold it where the drawn lines are. In the same way we cut a small headband that goes in the back and joins both sides, then we put the nose piece.
El primer paso es hacer la parte inferior de la cabeza, ya que es la base de todo el casco. Cortamos la plantilla que dibujamos y sobre una lata recortamos la forma y luego la doblamos por donde estan las líneas dibujadas. De la misma forma recortamos un pequeño cintillo que va en la parte trasera y que une ambos lcostados, después colocamos la pieza de la nariz.
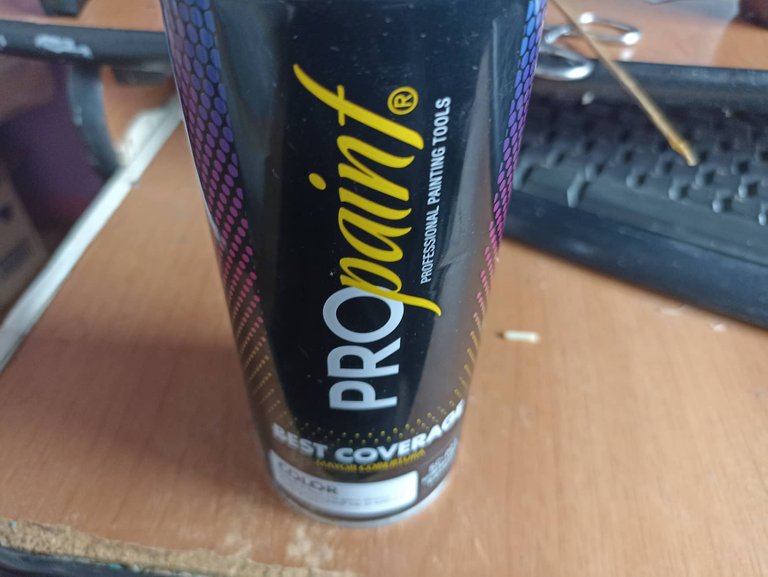
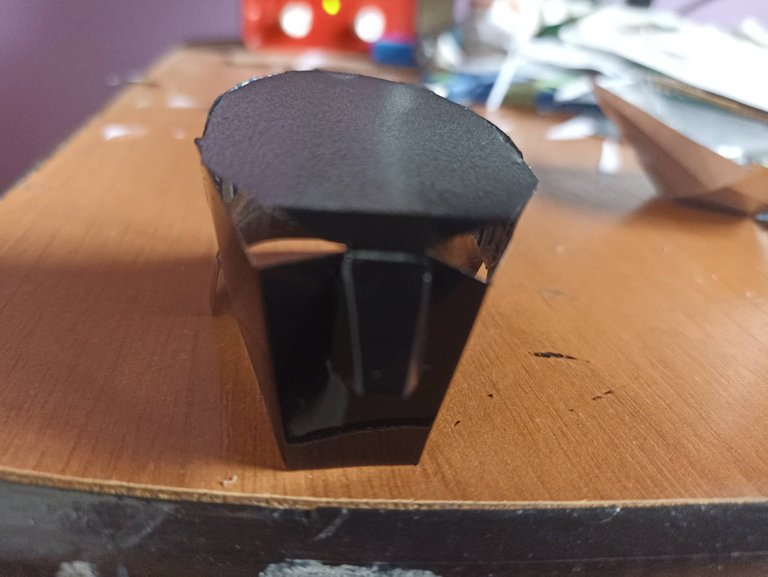
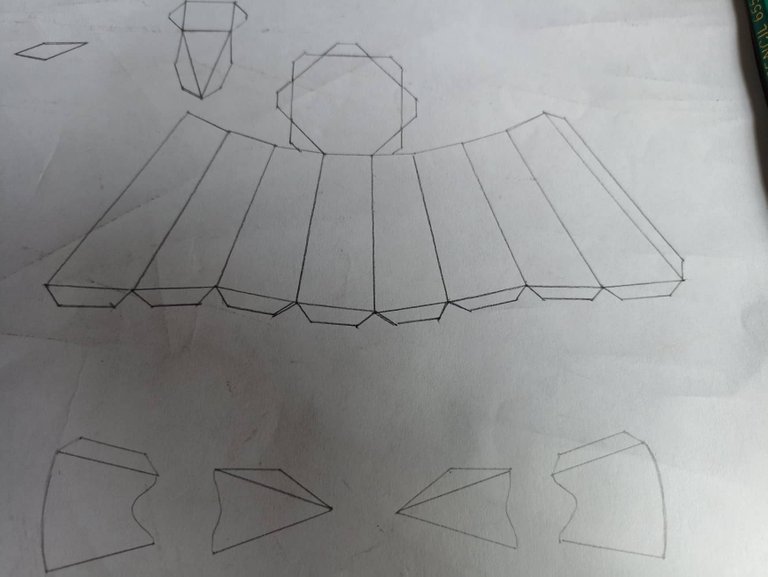
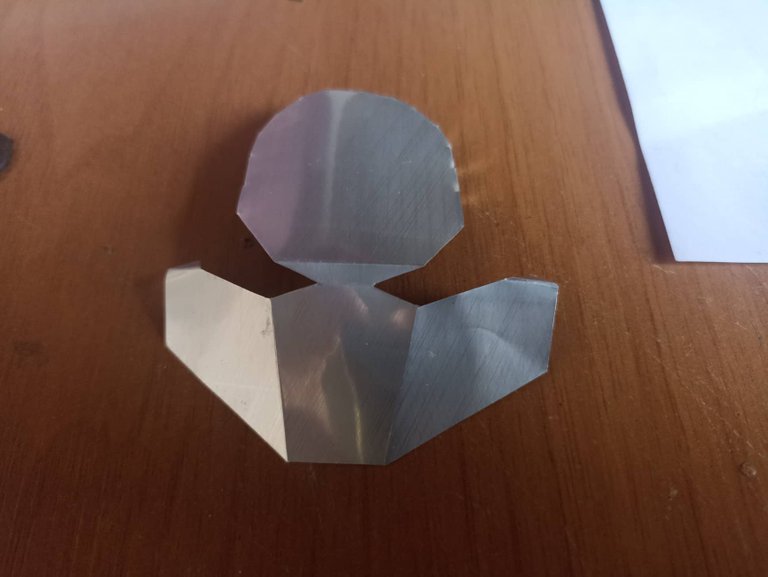
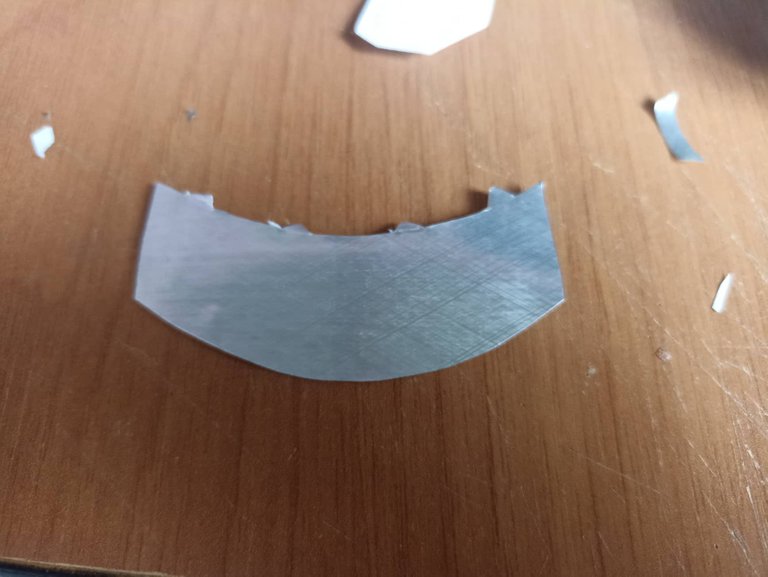
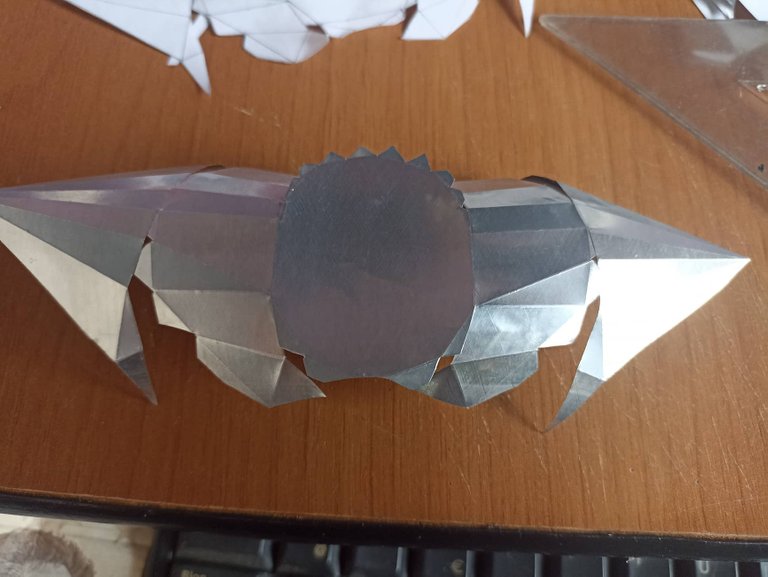
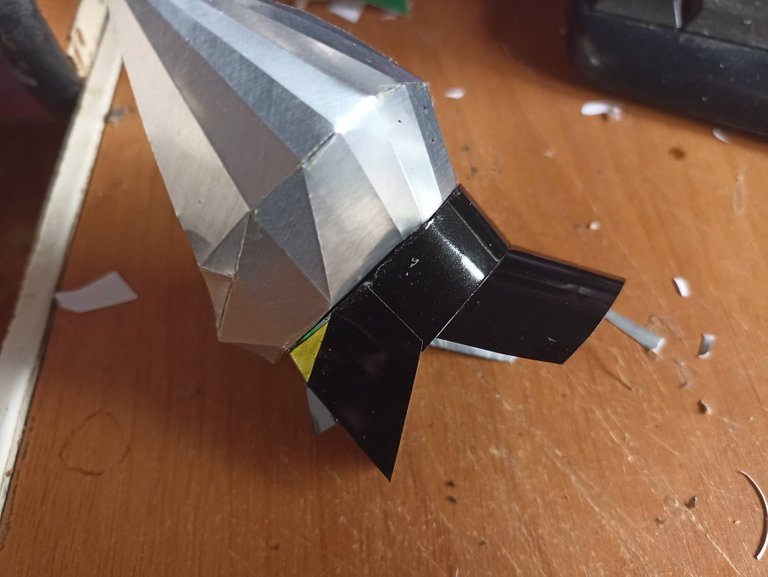
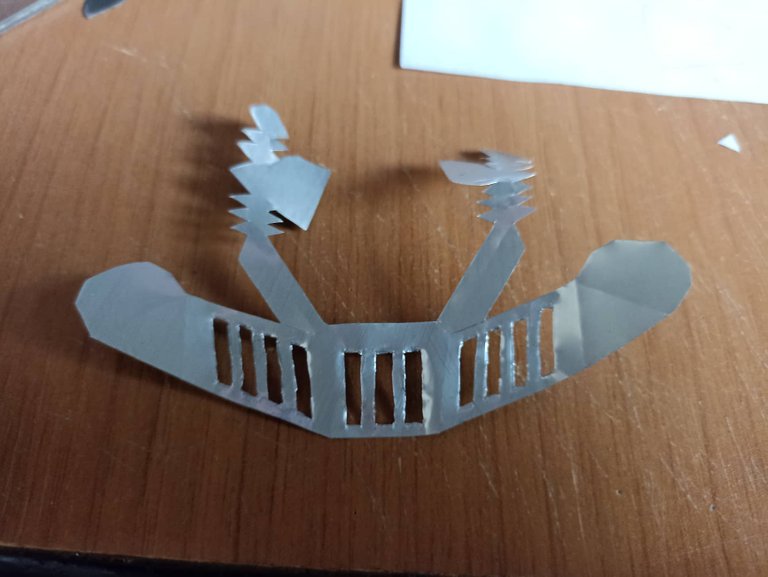
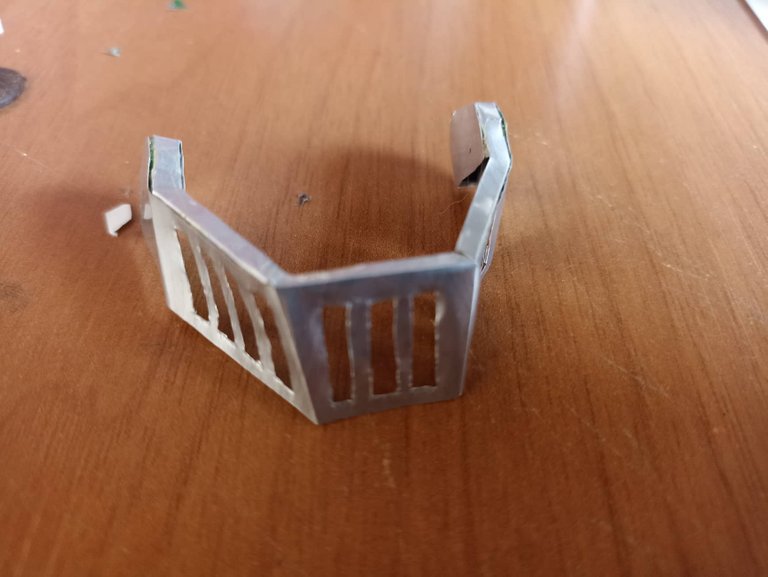
Next we also cut all the parts that protect the robot's neck, once we cut it from the can we must mold them to glue them around the head. We can see how the head is taking shape, as this entire area is black, we paint it that color using black spray paint, we paint the entire piece and let it dry, while this happens we continue making the remaining pieces.
Seguidamente cortamos también todas las partes que protegen el cuello del robot, una vez la cortamos de la lata ebemos moldearlas para pegarlas alrededor de la cabeza. Podemos ver como la cabeza va tomando forma, como toda esta zona es de color negro, la pintamos de ese color utilizando pintura de color negro en aerosol, pintamos toda la pieza y dejamos secar, mientras esto pasa seguimos haciendo las piezas restantes.
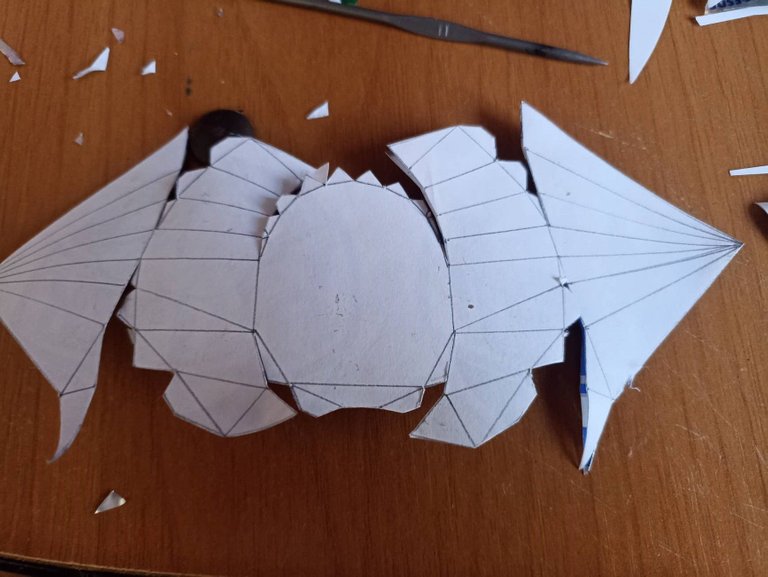
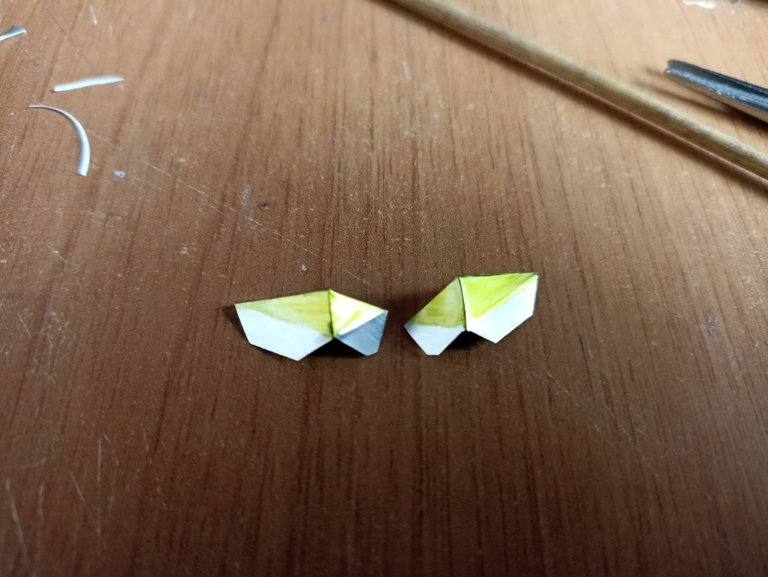
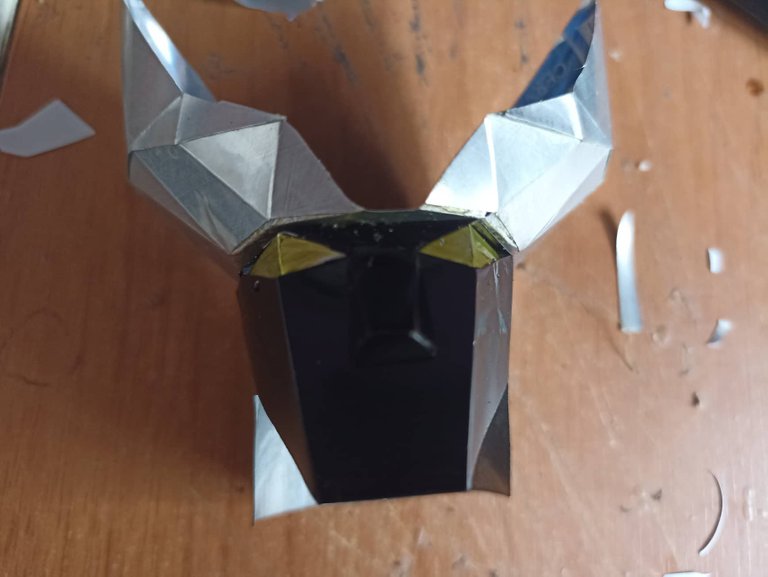
Now we will make the crown, which is one of the pieces that has a higher degree of difficulty since it has many parts where it must be folded, and it must be done with precision so that it does not look bad. So we can use a pen that no longer has ink, and with a ruler we make the stroke for each of the lines, strong and fast, so we can fold the aluminum can in a better way. Then we begin to join all the parts with glue, with a clamp we can squeeze and hold so that the glue is better. So we also make the eyes, paint them yellow with a marker and insert them inside the head, and also put glue on the top of the head and under the crown, let dry a few minutes and glue both parts.
Ahora haremos la corona que es una de las piezas que tienen mayor grado de dificultad ya que posee muchas partes donde se debe doblar, y hay que hacerlo con precisión para que no quede mal. Así que podemos utilizar un bolígrafo que ya no tenga tinta, y con una regla hacemos el trazo por cada una de las líneas, fuerte y rápido, así podremos doblar la lata de aluminio de una mejor forma. Luego comenzamos a unir todas las partes con pegamento, con una pinza podemos apretar y sujetar para que quede mejor el pegamento. Así también hacemos los ojos, los pintamos de amarillo con un marcador y los introducimos en el interior de la cabeza, y tambien ponemos pegamento en la parte superior de la cabeza y debajo de la corona, dejamos secar unos minutos y pegamos ambas partes.
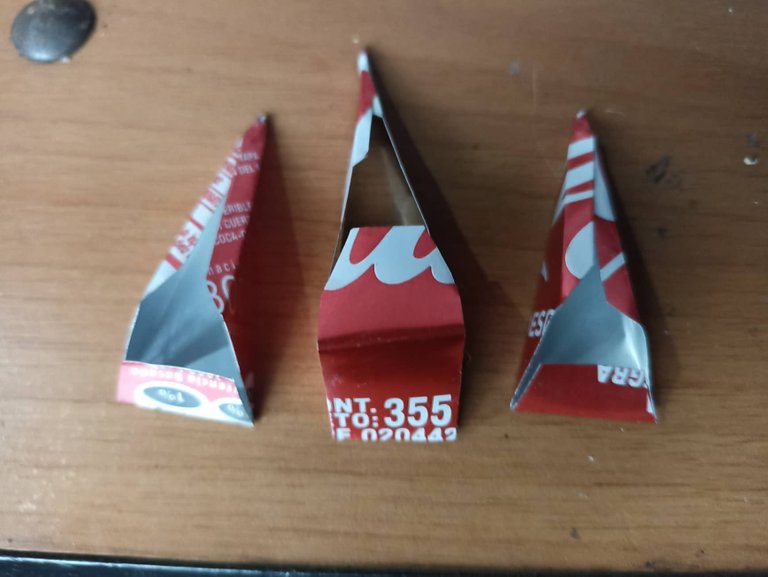
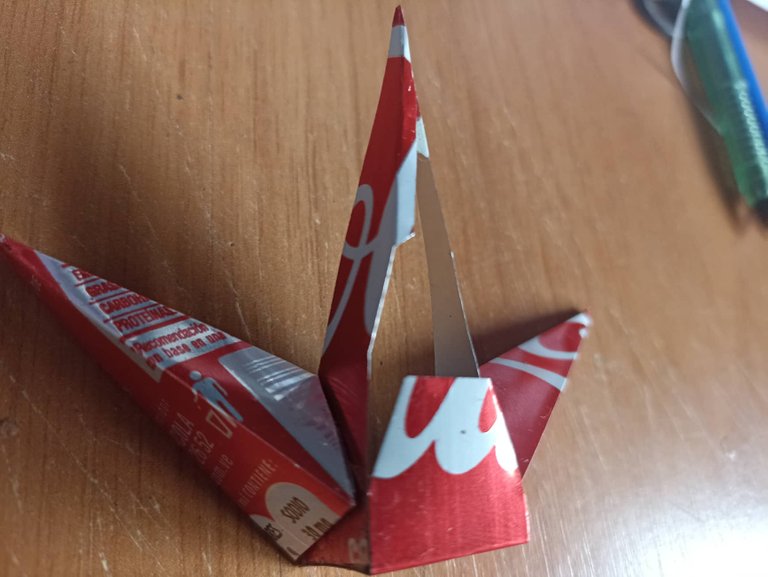
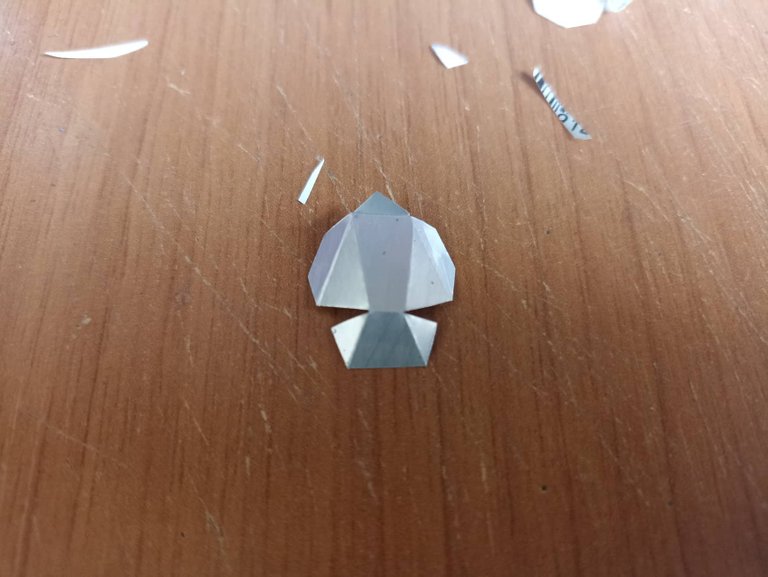
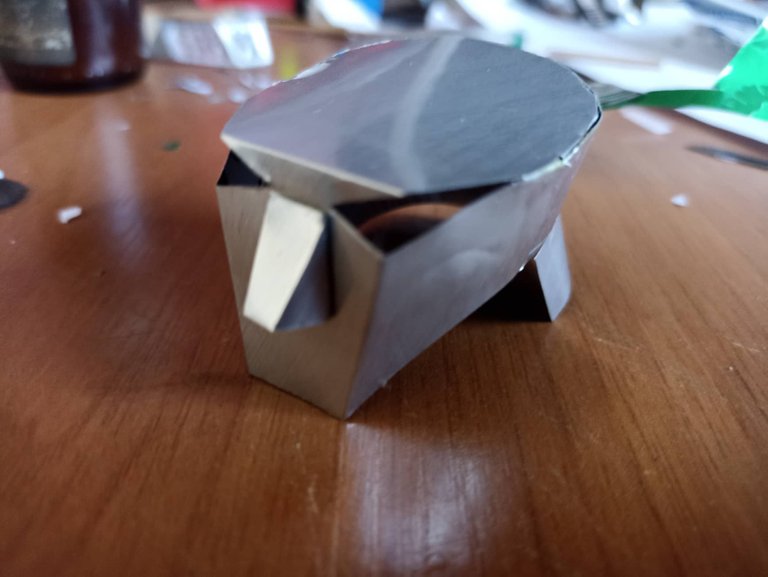
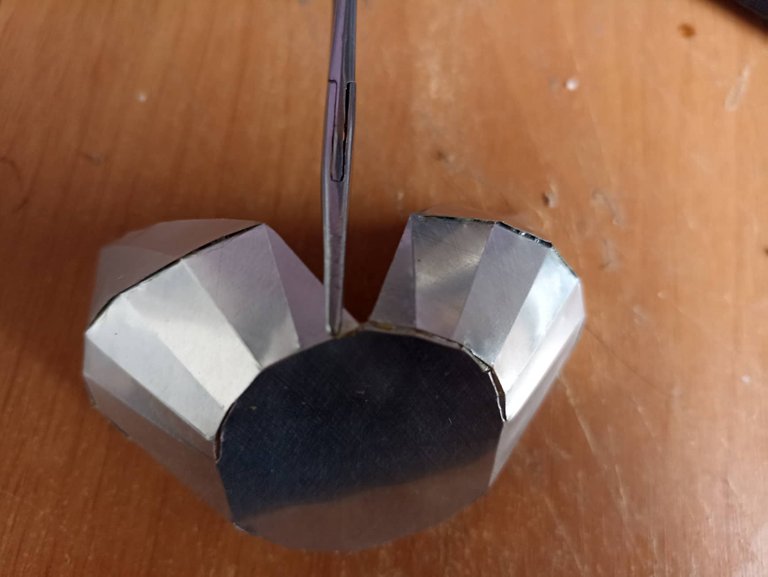
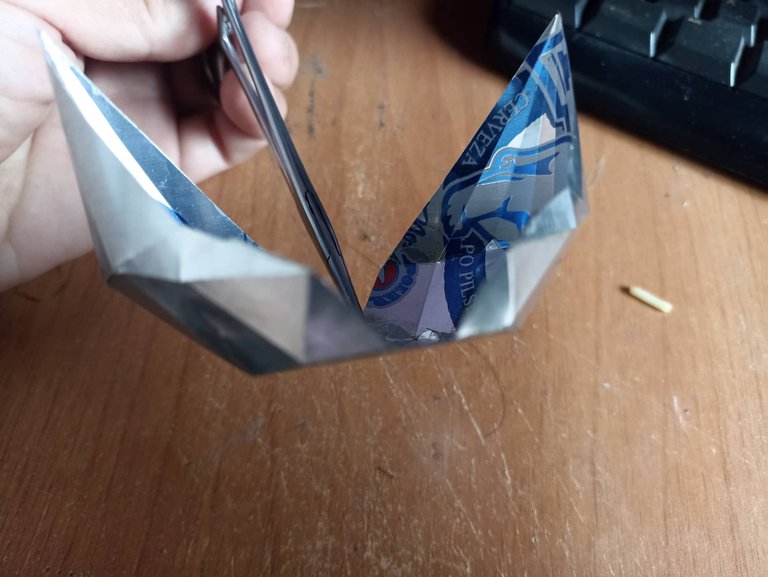
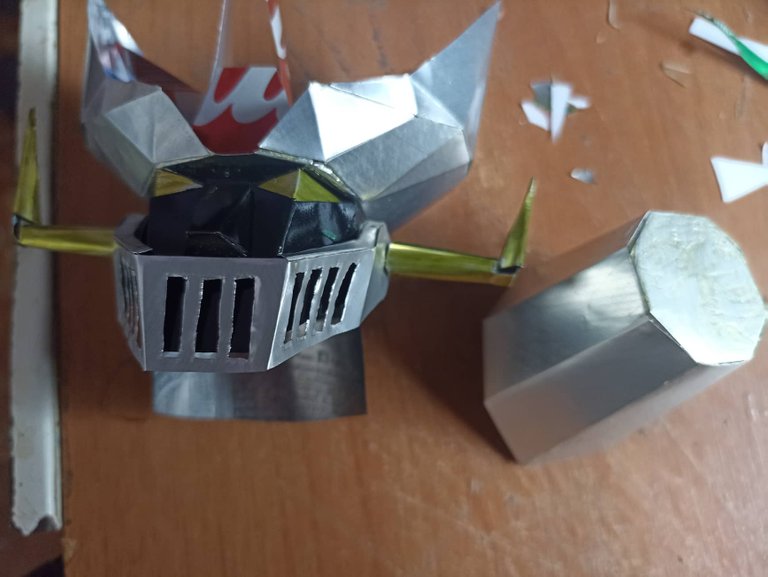
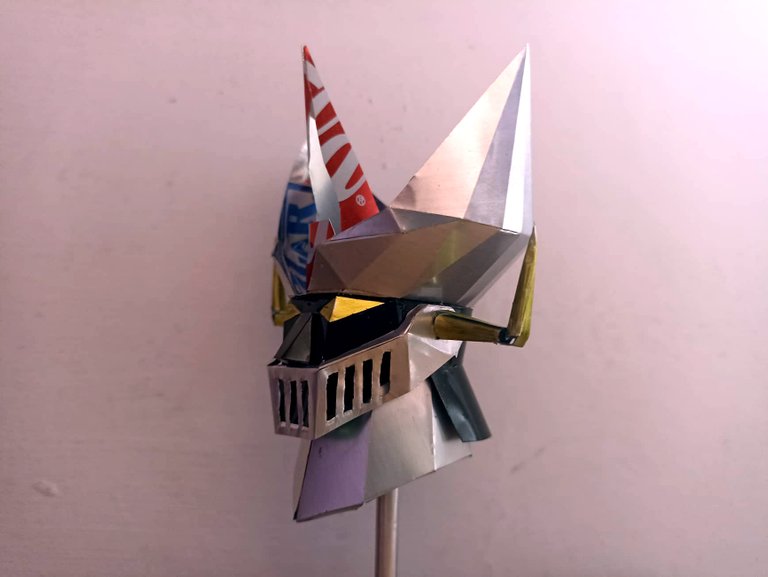
The next step is to make the cabin where the pilot of the Great Mazinger goes, in this case it is pointed so we make 3 separate triangles and then join them together using glue, once done we put glue on the upper part of the helmet and we fix the cabin with glue. Then we make the face shield that makes this futuristic design look like the classic model, we cut it from the template, fold the can very carefully and then glue from the ends of the helmet.
El siguiente paso es hacer la cabina donde va el piloto del Gran Mazinger, en este caso es de forma puntiaguda por lo que hacemos 3 triangulos por separados y luego los unimos entre si utilizando pegamento, una vez hecho ponemos pegamento en la aprte superior del casco y fijamos la cabina con pegamento. Luego hacemos el protector del rostro que hace ver este diseño futurista como el modelo clásico, lo cortamos de la plantilla, doblamos la lata con mucho cuidado y despues pegamos desde los extremos del casco.
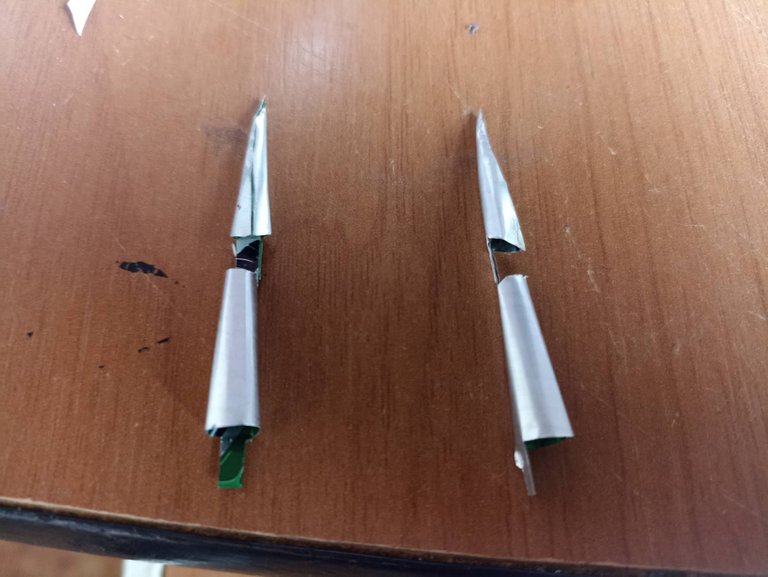
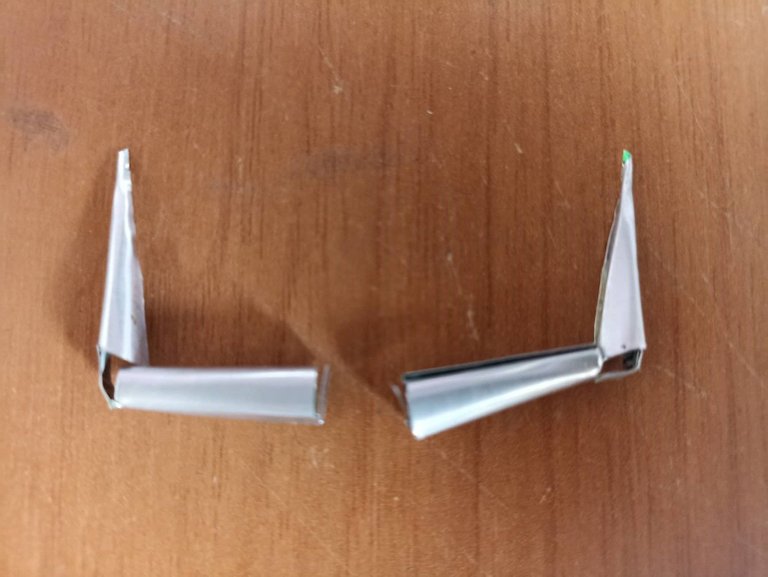
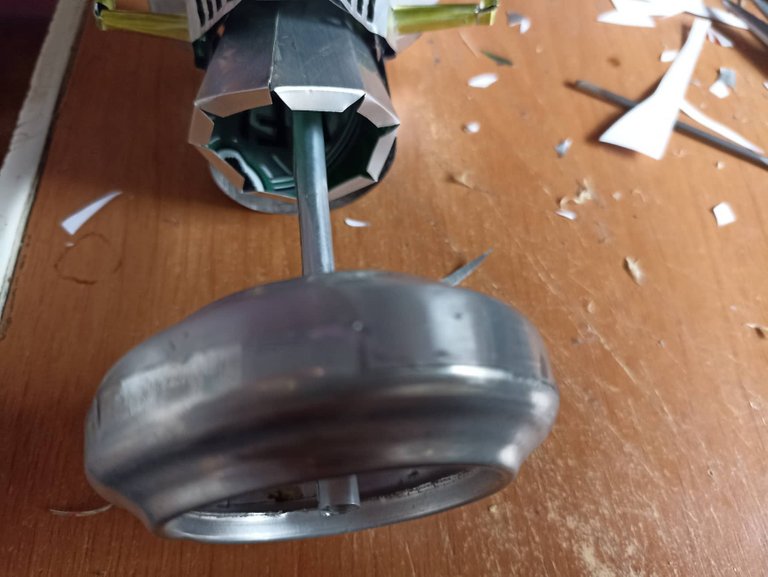
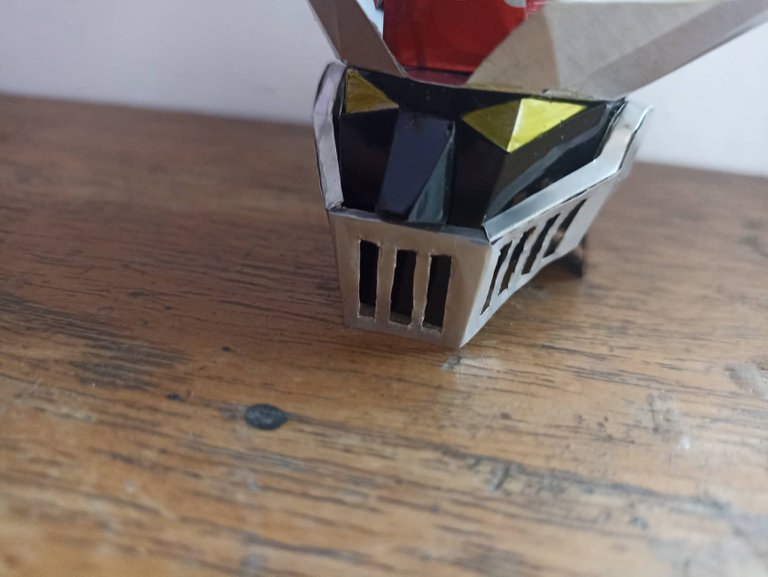
To finish we make the horns of the Great Mazinger which, unlike the classic design, are bent like those of a bull. Also using the neck template, we cut out the can and then using the previous process with the pen we fold little by little until it is easy to put together with glue. We put glue on the inside of the helmet and on the neck and join them, lastly we add a base for the helmet, so we have finished.
Para finalizar hacemos los cuernos del Gran Mazinger que a diferencia del diseño clásico estos son doblados como los de un toro. También utilizando la plantilla del cuello, recortamos la lata y luego usando el proceso anterior con el bolígrafo vamos doblando poco a poco hasta que nos quede facil de armar con pegamento. Ponemos pegamento en la parte interna del casco y en el cuello y los unimos, de último agregamos una base para el casco, así hemos finalizado.
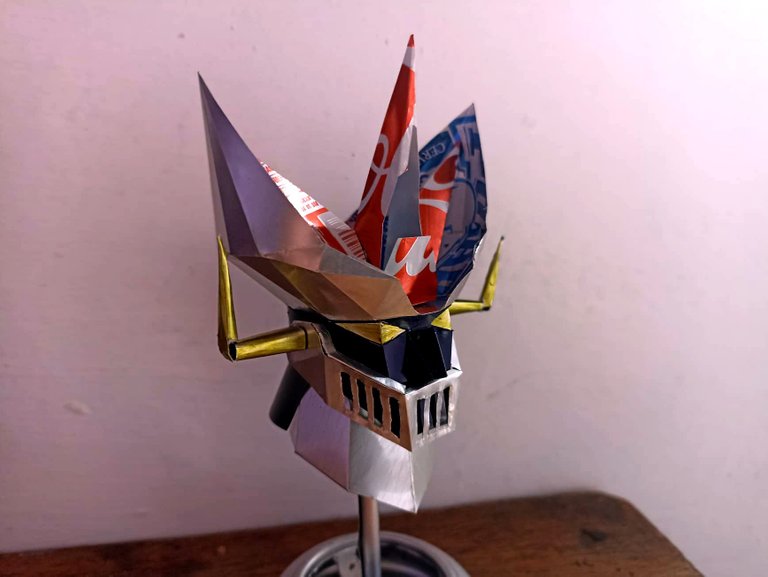

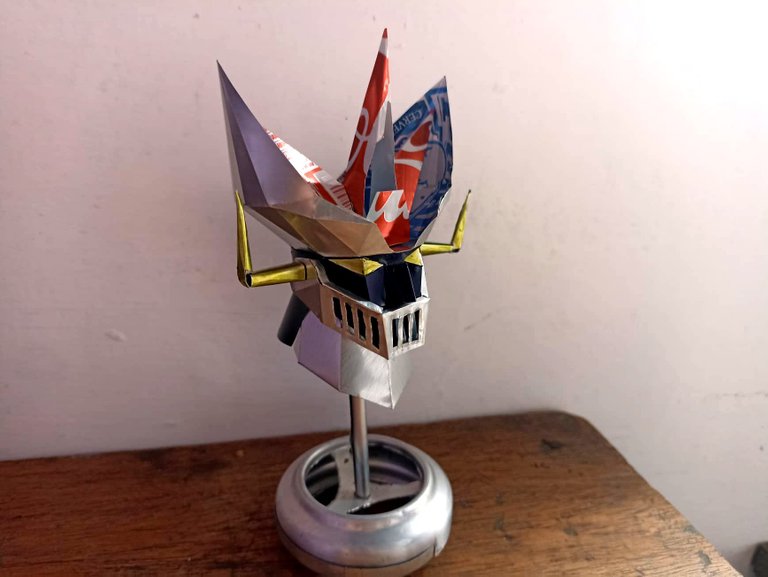
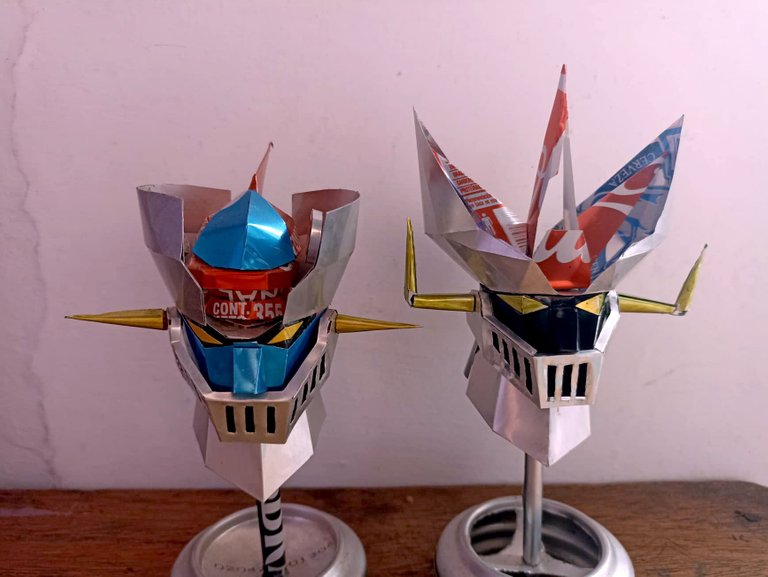
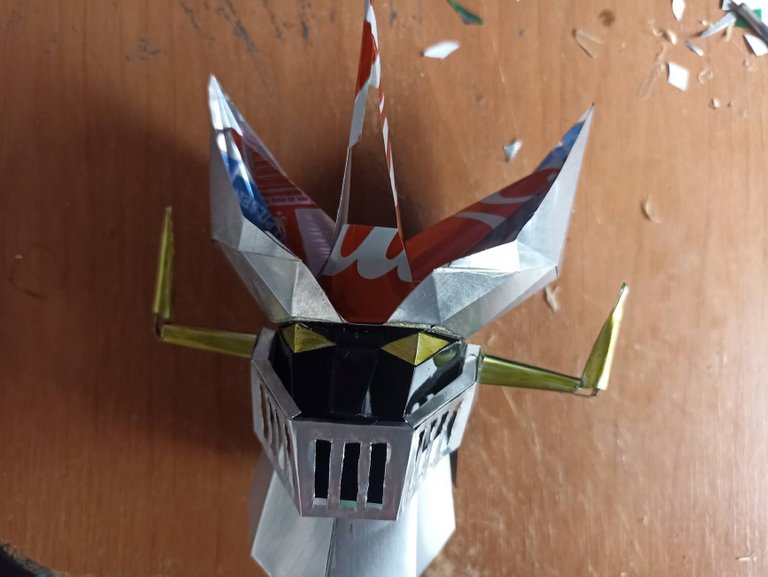
This is how this model of the Great Mazinger helmet has remained, a more advanced and powerful model than the original Mazinger of the series. In the last image you can see both helmets and their differences, both in colors and the design of the most important parts, there are other versions of the Mazinger such as the Mazin Kaiser, and the UFO Grendizer, the latter comes from outer space and also belongs to the Mazinger Z universe. This series is a great classic of the Mecha genre and I know it has many fans worldwide, where I count myself as one of them. I hope you liked how it turned out, don't forget to mention if you liked it, I'll say goodbye see you soon. Greetings to all.
Así ha quedado este modelo del casco del Gran Mazinger, modelo más avanzado y poderoso que el Mazinger original de la serie. En la última imagen se pueden observar ambos cascos y sus diferencias, tanto en colores como el diseño de las partes más importantes, hay otras versiones del Mazinger como el Mazin Kaiser, y el UFO Grendizer, este último proviende del espacio exterior y tambien pertenece al universo de Mazinger Z. Esta serie es una gran clasico del género Mecha y sé que tiene muchos fanáticos a nivel mundial, donde yo me cuento como uno de ellos. Espero que les haya gustado como quedó, no olviden mencionar si les ha gustado, me despido hasta pronto. Saludos para todos.
The rewards earned on this comment will go directly to the person sharing the post on Twitter as long as they are registered with @poshtoken. Sign up at https://hiveposh.com.
La palabra fabulosa se queda corta. Increíble amigo, es sin duda un arte increíble el que haces 🧡
si tuviera más material me lanzo el robot completo jajaja.. Gracias por pasarte por aqui querida amiga mía!
Nah te superaste. Hiciste ambos modelos y quedaron muy bien, espero que no te hayas cortado mientras manejabas las latas.
GRacias hermano, si me animé a hacerlos para tener ambos modelos. Con mucho cuidado evité cualquier accidente., Me alegra que te haya gustado.!
Great work, compliments.
@tipu curate
Upvoted 👌 (Mana: 38/48) Liquid rewards.
Thank you very much for your support friends!
Hola, te felicito quedaron muy bien! yo soy una fanática más de Mazinger Z. Saludos...
Que buena noticia saber que a alguien más le gusta este clásico.. ME alegra que te hayan gustado como quedó., Saludos!
Espectacular...😁😆👍🏼😊
Me gustó mucho tu proyecto
🌹♥️🧁☕🏵️🎊💜🌷🎉🥀🌼💖🌱🌸💐🌎🍄♻️🌺🌻💮🌈🍕
Muy agradecido y contento de que te haya gustado. Saludos!
Excelente trabajo de verdad, aparte de que era mi comiquita preferida jajaja, saludos 👋
jejeje es inolvidable este clásico!
una de las mejores de la época jajaja
Ya no se que palabras decirte para destacar tu trabajo. He aquí una fans de Mazinger Z, no me lo perdía por nada. Felicidades amigo. No había comentado porque tengo graves problemas de luz he internet, no me ha permitido trabajar esta semana. Espero poder hacer algo. Saluditossss y bendiciones @fixie 😘😘😘
Te comprendo querida amiga, así me sucede a veces es dificil por una semana publicar algo. Espero volver a ver pronto tus publiaciones. Saludos y abrazos!!
Eeeyy yo no me perdía esa comic se me cayó cédula jaja. Bello y ingenioso trabajo es una creación expectacular mi querido amigo❤👏👏Bendiciones
Es un super clásico imperdible jejeje. Saludos querida amiga!