
Que tal mis queridos amigos de Hive feliz jueves, espero estén llevando una buena semana.
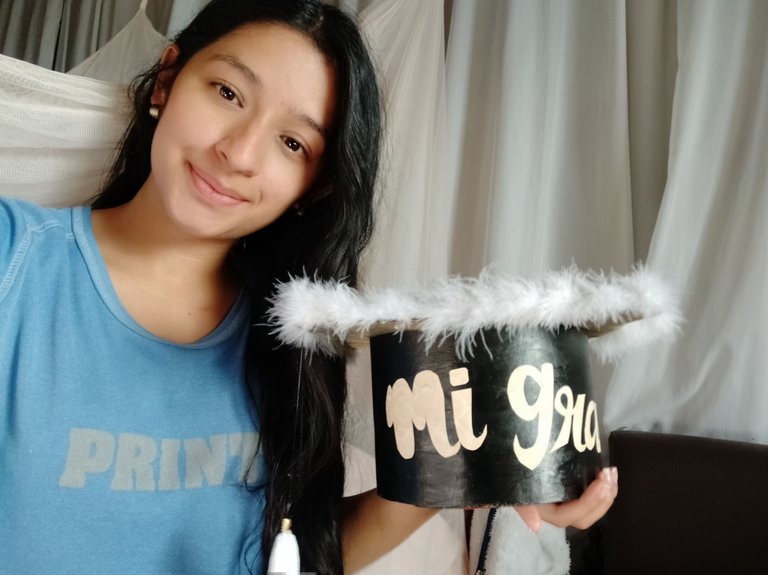
Estamos en el mes de julio, es decir mes de las graduaciones, lo cual me hace devolver en el tiempo a mi grado de bachiller y de la universidad y es que quien no pasó por ese momento tan emocionante y lleno de felicidad.
Cada que transcurren los años, hay nuevas tendencias en los grados, muchos de ellos los vemos en las redes sociales, incluyendo hacer un birrete personalizado, así como el que les comparto el día de hoy junto al paso a paso de cómo hacerlo desde cero.
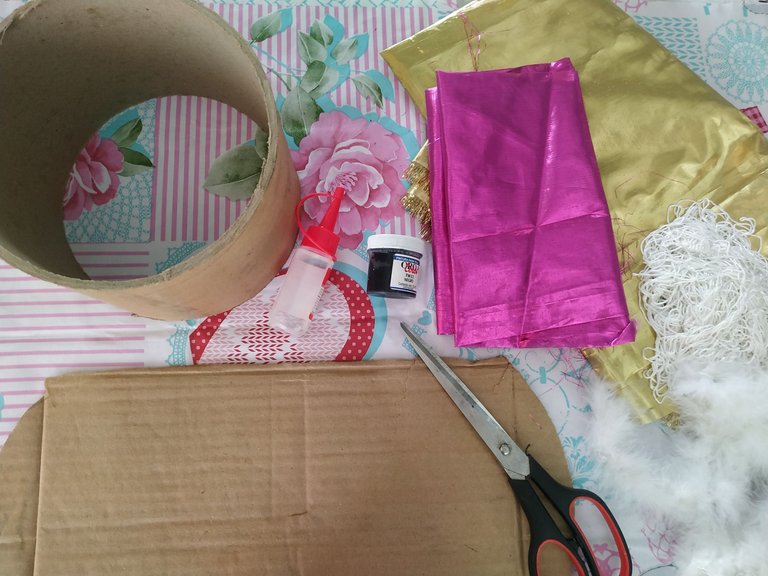
Para ello aproveché un tubo de cartón que encontré hace un tiempo, es en donde vienen los rollos de tela, pero estaba ya cortado. Los demás materiales que usé, los conseguí todos en mi casa, es decir utilice materiales que me había quedado de otros proyectos y así recicle y no gaste nada de dinero comprando nuevos.
📚 MATERIALES 🛠
- Cartón.
- Aro de cartón.
- Pintura al frio negra.
- Tela color dorada, rígida brillante.
- Tijeras.
- Silicón frio.
- Decoraciones varias.
📚 PROCEDIMIENTO 🛠
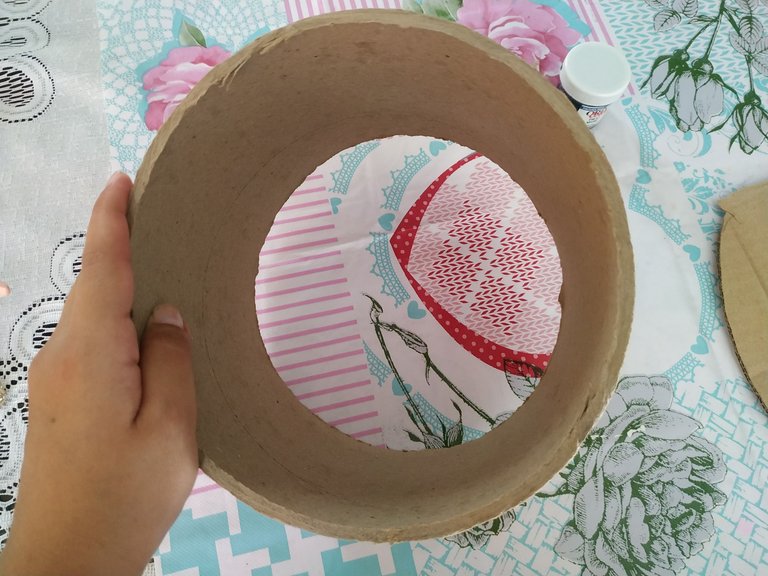
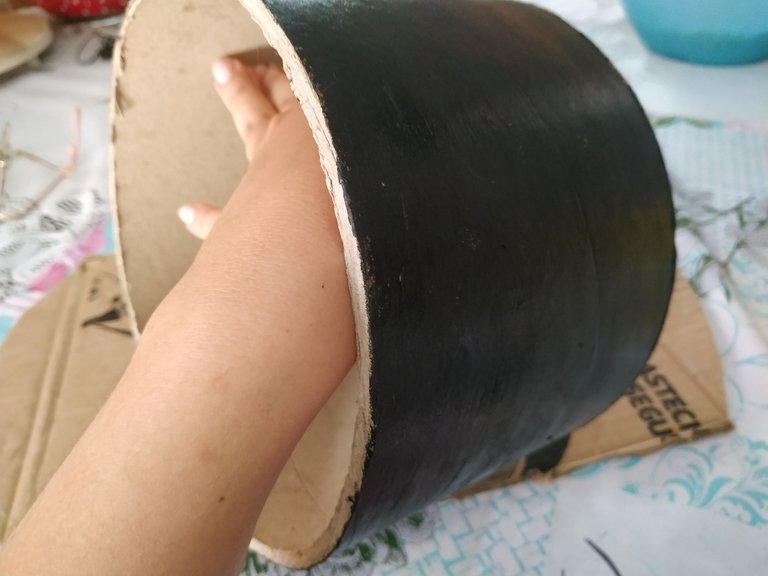
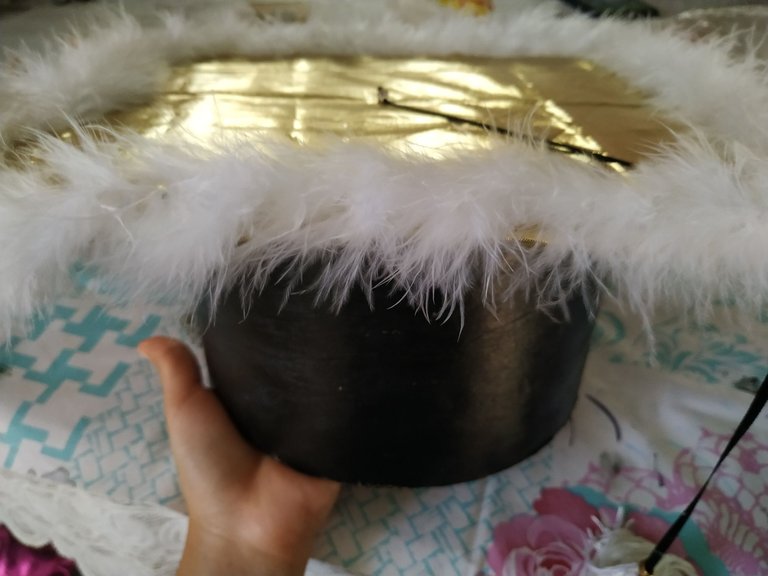
Para comenzar vamos a pintar el aro de color negro, siento que queda muy parecido al birrete tradicional y además es un color muy elegante. Cuando terminemos con la primera capa de pintura dejamos secar y procedemos a hacer otra capa para que quede mucho mejor. Dejamos secar nuevamente.

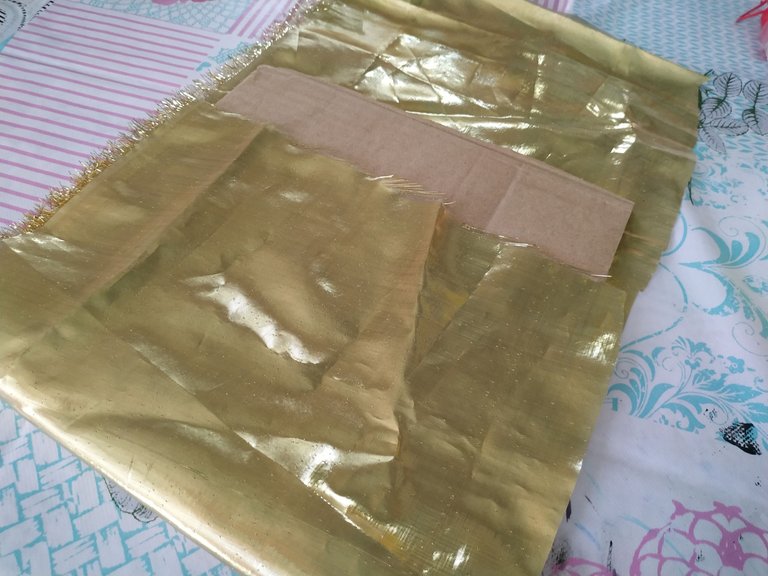
Vamos a recortar una pieza cuadrada de cartón aproximadamente de 20cm por lado, luego vamos a forrarla con la tela dorada. Antes, debemos aprovechar y planchamos la tela para que quede con un mejor acabado.
Pegamos y cortamos los excedentes.
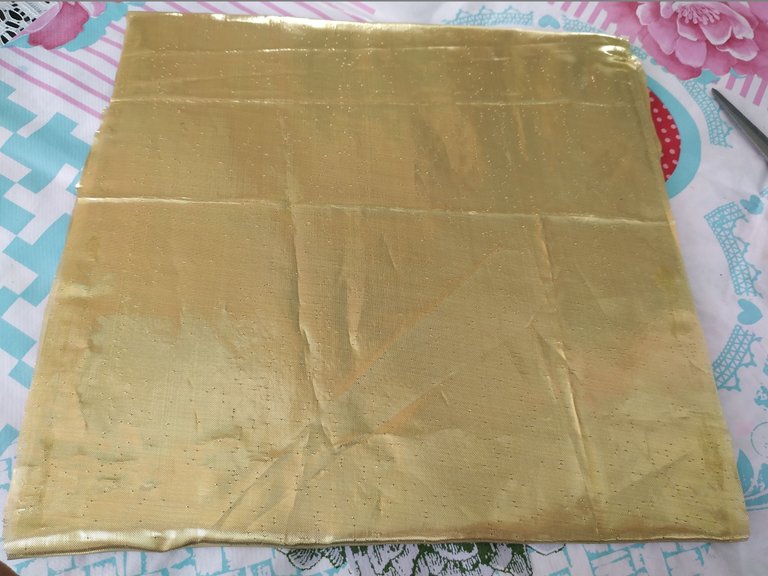
Continuamos colocando un orillo para poder cubrir las imperfecciones, igualmente lo pegamos con silicón al frio.
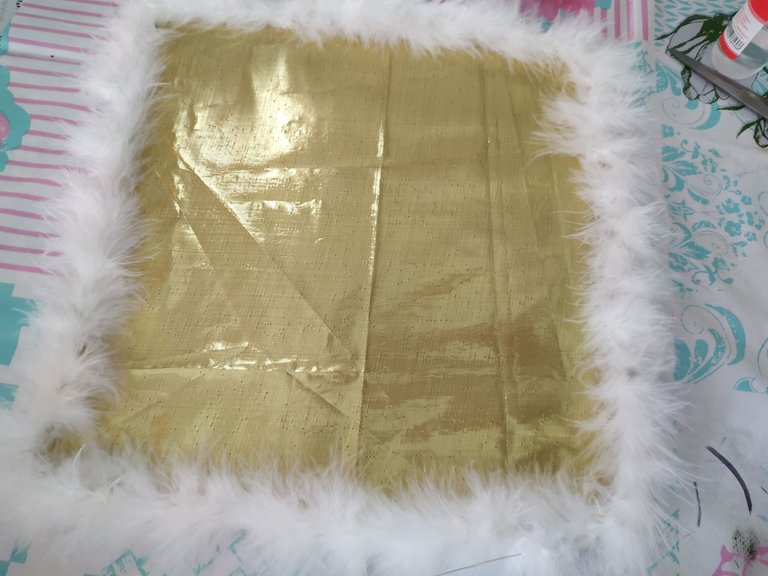
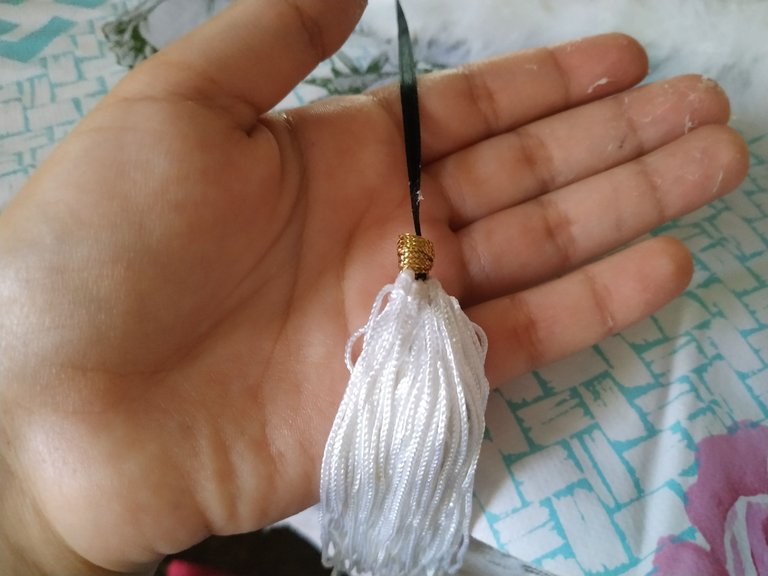
Cuando esté totalmente seco el cilindro pegamos la parte superior y continuamos colocamos una cinta en la cual al extremo ira sujeta una borla de color blanco.
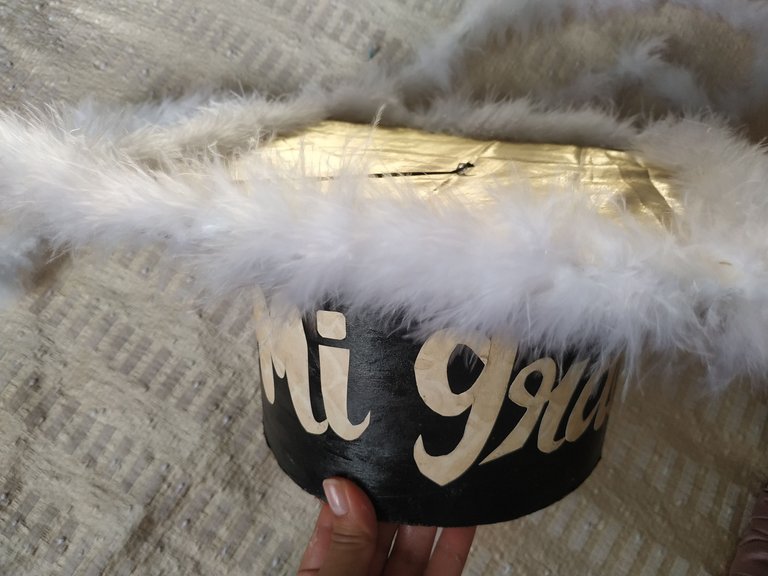
Colocamos unas letras elaboradas con cartulina delgada.
Y con esto tendremos listo este bello birrete de grado.

Hello my dear friends of Hive, happy Thursday, I hope you are having a good week.
We are in the month of July, that is graduation month, which makes me go back in time to my high school and college graduation and who did not go through that exciting and full of happiness moment.
Each passing year, there are new trends in the degrees, many of them we see on social networks, including making a personalized cap, as well as the one I share with you today along with the step by step of how to do it from scratch.
For this I used a cardboard tube that I found some time ago, it is where the rolls of fabric come, but it was already cut. The other materials I used, I got them all at home, that is, I used materials that I had left over from other projects, so I recycled and didn't spend any money buying new ones.
📚 MATERIALS 🛠
- Cardboard.
- Cardboard ring.
- Black cold paint.
- Gold colored cloth, shiny rigid.
- Scissors.
- Cold silicone.
- Various decorations.
📚 PROCEDURE 🛠
To begin we are going to paint the hoop black, I feel that it looks very similar to the traditional biretta and it is also a very elegant color. When we finish with the first coat of paint let it dry and proceed to do another coat to make it look much better. Let it dry again.
We are going to cut a square piece of cardboard approximately 20cm per side, then we are going to cover it with the golden fabric. Before, we must take advantage and iron the fabric to get a better finish.
We glue and cut the excess.
We continue placing a selvage to cover the imperfections, we also glue it with cold silicone.
When the cylinder is completely dry, we glue the upper part and continue by placing a ribbon to which a white tassel will be attached at the end.
We place some letters made with thin cardboard.
And with this we will have ready this beautiful biretta of degree.
Espero les haya gustado la manualidad que les compartí el día de hoy, me gustaría mucho saber su opinión del resultado en los comentarios. Que tengan un feliz día y noche.
I hope you liked the craft I shared with you today, I would love to know your opinion of the result in the comments. Have a happy day and night.

Editado en Canva || Edited in canva
Fotos tomadas de mi teléfono Xiaomi Redmi Note 6 Pro || Photos taken from my Xiaomi Redmi Note 6 Pro phone.
Fuente del editor de imágenes y separadores || Image editor source and separators
Saludos @gabimramirez, estos gorros se están llevando mucho, he visto varios en las promociones.
Feliz noche!
Hola, tienes razón estan muy en tendencia este año.
Saludos y gracias por tu comentario.
!PIZZA
$PIZZA slices delivered:
@jacksonizer(1/5) tipped @gabimramirez