
English
In my last post I told you that I was making a series of illustrations for a project I am doing. The two previous drawings had a dark and mysterious theme, where I shared with you a couple of strange and unusual scenarios.
You can read more of this publication by following this link:
https://peakd.com/hive-158694/@gaboamc2393/digital-drawing-different-worlds-engspa
This time I would like to share with you a couple of drawings of peculiar objects that I will also use for the project in question.
I will show you the step by step of these drawings while I tell you a little bit about the creative process.
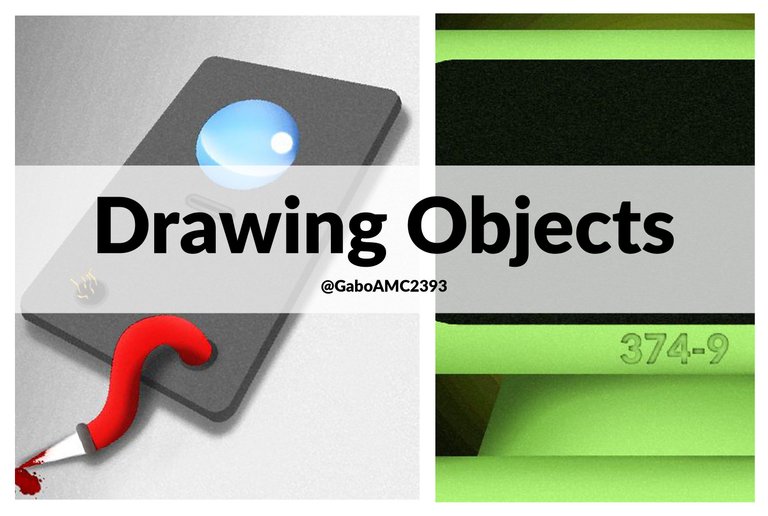
Object No. 1
This drawing, as you can see, is an electronic device that has some details. I can't tell too much about the details but you can appreciate at a glance everything it has.
Español
En mi última publicación les comenté que estaba haciendo una serie de ilustraciones para un proyecto que estoy haciendo. Los dos dibujos anteriores tenían una temática oscura y misteriosa, donde les compartía un par de escenarios extraños y poco comunes.
Pueden leer más de esa publicación siguiendo este enlace:
https://peakd.com/hive-158694/@gaboamc2393/digital-drawing-different-worlds-engspa
En esta ocasión me gustaría compartirles un par de dibujos de objetos peculiares que también usaré para el proyecto en cuestión.
Les mostraré el paso a paso de estos dibujos mientras les cuento un poco sobre el proceso creativo.
Objeto Nro 1
Este dibujo, como pueden ver, es un dispositivo electrónico que tiene algunos detalles. No puedo contar demasiado sobre los detalles pero pueden apreciar a simple vista todo lo que tiene.
Step by step
The first thing I made the background, a gray background with a texture similar to the metal of a table, since it is an object that is on a smooth and uniform surface.
Paso a paso
Lo primero que hice el fondo, un fondo gris con una textura similar al metal de una mesa, pues es un objeto que está sobre una superficie lisa y uniforme.

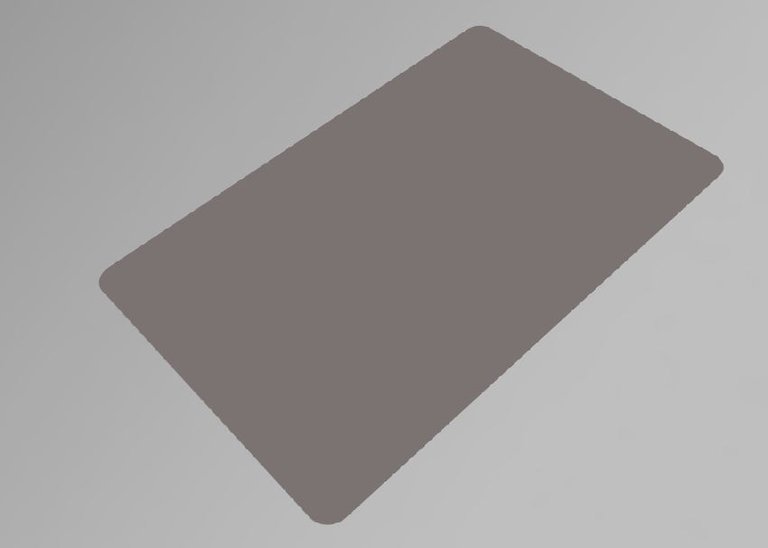
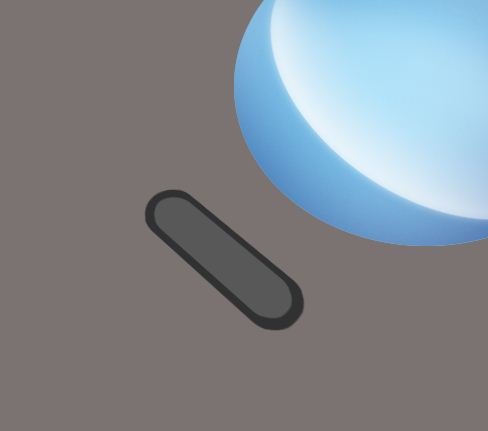
After defining my working area and the background of the drawing, I started to create the first shapes. In this case, the basic shape of the device. It is a rectangle, but because of the way it is lying on the table, it has to be done with a certain inclination, as shown in the image.
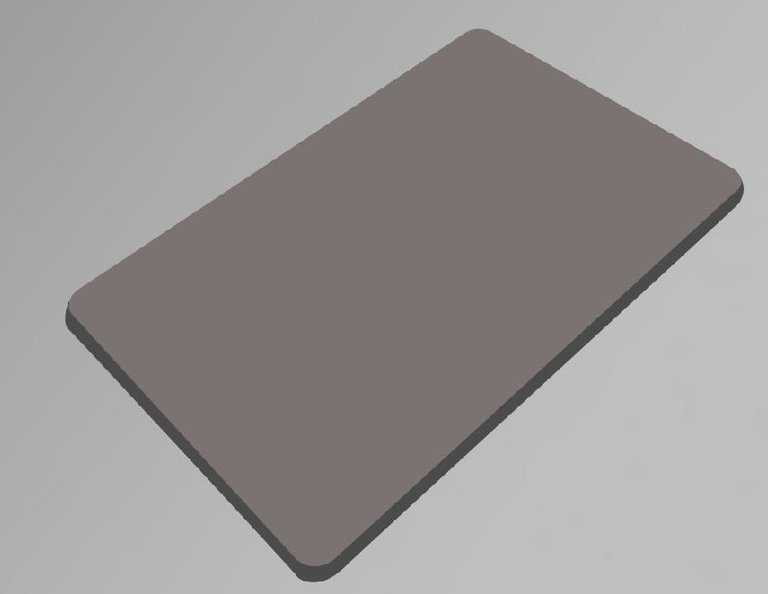
The next thing was to make the shadow of the device, to give it that three-dimensional effect. I did it with a slightly darker tone, simulating the shadow.
Después de definir mi área de trabajo y el fondo del dibujo, comencé a crear las primeras formas. En este caso, la forma básica del dispositivo. Es un rectángulo, pero por la forma en la que está acostado en la mesa hay que hacerlo con cierta inclinación, tal como se aprecia en la imagen.
Lo siguiente fue hacer la sombra del dispositivo, para darle ese efecto tridimensional. Lo hice con una tonalidad un poco más oscura, simulando la sombra.
 |  |
|---|
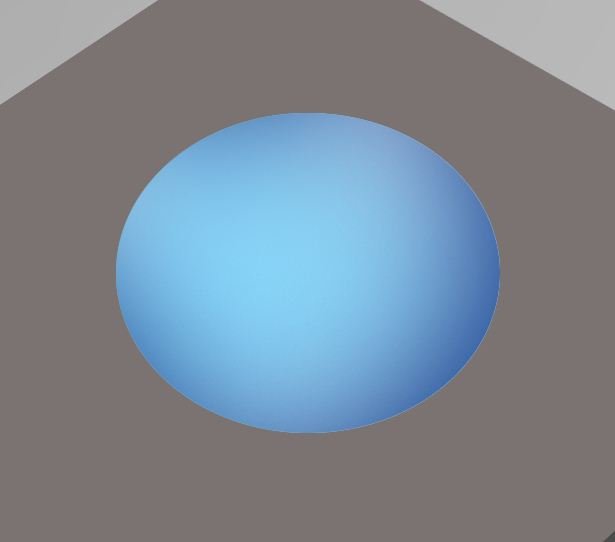
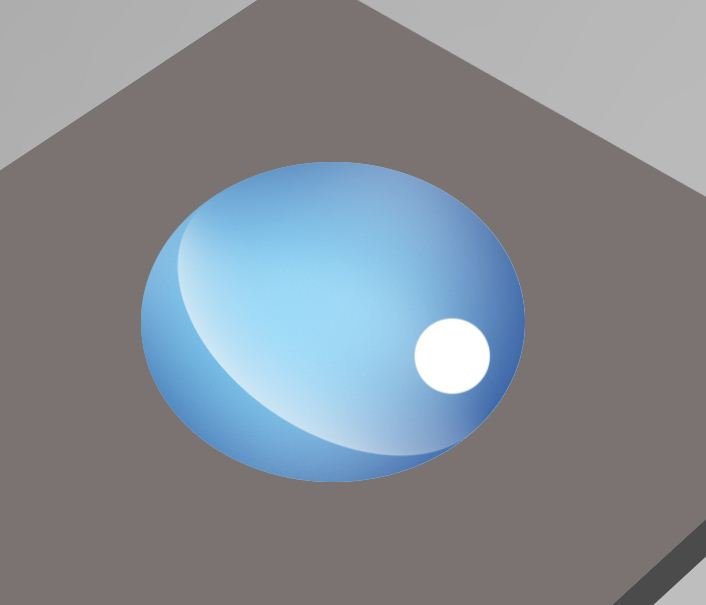
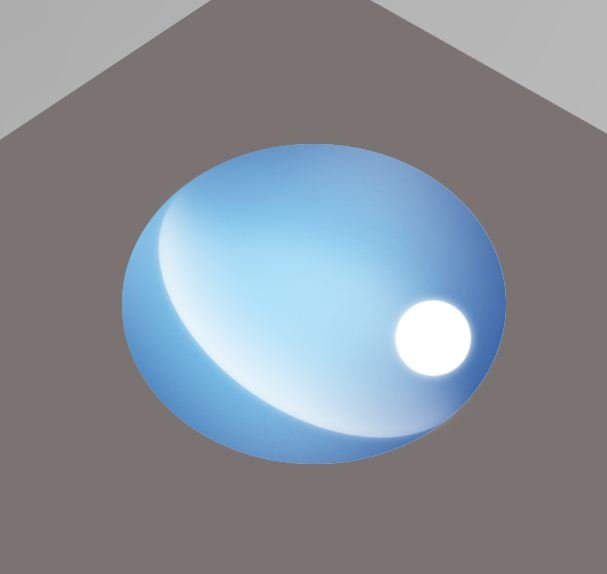
The device has a sort of glass sphere that I made to give it a technological touch.
Just making the circle is not enough, because the drawing would look flat, so I decided to make its shadow with a darker blue color and some illuminations, with white color, that is the curved line and the sphere that can be seen in the image.
El dispositivo tiene una suerte de esfera de cristal que le hice para darle un toque tecnológico.
Con solo hacerle el circulo no basta, porque se vería plano el dibujo así que decicí hacerle su sombra con un color azul más oscuro y unas iluminaciónes, con el color blanco, esa es la línea curva y la esfera que se observa en la imagen.
 |  |  |
|---|
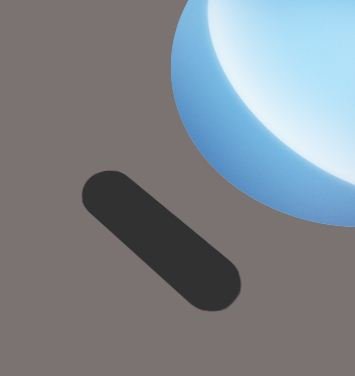
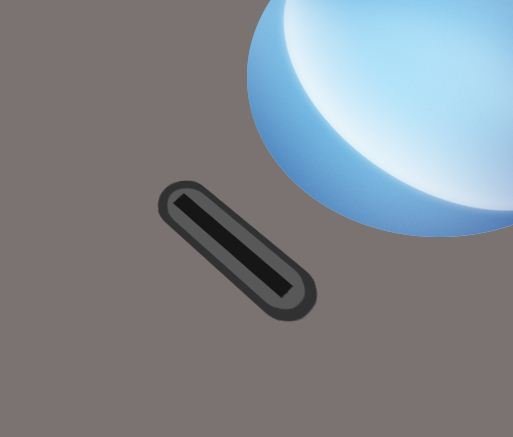
Another little detail I wanted to include was a connector similar to a USB type C port. I didn't know how to make it look similar to something three-dimensional. If someone in the audience knows how to do it better, I would appreciate if you could make me an example hahaha...
Although this part was a bit flat, I used different shades of gray to show the difference.
Otro detallito que quise incluirle fue el de un conector similar al de un puerto USB tipo C. No supe como hacerle bien el efecto para que quedase similar a algo tridimensional. Si alguien entre la audiencia sabe cómo queda mejor, agradecería que me hicieran un ejemplo jajaja...
A pesar de que quedó un poco plano esta parte, utilicé distintas tonalidades de gris para que se viera la diferencia.
 |  |  |
|---|
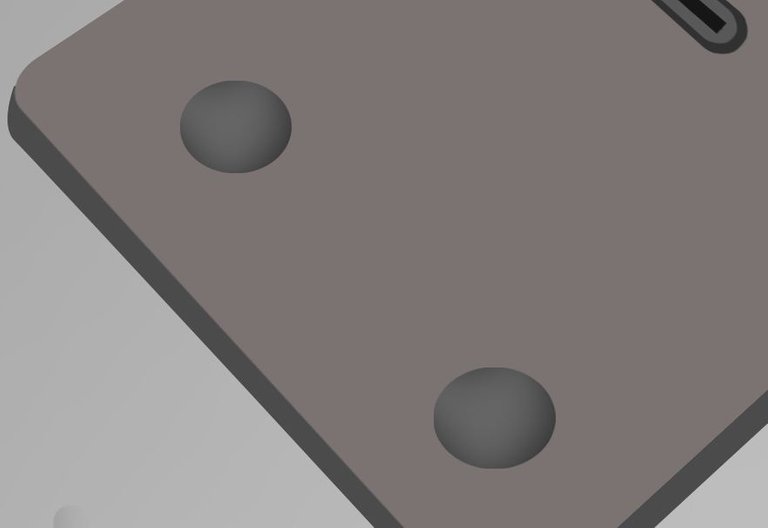
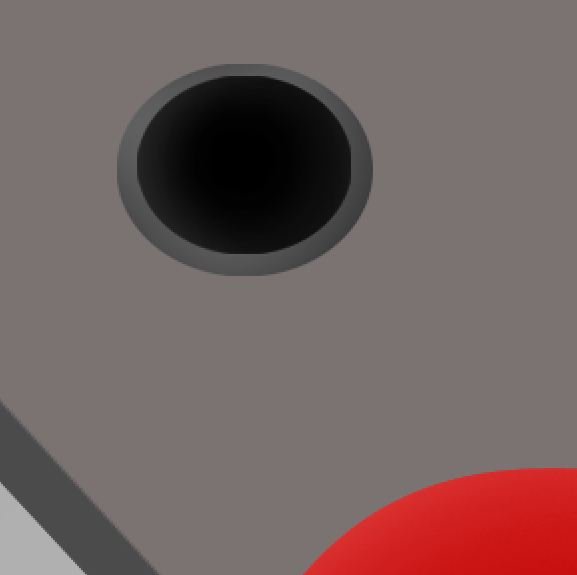
At the bottom I made something similar to circles. They are the edges of a hole from where something will be coming out, in this case some wires.
Notice that I made the circles their shadow, so that they would not be flat when I placed the wires already mentioned on top of them.
En la parte inferior le hice algo similar a unos circulos. Son los bordes de un orificio de donde estará saliendo algo, en este caso unos cables.
Fíjense que a los círculos les hice su sombra, para que no quedaran planos cuando les colocara encima los cables ya mencionados.
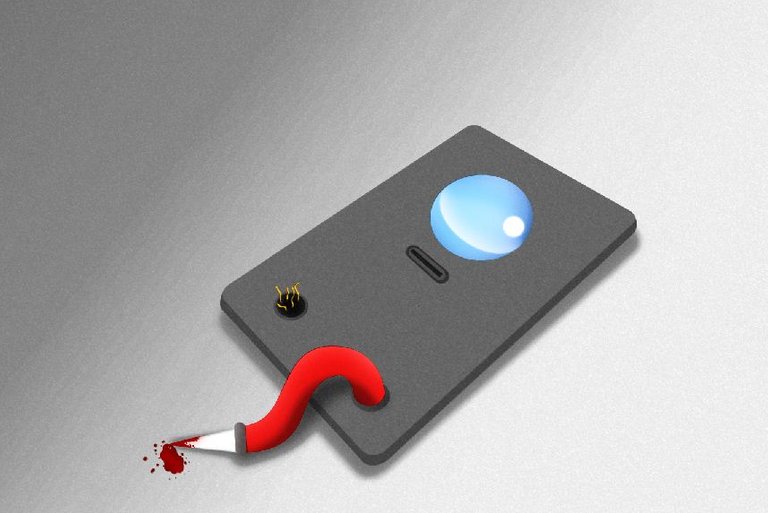
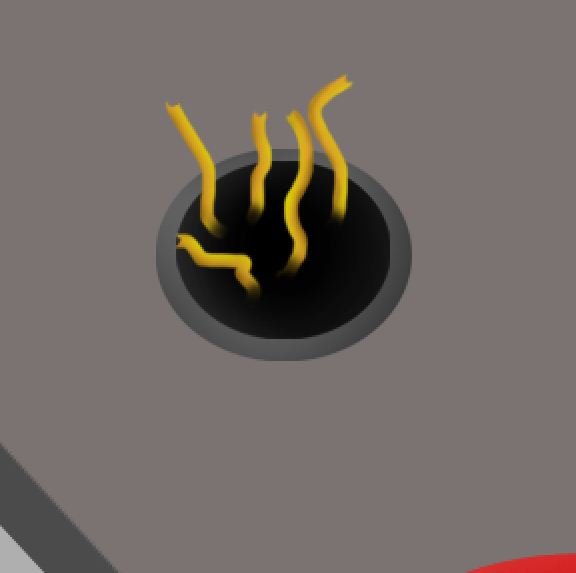
It should be noted that I only placed the wire on one side, not on both circles. In the lower one I placed a red wire, I did it with movement and I placed different shades of red, a darker one in the lower part and a darker one in the upper part.
In addition, as an added detail to the illustration, I placed a metal tip with blood stains.
Cabe destacar, que solo coloqué el cable de un lado, no en los dos círculos. En el inferior coloqué un cable rojo, lo hice con movimiento y le coloqué distintas tonalidades de rojo, uno más oscuro en la parte inferior y uno más oscuro en la parte superior.
Además, como detalle añadido a la ilustración, le coloqué una punta metálica con manchas de sangre.
 |  |  |
|---|
Here you can see the result of this part.
Aquí pueden ver el resultado de esta parte.

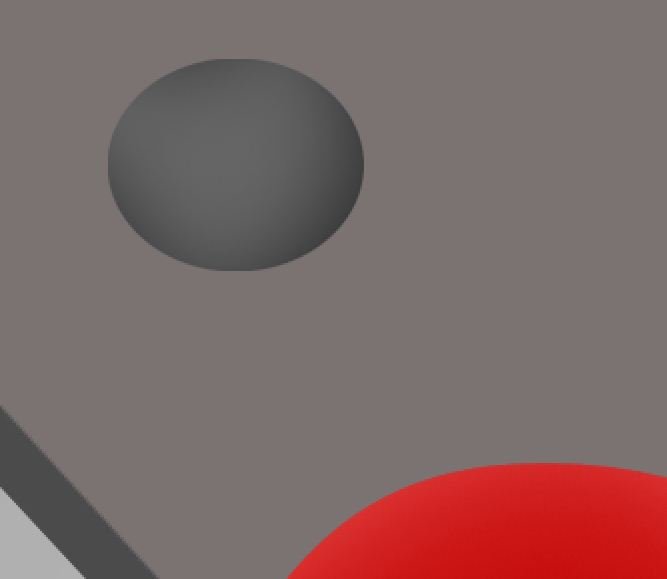
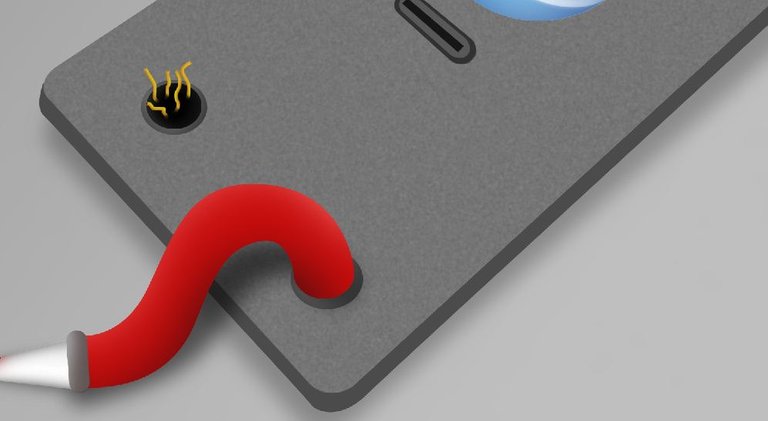
At the other end, I made the circle where the wire should be, but I made it as if the wire that should be there had been pulled out.
En el otro extremo, hice el círculo en donde deberia estar el cable, pero lo hice como si el cable que debería estar ahí lo hubiesen arrancado.
 |  |  |
|---|
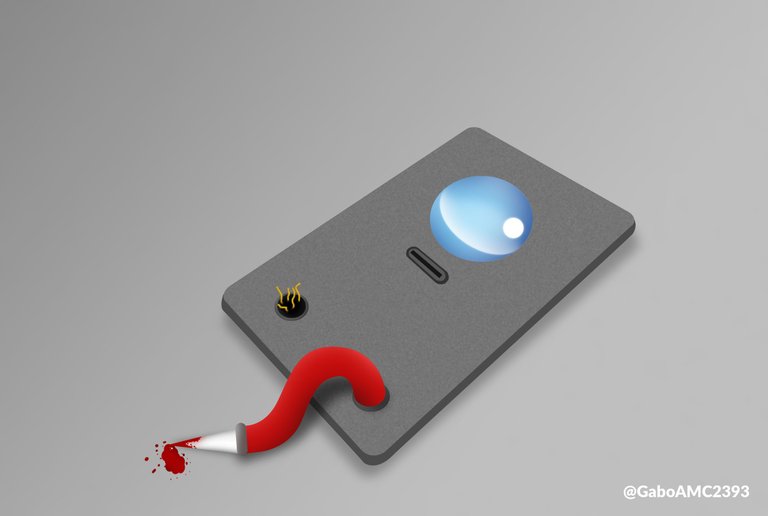
In addition to all of the above, I made a slightly rustic texture to the gray surface of the device, as seen in the image below:
Además de todo lo mencionado, hice una textura un poco rústica a la superficie gris del dispositivo, tal como se observa en la imagen a continuación:
And this is the final result of the drawing. What do you think it looked like? What do you think this device I drew was used for?
Y este es el resultado final del dibujo. ¿Qué les pareció? ¿Para qué creen que se usó este dispositivo que dibujé?
Object No. 2
The other object in question, is much simpler but I would also like to include it in the publication, because it requires knowing a bit about using shadows, drawing shapes and using lighting and colors.
Objeto Nro 2
El otro objeto en cuestión, es mucho más sencillo pero también me gustaría incluirlo en la publicación, porque requiere saber un poco sobre el uso de sombras, el dibujo de formas y el uso de iluminación y colores.
Step by step
For this drawing I chose a black background with green lighting in the center, it is a slightly yellowish green that stands out against the dark background. This is the base of this drawing.
Paso a paso
Para este dibujo elegí un fondo negro con una iluminación verde en el centro, es un verde un poco amarillento que resalta en el fondo oscuro. Esta es la base de este dibujo.

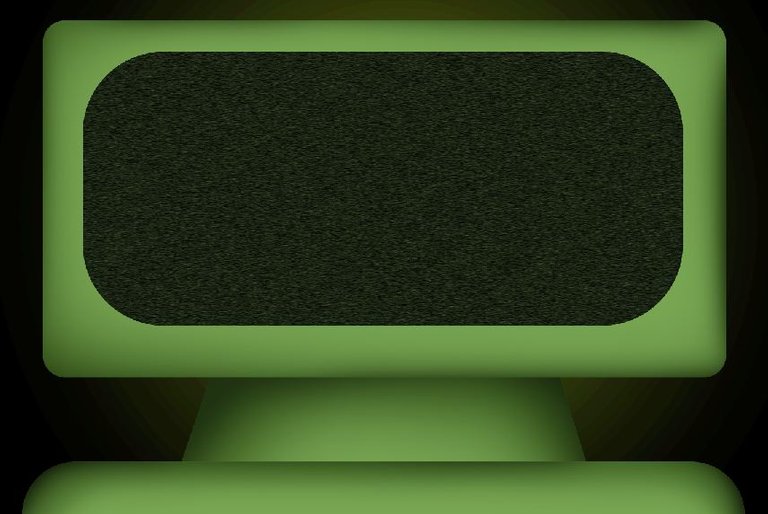
As you can see, I used almost basic shapes to make this computer. The first was a rectangle, then the top of a rectangle that I placed at the bottom of the drawing and finally a sort of triangle that I placed behind the other two shapes.
Below you can see the creative process of these shapes.
Como pueden ver, utilicé prácticamente formas básicas para hacer este computador. Lo primero fue un rectángulo, luego la parte superior de un rectángulo que coloqué en la parte de abajo del dibujo y por último una suerte de triángulo que coloqué detrás de las otras dos formas.
A continuación pueden ver el proceso creativo de estas formas.
 |  |  |
|---|
To each of these basic shapes I applied shadows, so that, again, it would not be a flat drawing in the composition. You can see that with these shadows the different parts of this computer are better appreciated.
A cada una de estas formas básicas le apliqué sombras, para que, nuevamente, no quedase un dibujo plano en la composición. Pueden ver que con estas sombras se aprecian mejor las distintas partes de este computador.

In the area where the screen goes I simply placed a black rectangle. This same rectangle I added a little noise and painted it a little more greenish color.
Below you can see a couple of images of the creative process.
En el área donde va la pantalla coloqué simplemente un rectángulo negro. Este mismo rectángulo le agregué un poco de ruido y lo pinté de un color un poco más verdoso.
A continuación pueden ver un par de imágenes del proceso creativo.
 |  |
|---|
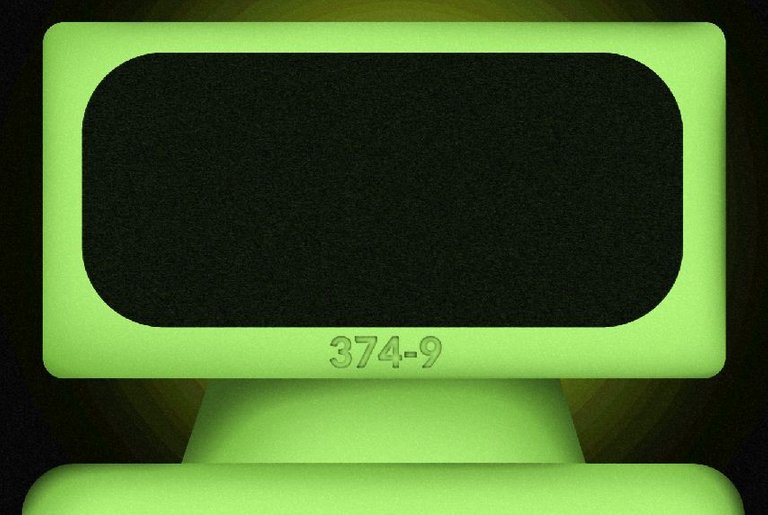
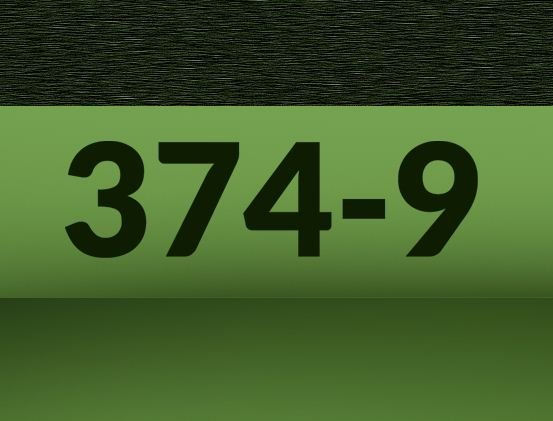
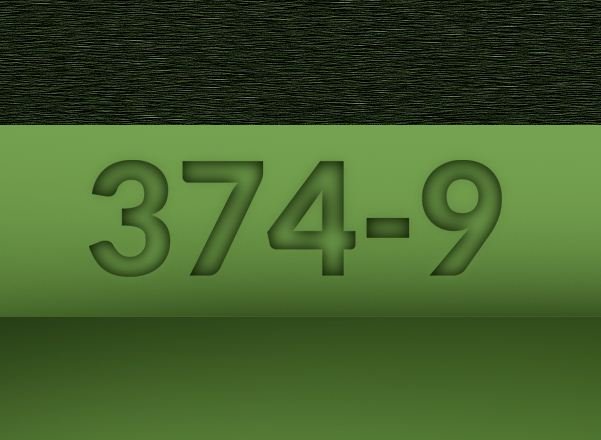
The last thing to do was the lettering. 374-0 is the code I decided to put on this computer. I placed it at the bottom, because that is where computers normally have these logos or designs on them identifying them or listing them.
Lo último por hacer fueron las letras. 374-0 es el código que decidí colocarle a este computador. Lo coloqué en la parte de abajo, porque allí es donde normalmente las computadoras tienen estos logotipos o diseños en las identifican o enumeran.
 |  |
|---|
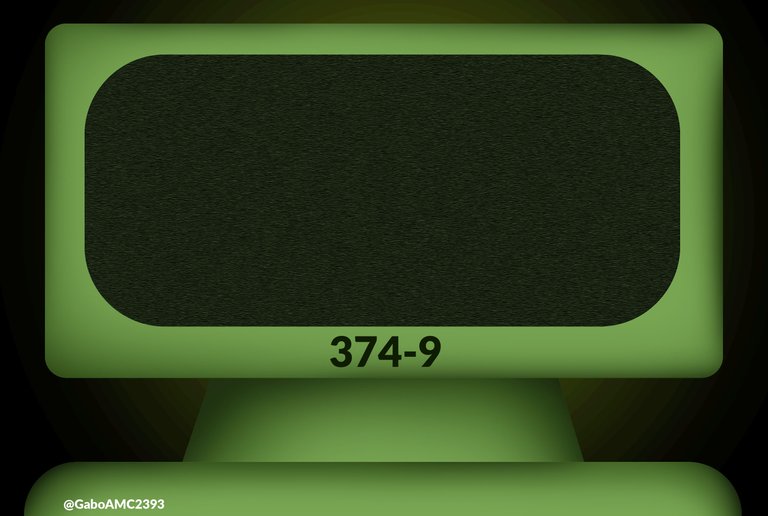
This is how this computer was finished, how do you see it, what do you think, did you like it? It is a simple design, there is nothing extraordinary about it, but sometimes simple things are good too.
De esta manera quedó terminado este computador. ¿Cómo lo ven? ¿Qué les parece? ¿Les gustó? Es un diseño sencillo, no tienen nada extraordinario pero a veces las cosas sencillas son buenas también.
Well folks, that's all for now. I enjoyed sharing with you the step by step of this pair of designs. Both of them I like the way they turned out because they represent what I want to show.
I would like to know what you think of these two designs, you can leave your opinions below in the comments, as always I will be happy to read them. With nothing more to add, I'll say goodbye then....
See you next time!
Y bien amigos, esto ha sido todo por ahora. Me gustó compartir con ustedes el paso a paso de este par de diseños. Ambos me gusta como quedaron porque representan aquello que quiero mostrar.
Me gustaría saber qué les parecen estos dos diseños, pueden dejar sus opiniones abajo en los comentarios, como siempre estaré encantado de leerlos. Sin más que agregar, me despido entonces...
¡Hasta la próxima!

Me gusta como lograste la dimensión en la ilustración digital, nada fácil, pero ya lo dominas.
Felicitaciones amigo 🤗
Su post ha sido valorado por @goya
Su post ha sido valorado por @goya
Congratulations @gaboamc2393! You have completed the following achievement on the Hive blockchain And have been rewarded with New badge(s)
Your next target is to reach 5250 replies.
You can view your badges on your board and compare yourself to others in the Ranking
If you no longer want to receive notifications, reply to this comment with the word
STOPCheck out our last posts:
Support the HiveBuzz project. Vote for our proposal!
The rewards earned on this comment will go directly to the people( @gaboamc2393 ) sharing the post on Twitter as long as they are registered with @poshtoken. Sign up at https://hiveposh.com.