Hello dear friends. Today I bring you how we can make a light box in our poropia home to use it to take photos. This box is small because it is the need I had at the time and because I don't photograph things that big, but if you needed a big box it would be the same process.
Necessary materials:
1 box
Bond Paper or Cloth
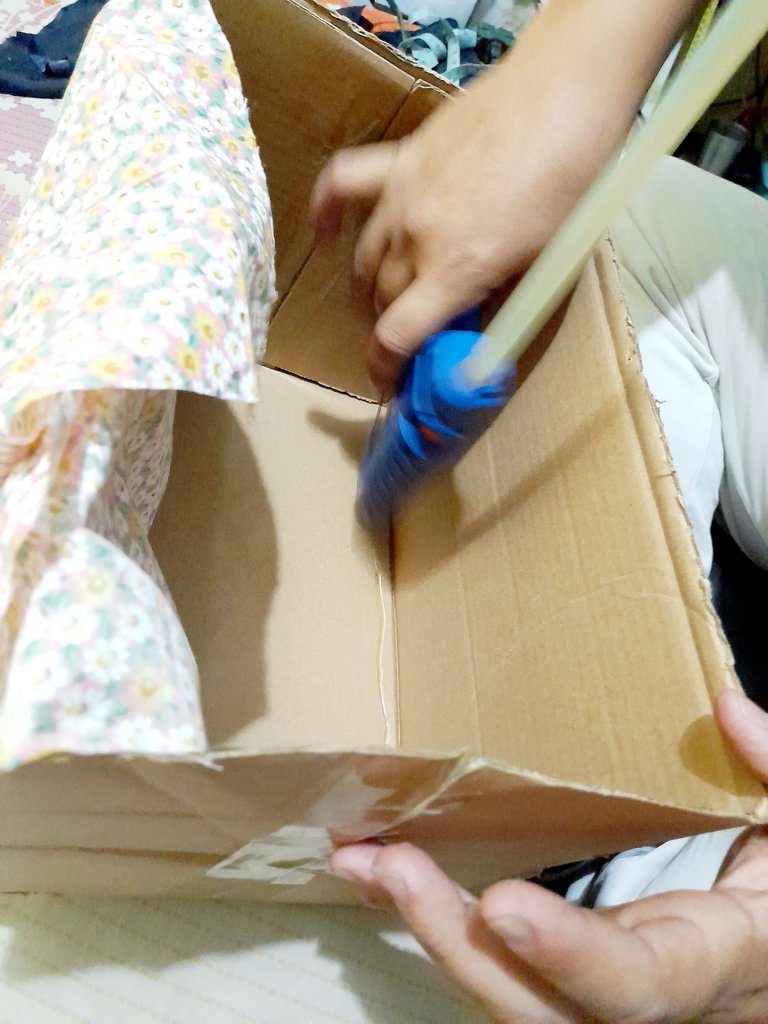
Silicone gun
Construction cardboard.
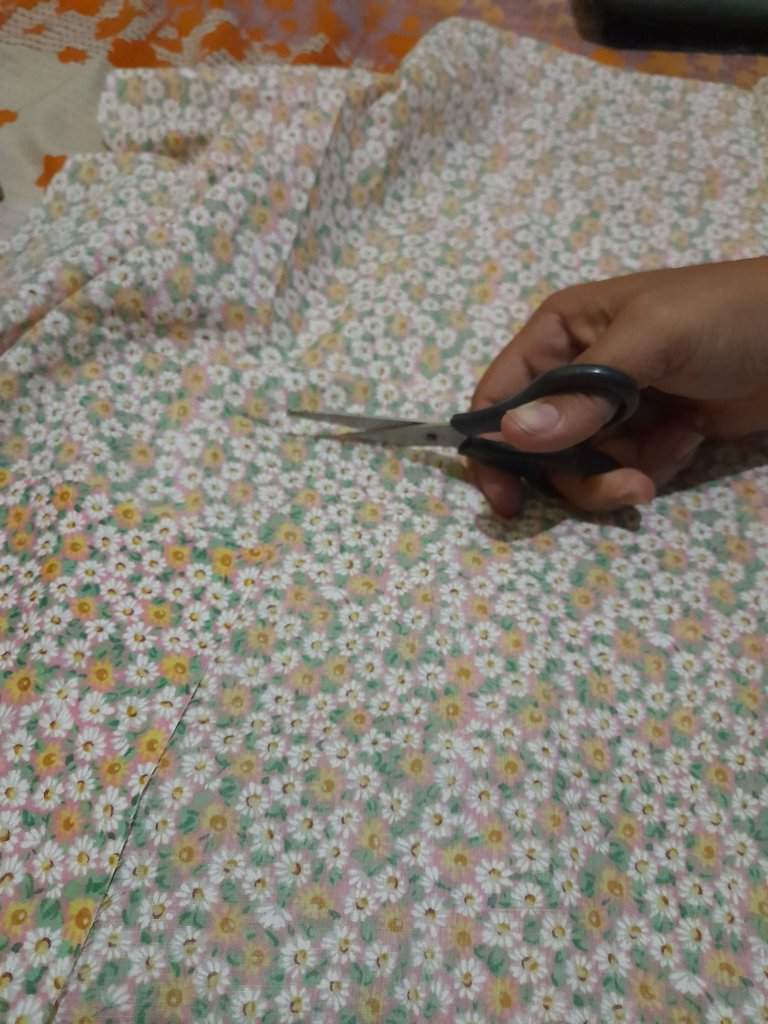
We start by measuring the bond paper or fabric and cutting it so that it is the size of the walls of the box.
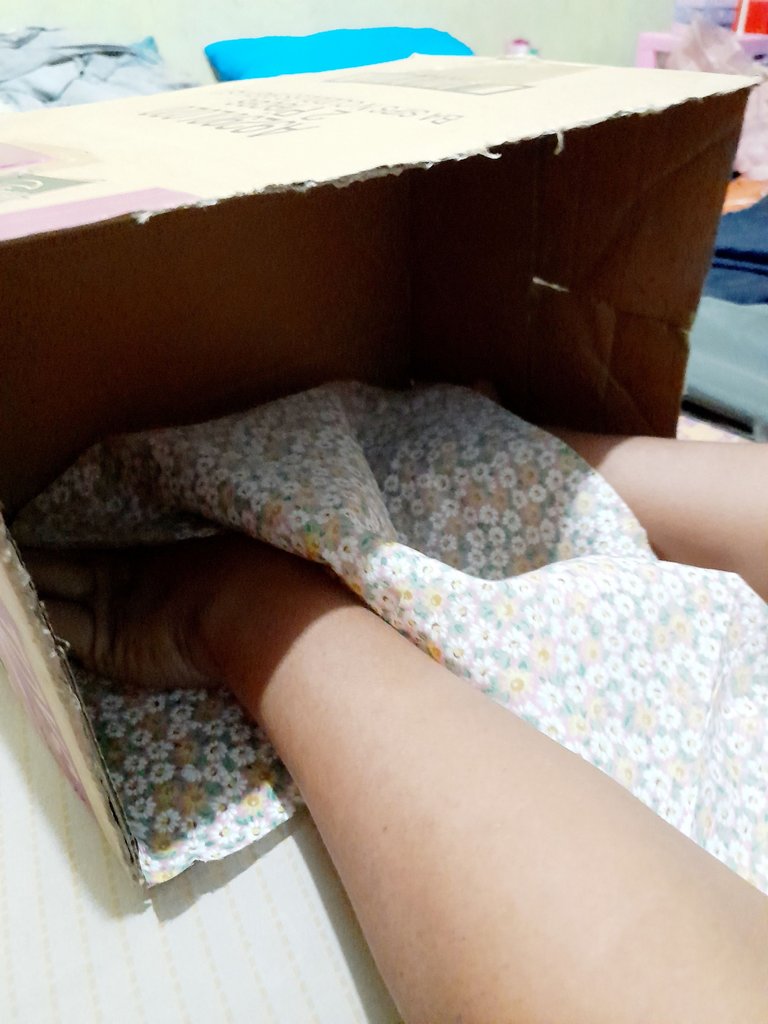
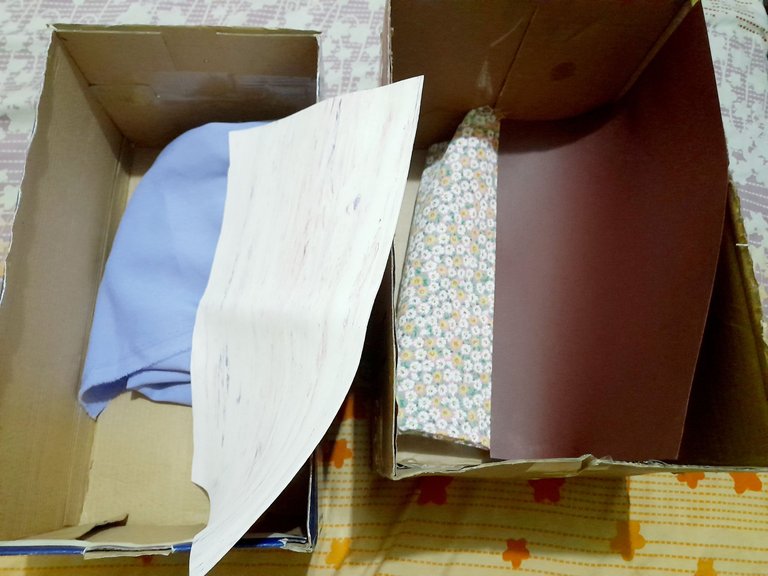
One of its sides was eliminated from this box, which is what will serve as a door to introduce the objects that are going to be photographed.

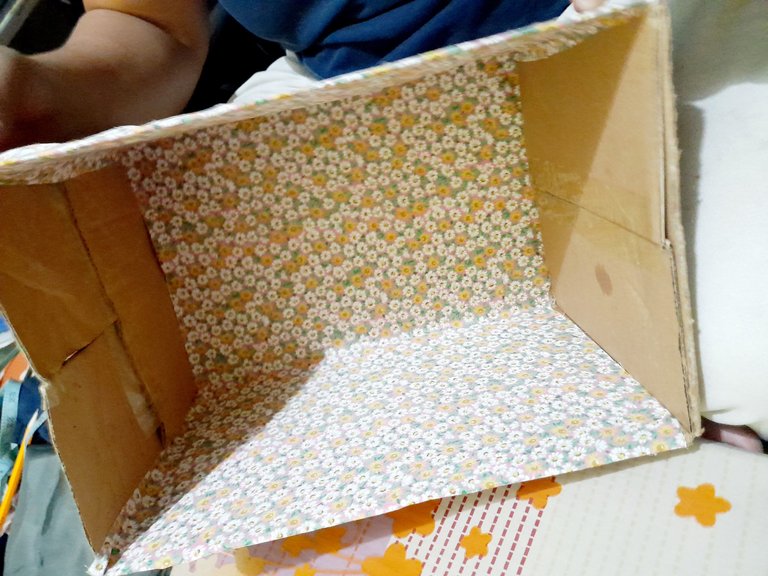
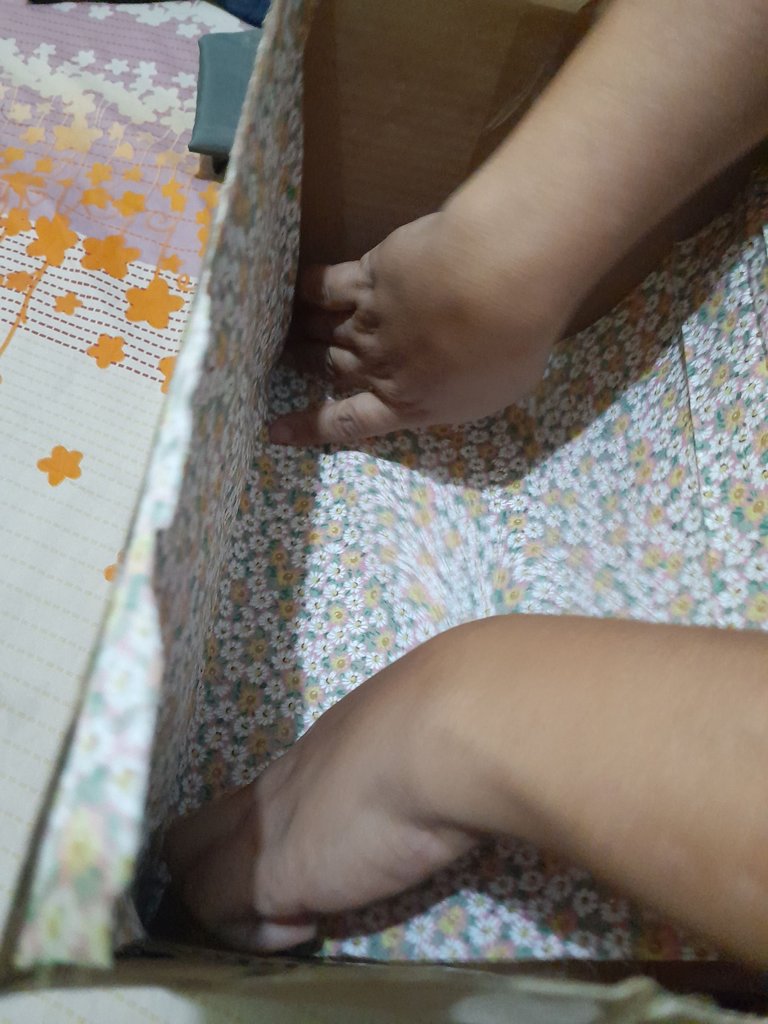
When we have finished covering the 3 walls, we proceed to cover the ceiling and the floor.
I made it in different colors and used a flowered fabric for the walls. You can use white, green, or varied colors like I did.
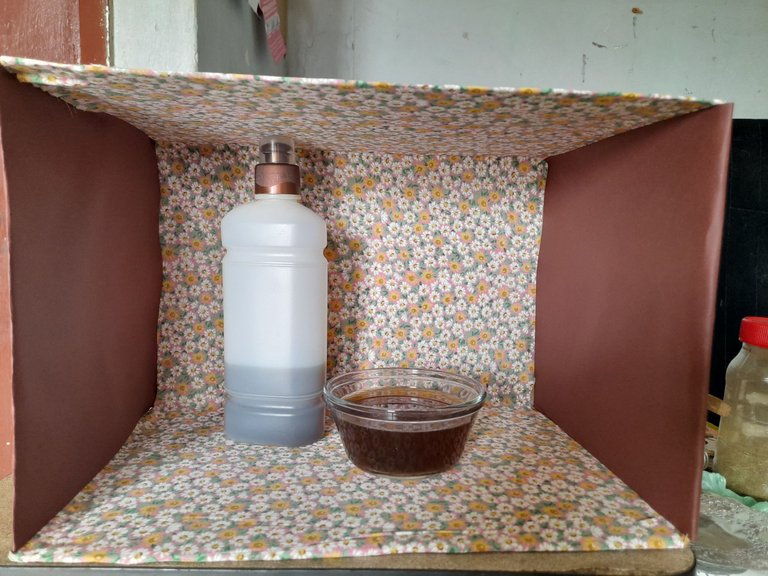
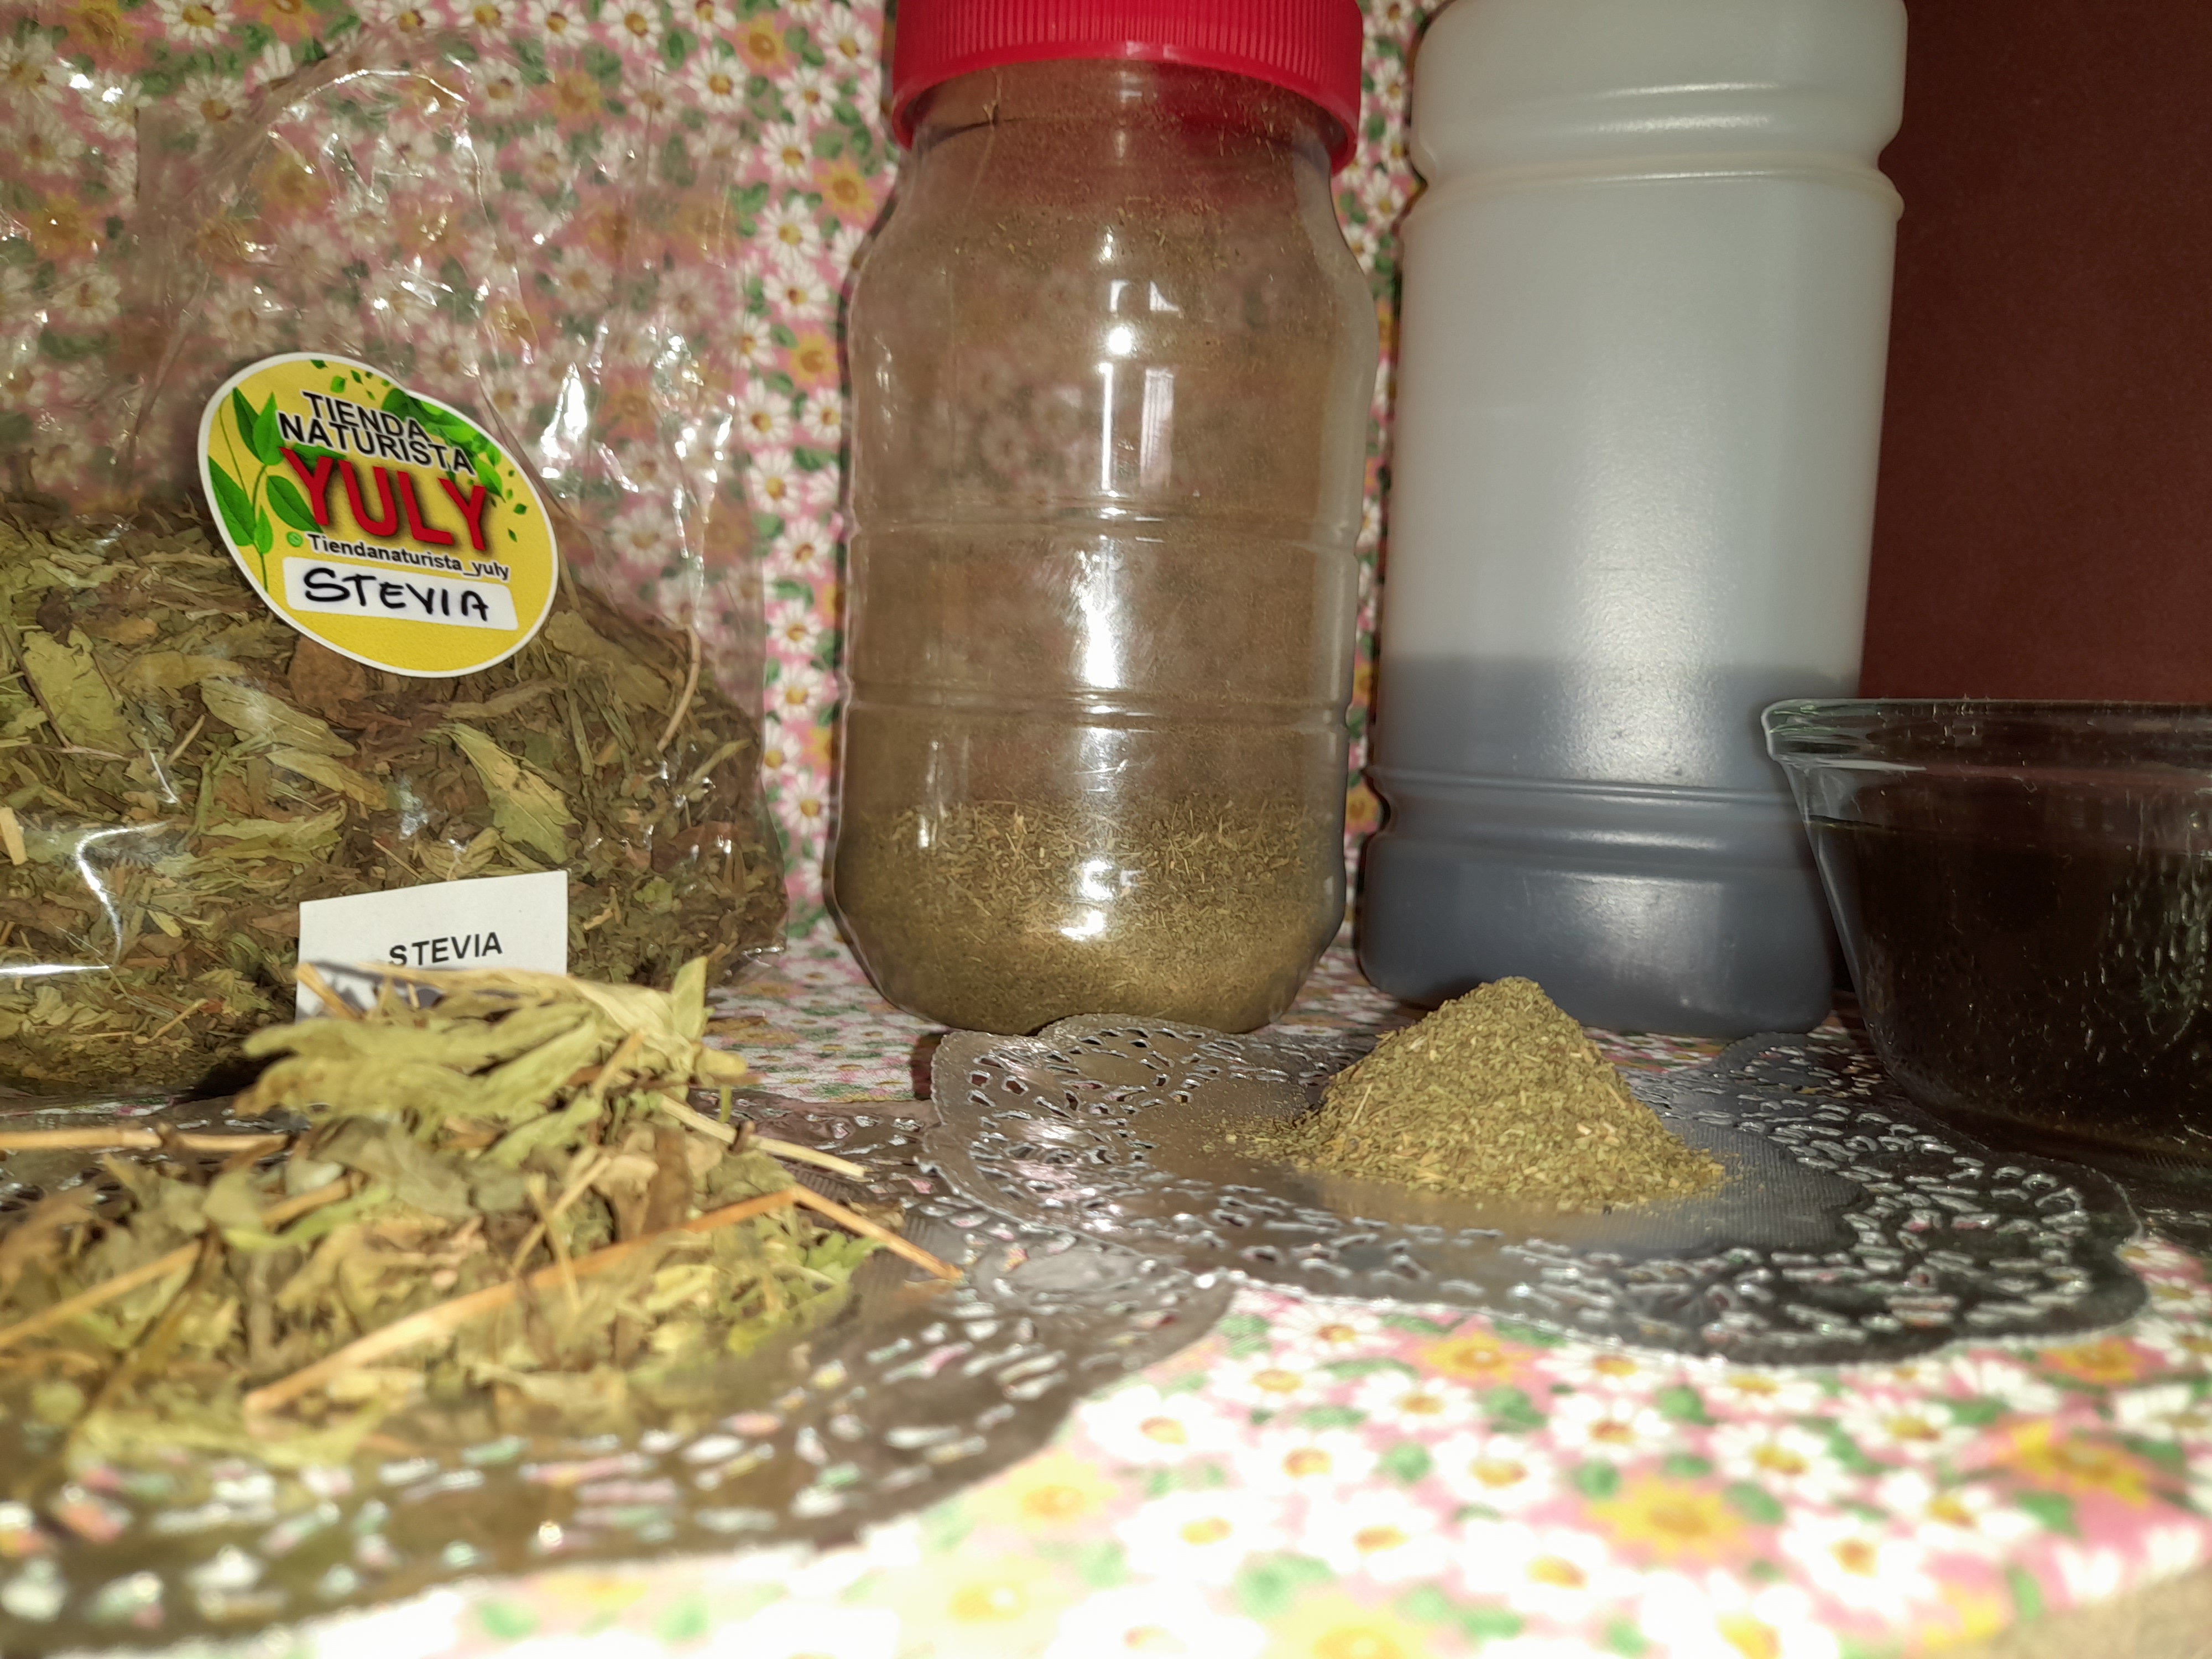
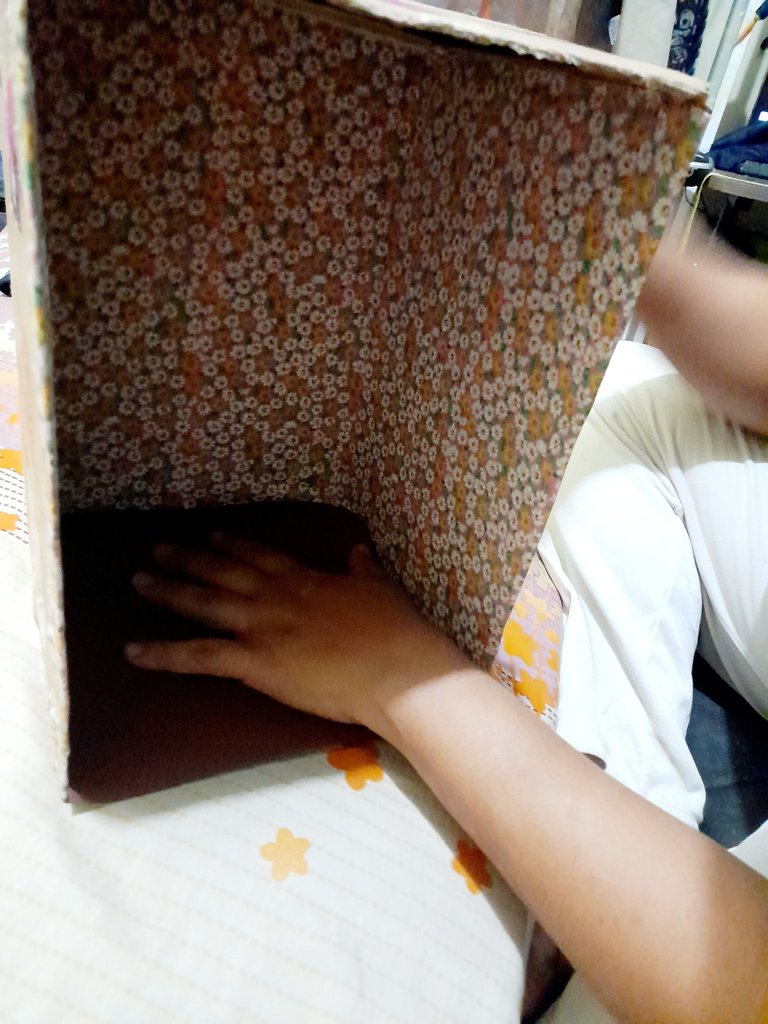
This is how my homemade light box turned out.
Remember that the light box is used, depending on the color of your background, to cut out a product from a photograph, or you can use it to give a more controlled setting to the products being photographed.
You can also add lights such as light rings so that it illuminates the products very well and the photo looks much better without contrasts of light and dark.
What do you think of my little light box? Would you dare to make a bigger one to take your photos? It is easy and does not require many materials and you will surely increase the quality of your photographs.

Traduccion al Español:
Hola queridos amigos. Hoy les traigo como podemos hacer una caja de luz en nuestra poropia casa para usarla para tomar fotos. Esta caja es pequeña porque es la necesidad que tenia en el momento y porque yo no fotografio cosas tan grandes, pero si necesitaras una caja grande seria el mismo proceso.
Materiales necesarios:
1 caja
Papel Bond o Tela
Pistola de silicon
Cartulina de construccion.
Comenzamos midiendo el papel bond o la tela y recortamos para que quede del tamaño de las paredes de la caja.
A esta caja se le elimino uno de sus lados que es el que servira como puerta para introducir los objetos que van a ser fotografiados.
Cuando hayamos terminado que forrar las 3 paredes, procedemos a forrar el techo y el piso.
Yo lo hice de distintos colores y use una tela floreada para las paredes. Puedes usar blanco, verde, o colores variados como hice yo.
Asi quedo mi caja de luz hecha en casa.
Recuerda que la caja de luz sirve, segun el color que tengas de fondo, para recortar un producto de una fotografias, o puedes usarla para darle un escenario mas controlado a los productos que se fotografian.
Tambien puedes agragarle luces como los aros de luz para que aclare muy bien los productos y la foto se vea mucho mejor sin contrastes de claros y oscuros.
Que te parecio mi pequeña caja de luces ? Te atreverias a hacer una mas grande para tomar tus fotos ? Es facil y no requiere de muchos materiales y seguro que aumentas la calidad de tus fotografias.
Hola @isabelpena, me gustó la idea de la caja para hacer hermosas fotografías, gracias por compartir, un proyecto sencillo de hacer y de gran utilidad.
Saludos!
Que bueno que te guste y en verdad es muy practico y facil de hacer. Gracias por tu lindo comentario amiga.
Wow, this is awesome!
Thank you friend.