Hola amigos, cómo se encuentran? Me encanta poder estar aquí otra vez y más rápido de lo que esperaba. Estoy súper emocionada por estar siendo más constante en mis post.
Hello friends, how are you doing? I love being here again, and even sooner than I expected. I'm super excited to be more consistent with my posts.
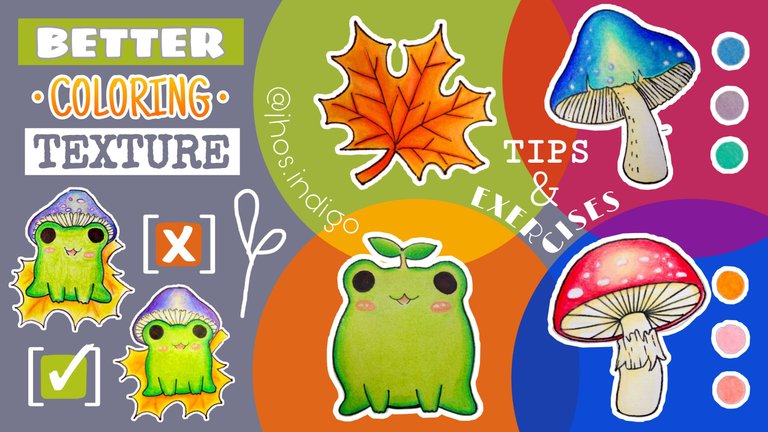
Antes de continuar con la secuencia de los post teorico-práctico sobre tips para un coloreado más pro; decidí hacer este post que también tiene mucho que ver con ese tema, pero que para evitar perder el orden, prefiero hacerlo como un post apartado de los demás.
Before continuing with the sequence of theoretical-practical posts on tips for more professional coloring, I decided to make this post, which is also closely related to the topic, but to avoid losing order, I prefer to do it as a separate post from the others.
Últimamente he notado que las personas de mí círculo social cercano que pintan con lápices de colores tienen cierto detalle en sus acabados, y es que quedan muchos espacios en blanco, los cuales hacen perder bastante estética a la obra pues no son dejados así a propósito.
Lately, I’ve noticed that people in my close social circle who paint with colored pencils have a certain issue with their finishes—they leave a lot of white spaces, which significantly diminishes the aesthetic appeal of the artwork since they aren’t left intentionally.
Muchas veces me han preguntado cómo hago para que mis dibujos no tengan esos espacios o puntos en blanco, y como yo no soy mago, les puedo y les voy a revelar mis secretos... que quizá no sean tan secretos, pero que igual, espero que les sirvan de ayuda.
Many times, I’ve been asked how I manage to keep my drawings free of those white spaces or spots, and since I’m not a magician, I can and will reveal my secrets… which perhaps aren’t so secret, but nonetheless, I hope they are helpful to you.
En mi caso utilizo diferentes herramientas que la mayoría de artistas tienen a su alcance (otra forma de decir que mis tips son para artistas pobres, DIGO, Humildes... Principalmente yo). Para que no me digan: Ay Jhos, es que no tengo el matizador/mezcladordecoloressupermaxproultrarevolutionzeta. Los materiales no hacen al artista, y el meme ya no es tan meme, pues la frase "Tocó resolver" la usamos todos, actualmente todos somos "el que resuelve".
In my case, I use different tools that most artists have access to (another way of saying that my tips are for poor— I MEAN, humble artists... like myself). So that no one tells me: "Oh Jhos, I don’t have the supermaxpro-ultrarevolutionzeta color blender." Materials don’t make the artist, and the meme is no longer just a meme, since the phrase "We have to make do" is used by everyone—nowadays, we are all "the one who makes do."
• Maneras de matizar texturas con diferentes elementos - Ways to Blend Textures Using Different Elements •
🐸 • GOMA DE BORRAR DE VINILO • 🐸 • VINYL ERASER •
Tienen que asegurarse que sea de ese material, pues últimamente me he topado con una cantidad molesta de borradores normales que antes solían ser de vinilo y que ahora son de caucho. Estos son más abrasivos y al mismo tiempo no quitan por completo los trazos ni lo que sea que necesitemos quitar, pero cuando deseamos quitar un poco de algo terminamos quitandolo todo, en síntesis, no nos servirá el de caucho.
You have to make sure it’s made of that material because lately, I’ve come across an annoying amount of regular erasers that used to be vinyl and are now rubber. These are more abrasive and don’t completely remove strokes or whatever we need to erase. But when we try to remove just a bit, we end up erasing everything—in short, the rubber ones won’t be useful to us.
(Aquí les dejo el link de un artículo informativo sobre cuáles son los tipos de borradores y las características de cada uno.)
(Here’s a link to an informative article about the types of erasers and their characteristics.)
Tipos de Borradores - Types of Erasers
Pero, para resumirles: los de caucho son más toscos y secos, sirven para arrancar o retirar directamente el color, pero no absorven para nada el pigmento y sueltan mucho polvillo. Para mí, entorpecen por completo mi misión.
To summarize: rubber erasers are rougher and drier, they work well for scraping off or directly removing color, but they don’t absorb pigment at all and produce a lot of dust. For me, they completely obstruct my mission.
Los de vinilo por otro lado,(las más usual que pueden conseguir es la goma nata) son más densos y firmes, pero a la vez más elásticos y blandos, no dejan tanto polvillo, absorven bien los pigmentos ya sea de grafito o lápices de colores; es esa capacidad de retención de pigmentos la que aprovecharemos.
Vinyl erasers, on the other hand (the most common one being goma nata), are denser and firmer, yet also more elastic and soft. They don’t leave as much residue, they absorb pigments well whether from graphite or colored pencils; and it’s this pigment retention capability that we will take advantage of.

• 𝙴𝚓𝚎𝚛𝚌𝚒𝚌𝚒𝚘• 📝 • 𝙴𝚡𝚎𝚛𝚌𝚒𝚜𝚎 •
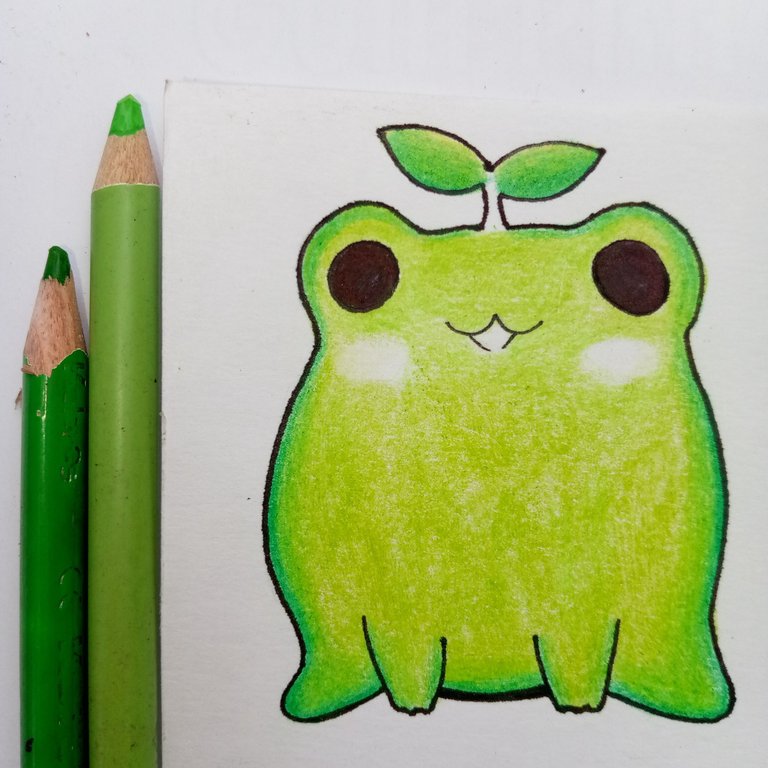
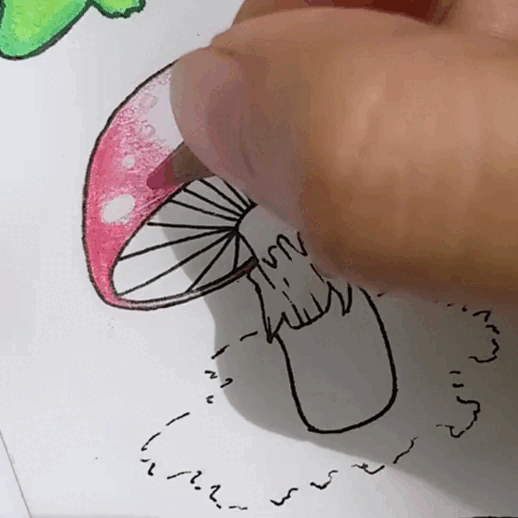
Haremos un dibujo y lo colorearemos de forma suave, es decir, sin afincar tanto el lápiz.
We’ll draw a picture and color it softly, meaning without pressing too hard on the pencil.
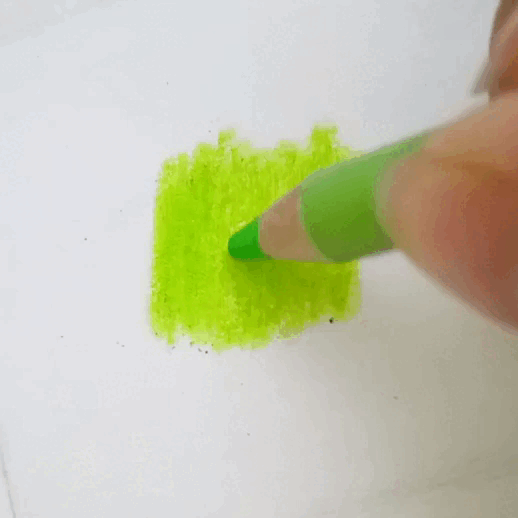
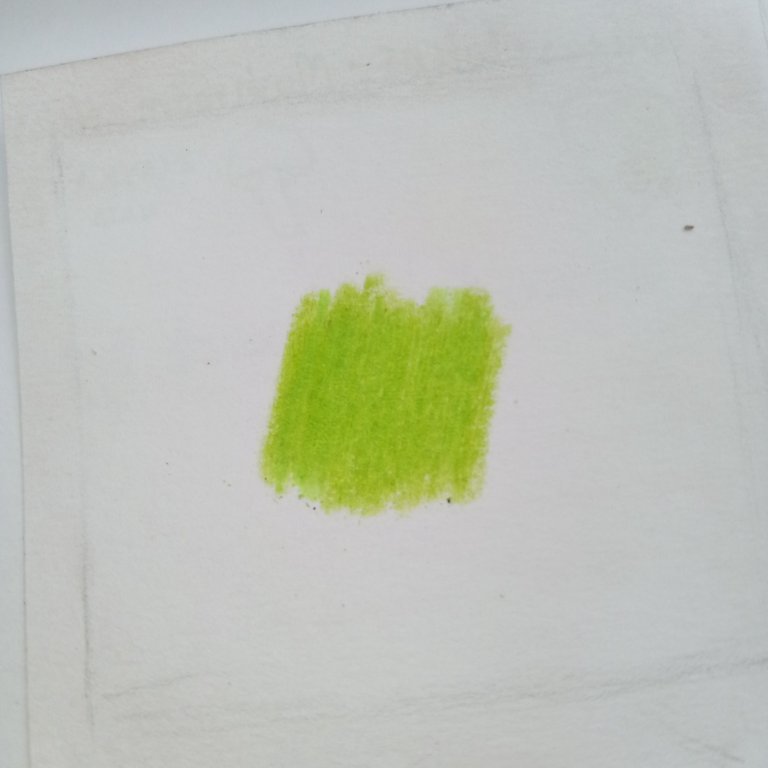
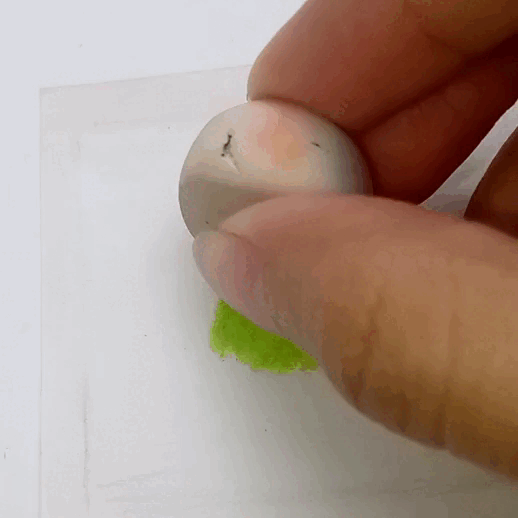
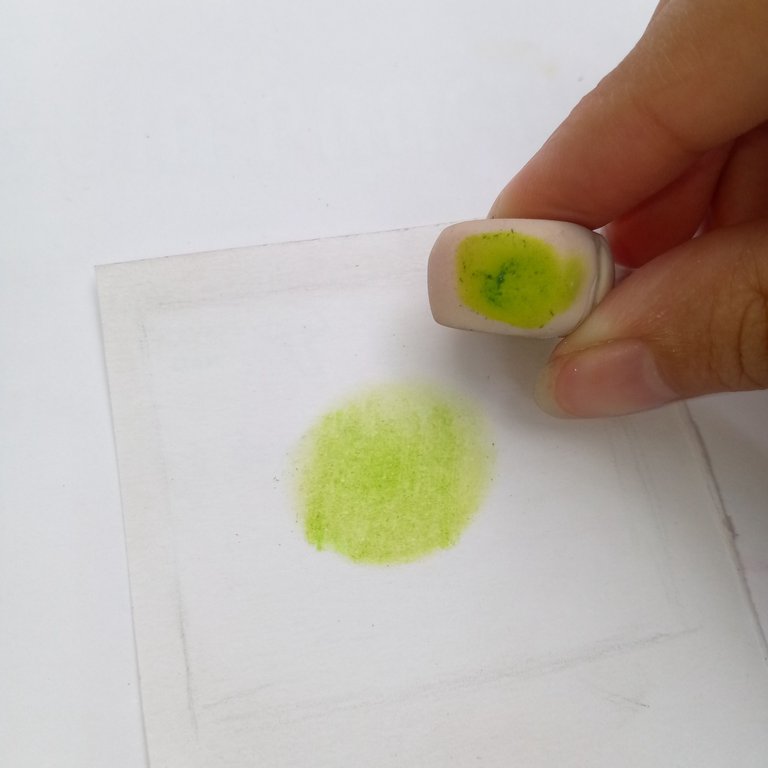
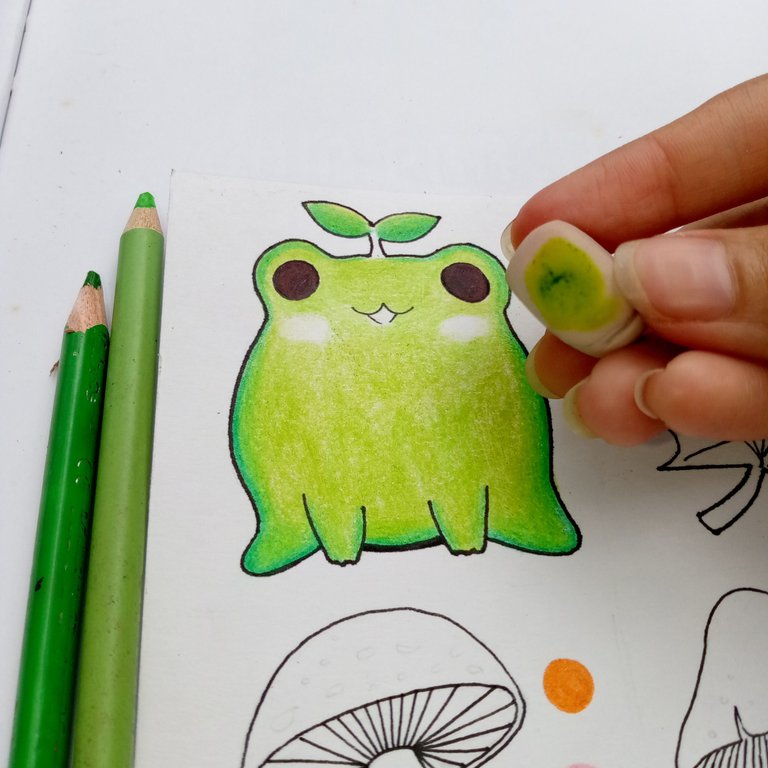
Lo que yo suelo hacer es marcar con algún color en una zona de la hoja y "cargo" o impregno el borrador con dicho pigmento, por lo general lo hago de forma circular.
What I usually do is mark a certain color on an area of the paper and "charge" or impregnate the eraser with that pigment.
 |  |
|---|
 |  |
|---|
Empezaremos a frotar de forma uniforme la goma de borrar contra su superficie del dibujo. De nuevo con una presión controlada, ni muy suave ni muy fuerte, para pigmentar y difuminar al mismo tiempo.
We’ll start rubbing the eraser evenly over the drawing surface—again, with controlled pressure, neither too light nor too strong, so we can pigment and blend at the same time.
 |  |
|---|
Este truco me ha funcionado mucho y más cuando tengo que representar una textura completamente lisa y hacer brillos en ellas.
This trick has worked well for me, especially when I have to fully represent a texture soft and add highlights.
 |  |
|---|

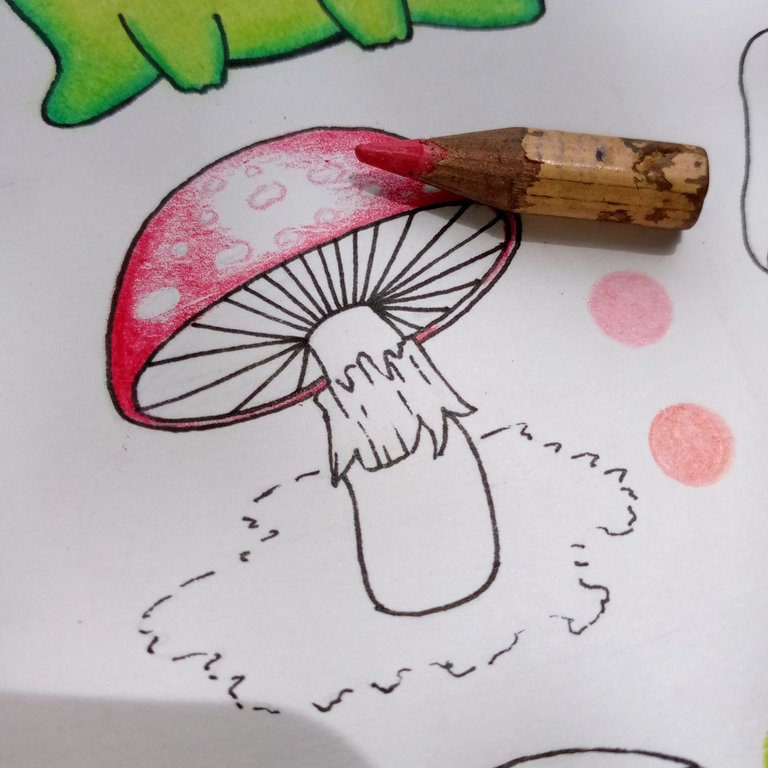
🍄 • LAPIZ DE UN SUBTONO DEL COLOR BASE • 🍄 • PENCIL WITH A SUBTONE OF THE BASE COLOR •
Este es uno de los más prácticos y con buenos acabados que uso. Consiste en tomar un color que sea un subtono del color base que estamos usando. Pero Jhos qué es un subtono? Es un derivado de un color determinado, o porque está ubicado a los lados en la rueda del color, o porque simplemente es una variación en el valor de dicho color.
This is one of the most practical and effective techniques I use. It consists of taking a color that is a subtone of the base color we are working with. But Jhos, what is a subtone? It’s a variation of a particular color—either because it is located adjacent on the color wheel or simply due to its value change.
En este caso, tenemos que asegurarnos de que ese subtono que vamos a útil sea más claro que nuestro color base.
In this case, we need to make sure that the undertone we’re going to use is lighter than our base color.
Para que quede más claro, vamos a ejemplificar y practicar.
To make this clearer, we’re going to illustrate and practice.
• 𝙴𝚓𝚎𝚛𝚌𝚒𝚌𝚒𝚘 • 📝 • 𝙴𝚡𝚎𝚛𝚌𝚒𝚜𝚎 •
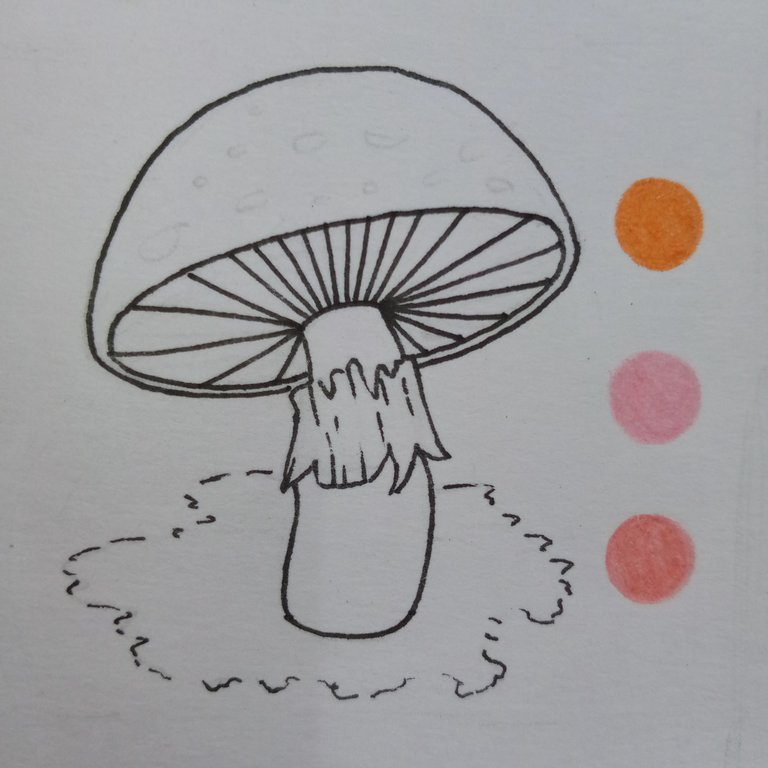
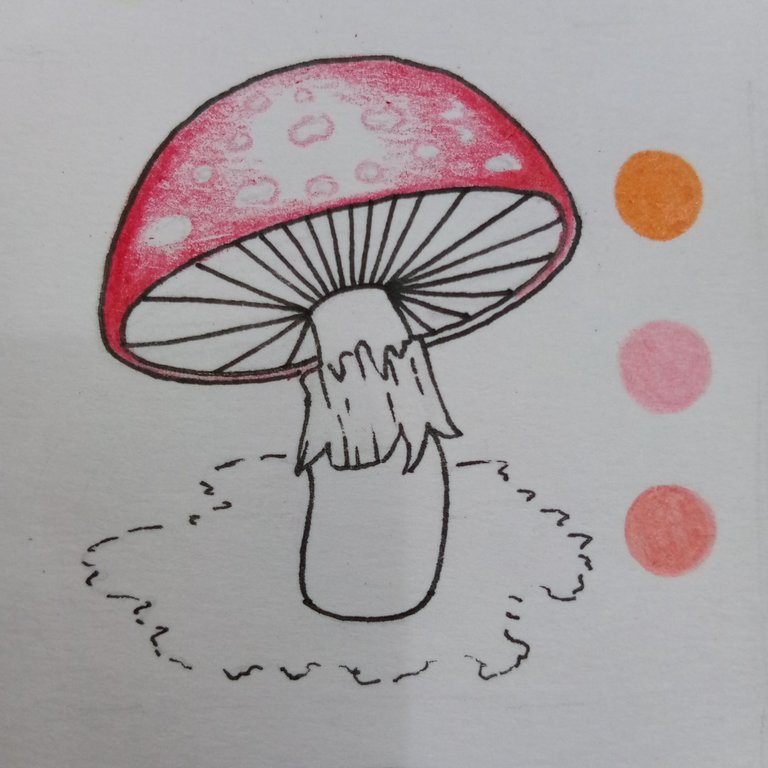
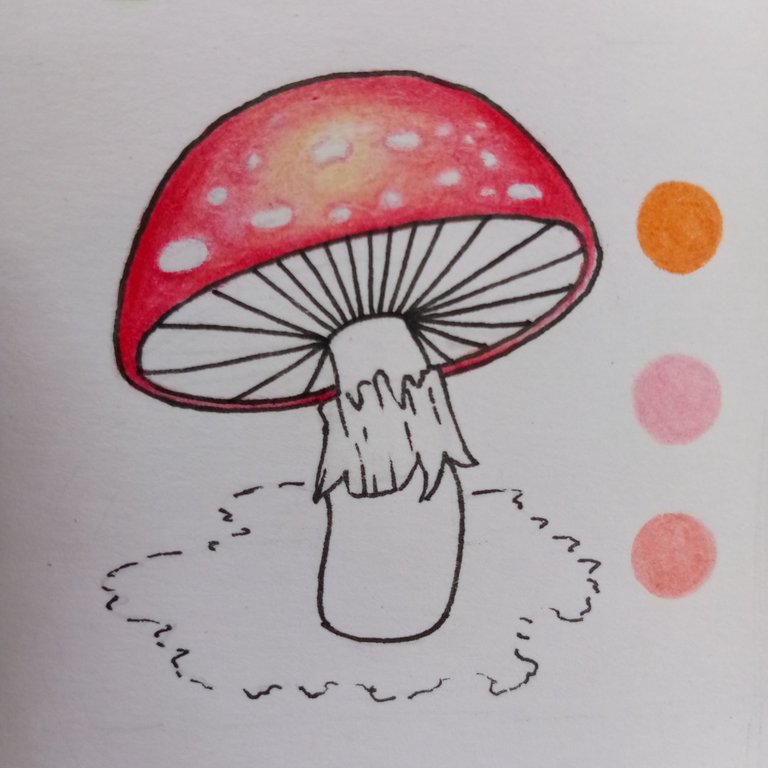
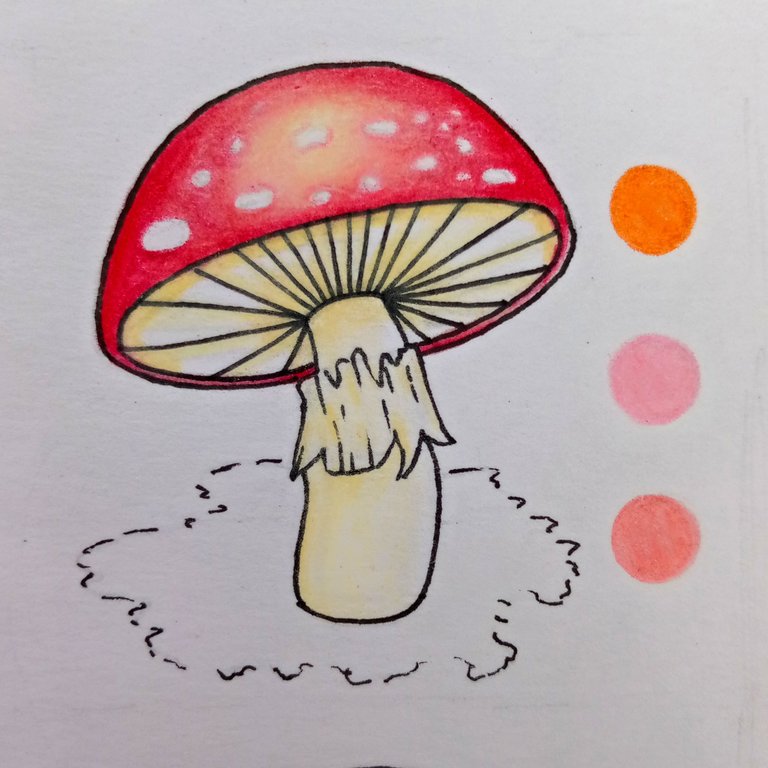
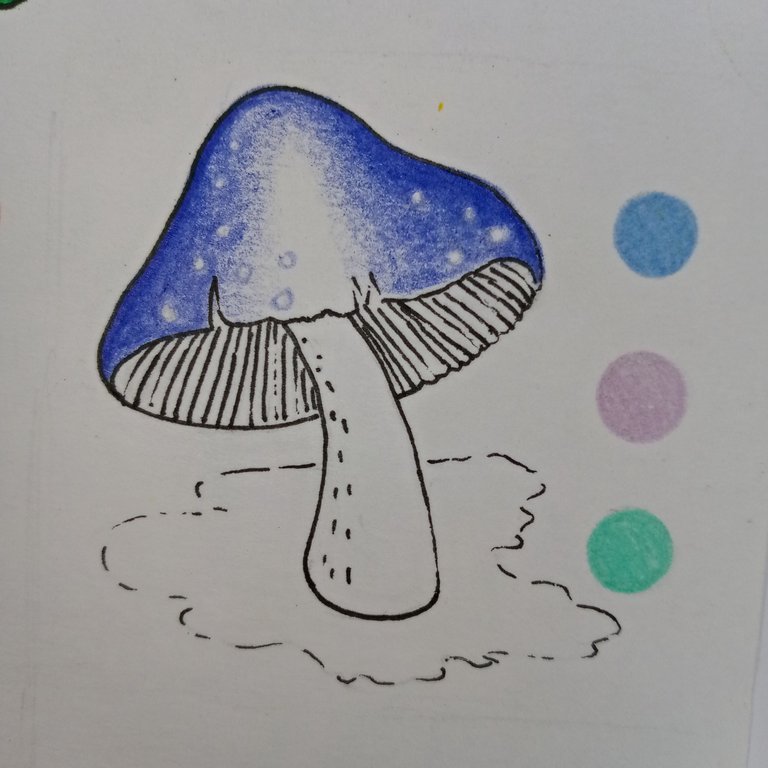
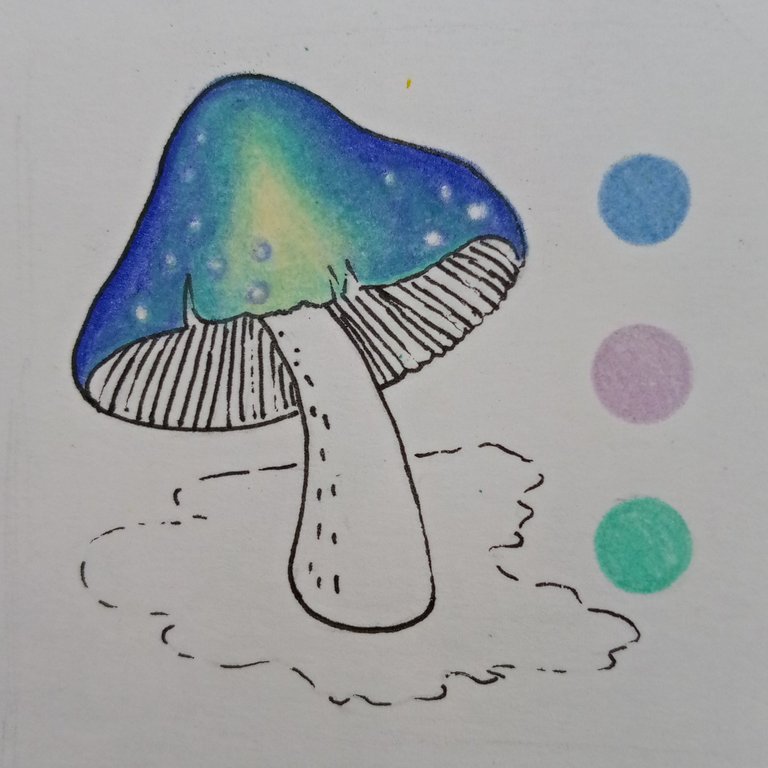
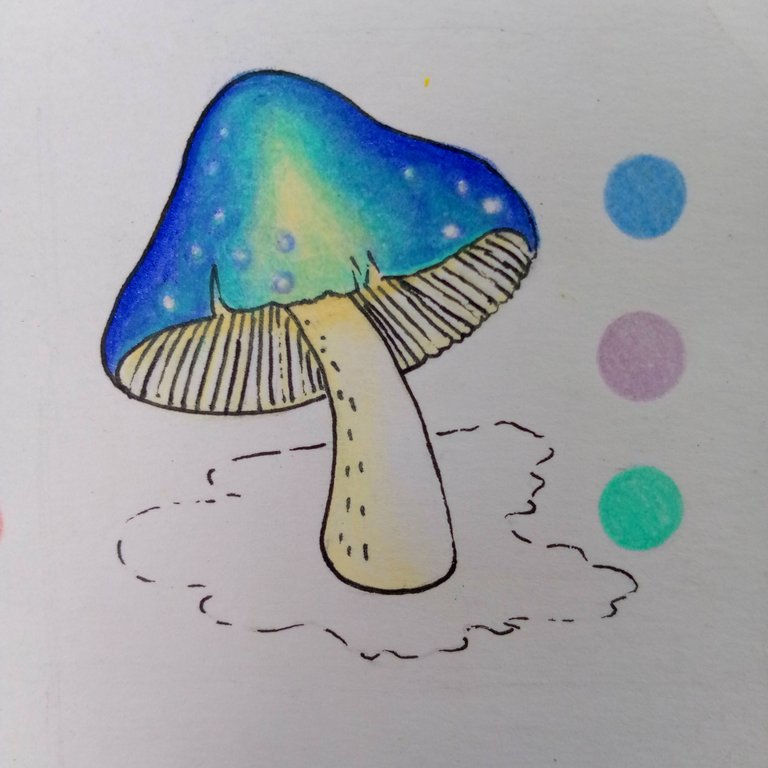
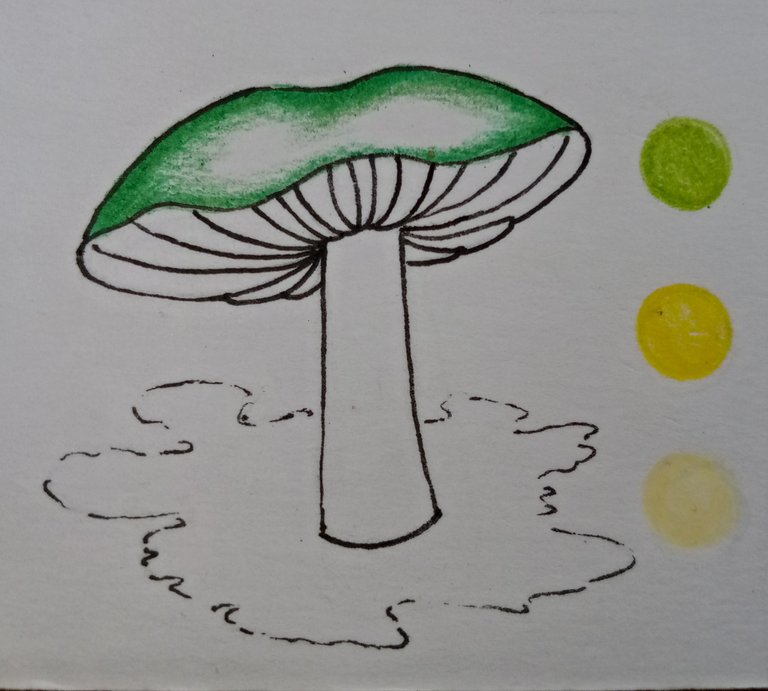
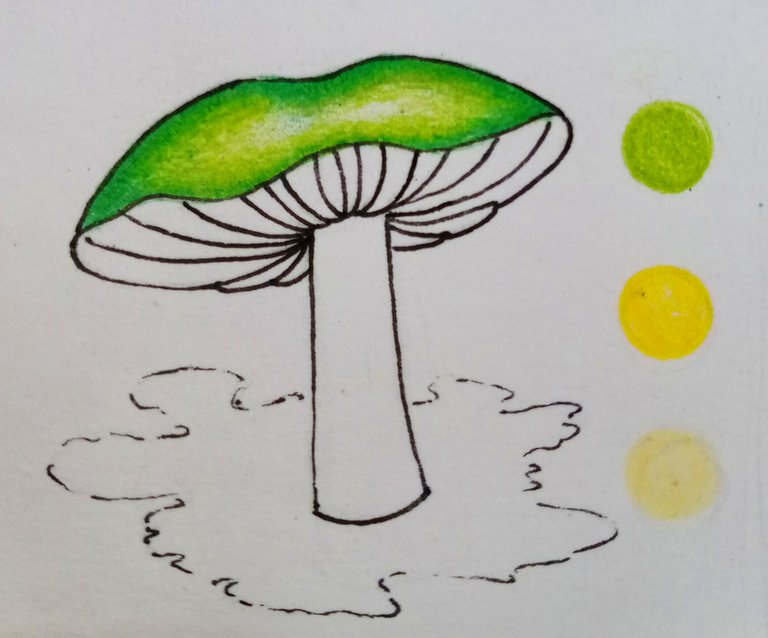
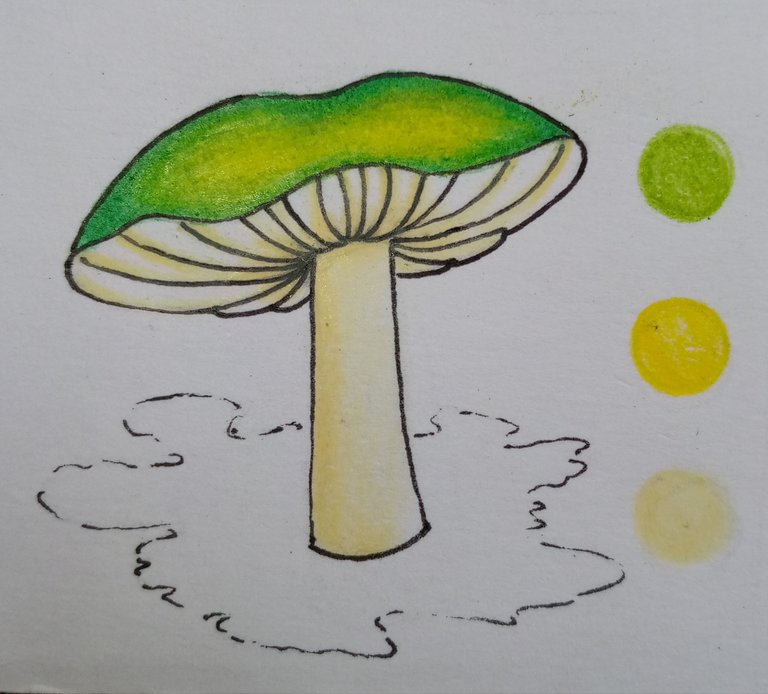
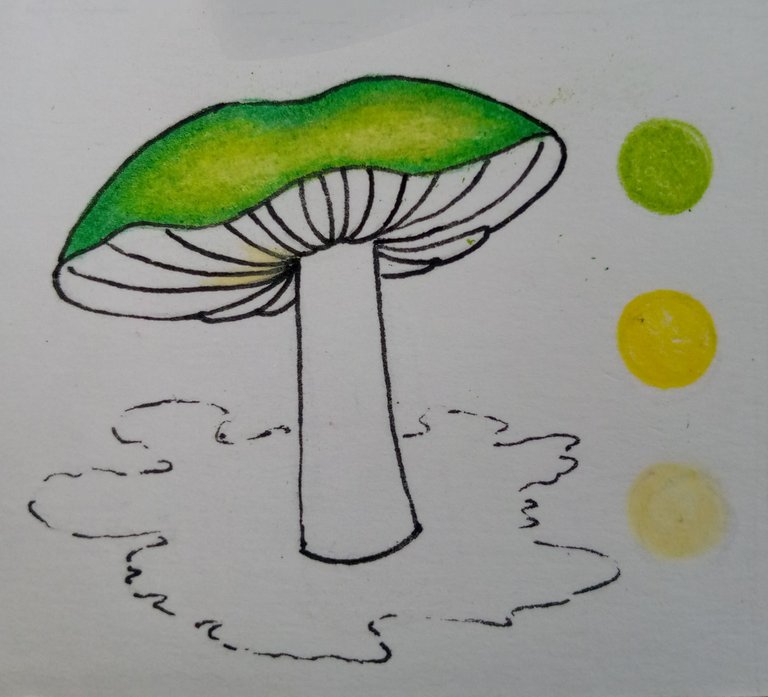
Los colores bases que elegí para estos tres honguitos son: 1° Rojo, 2° Azúl y 3° Verde.
The base colors I chose for these three little mushrooms are: 1° Red, 2° Blue, and 3° Green.
Les daré opciones de subtonos de estos colores, ustedes pueden usar el que quieran. Recuerden, primero colocamos el color base, sin tanta presión, y encima colocamos el subtono que elegimos aplicando un poco más de presión.
I’ll give you some undertone options for these colors—you can use whichever you like. Remember: first, we apply the base color with light pressure, and on top of that, we apply the chosen undertone with a bit more pressure.
En mí caso, para hacer un mejor efecto de degradación: tomé un subtono del subtono que utilicé para rellenar los espacios en blanco. En este caso un subtono del salmón es el Beige. Pero ustedes háganlo lo más práctico y básico posible, recuerden que es sólo práctica, pero si se quieren atrever a hacerlo de la misma forma que yo: adelante.
In my case, to create a better gradient effect, I chose a subtone of the subtone I used to fill in the white spaces. In this case, a subtone of salmon is beige. But make it as practical and simple as possible—remember, it's just practice. However, if you want to dare to do it the same way I did, go ahead!
❤️ • 3 opciones de subtono: Naranja 🍊 Rosa 🌸 y Salmón 🍑
❤️ • 3 undertone options: Orange 🍊 Pink 🌸 and Salmon 🍑
 |  |
|---|
 |  |
|---|
 |  |
|---|
💙 • 3 opciones de subtono: Azúl Cielo 💎 lavanda 🧃 y Aqua 🦚
💙 • 3 undertone options: Sky Blue 💎 Lavender 🧃 and Aqua 🦚
 |  |
|---|
 |  |
|---|
💚 • 3 opciones de subtono: Verde limón 🍋, Amarillo ☀️, beige 🥟
💚 • 3 undertone options: Lemon Green 🍋 Yellow ☀️ and Beige 🥟
 |  |
|---|
 |  |
|---|
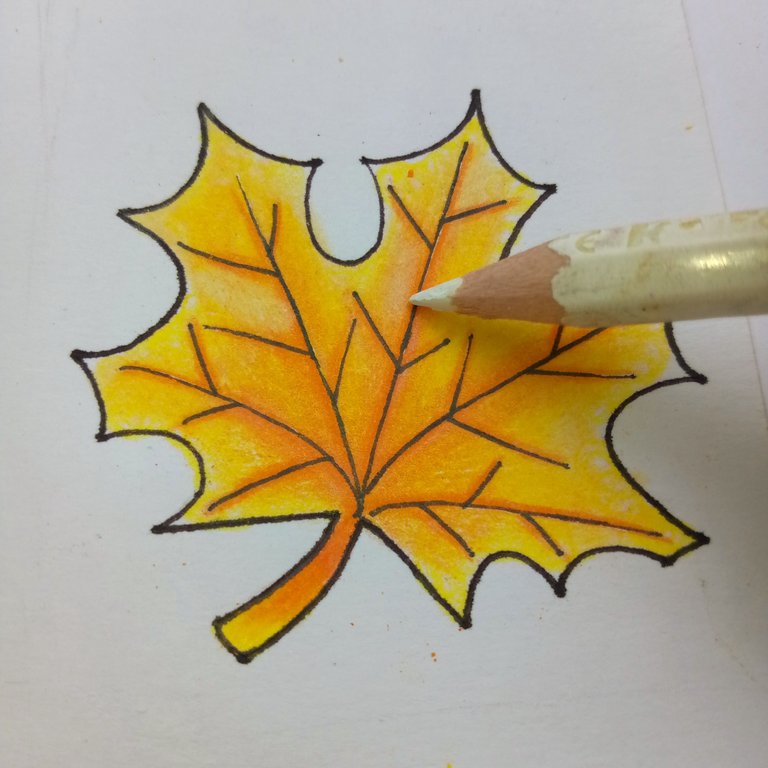
🍁 • LAPIZ DE COLOR BLANCO • 🍁 • WHITE COLOR PENCIL •
Esta es la forma que menos me gusta, porque siento que no me ayuda lo suficiente y aclara el color del dibujo, pero si eres principiante y quieres experimentar con lo más básico primero, es una buena opción.
This is the method I like the least because I feel it doesn’t help me enough—it lightens the drawing’s color too much. But if you’re a beginner and want to experiment with the most basic options first, it’s a good choice.
• 𝙴𝚓𝚎𝚛𝚌𝚒𝚌𝚒𝚘 • 📝 • 𝙴𝚡𝚎𝚛𝚌𝚒𝚜𝚎 •
Lo único que tienes que hacer es: al terminar tu creación, colorear con blanco sobre tu dibujo, esto ayudará a mezclar un poco los colores y arrastrar y fijar algo del pigmento a esos puntos vacíos.
The only thing you need to do is: after finishing your creation, color over your drawing with white. This will help blend the colors a little and drag and fix some of the pigment onto those empty spots.
 |  |
|---|
 |  |
|---|
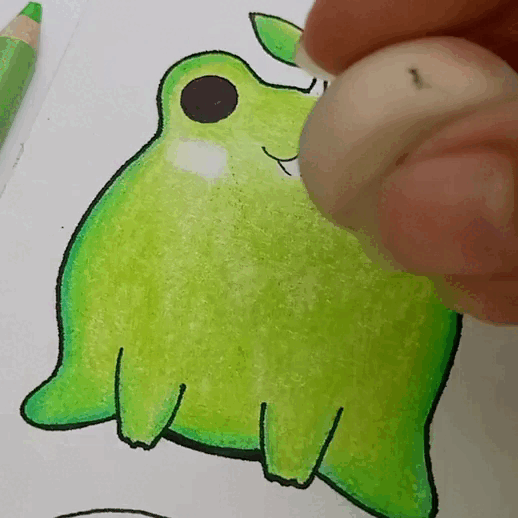
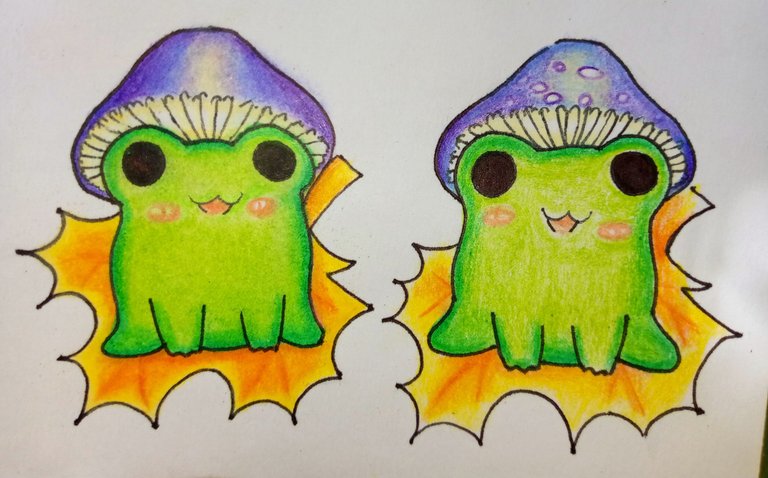
• EJERCICIO FINAL • ✨🏁✨ • FINAL EXCERCISE •
Ahora podemos aplicar las tres técnicas a nuestro último dibujito. Repasemos: 🐸 Goma de borrar 🍄Color Subtono y 🍁 Color Blanco.
Now we can apply all three techniques to our final drawing. Let’s review: 🐸 Eraser 🍄 Undertone Color and 🍁 White Color.
Eso es todo por el post de hoy 💙✨ Espero que estos tips y ejercicios prácticos les hayan servido de ayuda o al menos les hayan parecido interesantes. Terminé un poco cansada haciendo este post, pero de alguna manera estoy bastante satisfecha con los resultados y mis explicaciones.
Aunque hay cosas como la estética del post en general que no me gustaron, pero: estoy tratando de sobrellevar mi perfeccionismo tóxico sin recurrir a un harakiri emocional cada vez que me equivoco (. ❛ ᴗ ❛.)
That's all for today's post!! I hope these tips and practical exercises have been helpful or at least interesting to you. I ended up a bit tired after making this post, but somehow, I'm quite satisfied with the results and my explanations.
Though there are things like the overall aesthetics of the post that I didn’t really like, I'm trying to cope with my toxic perfectionism without resorting to an emotional harakiri every time I make a mistake (. ❛ ᴗ ❛.).
Gracias por leer mi post! Y hasta la próxima!!✨💙
Thanks for to read My post, and see you next time 💙✨
Hola Oliver. Hermoso post, super entretenido. Hasta me dieron ganas de ponerme a pintar algo para probar tus tips jajaja. Lo de la goma la verdad super ingenioso, si noté que hay algunas gomas que no borran sino que desparraman todo el lapiz, así que usarlo a tu favor es una gran técnica. Las demás también, super buenas.
Gracias por compartir tu contenido. Te mando un saludo y que tengas un gran día 💞
Holaa, muchísimas gracias por su apoyo y por sus lindas palabras, me alegra muchísimo que mis tips le hayan parecido útiles e incluso ingeniosos 🤧 espero que si en algún momento desea colorear algo, los pueda poner en práctica y le sirvan de ayuda.
Saludos y deseo que usted también tenga un muy buen día 💙✨
Me alegra que esté siendo más constante mi niña y 🤯 así quede con este nuevo tutorial, maravilloso. 🥰🫂
Jum jum *abrazo gracias por su apoyo 💙✨
¡Manos a la obra!. Estoy practicando pintar con colores y estos consejos son valiosos. Los probaré. Muchas gracias.
Ohhh, que cool, el que esté practicando es genial. Me ilusiona mucho saber que mis consejos le han resultado útiles ✨ muchos exitos en su proceso de aprendizaje 💙
Que bonitos acabados... Voy a practicar estos tips. Muchas gracias por compartir.
!discovery 30
Muchas gracias por sus lindas palabras de apoyo! Gracias a usted por darle una oportunidad a mi post 💙✨ saludos y un abrazo
This post was shared and voted inside the discord by the curators team of discovery-it
Join our Community and follow our Curation Trail
Discovery-it is also a Witness, vote for us here
Delegate to us for passive income. Check our 80% fee-back Program