Una de las herramientas más utilizadas en el mundo del Diseño Gráfico además de Adobe Photoshop, es el programa Adobe Illustrator. Este programa es muy útil para realizar logotipos, íconos, símbolos, texturas y tramas, y dibujos como en este caso. En el marketing digital es utilizado para la realización de flyers publicitarios, catálogos y diseños para redes sociales.
One of the most used tools in the world of Graphic Design, besides Adobe Photoshop, is Adobe Illustrator. This program is very useful for logos, icons, symbols, textures and patterns, and drawings as in this case. In digital marketing it is used to create advertising flyers, catalogs and designs for social networks.
En este caso mostraré como dibujar un búho en el programa mencionado basándome sólo en círculos. Elegí esta ave porque popularmente representa la sabiduría y la inteligencia, creo que esto me inspiró a realizarlo.
In this case I will show how to draw an owl in the above mentioned program based only on circles. I chose this bird because it popularly represents wisdom and intelligence, I think this inspired me to make it.
 PASO 1: CREAR EL LIENZO.
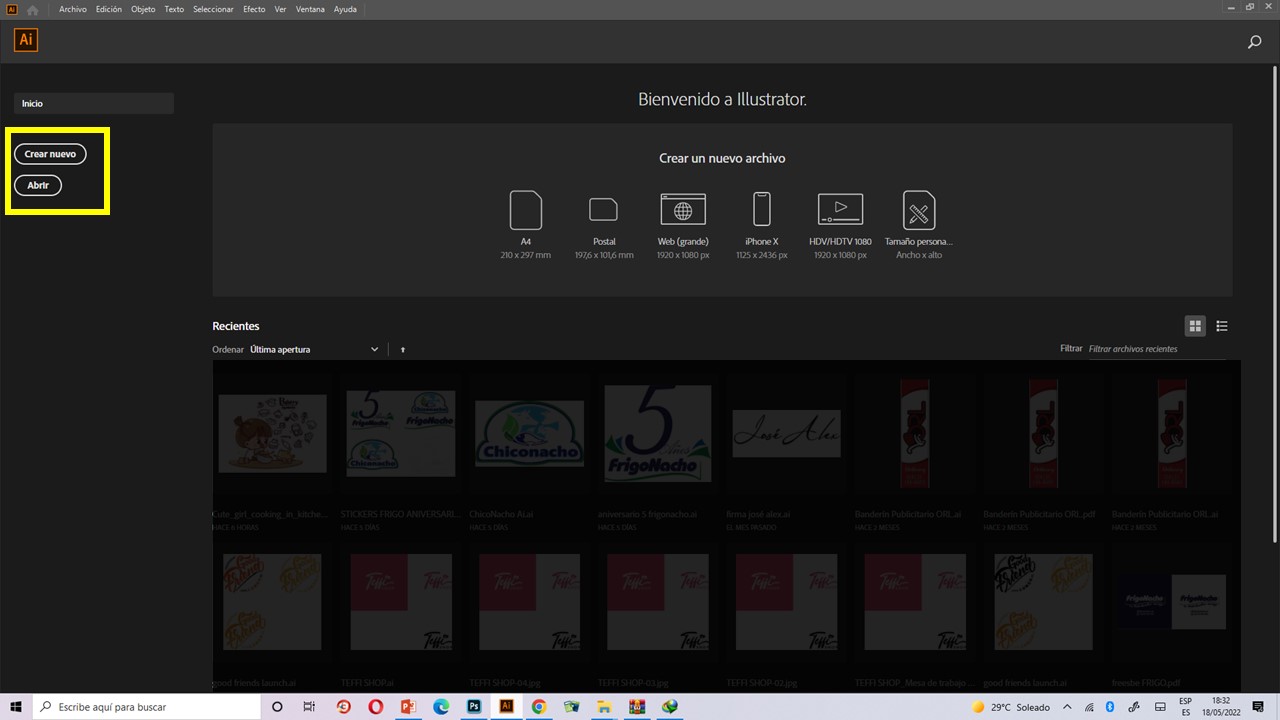
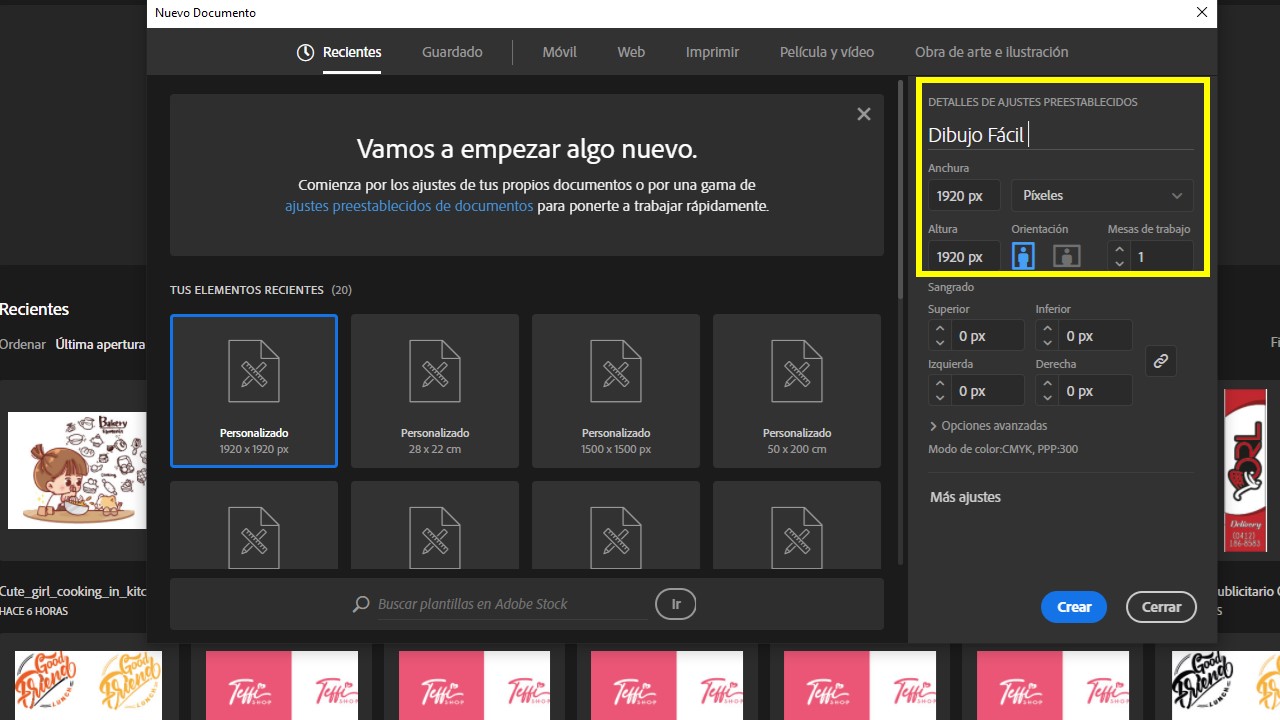
Como se aprecia en la primera captura de pantalla, luego de iniciar el programa vamos a crear un nuevo archivo. En el recuadro 2 no va a pedir las especificaciones de como queremos que sea el nombre, y las dimensiones, en este caso elegí 1920x1920 pixeles, es un tamaño apto para pantallas de celulares, se puede hacer más grande o pequeño y de acuerdo a las unidades que se requieran. En la parte que dice: "mesas de trabajo" se refiere a cuantos lienzos vas a necesitar para trabajar, en este caso sólo vamos a necesitar uno.
As you can see in the first screenshot, after starting the program we are going to create a new file. In box 2 it is not going to ask for the specifications of how we want the name to be, and the dimensions, in this case I chose 1920x1920 pixels, it is a size suitable for mobile screens, you can make it bigger or smaller and according to the units that are required. In the part that says: "work tables" refers to how many canvases you will need to work with, in this case we will only need one.
Fuente: https://mott.pe/noticias/wp-content/uploads/2016/06/dibujos-a-base-de-circulos-12.png
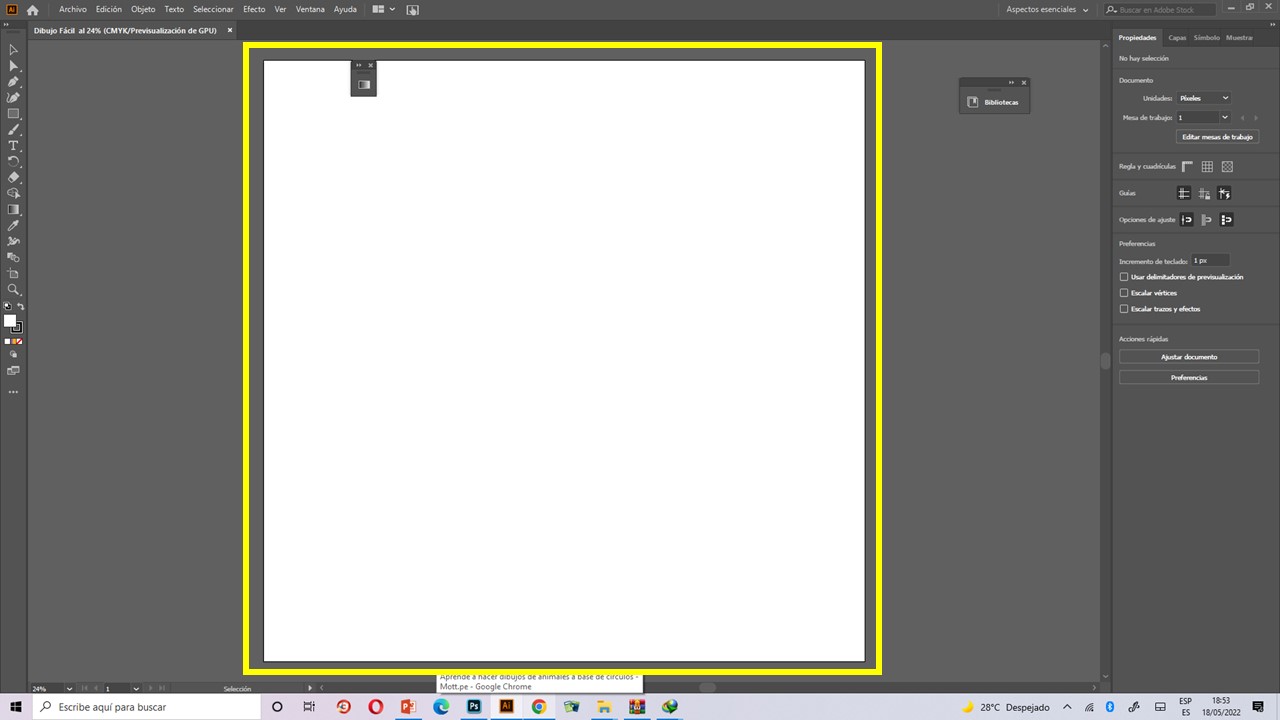
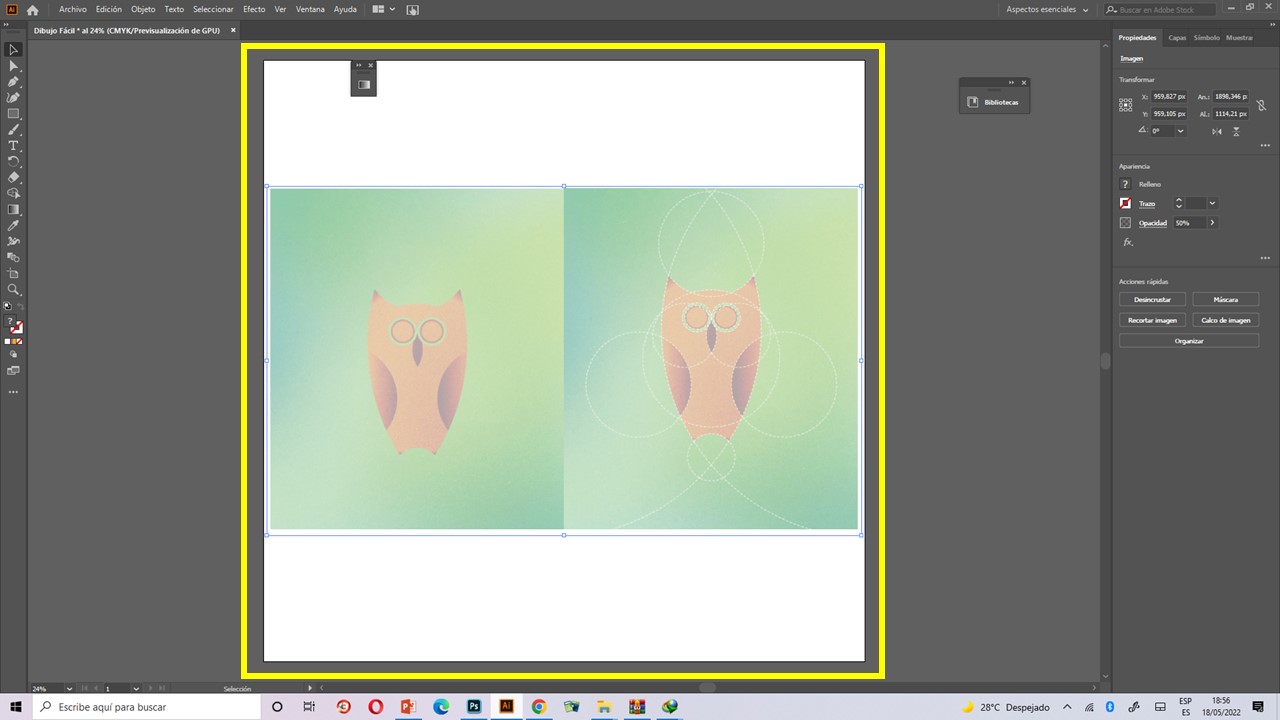
Una vez se abre el lienzo pegué una imagen guía que copié del enlace indicado. En esta página puedes conseguir más referencias o ejemplos que podemos utilizar. Le bajé la opacidad a un 50% para que no interfiera con el dibujo que realizaré a continuación.
Once the canvas opens I pasted a guide image that I copied from the indicated link. On this page you can get more references or examples that we can use. I lowered the opacity to 50% so that it does not interfere with the drawing I will do next.
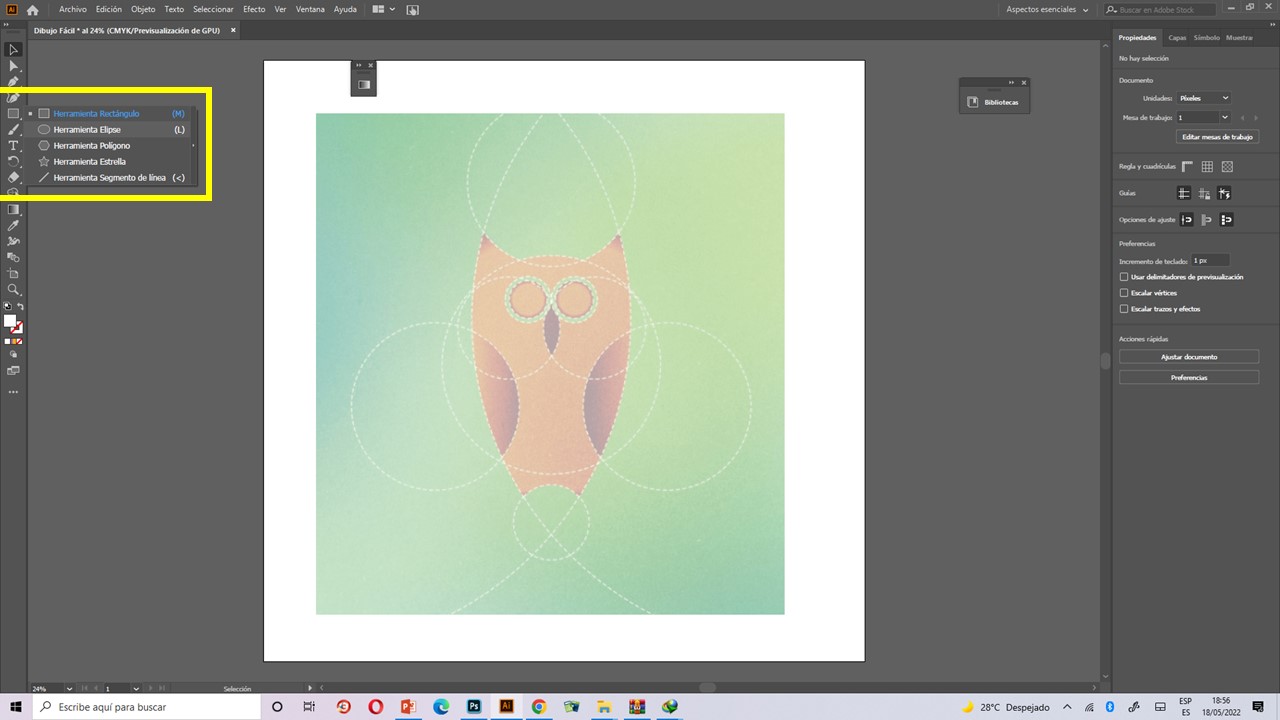
En este paso nos dirigimos a las herramientas de formas, y elegimos la forma de eclipse ya que como mencioné el dibujo se realizará bajo la temática de círculos. Es muy importante que si queremos que cada círculo nos quede perfecto debemos mantener presionada la tecla "Shift" cada vez que hagamos uno.
In this step we go to the shape tools, and we choose the eclipse shape since as I mentioned the drawing will be done under the theme of circles. It is very important that if we want each circle to be perfect we must keep the "Shift" key pressed every time we make a circle.
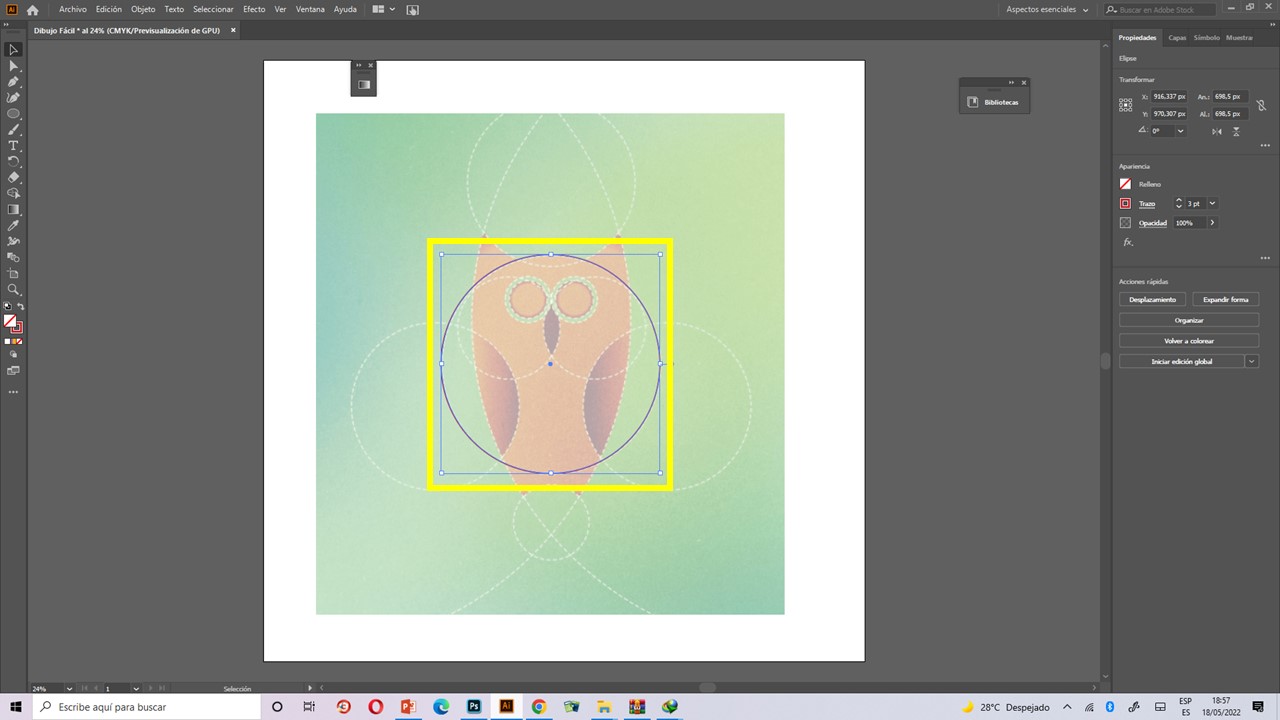
Ya en este momento tracé todos los círculos que conformarán el dibujo. Eliminé el dibujo guía y a continuación vamos a unificar algunos de los círculos para empezar a darle forma a nuestro búho.
At this point I traced all the circles that will make up the drawing. I removed the guide drawing and now we are going to unify some of the circles to start shaping our owl.

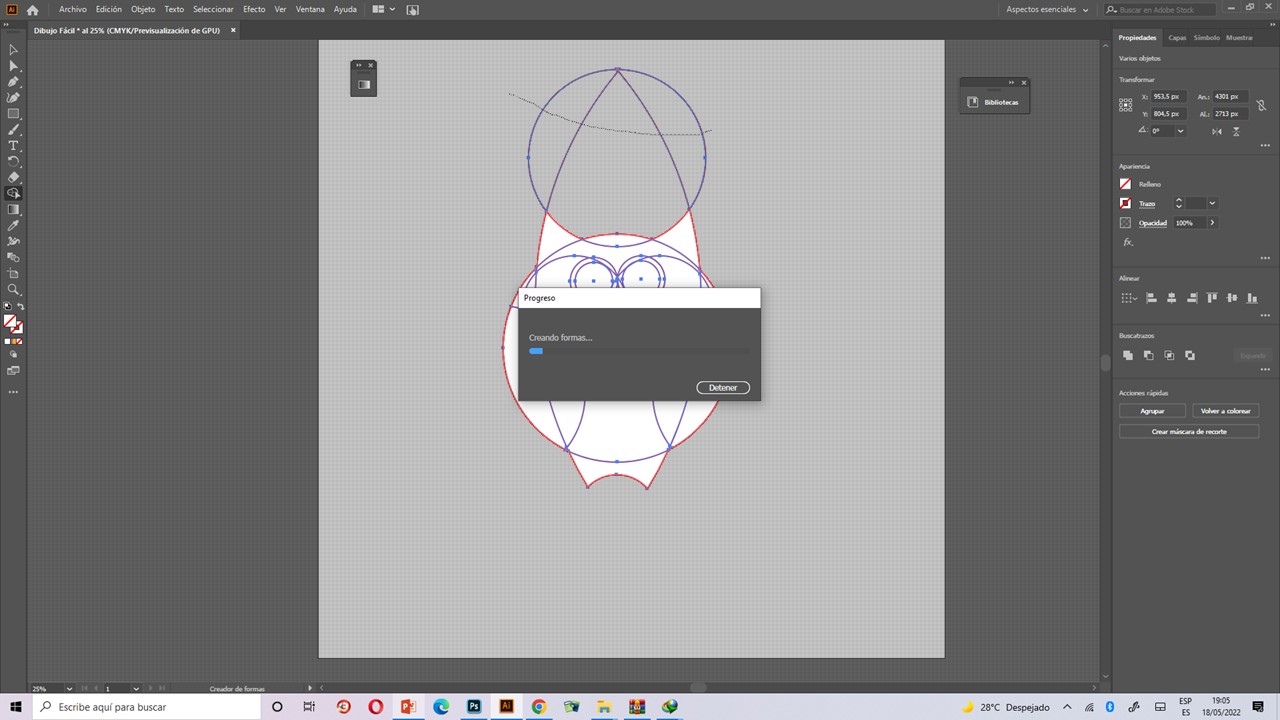
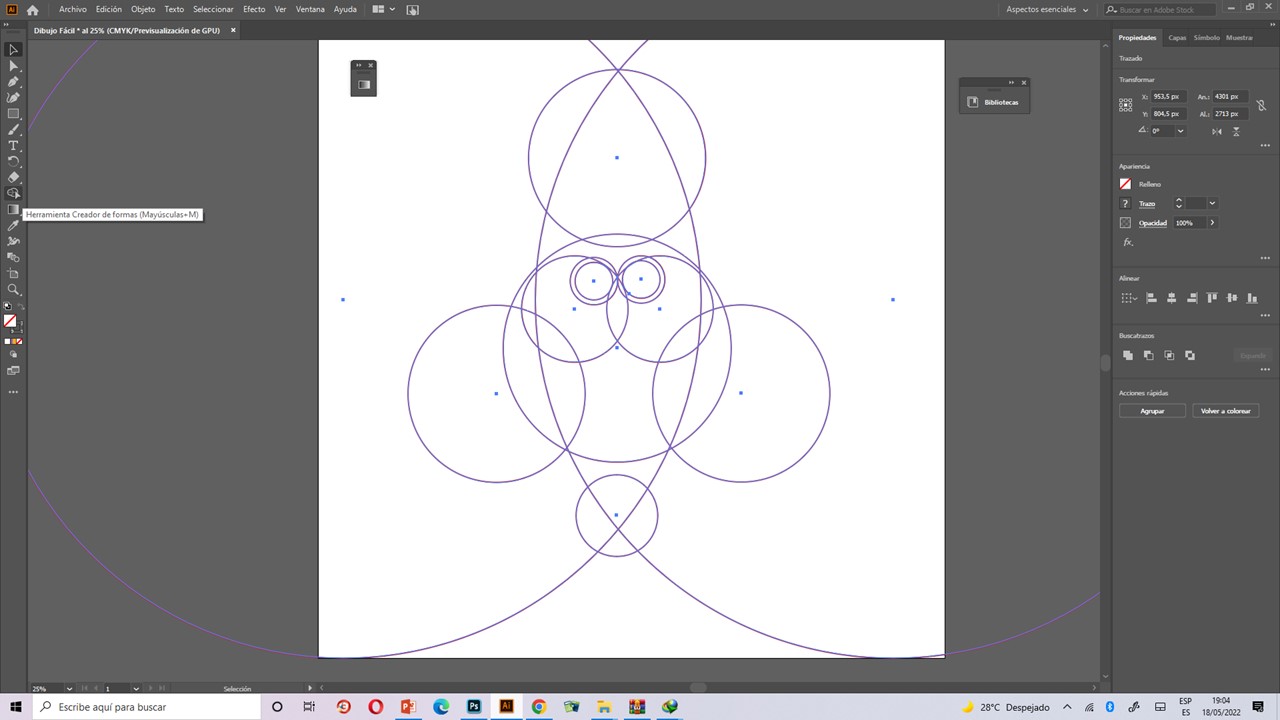
Vamos a seleccionar todos los trazos que realizamos y nos vamos a dirigir a la herramienta "Creador de Formas", esta se encarga de unificar las formas, nuevamente repito; deben estar seleccionadas.
We are going to select all the strokes that we made and we are going to go to the "Shape Creator" tool, this is in charge of unifying the shapes, again I repeat; they must be selected.
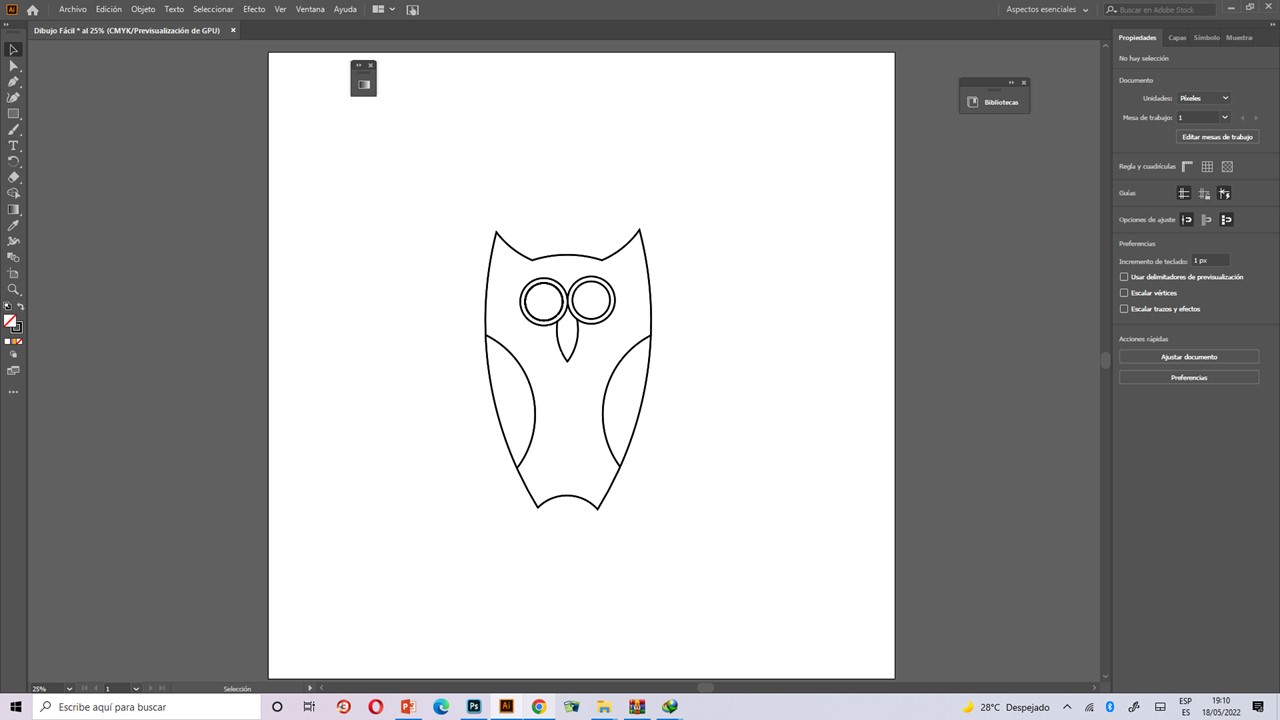
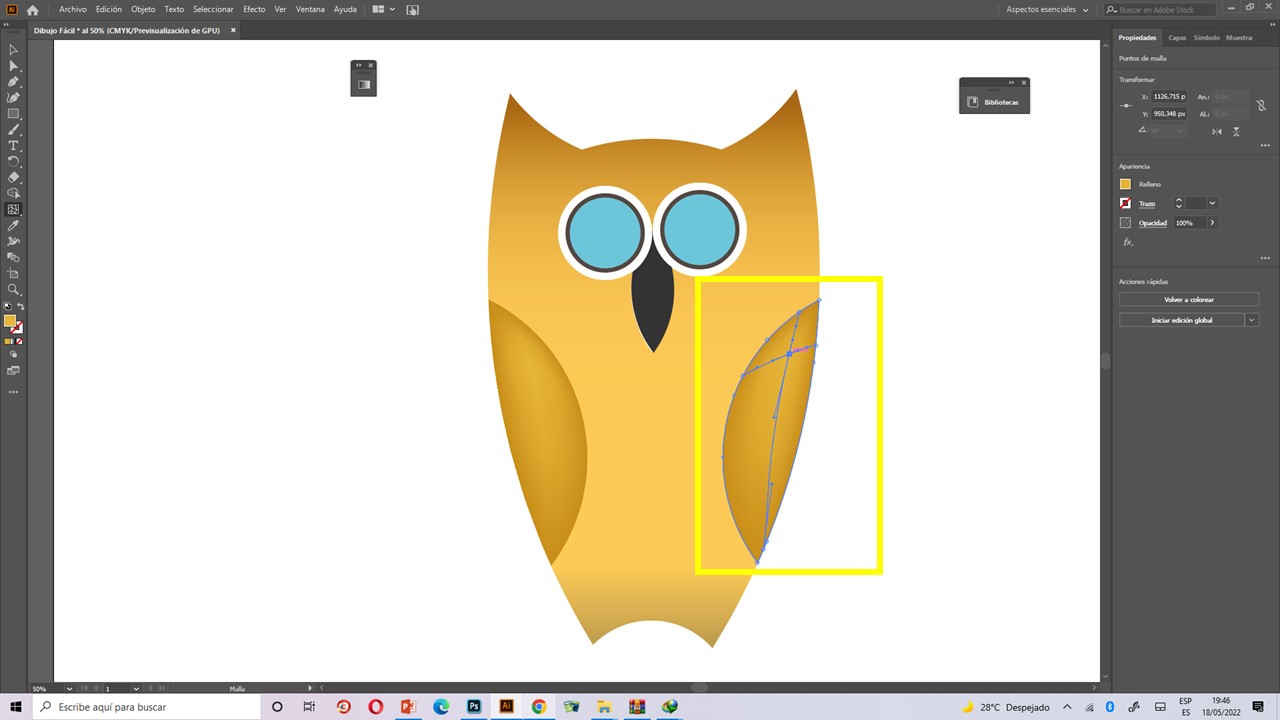
Ya en este momento tenemos nuestro dibujo en blanco. Pasamos a darle color. En este caso utilicé la herramienta "Malla" donde se los da la posibilidad de modificar los colores en regiones específicas, lo que nos servirá para darle sombras y brillos sin necesidad de crear nuevas formas.
At this point we have our drawing in white. We move on to give it color. In this case I used the "Mesh" tool where we have the possibility to modify the colors in specific regions, which will help us to give shadows and brightness without the need to create new shapes.
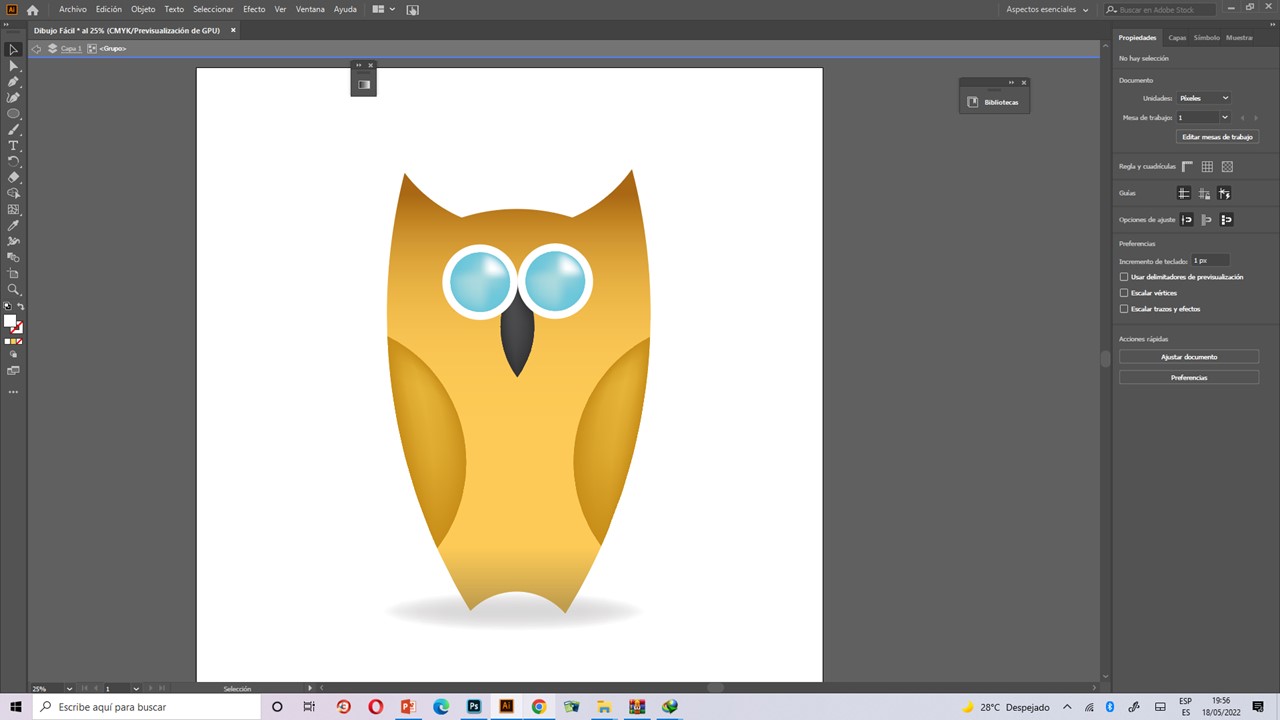
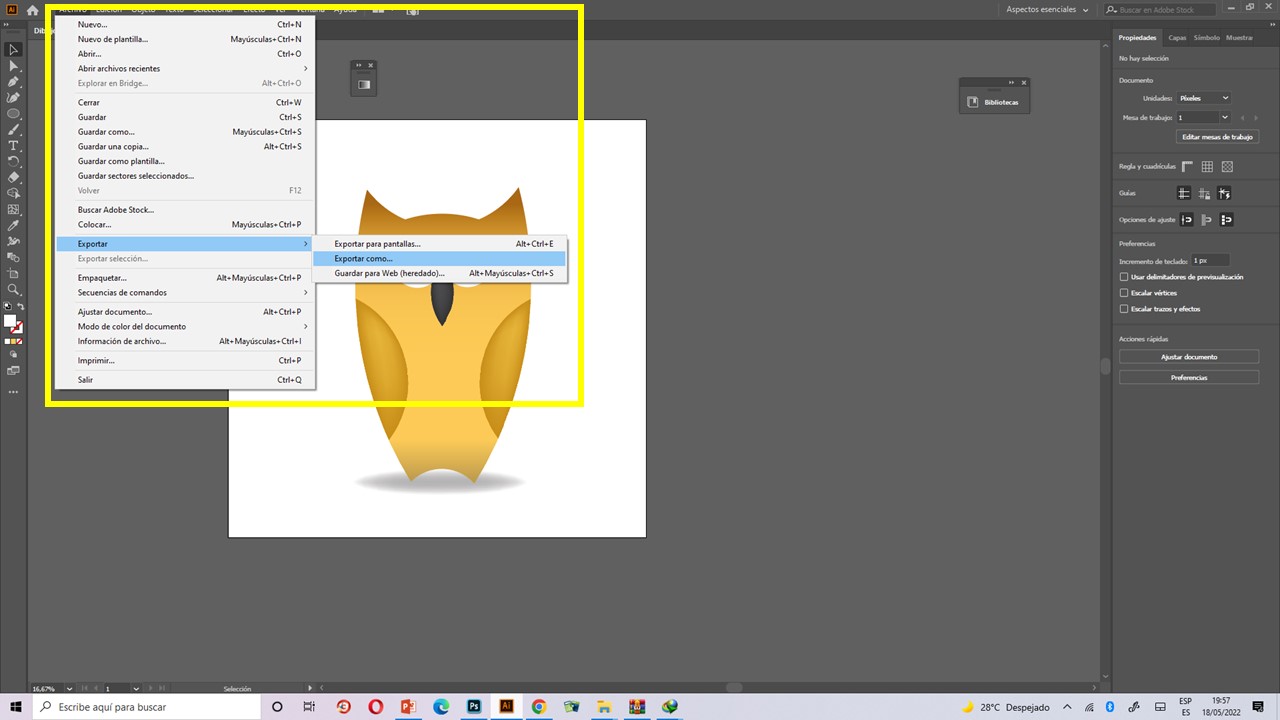
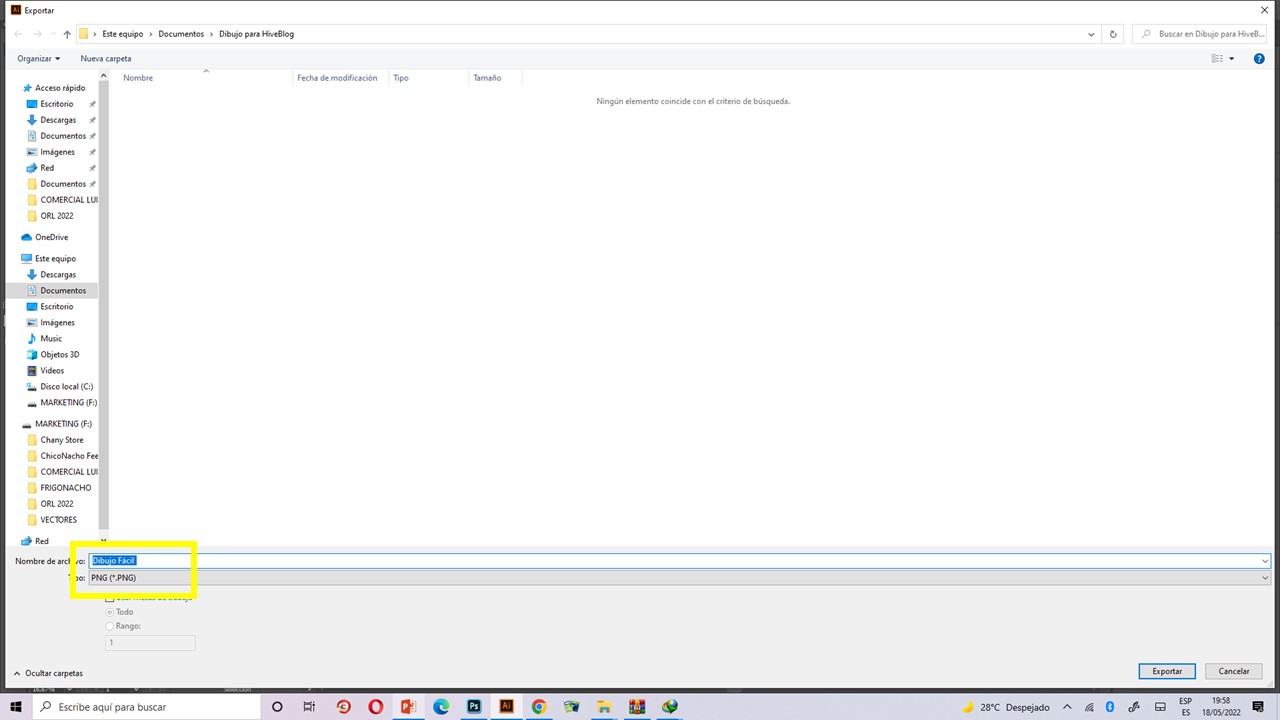
Ya casi tenemos nuestro Búho realizado con Adobe Illustrator, sólo nos falta el último paso, que es guardar. Este trabajo nos sirve para crear stickers, emojis, gifts animados y más. Sólo no pongamos límites a nuestra creatividad. Yo guardo mis dibujos en formato PNG, si no tienen fondo mejor aun, porque los podemos usar en photoshop y powerpoint.
Espero que de verdad te haya gustado y te animes a realizar tu propia versión.
We almost have our Owl made with Adobe Illustrator, we just need the last step, which is to save. This work can be used to create stickers, emojis, animated gifts and more. Let's not put limits to our creativity. I save my drawings in PNG format, if they have no background, even better, because we can use them in photoshop and powerpoint.
I hope you really liked it and I encourage you to make your own version.
Traductor Utilizado: www.DeepL.com/Translator
Programa: Adobe Illustrator 2020
Montajes: Microsoft Office Power Point

Excelente, gracias por compartir.
Congratulations @josealex05! You have completed the following achievement on the Hive blockchain and have been rewarded with new badge(s):
Your next target is to reach 30 posts.
You can view your badges on your board and compare yourself to others in the Ranking
If you no longer want to receive notifications, reply to this comment with the word
STOPTo support your work, I also upvoted your post!
Check out the last post from @hivebuzz:
Support the HiveBuzz project. Vote for our proposal!