Feliz dia amigos, saludos y bienvenidos a mi blog!!!
Happy day friends, greetings and welcome to my blog!!!
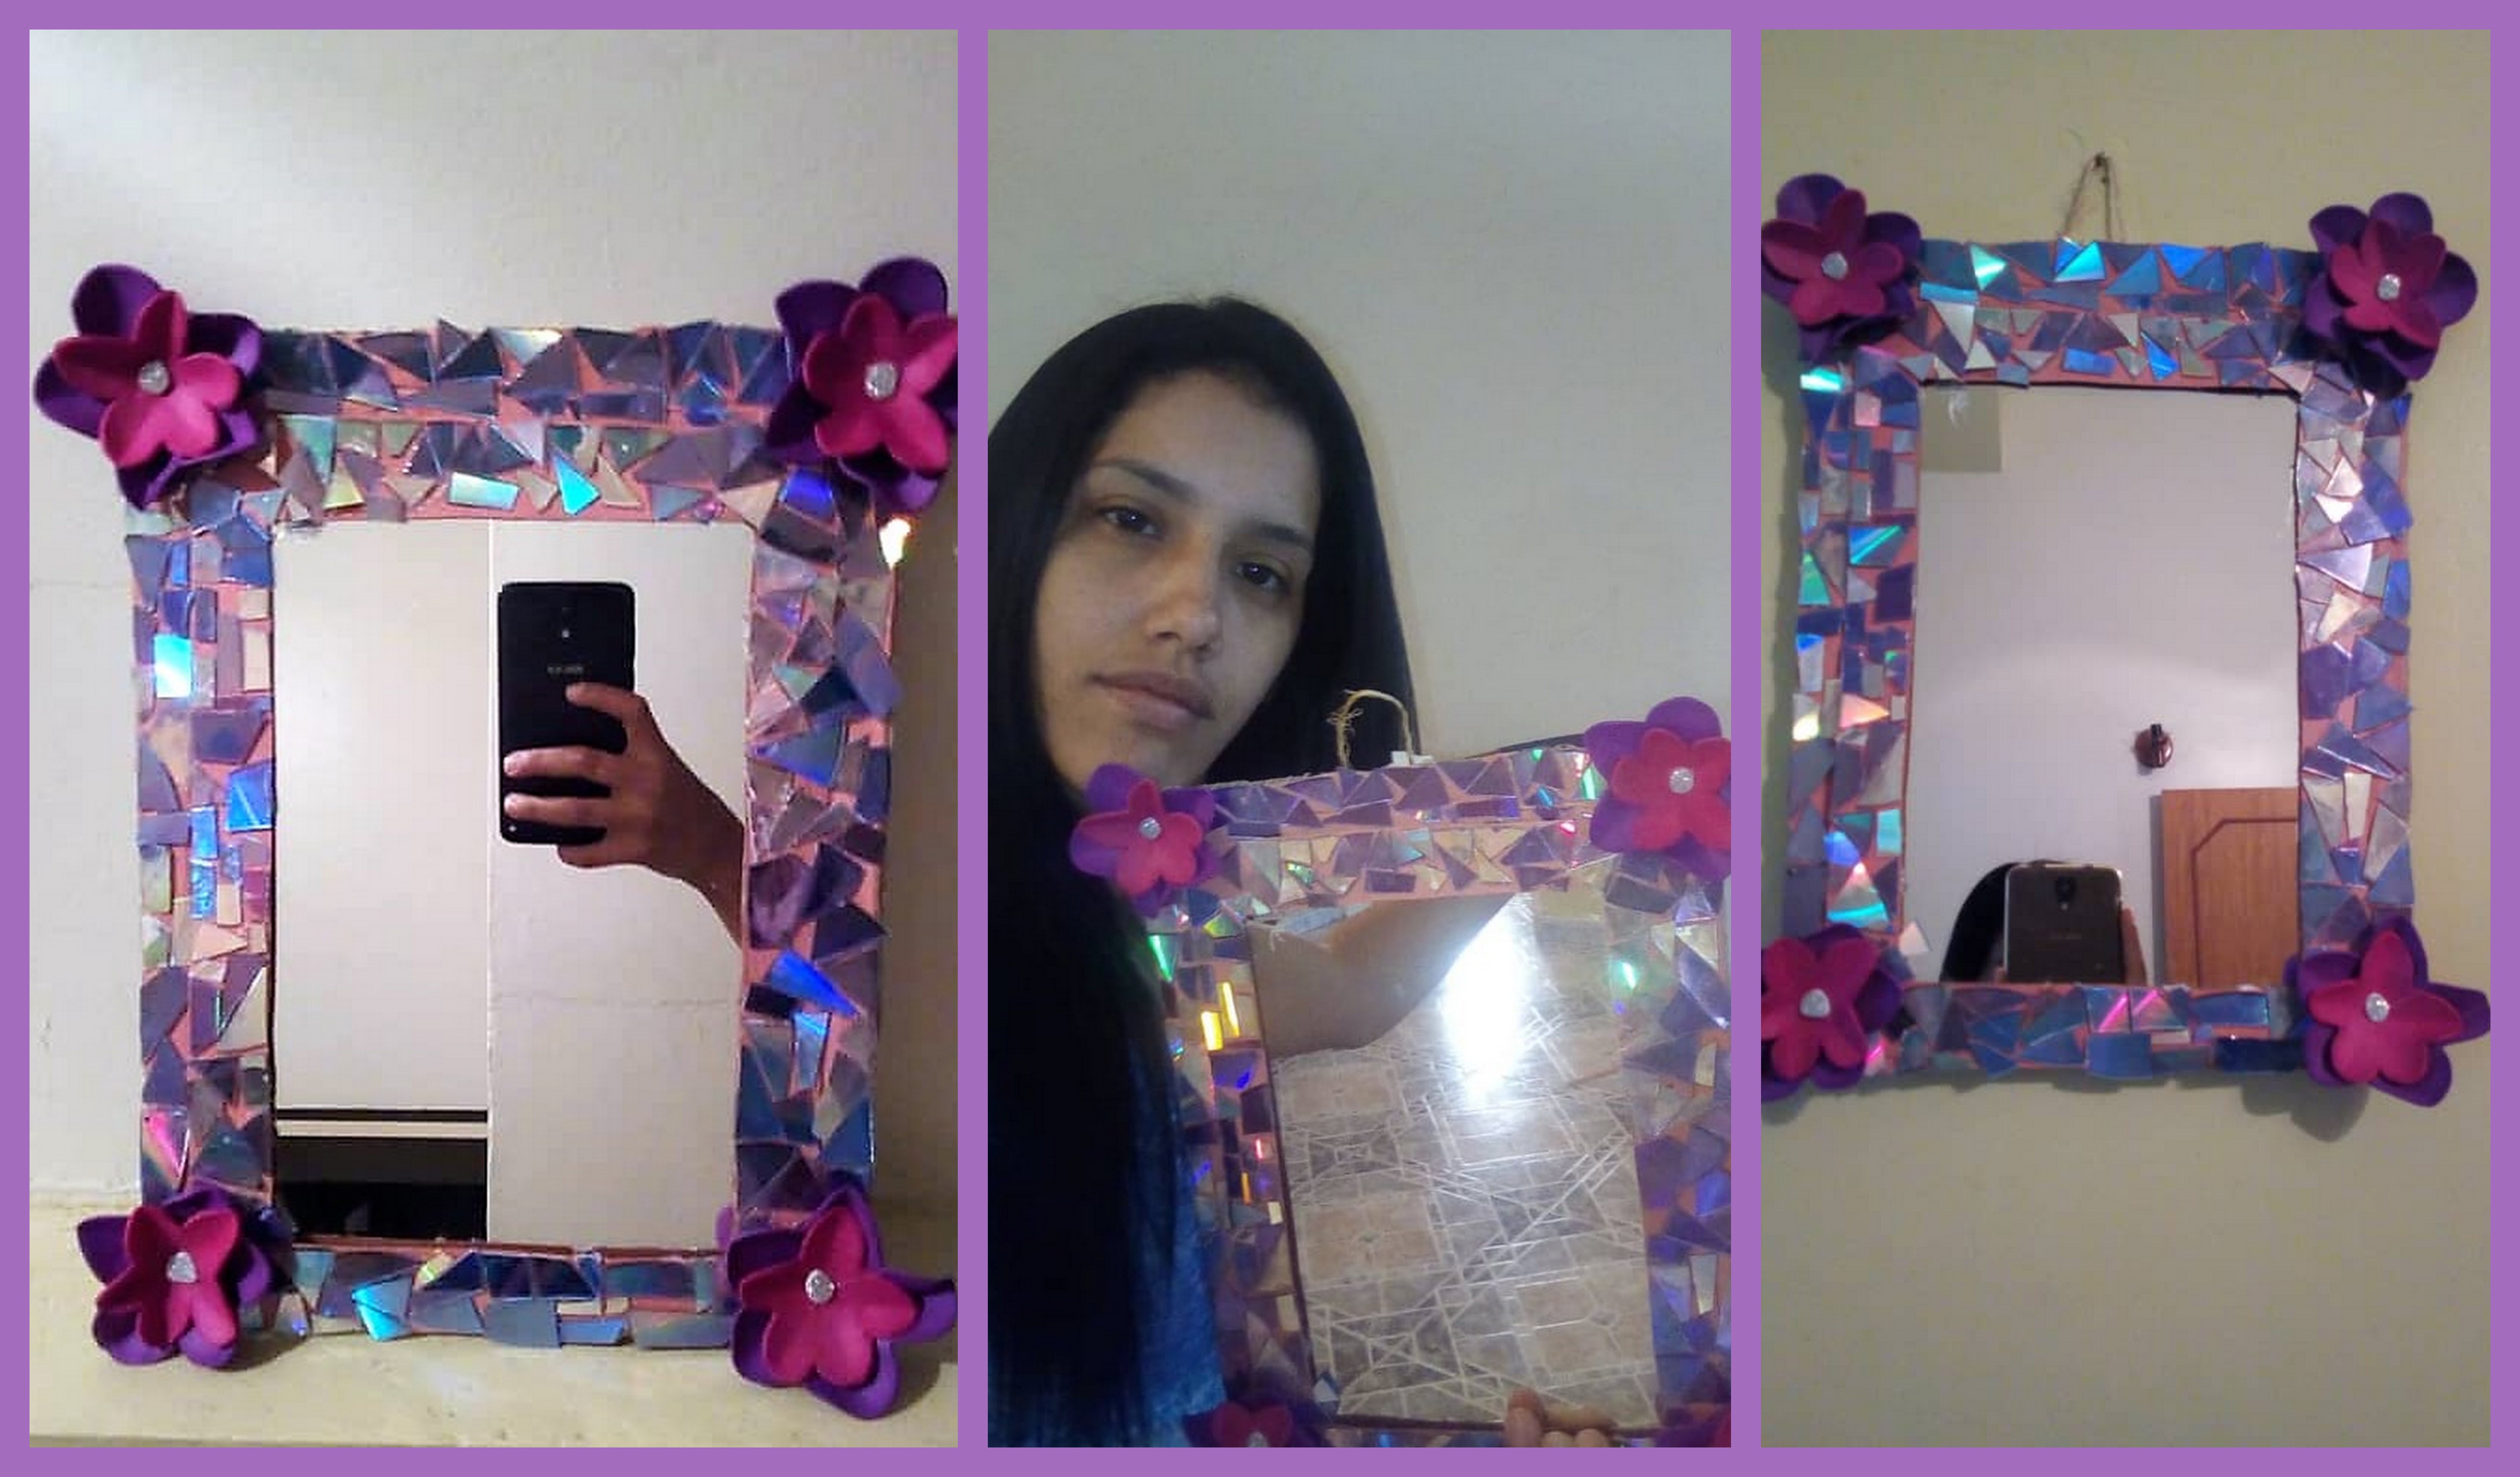
Reciclar es amar a la tierra, reciclar es un acto de amor y responsabilidad por el planeta tierra.
Recycling is loving the earth, recycling is an act of love and responsibility for the planet earth.
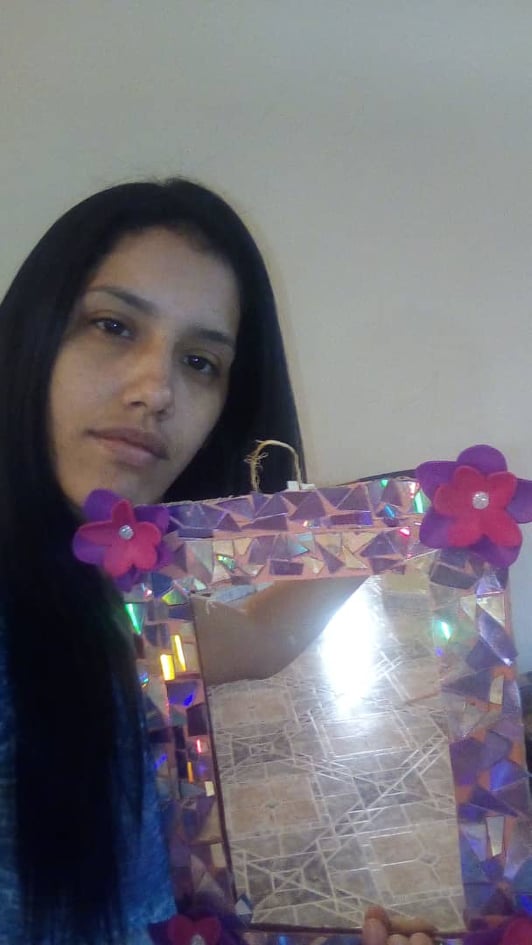
Mi proyecto creativo de hoy se trata de la recuperación y decoración de un espejo que mi mama iba a tirar la basura, ya que el marco del mismo se rompio, y bueno yo decidí hacerle un bello marco con CD´s reciclados y compartirlos con todos ustedes, acompáñenme hasta el final para que vean el paso a paso, es muy sencillo de hacer.
My creative project today is about the recovery and decoration of a mirror that my mom was going to throw away, since its frame was broken, and well, I decided to make a beautiful frame with recycled CDs and share them with everyone. you, accompany me until the end so you can see the step by step, it is very simple to do.
Materiales:
- Espejo sin marco.
- CDs viejos.
- Foamy.
- Silicón caliente.
- Cartón.
- Pinturas.
- Tijeras y cutter.
Paso a Paso.
Step by Step.
Paso 1:
Step 1:
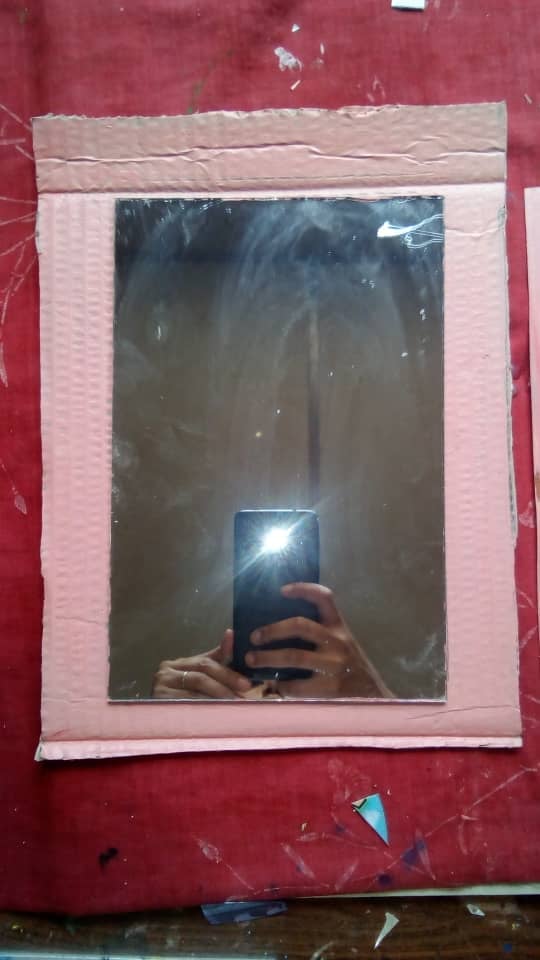
Para iniciar la enmarcación del espejo vamos a recortar un rectángulo en cartón, 3 cm más grande de cada lado que el espejo que estamos utilizando, también recortaremos otro rectángulo, pero le recortamos el centro del espejo ya que este lo usaremos para asegurar más el espejo, con pintura rosa claro y un pincel un poco grueso los pintamos.
To start the framing of the mirror we are going to cut a rectangle out of cardboard, 3 cm larger on each side than the mirror we are using, we will also cut another rectangle, but we will cut out the center of the mirror since we will use it to further secure the mirror , with light pink paint and a slightly thick brush we paint them.

Paso 2:
Step 2:
Con silicon caliente pegamos el espejo sobre el rectángulo de cartón que anteriormente habíamos recortado.
With hot silicone we stick the mirror on the cardboard rectangle that we had previously cut out.
Paso 3:
Step 3:
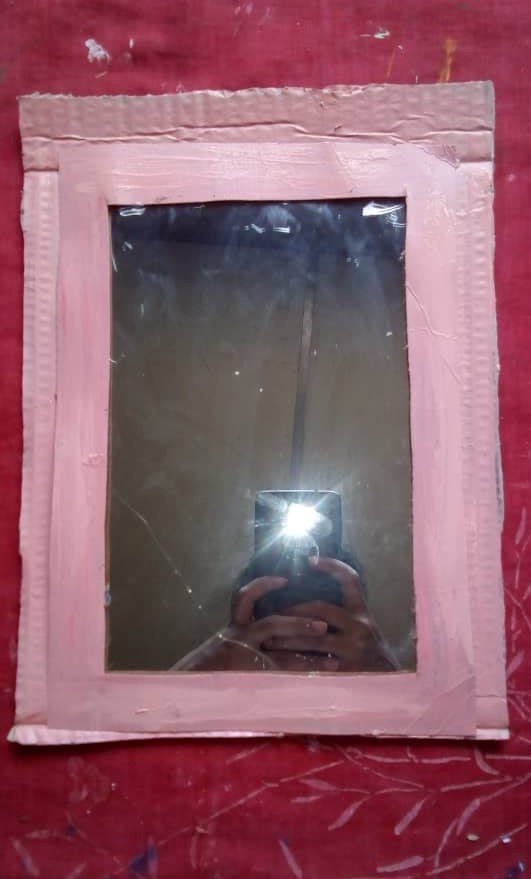
Aseguramos el espejo con el rectángulo hueco, como se observa en la siguiente imagen.
We secure the mirror with the hollow rectangle, as shown in the following image.
Paso 4:
Step 4:
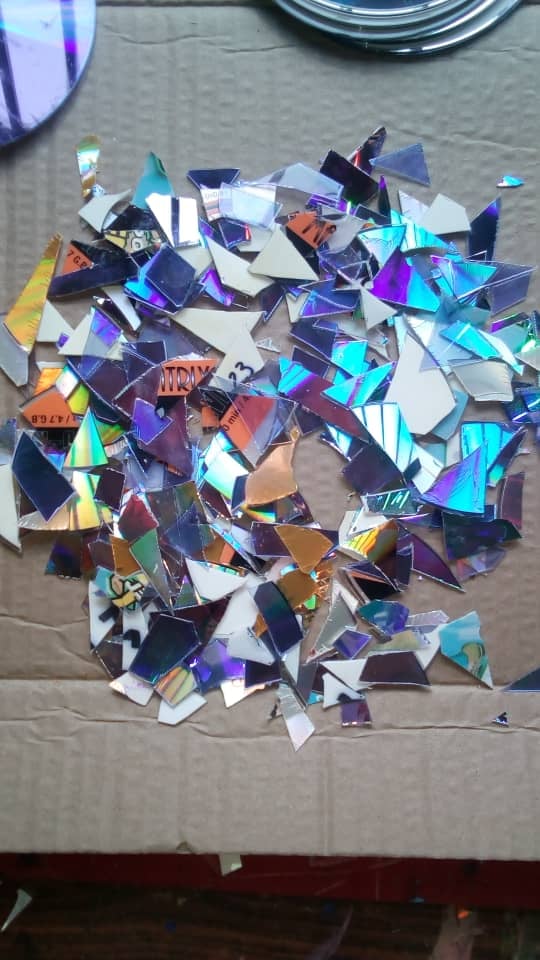
El paso a seguir es tomar 7 CD`s viejos y picarlos con ayuda de una tijera y guantes, debemos picarlos bien pequeños.
The step to follow is to take 7 old CD`s and chop them with the help of scissors and gloves, we must chop them very small.
Paso 5:
Step 5:
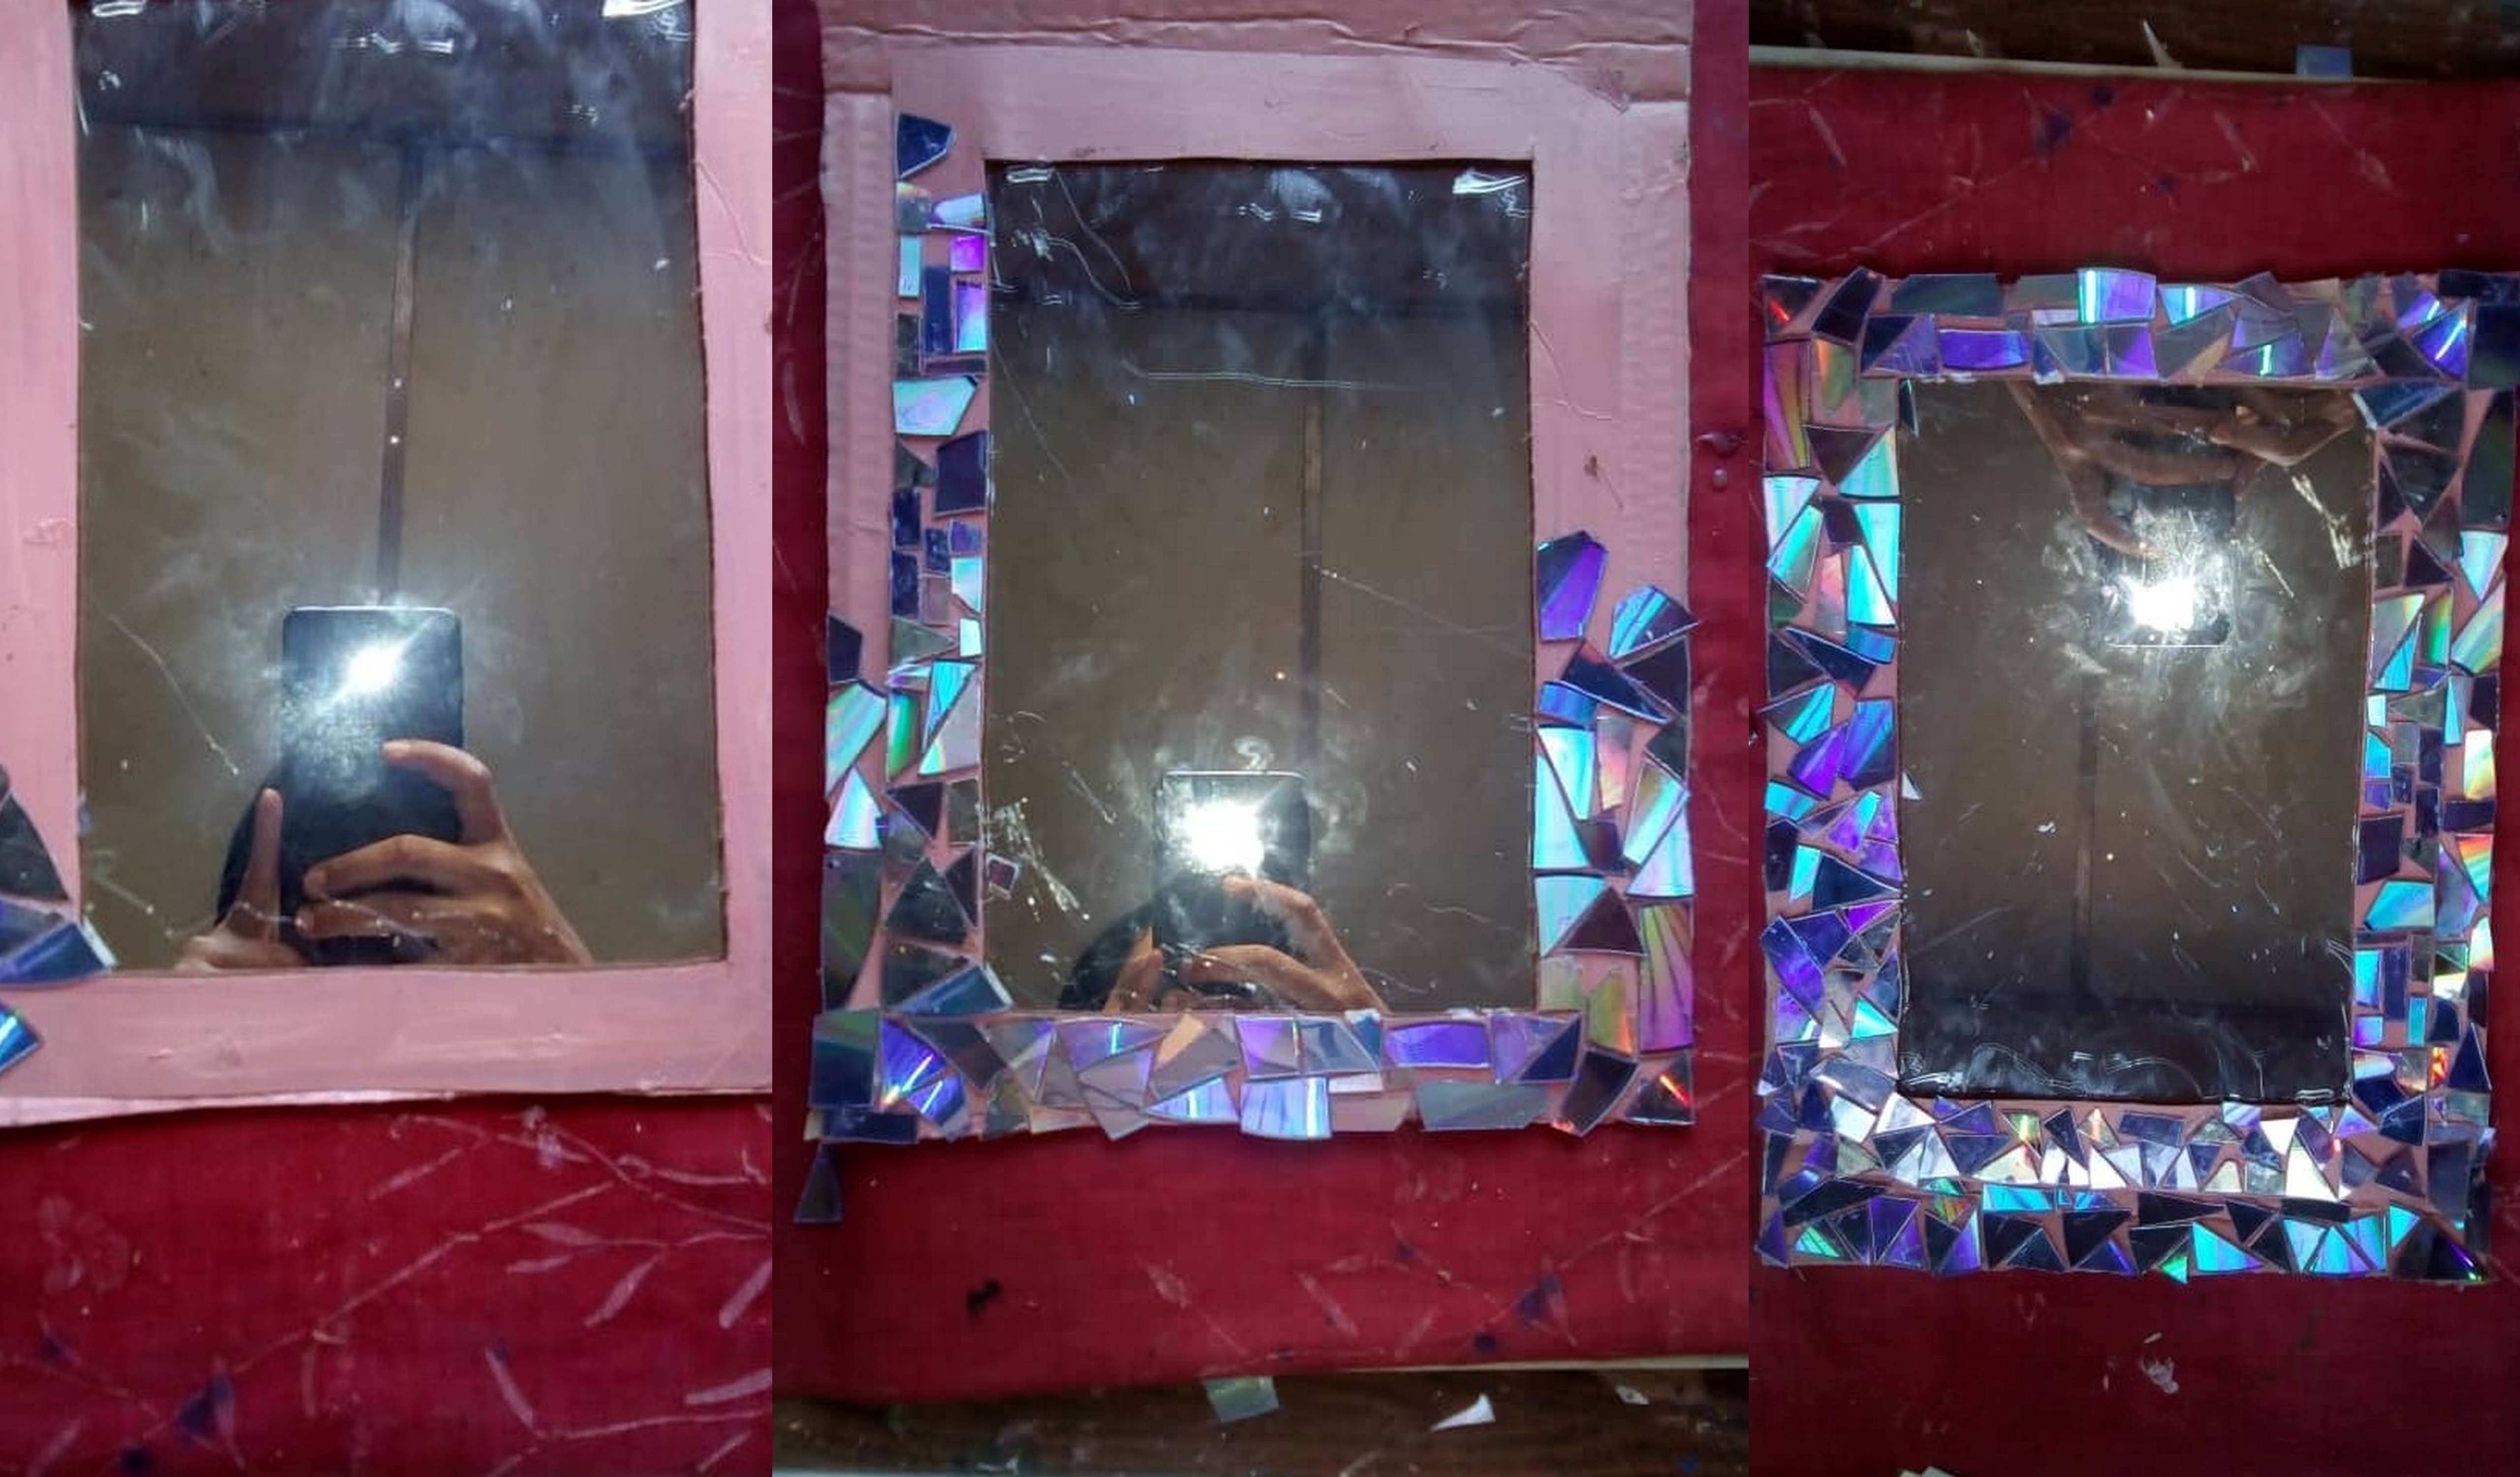
Una vez que tengamos los CD´s picados comenzamos a pegarlos alrededor del espejo en forma de mosaico.
Once we have the chopped CD's we begin to paste them around the mirror in the form of a mosaic.
Paso 6:
Step 6:
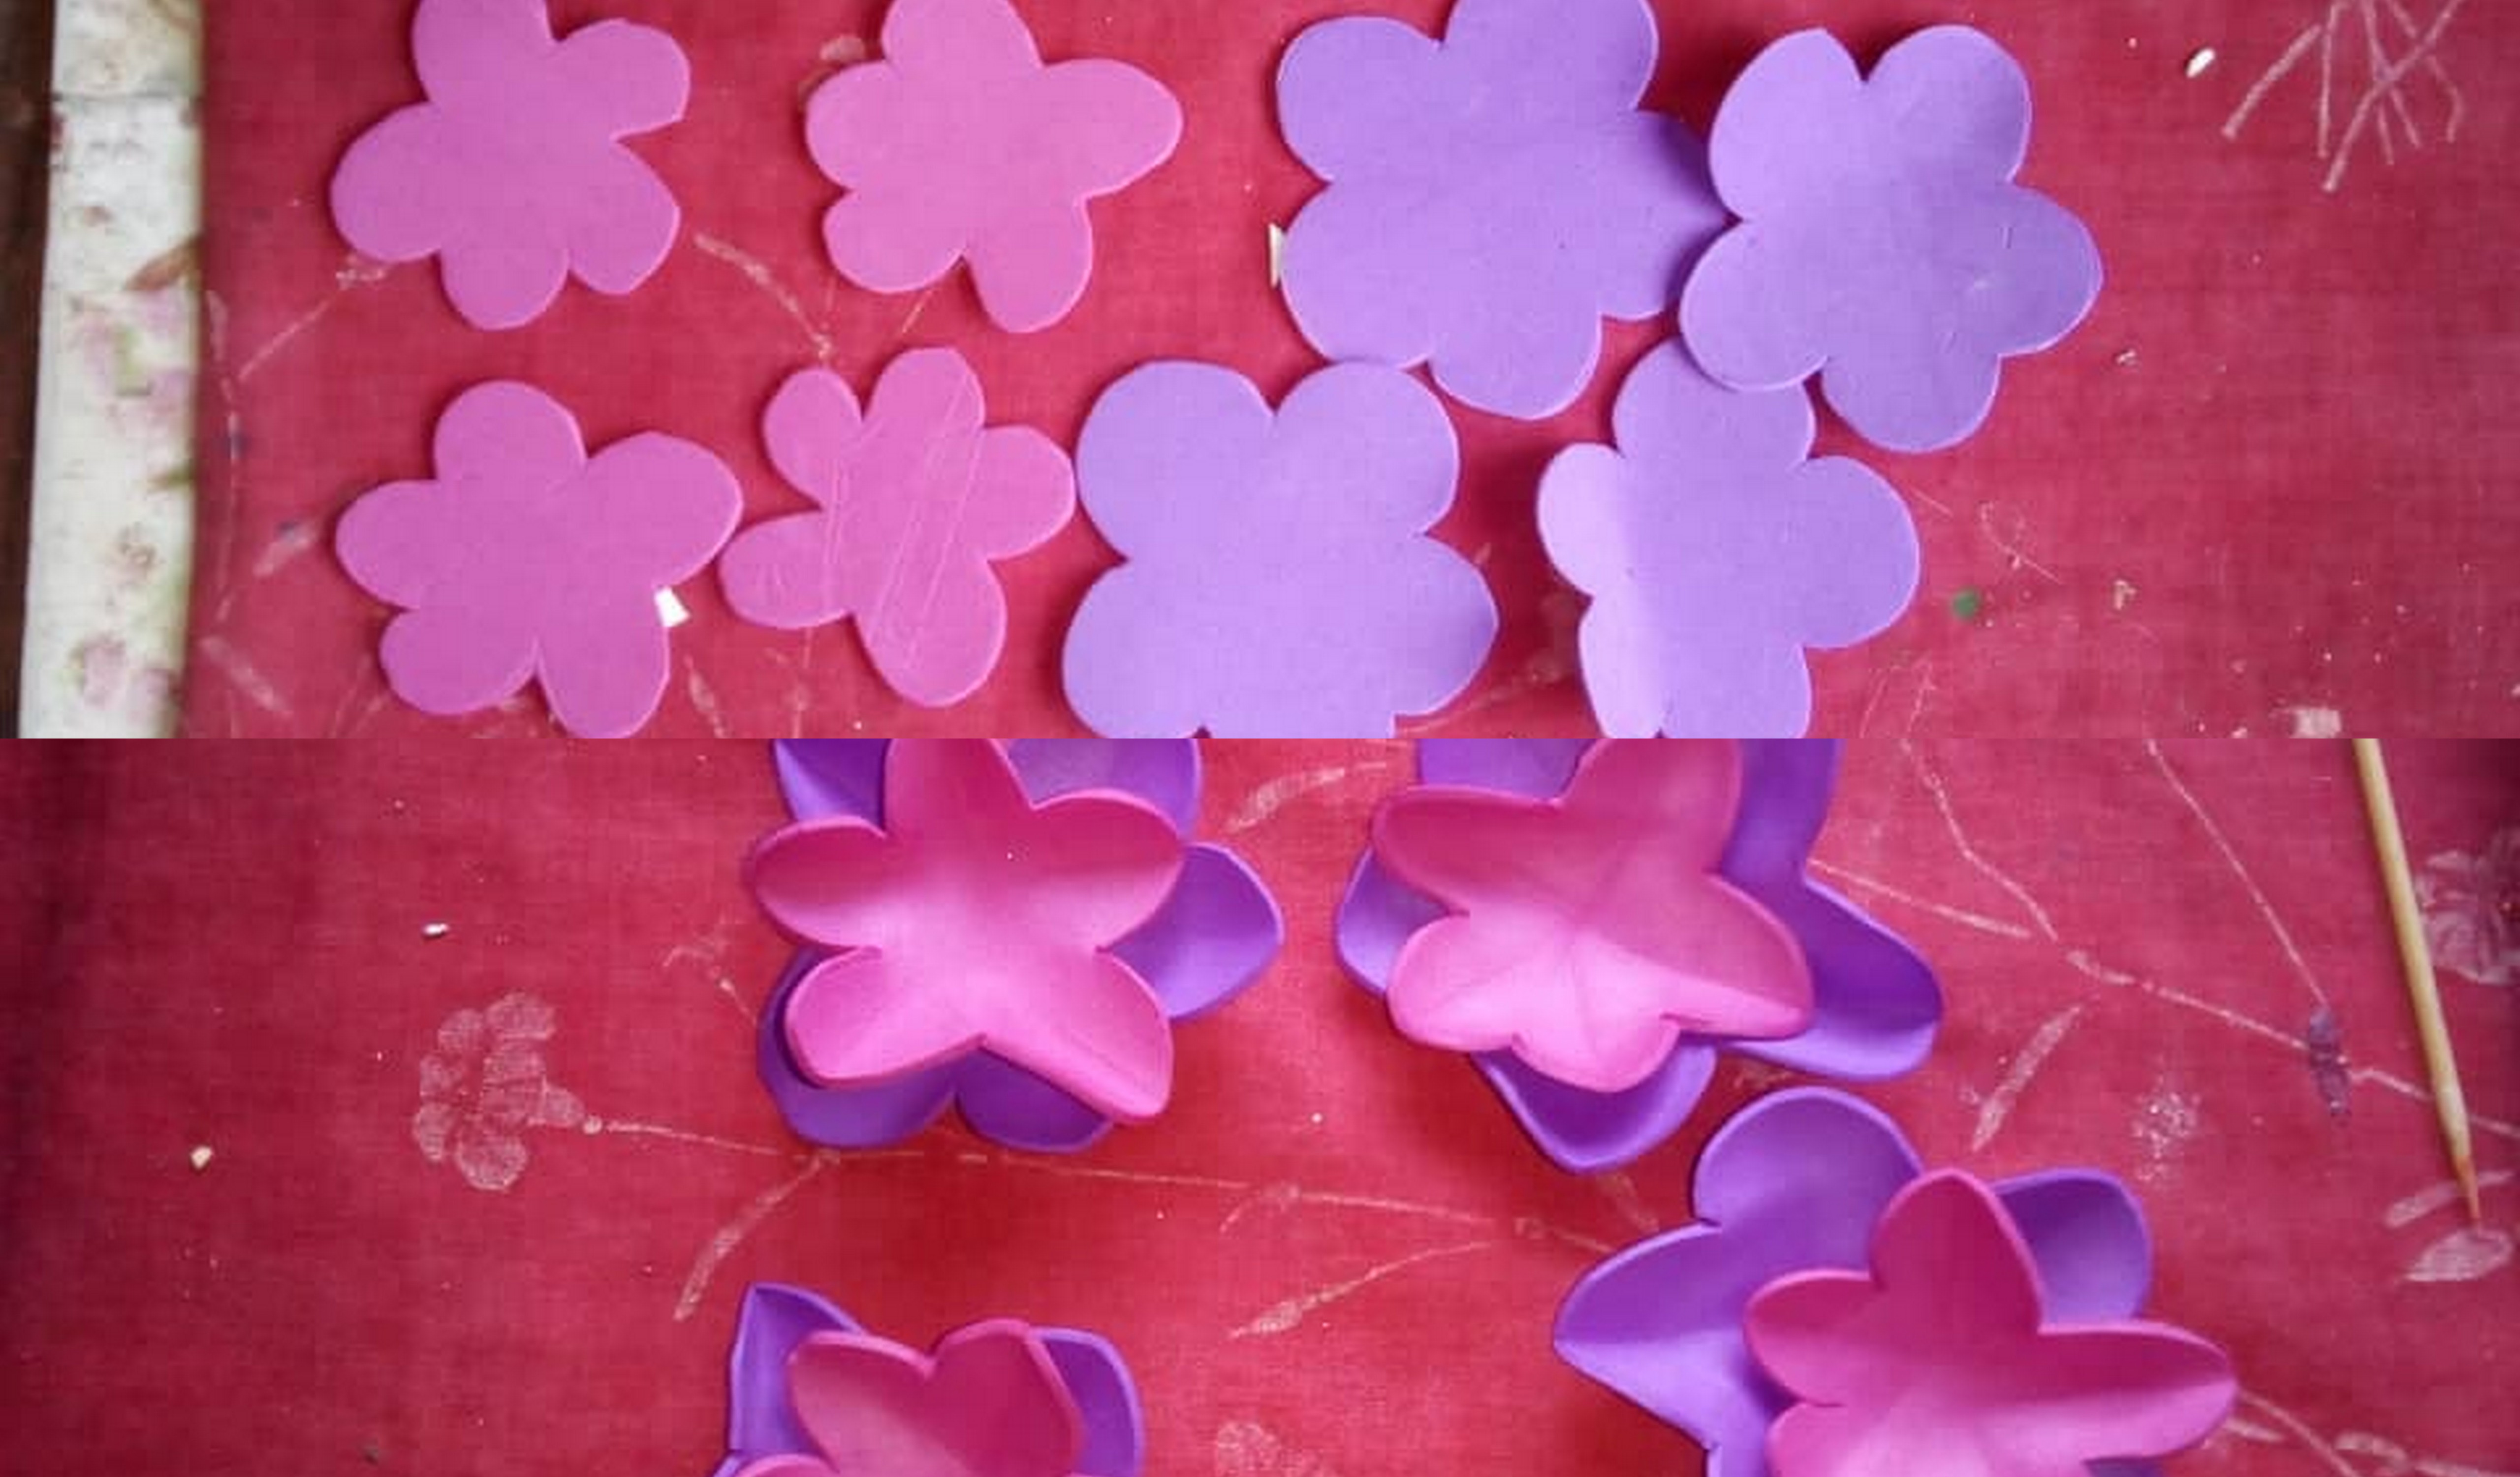
Hacemos cuatro flores para ubicarlas en cada esquina del espejo, utilizaremos foamy fucsia, morado y blanco brillante, las calentamos sobre la plancha de ropa y le damos formas a los pétalos.
We make four flowers to place them in each corner of the mirror, we will use fuchsia, purple and bright white foamy, we heat them on the clothes iron and we shape the petals.
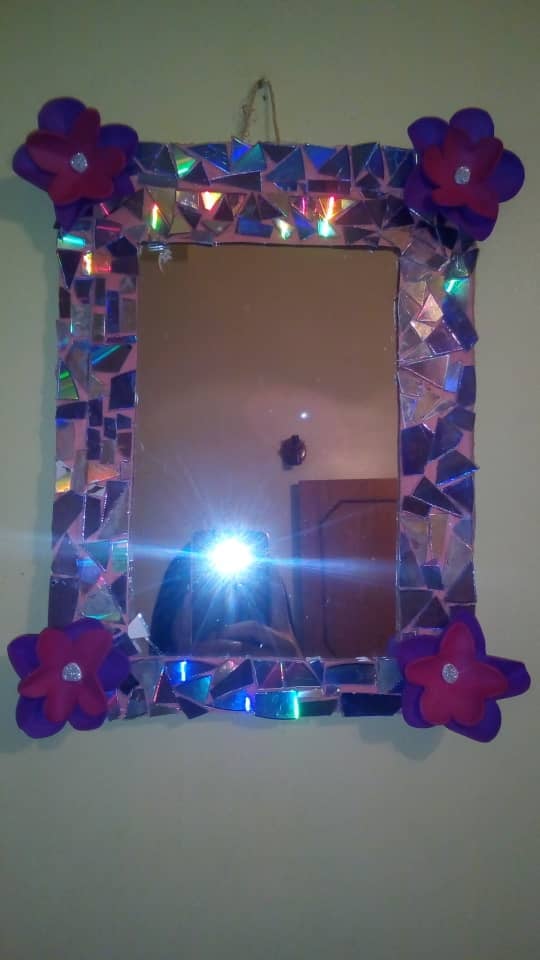
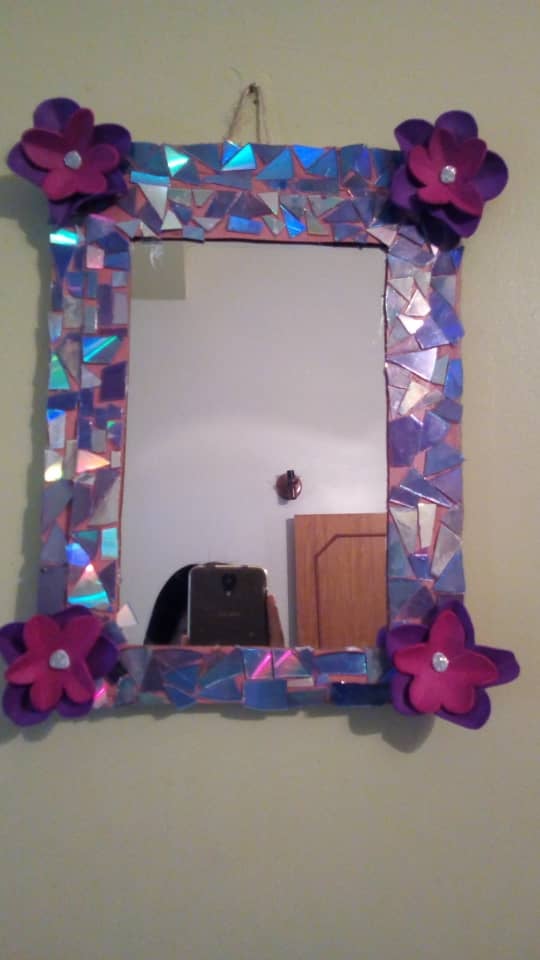
Resultado:
Result:
Gracias amigo por visitar mi blog, recordemos cada vez que reciclamos y no tiramos a la basura, ayudamos grandemente a nuestra casa común, el planeta tierra.
Thanks friend for visiting my blog, let's remember every time we recycle and don't throw it away, we greatly help our common home, planet earth.
Hasta mañana.
Until tomorrow.
Todas las fotos fueron tomadas por mi, desde la cámara de mi telefono BLU ADVANCE A6, y editadas en mi computadora con la aplicación Picasa 3.
All the photos were taken by me, from the camera of my BLU ADVANCE A6 phone, and edited on my computer with the Picasa 3 application.
Gracias.
Thanks.
Nuestro Discord https://discord.gg/tYENgKmTHA
Gracias @equipodelta por su gran apoyo.