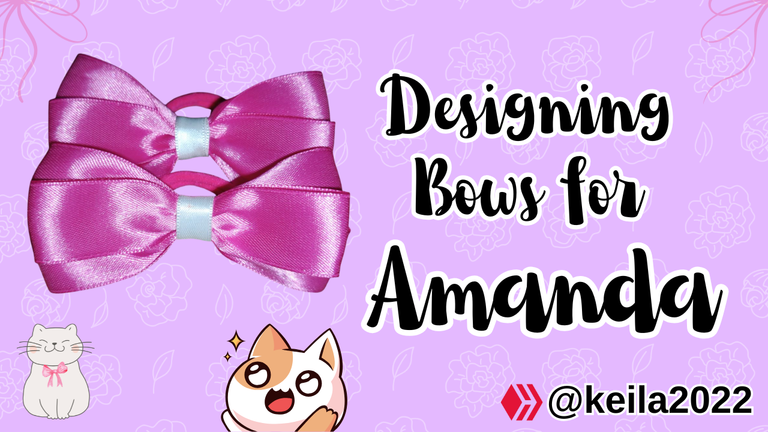
Designing Bows for Amanda
Hello fellow creators.
I'm glad to come back to this colorful and dynamic community, because I always show you new things I'm learning and usually they are details for my children.
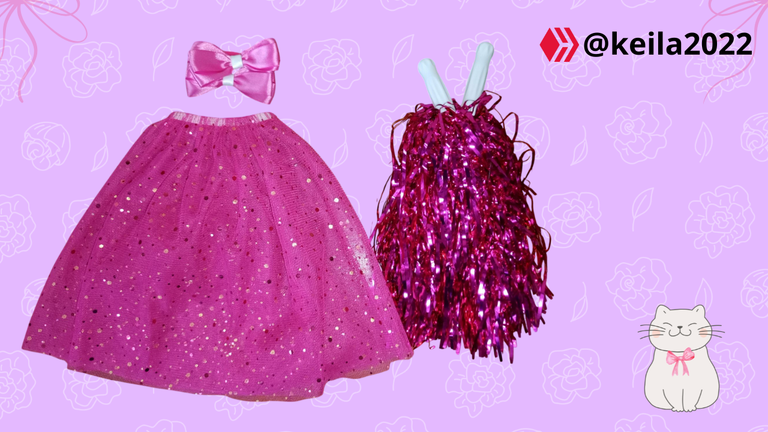
In this opportunity, I show you how I made a simple but beautiful bow for Amanda, for a school activity that had to combine a tutu, pompoms and bows.
Here is the step by step:
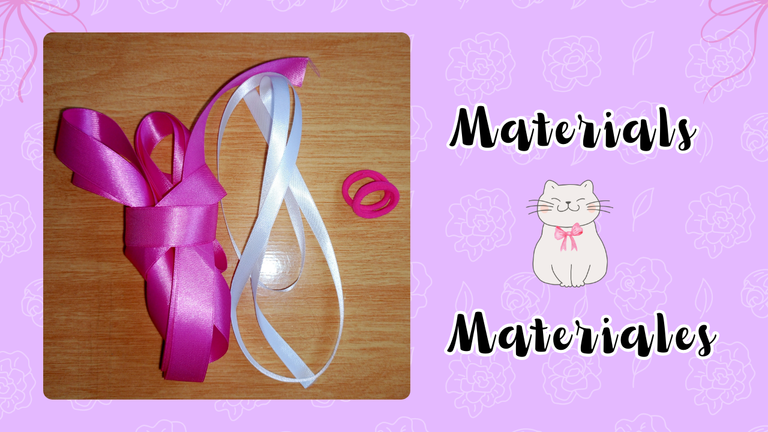
Materials:
120cm of pink ribbon.
Approximately 50cm of white ribbon.
Scissors.
Needle.
Pink and white thread.
Tinder.
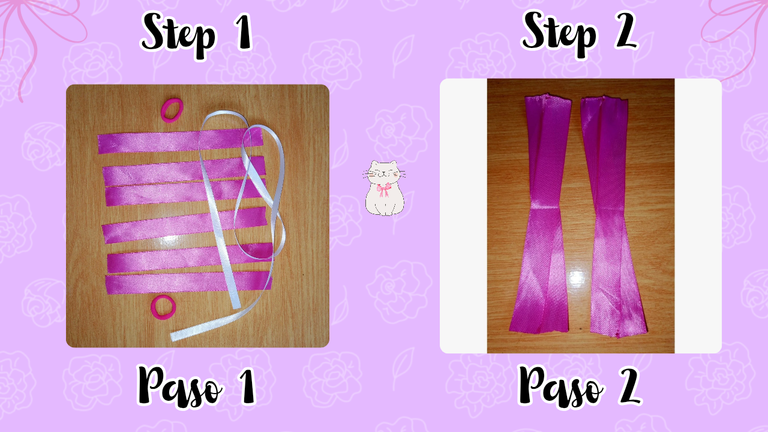
Step 1
Cut 6 pieces of 20cm each and seal the ends with the tinder.
Step 2
Place one ribbon on top of the other in an X shape and join the ends together with a stitch, using thread and needle.
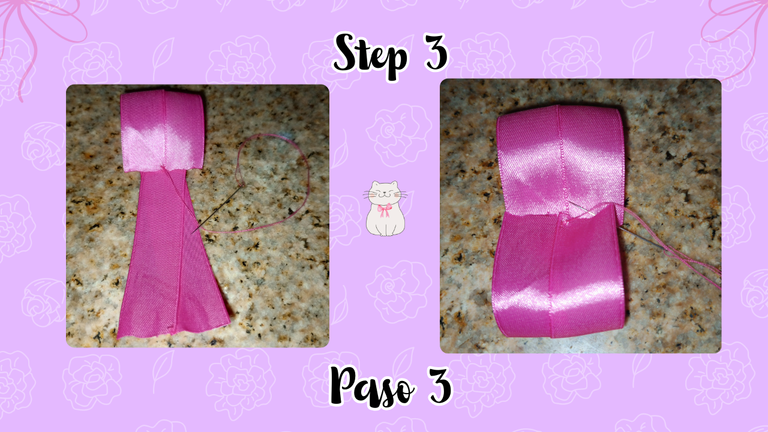
Step 3
Fold and place the ends right in the middle and fix with a stitch, we will do the same at each end.
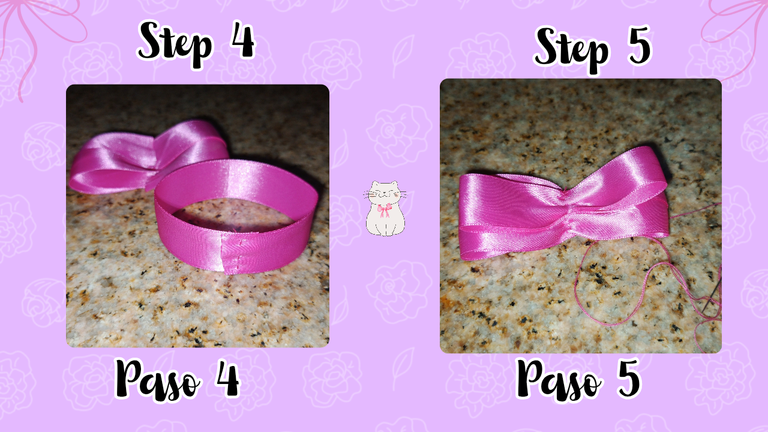
Step 4
We take a third ribbon, join the ends using thread and needle.
Step 5
This last one we are going to overlap it right in the center and with the help of thread and needle we join it in such a way that we achieve a ruffling in the center.
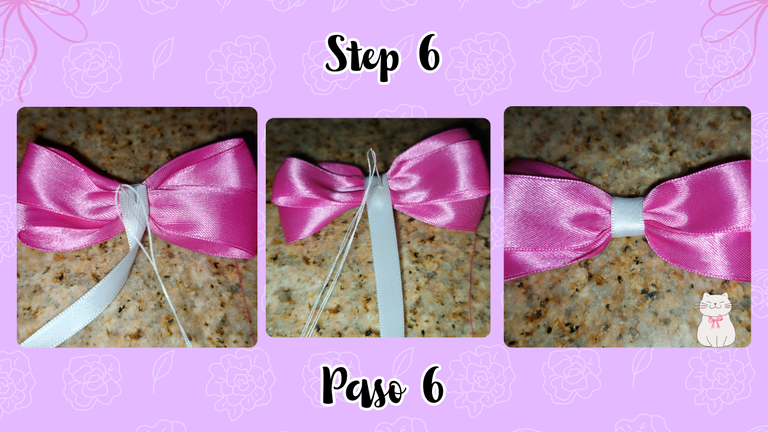
Step 6
We place the tip of the white ribbon at the bottom of the loop, we give a stitch from the bottom up, so that it is fixed on both sides of this tape, then at the bottom, so we avoid moving this first round.
Next, we make the second loop and fix it at the bottom using short stitches, trying to make it as aesthetic as possible.
Once fixed, we will cut the ribbon and with the help of a tinder we will seal the edge of it.
Step 7
We will join the elastic using thread and needle, making sure that the thread is as unnoticeable as possible.
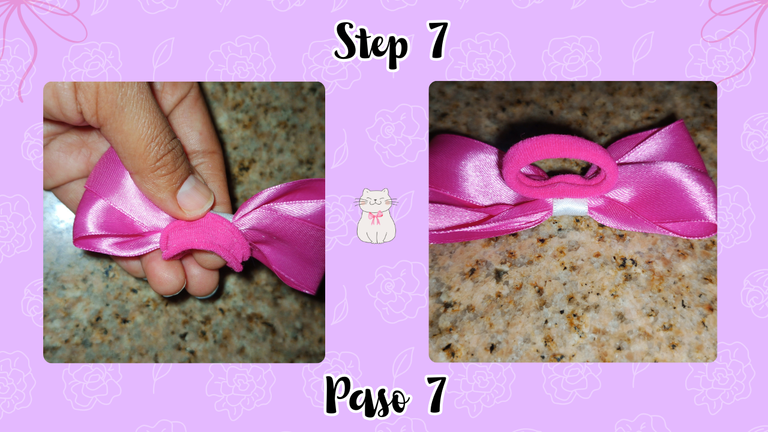
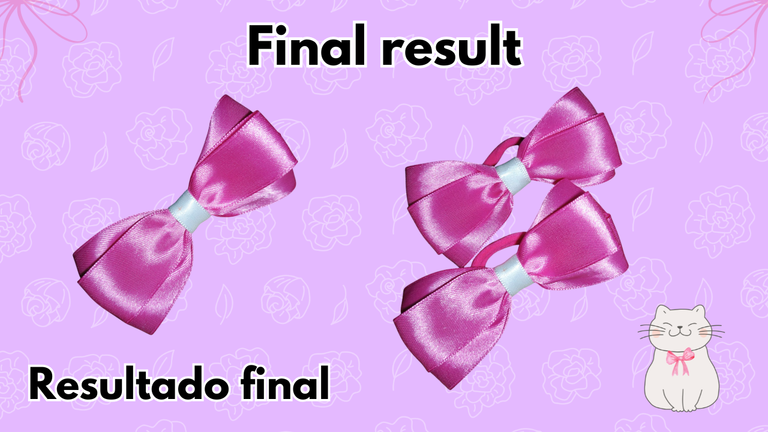
And ready, we have a nice ribbon.
Anecdote
Several years ago, when I was unemployed, any number of ideas for entrepreneurship paraded through my mind, the one that resonated most with me was the elaboration of ribbons, headbands everything that had to do with hair decoration.
I bought material and started learning with tutorials, but the bows didn't come out the way I wanted them to.
A friend, seeing my frustration, told me at that time to resign myself, that the bows did not fit me well and that I should dedicate myself to something else. Hehehehe.
Finally, I forgot about the ribbons and a few years later, I managed to understand that the real reason why I couldn't make the ribbons was that I had to start from the basics and work my way up, one pattern at a time.
Now, I am not an expert, but what I have learned in a self-taught way, gives me the basis to create beautiful bows, with a good finish and above all, long lasting.
Above all I learned that everything is part of a process and we must start from the simple to the sophisticated in this way our knowledge will have solid foundations and our work as well.
I hope this tutorial will serve as a sample for those who want to make an easy and beautiful model.
It is always a pleasure for me to share my experiences.
Thank you for reaching the end of this post.
I will be grateful for your comments and suggestions.
I embrace you in the distance.

Image Design: Canva
Translator used: DeepL.com
Both free version
Versión Español
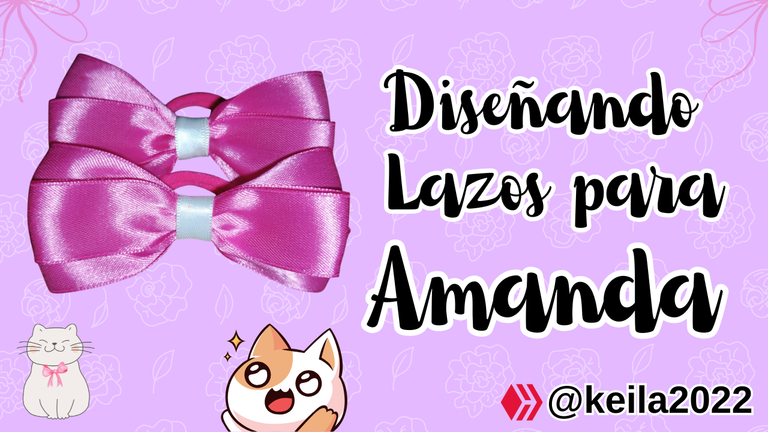
Diseñando Lazos para Amanda
Hola amigos creadores.
Me alegra acercarme nuevamente a esta colorida y dinámica comunidad, porque siempre les muestro cosas nuevas que voy aprendiendo y por lo general son detalles para mis niños.
En esta oportunidad, les muestro como hice un sencillo pero bonito lazo para Amanda, a propósito de una actividad escolar que debía combinar un tutú, pompones y lazos.
Aquí les muestro el paso a paso:
Materiales:
120cm de cinta rosada.
50cm aproximadamente de cinta blanca.
Tijeras.
Aguja.
Hilo rosado y blanco.
Yesquero.
Paso 1
Cortamos 6 piezas de 20cm cada una y sellamos las puntas con el yesquero.
Paso 2
Colocamos una cinta encima de la otra en forma de X y unimos las puntas que se juntan con una puntada, usando hilo y aguja.
Paso 3
Doblamos y colocamos las puntas justo en la mitad y fijamos con una puntada, haremos lo mismo en cada extremo.
Paso 4
Tomamos una tercera cinta, unimos las puntas usando hilo y aguja.
Paso 5
Esta última la vamos a sobreponer justo en el centro y con ayuda de hilo y aguja unimos de manera que logremos un arruchado en el centro.
Paso 6
Colocamos la punta de la cinta blanca en la parte de abajo del lazo, damos una puntada de abajo hacia arriba, de manera que se fije en ambos lados esta cinta, luego en la parte de abajo, así evitaremos que se mueva esta primera vuelta.
Seguidamente, damos la segunda vuelta y la fijaremos en la parte de abajo usando puntadas cortas, procurando que quede lo más estético posible.
Una vez fijada, cortaremos la cinta y con ayuda de un yesquero sellaremos el borde de la misma.
Paso 7
Uniremos el elástico usando hilo y aguja procurando que se note lo menos posible el hilo.
Y listo, ya tenemos un bonito lazo.
Anécdota
Hace varios años,cuando me retiré de mi trabajo, desfilaban por mi mente cualquier cantidad de ideas de emprendimiento, la que más resonaba conmigo era la elaboración de lazos, cintillos todo lo que tuviera que ver con la decoración de cabello.
Compré material e inicié mi aprendizaje con tutoriales, pero los lazos no me salían como yo quería.
Un amigo, al ver mi frustración, me dijo en aquella oportunidad que me resignara, que los lazos no me quedaban bien y que me dedicara a otra cosa. Jejeje.
Finalmente, olvidé las cintas y unos años después, logré comprender que la verdadera razón por la que no me salían los lazos, era que debía comenzar desde lo más básico para ir avanzando, un modelo a la vez.
Ahora, no soy experta, pero lo que he aprendido de manera autodidacta, me da bases para crear lazos lindos, con buen acabado y sobre todo duraderos.
Sobre todo aprendí que todo es parte de un proceso y debemos iniciar desde lo sencillo a lo sofisticado de esta manera nuestros conocimientos tendrán bases sólidas y nuestro trabajo también.
Espero que esté tutorial sirva de muestra para quienes deseen realizar un modelo fácil y bonito.
Para mí siempre es grato compartir mis experiencias.
Gracias por llegar hasta el final del Post.
Sabré agradecer sus comentarios y sugerencias.
Les abrazo en la distancia.
Diseño de Imágenes: Canva
Traductor utilizado: DeepL.com
Ambos versión gratuita
This is one of the perks of having a designer as a mum. The bows look great and Amanda will no doubt look stunning in them. Well done.
selected by @ibbtammy
Greetings.
It is certainly a great advantage, so we get better combinations in her outfits and besides, she can see the whole process of making her bows, at some point she will design them. 😁
Thank you for your valuable comment.
A hug in the distance.
Saludos Keila, te quedó lindo el lazo, el color me gusta es uno de mis favoritos, creo que muy pocas veces he hecho lazos, el tutorial parece sencillo, gracias por compartir. 😍🌷
Hola.
Es muy fácil y además económico porque son muy pocos materiales.
Siempre recomiendo usar hijo y aguja en lugar de Silicon para que sea más duradero.
Gracias por tu comentario.
Un abrazo!
Que hermoso esta este lazo. Me encanta.
Hola.
Es un diseño bastante sencillo pero muy bonito y el color resalta mucho y se ve fabuloso.
La opción de colocar elástico en lugar de gancho metálico es estupendo para las niñas pequeñas, así evitamos que en el contacto y juegos con otros niños/as puedan lastimarse.
Agradezco mucho tu comentario.
Un abrazo!