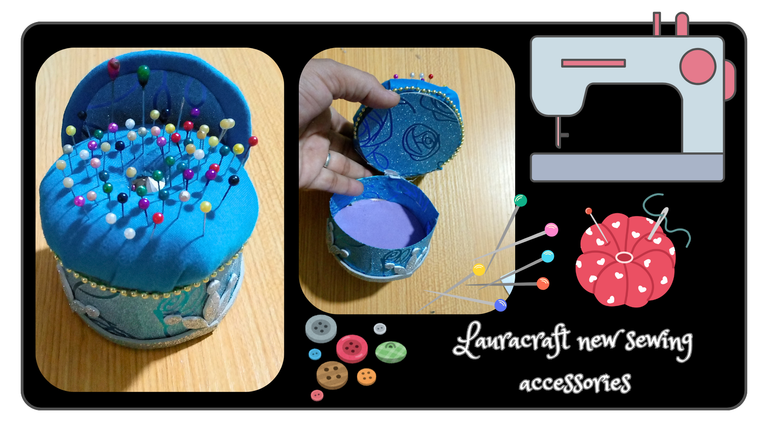
Greetings dear craft lovers of this beautiful community, HiveDiY, I hope you are having a nice week, enthusiastic and with faith in God, and in his infinite blessings, so that we all enjoy good health and lack nothing.
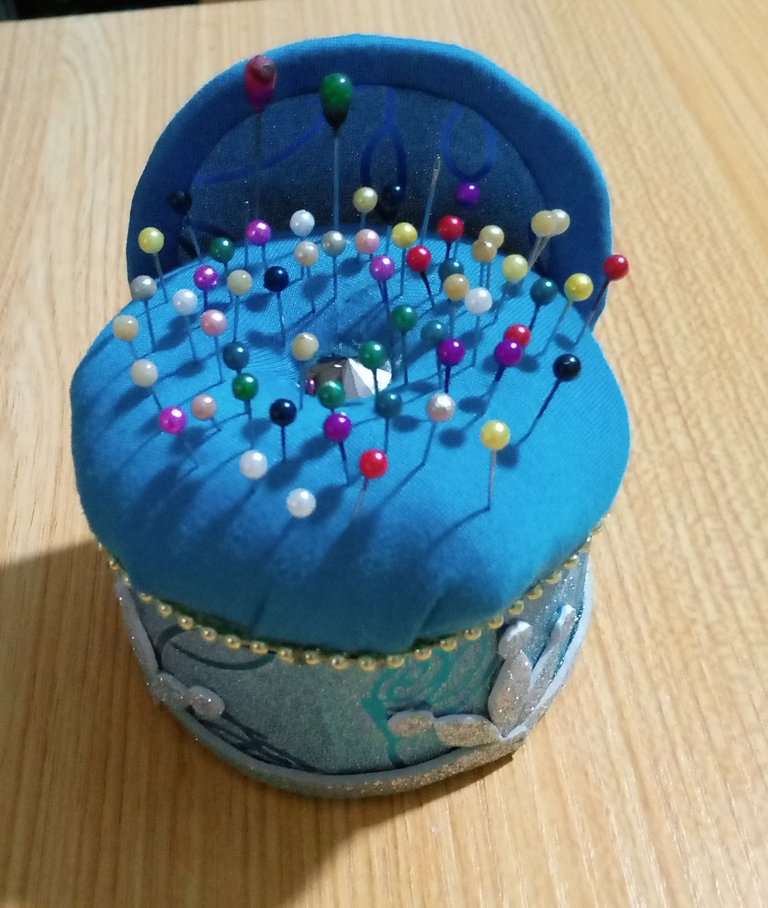
Today I come to share with you a craft that I made and that beyond being a decorative style craft, since it is a pincushion with the style of a mini armchair, it was created out of necessity, since as a lover of sewing crafts, it is always very useful to keep the pins in an ideal, comfortable and safe place, preventing them from getting lost and causing an accident.
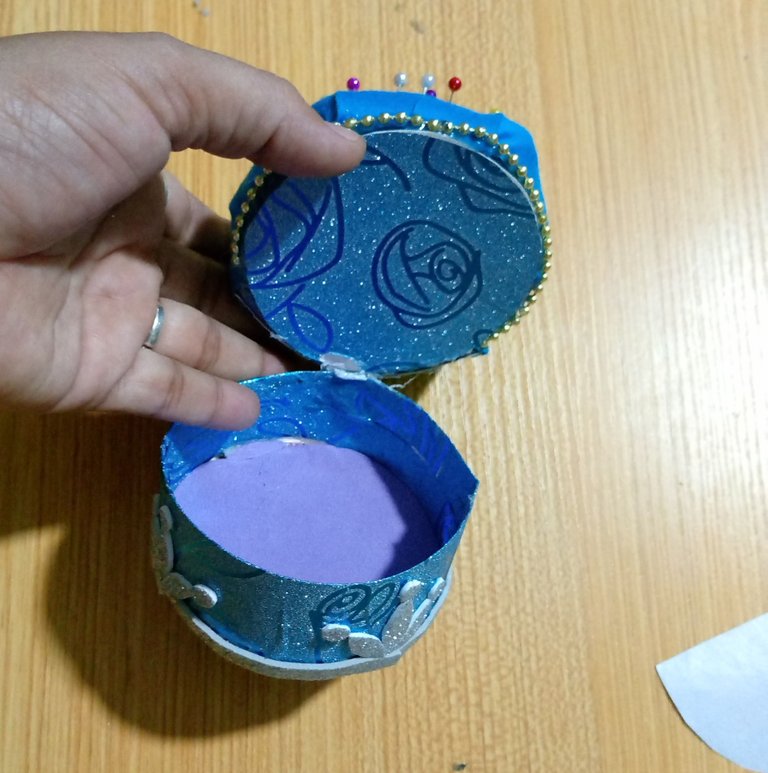
This pincushion, styled like an armchair, is also a little box to store buttons and any other accessory that needs to be taken care of.
I hope you will follow along with me, so that you can be part of how I made it.
The pictures you will see below were taken with my TECNO SPARK GO 2024 phone.
Saludos queridos amantes de las manualidades de esta hermosa comunidad, HiveDiY, espero que estén pasando una linda semana, entusiastas y con fe en Dios, y en sus infinitas bendiciones, para que todos gocemos de buena salud y no nos falte nada.
Hoy vengo a compartir con ustedes una manualidad que realicé y que más allá de ser una manualidad de estilo decorativo, ya que es un alfiletero con el estilo de un mini sillón, fue creado por necesidad, ya que como amante de las manualidades de costura, siempre es muy útil guardar los alfileres en un lugar ideal, cómodo y seguro, evitando que se pierdan y causen algún accidente.
Este alfiletero, con estilo de sillón, es también una cajita para guardar botones y cualquier otro accesorio que necesite ser cuidado.
Espero que me sigan acompañando, para que sean parte de como fue que lo elabore.
Las fotos que verás a continuación fueron tomadas con mi teléfono TECNO SPARK GO 2024.

 |  |
|---|
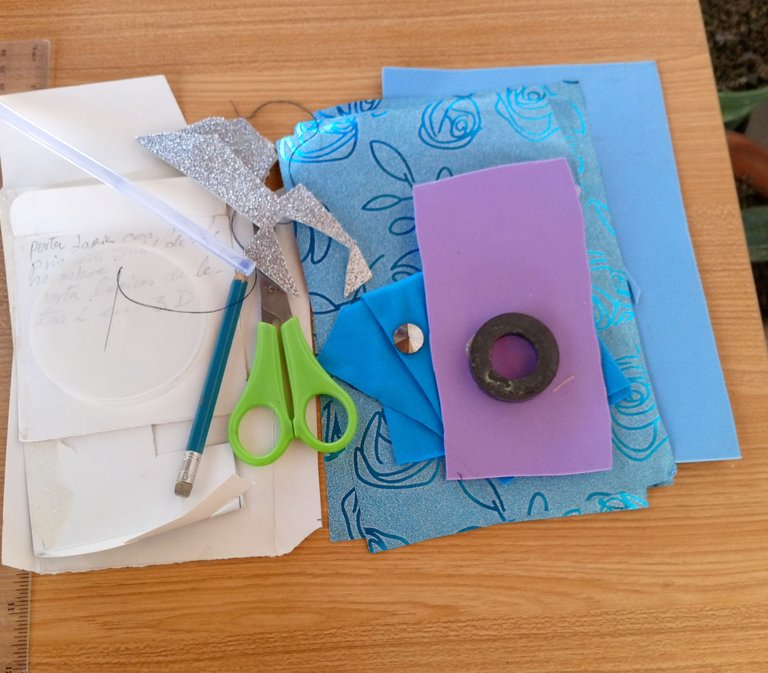
The materials I used were the following:
- Thin cardboard
- bright blue contact paper printed with roses
- Lilac foami, blue foami
- Blue flexible fabric
- Frosted foami
- Wadding
- Needle with thread
- Scissors
- Button
- Pencil
- Measuring ruler
- Silicone gun
- Silicone rod
Los materiales que utilice fueron los siguientes:
- Cartón delgado
- papel contacto azul brillante estampado con rosas
- Foami lila, foami azul
- Tela flexible azul
- Foami escarchado
- Guata
- Aguja con hilo
- Tijera
- Botón
- Lápiz
- Regla para medir
- Pistola para silicona
- Barra de silicona

 |  |  |  |
|---|
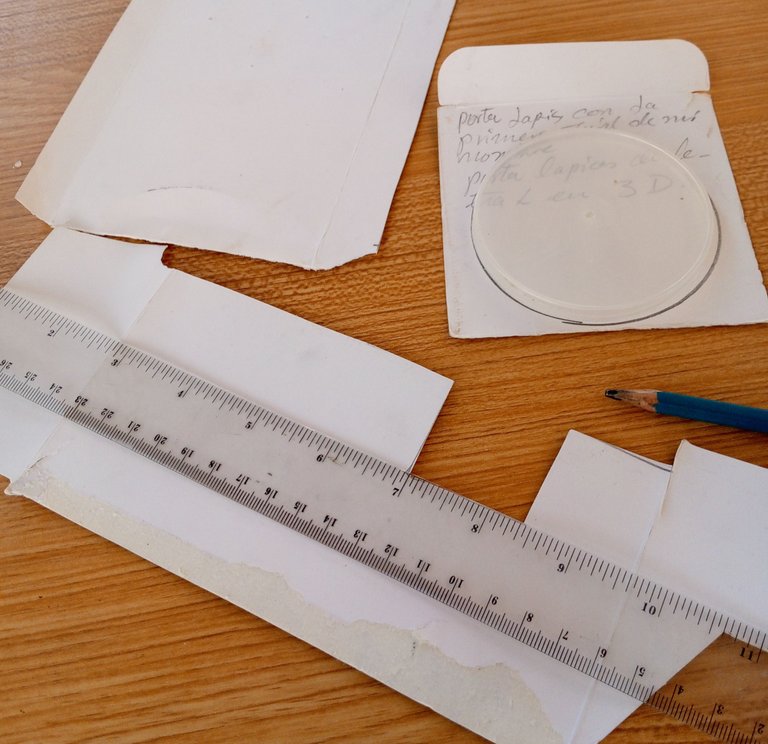
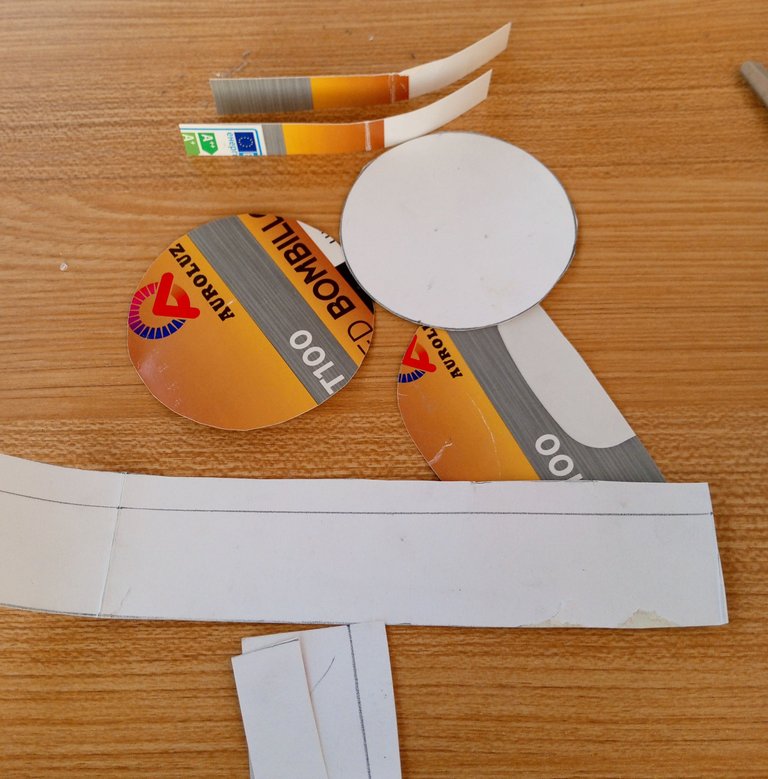
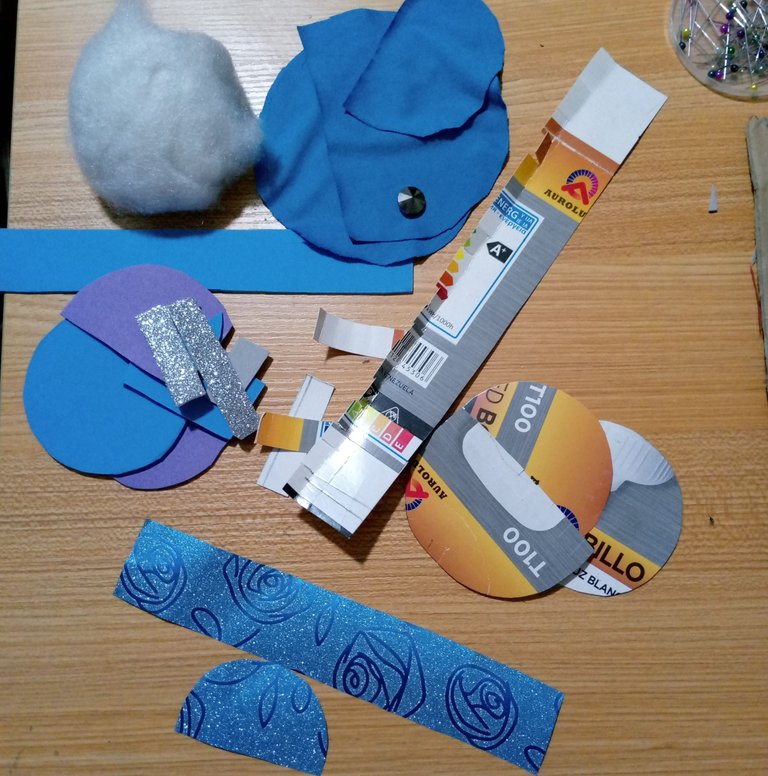
To begin with, I collected some pieces of cardboard that I had left over from a previous job, drew all the pieces, using a plastic lid and a ruler as a guide so that everything would fit.
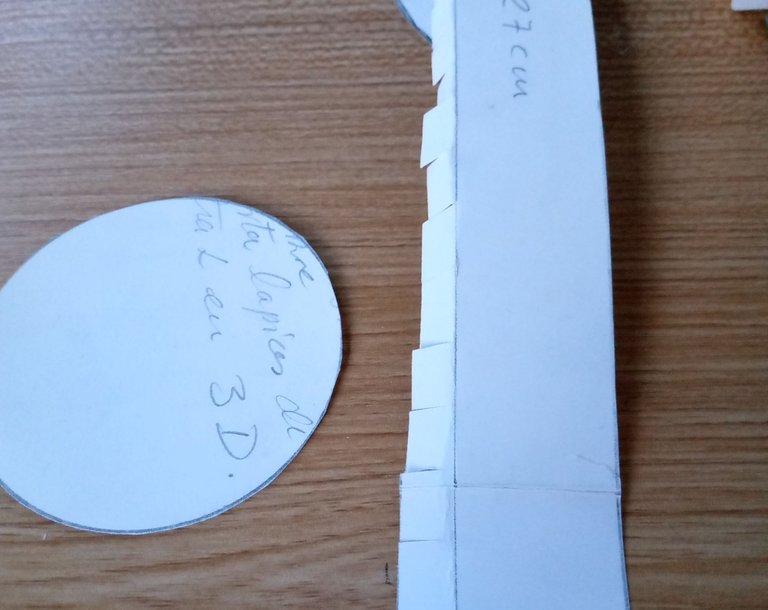
The pieces I cut out of cardboard were, 2 circular pieces, 8 cm in diameter, 1/2 circle, for the recliner of the armchair, 1 rectangle of 27 x 5 cm.
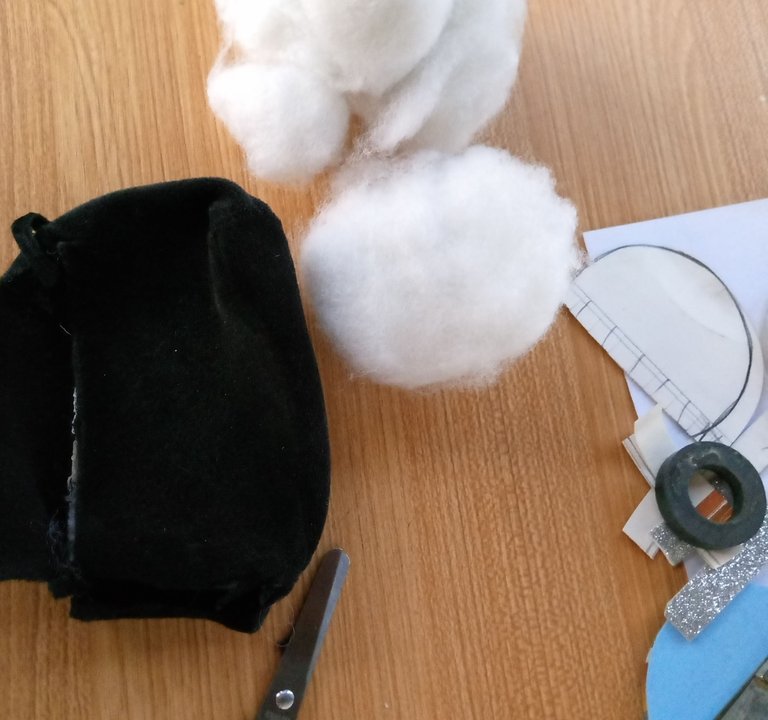
In addition to all of the above, I unpicked a pad I was previously using for my pins, to reuse some of the wadding in stuffing for this new endeavor.
Para empezar recolecte algunos trozos de cartón que me había quedado de un trabajo anterior, dibuje todas las piezas, tomando como guía una tapa de plástico y una regla para que todo encajara.
Las piezas que recorte en cartón fueron, 2 piezas circulares, de 8 cm de diámetro, 1/2 círculo, para el recostadero del sillón, 1 rectángulo de 27 x 5 cm.
Además de todo lo anterior, descosí una almohadilla que estaba utilizando anteriormente para mis alfileres, para reutilizar parte de la guata en relleno para esta nueva iniciativa.

 |  |  |  |
|---|
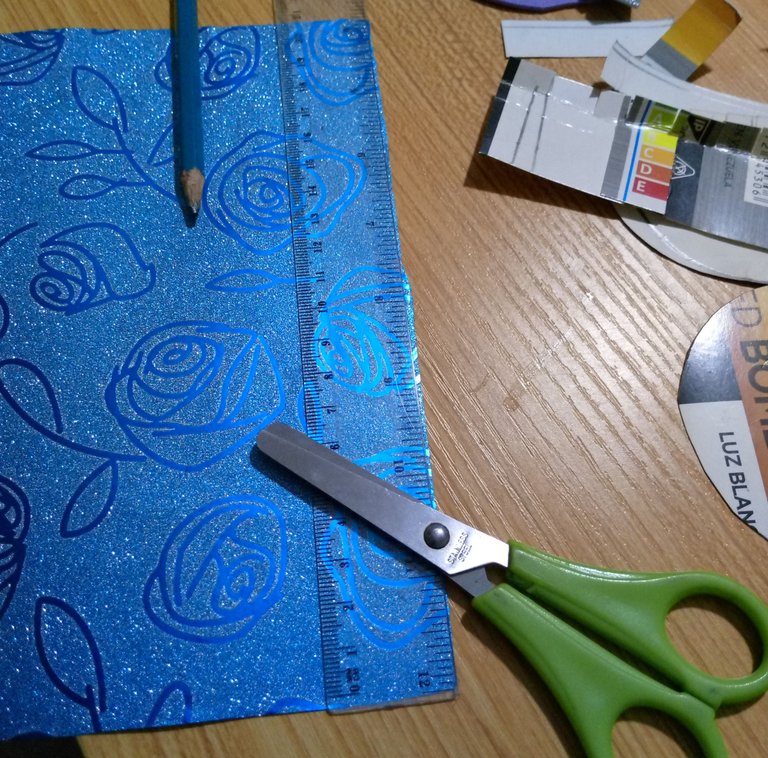
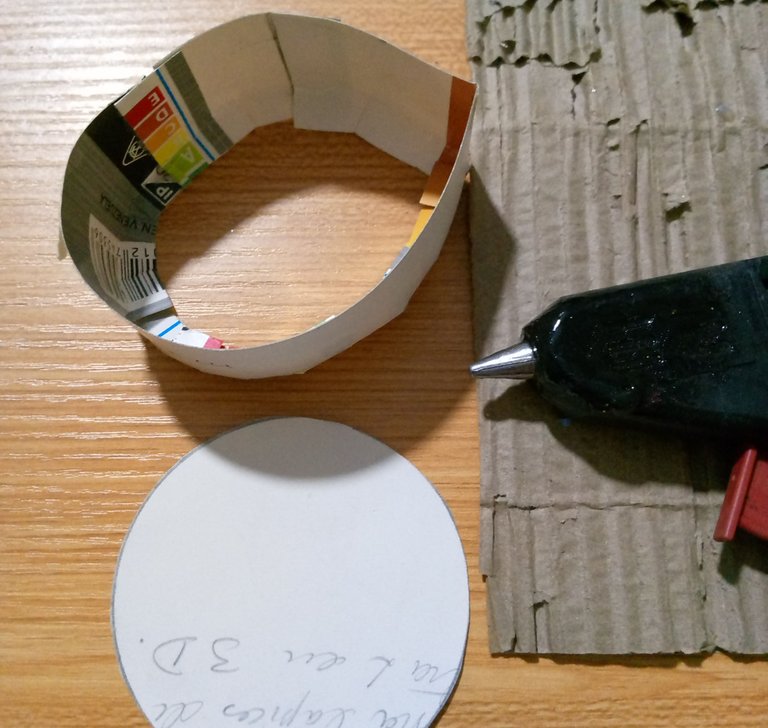
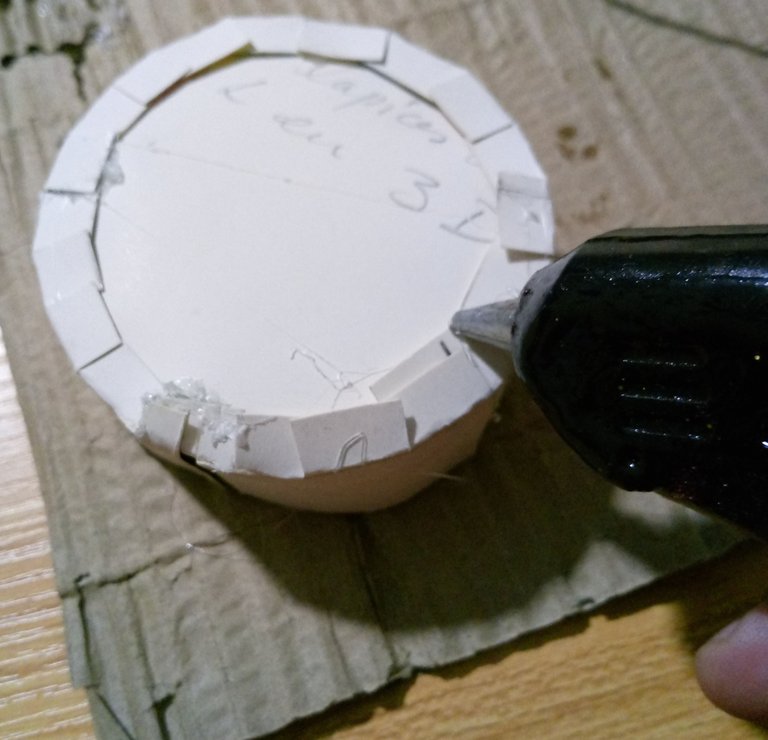
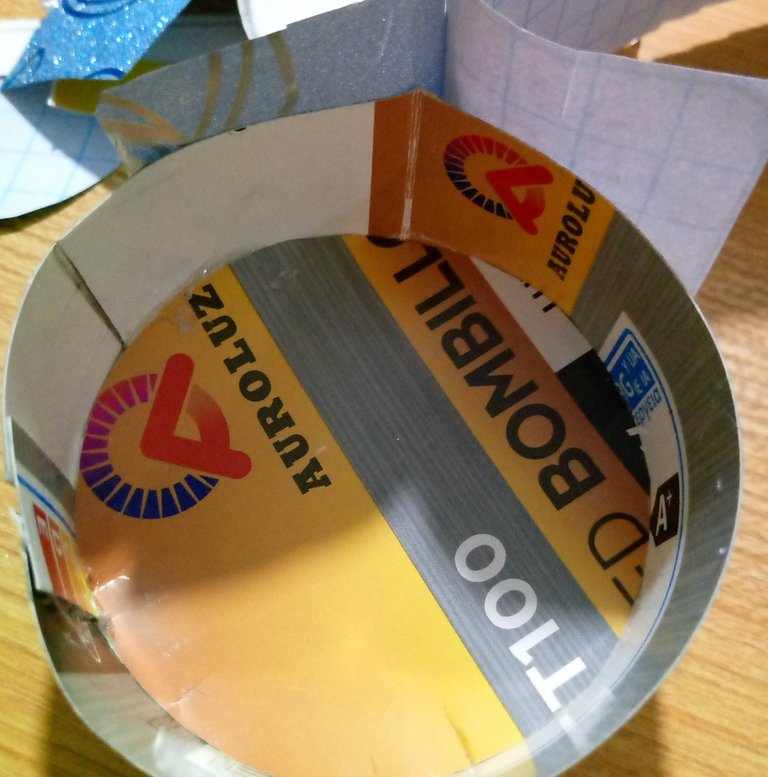
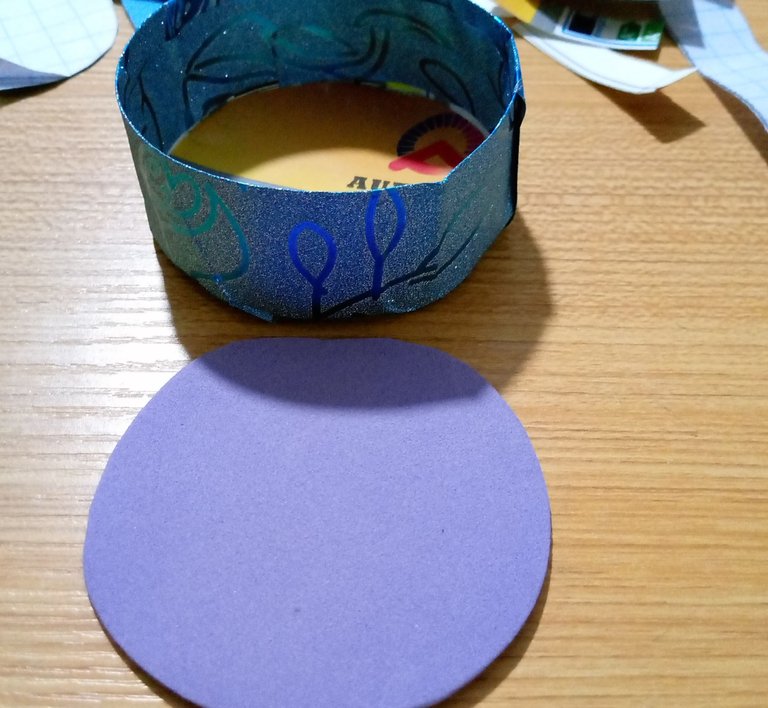
From the cardboard pieces that I had already cut out I made the rest of the pieces for the upholstery of this armchair, once all the pieces were gathered, it was time to join them together to give it shape.
I took the rectangular piece of 27 cm by 5 cm wide, I made some cuts of 1 cm and folded it so that it could adapt to the circular piece and with the help of hot silicone I glued it.
A partir de las piezas de cartón que ya tenía recortadas hice el resto de las piezas para la tapicería de este sillón, una vez reunidas todas las piezas, es momento de unirlas para darle forma.
Tome la pieza rectangular de 27 cm por 5 cm de ancho, le hice algunos cortes de 1 cm y doble para que se pudiera adaptar a la pieza circular y con ayuda de silicona caliente pegue.

 |  |  |  |
|---|
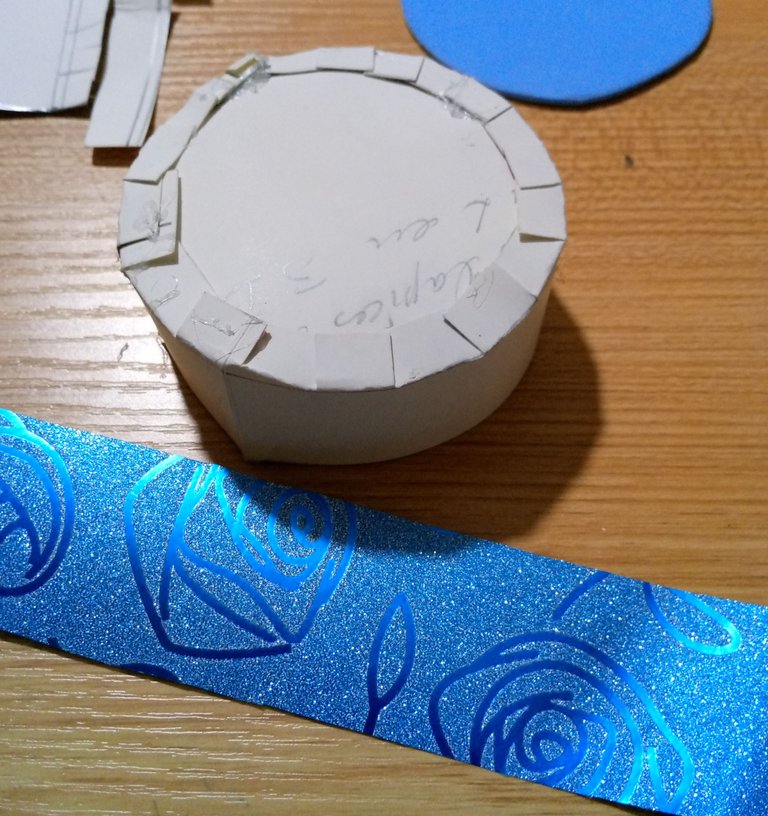
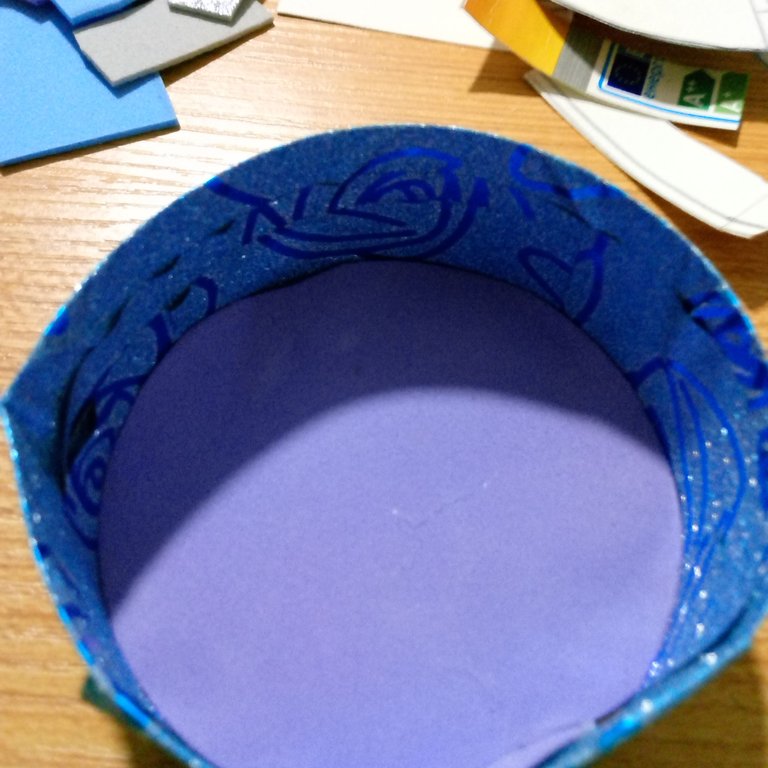
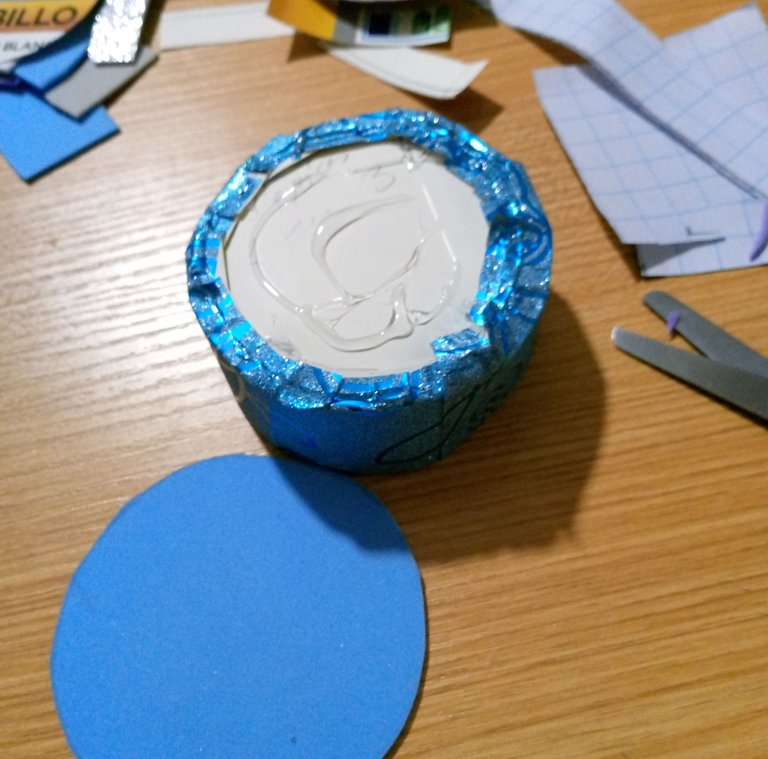
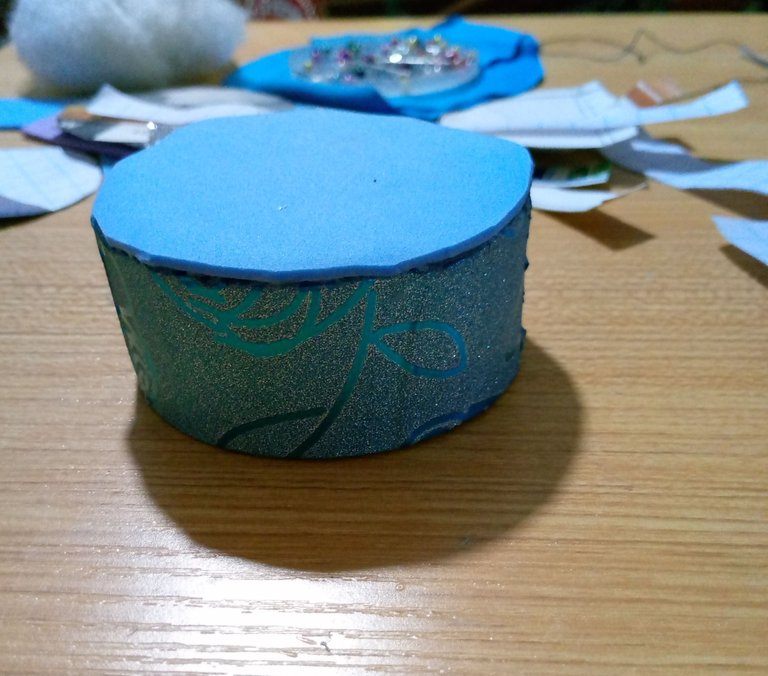
Then I glue the contact paper tape for the lining, all around the outer and inner contour of the box, I glued a circle of lilac foami on the bottom, to give it a nice finish, it is also ideal to keep the buttons or needles that are placed inside as it is a soft material.
Después le pego la cinta de papel de contacto para el forrado, por todo el contorno externo e interno de la caja, le pegué un círculo de foami color lila en el fondo, para darle un lindo acabado, también es ideal para mantener lindos los botones o agujas que se coloquen dentro por ser un material suave.

 |  |  |  |
|---|
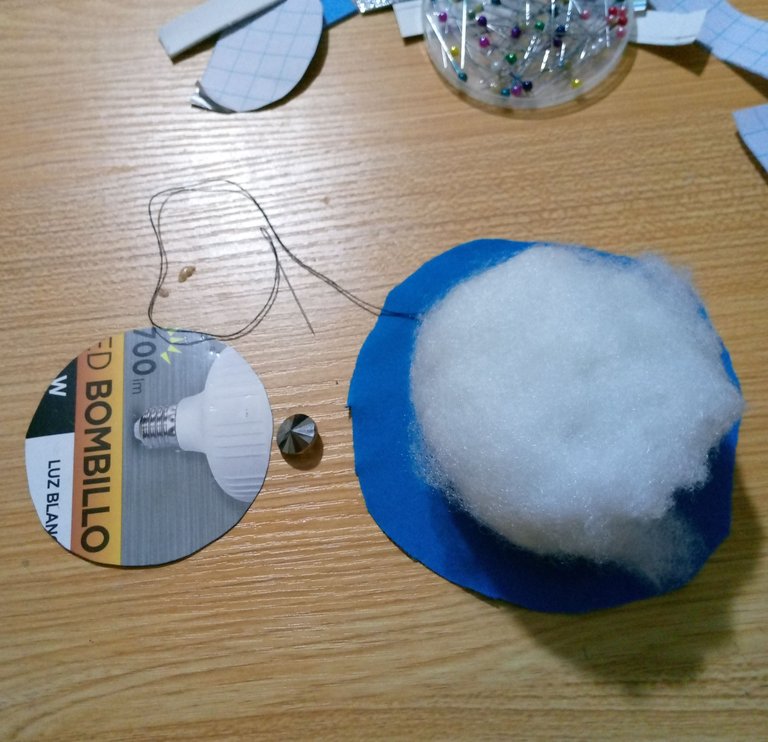
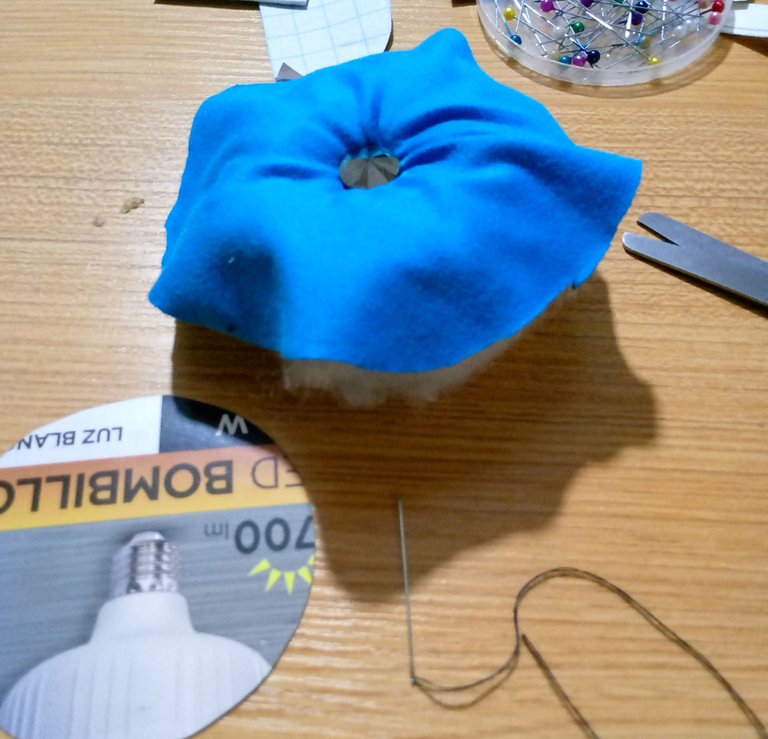
I finished with the lining of the lower main piece and started to upholster the upper piece or lid, for this step I used the wadding that I lined together with a circle of flexible fabric, which I cut 2 cm more to fold, but before gluing these two materials, I took a needle with thread and sewed a button in the center well adjusted to take the shape of sinking for a better effect then glued with hot silicone on the cardboard lid.
Terminé con el forro de la pieza principal inferior y comencé a tapizar la pieza superior o tapa, para este paso utilicé la guata que forré junto con un círculo de tela flexible, el cual corté 2 cm más para doblar, pero antes de pegar estos dos materiales, tomé una aguja con hilo y cosí un botón en el centro bien ajustado para que tomara la forma de hundimiento para un mejor efecto luego lo pegué con silicona caliente sobre la tapa de cartón.

 |  |  |  |
|---|
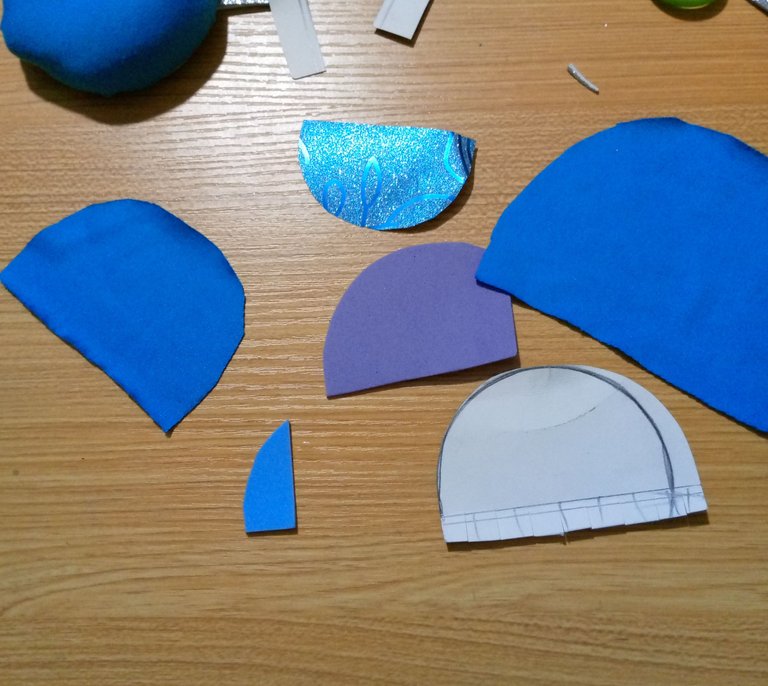
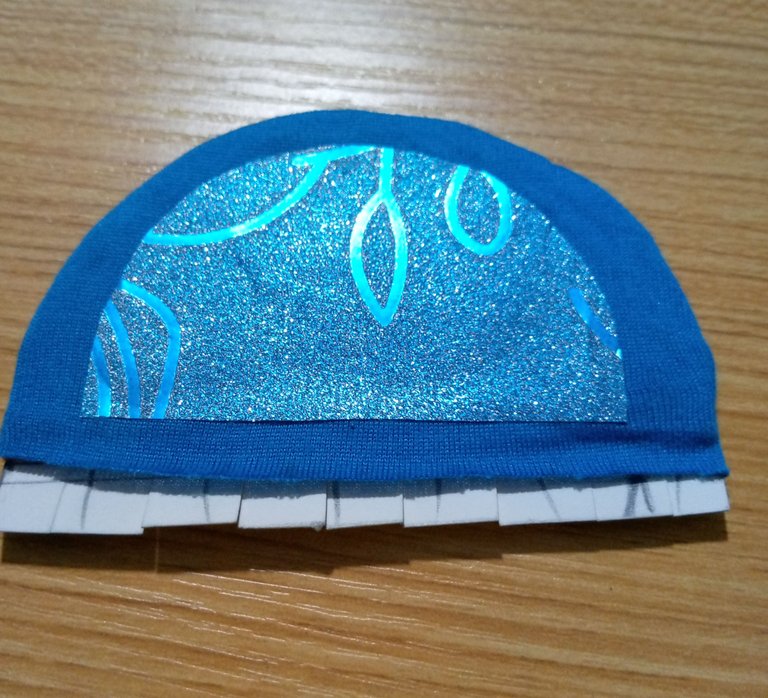
For the lining of the recliner I used fabric and on it, contact paper, I did it on both sides, then glued it.
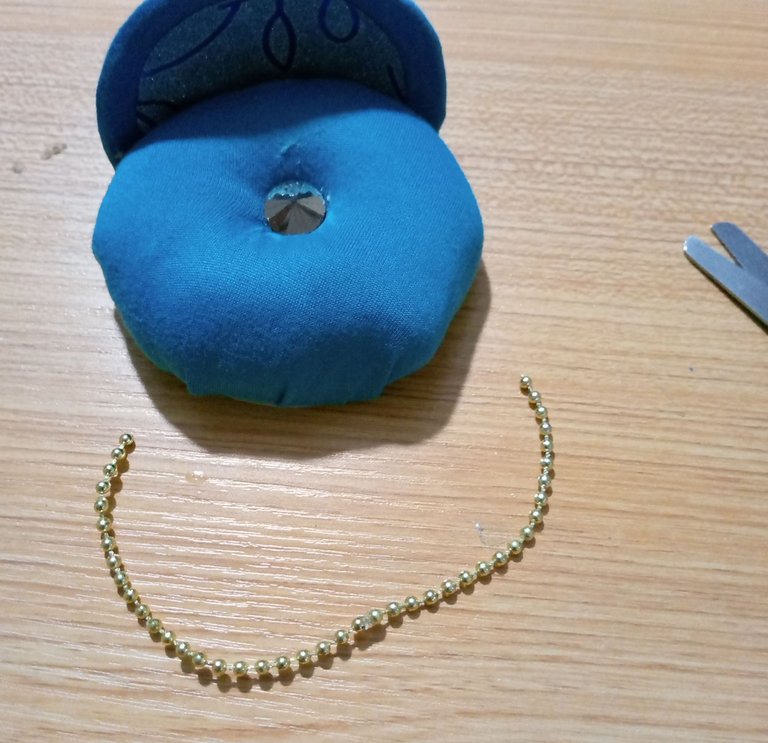
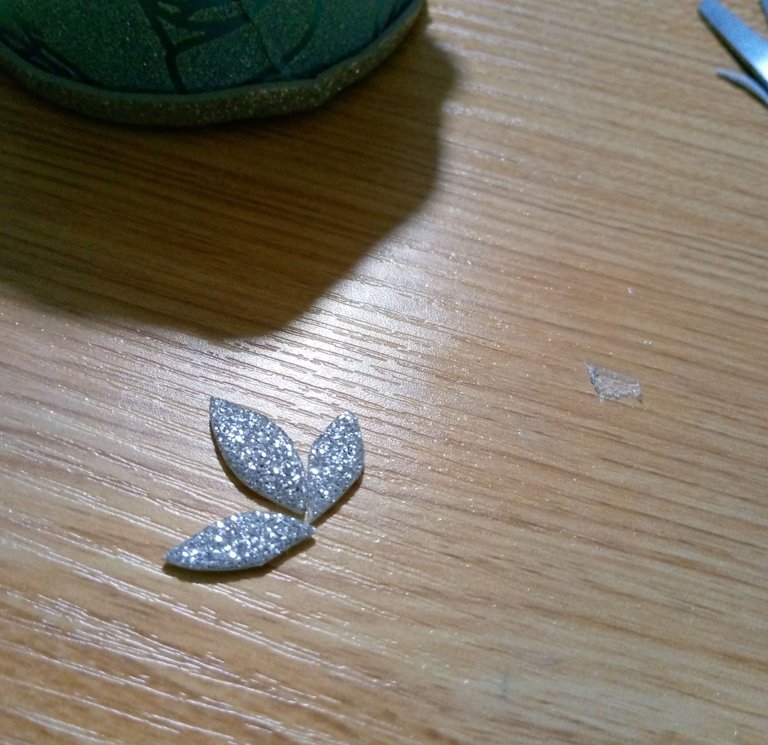
Finally, I decorated with gold pearl all around the edge of the lid, and for the lower edge of the armchair I decorated with silver foami leaves, and small circles on each leaf with the same material.
Para el forrado del recostadero utilice tela y sobre esta, papel de contacto, lo realice por ambos lados, después pegue.
Por último, decoré con perla corrida dorada por todo el borde de la tapa, y para el borde inferior del sillón decoré con unas hojas de foami plateado, y unos pequeños círculos sobre cada hoja con el mismo material.

 |  |  |
|---|
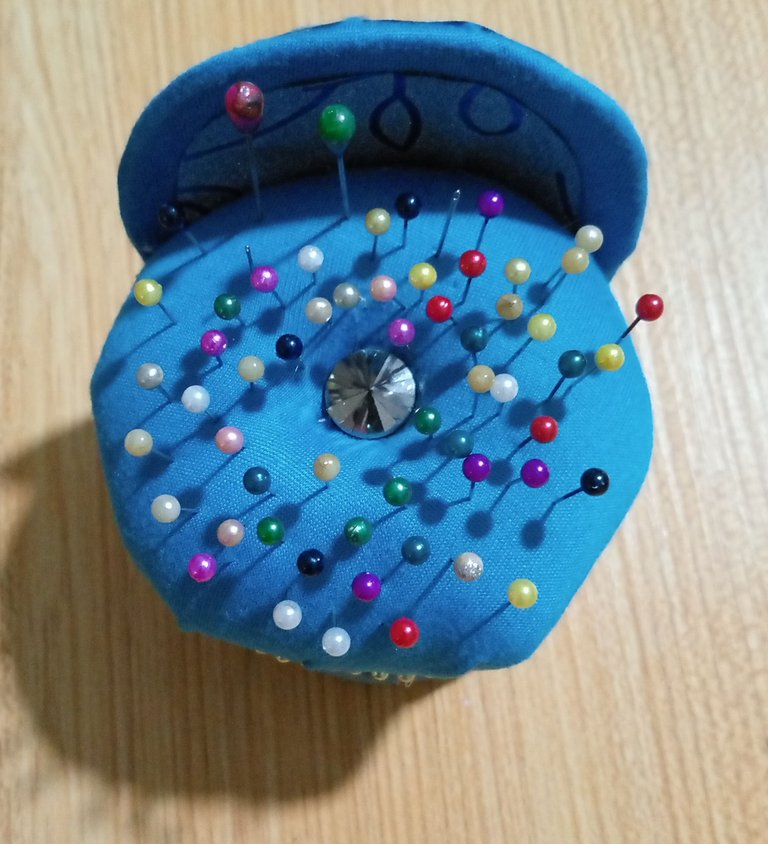
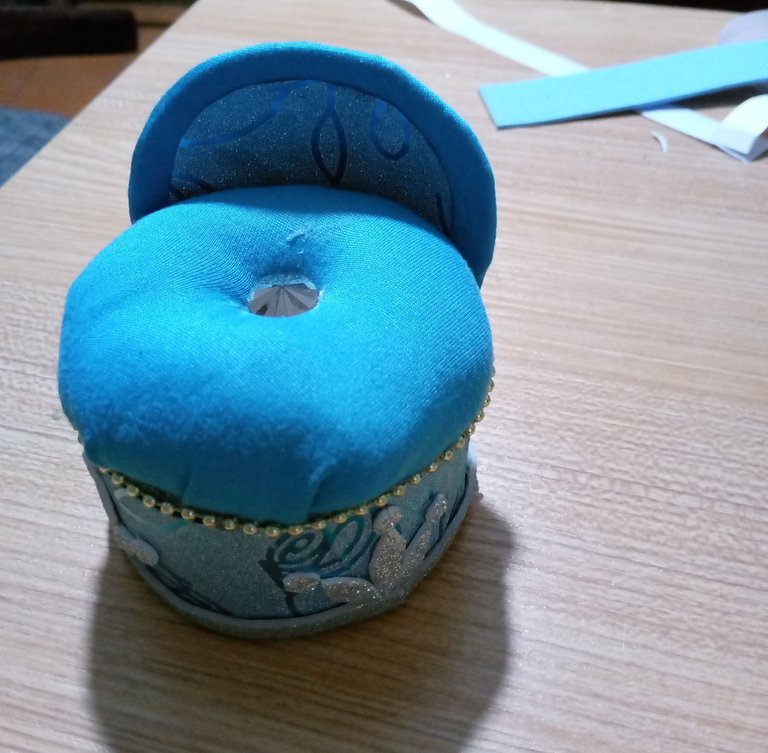
This is the result of my pincushion armchair in blue, with fabric and paper, I liked it very much, how comfortable and fluffy it was, this is how I finished my cute and necessary craft for all sewing lovers, I hope you like my work and leave me your encouraging words.
A strong and loving embrace to all of you.
Este es el resultado de mi alfiletero sillón en azul, con tela y papel, que me gusto mucho, lo cómodo y esponjoso que quedo, así es como termine mi manualidad linda y necesaria para toda amante de la costura, espero que les agrade mi trabajo y me dejen sus alentadoras palabras.
Un fuerte y amoroso abrazo para todos.

social networks / redes sociales
Traductor Deepl
Translated Deepl
Ediciones Canva
Editions Canva

Posted Using INLEO

Saludos amiga que lindo proyecto, el sillón se ve cómodo y acolchado, perfecto para colocar los alfileres, gracias por compartir. 🌺🤗
Feliz jueves!
Hola mi querida amiga, gracias por siempre estar por aquí, con tus alentadores comentarios. Mientras lo hacía Desee tener un sillón así de suave.
Feliz y bendecida noche.🤗💞
Congratulations @lauracraft! You have completed the following achievement on the Hive blockchain And have been rewarded with New badge(s)
Your next target is to reach 32000 upvotes.
You can view your badges on your board and compare yourself to others in the Ranking
If you no longer want to receive notifications, reply to this comment with the word
STOPEs azuuuuul, hiciste un alfiletero gordito de COLOR AZUUUUUL 🐳 (es demasiado fan del color); clásico infaltable en el stock de toda creativa! Me gusto mucho tu proceso y me has recordado que debería hacer uno for me ; v ; actualmente tengo mis alfileres en una cajita de hisopos reciclada; te quedó súper lindo y versátil! 💙 ~