🌸Hola Comunidad HIVE🌸
Hello HIVE Community
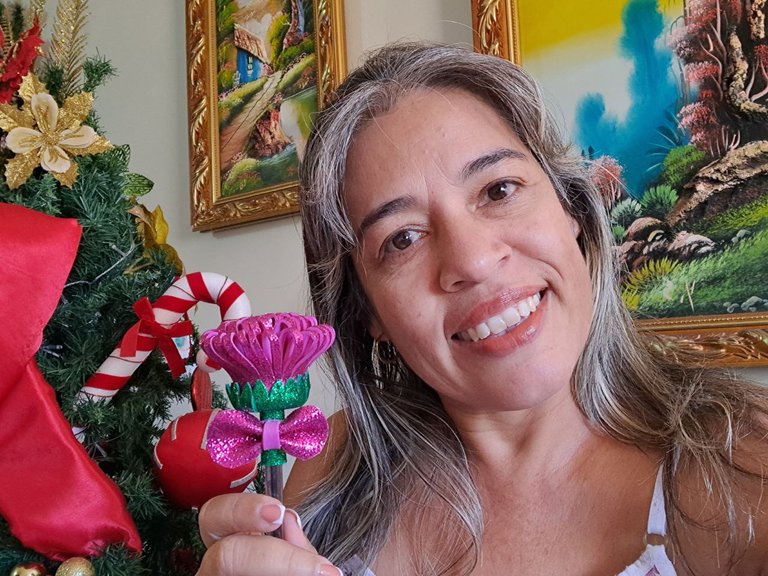
Feliz día amigos creativos de @hivediysaludos cordiales en este nuevo año 2025 que este cargado de muchos y lindos proyectos realizados con amor y creatividad. Hoy les comparto una linda manualidad que bien nos puede servir para obsequiar o identificar nuestros lapiceros cuando estos son muy utilizados. En este caso me pareció linda la flor de tulipán como identificativo y no dude en usar mis retazos de foami o goma eva abrillantada para realizar este hermosa creación que hoy les comparto.<div
Happy day creative friends of @hivediysh warm greetings in this new year 2025, may it be full of many beautiful projects made with love and creativity. Today I share with you a nice craft that can be used as a gift or to identify our pens when they are used a lot. In this case I found the tulip flower cute as an identifier and I did not hesitate to use my scraps of foami or polished eva rubber to make this beautiful creation that I share with you today.
Foami escarchado fucsia.
Foami verde escarchado.
Lapicero a decorar.
Pistola de silicón.
Tijeras.
Fuchsia frosted foami.
Green frosted foami.
Pen to decorate.
Silicone gun.
Scissors.
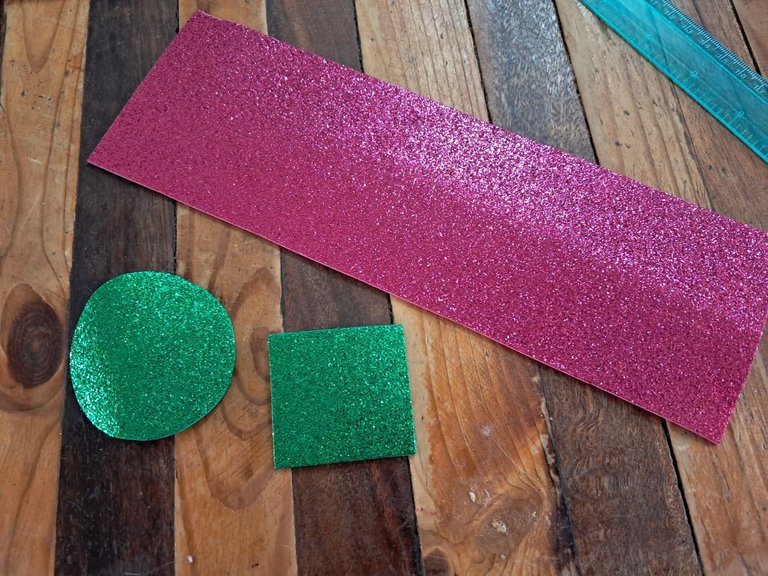
Cortamos un rectángulo en foami fucsia de 25 x 8 cm, otro rectángulo en verde de 4 x 3 cm y un círculo en verde. Estas serán nuestras piezas principales a utilizar.
We cut a rectangle in fuchsia foami of 25 x 8 cm, another rectangle in green of 4 x 3 cm and a circle in green. These will be our main pieces to use.
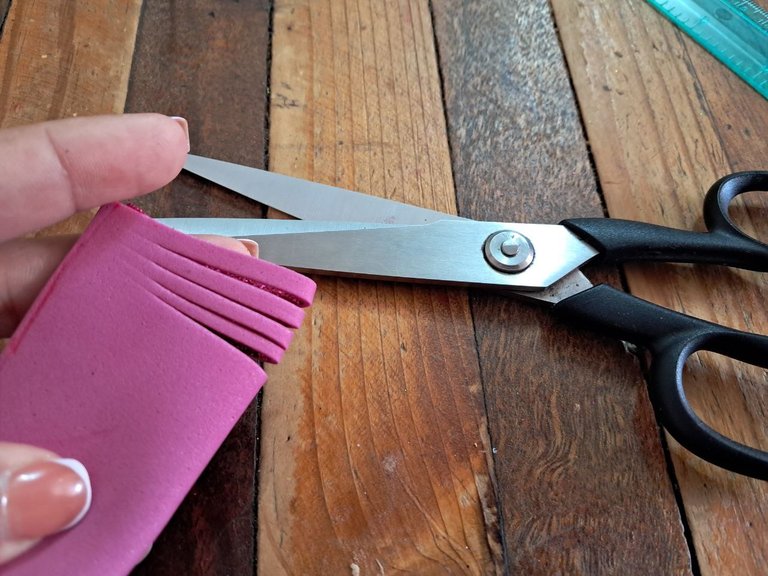
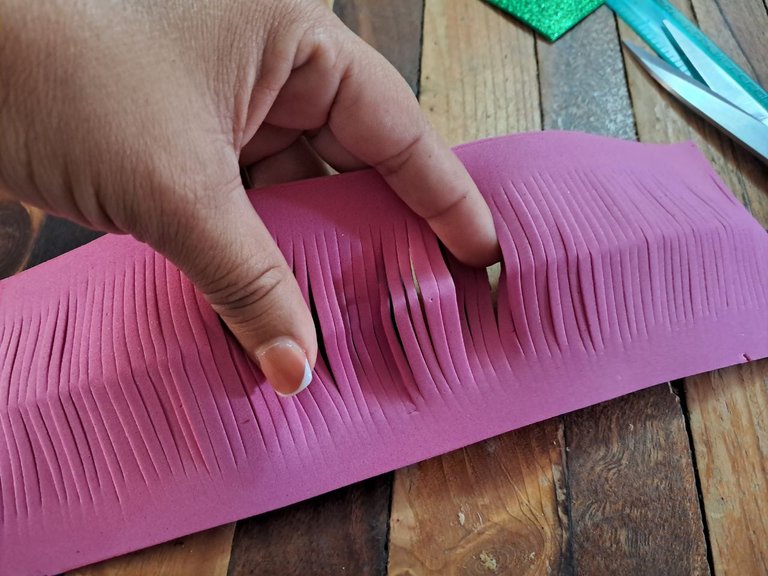
Tomamos el rectángulo fucsia y lo doblamos para hacerle cortes verticales desde el centro del doblez hasta la orilla dejando 1 cm sin cortar.
Take the fuchsia rectangle and fold it to make vertical cuts from the center of the fold to the edge leaving 1 cm uncut.
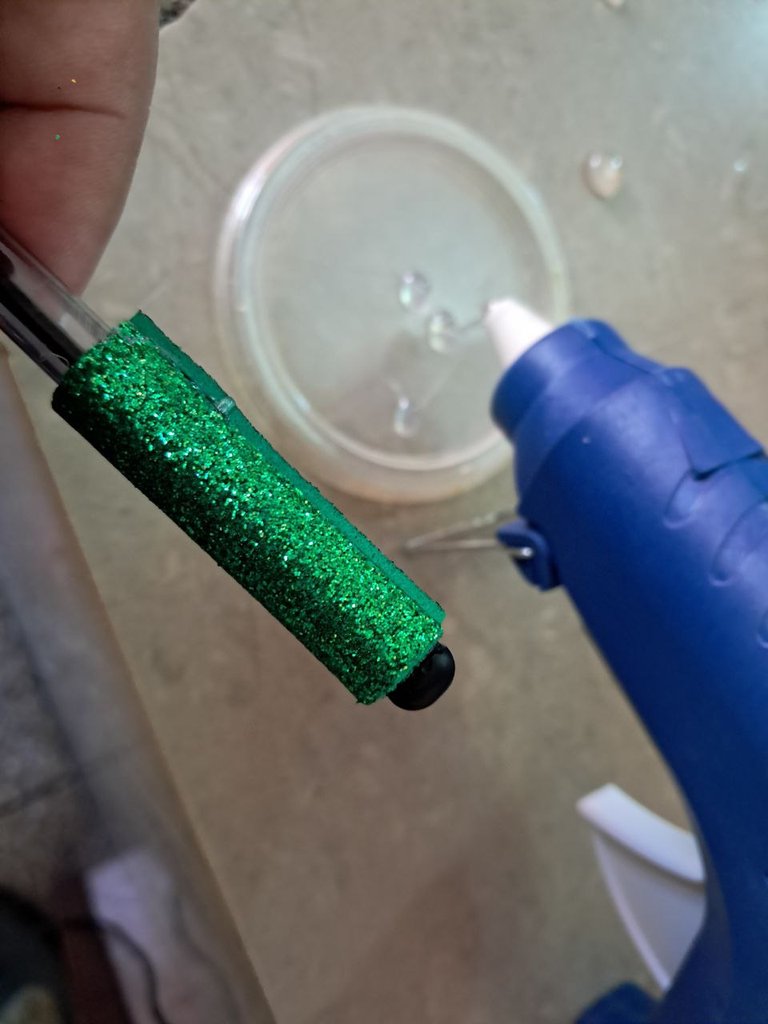
Tomamos el rectángulo verde con el que formaremos el tallo de la flor y lo pegamos en la parte superior del lapicero, en el extremo de la tapa, con ayuda de la pistola de silicón.
We take the green rectangle with which we formed the stem of the flower and glue it to the top of the pencil, at the end of the lid, with the help of the silicone gun.
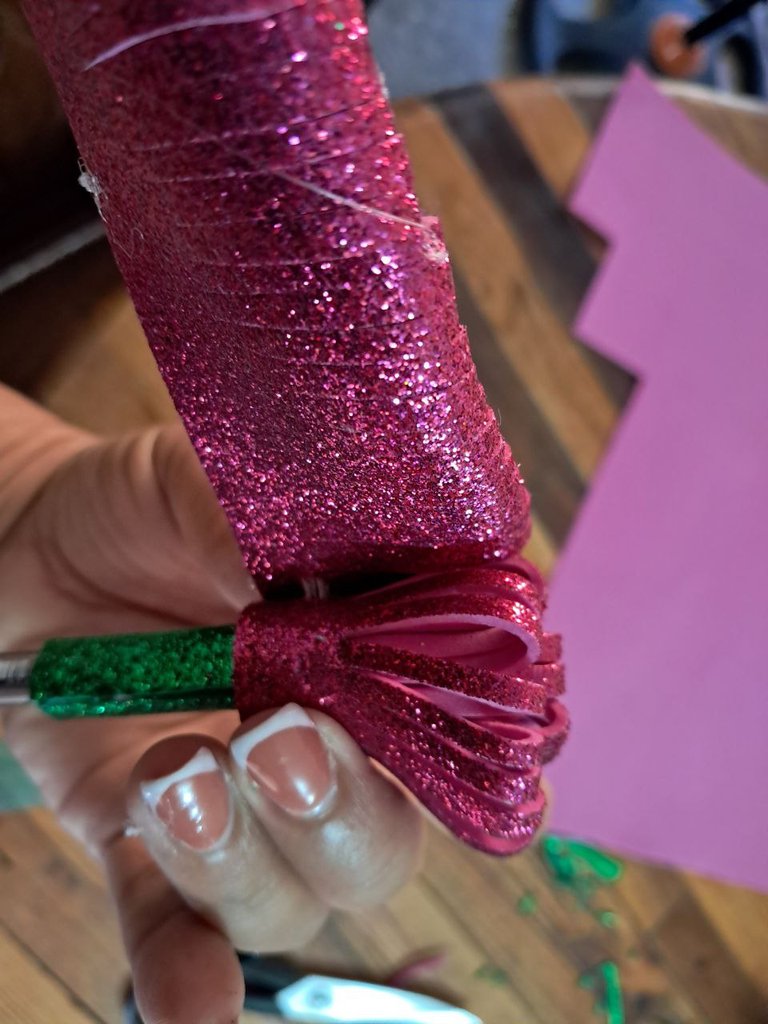
Lo siguiente será comenzar a pegar sobre el tallo y de manera circular el rectángulo fucsia, enrollando de manera que la flor vaya tomando forma.
The next step is to glue the fuchsia rectangle on the stem in a circular way, rolling it so that the flower takes shape.
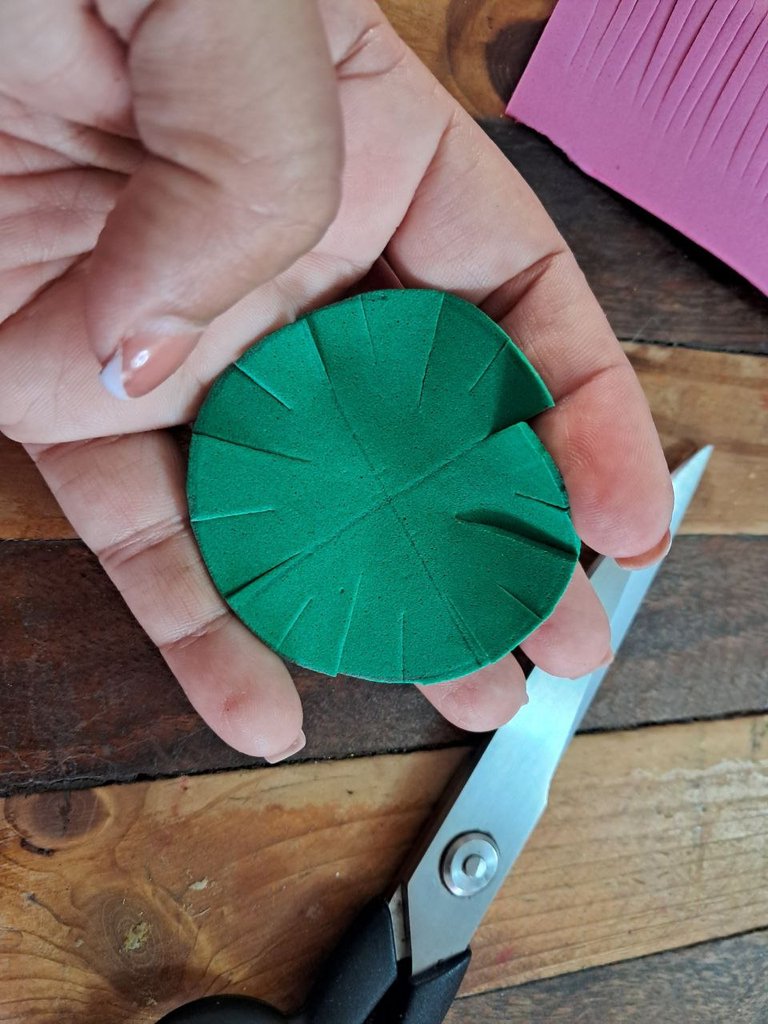
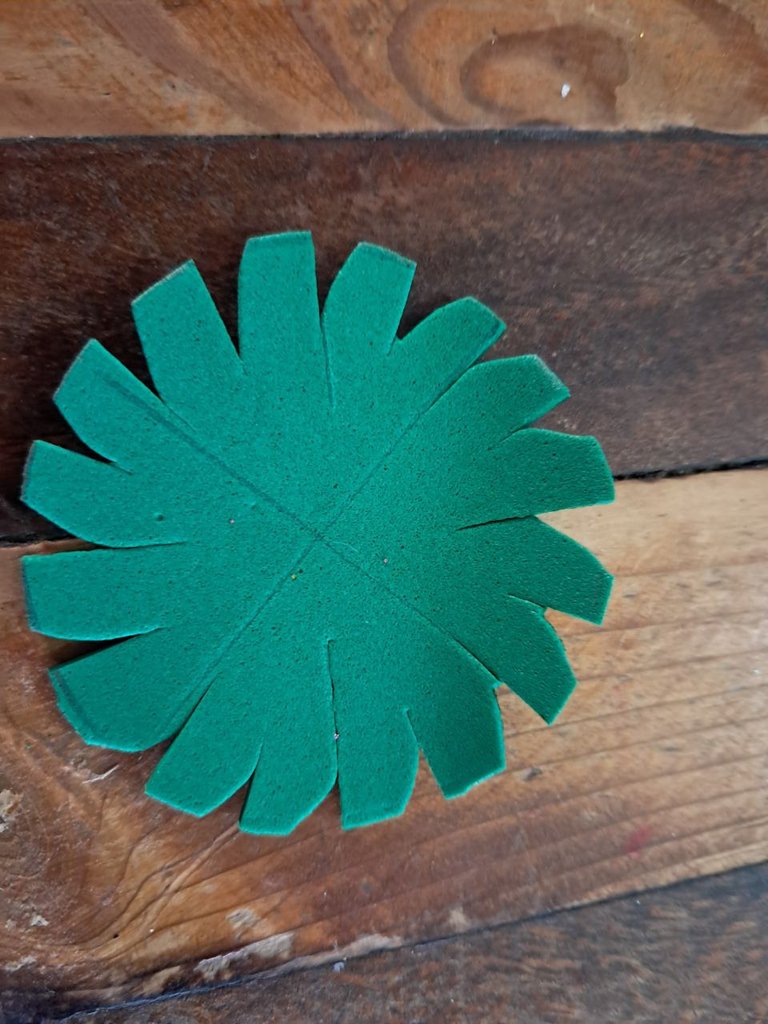
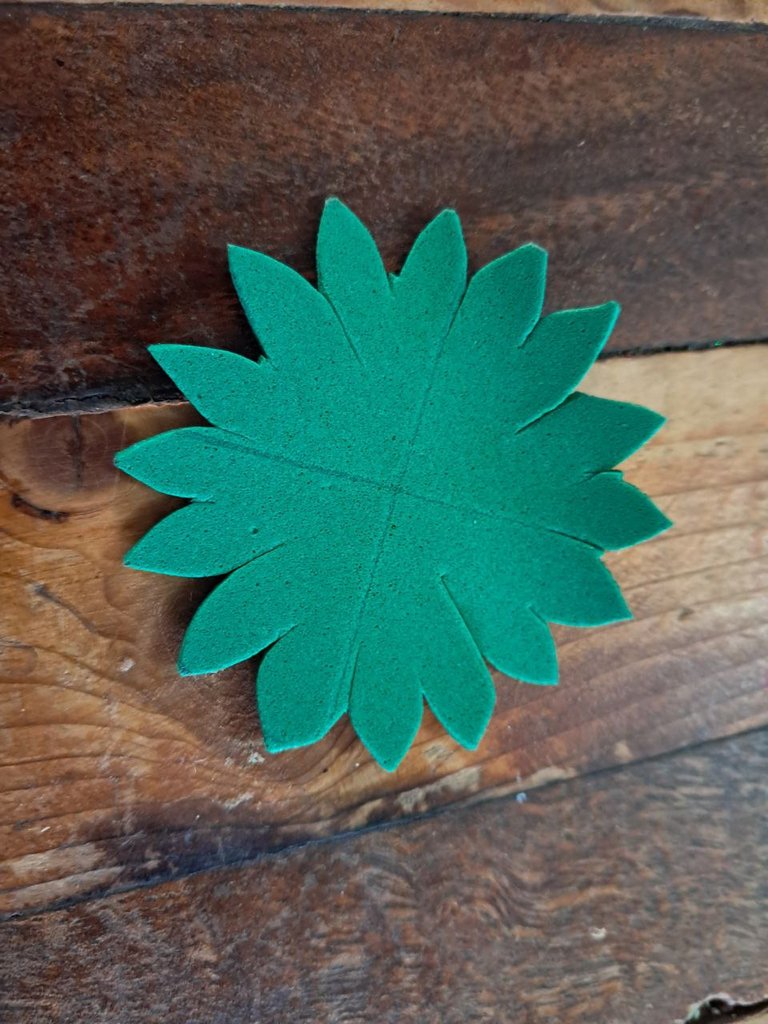
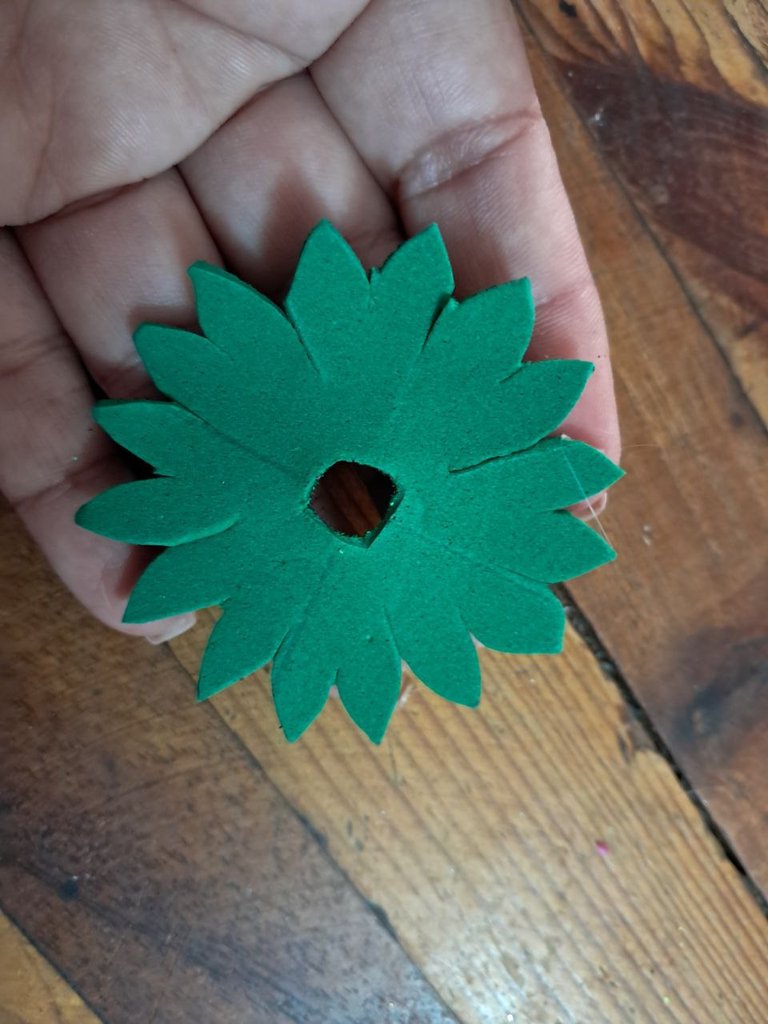
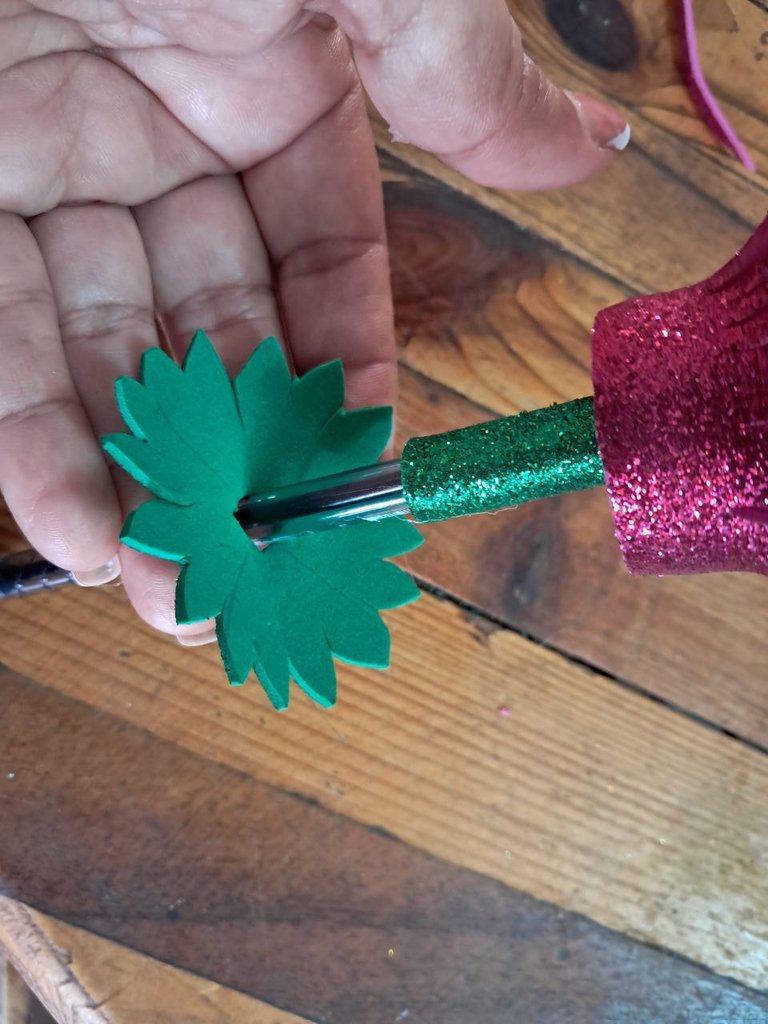
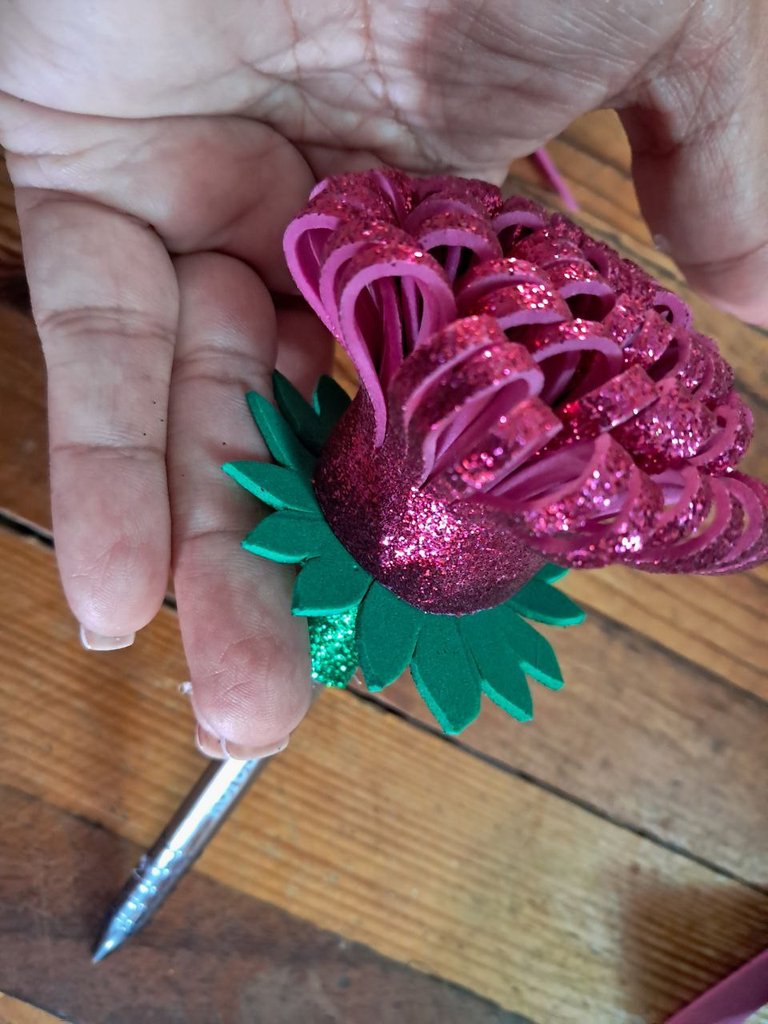
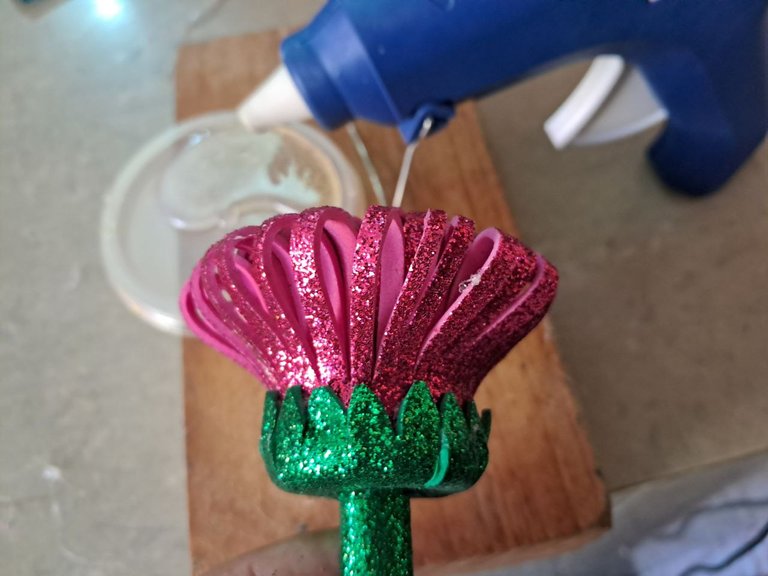
Tomamos el circulo verde y le hacemos cortes de manera de ir formando unas pequeñas hojas, le hacemos luego en el centro un orificio, he introducimos el lapicero para luego ir pegando las hojitas a la flor.
We take the green circle and make cuts so as to form small leaves, then we make a hole in the center, we introduce the pencil and then we glue the leaves to the flower.
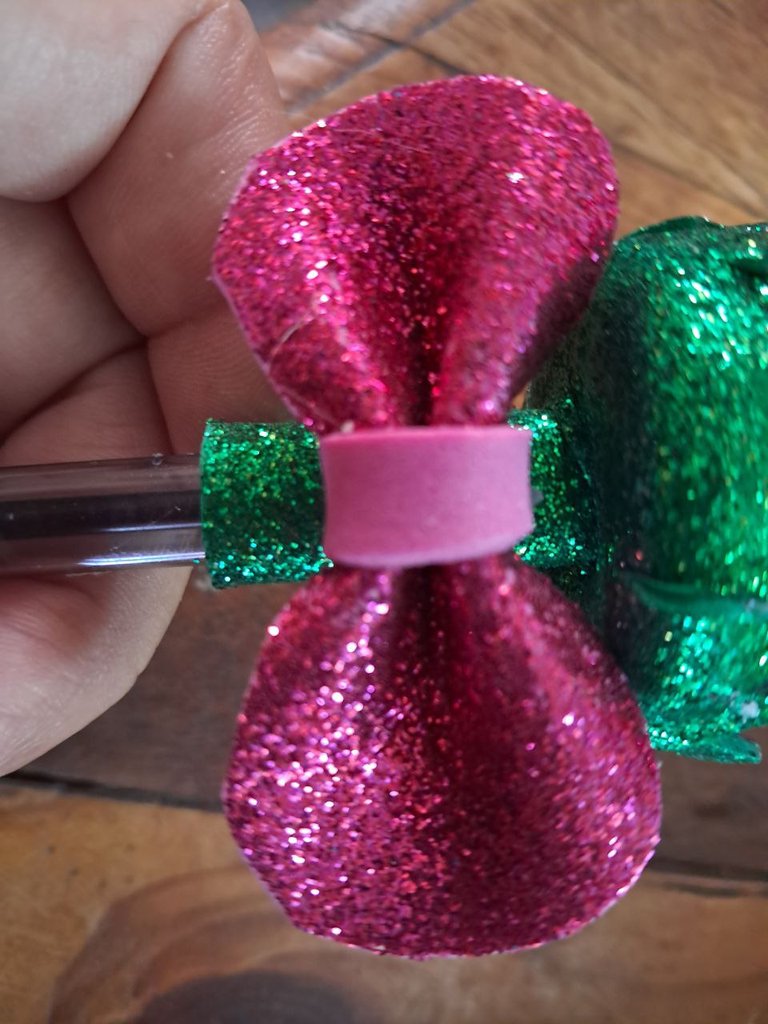
Como último detalle formamos un lazo en color fucsia y lo pegamos sobre el foami verde que sirve de tallo de la flor.
As a last detail we form a fuchsia ribbon and glue it on the green foami that serves as the stem of the flower.
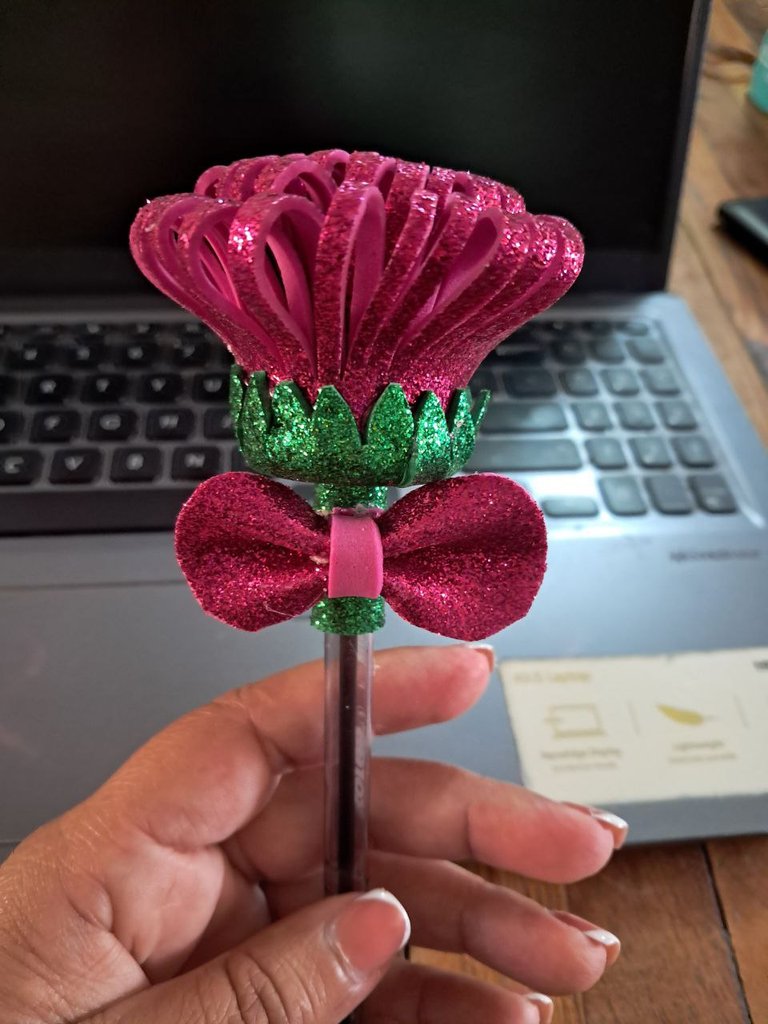

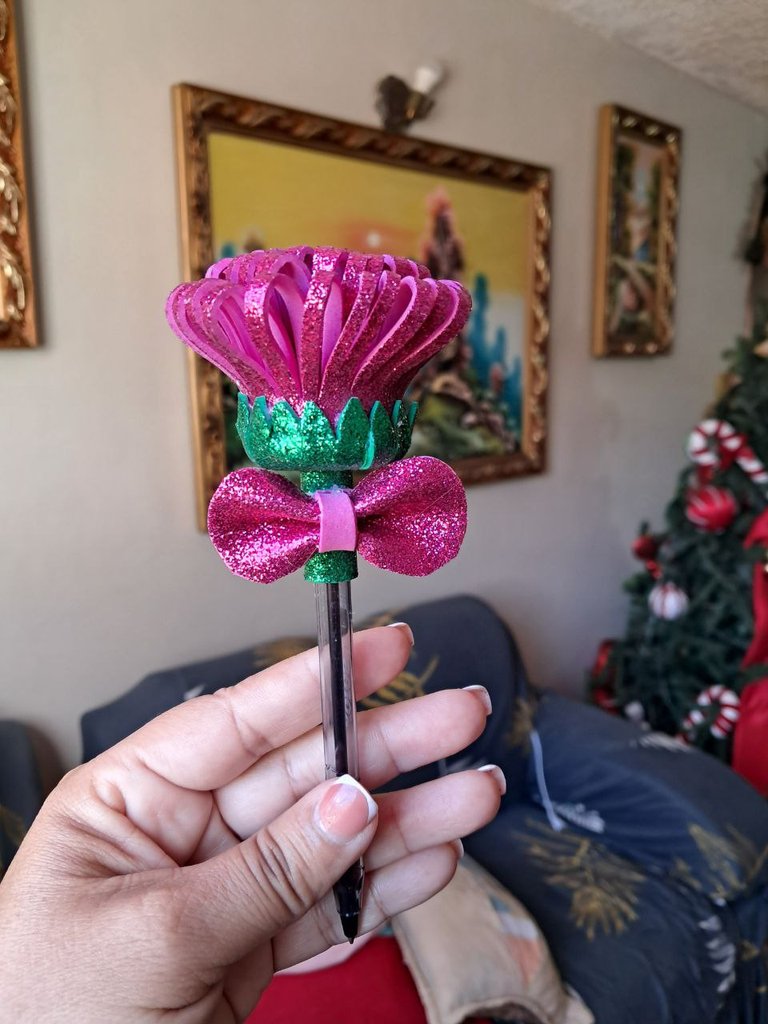
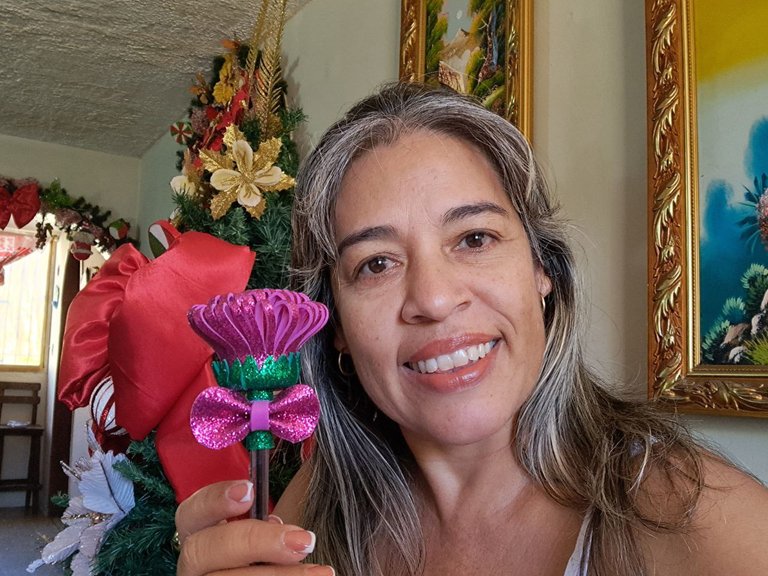
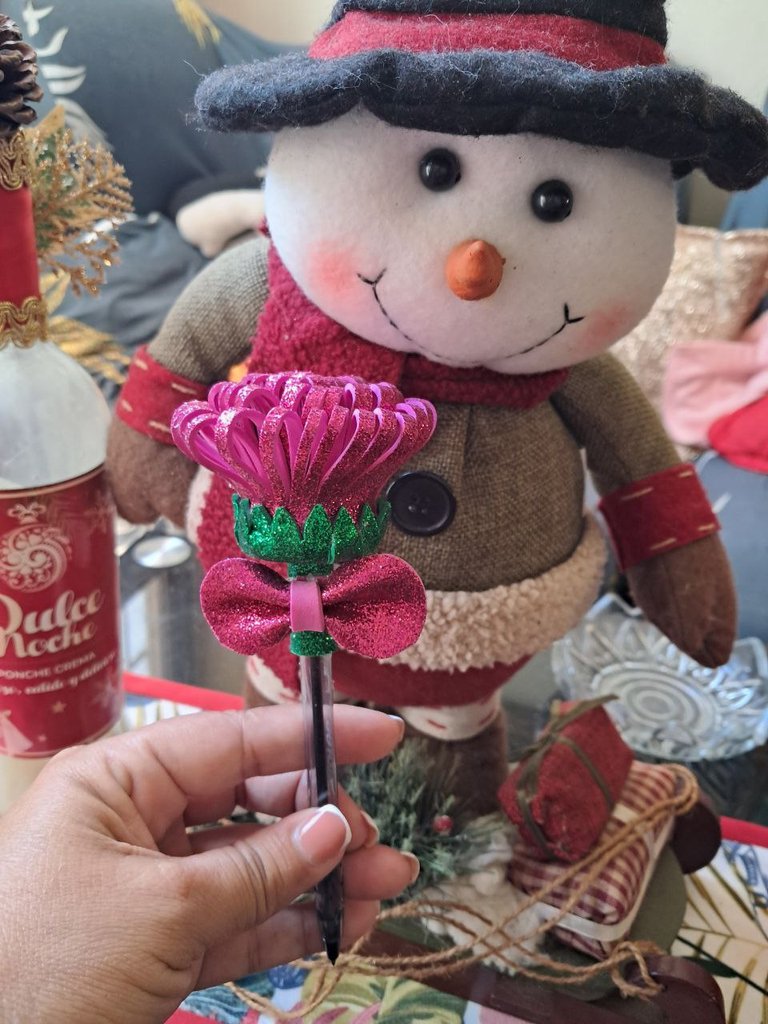
Con esto hemos terminado esta linda manualidad de decoración de lapicero que queda muy linda. Así si deseamos regalar una flor que sea una duradera y útil para muchas en este caso ya que va más para mujeres empoderadas y creativas que siempre tienen algo que anotar.
With this we have finished this cute pencil decoration craft that looks very nice. So if we want to give a flower that is a lasting and useful for many in this case as it goes more for empowered and creative women who always have something to write down.
Espero les haya gustado este lindo proyecto útil y precioso y les sirva el tutorial para decorar sus propios lapiceros. saludos amigos y nos leemos pronto.
I hope you liked this beautiful and useful project and I hope you like the tutorial to decorate your own pens. greetings friends and see you soon.
🌸🌸🌸🌸Fotos de mi Propiedad, tomadas con un Redmi 9🌸🌸🌸🌸
Photos of my Property, taken with a Redmi 9

The design to the pencil is really cute and attractive. Nicely done
Que lindo, me encantó 😊
hermoso el diseño para el boligrafo y con el paso a paso para hacerlo en casa.