Hello creative friends, as I always tell you, I like to decorate with my crafts the environment where I am. Some time ago I made a pencil holder for my office, but I wanted to renew it and give the old one to a coworker who wanted one for her donkey.
Hola amigos creativos, como siempre les comento , me gusta mucho adornar con mis manualidades el ambiente en el que me encuentro. Ya hace un tiempo hice un portalápiz para mi oficina, pero quise renovarlo y el viejo regalárselo a una compañera de trabajo que quería uno para su burro.
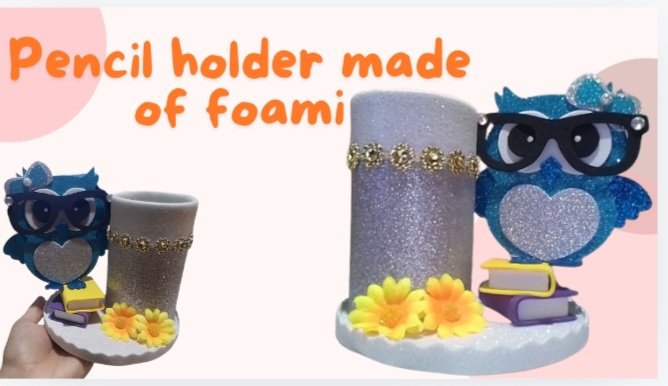
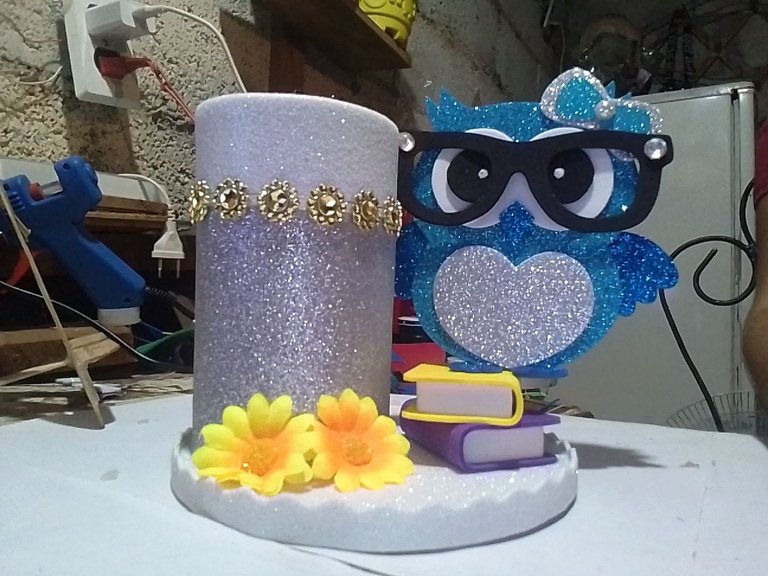
Next I want to show you the new pencil holder I made for my office, simple but beautiful. I really loved the final result.
A continuación les quiero mostrar el nuevo portalápiz que hice para mi oficina, sencillo pero bonito. Ya que me encantó mucho el resultado final.
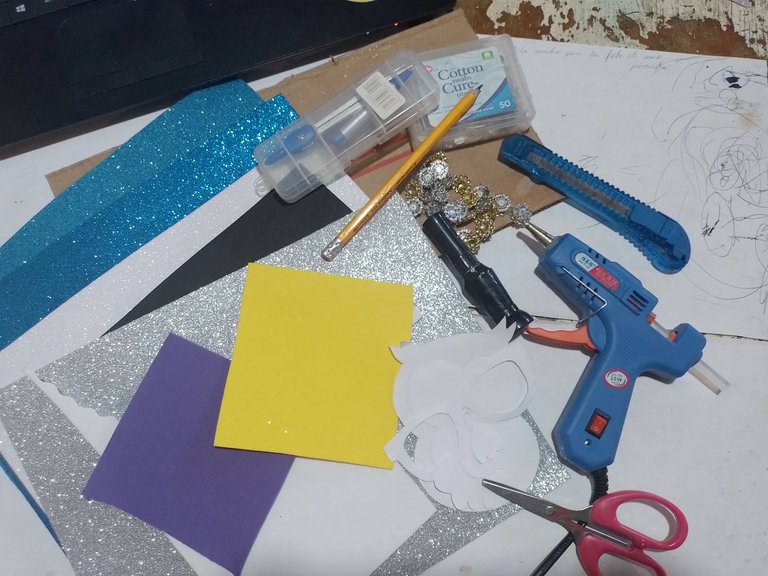
Materials
- Silicone gun.
- Fomis of various colors.
- Scissors.
- Cutter.
- Pencil.
- Compasses.
- Beads.
- Piece of cardboard.
- Decorative strip.
- White paint.
- Molds.
- Two medium-sized flowers.
- White cardboard.
Materiales
- Pistola de silicona.
- Fomis de barios de colores.
- Tijera.
- Cúter.
- Lápiz.
- Compas.
- Perlas.
- Un trozo de cartón.
- Tira decorativa.
- Pintura blanca.
- Moldes.
- Dos florecitas medianas.
- Cartulina blanca.
Step by step, Paso a paso
|
|
|
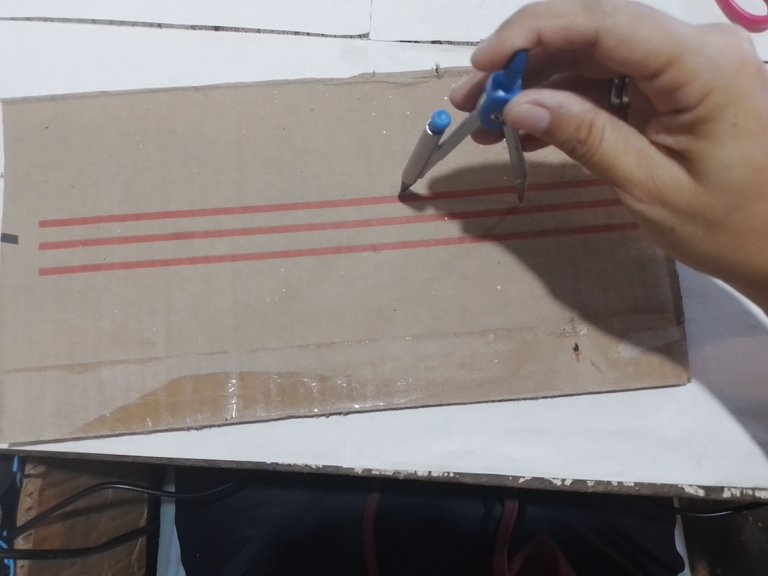
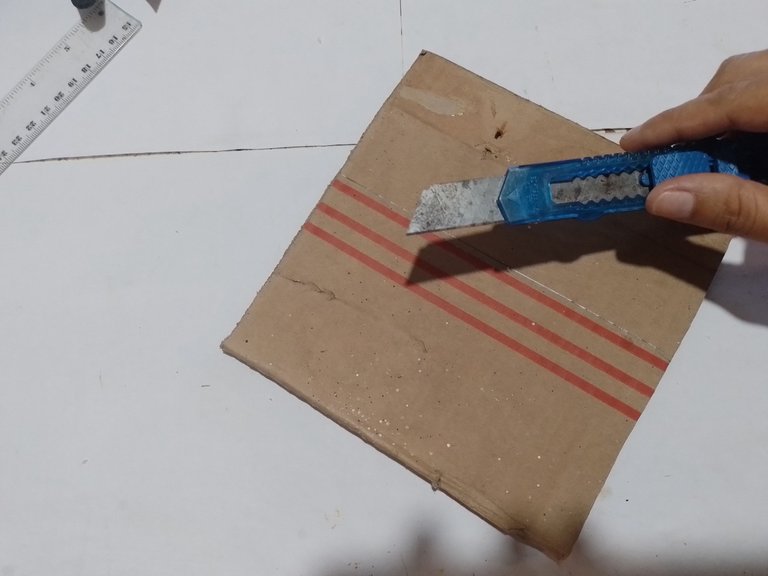
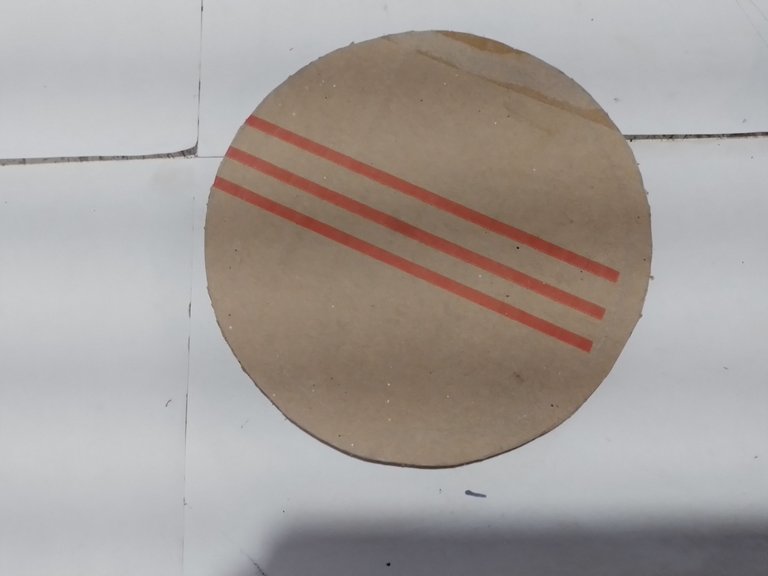
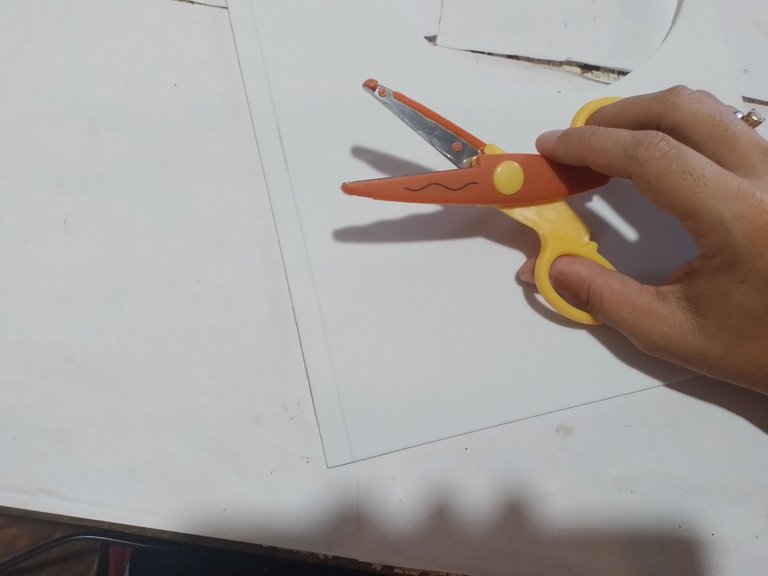
Step 1- With the compass we draw a circle on the cardboard and cut it with the cutter.
Paso 1- Con el compás dibujamos un círculo en el cartón y lo cortamos con el cúter.
|

|
|
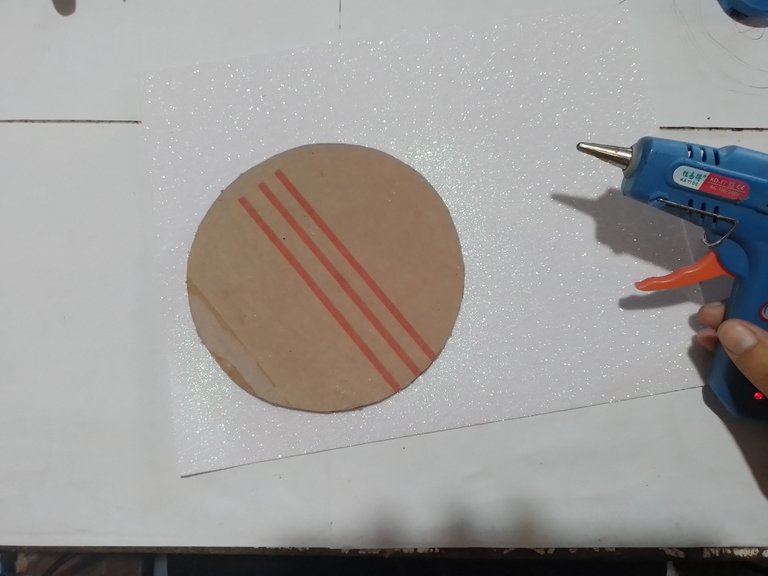
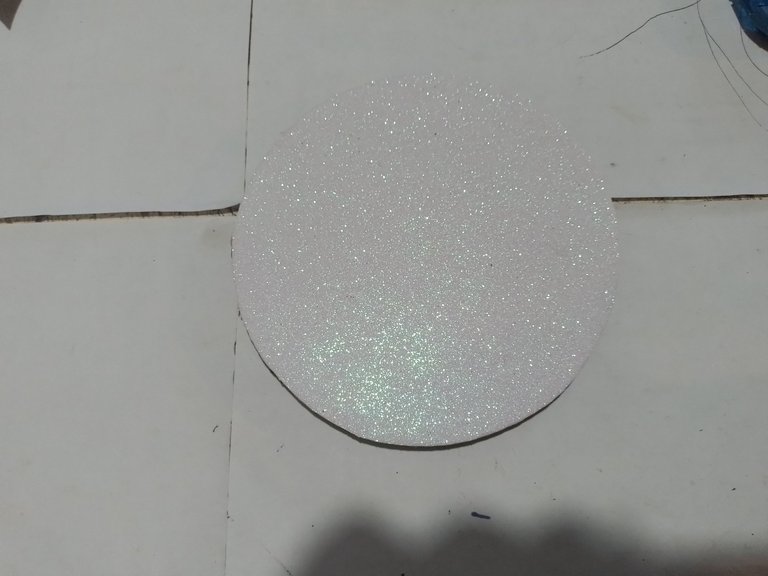
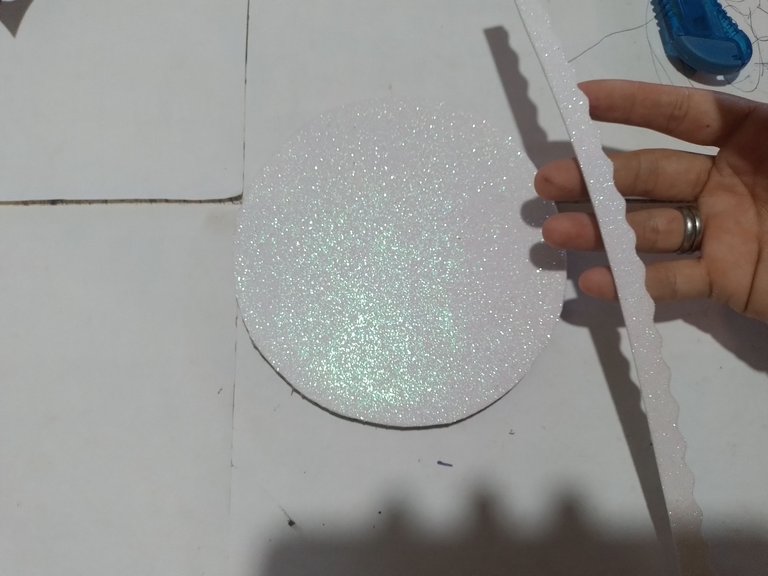
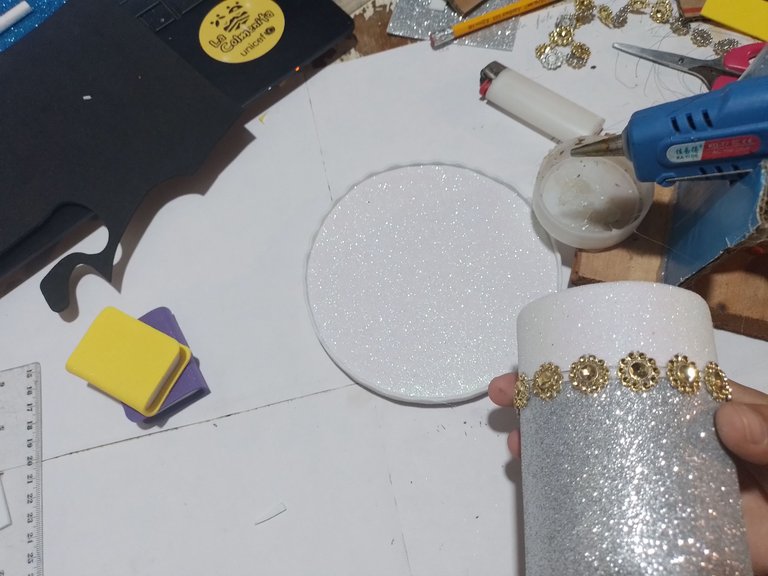
Step 2- Glue the cardboard circle on the white fomi and cut it out. And this will be the base of the pencil holder.
Paso 2- El círculo de cartón lo pegamos en el fomi blanco y lo recortamos. Y este será la base del portalápiz.
|
|
|

|
|
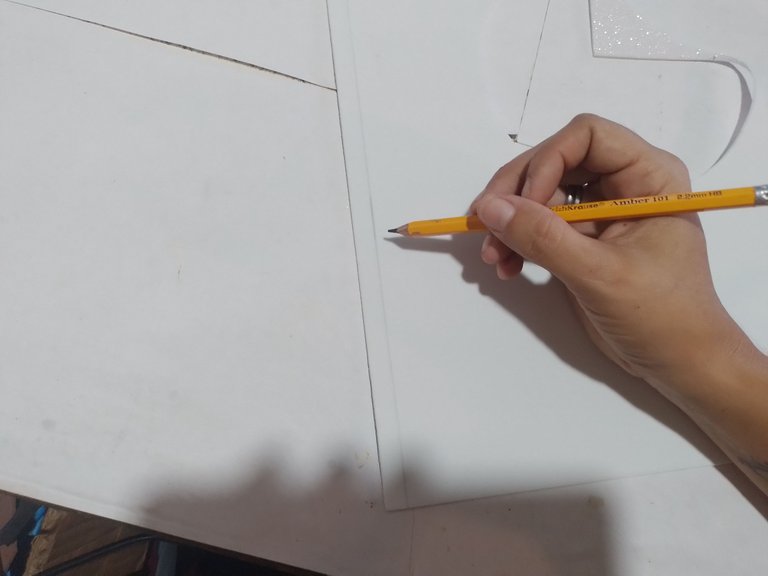
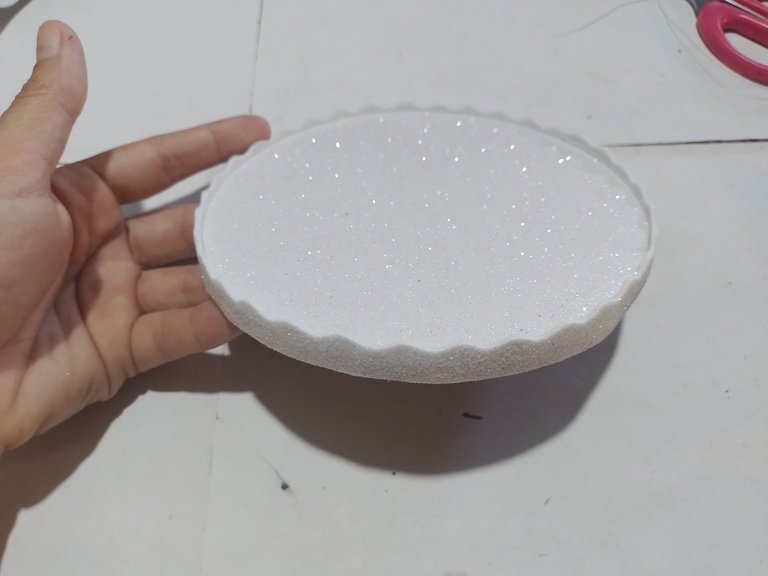
Step 3- Then, on the white fomi, cut out a strip with the scissors and glue it around the circle.
Paso 3- Luego, en el fomi blanco, recortamos con la tijera de forma una tira y la pegamos por el contorno del círculo.
|
|
|
|
|
|
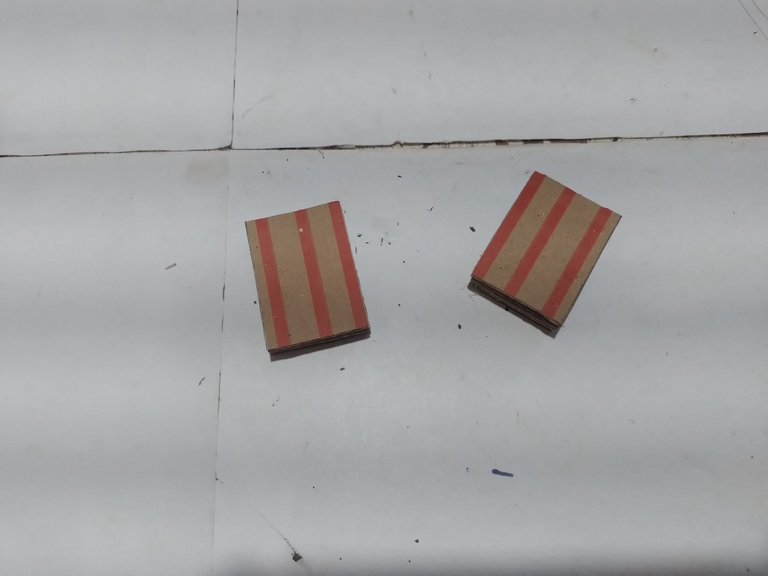
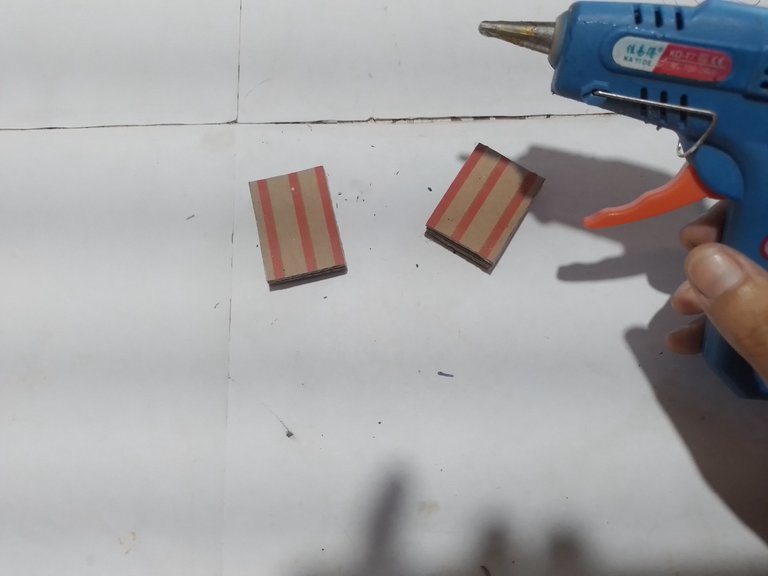
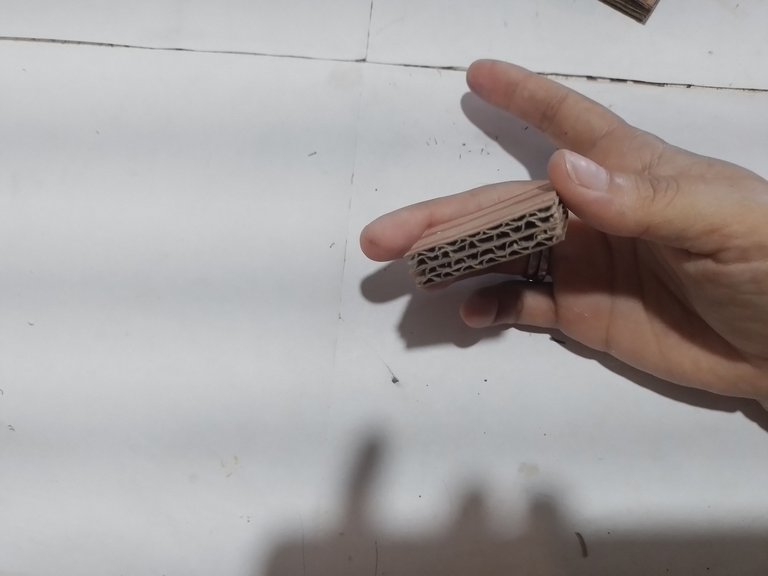
Step 4- On another piece of cardboard cut 4 small rectangles and glue two of them to make them fatter.
Paso 4- En otro trozo de cartón cortamos 4 rectángulos pequeños y pegamos dos para que sean más gorditos.
|
|
|
|
|
|
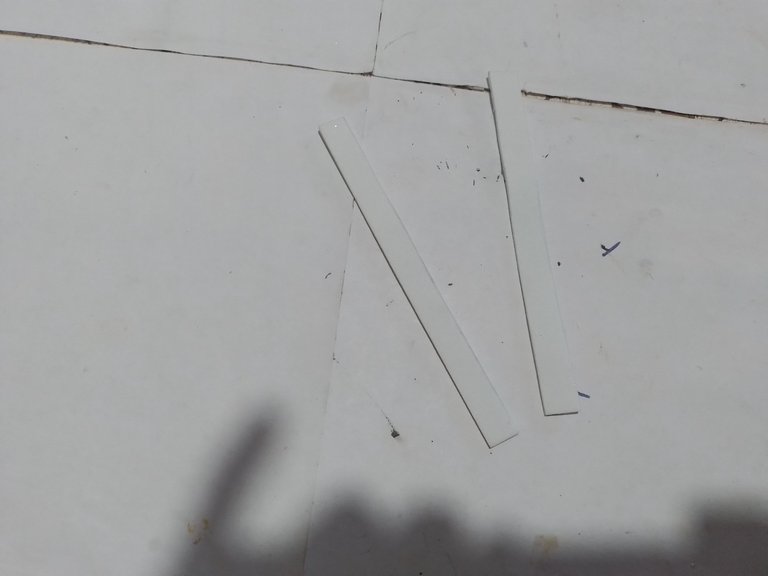
Step 5-On the white fomi we draw and cut out 2 white strips and glue them along the edge of the rectangles we made.
Paso 5-En el fomi blanco dibujamos y recortamos 2 tiras blancas y las pegamos por el borde de los rectángulos que hicimos.
|
|
|
|
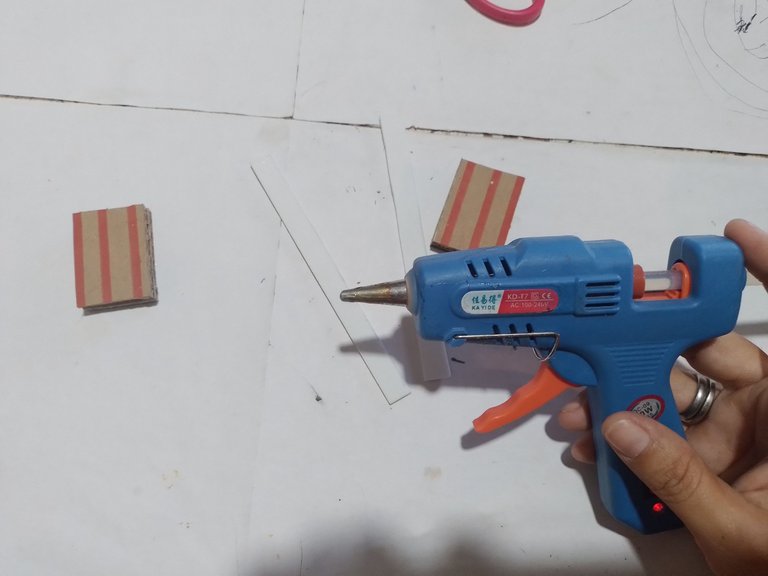
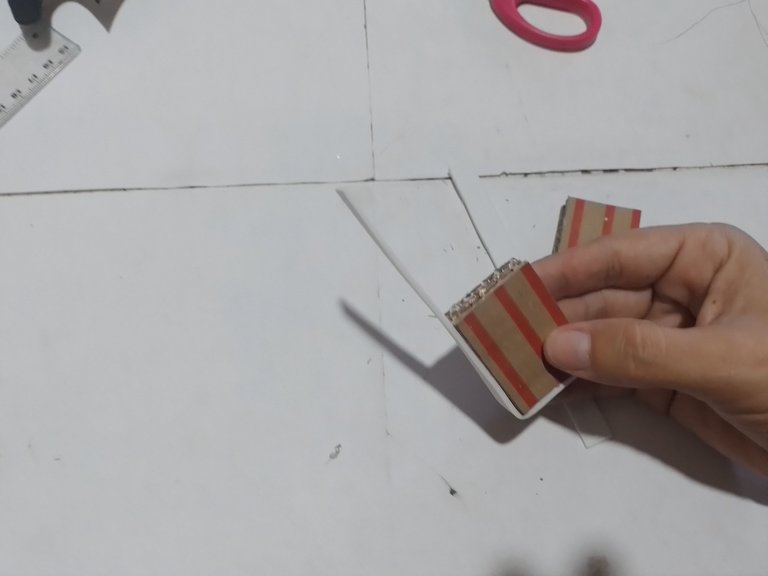
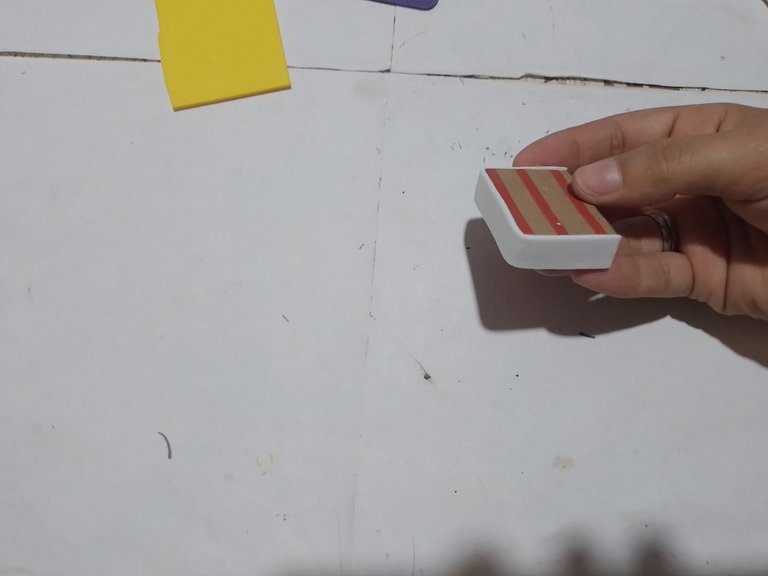
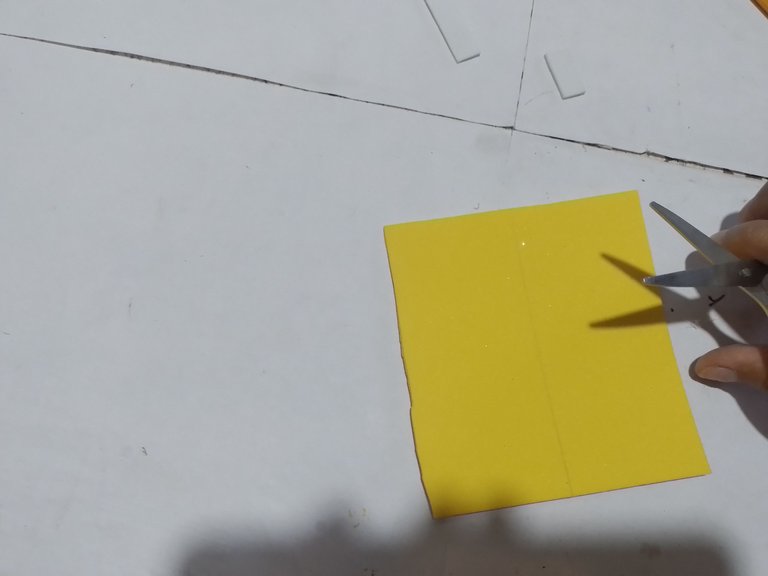
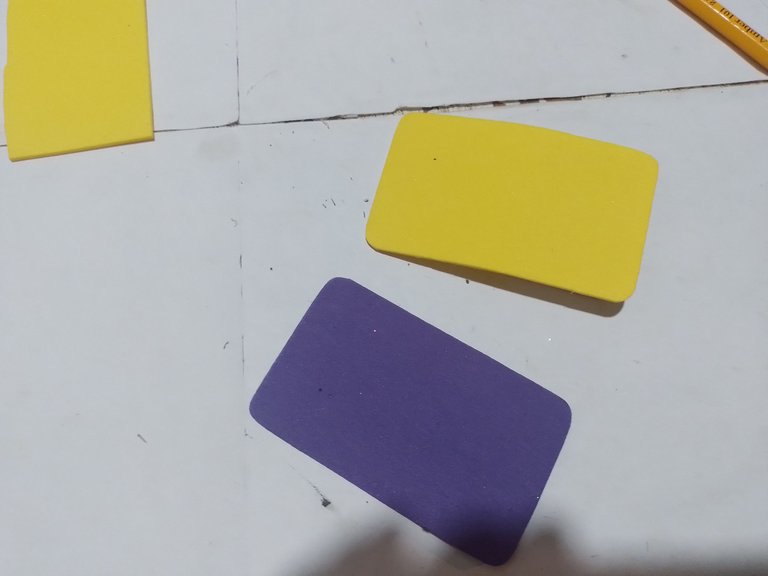
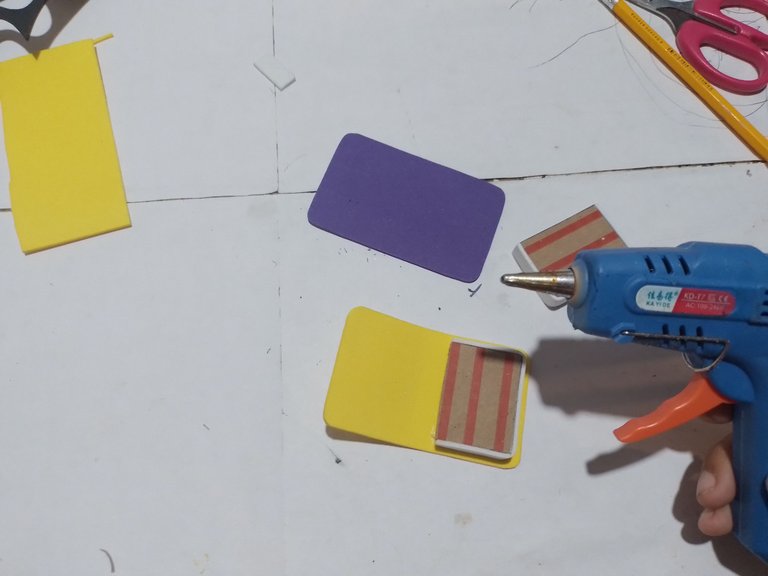
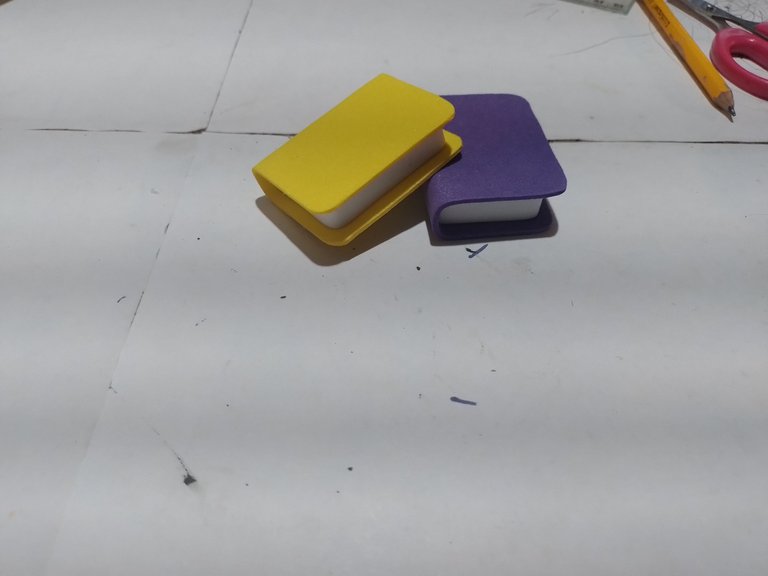
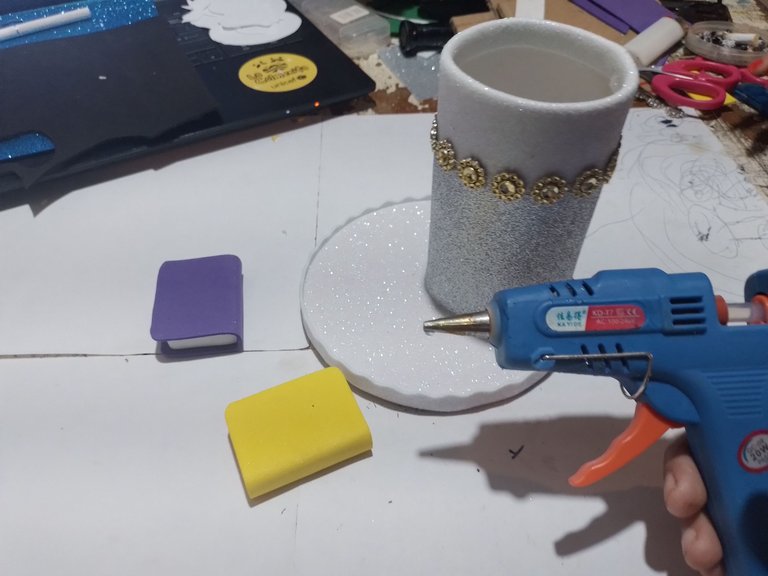
Step 6- In two different colored pieces of fomi we cut out two larger rectangles and glue the small rectangles that we had previously made forming a booklet. And put them aside.
Paso 6- En dos trozos de fomi de diferente color recortamos dos rectángulos más grandes y pegamos los rectángulos pequeños que habíamos hecho anteriormente formando un librito. Y los ponemos a un lado.
|
|
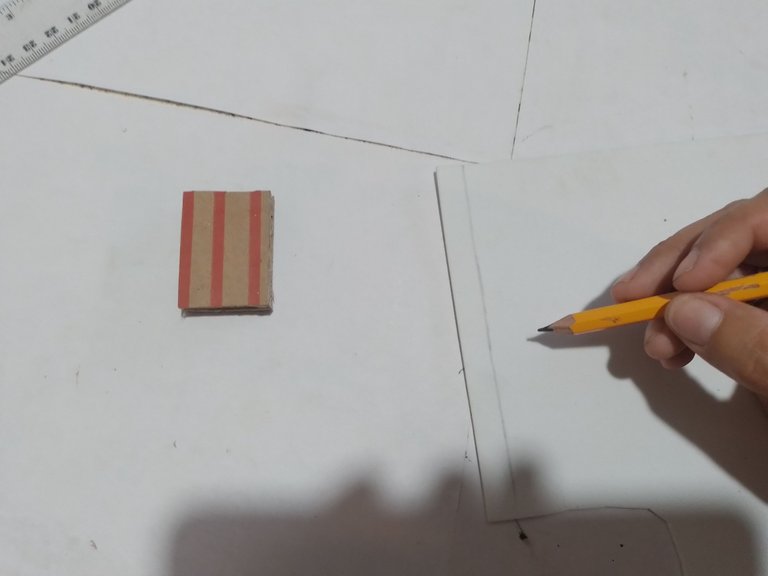
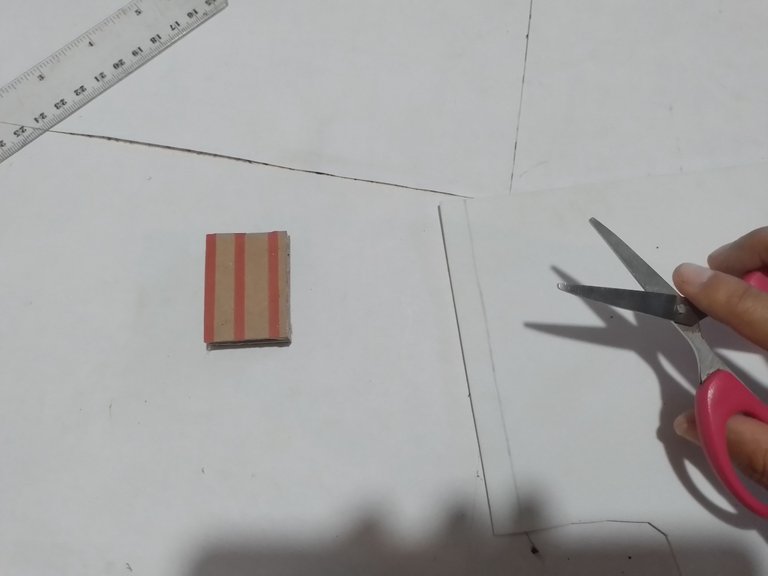
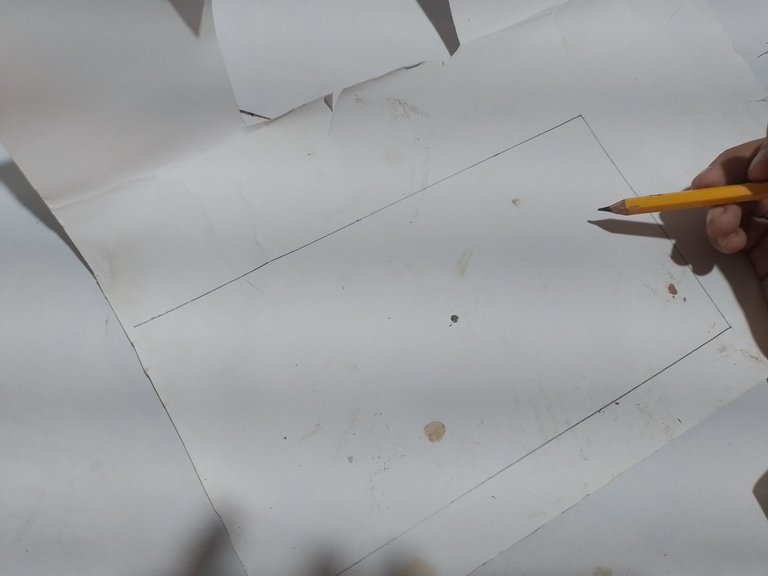
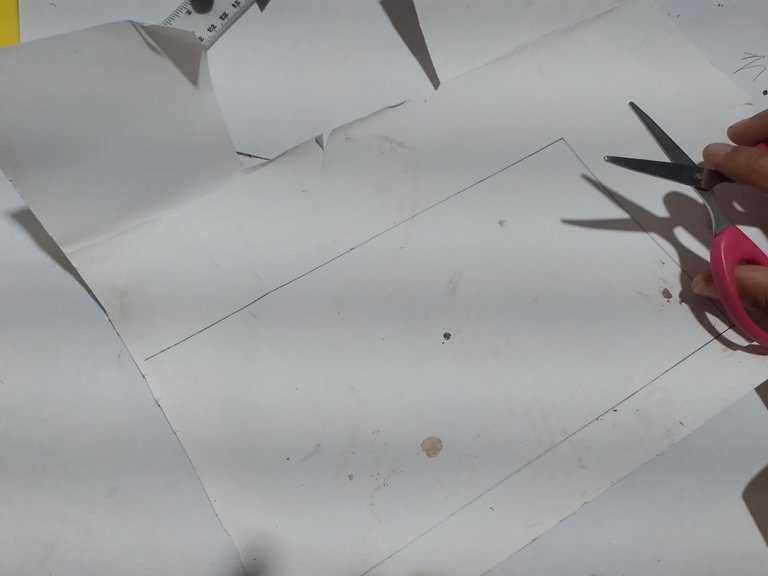
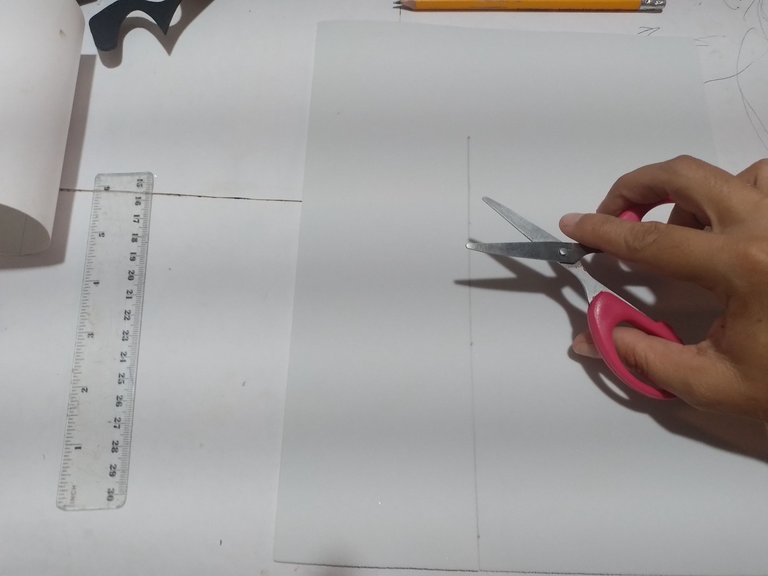
Step 7- Draw a large rectangle on a piece of cardboard and cut it out. And glue at one end forming a cylinder.
Paso 7- Dibujamos un rectángulo grande en una cartulina y la recortamos. Y pegamos a un extremo formando un cilindro.
|
|

|
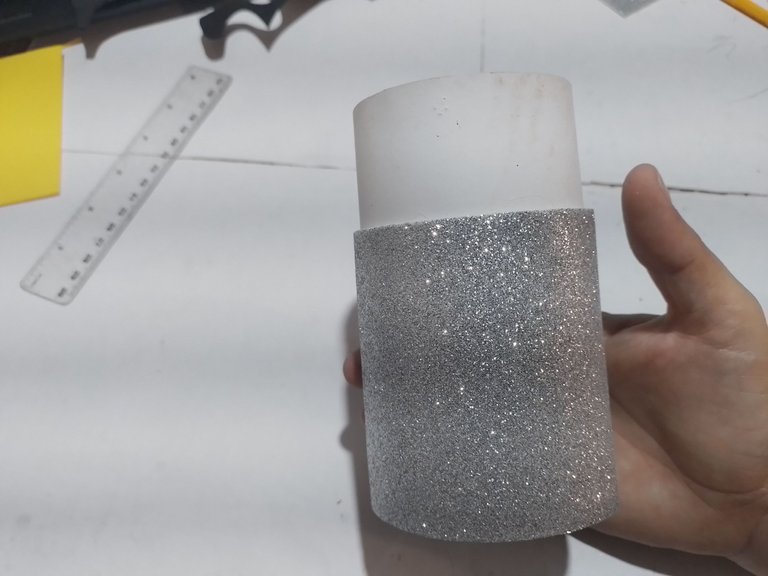
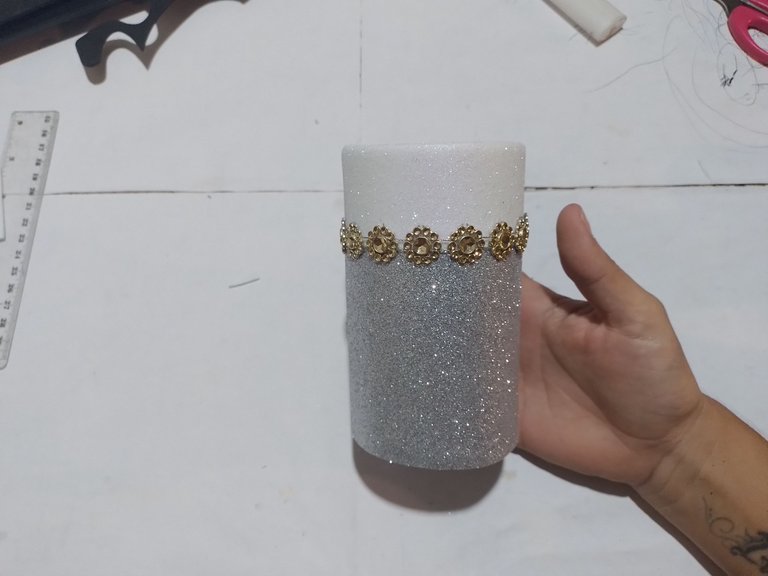
Step 8- Then, in a silver fomi, we roast a rectangle and cut it, then we glue it on the cylinder we made with the cardboard. We leave a piece of cylinder without fomi and glue a piece of white fomi to combine it.
Paso 8- Después, en un fomi plateado, asemos un rectángulo y lo cortamos, después lo pegamos en el cilindro que hicimos con la cartulina. Dejamos un pedazo de cilindro sin fomi y le pegamos un trozo de fomi blanco para combinarlo.
|
|
|
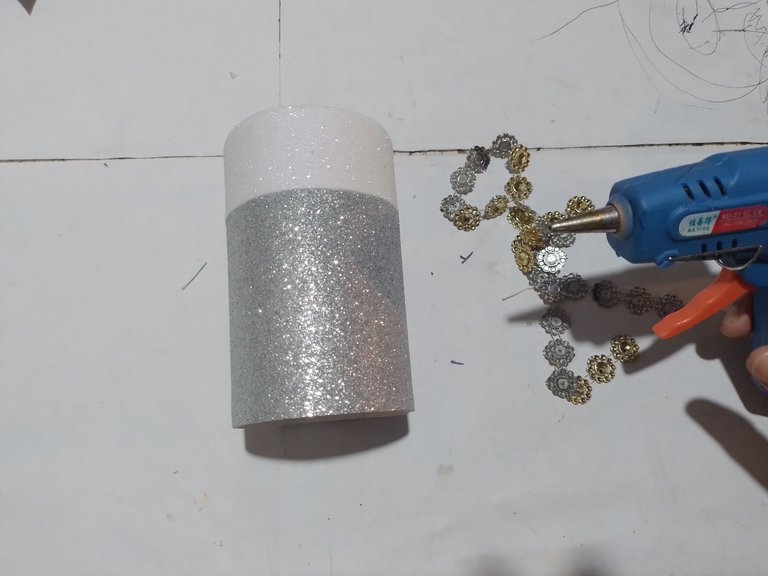
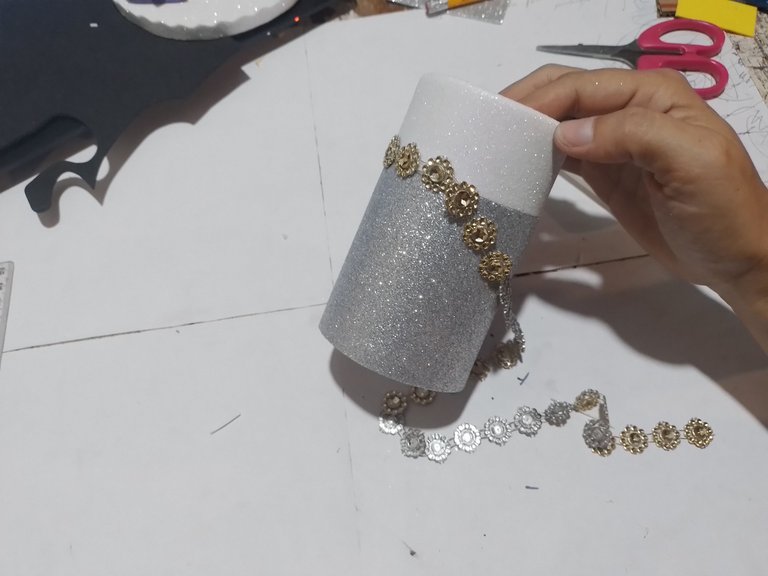
Step 9- Glue the decorative strip along the seam of the tie of the two fomis.
Paso 9- Pegamos la tira decorativa por el vivo del empate de los dos fomis.
|
|
|
|
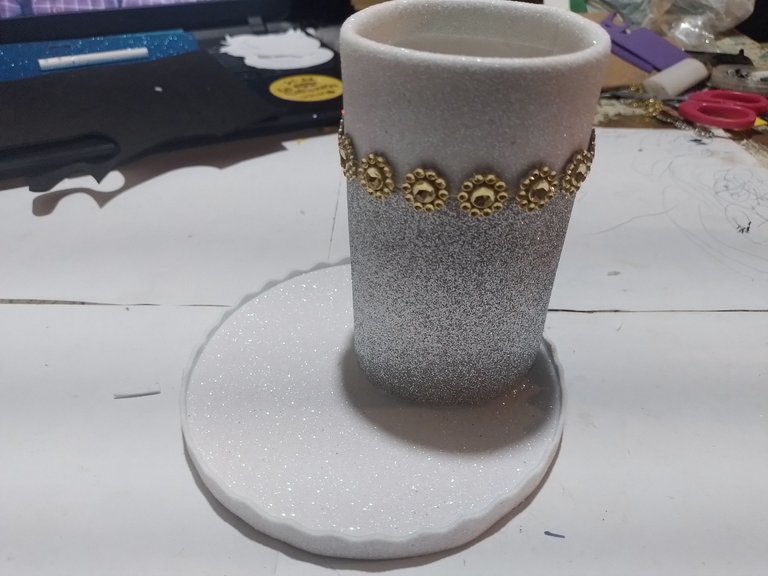
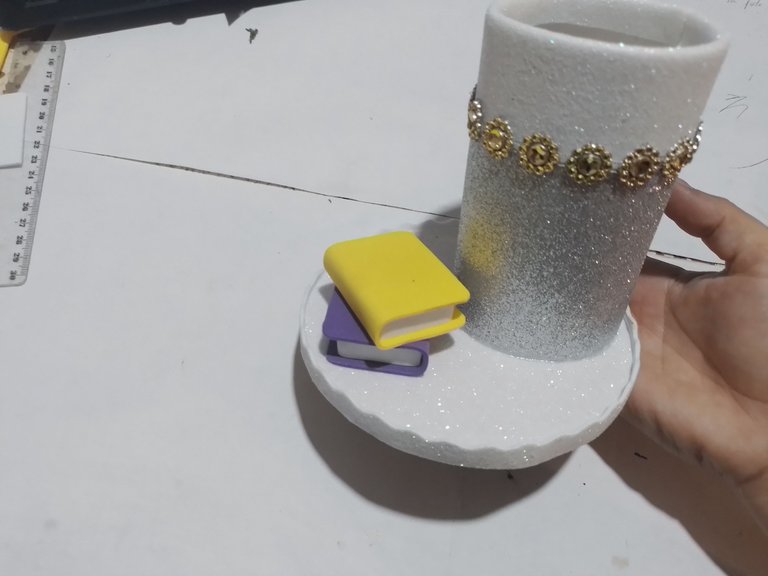
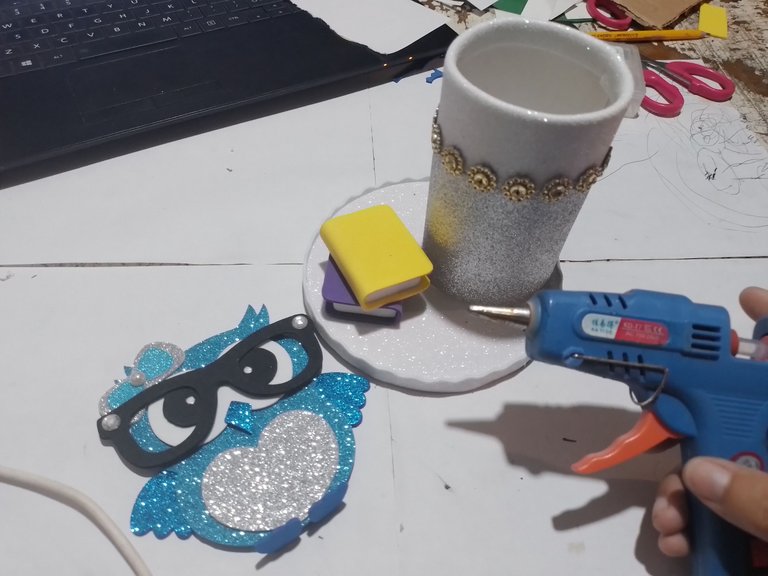
Step 10- Glue the decorated cylinder on top of the base. And also glue the previously made booklets to one side.
Paso 10- Pegamos el cilindro decorado encima de la base. Y también pegamos a un lado los libritos hechos anteriormente.
|
|
|
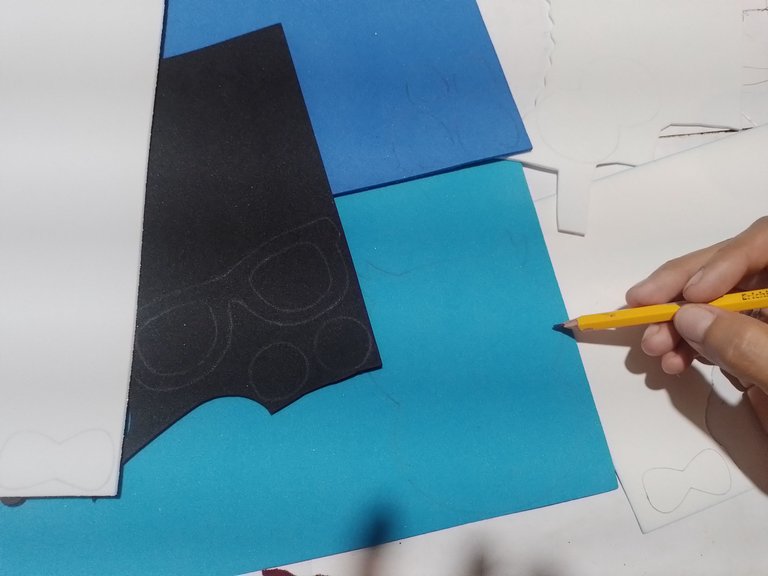
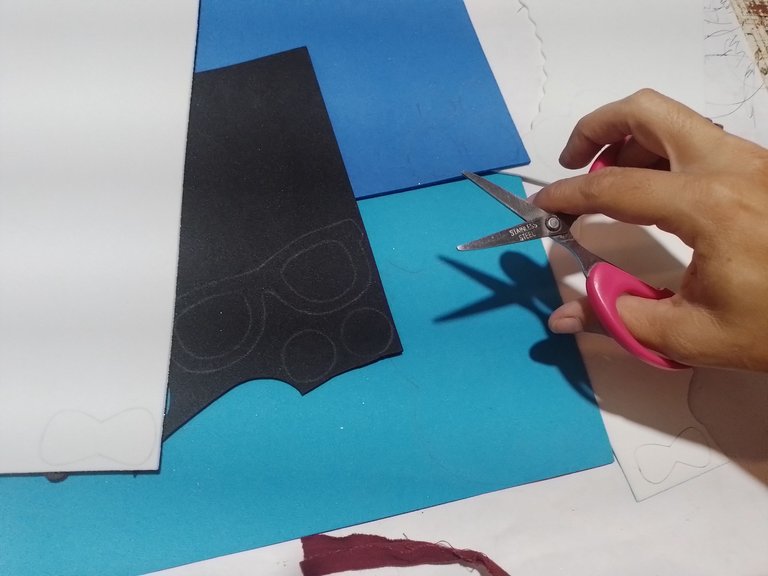
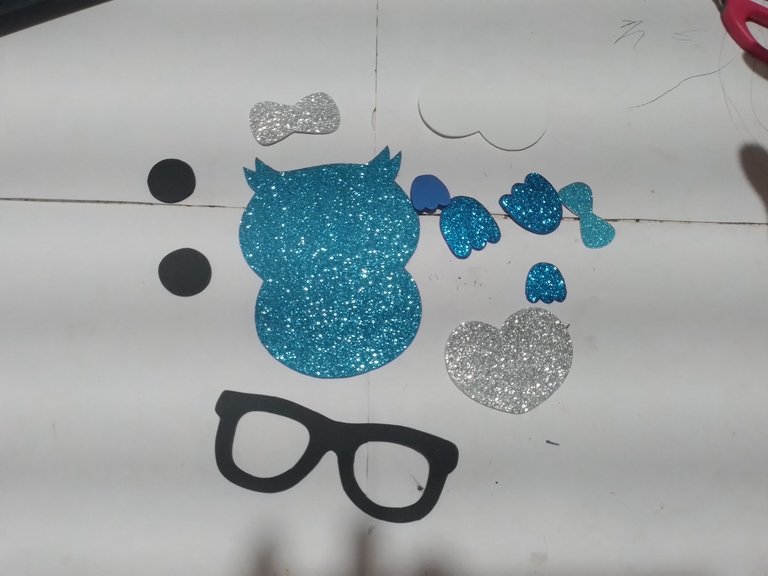
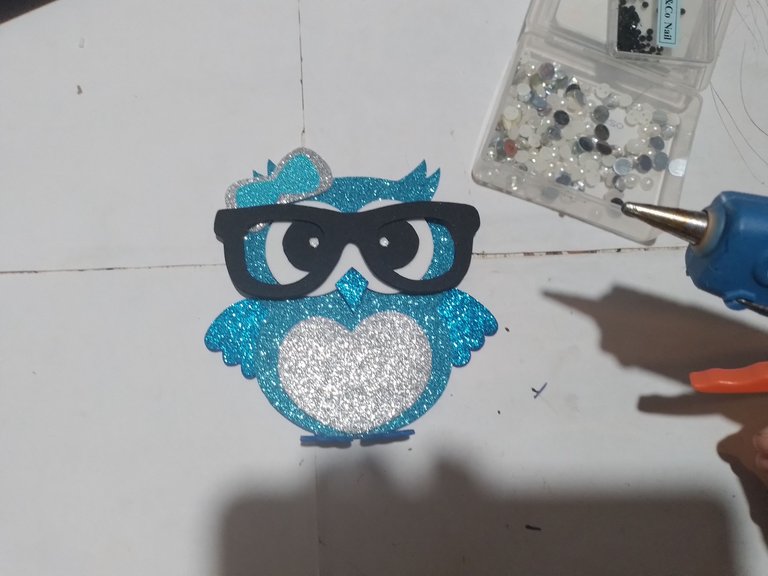
Step 11- With the molds of an owl, we mark on the fomi each part in the corresponding color or you want to do it, and cut these parts.
Paso 11- Con los moldes de una lechuza, marcamos en el fomi cada parte en el color correspondiente o que desea hacerlo, y recortamos estas partes.
|
|
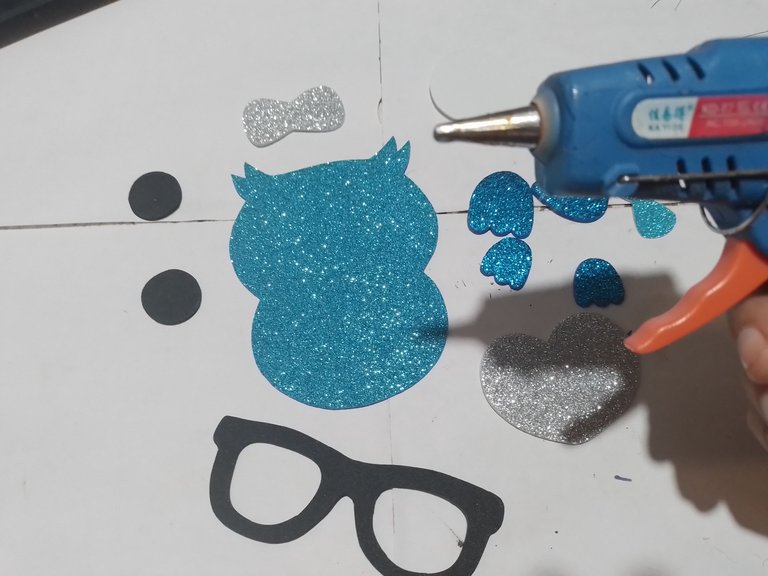
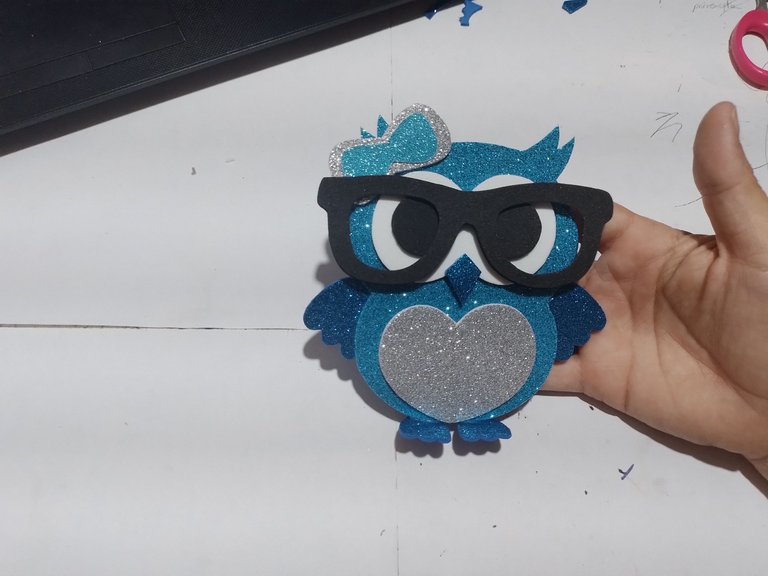
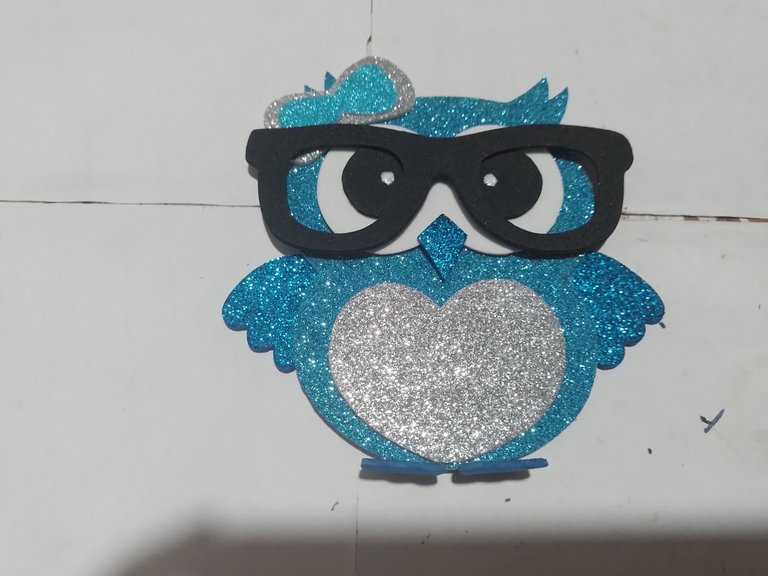
Step 12- Then we glue the parts together to form the owl.
Paso 12- Luego vamos pegando las partes hasta formar la lechuza.
|
|
|
|
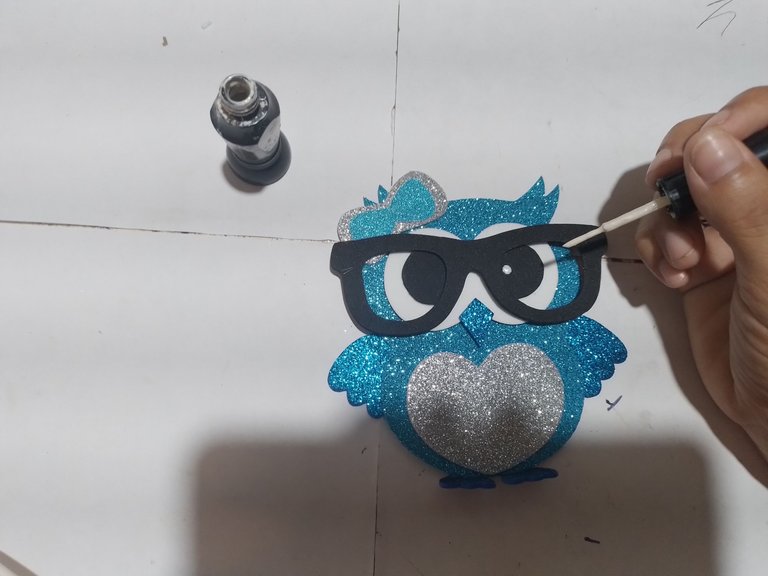
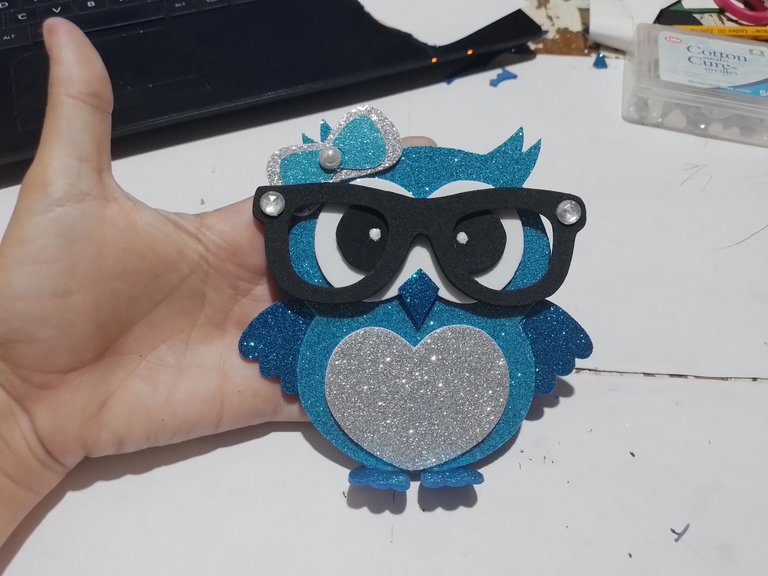
Step 13- On the ends of the mirror we glue a pearl and in the center of the ribbon and with the white paint we roast the glitter of the eyes.
Paso 13- En las puntas del espejuelo le pegamos una perla y en el centro del lazo y con la pintura blanca le asemos el brillo de los ojos.
|
|
|
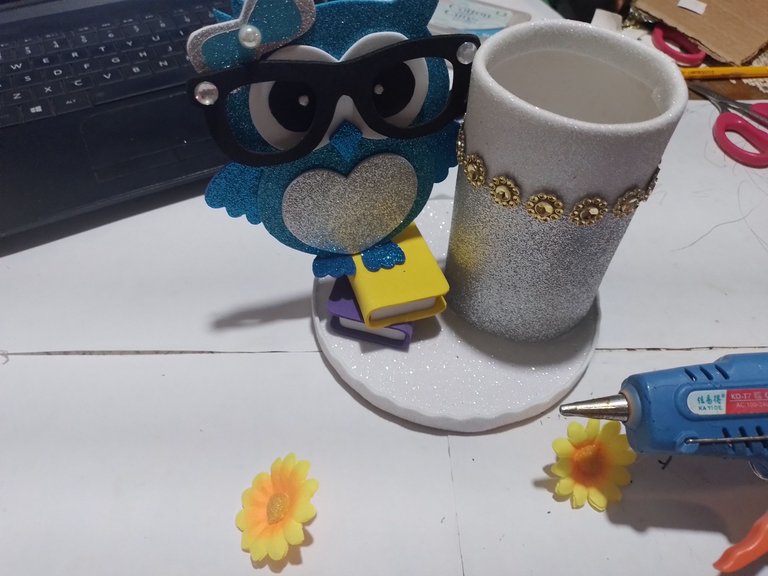
Step 14- Finally, we glue the owl on top of the books. And on the front of the pencil holder we glue two little flowers to decorate it.
Paso 14- Por último, pegamos la lechuza encima de los libros. Y en la parte de alante del portalápiz le pegamos dos florecitas para adornarlo.
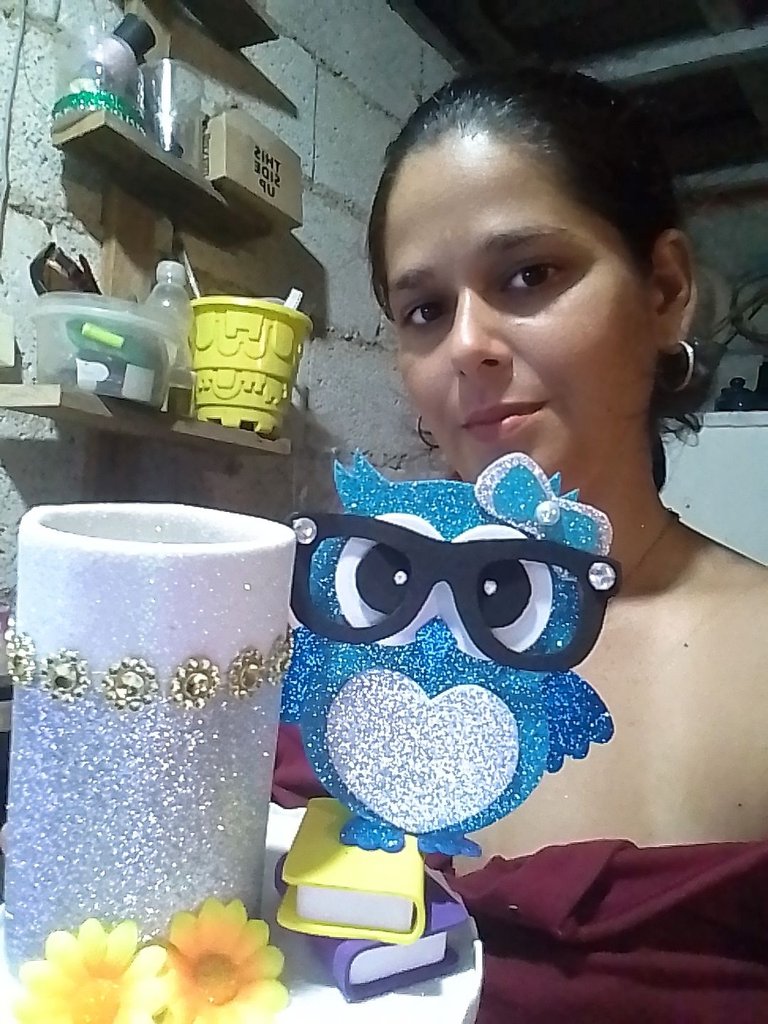
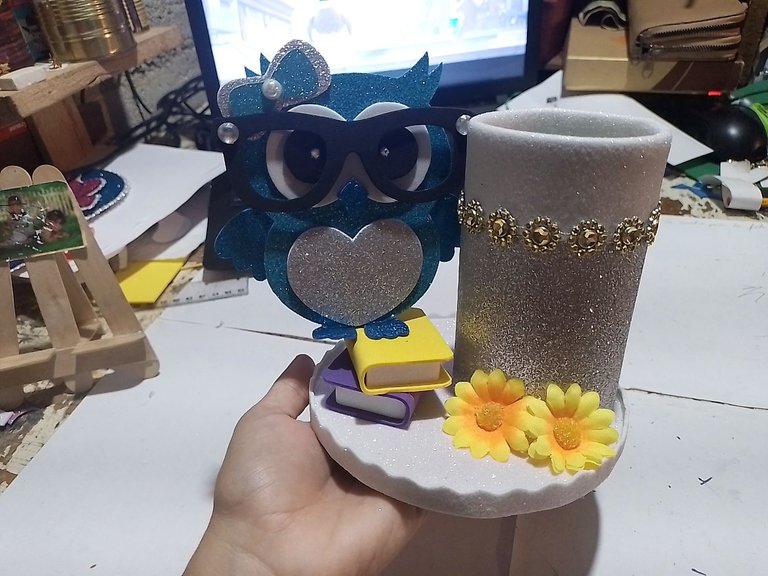
And so we are left with this beautiful pencil holder, I hope you liked it until next time.
Y así nos queda este bello portalápiz, espero que les haya gustado hasta la próxima.
Cover made in Canva
Translated by DeepL
wow that looks wonderful, you are amazing keep up the good work. have a great day and week ahead.
Hermoso portalápices, la temática me gusta, está muy lindo. Creo que también serviría bien como para colocar accesorios 😊
Gracias
Muy bellos y en especial ese búho intelectual me encantó, gracias por compartir
Gracias a ti también
Nuuuu que bonito, es el portalapices mas lindo y adorable que he visto hoy 😍 amo a los buhos y admito que ese buhito intelectual fue lo primero que vi jaja
Te quedo muy cuchis 😘
Gracias
Congratulations @norychacon! You have completed the following achievement on the Hive blockchain And have been rewarded with New badge(s)
Your next target is to reach 3500 upvotes.
You can view your badges on your board and compare yourself to others in the Ranking
If you no longer want to receive notifications, reply to this comment with the word
STOPCheck out our last posts: