Attention, as always my intention is not to offend anyone with the simplicity of my work, I understand and value the most elaborate projects, although I prefer to focus on showing and explaining small tricks that can facilitate and improve them.
ALAMBRE DE COBRE - COPPER WIRE
Hoy voy a estar trabajando con Alambre de cobre y utilizando herramientas muy basicas, alicates, un marcador roto, un corta uñas y algo de estaño que veremos mas adelante. La razon para utilizar Cobre es porque es bastante maleable, muy facil de doblar y de conseguir, creo que todos tenemos en casa algun retazo de cable que no dà para nada, aunque aun asi lo guardamos.
Today I will be working with copper wire and using very basic tools, pliers, a broken marker, a nail clipper and some tin that we will see later. The reason to use Copper is because it is quite malleable, very easy to bend and to get, I think we all have at home some piece of cable that does not give at all, although we still keep it.
Lo que siempre hago al trabajar con cualquier tipo cable es hacer una barilla. Para ello debemos estirar el cable y como ya sabemos que ir doblandolo con la mano o las pinzas no da resultado, prefiero utilizar el truco del taladro, colocamos una punta bien apretada en el cabezal del talado y la otra punta la sostenemos con los alicates, estiramos y vamos prendiendo el taladro por 2 segundos a la vez. Se puede hacer de un solo tiron, aunque de espacio es mas seguro, sabremos que està listo cuando se parta uno de los extremos, es normal que pase.
What I always do when working with any type of cable is make a rod. To do this we must stretch the cable and since we already know that bending it with the hand or the tweezers does not work, I prefer to use the drill trick, we place one point tightly in the felling head and the other point we hold with the pliers, We stretch and start the drill for 2 seconds at a time. It can be done in a single pull, although space is safer, we will know that it is ready when one of the ends breaks, it is normal for it to happen.
Esta vez por un motivo estetico haré un pequeño trenzado, igualmente con el taladro, aunque esta vez utilizando una barilla cuaquiera puede ser un clavo. Simplemente lo coloco doble y repito el proceso hasta que se parta por si solo, siempre estirando con mi mano para que el trenzado quede lo mas ajustado y uniforme posible. ¡Ya podemos trabajar!
This time for an aesthetic reason I will make a small braid, also with the drill, although this time using any rod can be a nail. I simply place it double and repeat the process until it breaks on its own, always stretching with my hand so that the braiding is as tight and uniform as possible. We can work now!
ANILLO BASICO - SEMI TEÑIDO
Repito, lo vamos a hacer lo mas simple posible para tener tiempo de explicar un par de trucos mas. Utilizando un pequeño clavo y el aro que nos queda luego de hacer el trenzado, podemos empezar a girar nuestro alambre para formar el anillo, EN MI CASO estoy utilizando este marcador porque tiene la medida exacta del dedo de mi compañera de aventuras, entonces hago post y tambien un pequeño presente, todo en uno ya que no me gusta hacer cosas para guardar.
I repeat, we are going to make it as simple as possible to have time to explain a few more tricks. Using a small nail and the hoop that we have left after doing the braiding, we can start to turn our wire to form the ring, IN MY CASE I am using this marker because it has the exact measurement of the finger of my adventure partner, so I post and also a small present, all in one since I do not like to do things to keep.
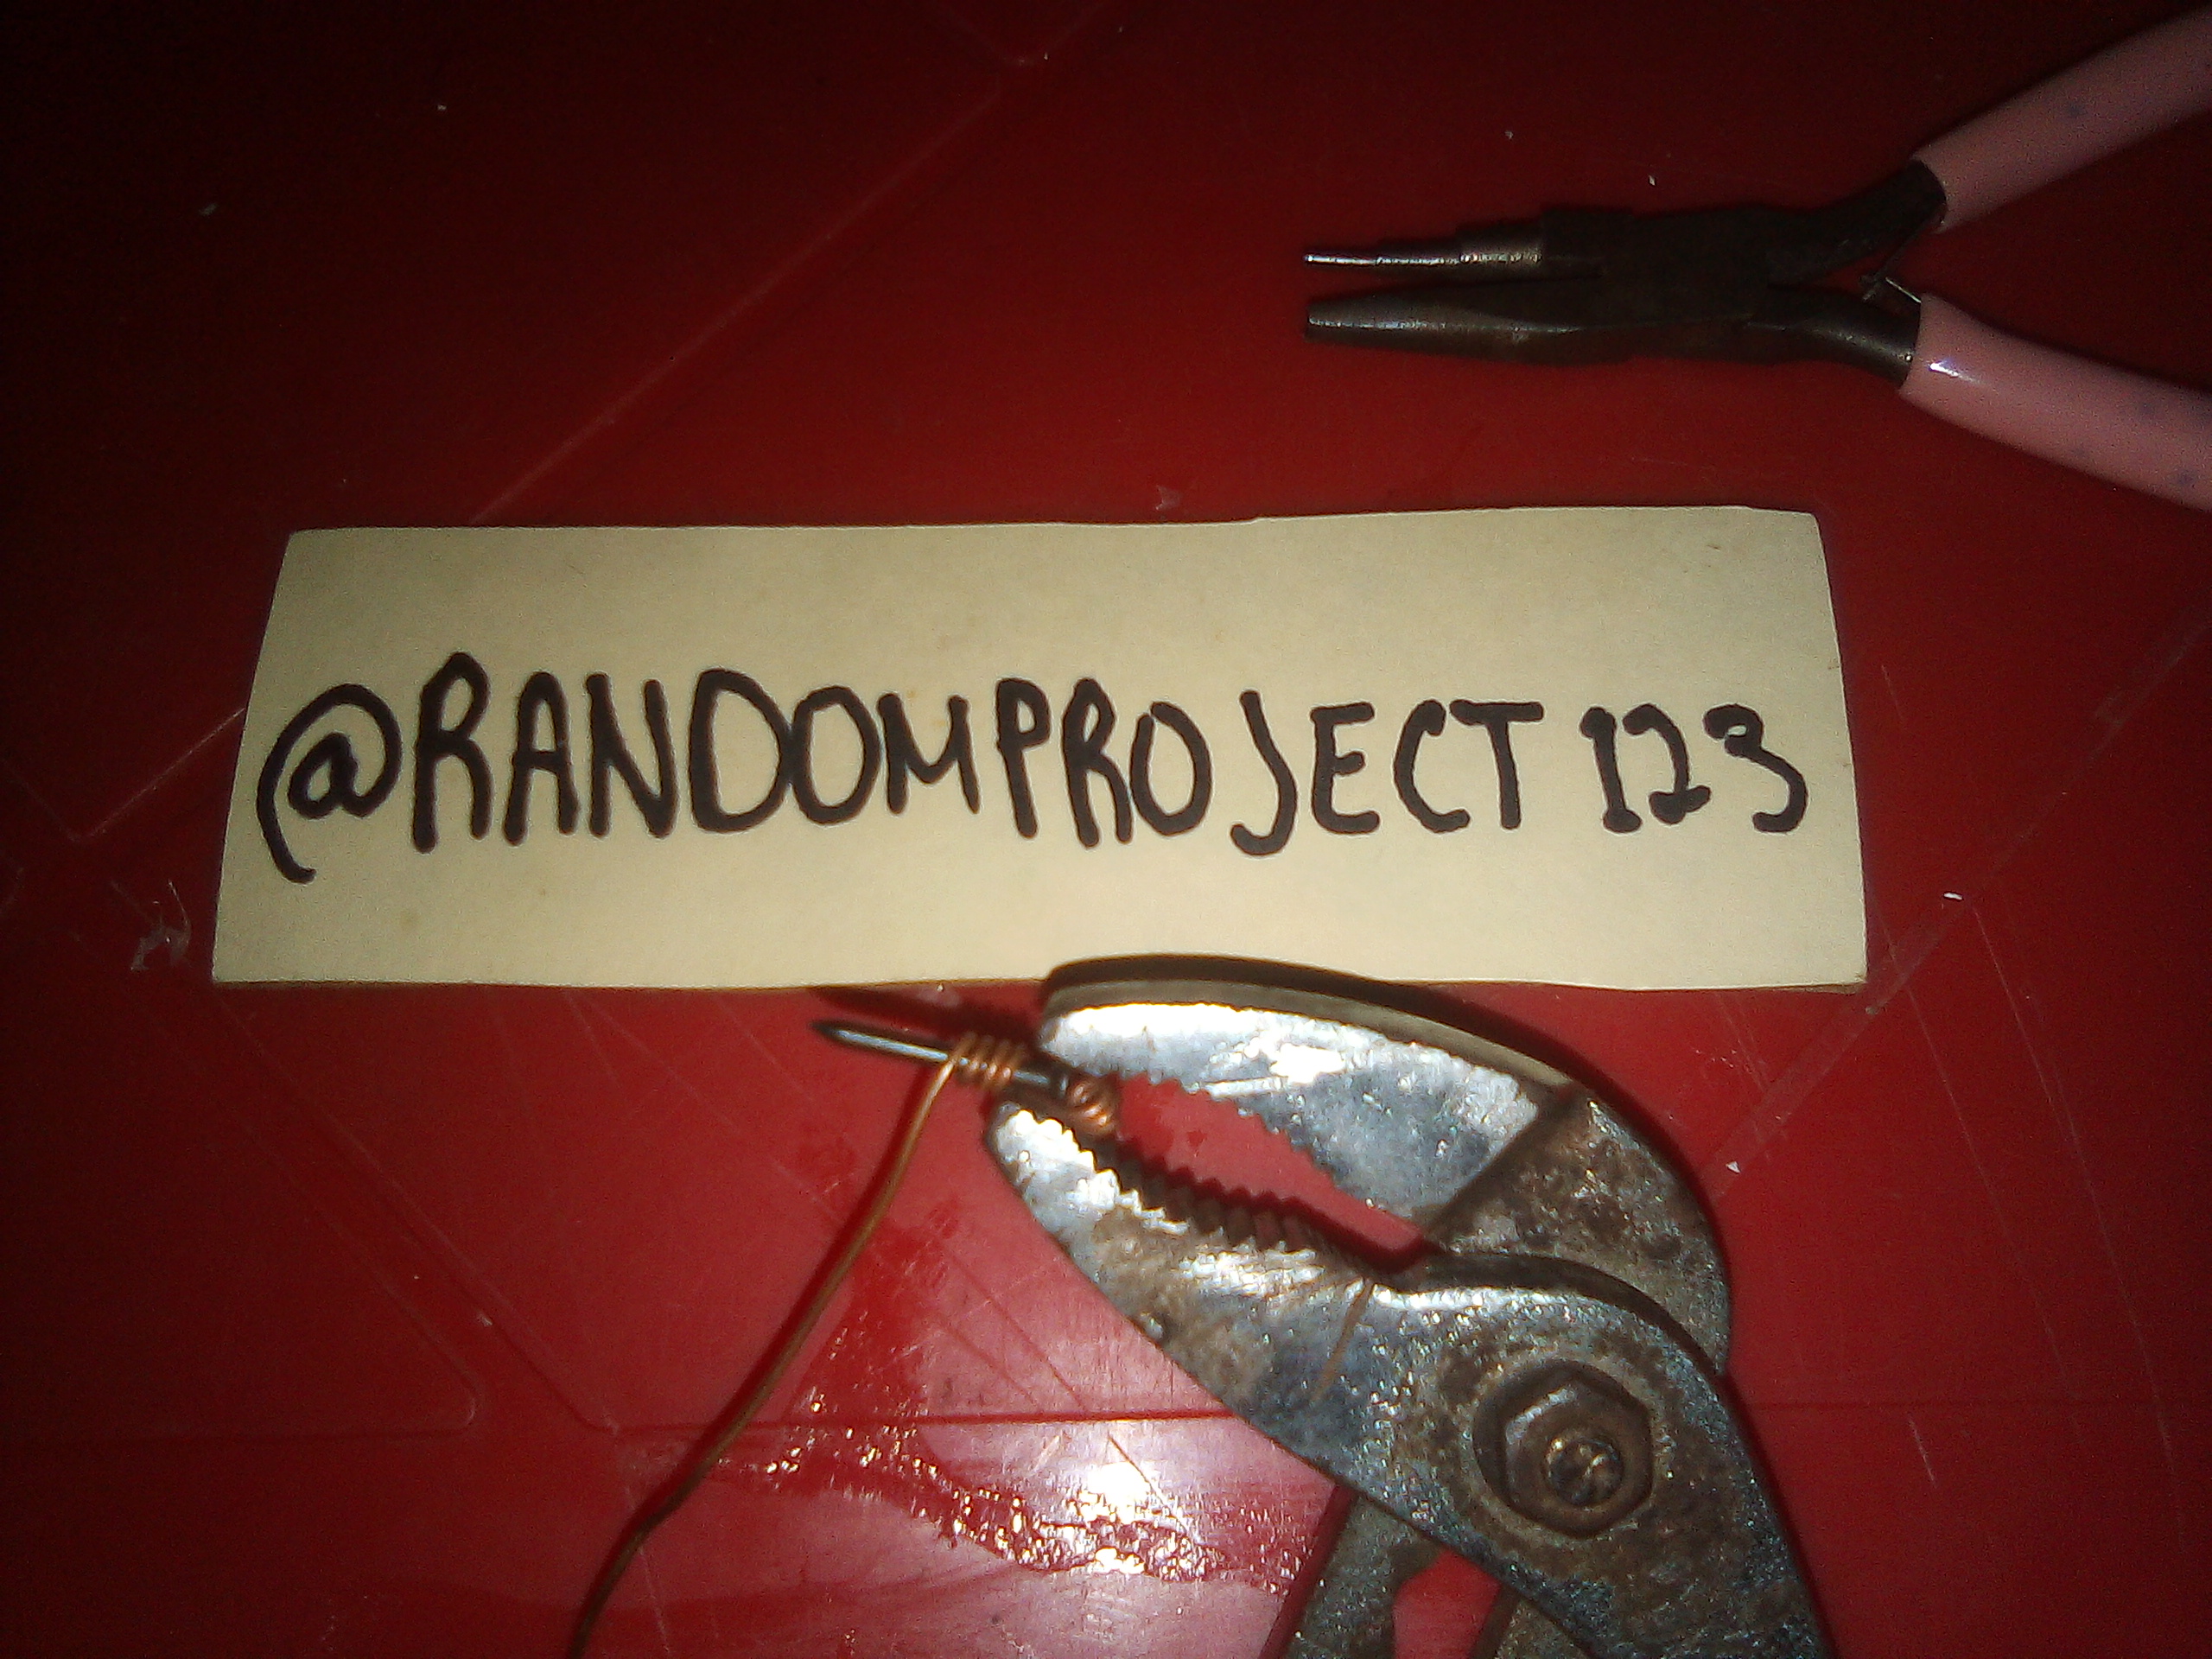
El paso siguiente es hacer un pequeño muelle o resorte, muchas personas ya sabran como hacerlo, aunque muchos otros se quedaran pensando que si no tienen la pinza especial no se podra hacer. Utilizando un pequeño clavo y unas pinzas normales tambien se puede hacer. ¿Y lo del taladro? Tambien lo puedes hacer a mano, te tardaras un poco mas, aunque es igual de factible.
The next step is to make a small spring or spring, many people will already know how to do it, although many others will be left thinking that if they do not have the special clamp it cannot be done. Using a small nail and normal tweezers can also be done. What about the drill? You can also do it by hand, it will take a little longer, although it is just as feasible.
PASO NO NECESARIO
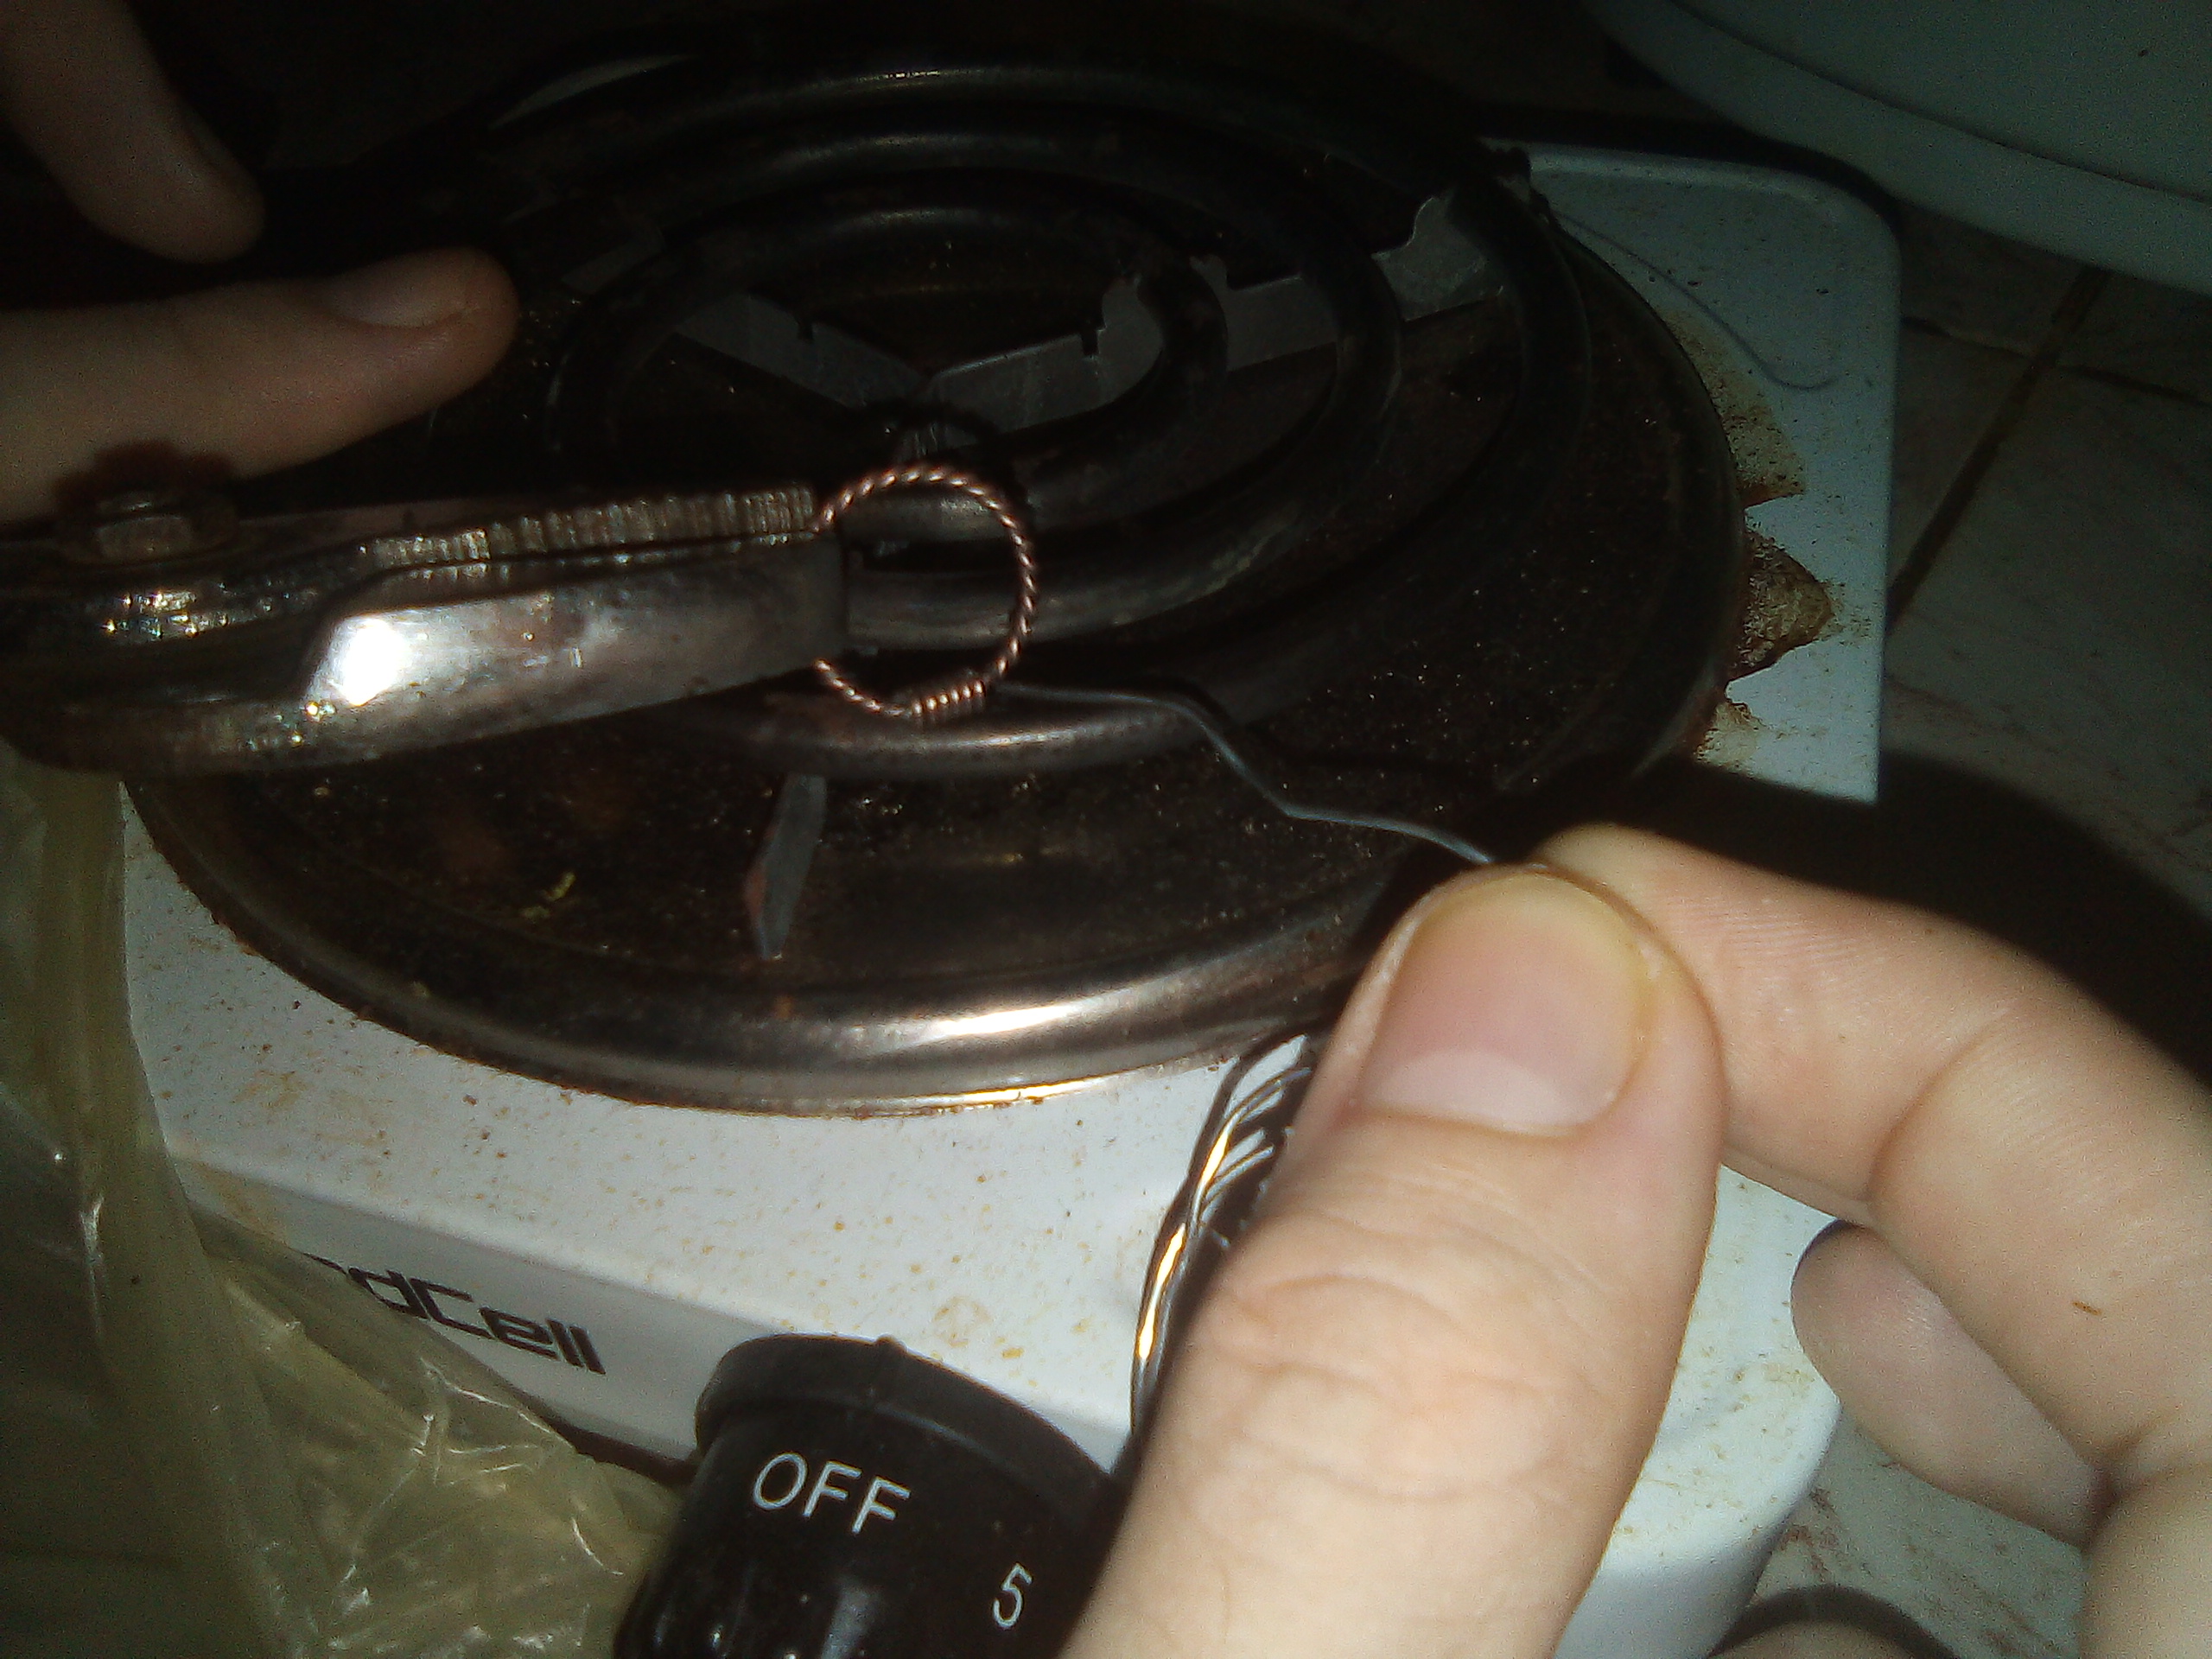
Luego de colocar nuestro resorte para cubrir nuestra union tenemos dos opciones, o soldamos con estaño o simplemente aplicamos alguna clase de pegamento. Amas opciones son validas, aunque para este post decidi utilizar la opcion de soldar simplemente para mostrar que si no tienes cautin, puedes utilizar la hornilla electrica que utilizas para cocinar tus almuerzos. Tambien decir que esta foto fué despues de haberlo hecho ya que se me complicaba hacerlo mientras tomaba la foto, me queme un par de veces, asi que mejor tomar las fotos en frio. ¡Sigamos!
After placing our spring to cover our union we have two options, or we solder with tin or simply apply some kind of glue. Both options are valid, although for this post I decided to use the option of soldering simply to show that if you do not have soldering iron, you can use the electric stove that you use to cook your lunches. Also say that this photo was after having done it since it was difficult for me to do it while taking the photo, I burned a couple of times, so it was better to take the photos cold. Let's keep going!
ELECTRÓLISIS
La electrólisis es un proceso electroquímico muy conocido y mas utilizado de lo que parece, generalmente se utiliza para dar baños de plata o cromo a diferentes superficies. Hay que tener en cuenta que no todos los metales pueden unirse entre si, entonces interesante buscar una tabla por internet sobre que material se puede unir a nuestro alambre y es por ello tambien que me fui por el basico pero confiable cobre, porque podemos utilizar estaño y sabemos que se pegarà perfectamente.
Electrolysis is a well-known electrochemical process that is more widely used than it seems, it is generally used to give silver or chrome baths to different surfaces. Keep in mind that not all metals can join each other, so it is interesting to look for a table online about what material can be joined to our wire and that is also why I went for the basic but reliable copper, because we can use tin and we know it will stick perfectly.
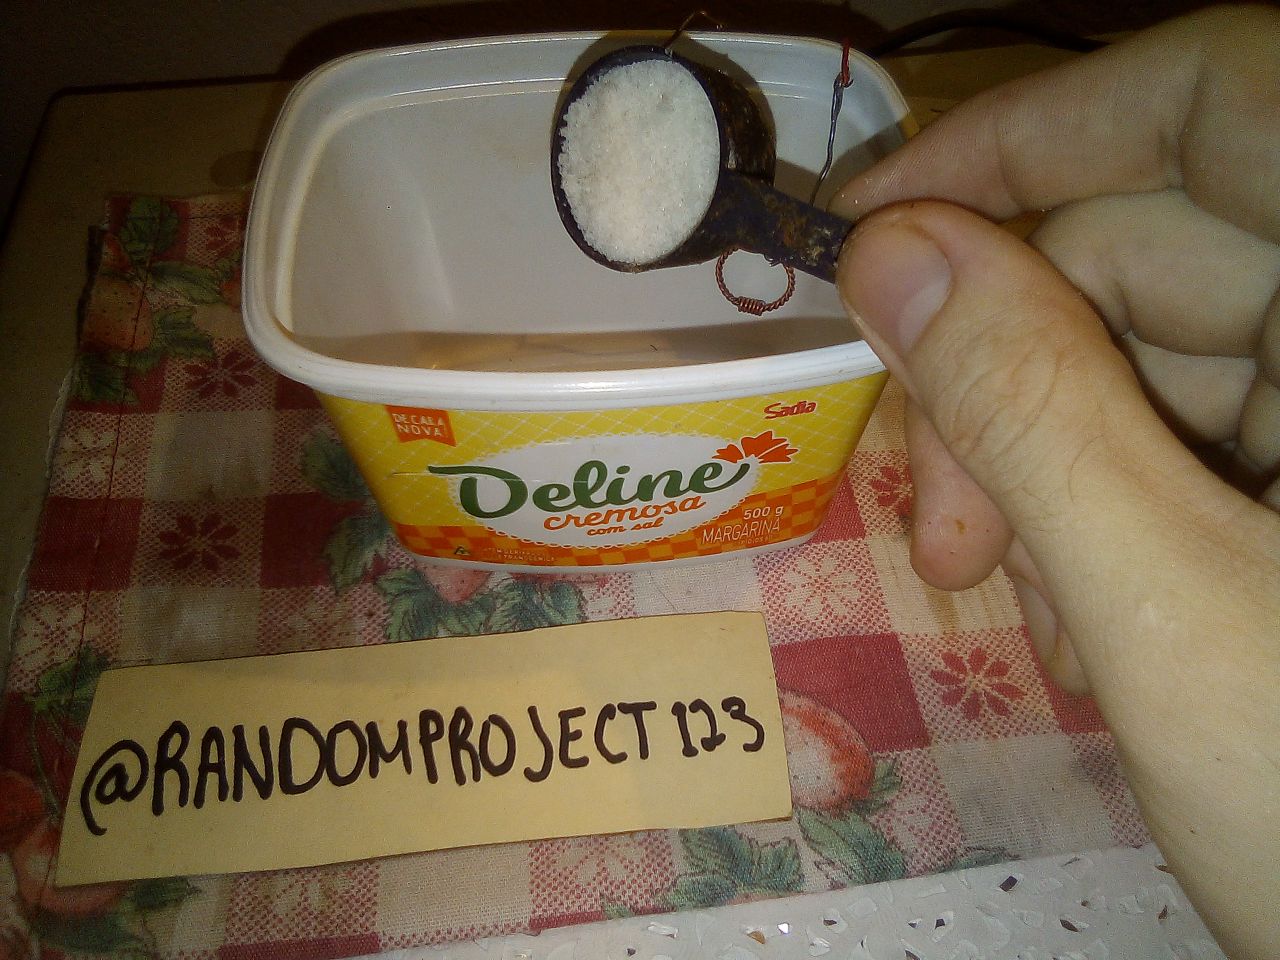
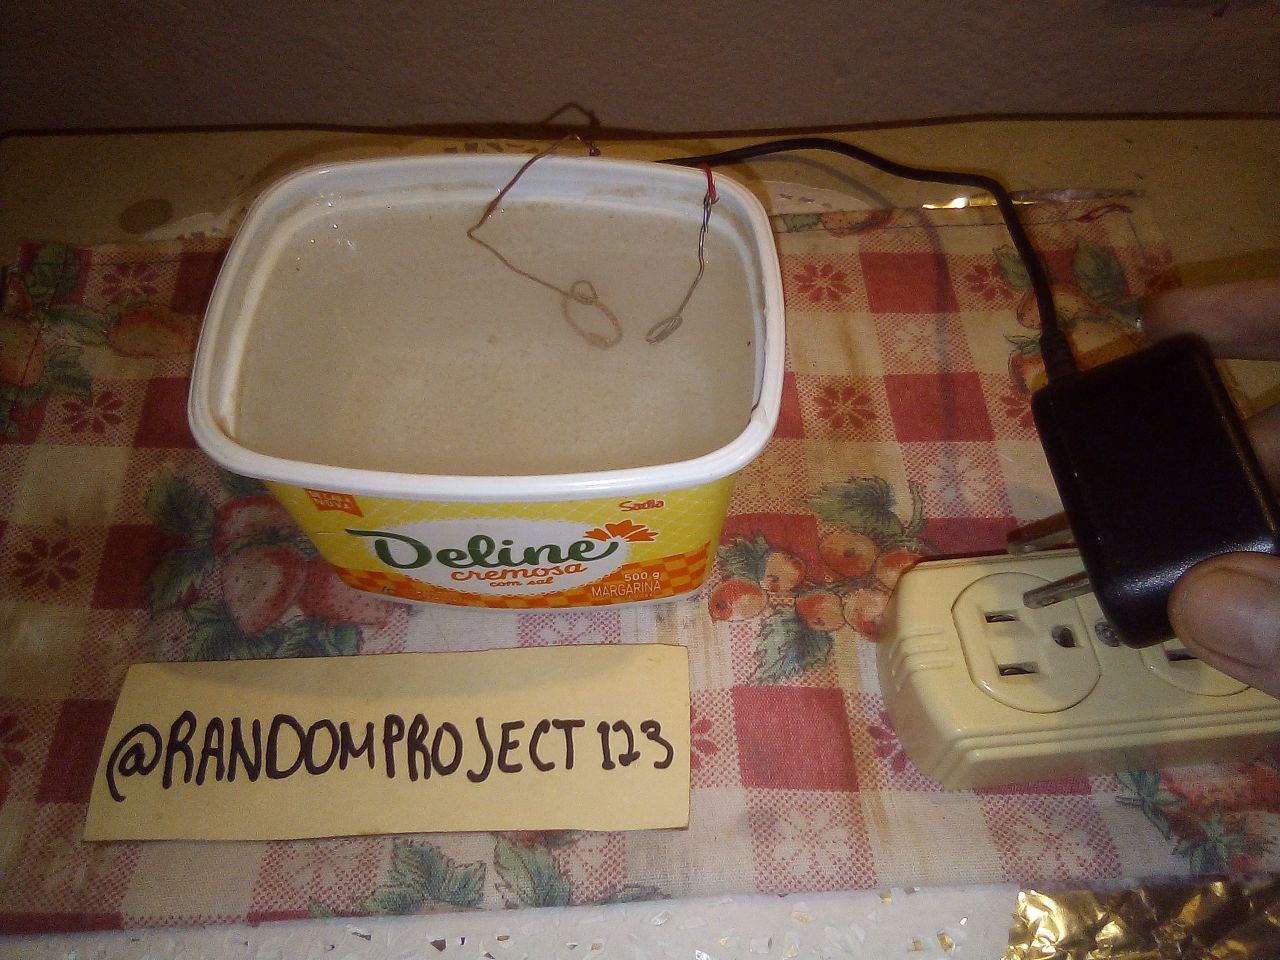
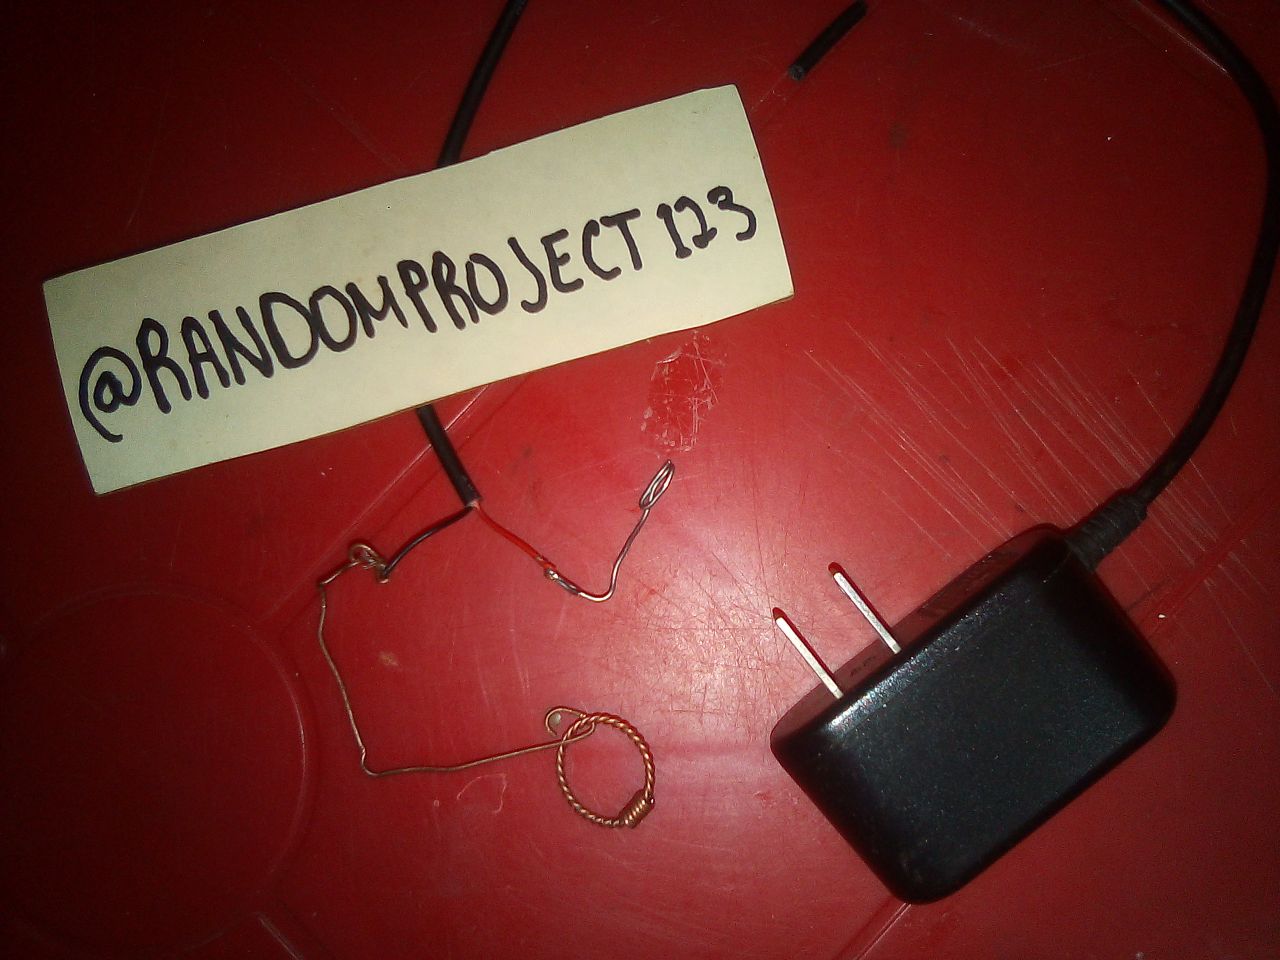
En un envase de margarina Deline (Que aqui pudiera estarse anunciando) colocamos 2 charadas de sal comun, cubrimos con agua y revolvemos hasta disolver. Luego introducimos nuestros dos materiales, en el lado positivo colocaremos el estaño y en el lado negativo nuestro anillo. La energía va a pasar a través del agua del positivo al negativo llevandose consigo partes del estaño en el proceso y son estos los que van a cubrir nuestro anillo.
In a container of Deline margarine (which could be advertised here) we place 2 charades of common salt, cover with water and stir until dissolving. Then we introduce our two materials, on the positive side we will place the tin and on the negative side our ring. The energy will pass through the water from positive to negative, taking parts of the tin with it in the process and it is these that will cover our ring.
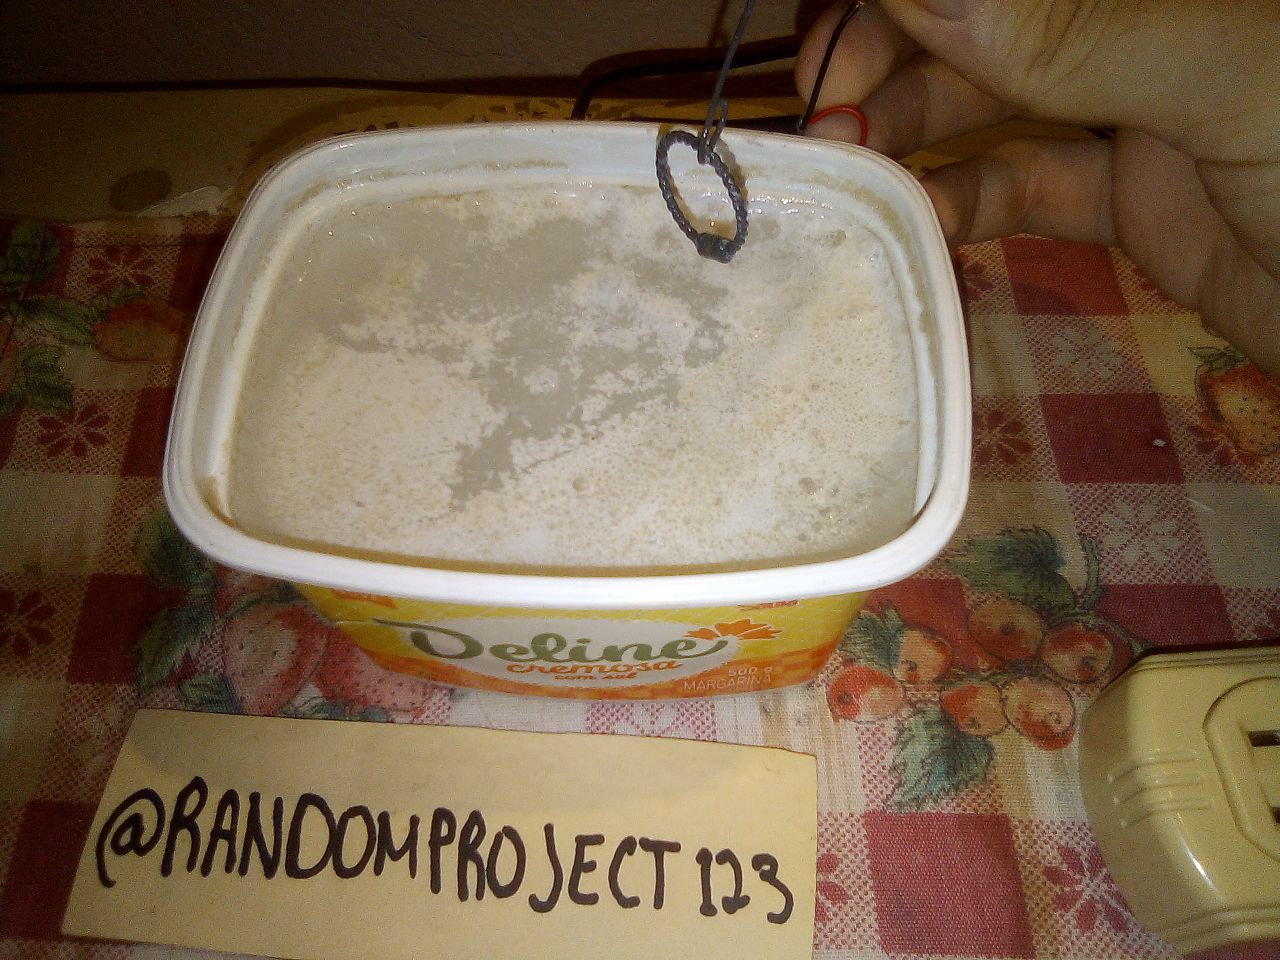
Ahora yo tengo estaño/plomo que es el mas comun y tiene un color mas oscuro, es por ello que solo lo dejé actuar durante un par de horas para dar un recubrimiento al cobre y no para teñirlo como tal ya que como saben el cobre de oxida y se vuelve verde y no queremos eso. Para teñirlo que parezca plata no hay mejor manera de hacerlo que con plata aunque logicamente es costoso la opcion barata es utilizar estaño/plata que se utiliza en fontaneria.
Now I have tin / lead, which is the most common and has a darker color, that is why I only let it act for a couple of hours to coat the copper and not to dye it as such, since as you know copper from it rusts and turns green and we don't want that. To dye it to look like silver there is no better way to do it than with silver, although logically it is expensive, the cheap option is to use tin / silver that is used in plumbing.

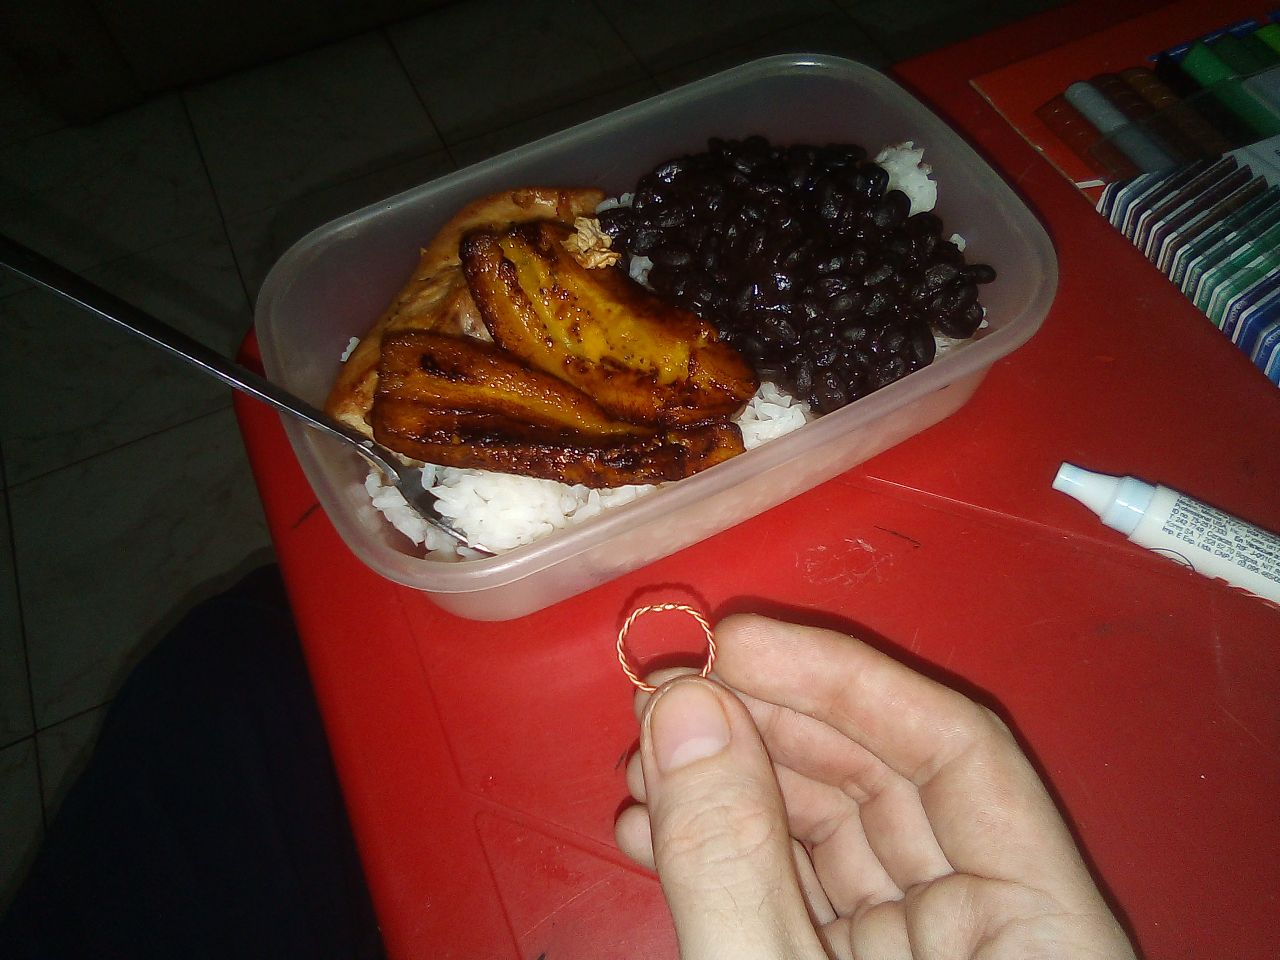
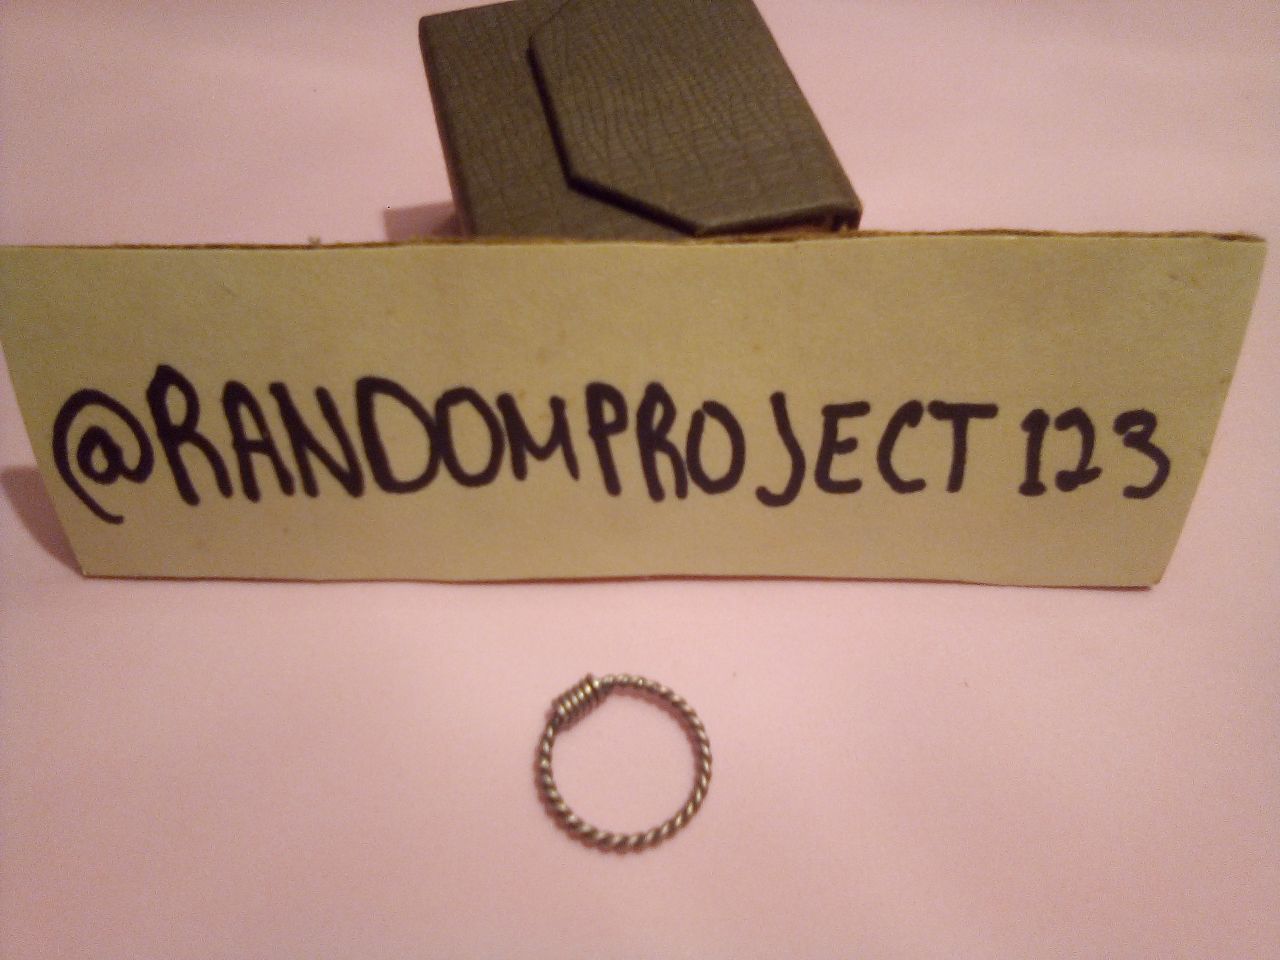
No se alcanza a apreciar muy bien en la camara, aunque puedo asegurar que se ve un poco mas claro debido a una capa muy fina que lo recubre, como dije anteriormente esto es a modo de barniz y no a modo de teñido. Llegado a este punto pueden utilizar pulitura, yo solo lo limpié con un poco de alcohol y lo froté con una tela de seda.
It cannot be seen very well in the camera, although I can assure you that it looks a little clearer due to a very thin layer that covers it, as I said earlier this is by way of varnish and not by way of dyeing. At this point you can use polish, I just cleaned it with a little alcohol and rubbed it with a silk cloth.
De aqui en adelante el cielo es el limite, ya sabemos como estirar el alambre, sabemos como trenzarlo, como teñirlo y como cubrir con facilidad las uniones. Deja volar tu imaginacion, experimenta y cuentanos que tal, muchas veces vale mas hacer algo sencillo, duradero y elegante que intentar hacer algo sofisticado que se parta al caer.
From now on the sky is the limit, we already know how to stretch the wire, we know how to braid it, how to dye it and how to easily cover the joints. Let your imagination fly, experiment and tell us how, many times it is better to do something simple, durable and elegant than to try to do something sophisticated that breaks when you fall.
¡Gracias por llegar hasta aca!
@linita no te escapes, te quiero ver cortando alambre jaja
Thanks for getting here!
@linita do not escape, I want to see you cutting wire haha
Muy buena tu entrada, me animaría a trabajar con alambre pero tengo cierta fragilidad en las manos que no me permite realizar este tipo de trabajos. pero sin duda con las herramientas necesarias claro que me animaría a hacerlo. Me encantó la técnica de estiramiento, de verdad es muy práctica y muy buen tips para los que realizamos prendas artesanales. Gracias por tu aporte.