Buenos dias¡... Hoy les voy a mostrar otra fase de mis actitudes, me encantan las manualidades, me dijo una señora me gusta esta princesa( PRINCESA SOFIA) para el cumpleaños de mi niña, para ponerlo de tooper en el pastel, pero quiero que la corona se vea dorada. Enseguida se activa algo en mi cerebro y comencé a imaginarme como se vería con una corona doradas y apliques perlados,.. y puse manos a la obra....
Good morning... Today I am going to show you another phase of my attitudes, I love crafts, a lady told me I like this princess (PRINCESS SOFIA) for my girl's birthday, to put it as a tooper on the cake, but i want the crown to look gold. Immediately something is activated in my brain and I began to imagine what it would look like with a golden crown and pearl appliqués... and I got to work...
MATERIALES
Impresiones de la princesa Sofia. Cartulina metalizada dorada.
Foami escarchado lila. Cartulina escolar color lila. Palitos de altura.
Pintura al frío lila . Perlitas adhesivas. Silicon liquido.
Tijeras .
Papel transparente para calcar
MATERIALS
Princess Sofia impressions.
Gold metallic cardboard.
Lilac frosted foami.
Lilac school cardboard.
Height sticks.
Lilac cold painting.
Adhesive beads.
Liquid silicone.
Scissors .
transparent tracing paper
ELABORACIÓN
Para comenzar primero tenemos que tener en cuenta la imagen que quiere la persona , los colores y el tamaño, donde lo va colocar y cosas así.
ELABORATION
To start, we first have to take into account the image that the person wants, the colors and the size, where they are going to place it and things like that.
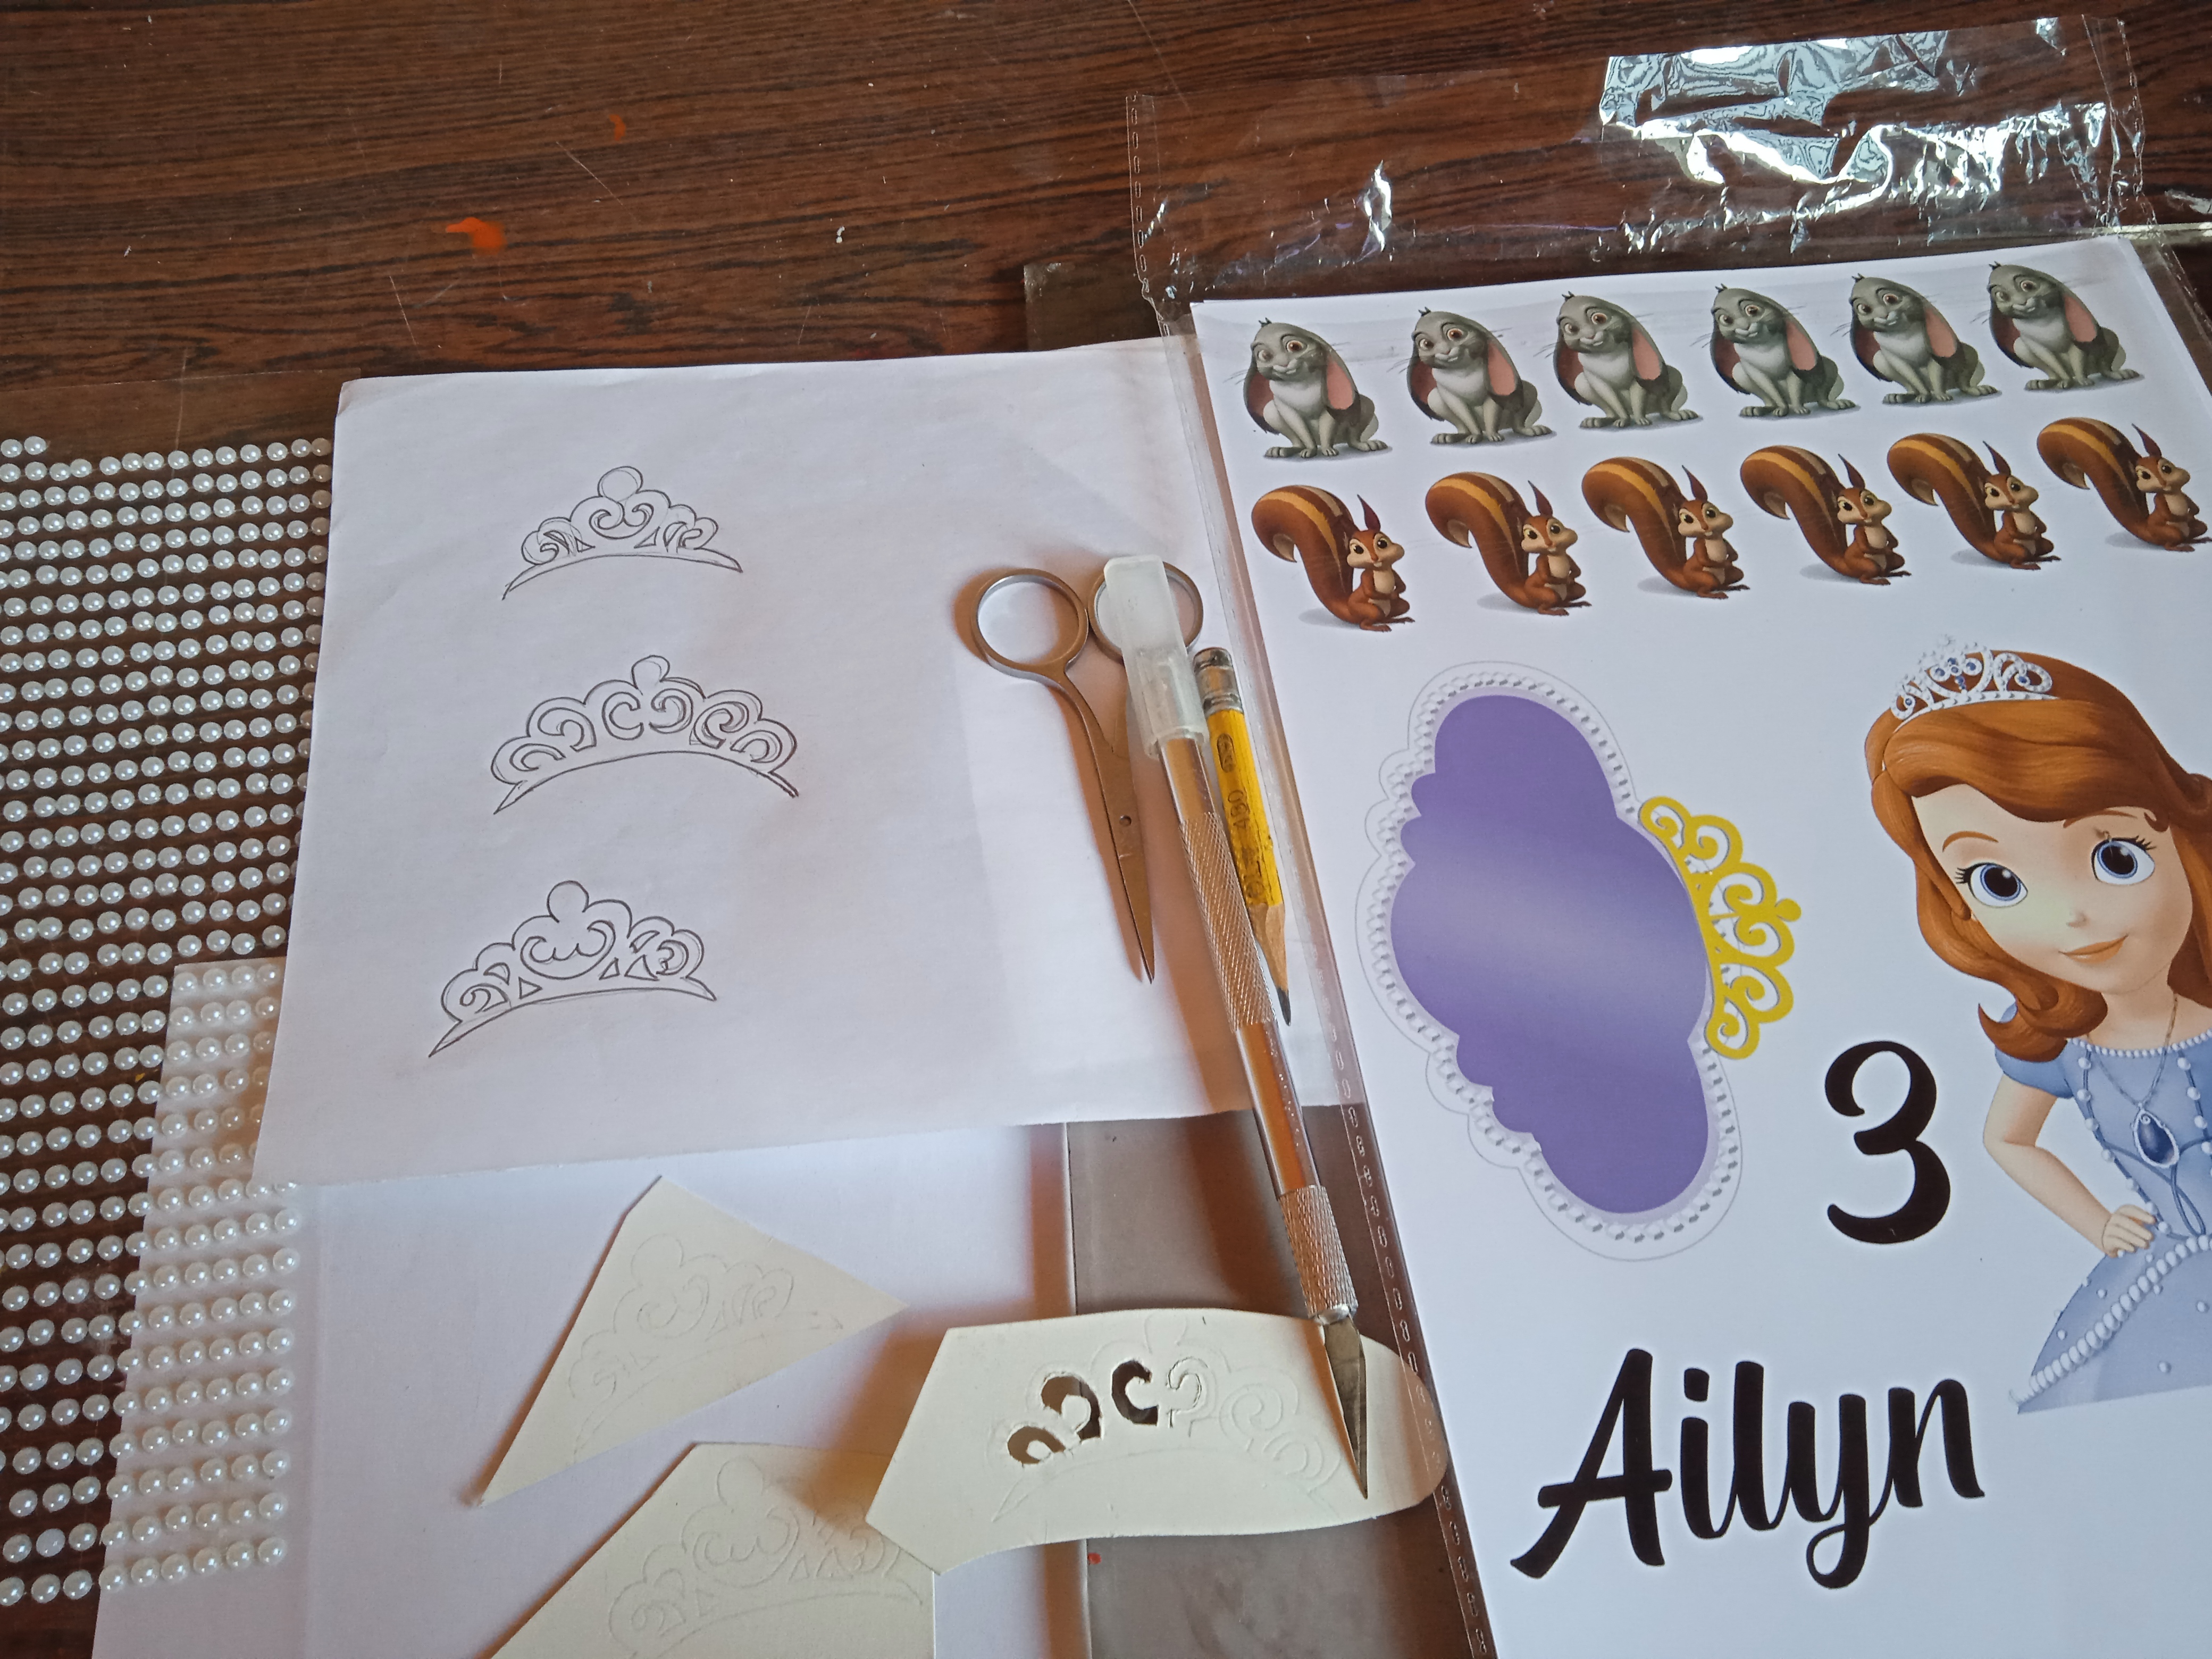
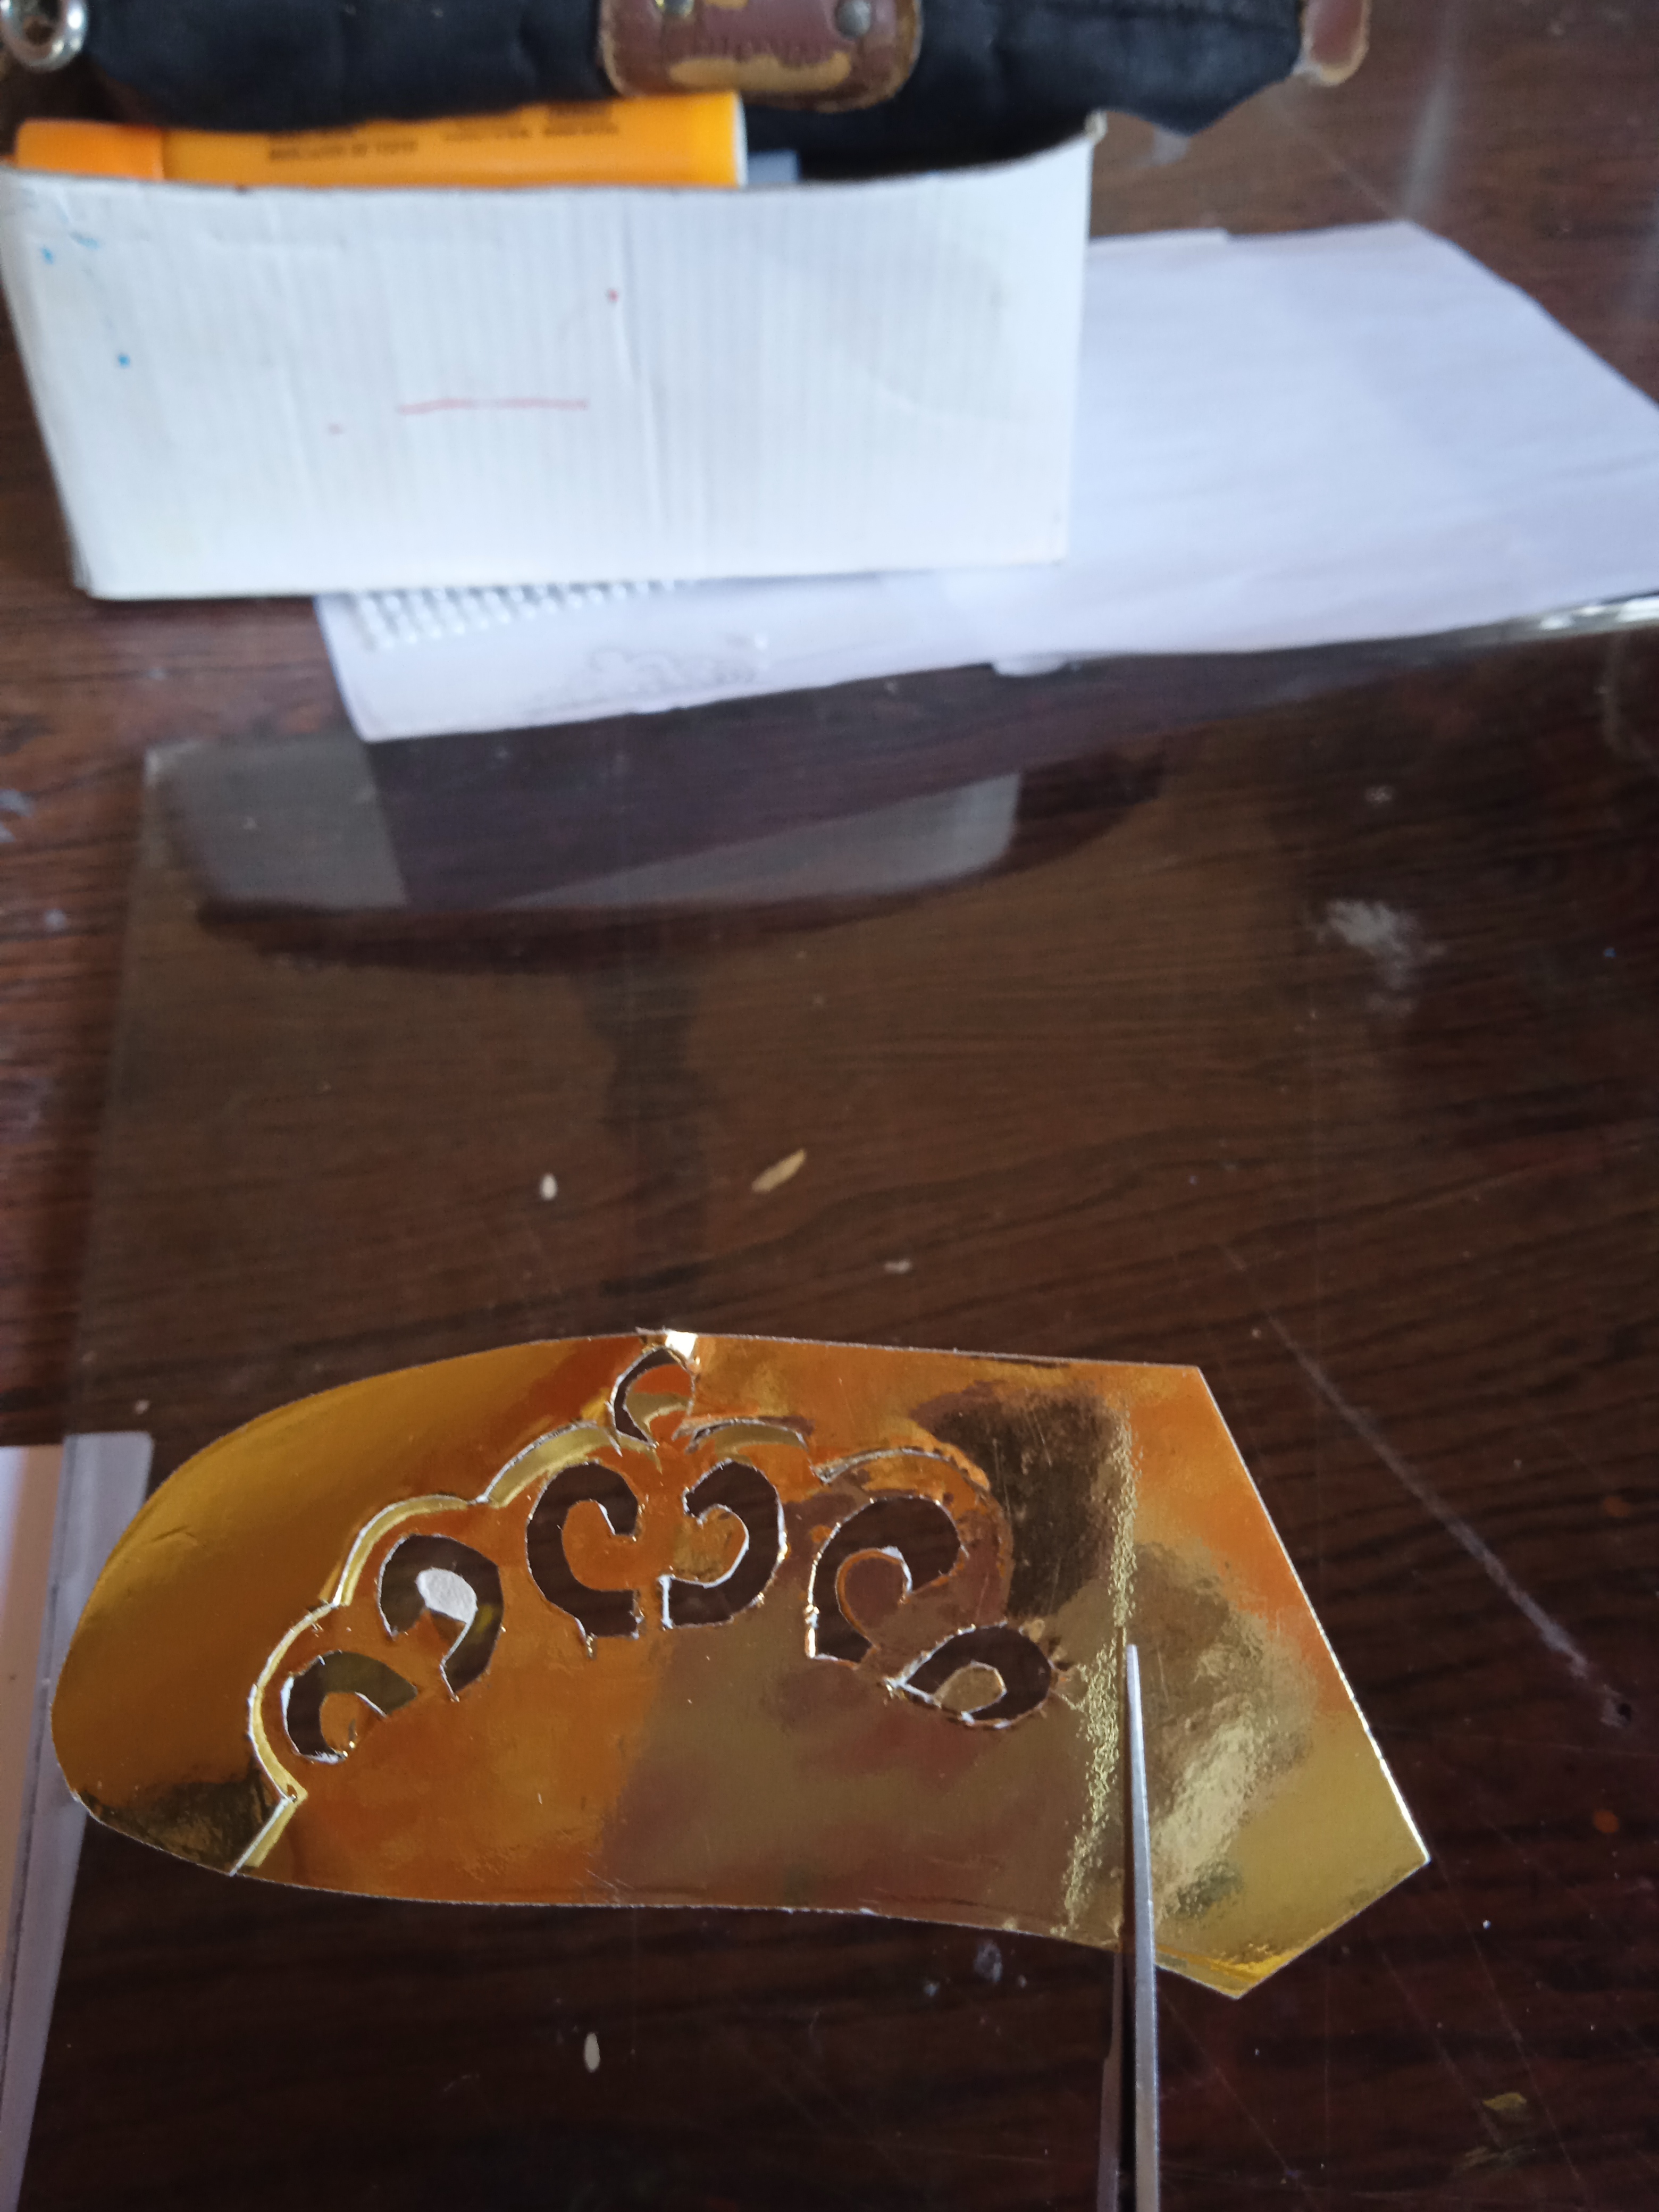
PASO 1
Tomamos las impresiones y con el papel de calcar y dibujamos la corona de la princesa, luego lo pasamos a la cartulina metalizada.
STEP 1
We take the impressions and with the tracing paper we draw the crown of the princess, then we transfer it to the metallic cardboard.
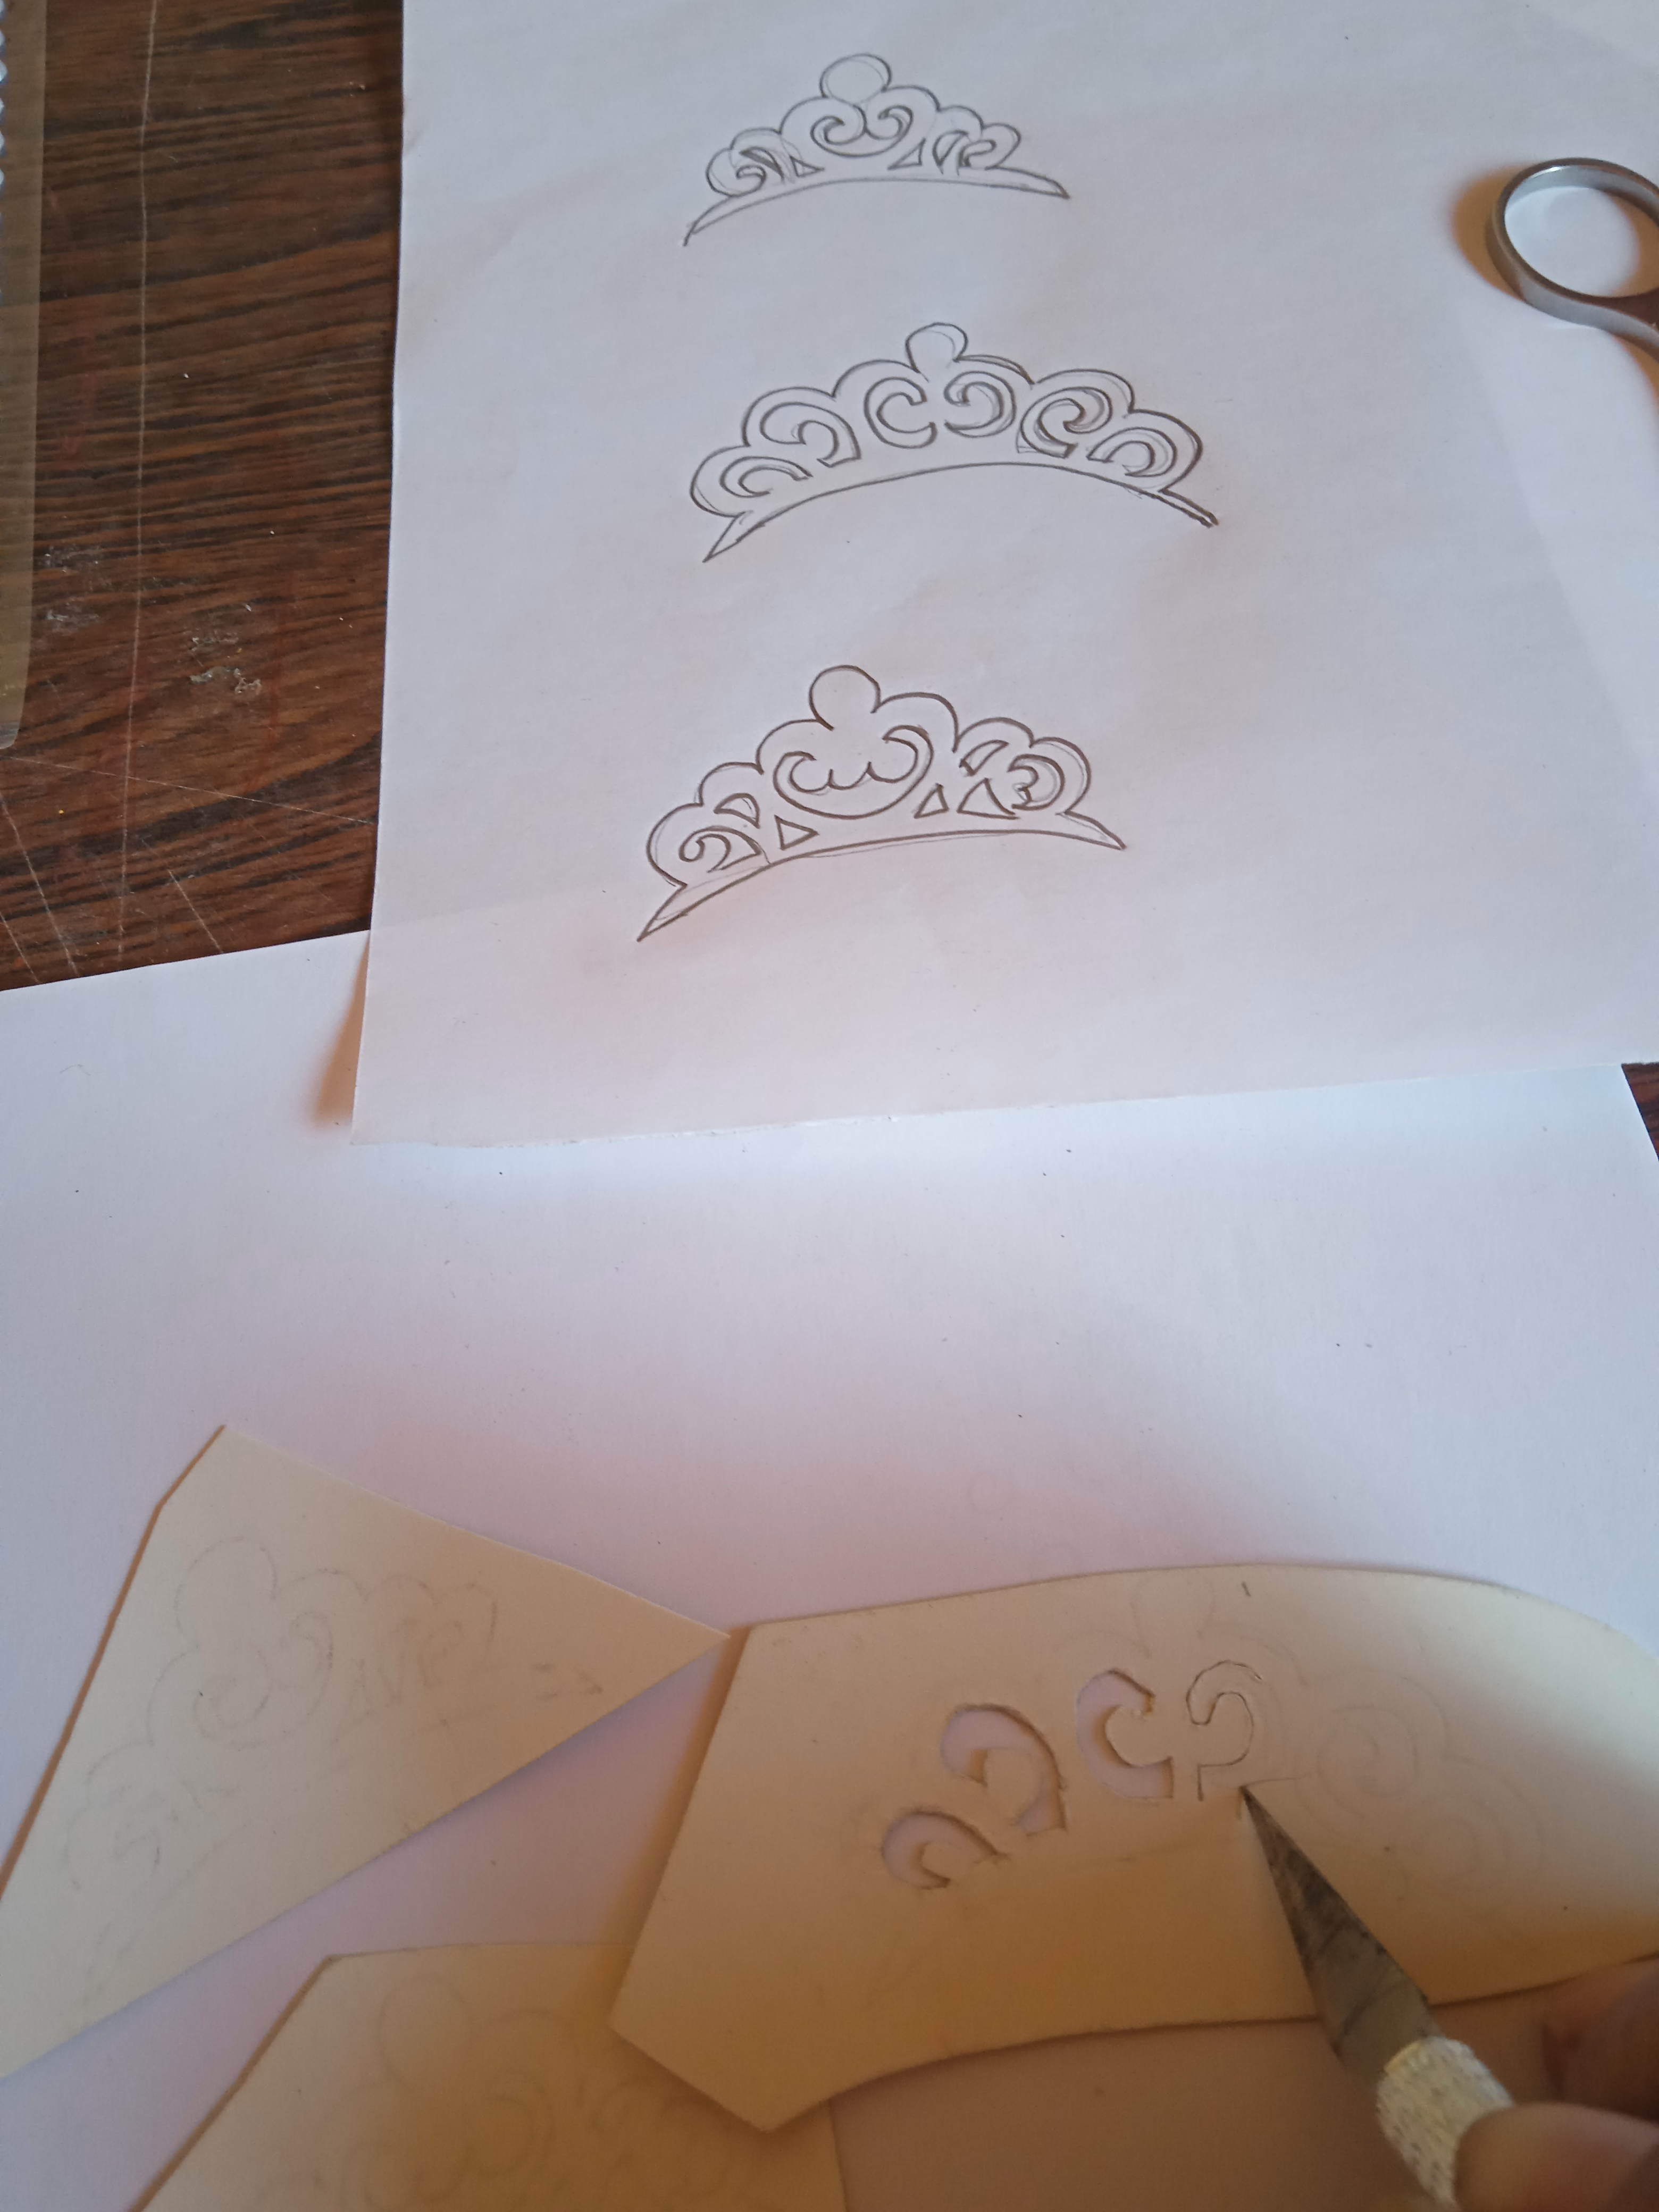
PASO 2
Recortamos con mucho cuidado, son piezas pequeñas y las podemos dañar con las tijeras.
STEP 2
We cut very carefully, they are small pieces and we can damage them with scissors
.jpg)
PASO 3.
Vamos cortando y midiendo el tamaño de la pieza para que no pierda la forma.
STEP 3.
We are cutting and measuring the size of the piece so that it does not lose its shape.
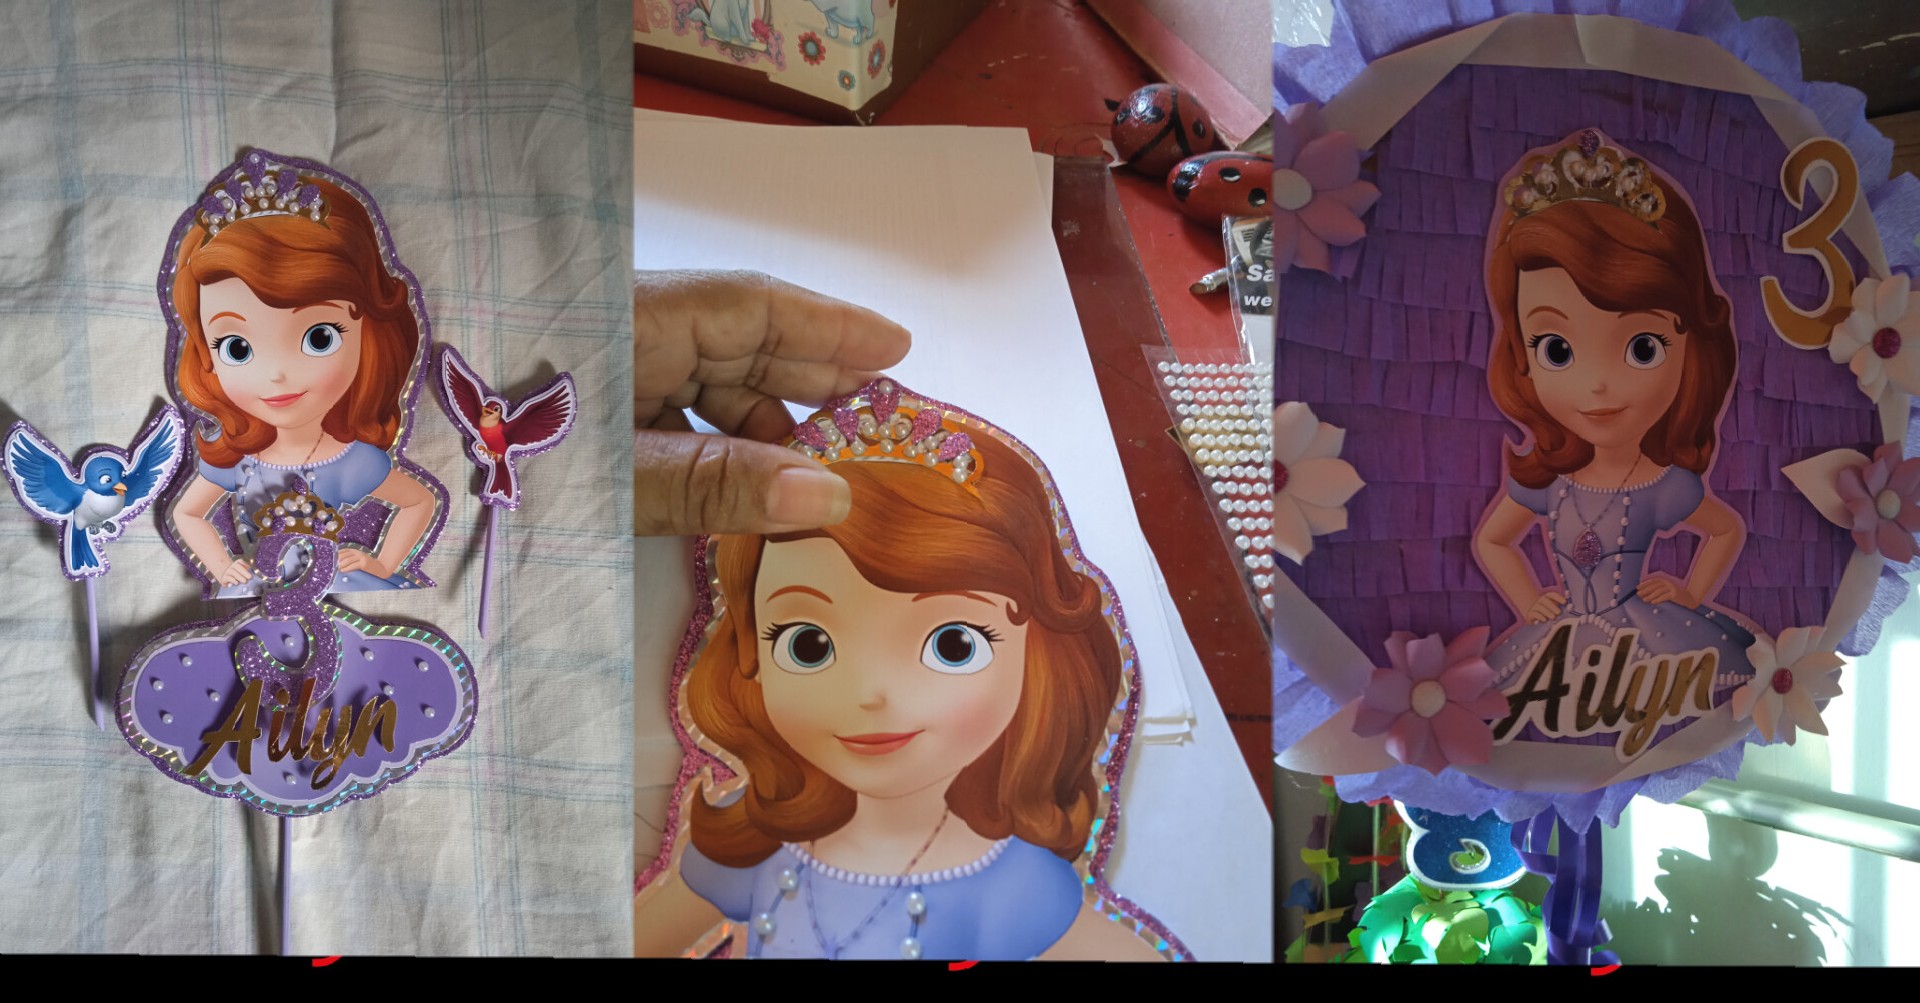
PASO 4.
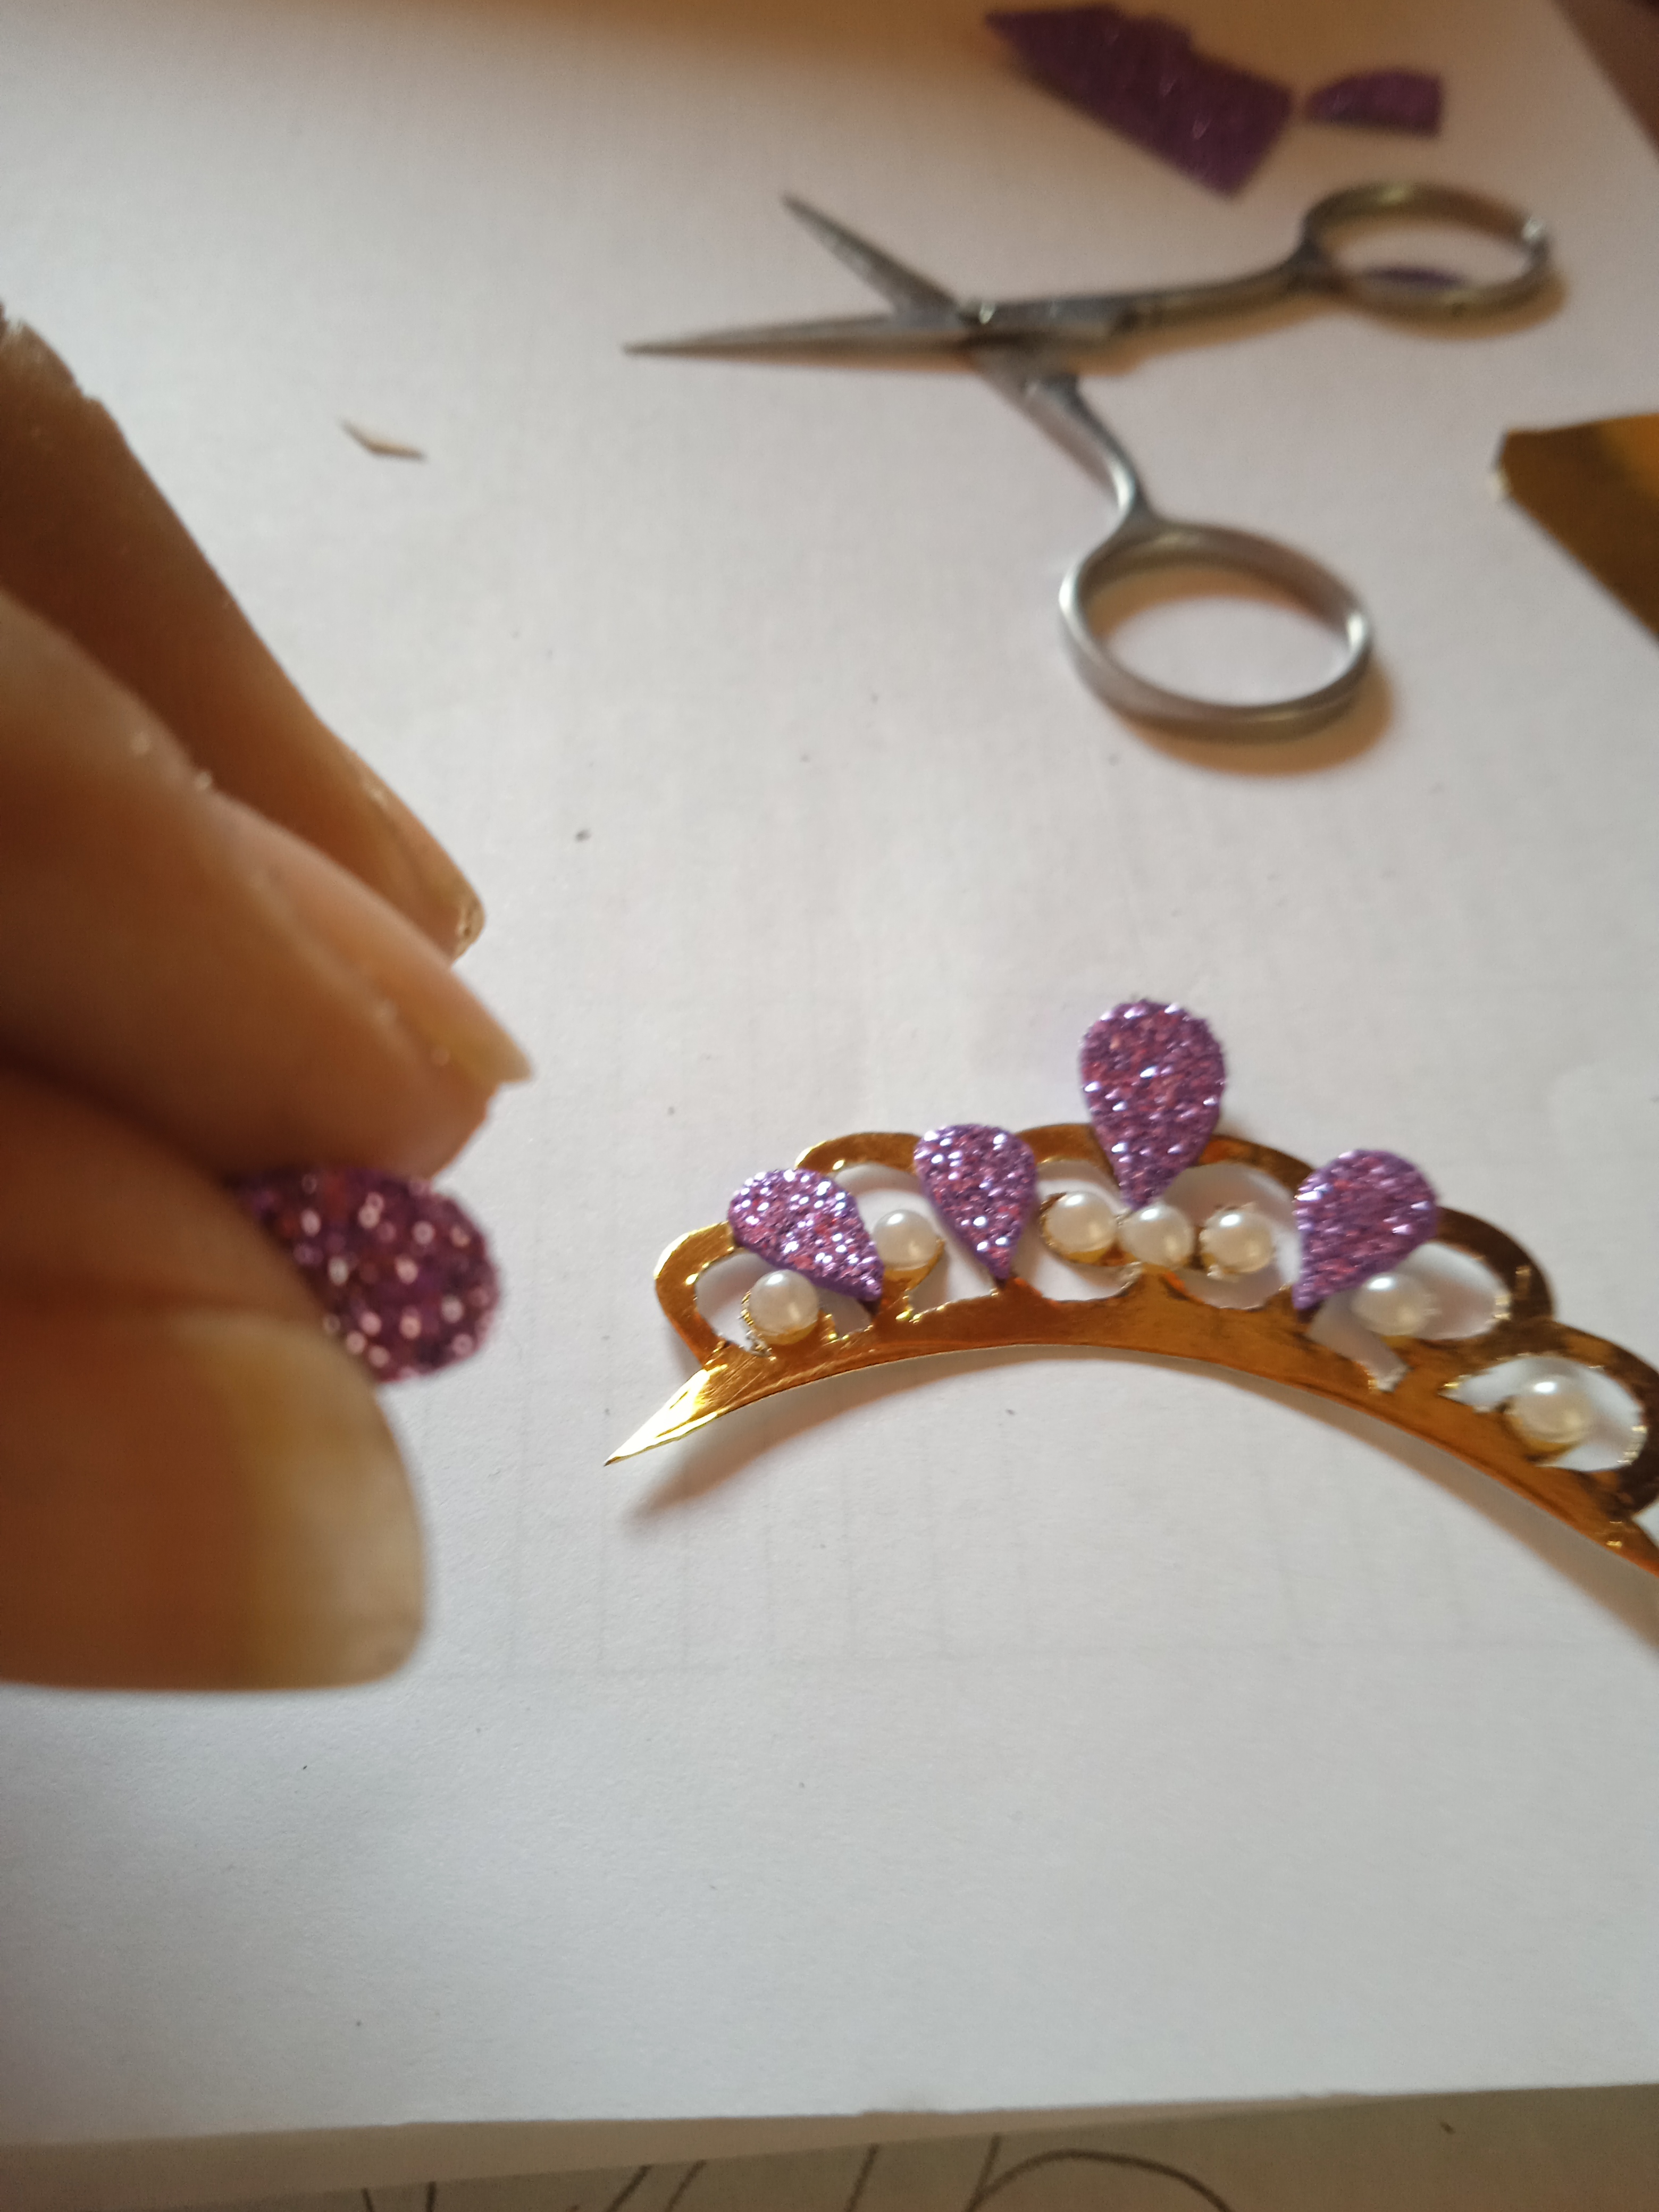
Ya recortada todas las piezas , procedemos a colocarle las perlitas adhesivas y otras piecitas de foami escarchado para darle ese toque de piedreria.
STEP 4.
Once all the pieces have been cut out, we proceed to place the adhesive beads and other little pieces of frosted foam to give it that touch of stones.
.jpg)
PASO 5.
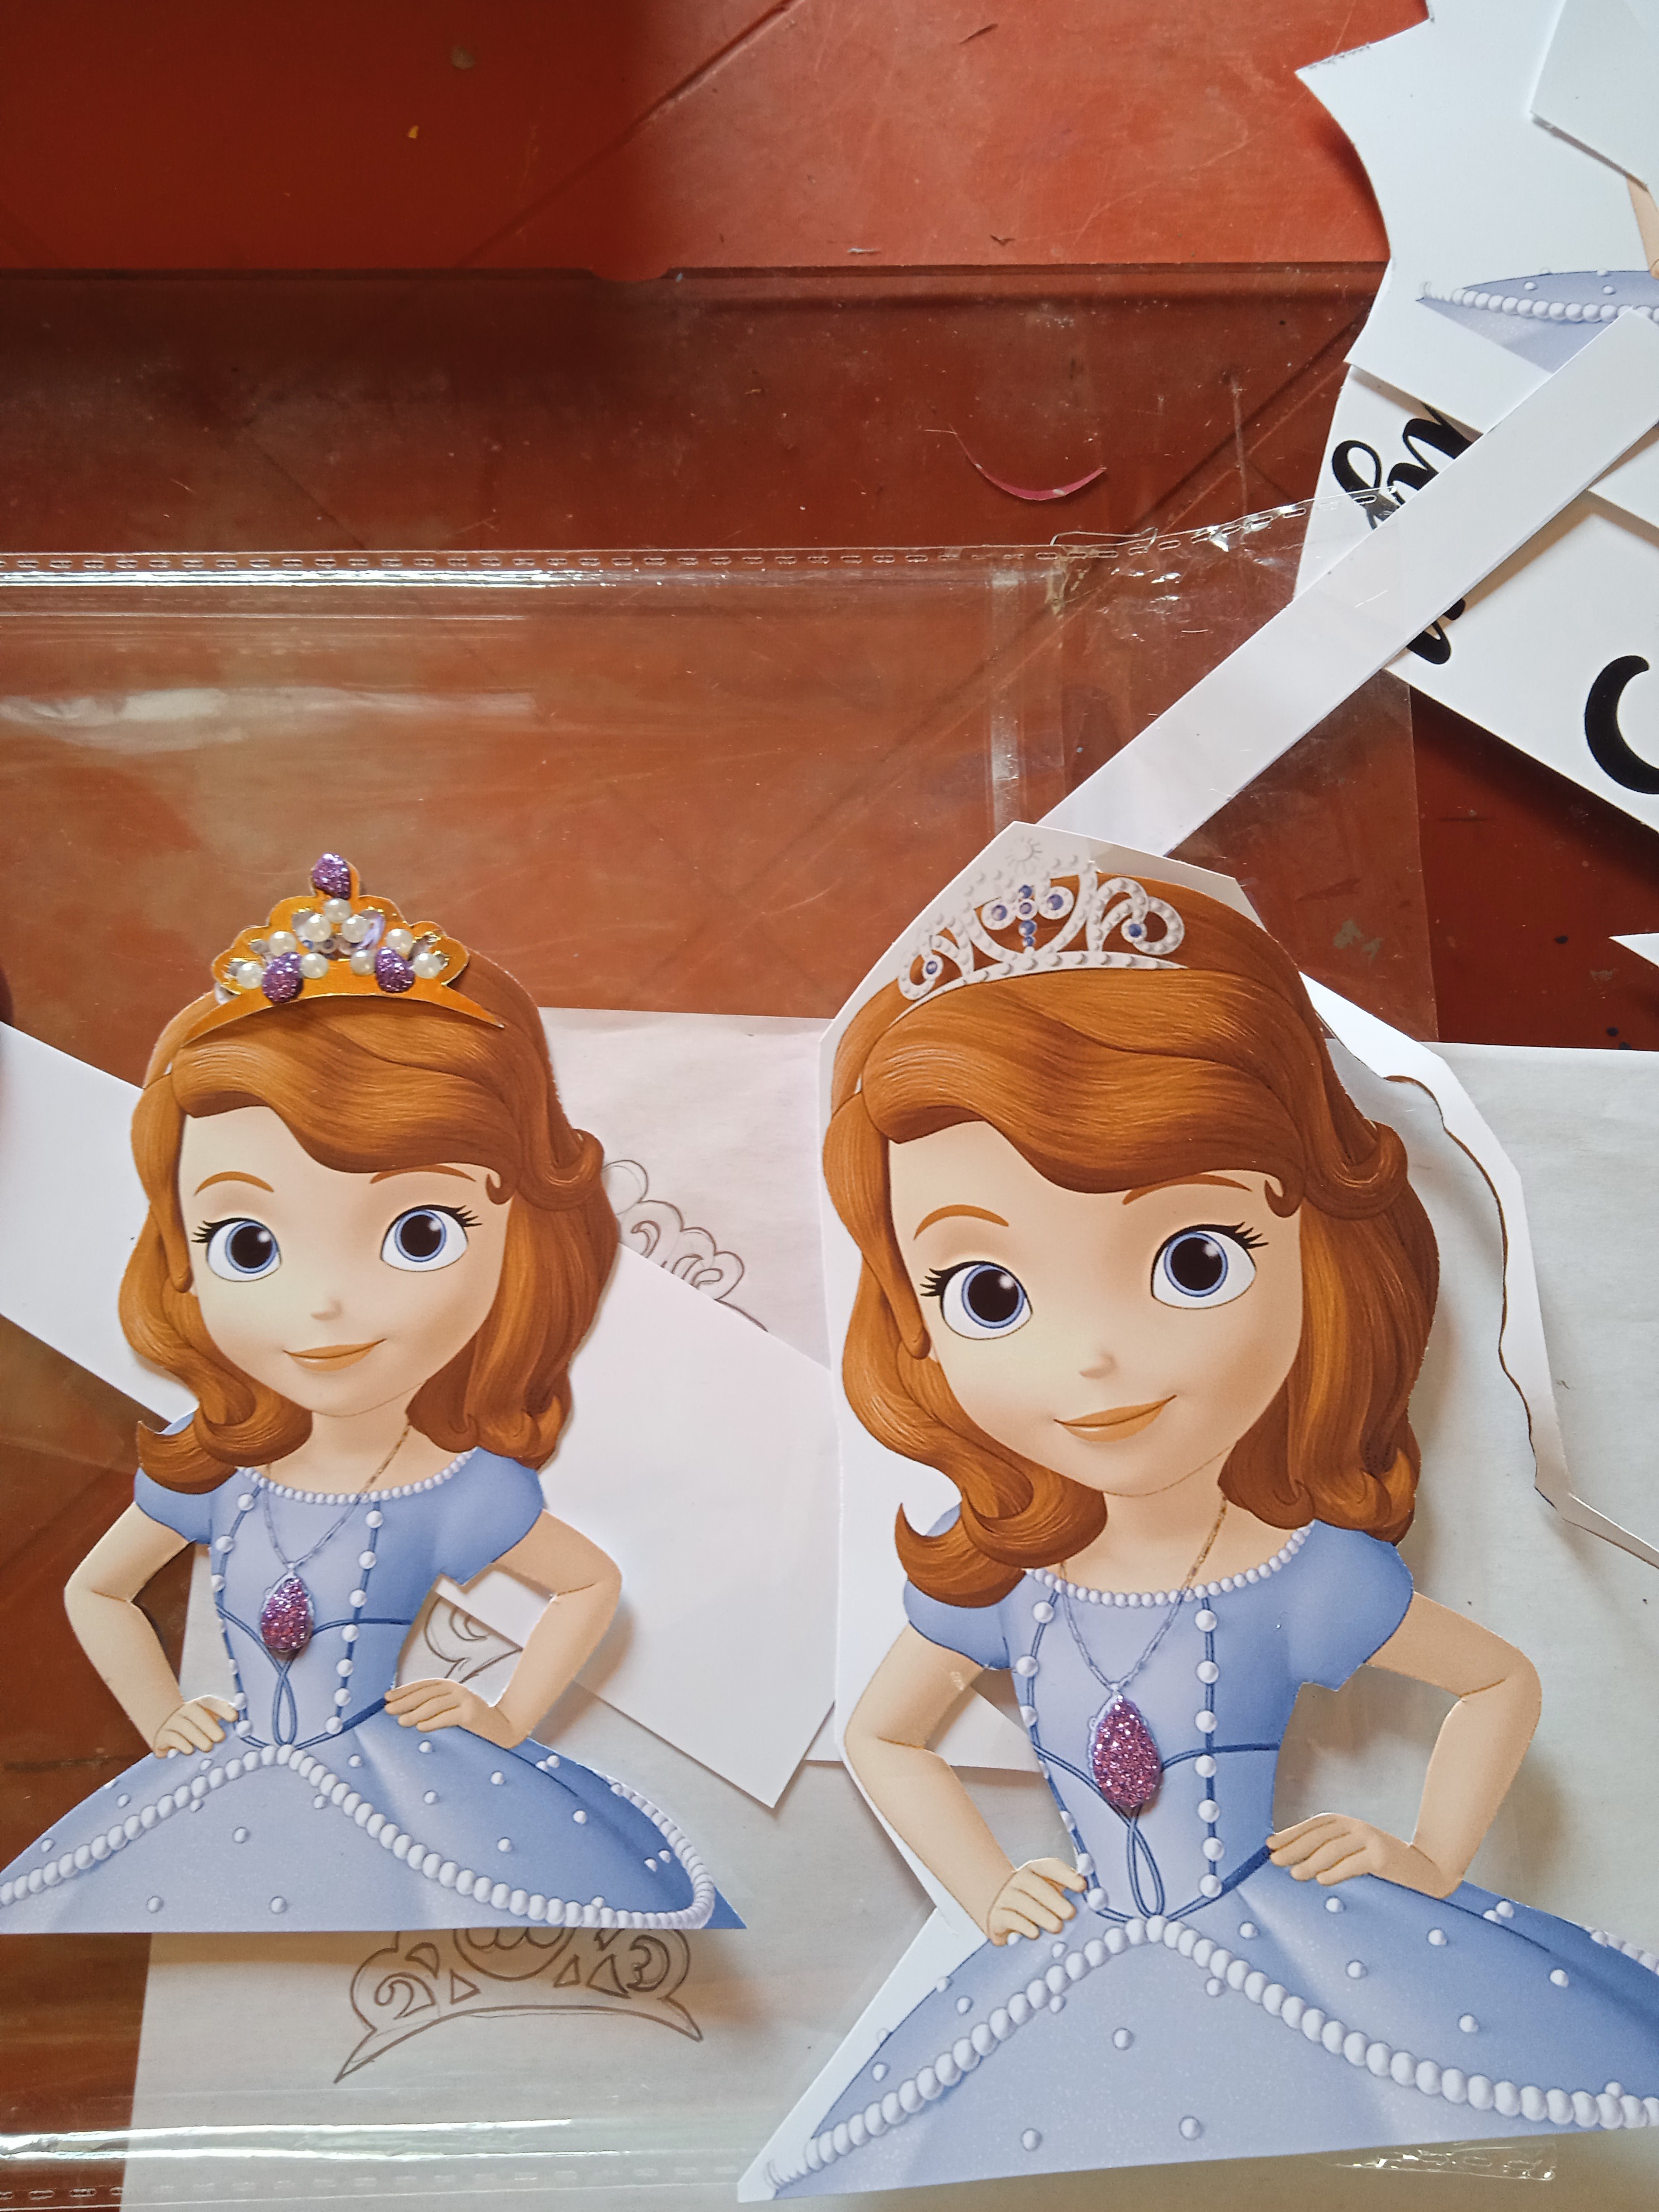
Ya armadas las coronas , las pegamos en las princesitas.
STEP 5.
Once the crowns are assembled, we stick them on the little princesses.
PASO 6.
Pintamos los palitos de altura con el color de pintura lila, para que combine con la aplicación.
STEP 6.
We paint the height sticks with the lilac paint color, so that it matches the application.
.jpg)
PASO 7.
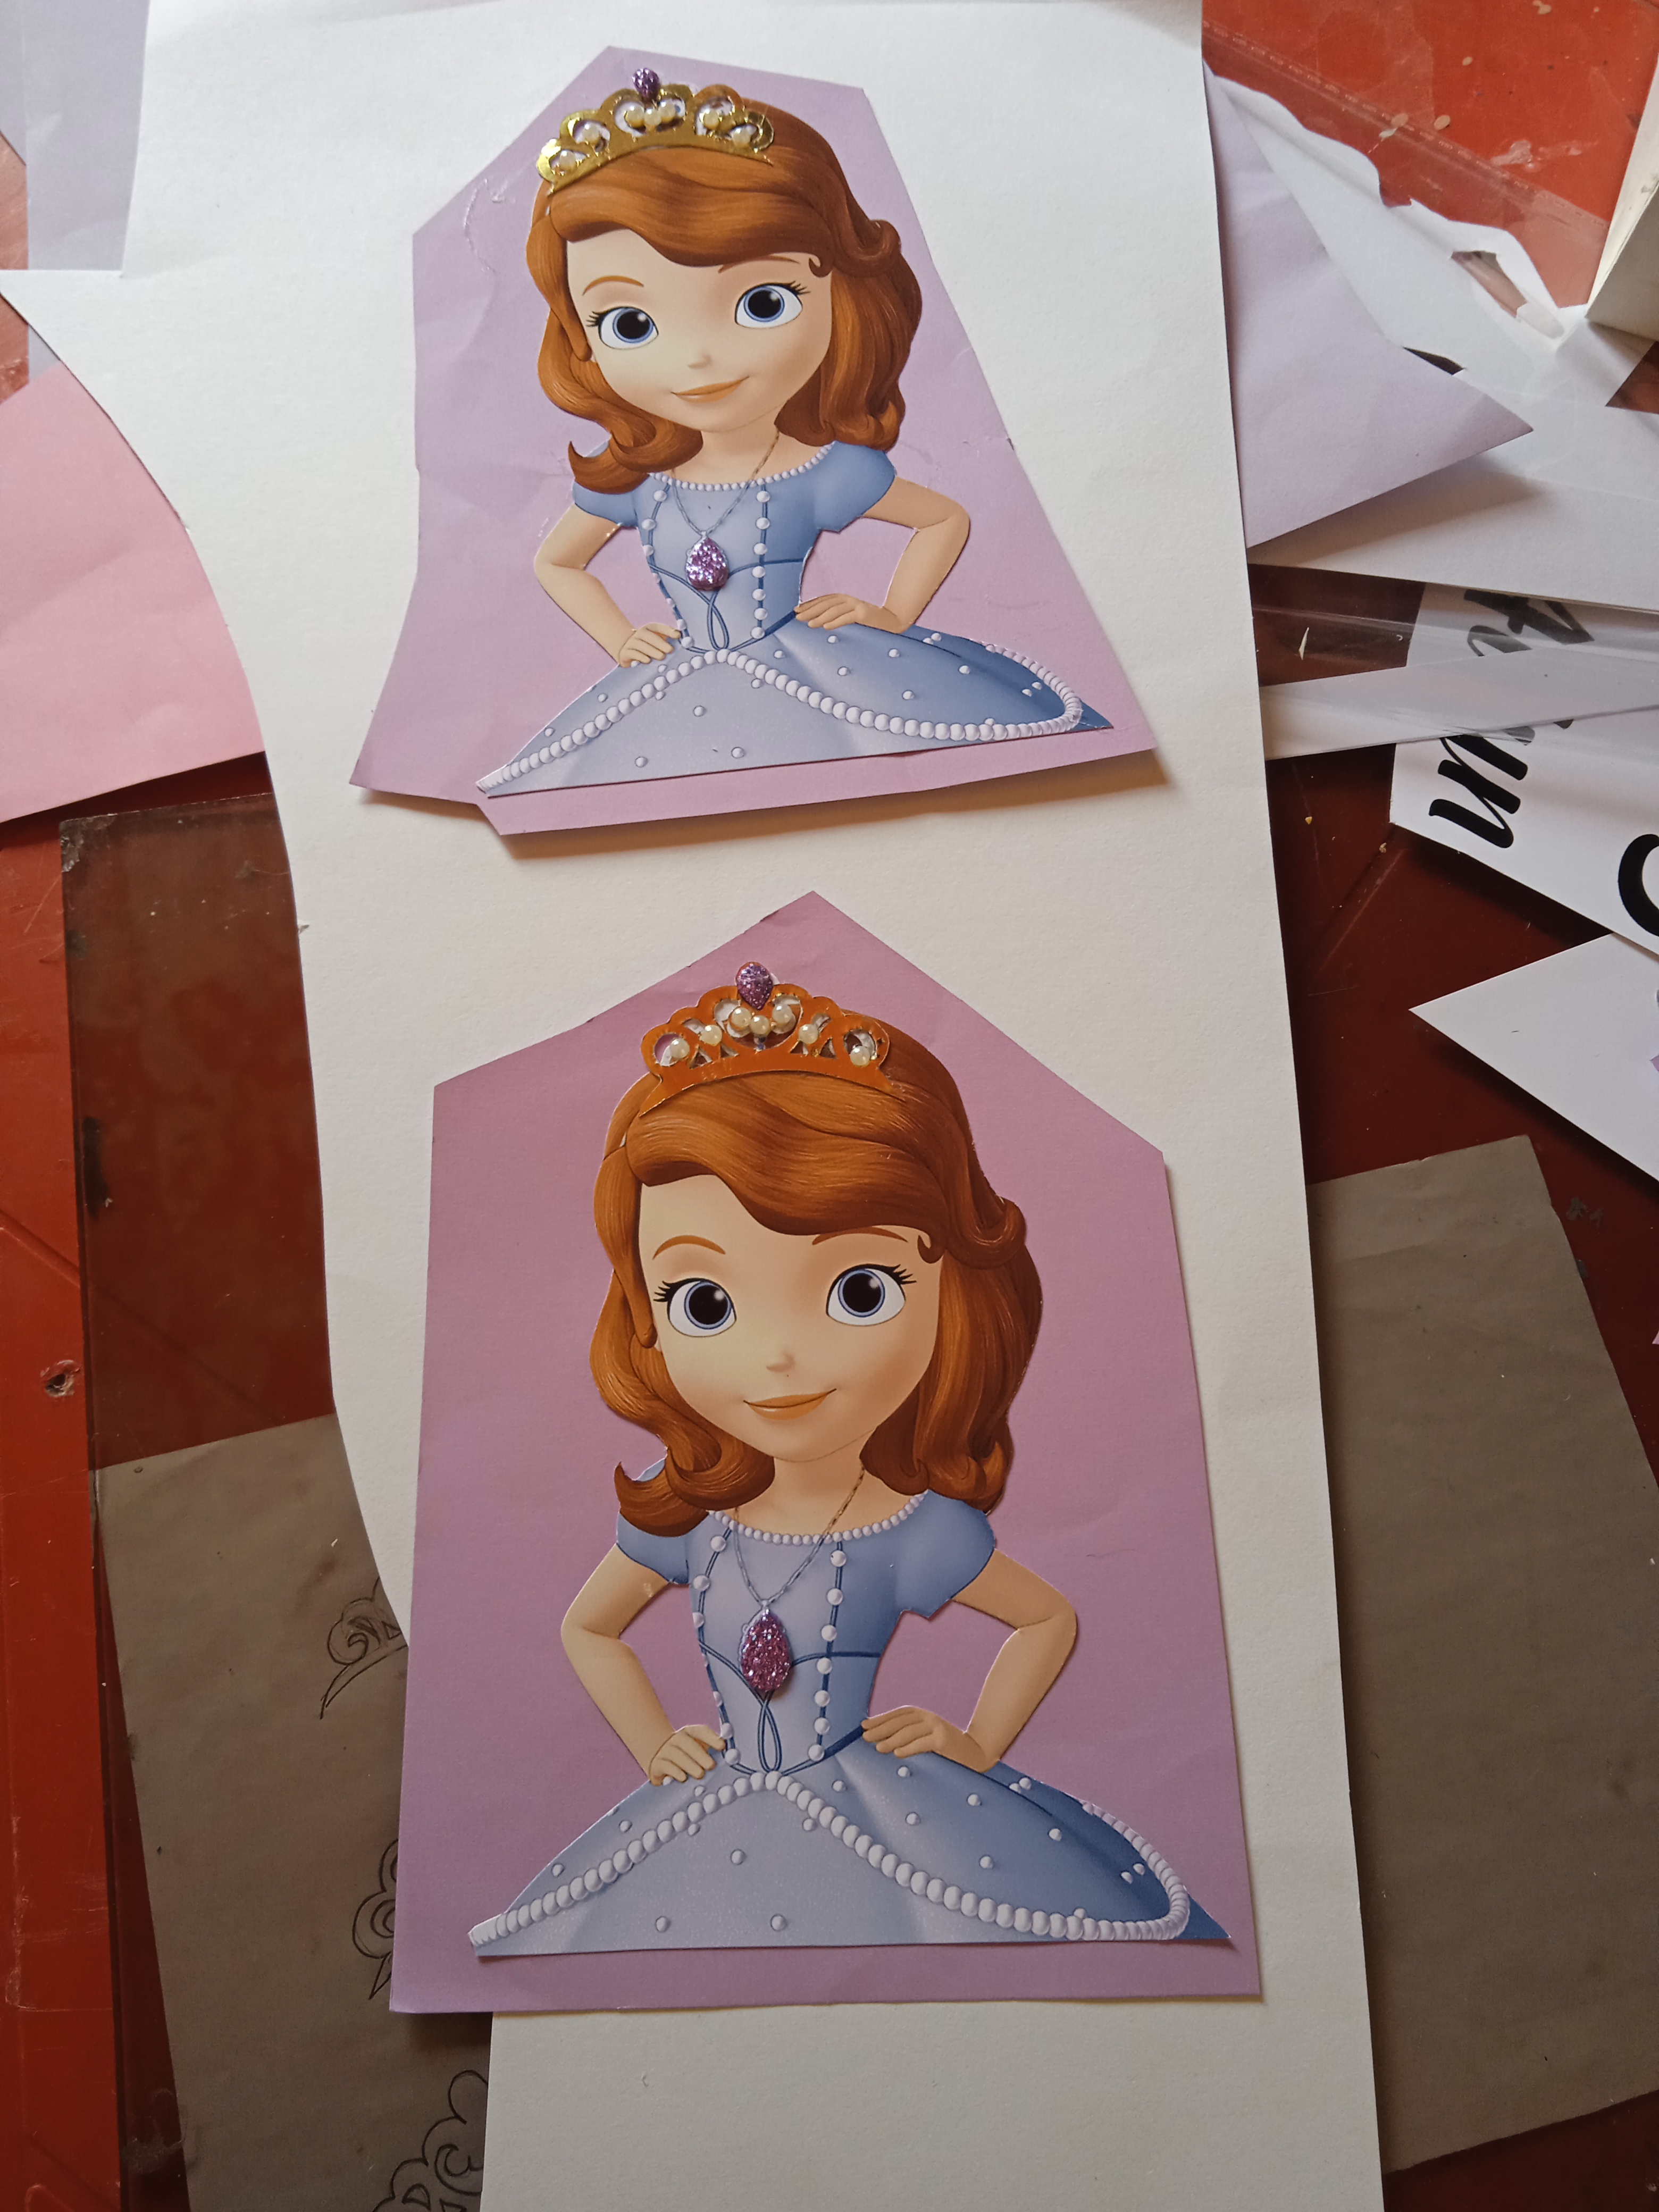
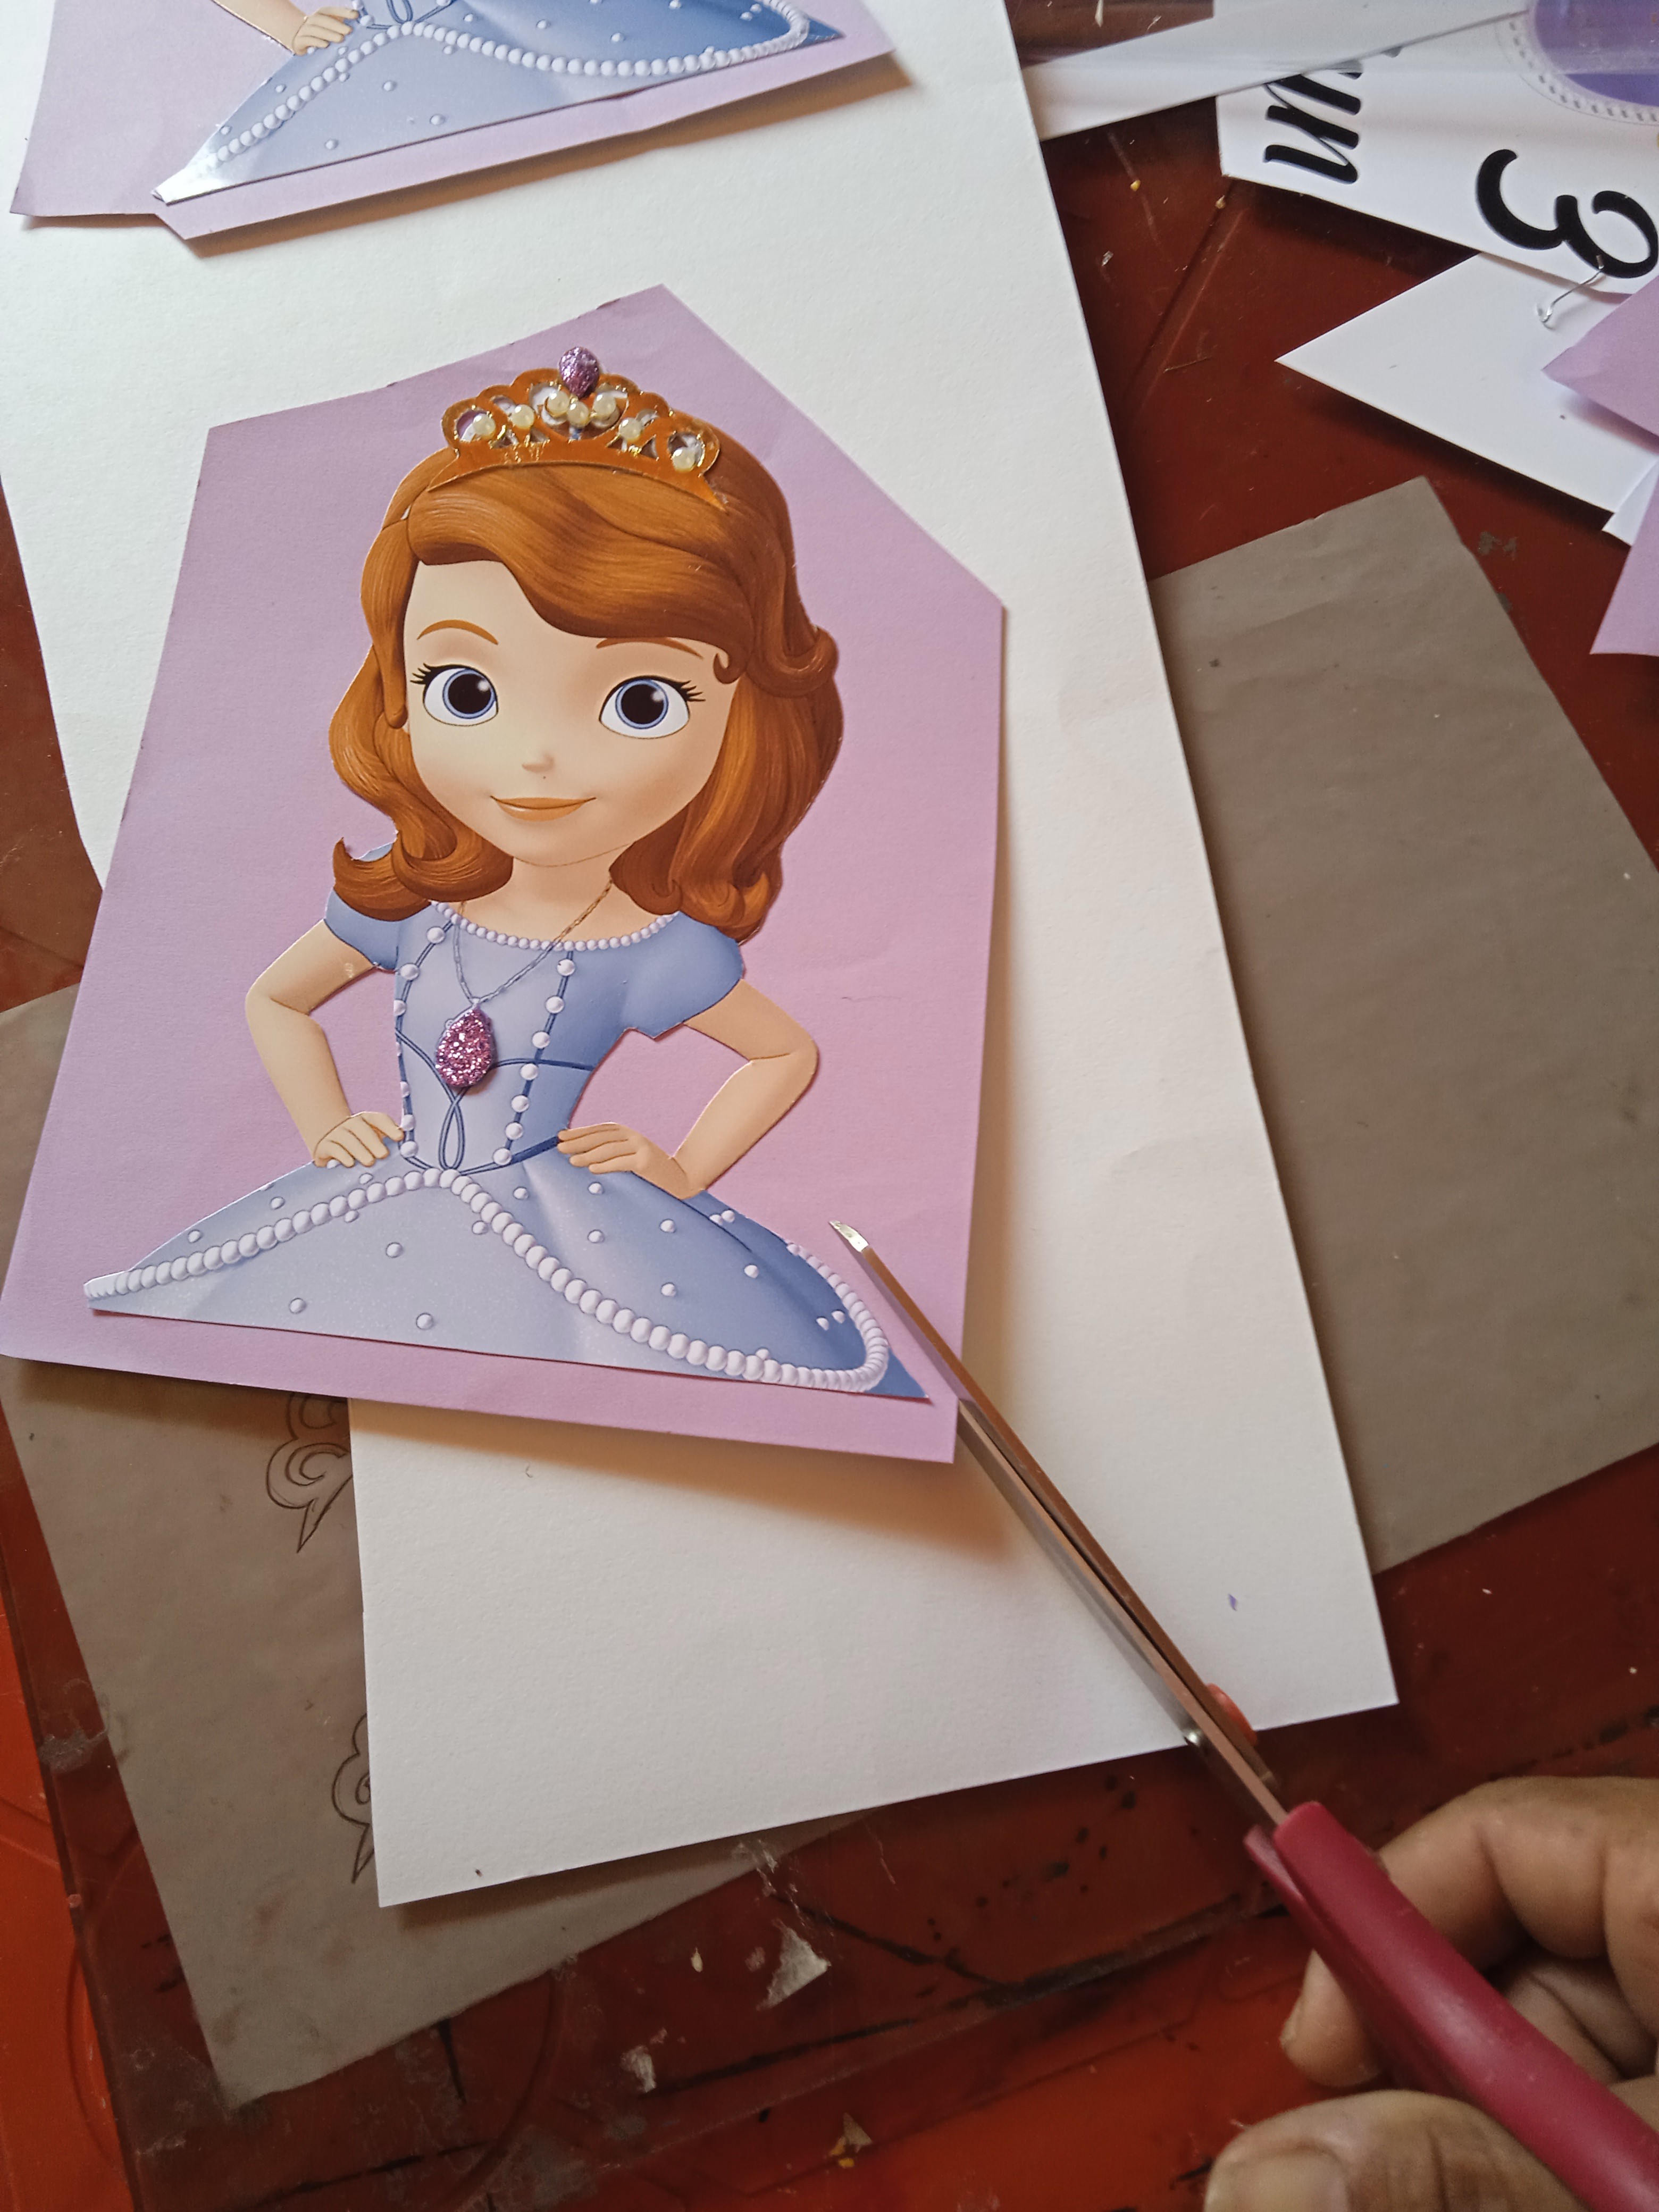
Pegamos todas las aplicaciones, primero en el foami y después en la cartulina, recortamos dejando un pequeño borde, por ultimo los pegamos con silicon caliente en los palitos de altura .
STEP 7.
We glue all the applications, first on the foam and then on the cardboard, we cut leaving a small edge, finally we glue them with hot silicone on the height sticks.
.jpg)

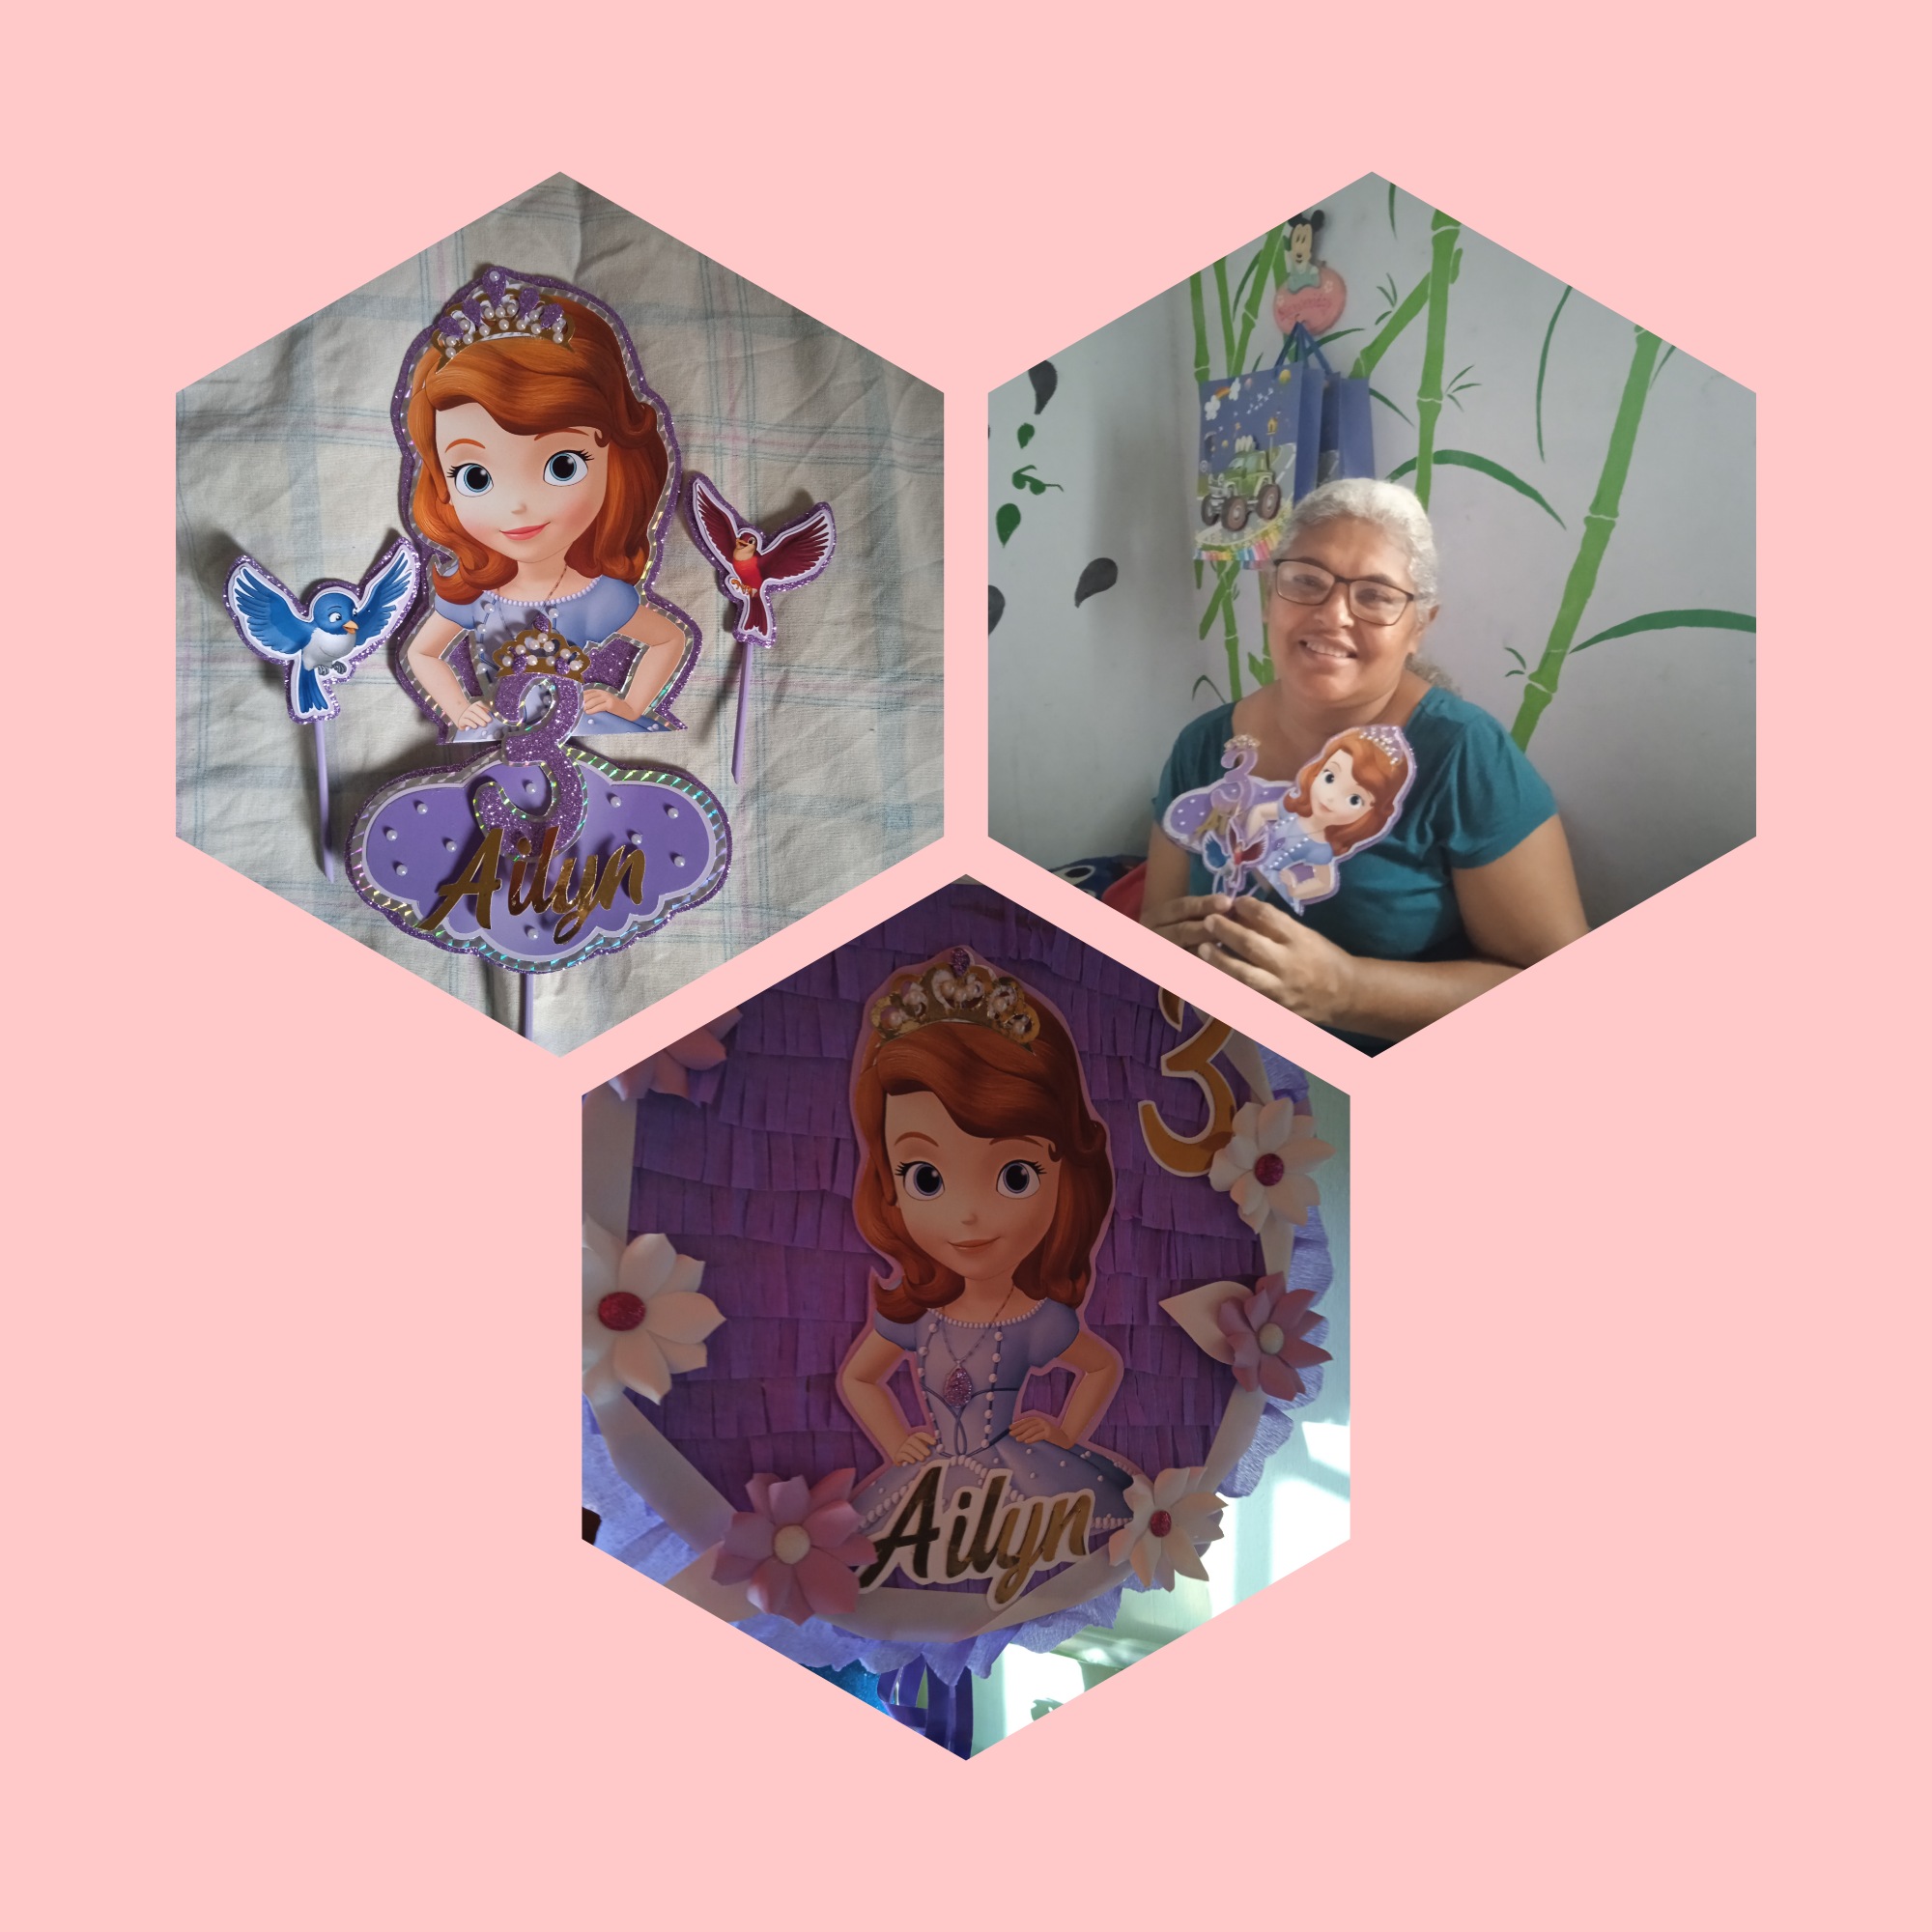
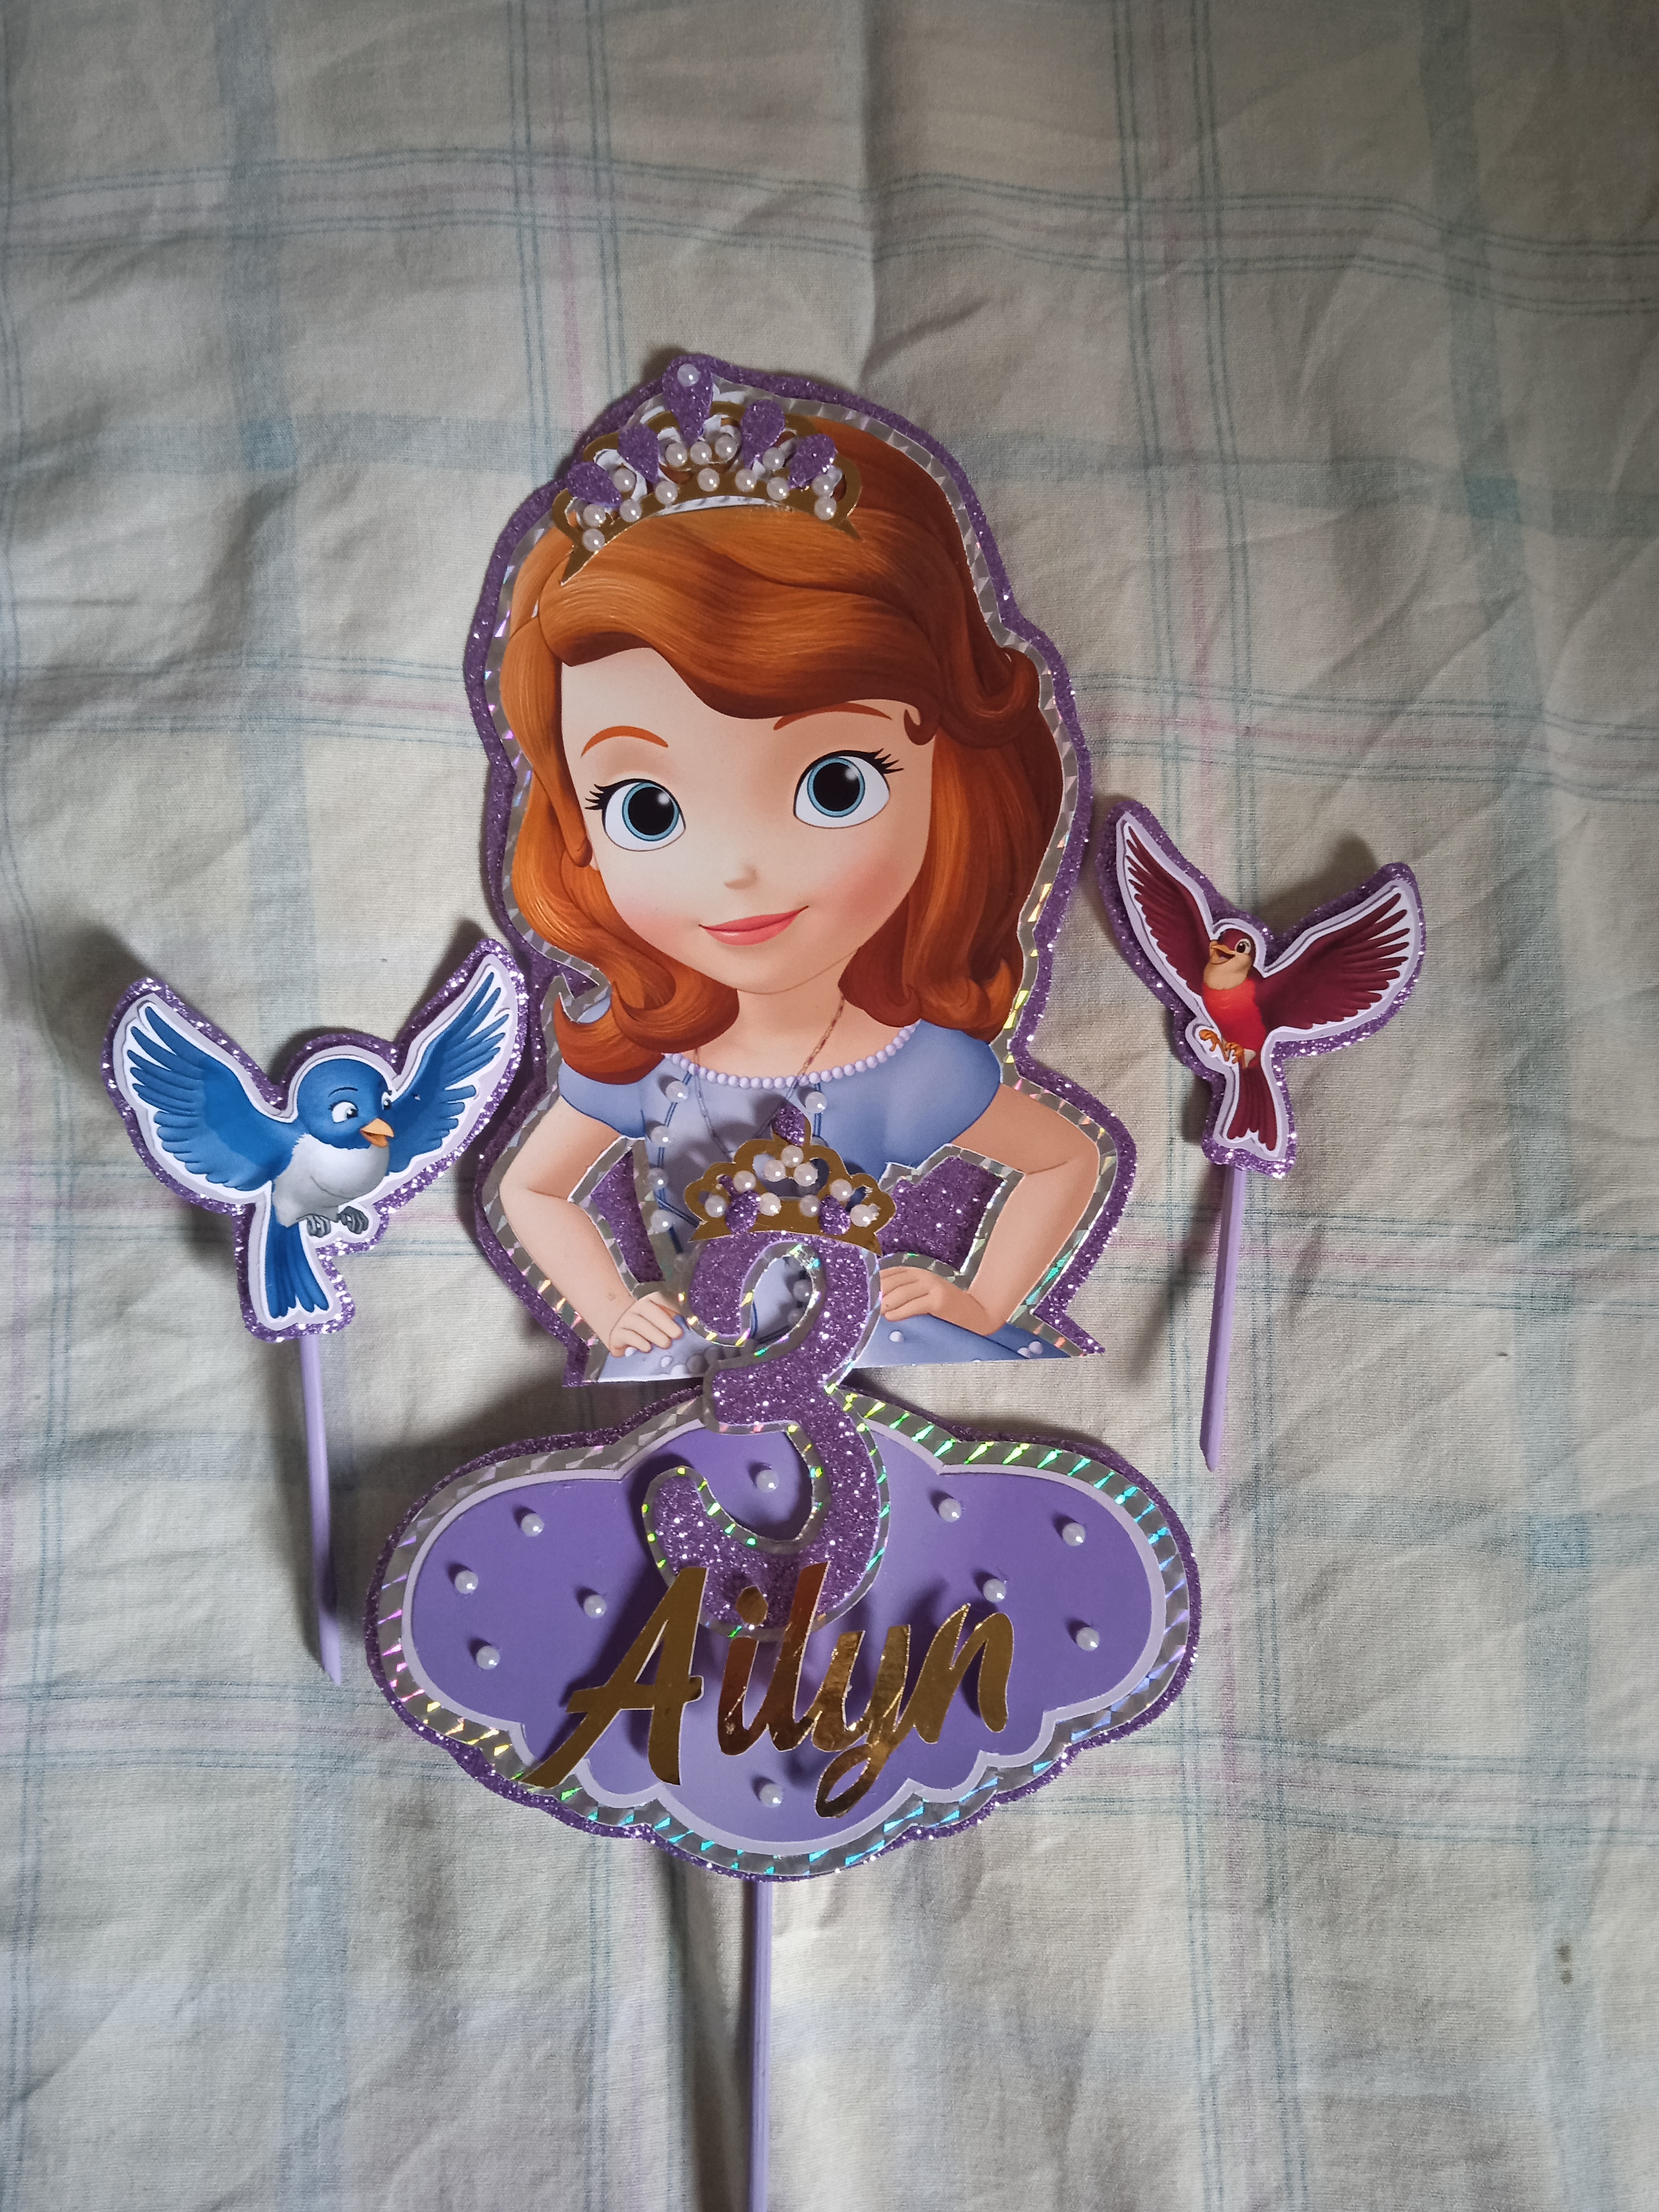
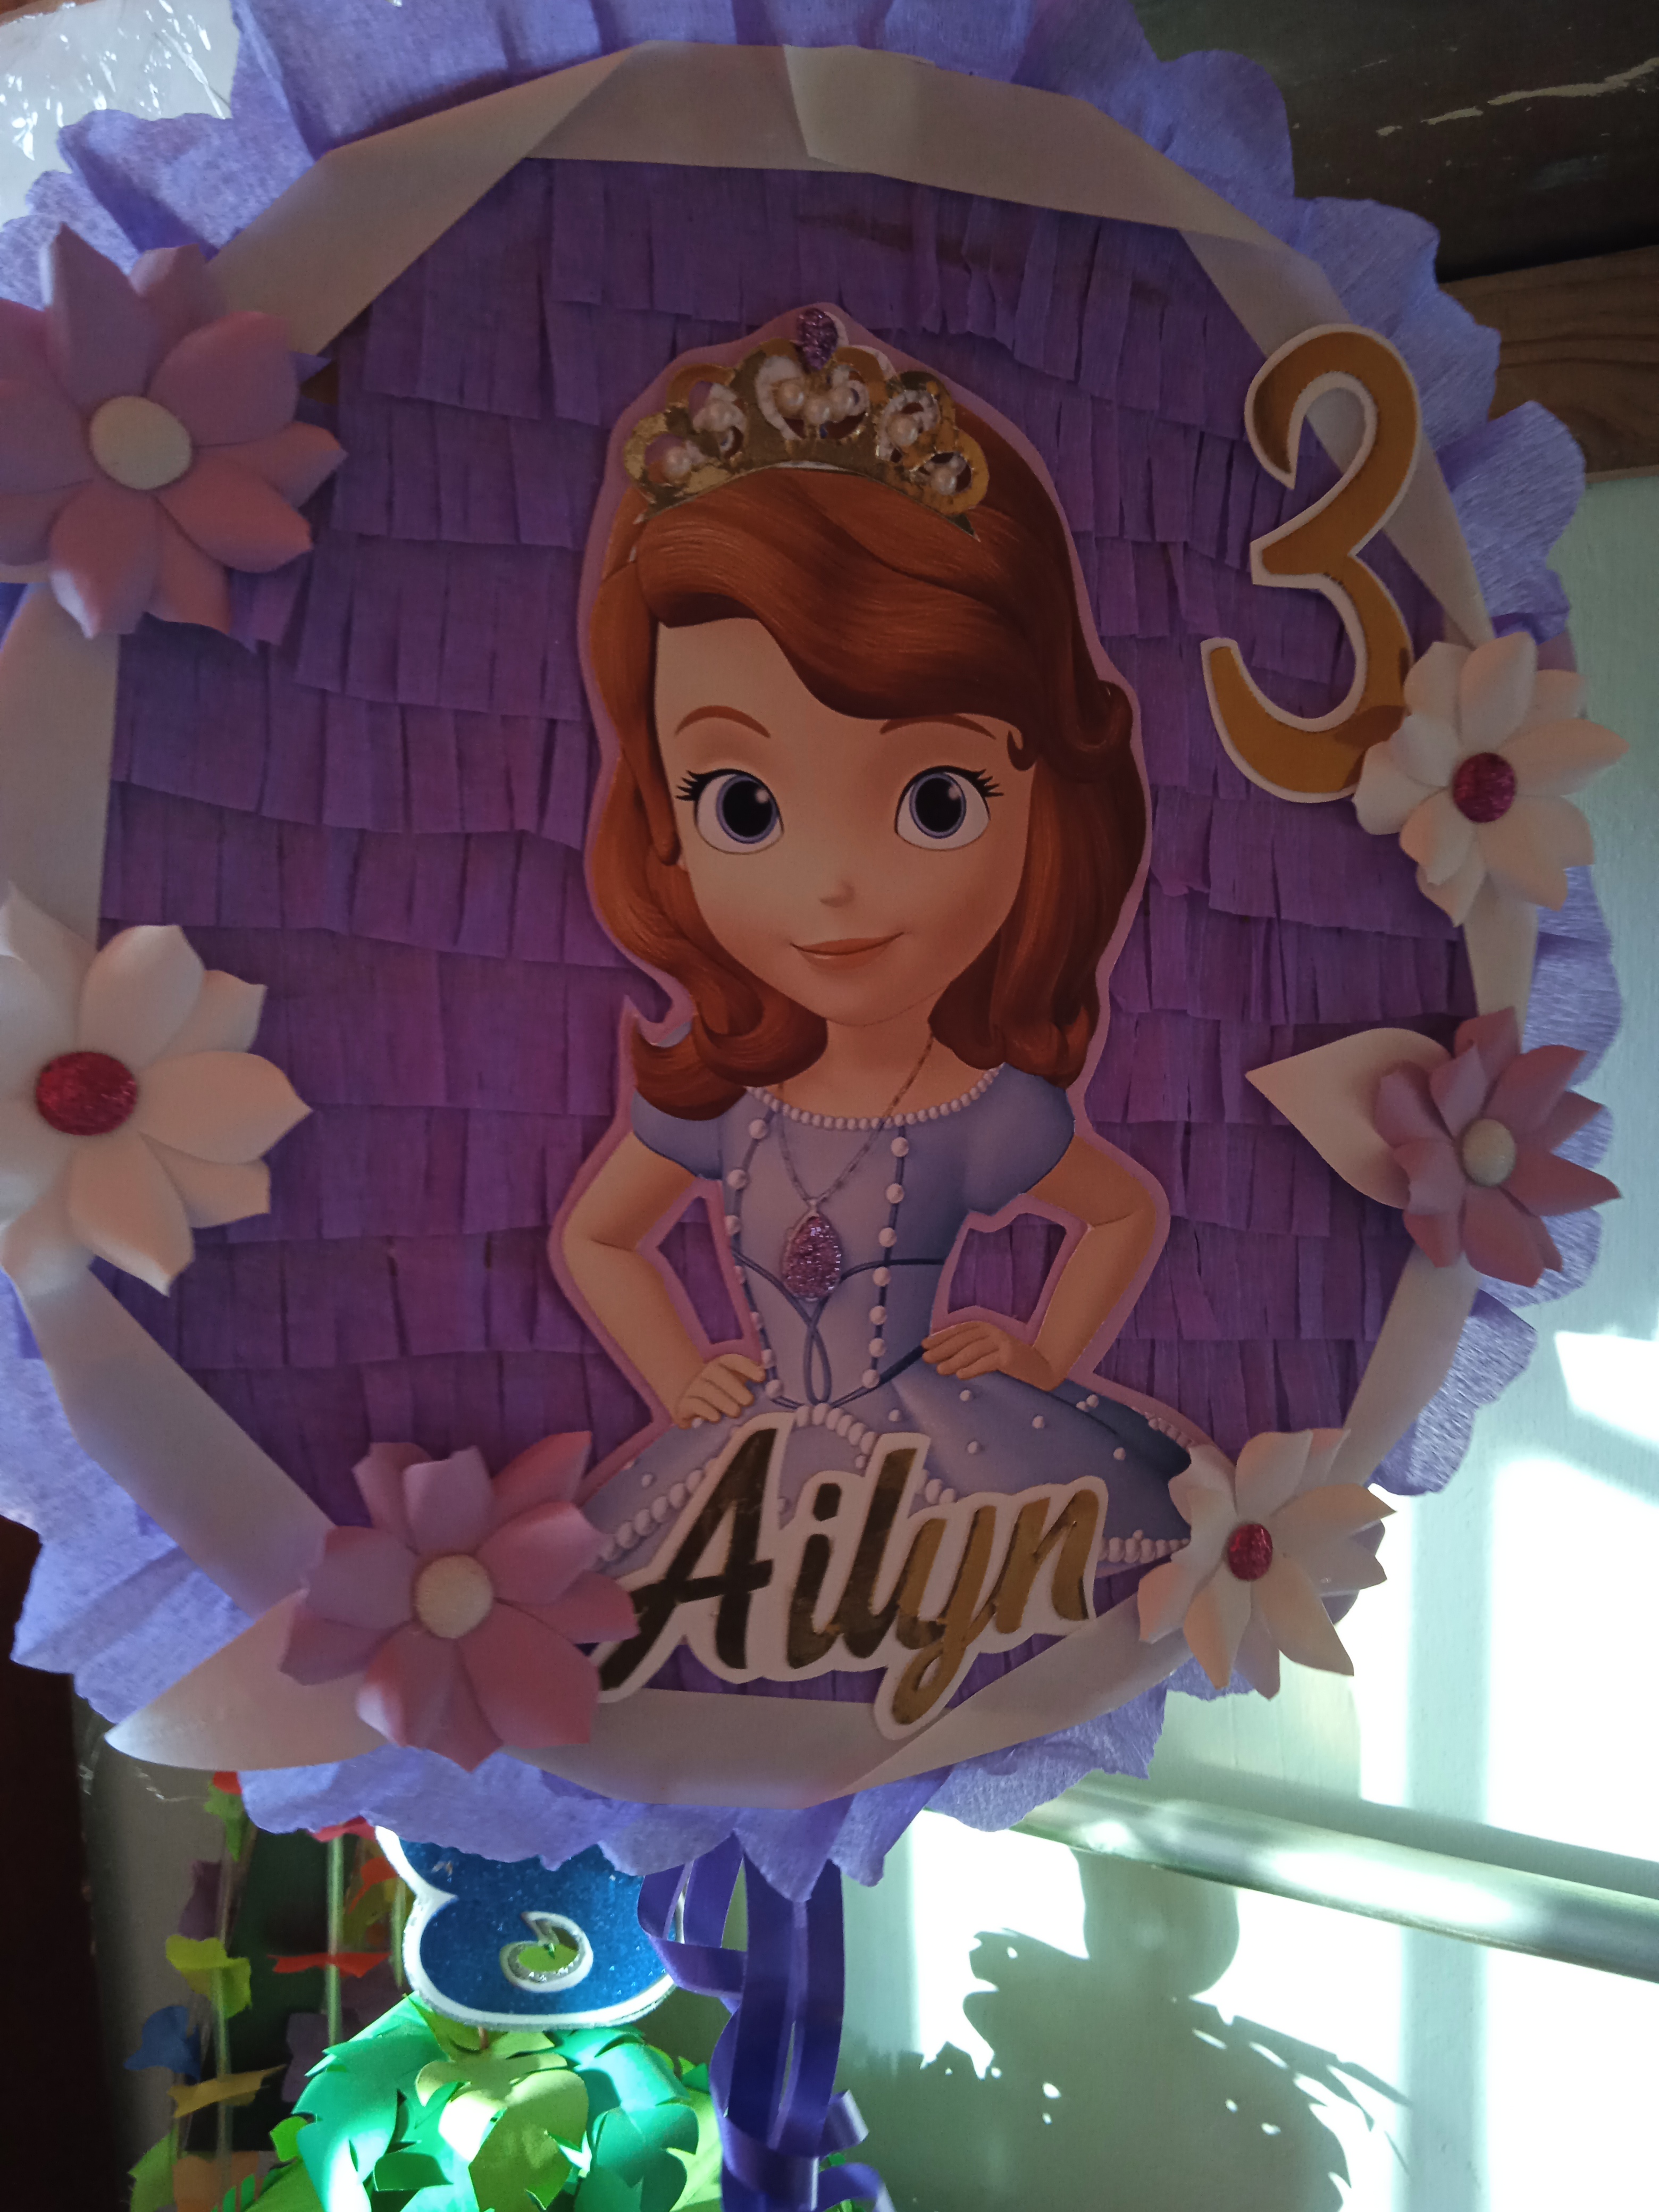
En la pequeña piñata hice unas pequeñas florecitas para decorar, asi quedo la piñatita.

Ya esta terminada , la primera es para la pequeña piñata de 45cm aproximadamente, y la otra para el pastel, que se vera espectacular,.
Estoy muy contenta con los resultados conseguidos, espero que les haya gustado este proyecto, es muy bonito, queda delicado a la hora de decorar pasteles... gracias por su atenció.
In the small piñata I made some small flowers to decorate, that's how the piñata was.
It is already finished, the first one is for the small piñata of approximately 45cm, and the other one is for the cake, which will look spectacular. I am very happy with the results achieved, I hope you liked this project, it is very beautiful, it is delicate when decorating cakes... thank you for your attention.
!
las fotografia ,fueron tomada desde mi telefono xiaomi redmi 9A .
las impresiones fuero realizadas en papel fotografico.
The photographs were taken from my xiaomi redmi 9A phone.
The prints were made on photographic paper.
Congratulations @rolanjm18! You have completed the following achievement on the Hive blockchain And have been rewarded with New badge(s)
Your next target is to reach 300 upvotes.
You can view your badges on your board and compare yourself to others in the Ranking
If you no longer want to receive notifications, reply to this comment with the word
STOPCheck out our last posts:
Esas aplicaciones le concedieron un toque de elegancia adicional a la princesa Sofia, quedó muy linda. Fue un placer visitar tu blog. Te envío un fraternal saludo.