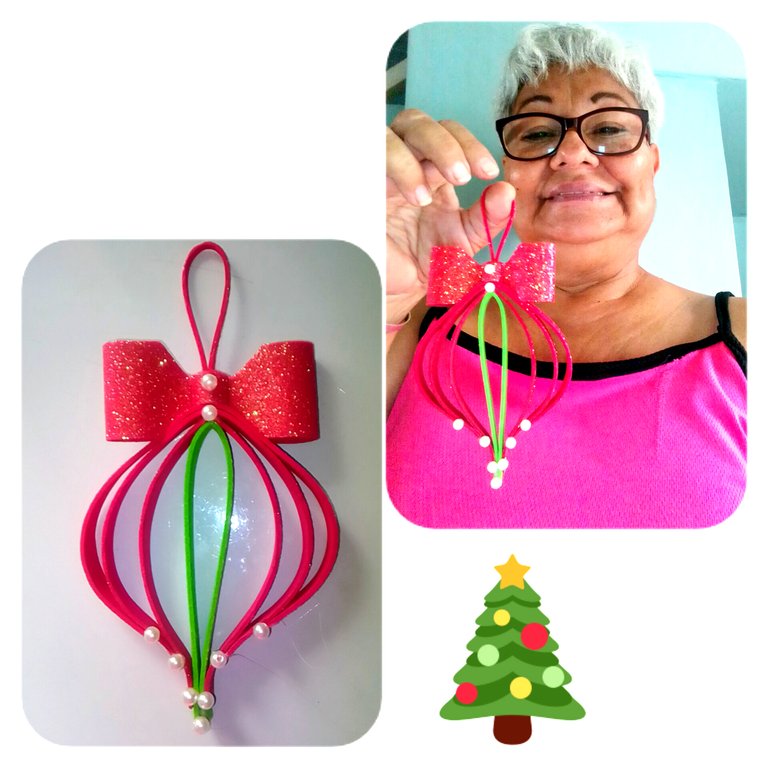
Hello my dear friends of #hivediy I hope you are very well my best wishes for everyone, this time I bring you the step by step of an ornament to decorate the Christmas trees as you know we are just a few months to reach the month of December but there are people who already before starts early to decorate their homes SO IT SMELLS LIKE CHRISTMAS.
MATERIALES A UTILIZAR:
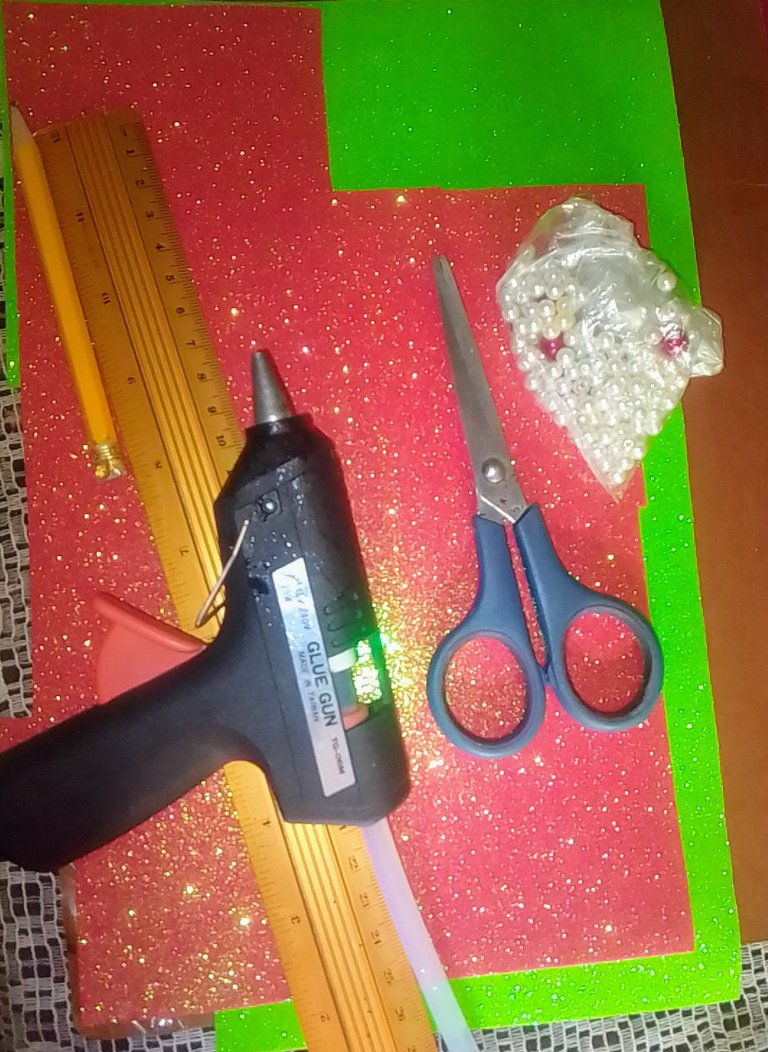
MATERIALS TO BE USED:
- Foami de color verde y rojo escarchado
- Pistola de silición
- Barra de silicón
- Tijera
- Lápiz
- Regla
- Perlitas.
- Green and red frosted foami
- Silicone gun
- Silicone stick
- Scissors
- Pencil
- Ruler
- Beads.
ELABORACION
ELABORATION
PASO 1
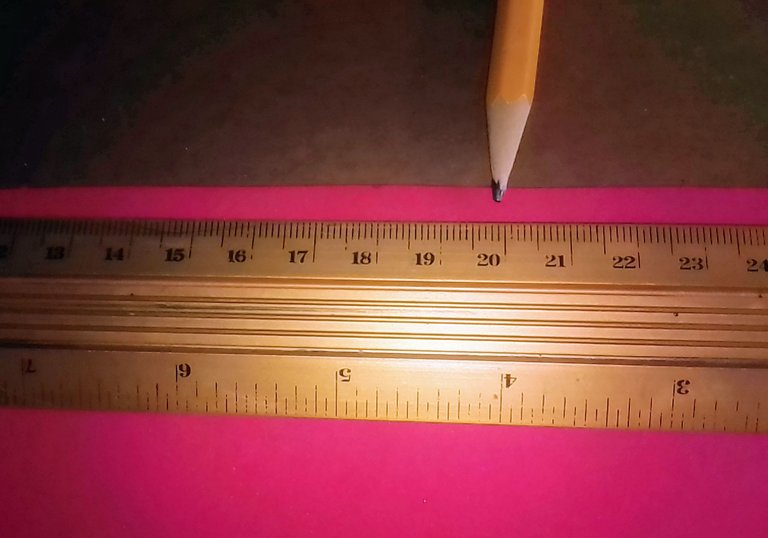
STEP 1
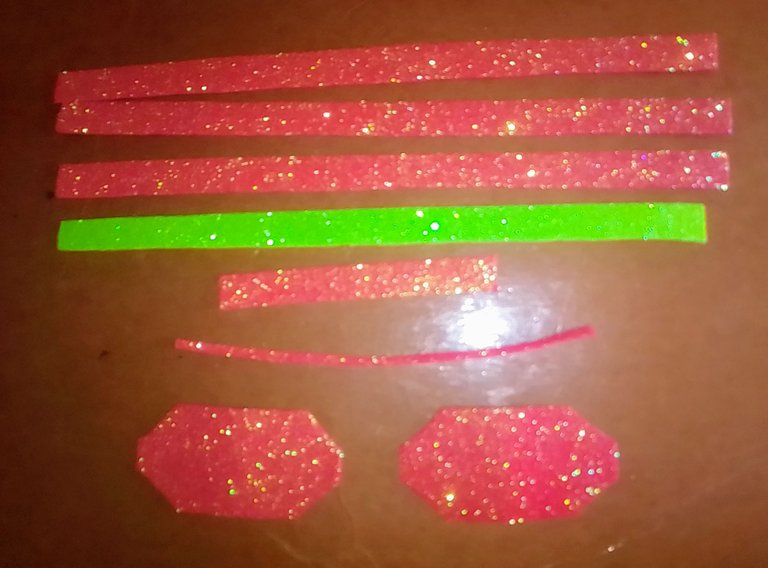
Primero tomamos el foami rojo, el lápiz y la regla y empezamos a medir vamos a sacar 3 tiras de 20 cmts de largo X 1 cmts de ancho.
First we take the red foami, the pencil and the ruler and we start measuring, we are going to make 3 strips of 20 cm long X 1 cm wide.
PASO 2
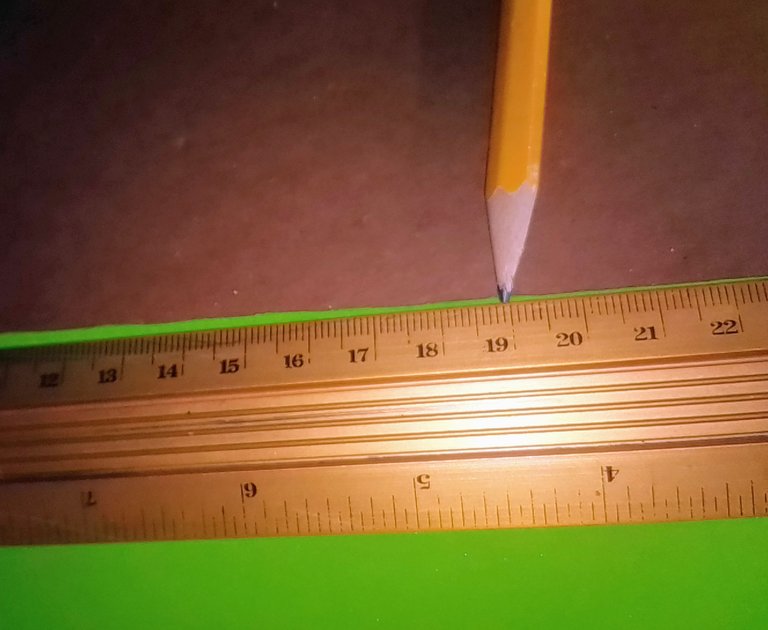
STEP 2
Luego tomamos el foami color verde y medimos 19 cmts de largo X 1 cmts de anchoy cortamos una tira.
Then we take the green foami and measure 19 cm long X 1 cm wide and cut a strip.
PASO 3
STEP 3
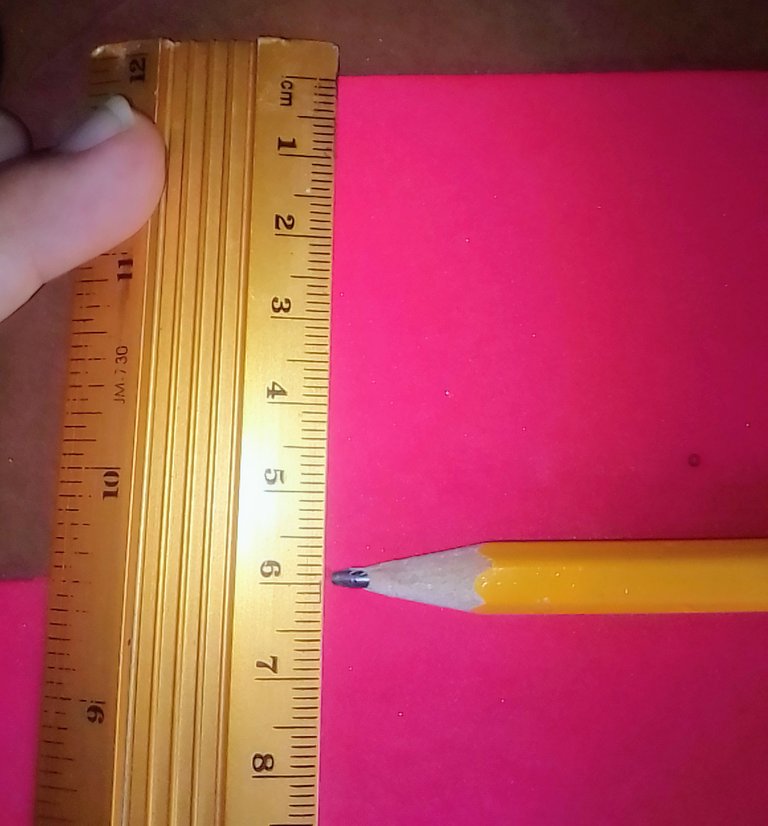
Después con el foami rojo medimos 6 cmts de largo X 3 cmts de ancho y cortamos 2 piezas.
Then with the red foami we measure 6 cm long X 3 cm wide and cut 2 pieces.
PASO 4
STEP 4
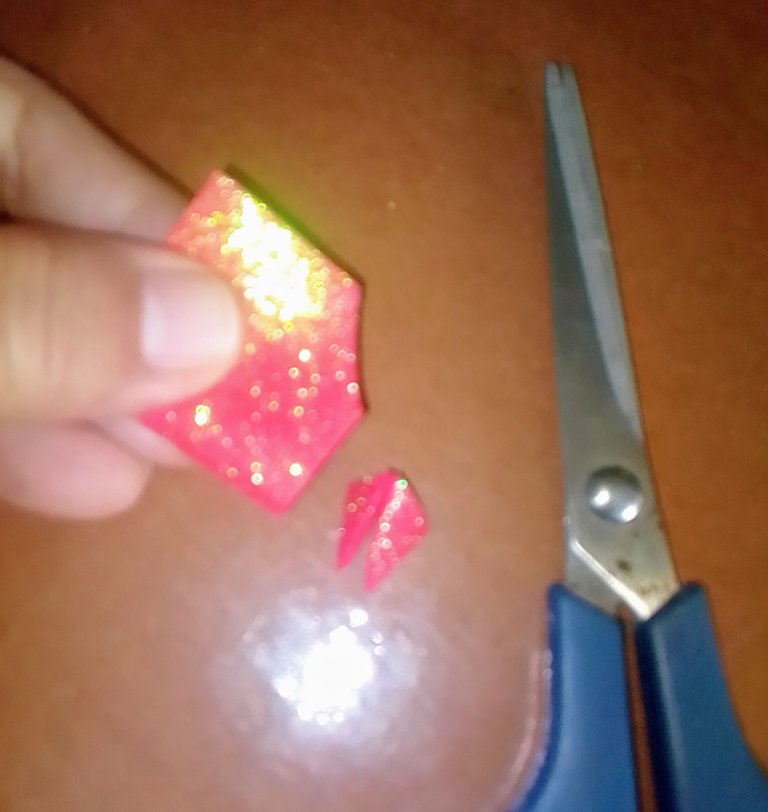
Ahora esta pieza que cortamos de 6 X 3 vamos a doblarla a la mitad y cortamos una esquina y ve como te queda este va hacer para el lazo.
Now this piece that we cut from 6 X 3 we are going to fold it in half and cut a corner and see how it looks like this is going to be the loop.
PASO 5
STEP 5
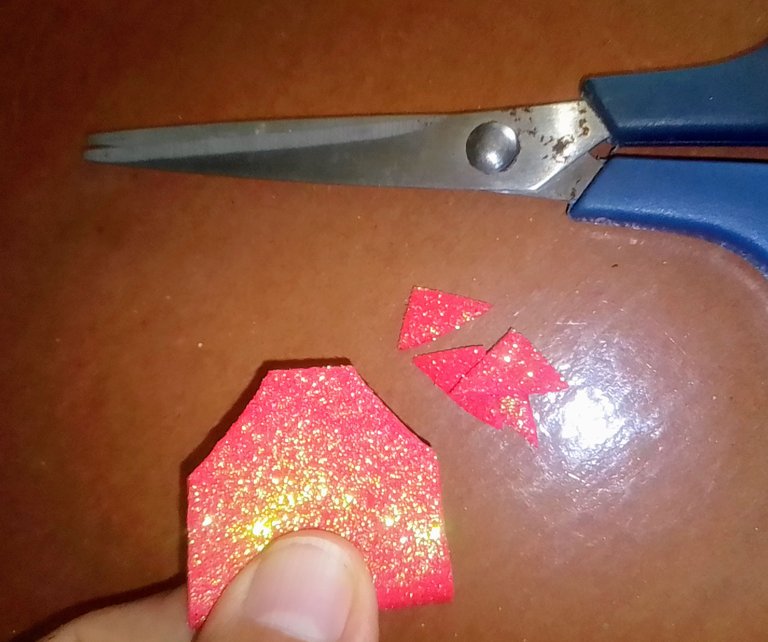
Y después cortamos el otro lado pero para que sean iguales los cortes de la primera que hiciste pon en la otra esquina un pedacito que quitaste y allí la cortas y ve como quedan los dos lados iguales.
And then cut the other side but to make the cuts equal to the first one you made, put a little piece that you removed in the other corner and cut it there and see how the two sides are equal.
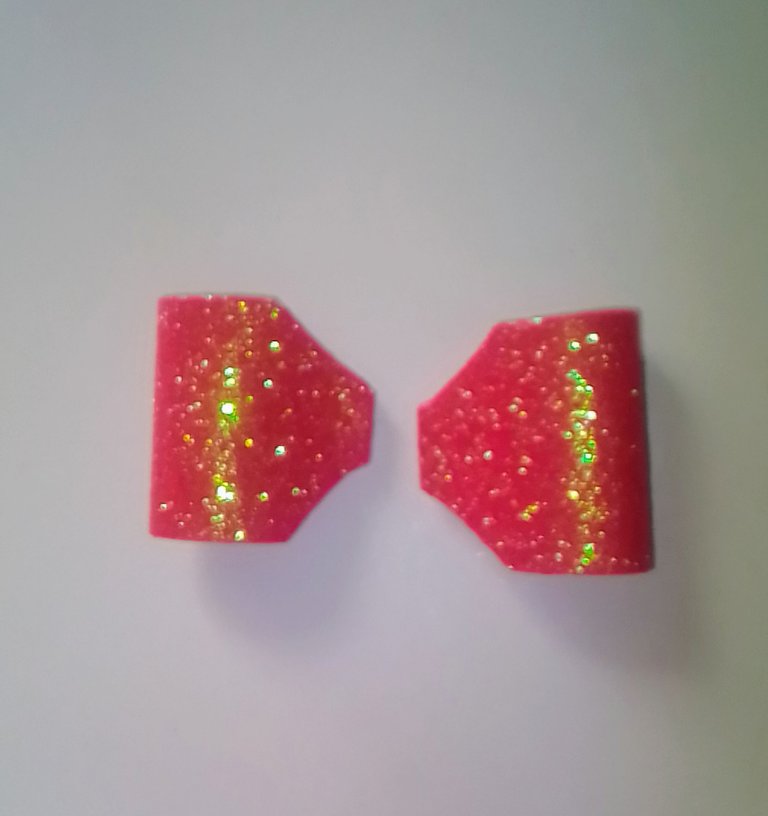
PASO 6
STEP 6
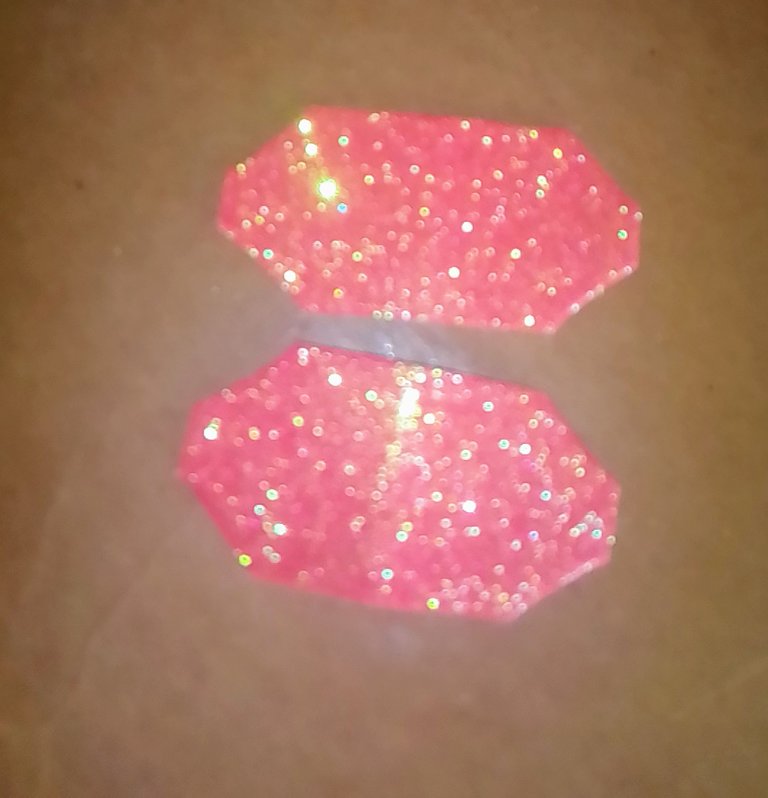
Y acá están las dos piezas listas esta va hacer el lazo.
And here are the two pieces ready, this one is going to make the bow.
PASO 7
STEP 7
Acá ya tengo todas las piezas para empezar a ensamblar.
Here I have all the pieces to start assembling.
PASO 8
STEP 8
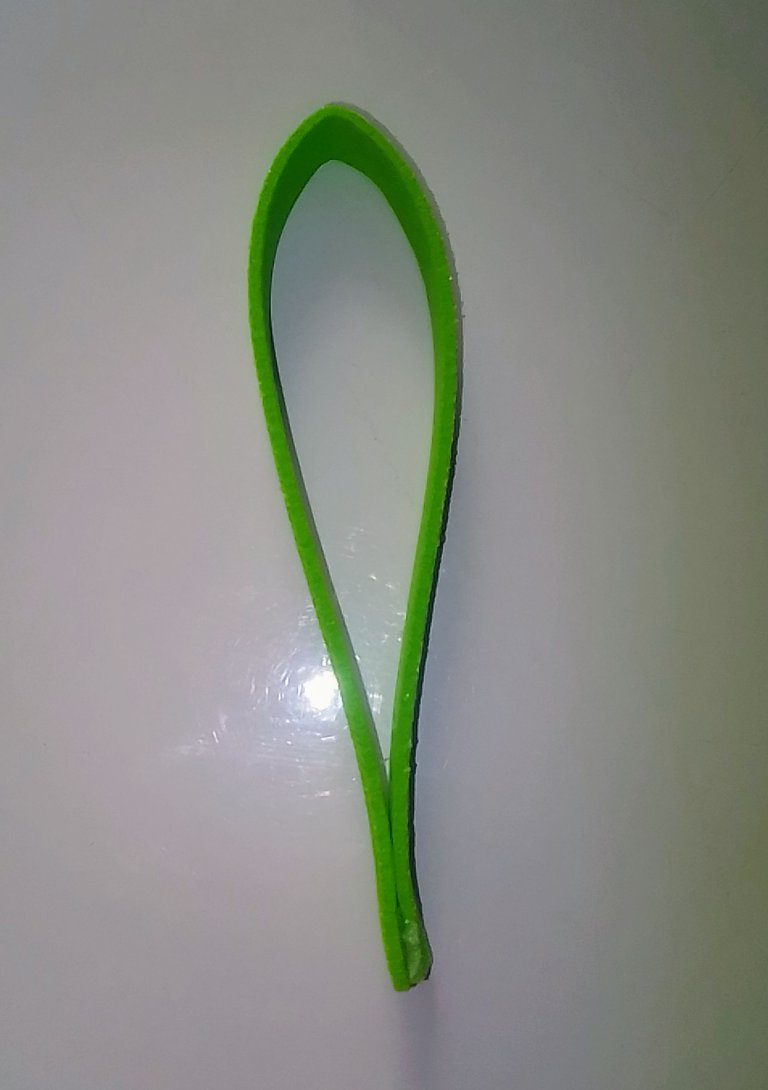
Primero tomamos la pieza de 19 cmts y la doblamos a la mitad y le agregamos pega en la punta abajo como se ve en la imagen.
First we take the 19 cm piece and fold it in half and add glue at the bottom end as shown in the image.
PASO 9
STEP 9
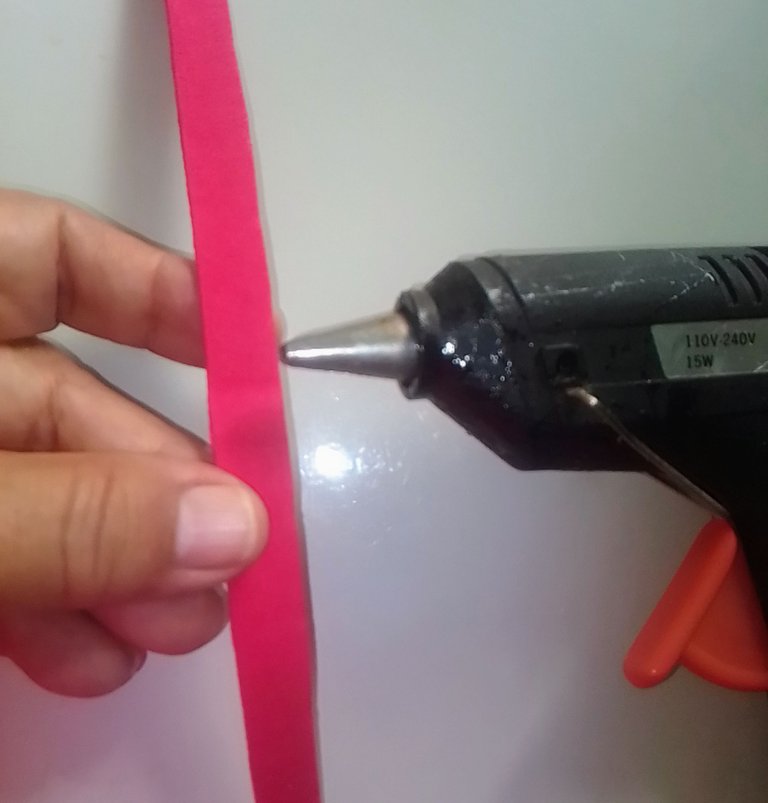
Ahora escogemos una tira roja de 20 cmts y la doblamos exactamente a la mitad y en el doblez le agregamos pega.
Now we choose a 20 cm red strip and fold it exactly in half and in the fold we add glue.
PASO 10
STEP 10
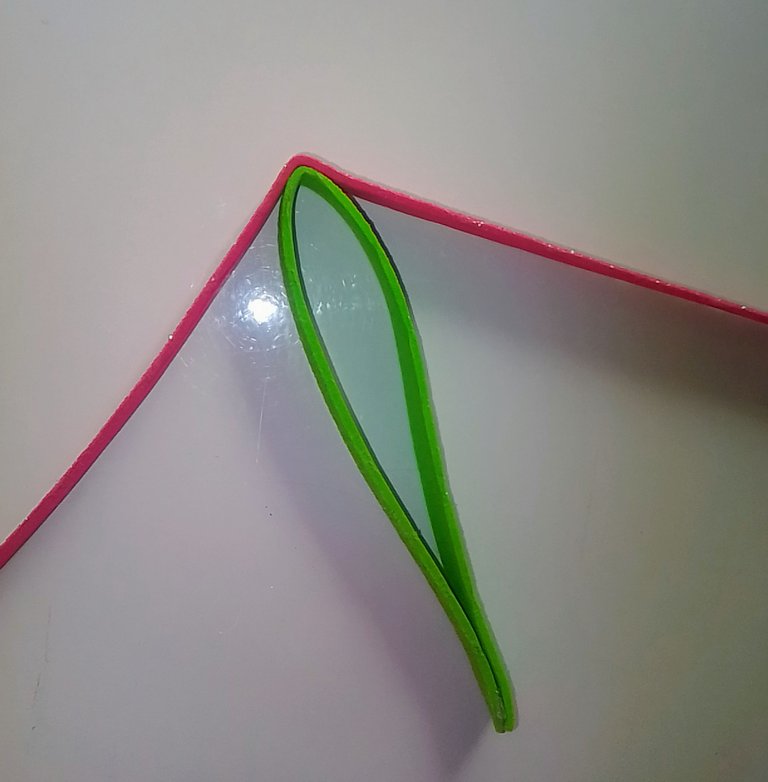
Luego le agregamos pega y la vamos a colocar encima donde indica la mitad de la tira anterior.
Then we add glue and we are going to place it on top where the middle of the previous strip indicates.
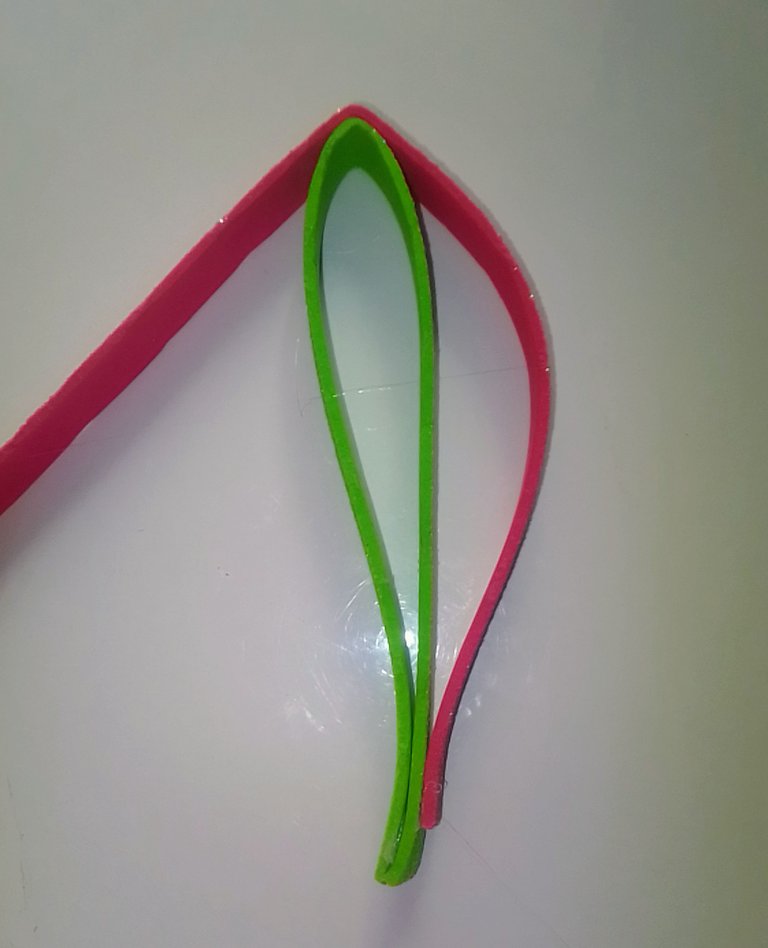
PASO 11
STEP 11
Después le agregamos pega en la punta y luego pegamos abajo pero dándole forma arqueada y es pegarla no tan abajo como muestra la imagen.
Then we add glue at the tip and then glue at the bottom but giving it an arched shape and glue it not so low as shown in the image.
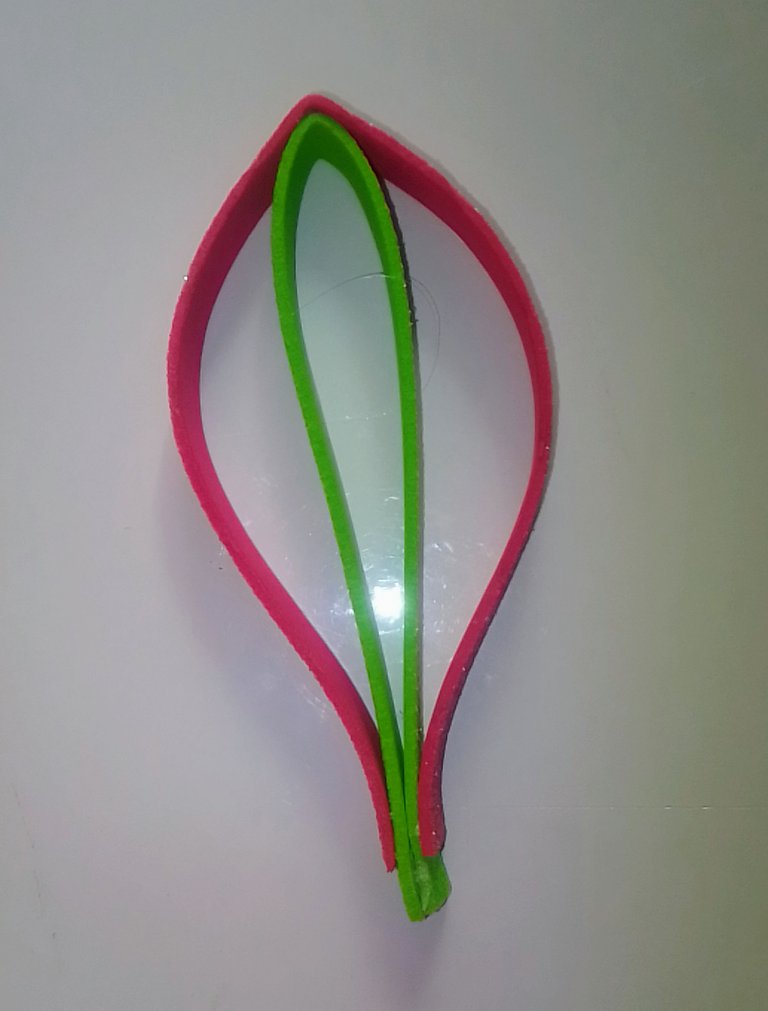
PASO 12
STEP 12
Luego repetimos del otro lado y ve como queda ve que es fácil.
Then repeat on the other side and see how easy it is.
PASO 13
STEP 13
Después tomamos la siguiente tira roja y hacemos el mismo procedimiento ve la imagen ahora cuando pegas abajo sube un poco para que te vaya quedando arqueada.
Then we take the next red strip and do the same procedure see the image now when you glue down it goes up a little so that it will be arched.
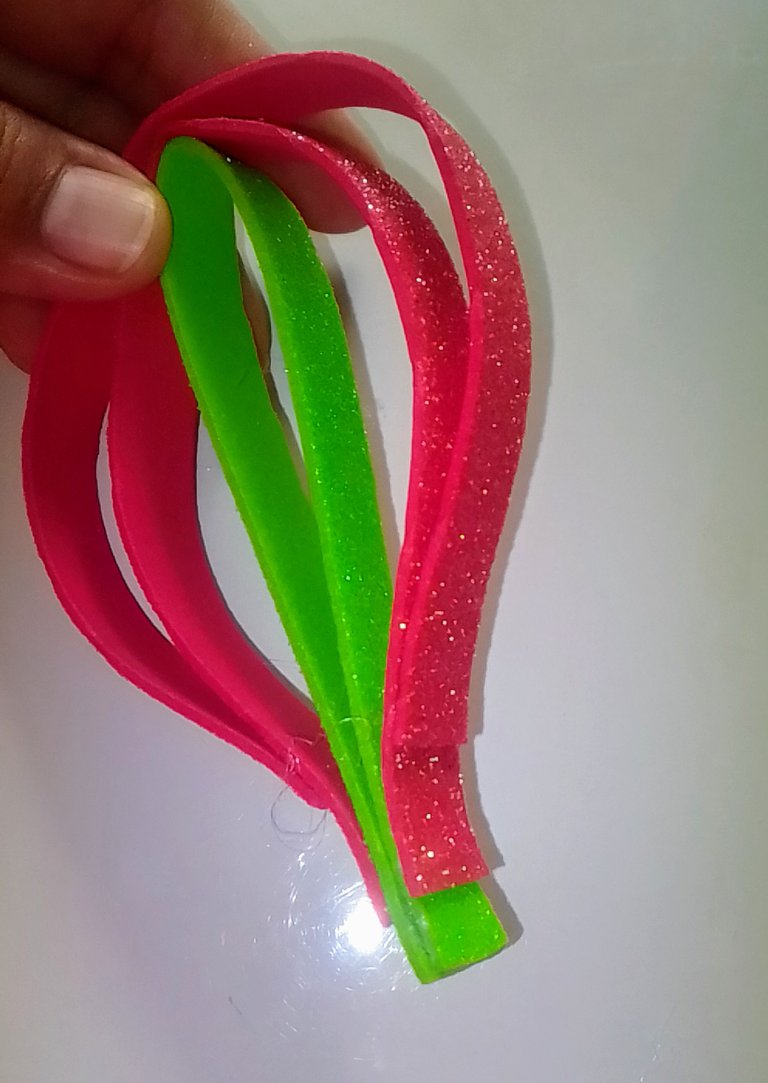
PASO 14
STEP 14
Ahora observa de lado como quedan las tiras pegadas.
Now look sideways at how the strips are glued together.
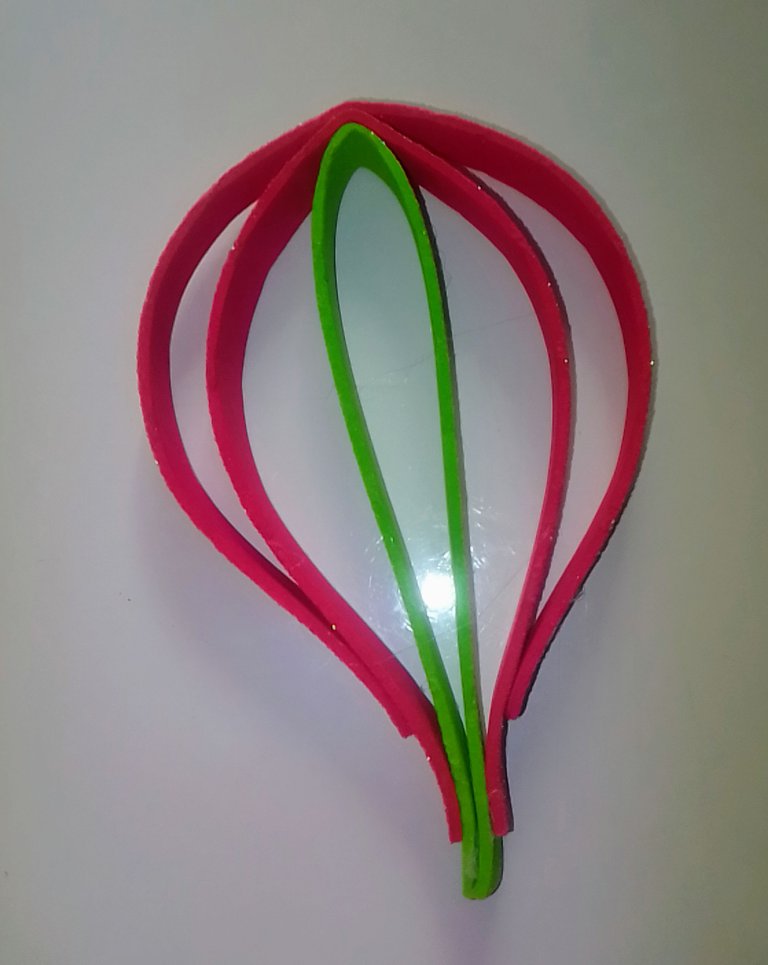
PASO 15
STEP 15
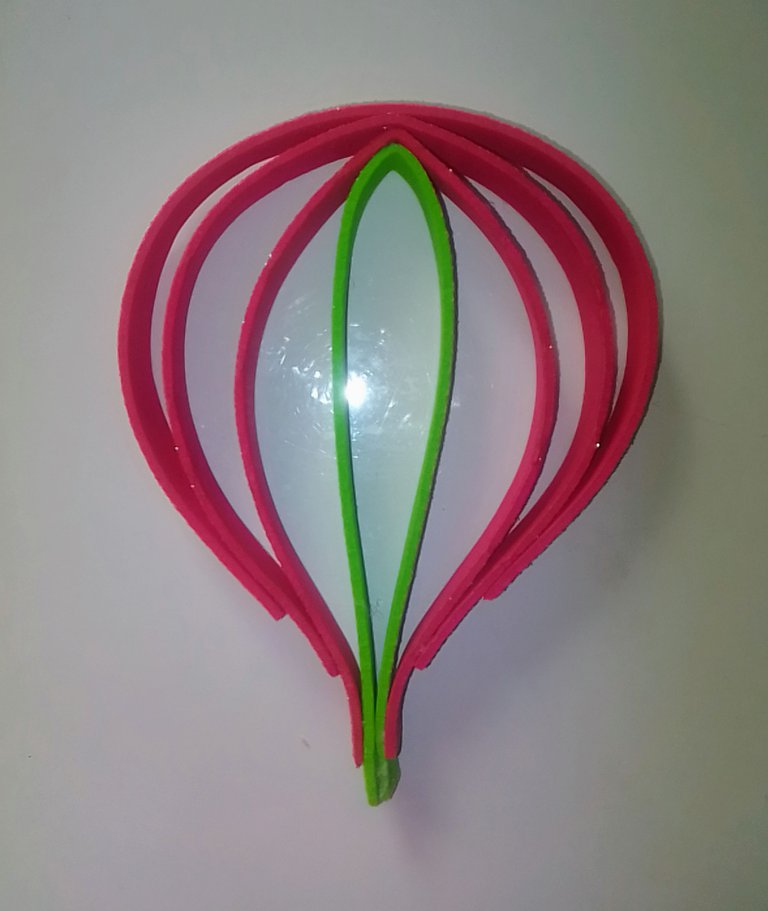
Acá ya tenemos las tres tiras rojas pegadas y ve la forma que tornó parece un globo.
Here we already have the three red strips glued together and you can see the shape that became like a balloon.
PASO 16
STEP 16
Luego recortamos una tirita menos de 1 cmts y pegamos las dos puntas.
Then we cut a strip of less than 1 cm and glue the two ends together.
PASO 17
STEP 17
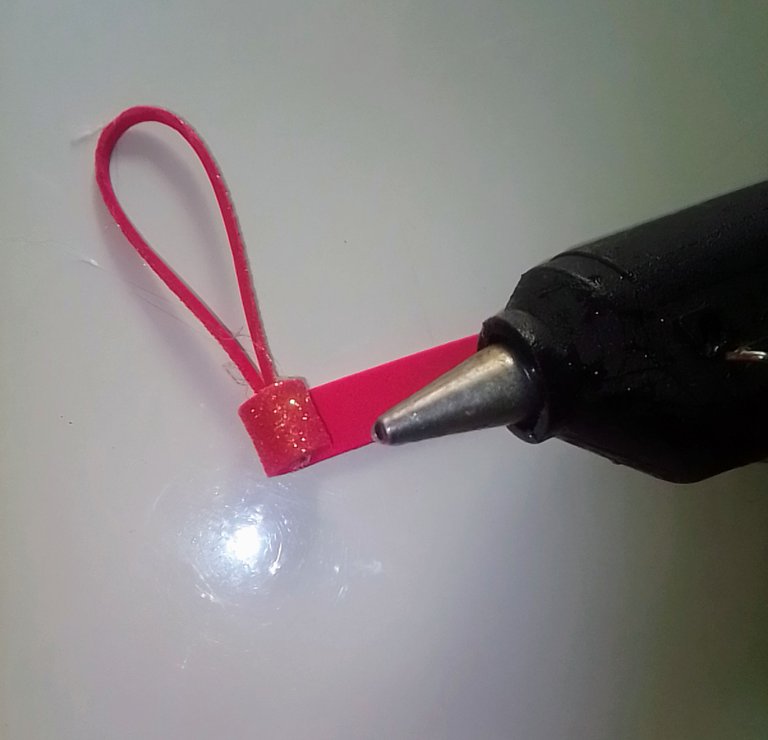
Después tomamos una tira de 1 cmts de ancho por 8 cmts de largo y la tira anterior la tomas y le agrega silicón caliente en la punta y empieza a enrrollar la tira hasta completar toda la vuelta, esta sería el colgante del adorno.
Then we take a strip of 1 cm wide by 8 cm long and take the previous strip and add hot silicone at the tip and start to roll the strip until completing the whole lap, this would be the pendant of the ornament.
PASO 18
STEP 18
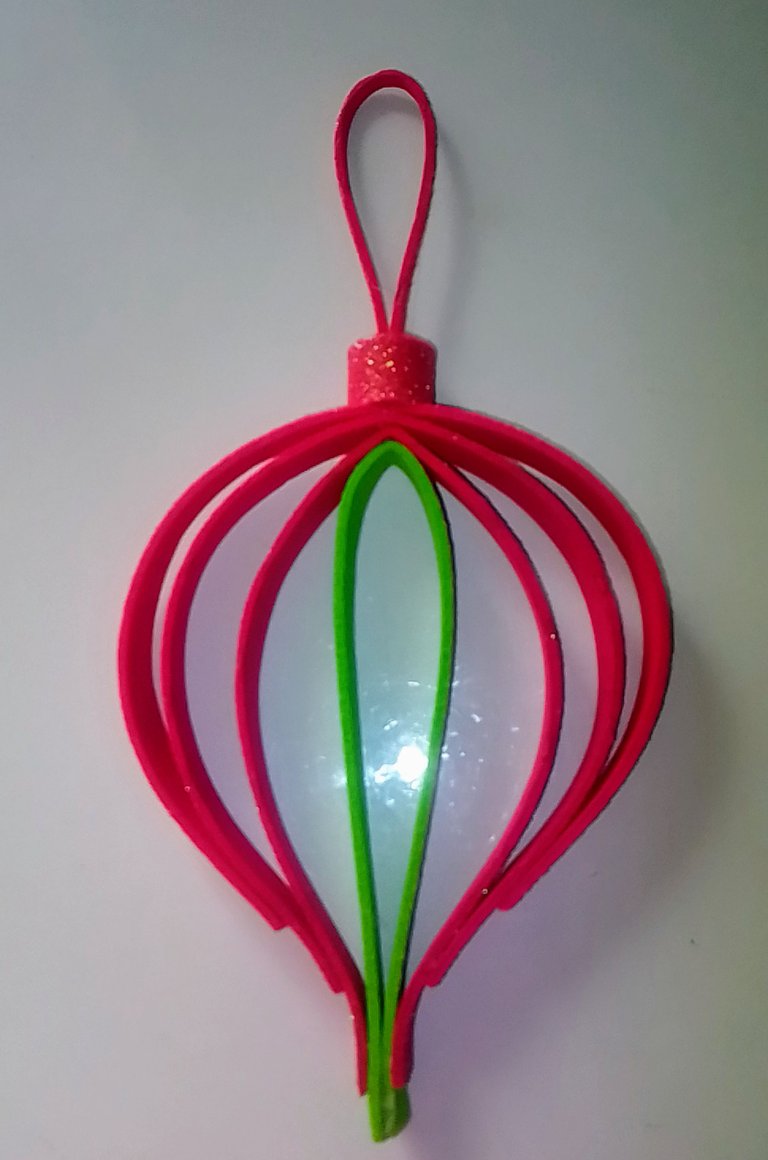
Ahora tomas el adorno y el colgante le agregas silicón caliente y se lo pegas en la parte de arriba centrado.
Now take the ornament and the pendant, add hot silicone and glue it to the centered top.
PASO 19
STEP 19
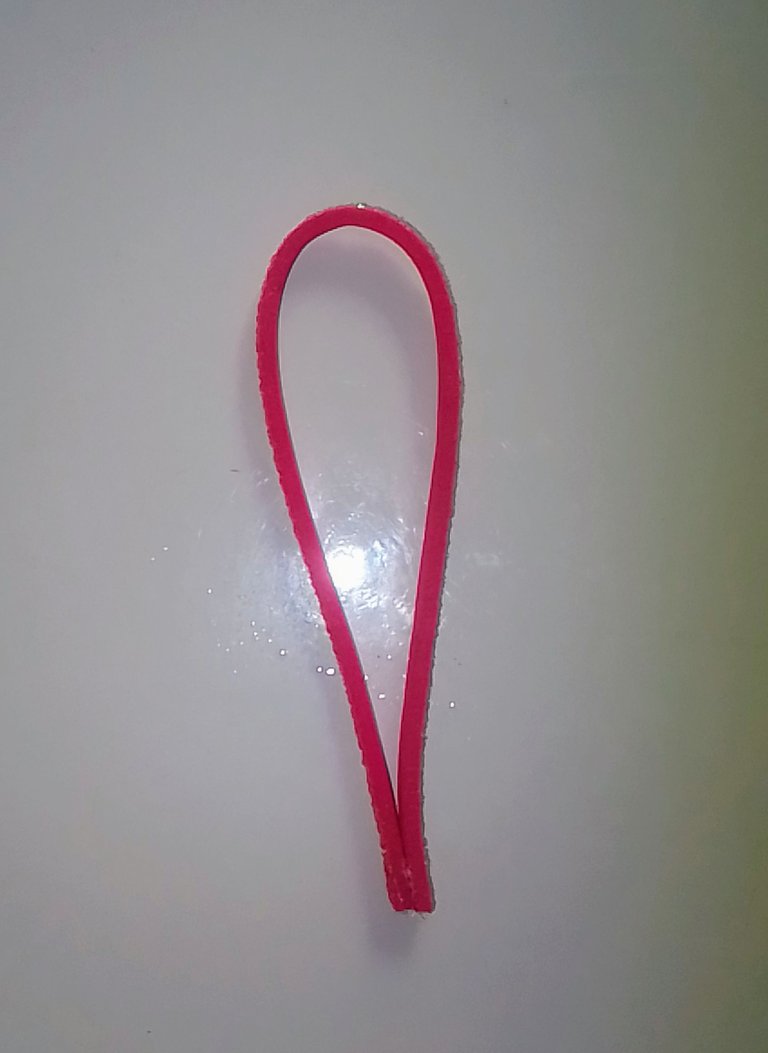
Aquí tomas estas dos piezas que es para el lazo del adorno lo doblas a la mitad y en la punta le agregas silicón caliente.
Here you take these two pieces that is for the bow of the ornament, fold it in half and add hot silicone to the tip.
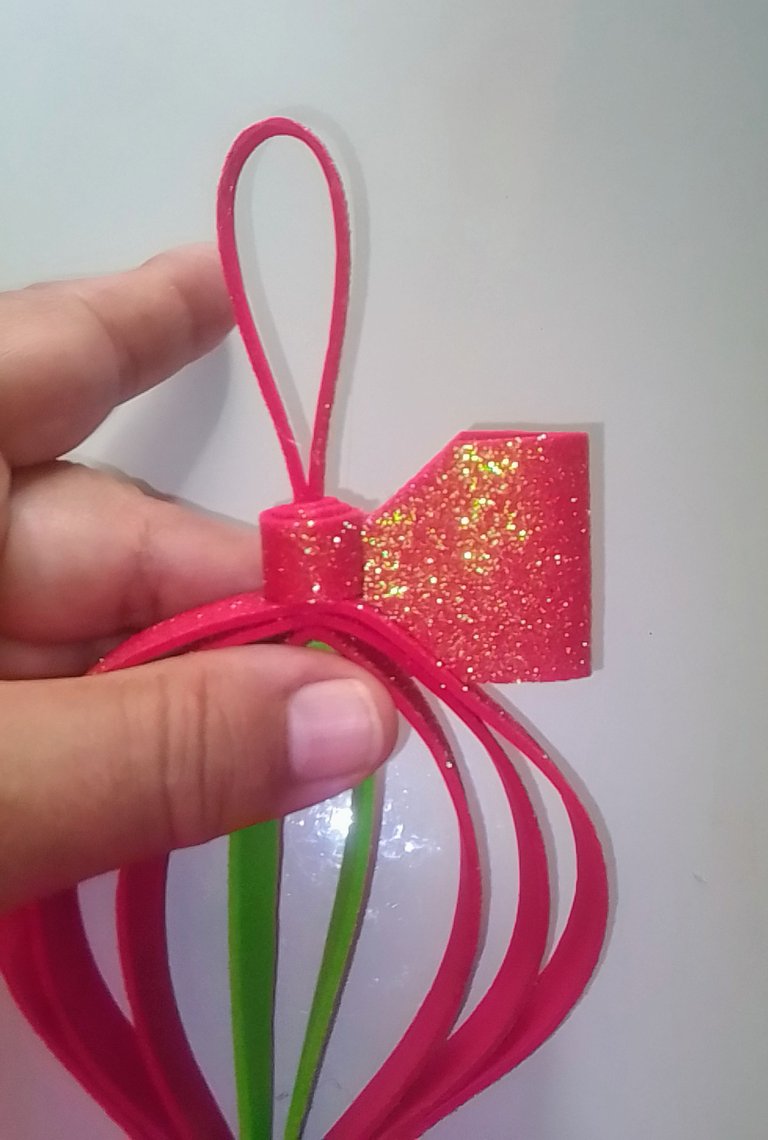
PASO 20
STEP 20
Fíjate como vas a colocar el lazo primero tomas una pieza y le agregas silicón caliente en la orilla de un extremo y en la parte de abajo y la pegas y ve como queda de igual forma repites el procesimiento del otro lado.
Notice how you are going to place the bow first take a piece and add hot silicone on the edge of one end and at the bottom and glue it and see how it looks the same way repeat the process on the other side.
PASO 21
STEP 21
Observa como quedó con su lazo puesto quedando hermoso.
See how beautiful it looks with its ribbon on.
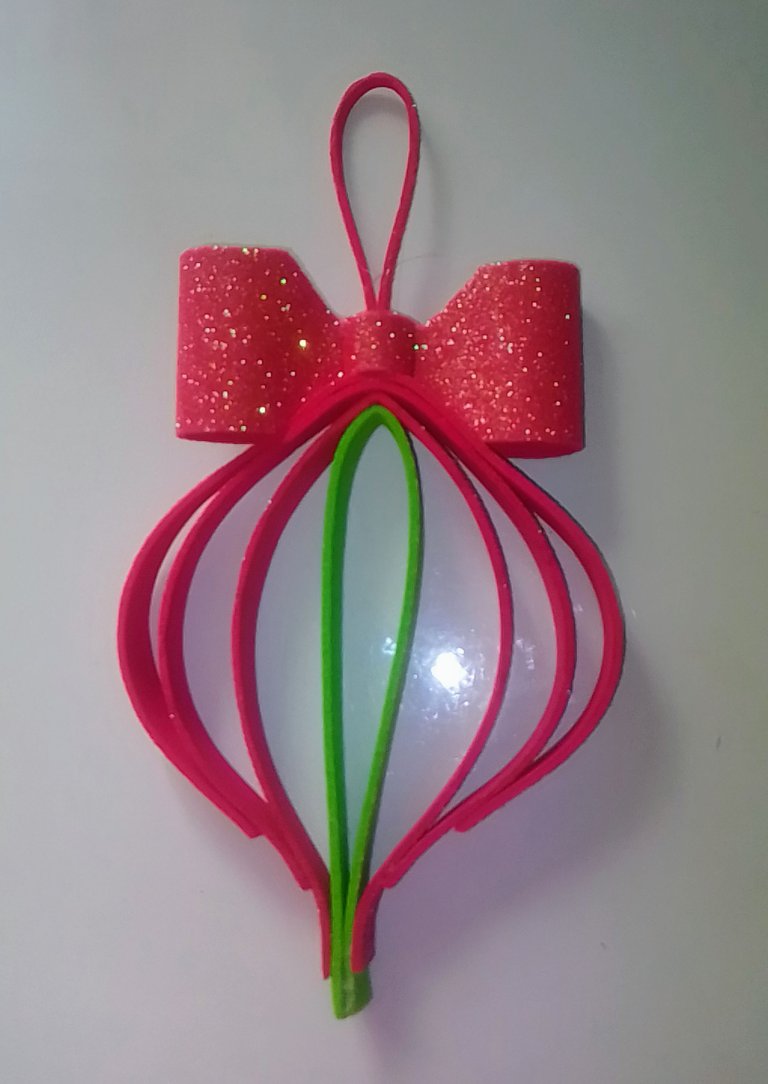
PASO 22
STEP 22
Luego se le coloca las perlas para terminar de decorarla y finalizamos con esta creación que quedó super genial lista para colgarlo del arbolito porque ya hay olor a navidad.
Then we put the pearls to finish decorating it and we finish with this creation that was super cool ready to hang it on the tree because there is already the smell of Christmas.

Gracias por visitarme espero que te haya gustado el paso a paso de este hermoso adorno para el Arbol de Navidad o para hacer cualquier decoración en casa estilo navideño.
Thank you for visiting me I hope you liked the step by step of this beautiful Christmas tree ornament or to make any Christmas style home decoration.
Todas las imagenes son tomadas con mi celular LOGICL55B. la primera imagen es editada en INSHOT.
Traducido CON DEEPL TRANSLATE.
All images are taken with my LOGICL55B cell phone. The first image is edited in INSHOT.
Translated with DEEPL TRANSLATE.
HASTA MUY PRONTO BENDICIONES.
SEE YOU VERY SOON BLESSINGS.

Tibisay saludos gratos. Agradezco tu excelente comentario. Una pregunta ¿Imagino que tú haces curación? Es importante en Hive tanto comentar como apoyar con nuestro voto a los demás. Agradecido.
Hola @leninbracho50 feliz noche, no hago curación ya he intentado apoyar a mis compañeros pero no me sale voto, lo que hago es comentar y le doy a su post para que sea más visto, es lo que más quisiera apoyar, cuéntame porque no sale mi voto.
Lo que acabas de comentar es la primera vez que lo escucho. De todas forma voy a preguntar y te comento. ¿Haz probado votar con otros dispositivos?
No he probado doy en la parte del círculo verde y no da nada ya tengo dos meses en la plataforma ok pregunta y me cuentas xfa no sé mucho
Oye me puse a probar mi hijo me estaba explicando y me dio mi voto es de 1