Greetings to all the friends of HIVE, it is a pleasure for me to be on this platform where I can publish my creations made with my little hands and this time I made it with waste material and thus contribute to keeping the environment clean.
Una vecina estaba botando cosas que tenía en su casa y yo iba pasando y le dije que iba a tomar unos envases que me sirven para hacer cosas maravillosas y son muy útiles ya le enseñaré lo que voy hacer con estos envases, pues mi mente enseguida empezó a volar y dije haré una cartuchera en forma de lápiz y pues acá le daré el paso a paso, y esta cartuchera se la regalé a el sobrinito de mi esposo que cumplió 5 añitos y va este año al colegio bueno le cayó como decimos como anillo al dedo jajaja.
A neighbor was throwing away things she had in her house and I was passing by and I told her that I was going to take some containers that I can use to make wonderful things and are very useful. I'll show her what I'm going to do with these containers, because my mind immediately started to fly and I said I will make a pencil case in the shape of a pencil and here I will give you the step by step, and I gave this pencil case to my husband's little nephew who turned 5 years old and is going to school this year, well it fell like we say like a ring to the finger hahaha.
MATERIALES
MATERIALS
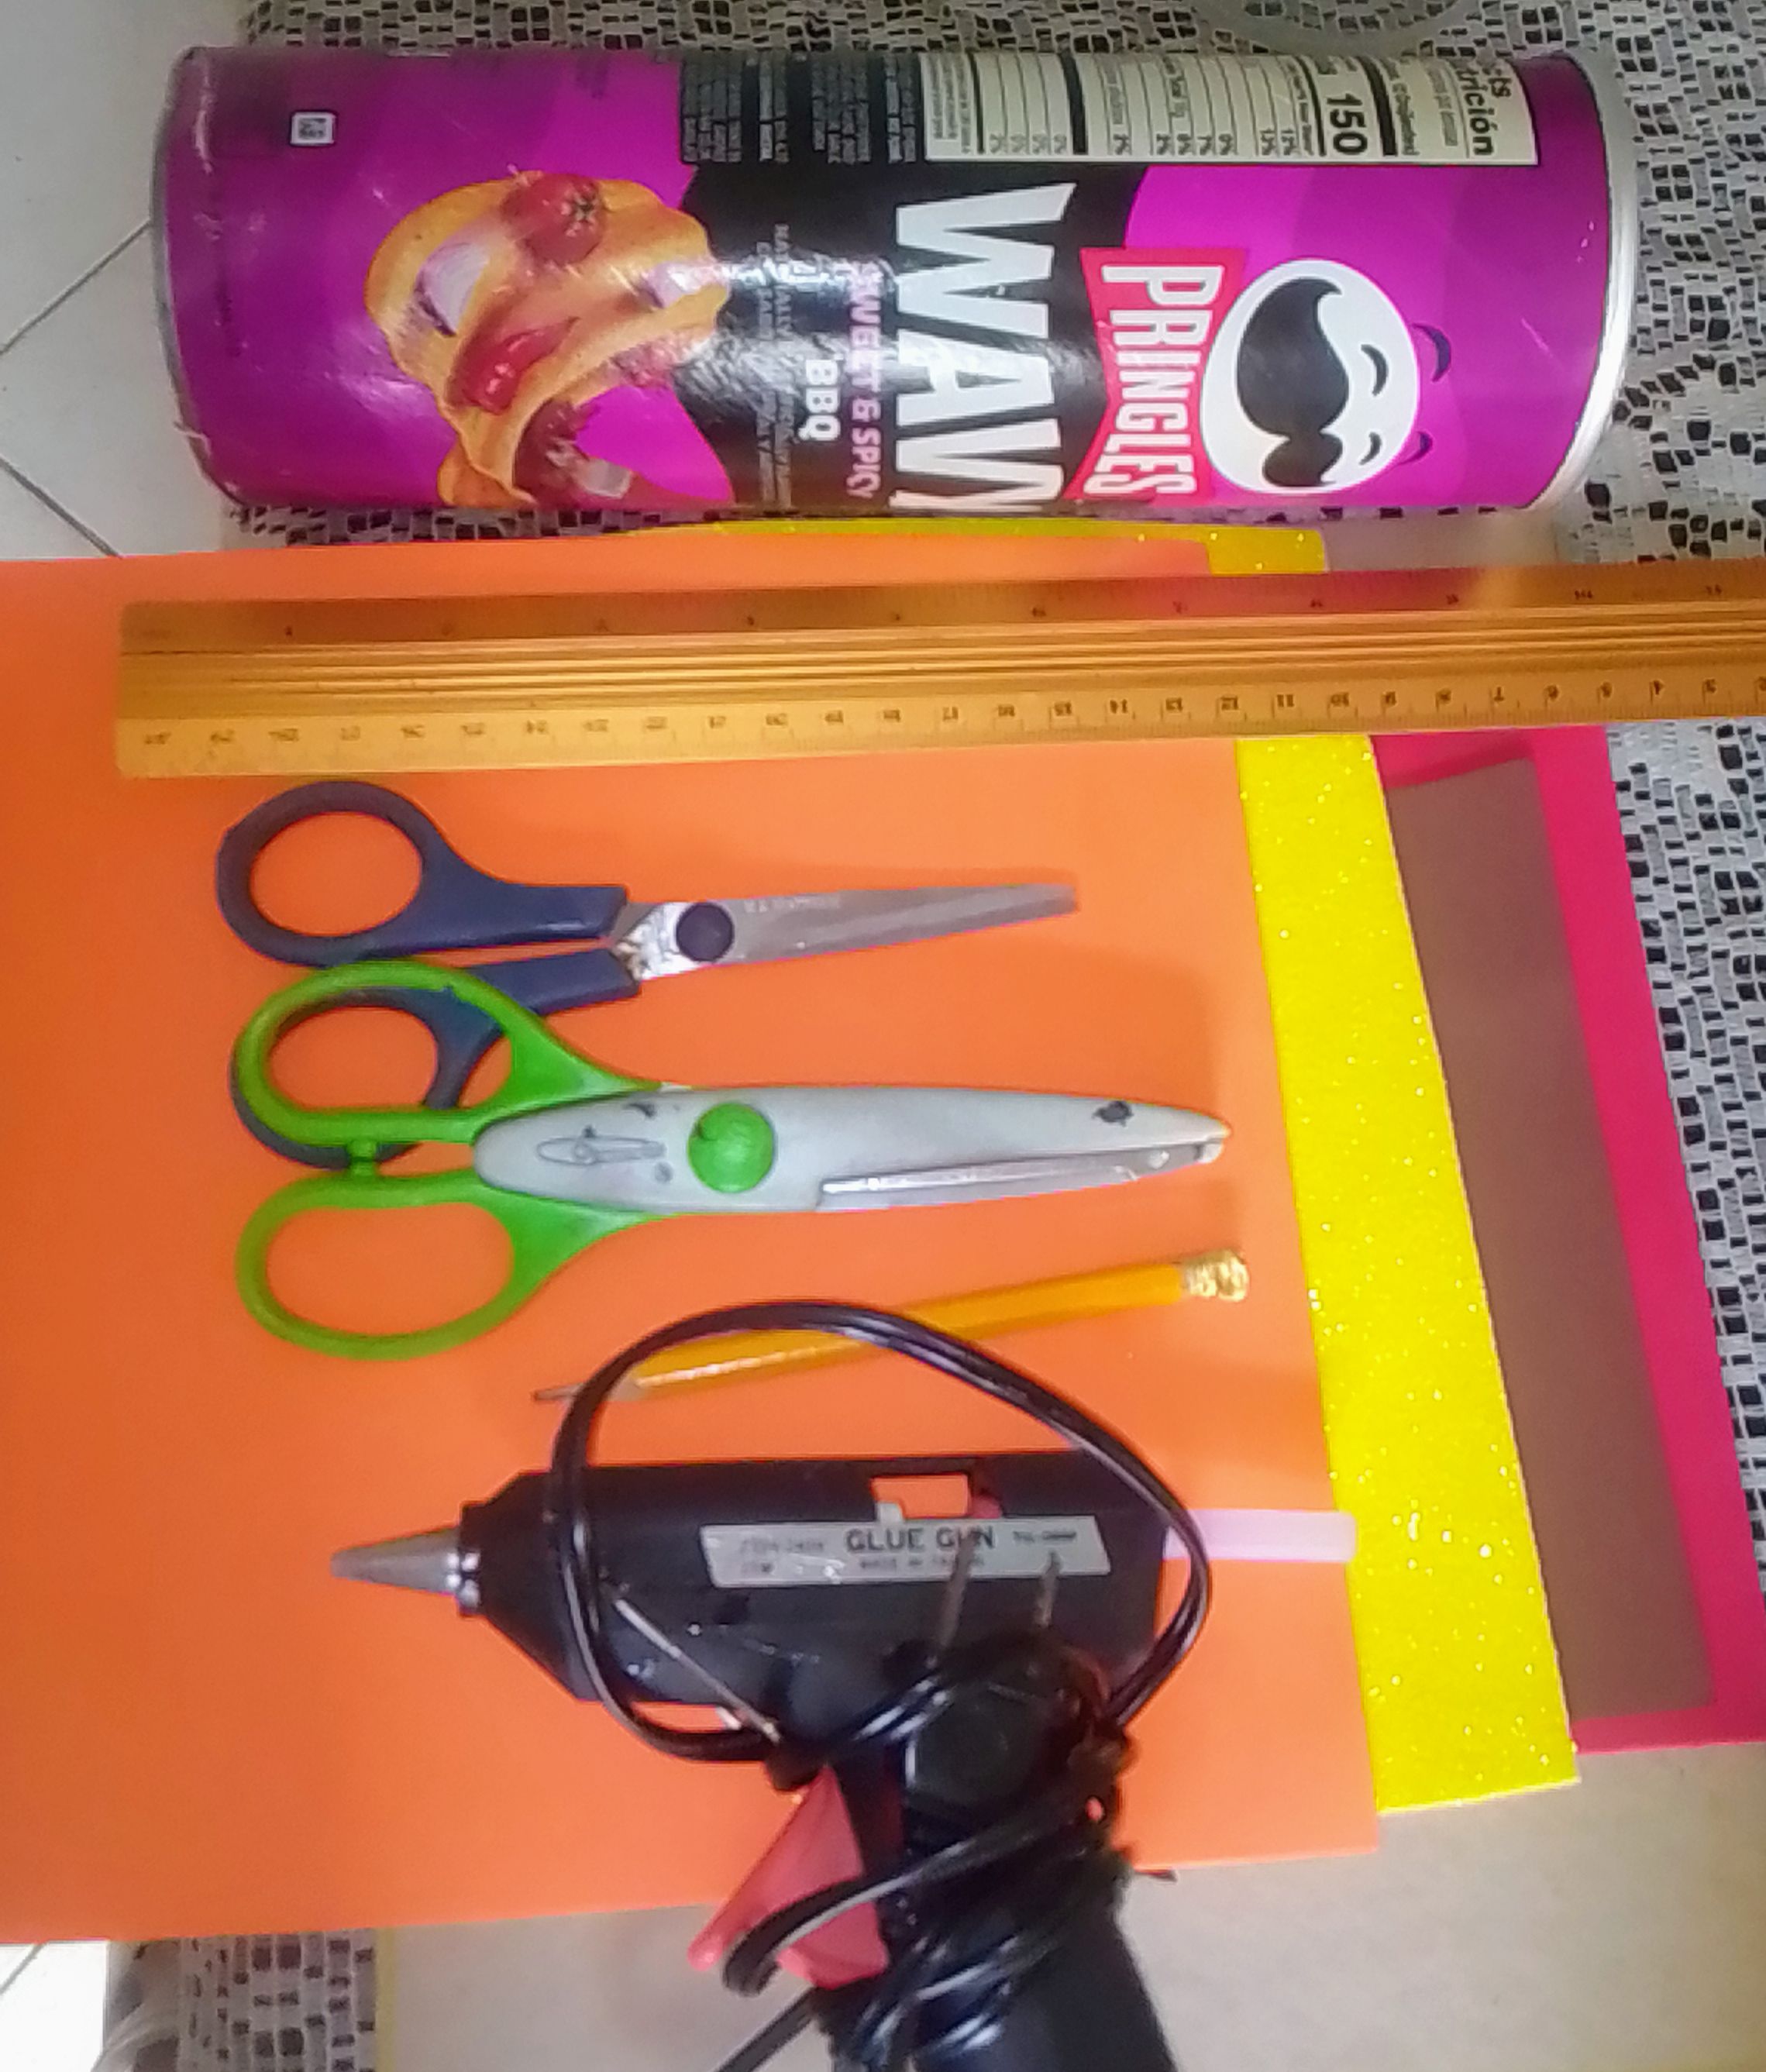
- Un envase vacío de Pringles
- Regla
- Tijeras
- Lápiz
- Pistola de silicón con barra
- Foami diferentes colores
- Cartón
- Pintura al frío y pincel.
- An empty Pringles container
- Ruler
- Scissors
- Pencil
- Silicone gun with bar
- Foami different colors
- Cardboard
- Cold paint and brush.
ELABORACION
ELABORATION
PASO 1
STEP 1
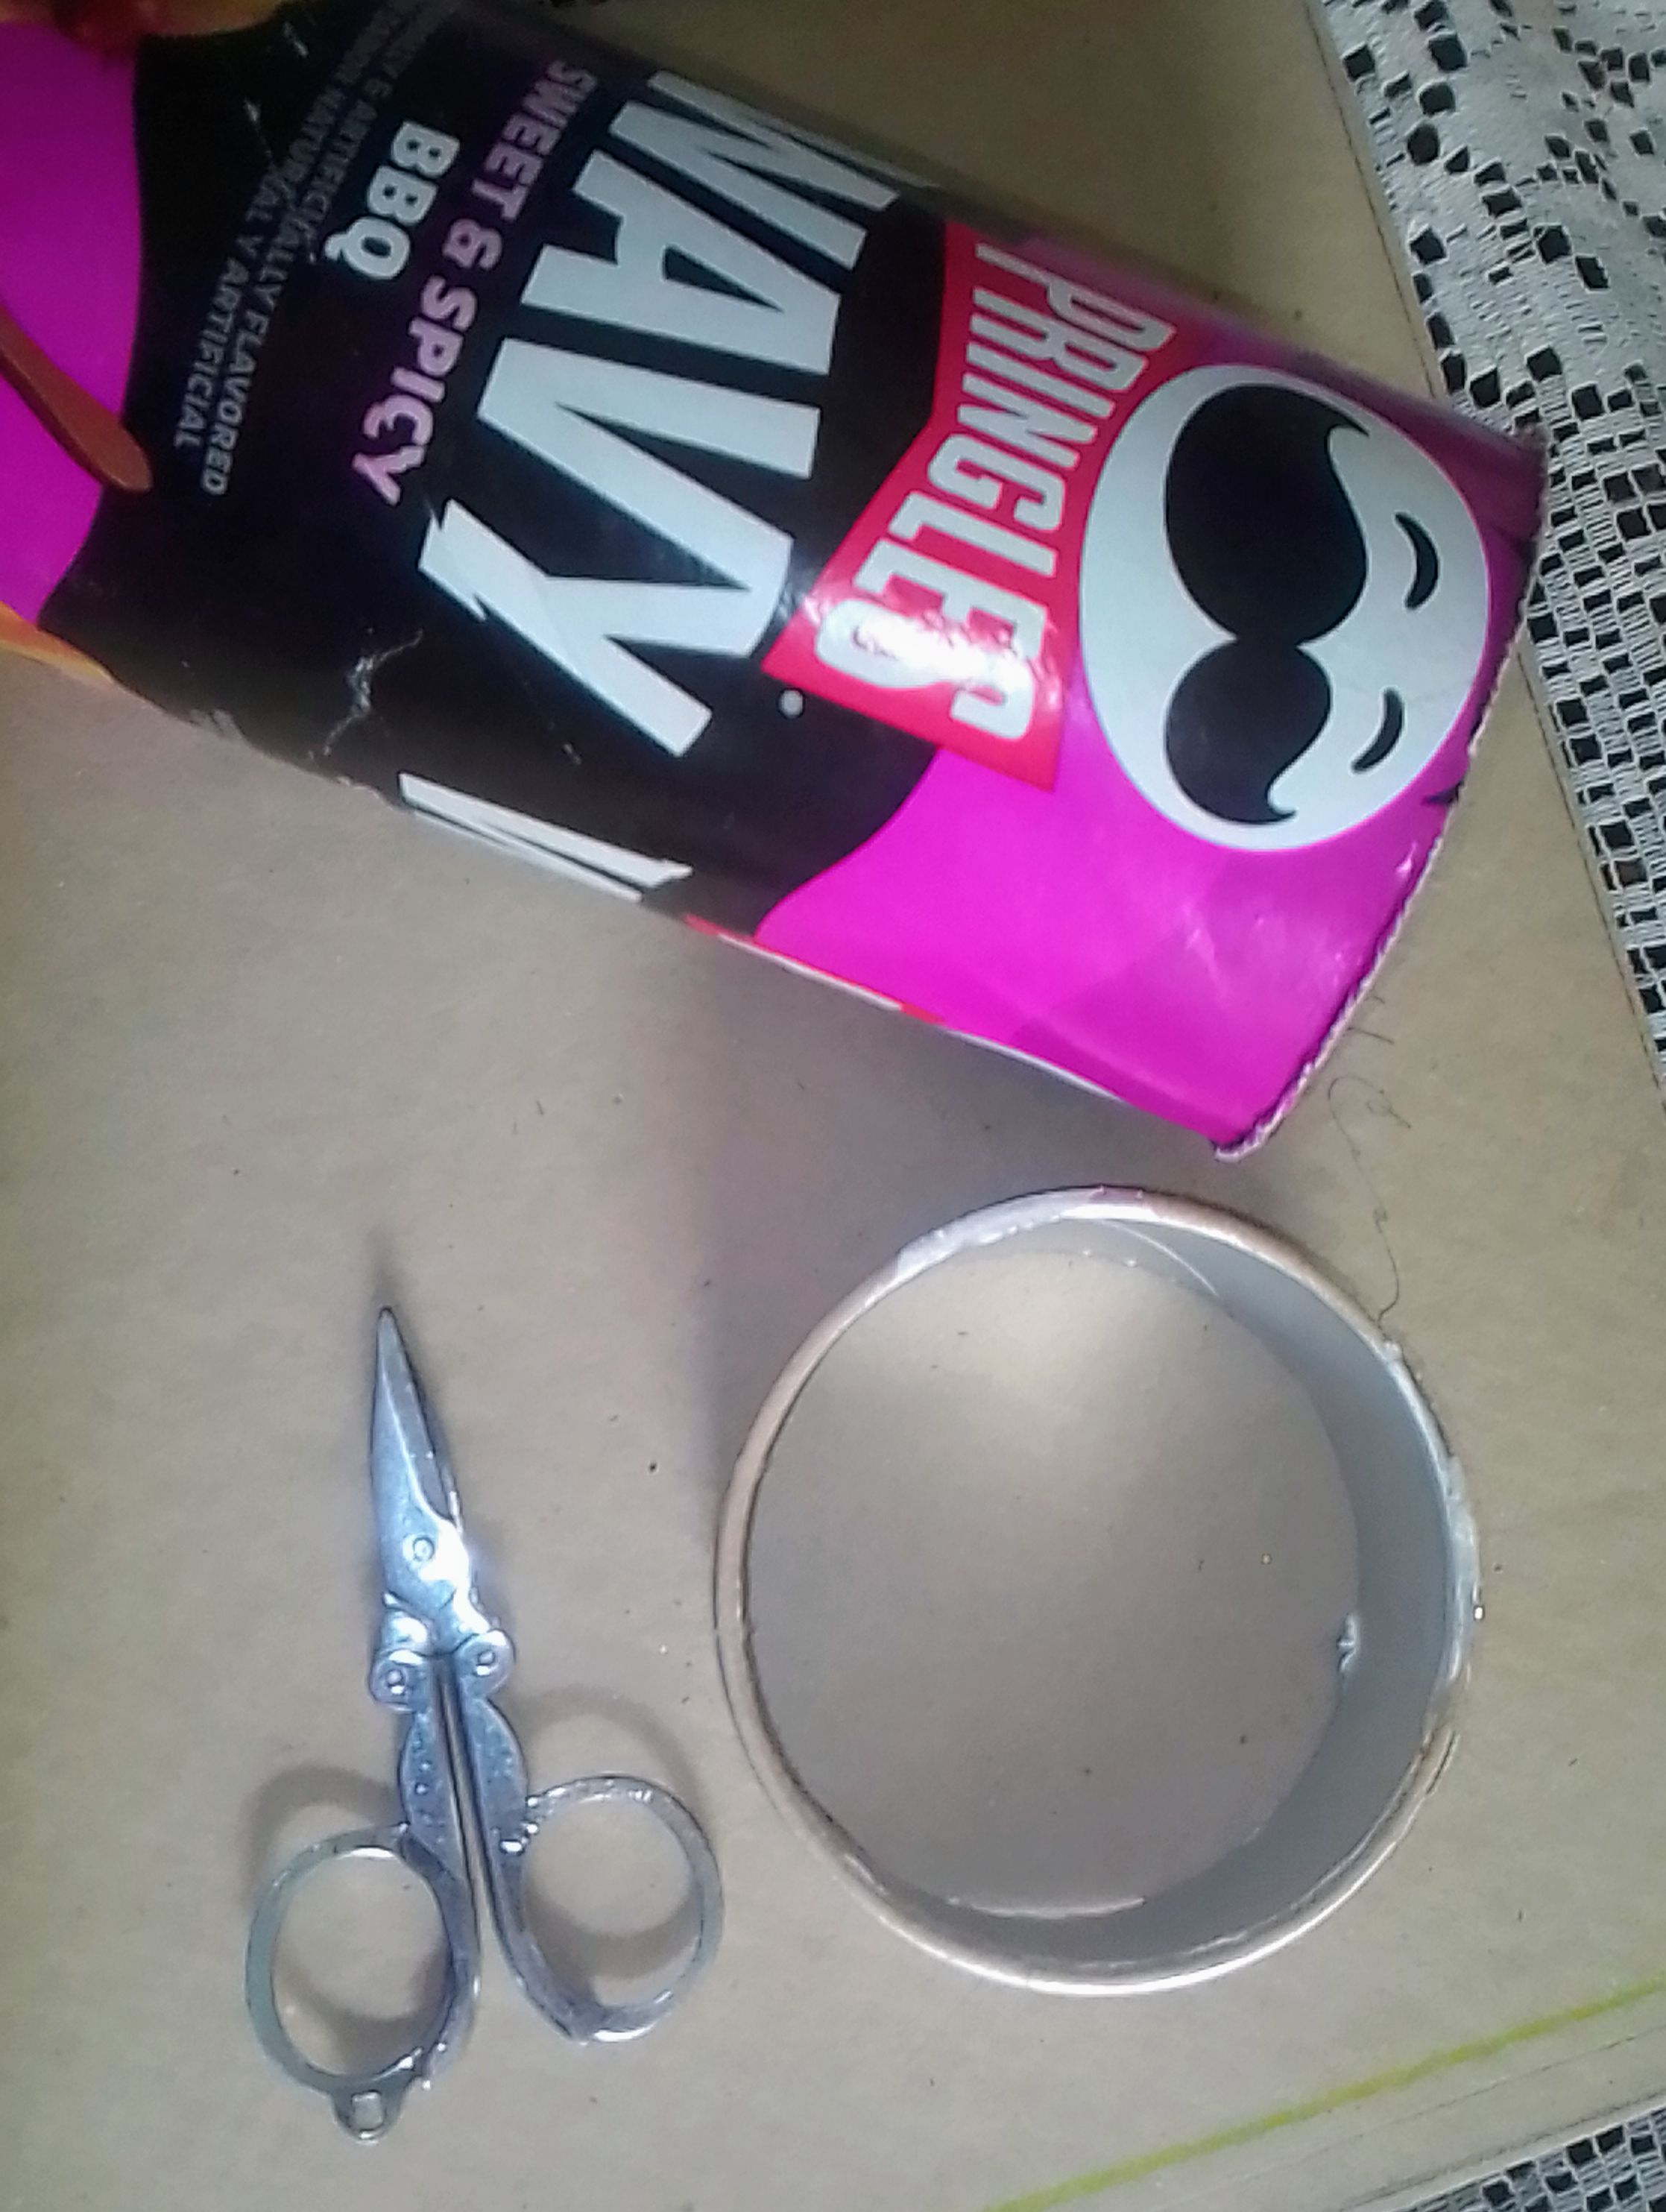
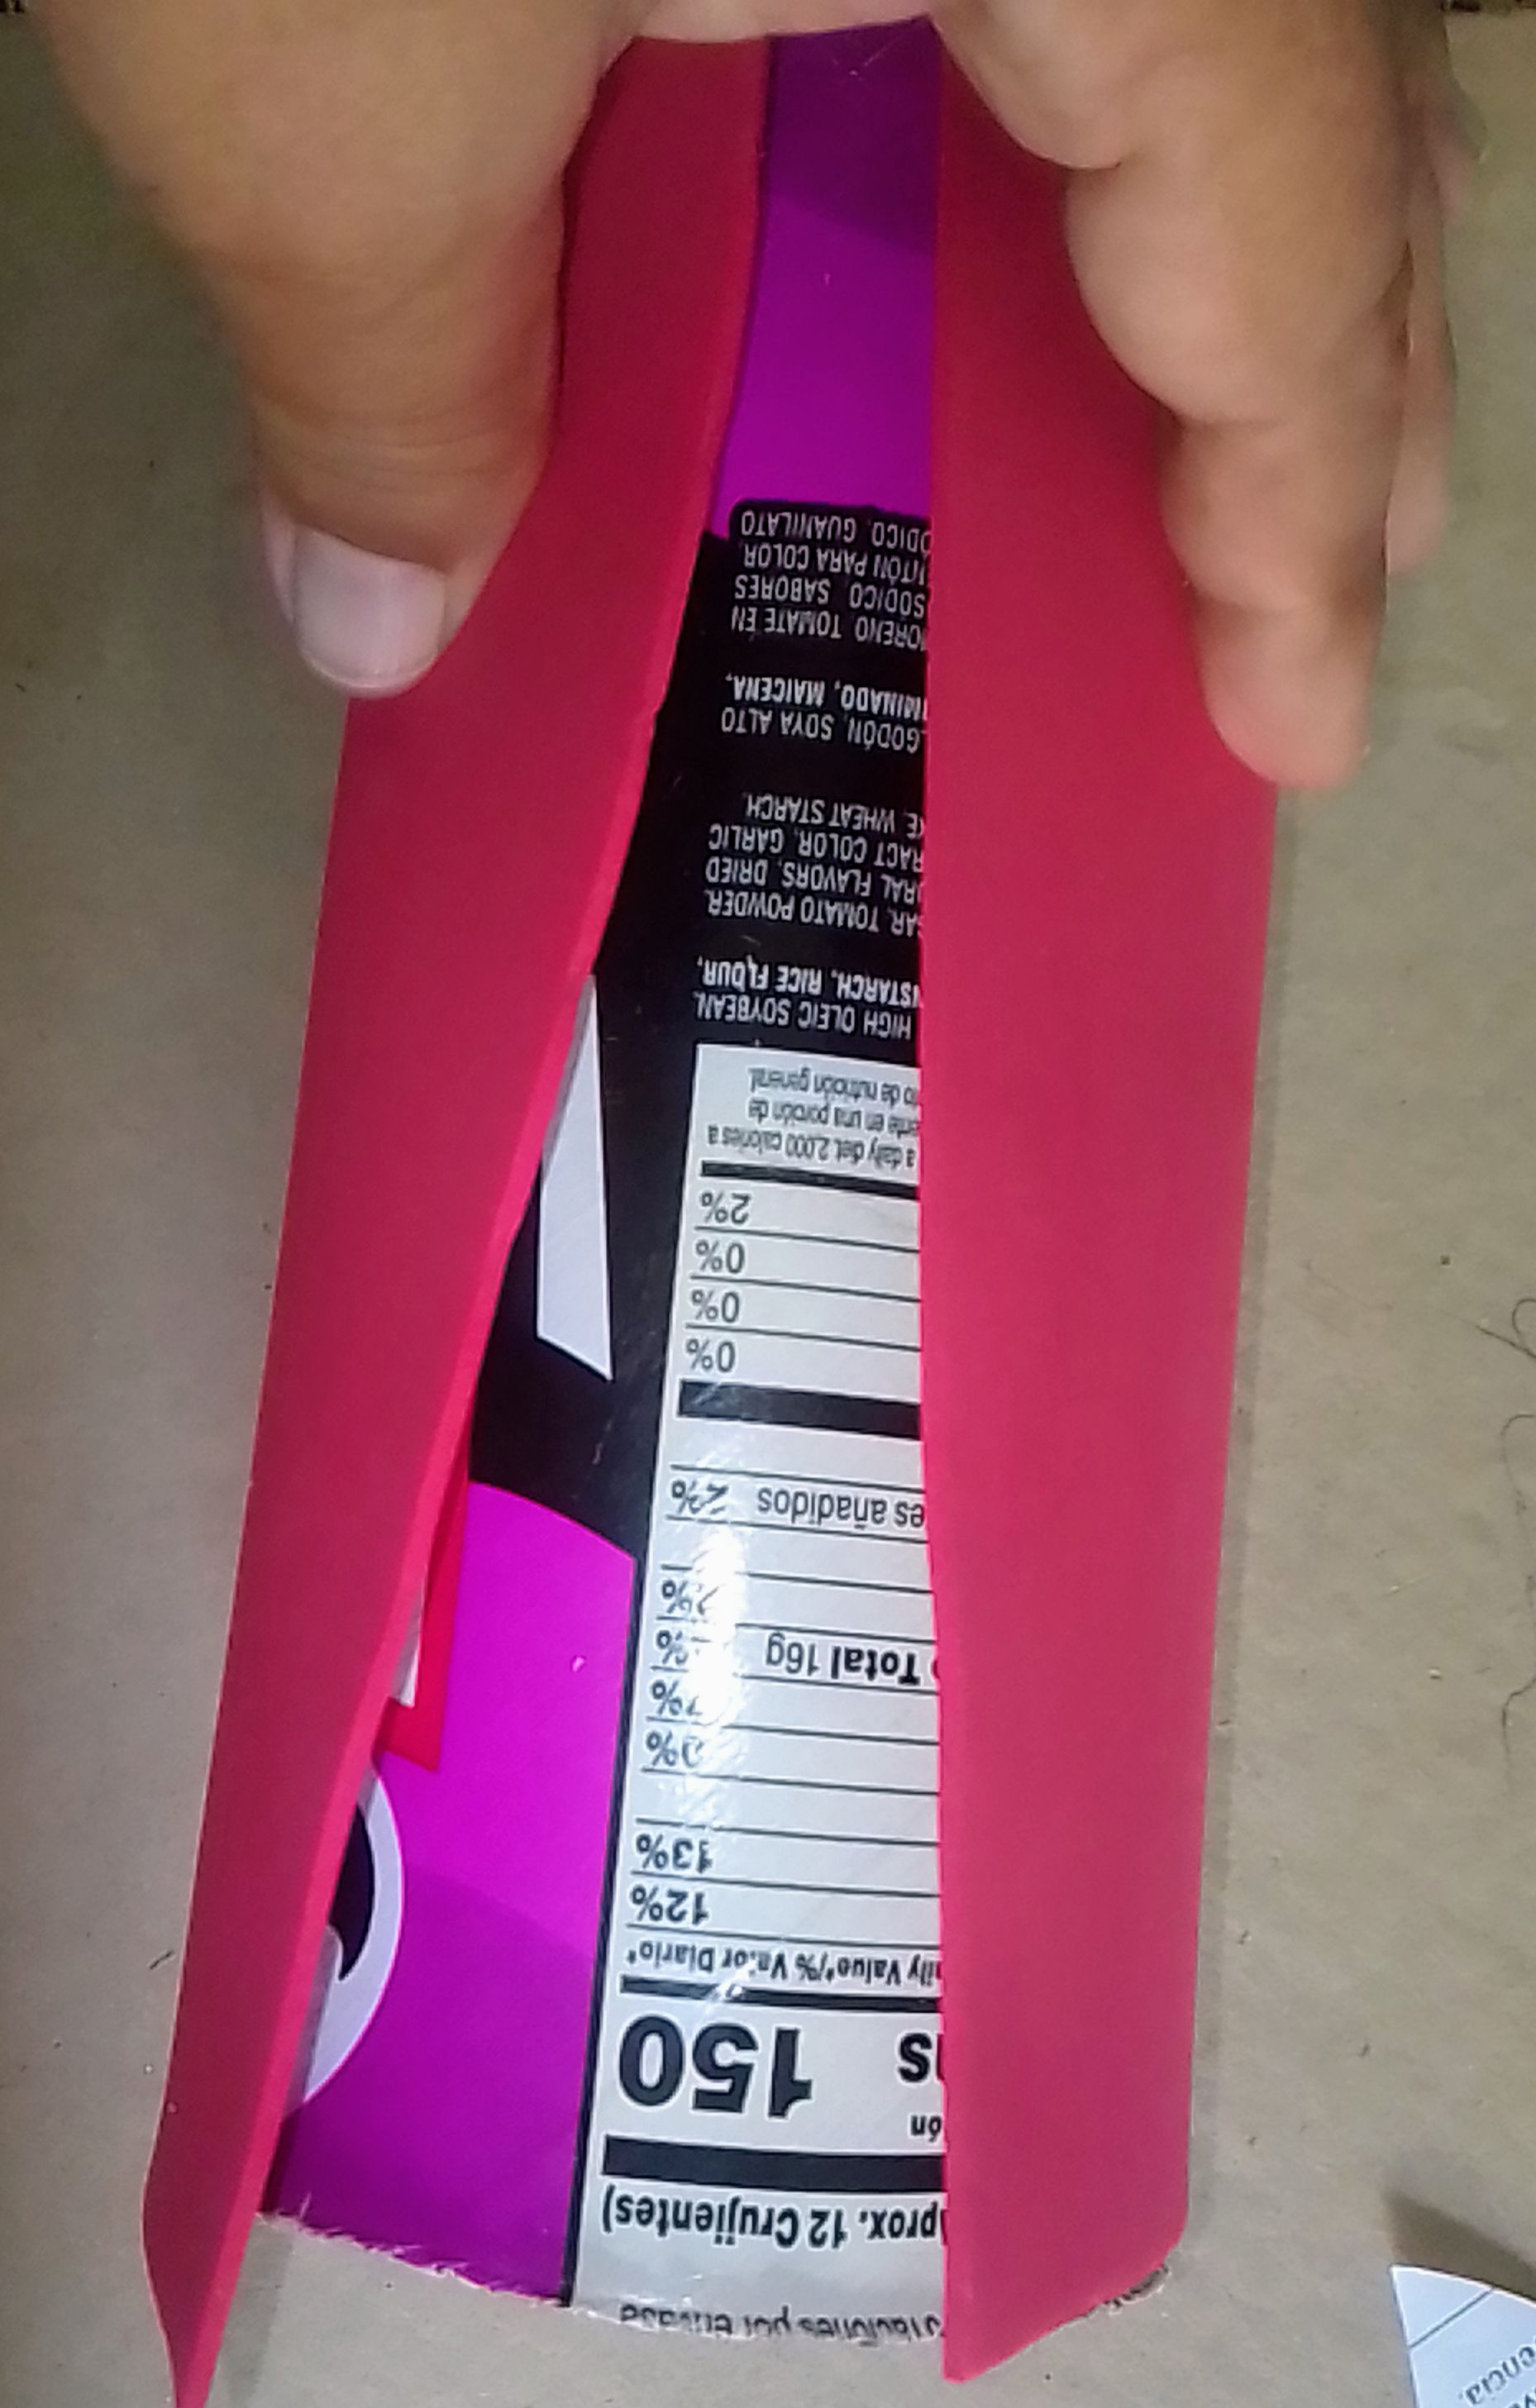
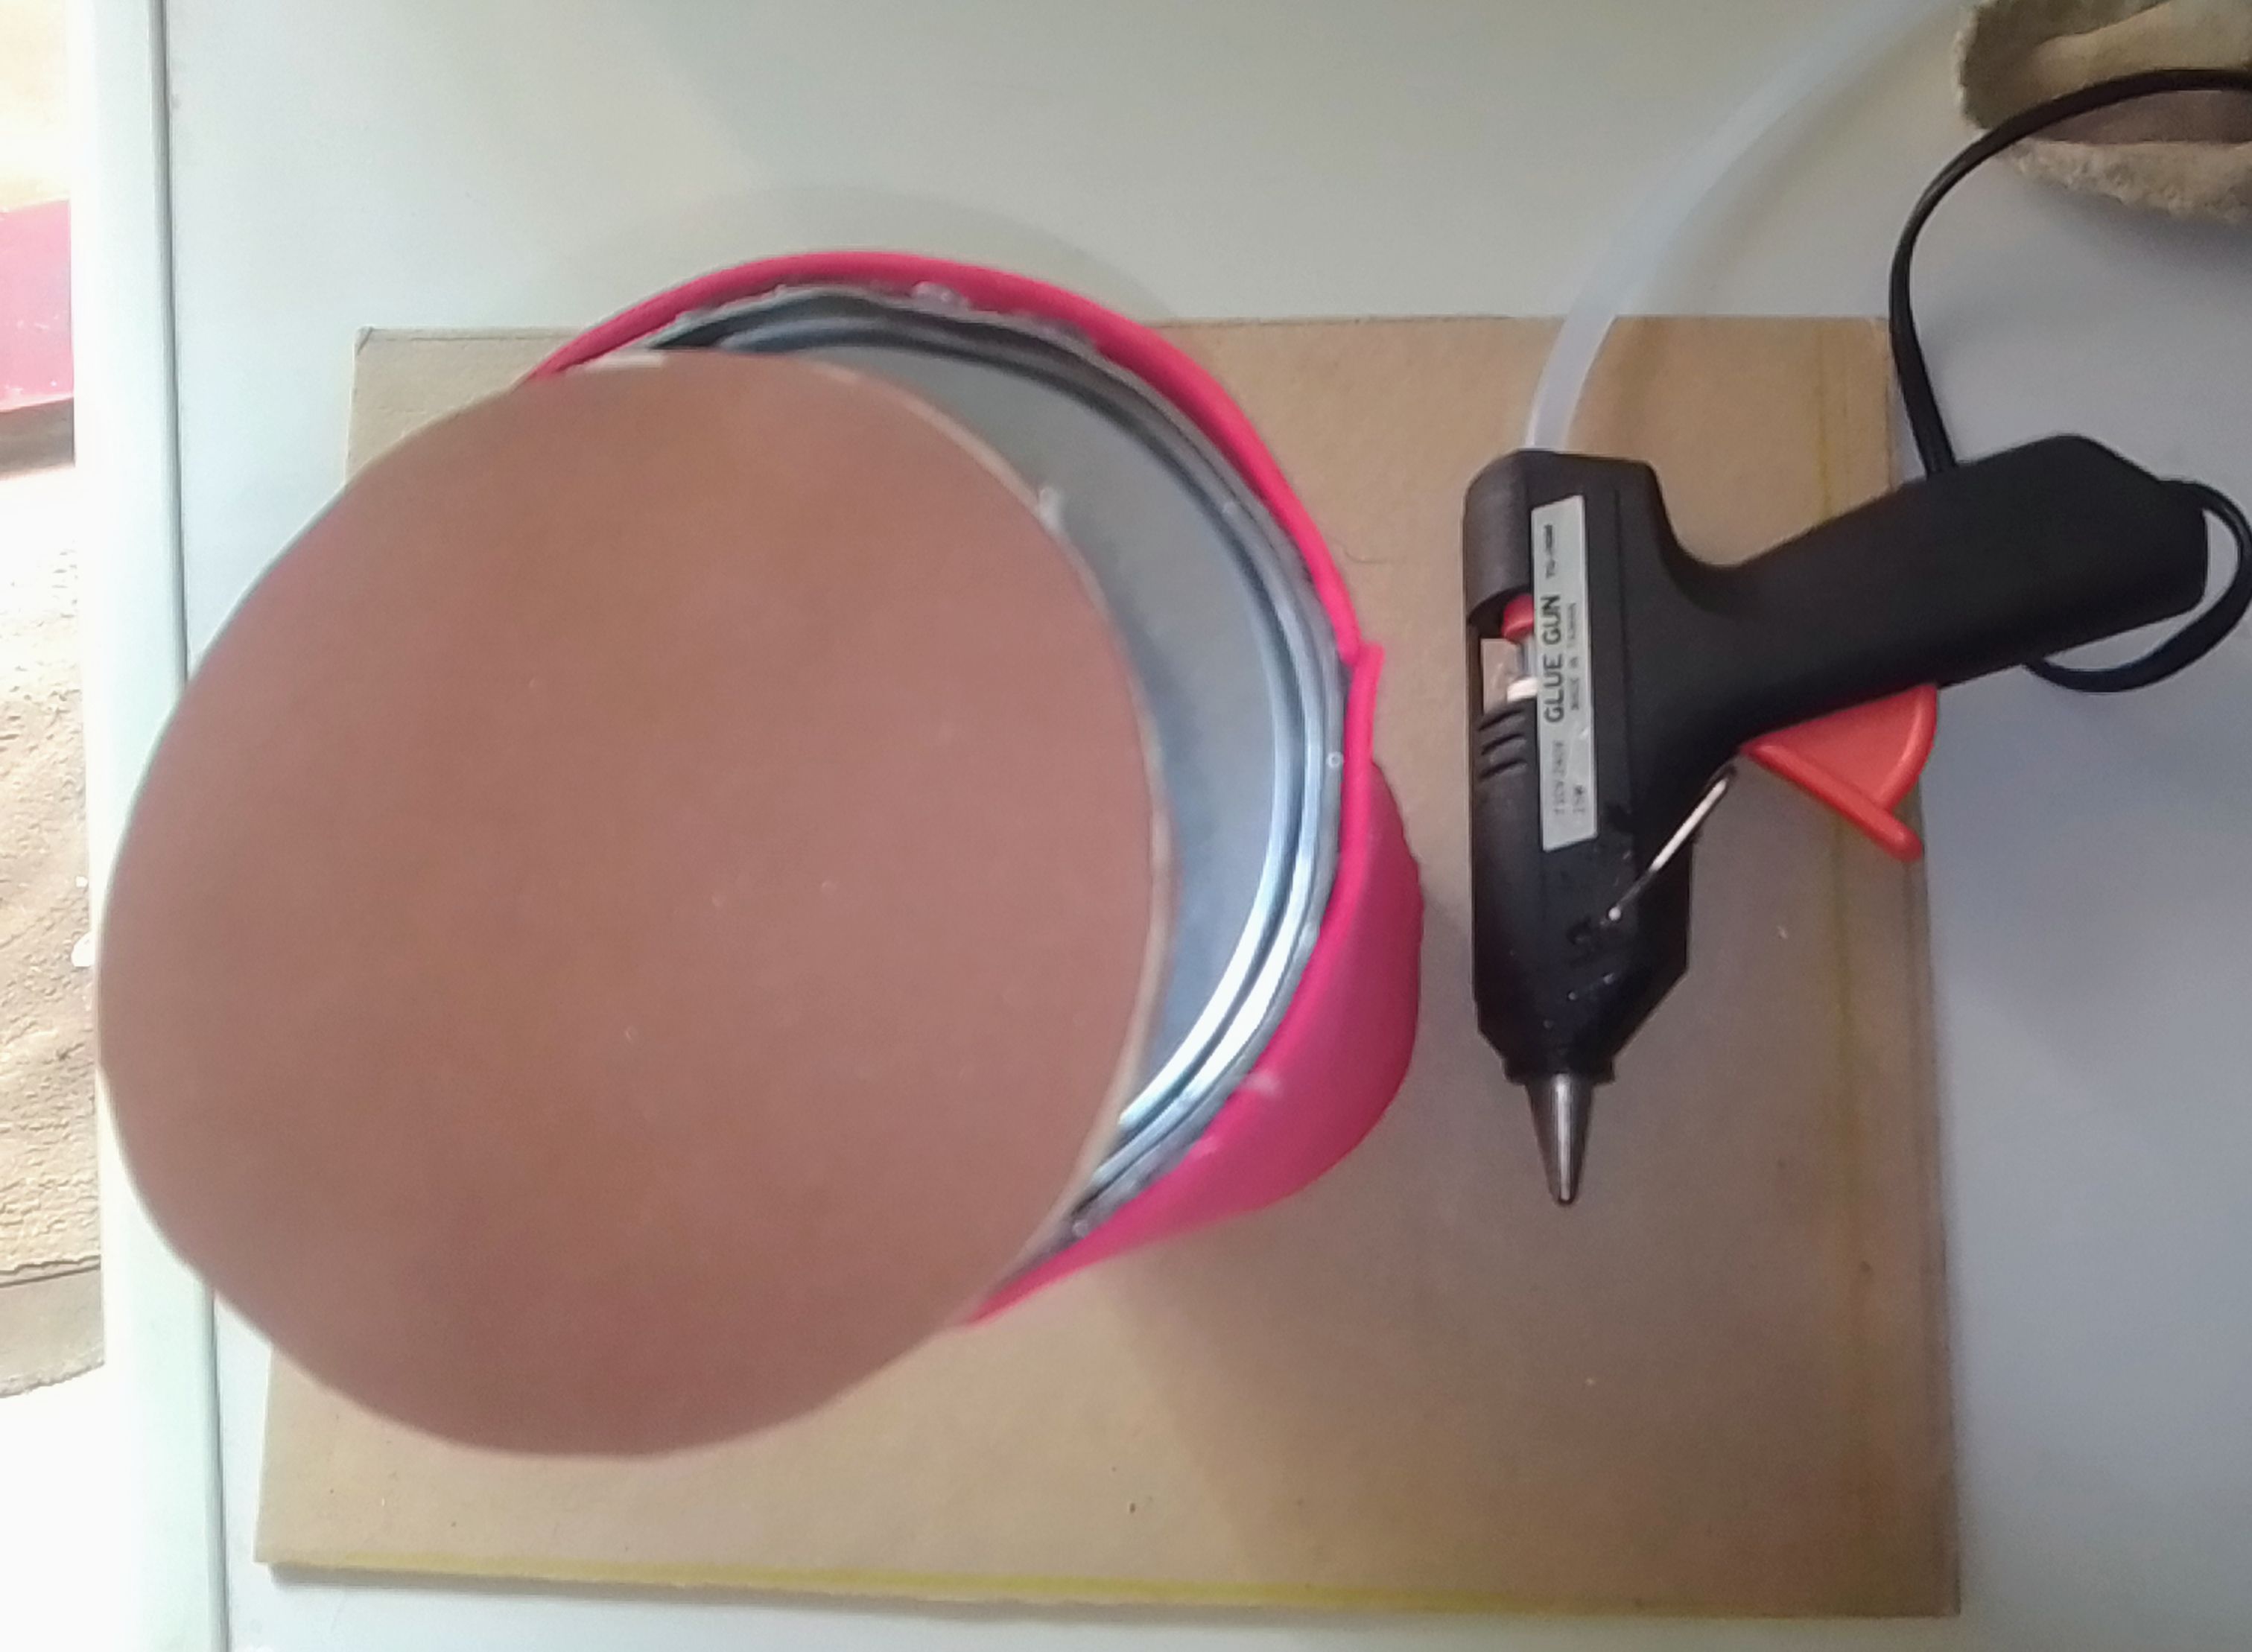
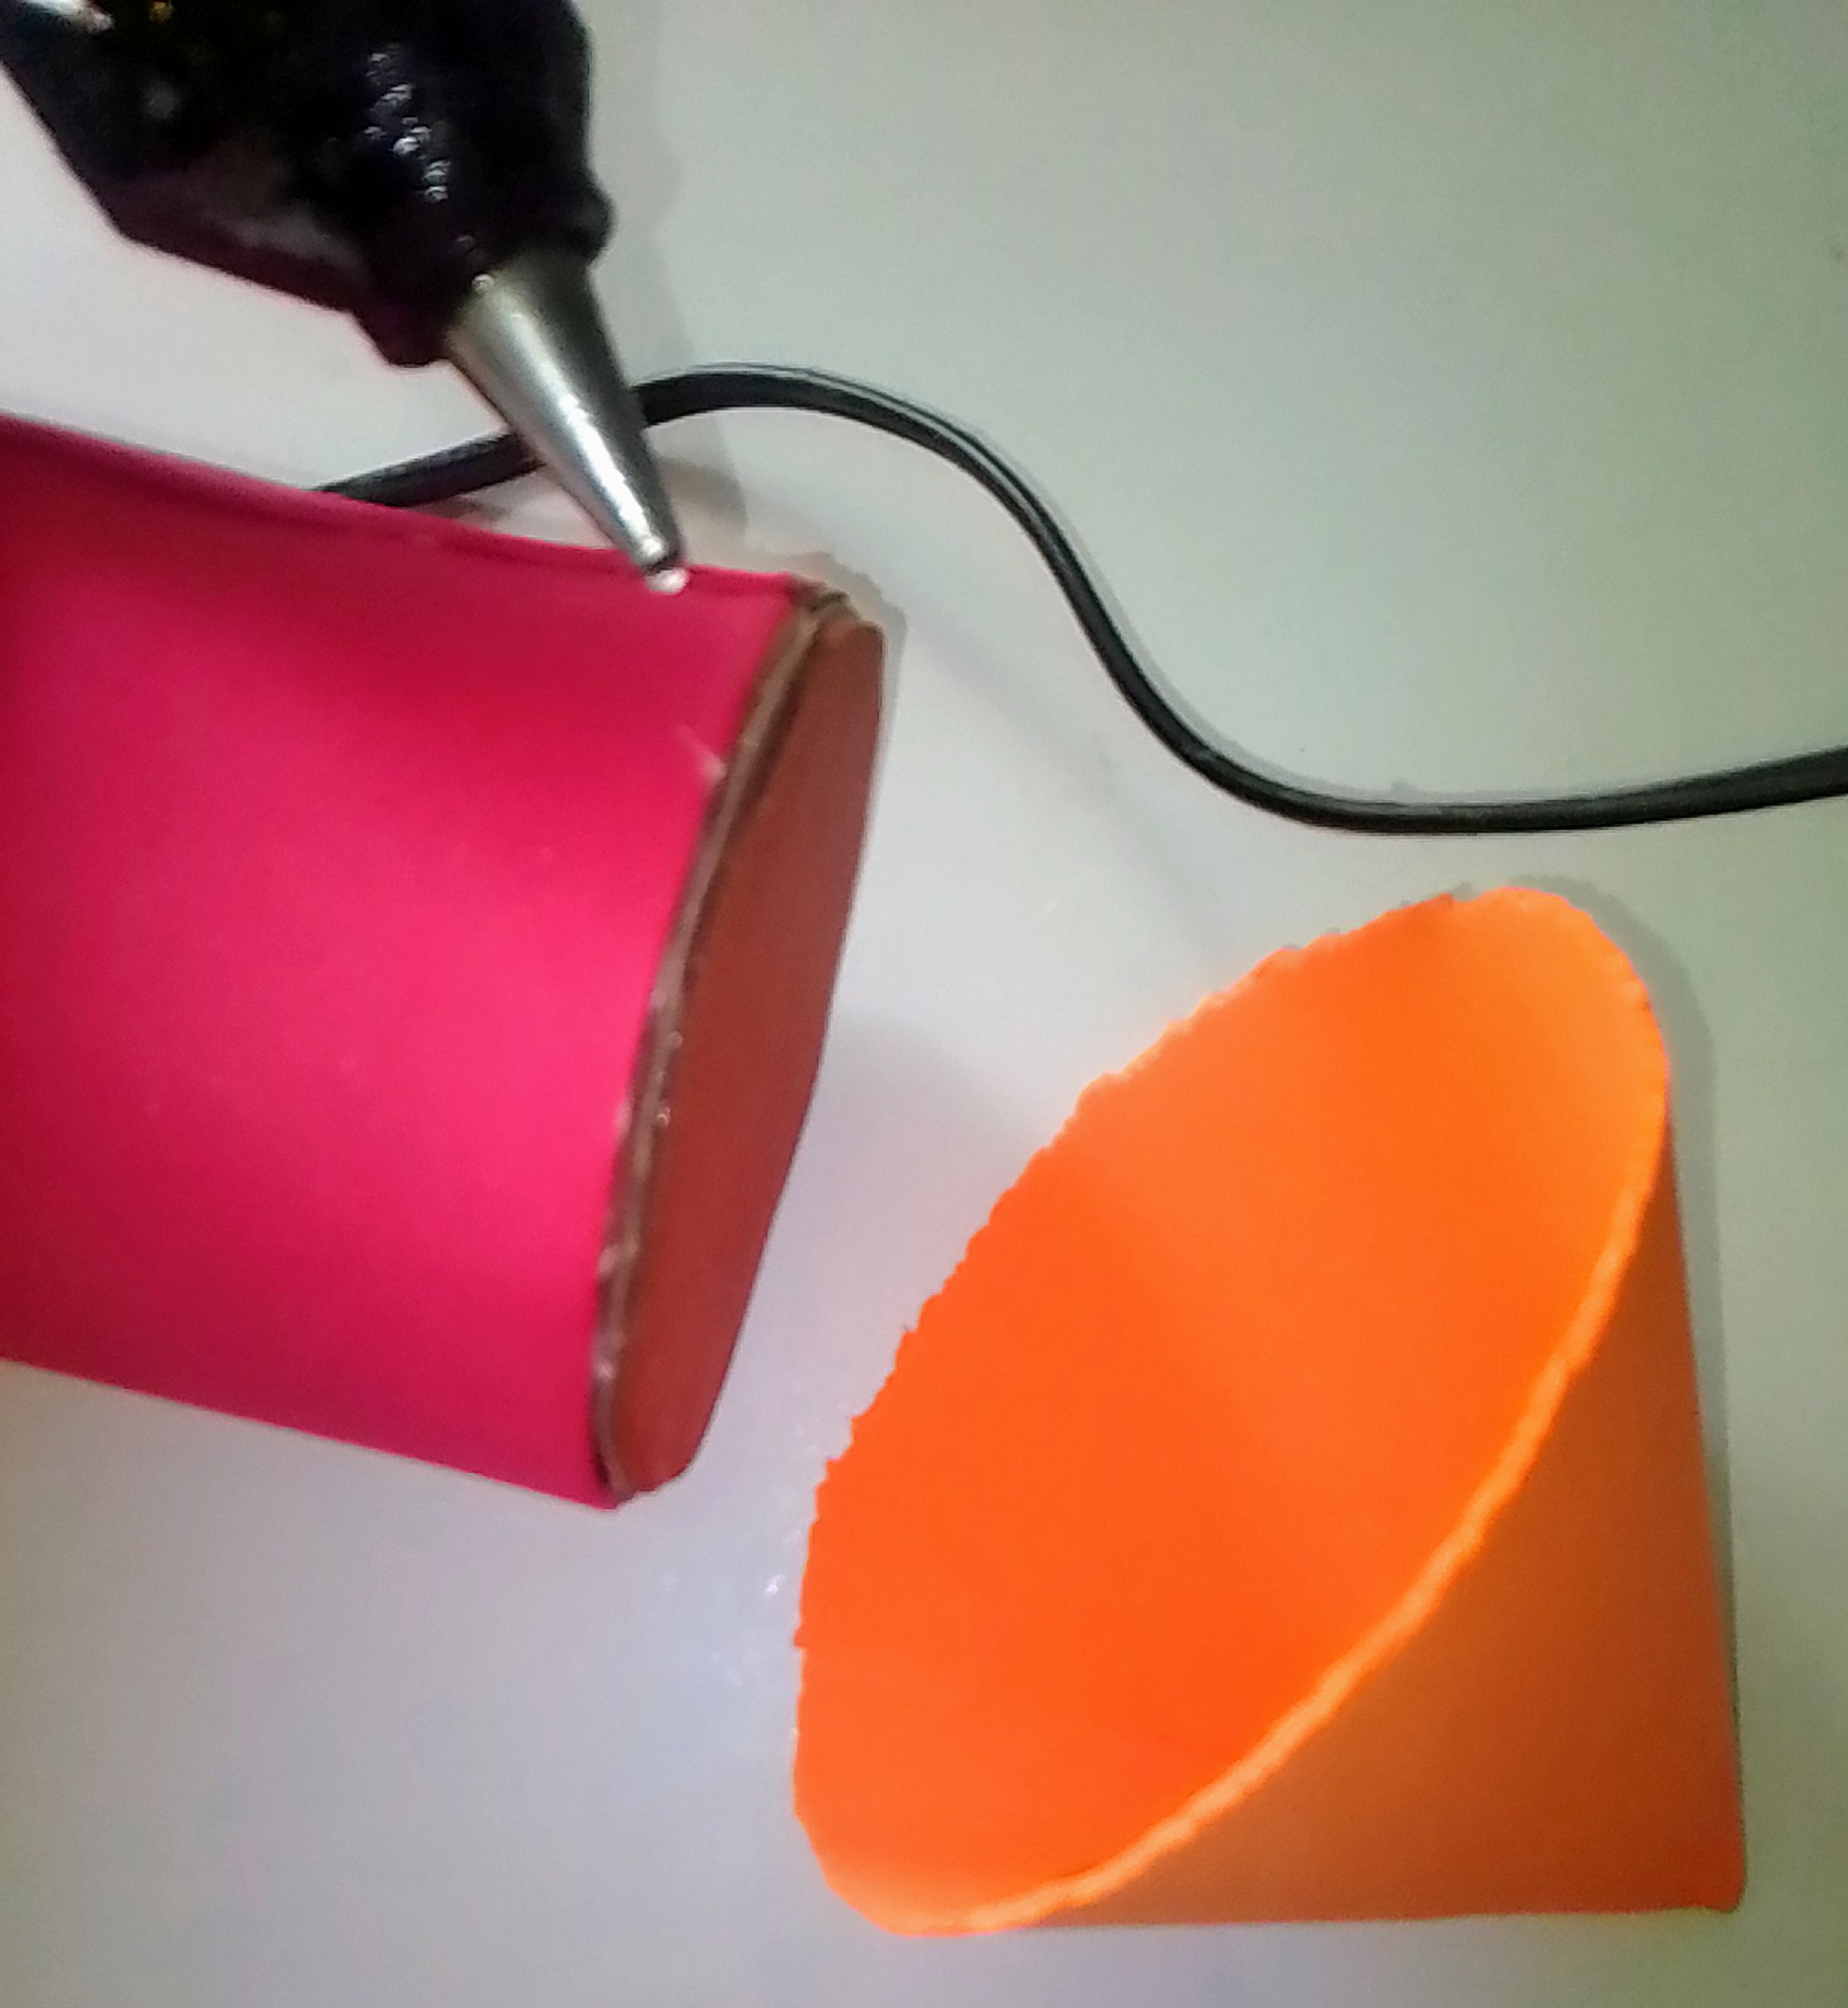
Lo primero que hice fué tomar el envase y con una tijera le corté 3 cmts de una de las puntas del envase para poder realizar mi cartuchera en forma de Lápiz.
The first thing I did was take the container and with scissors I cut 3 cm from one of the ends of the container so I could make my Pencil-shaped pencil case.
PASO 2
STEP 2
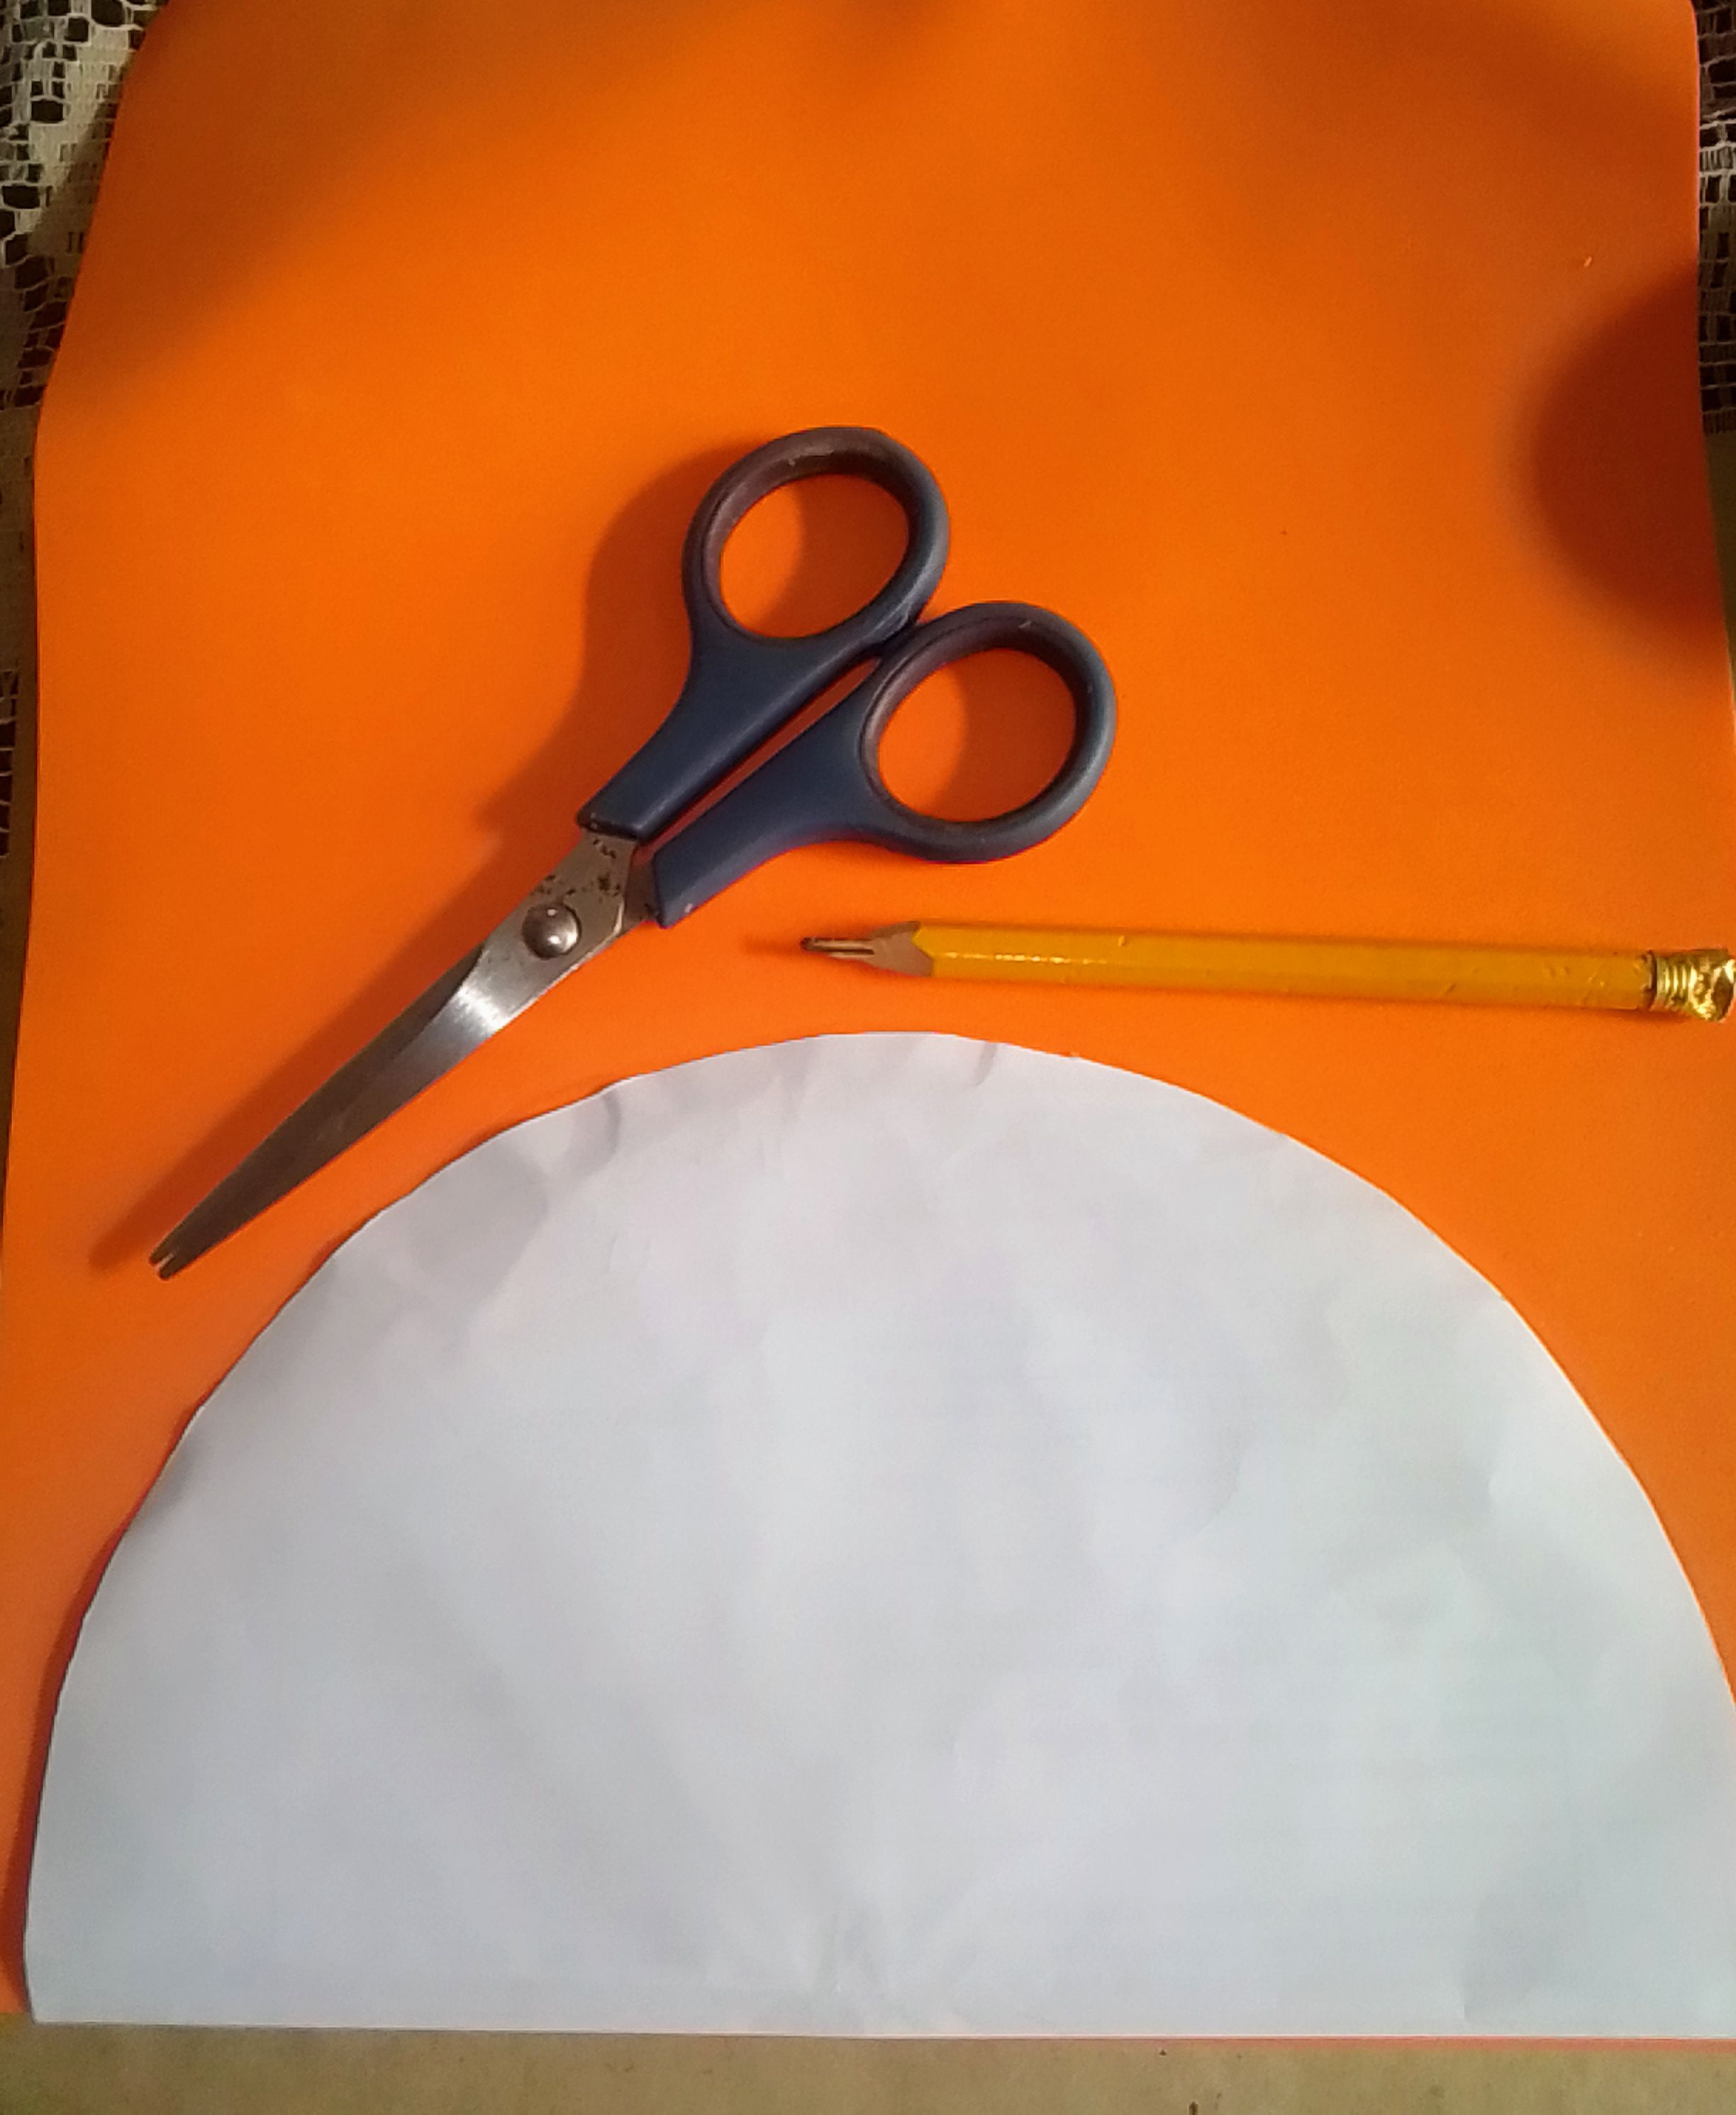
Luego hice un molde de media luna de 10 cmts de alto por 18 cmts de ancho de la circunferencia y después tomé el foami de preferencia y lo transferí y luego recorté esta base es para la punta del lápiz.
Then I made a half-moon mold 10 cm high by 18 cm wide in circumference and then I took the foam of preference and transferred it and then cut out this base for the tip of the pencil.
PASO 3
STEP 3
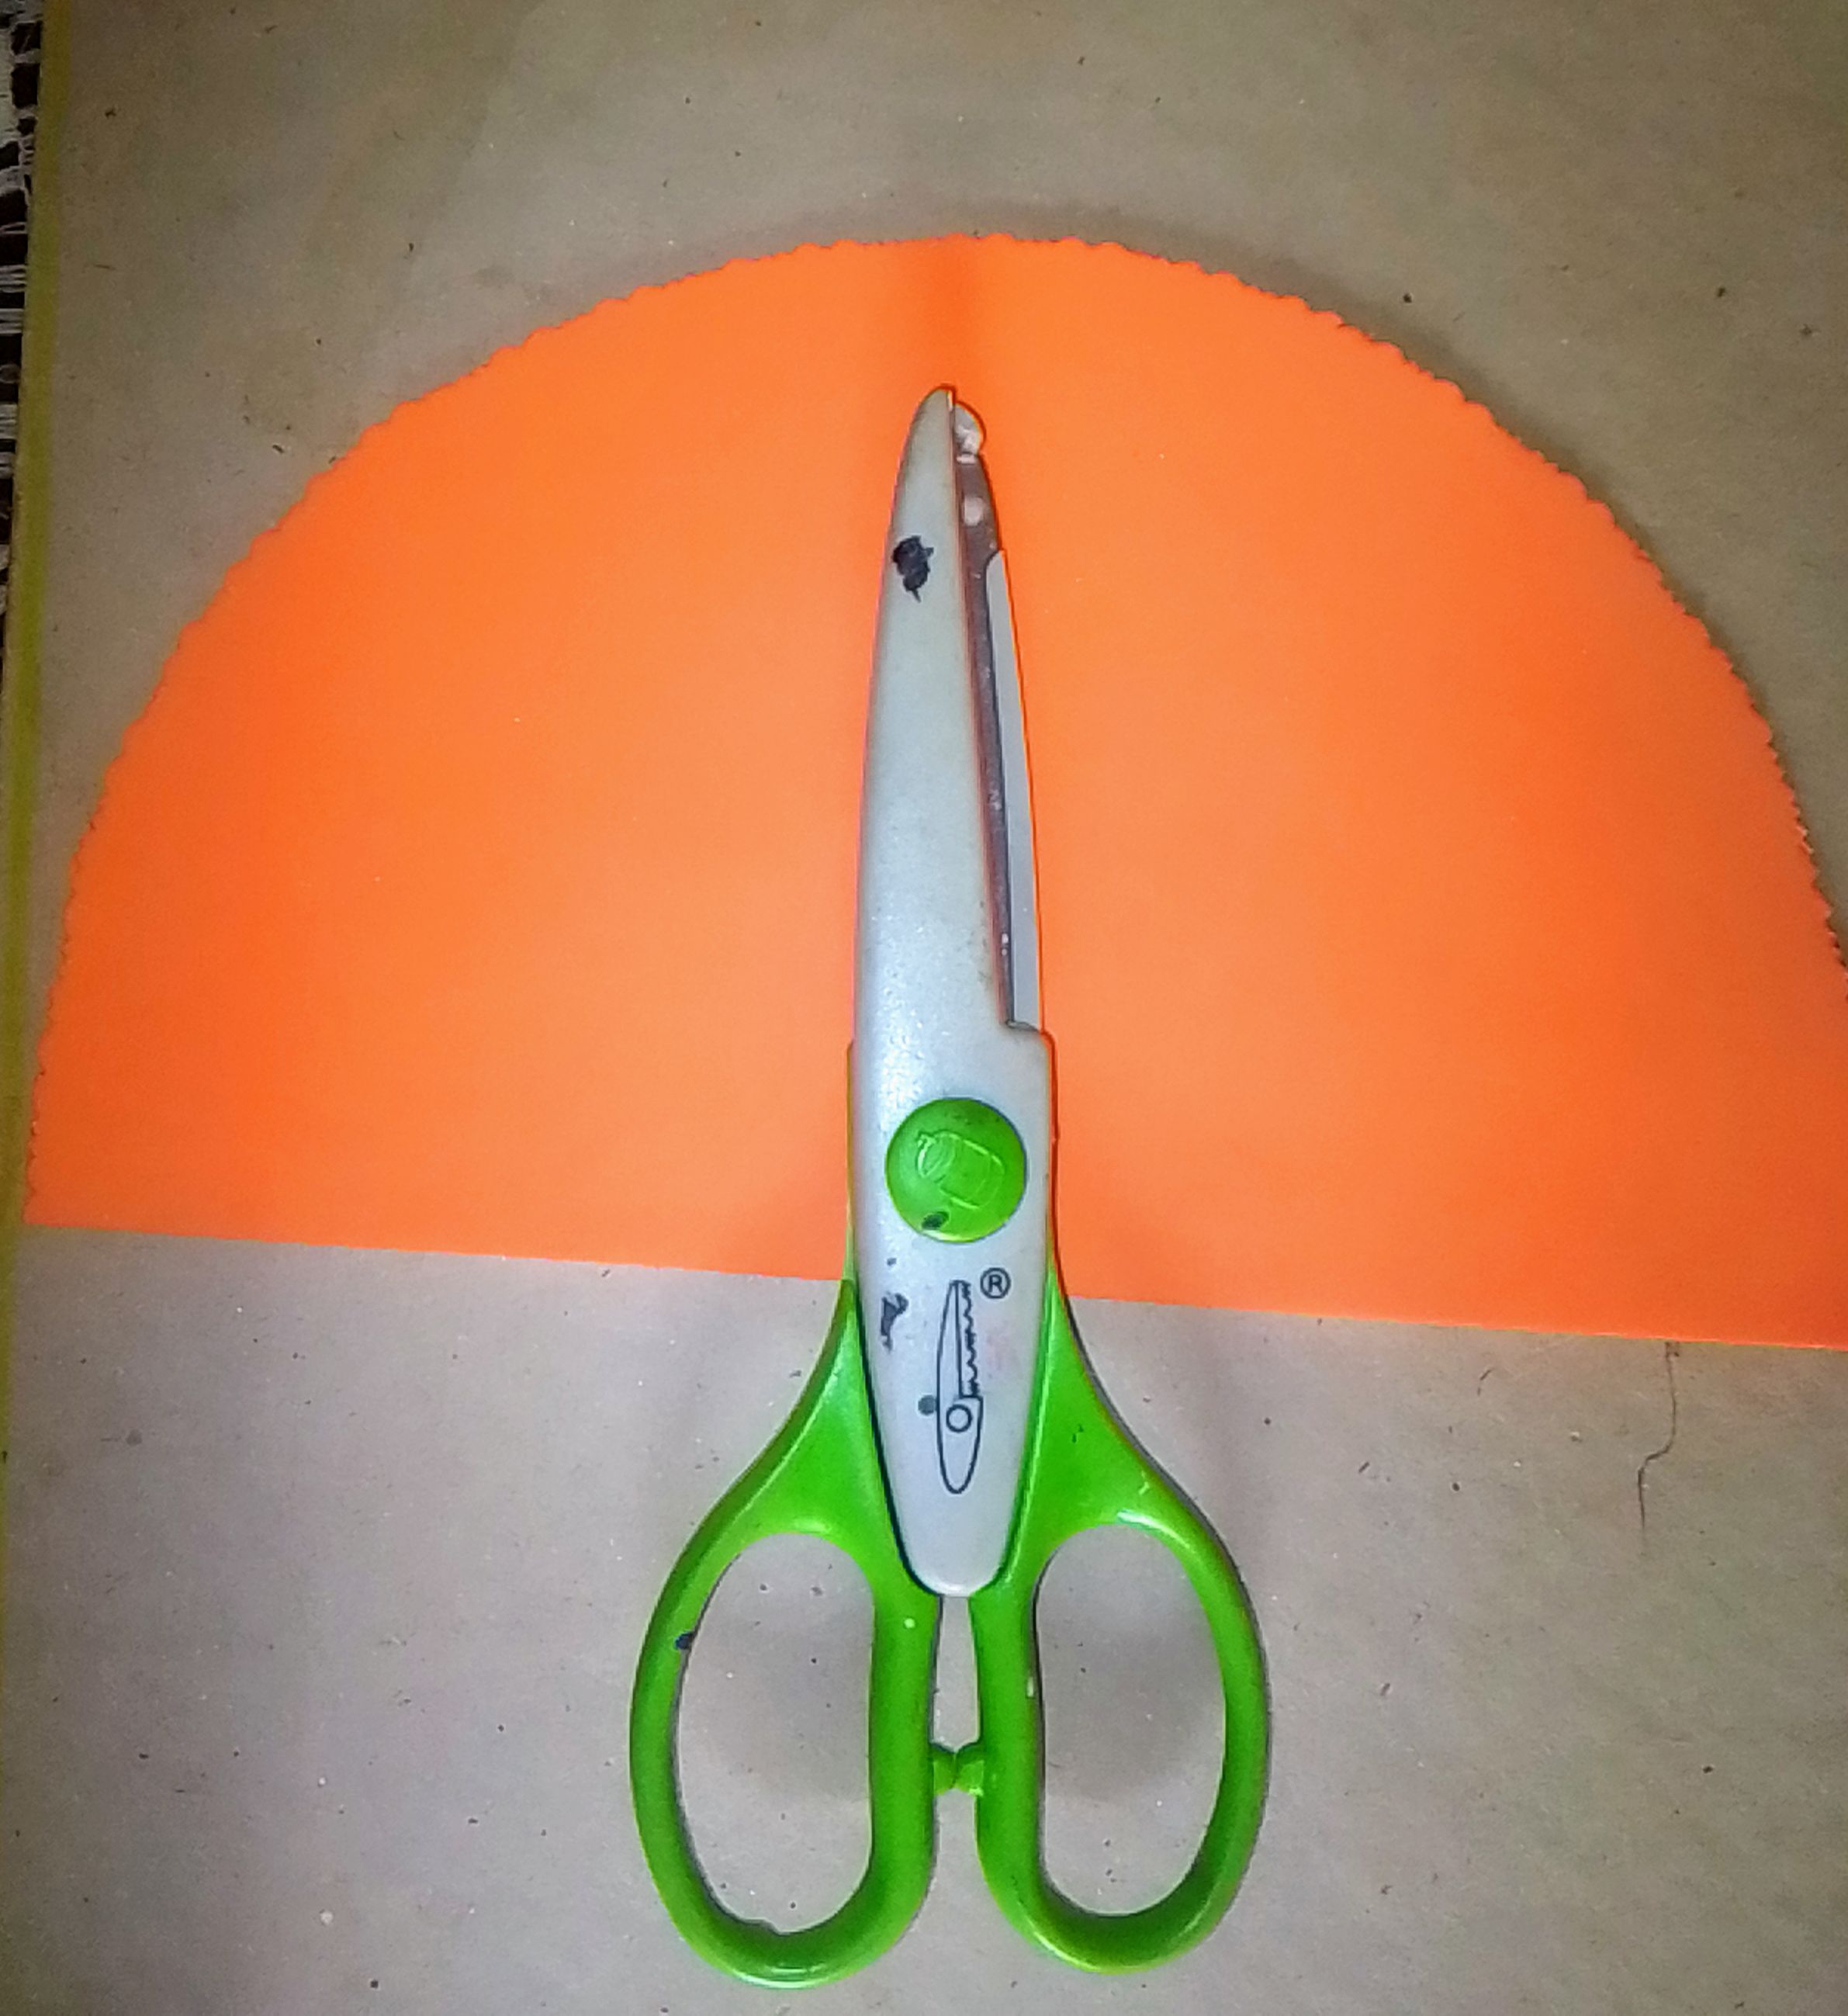
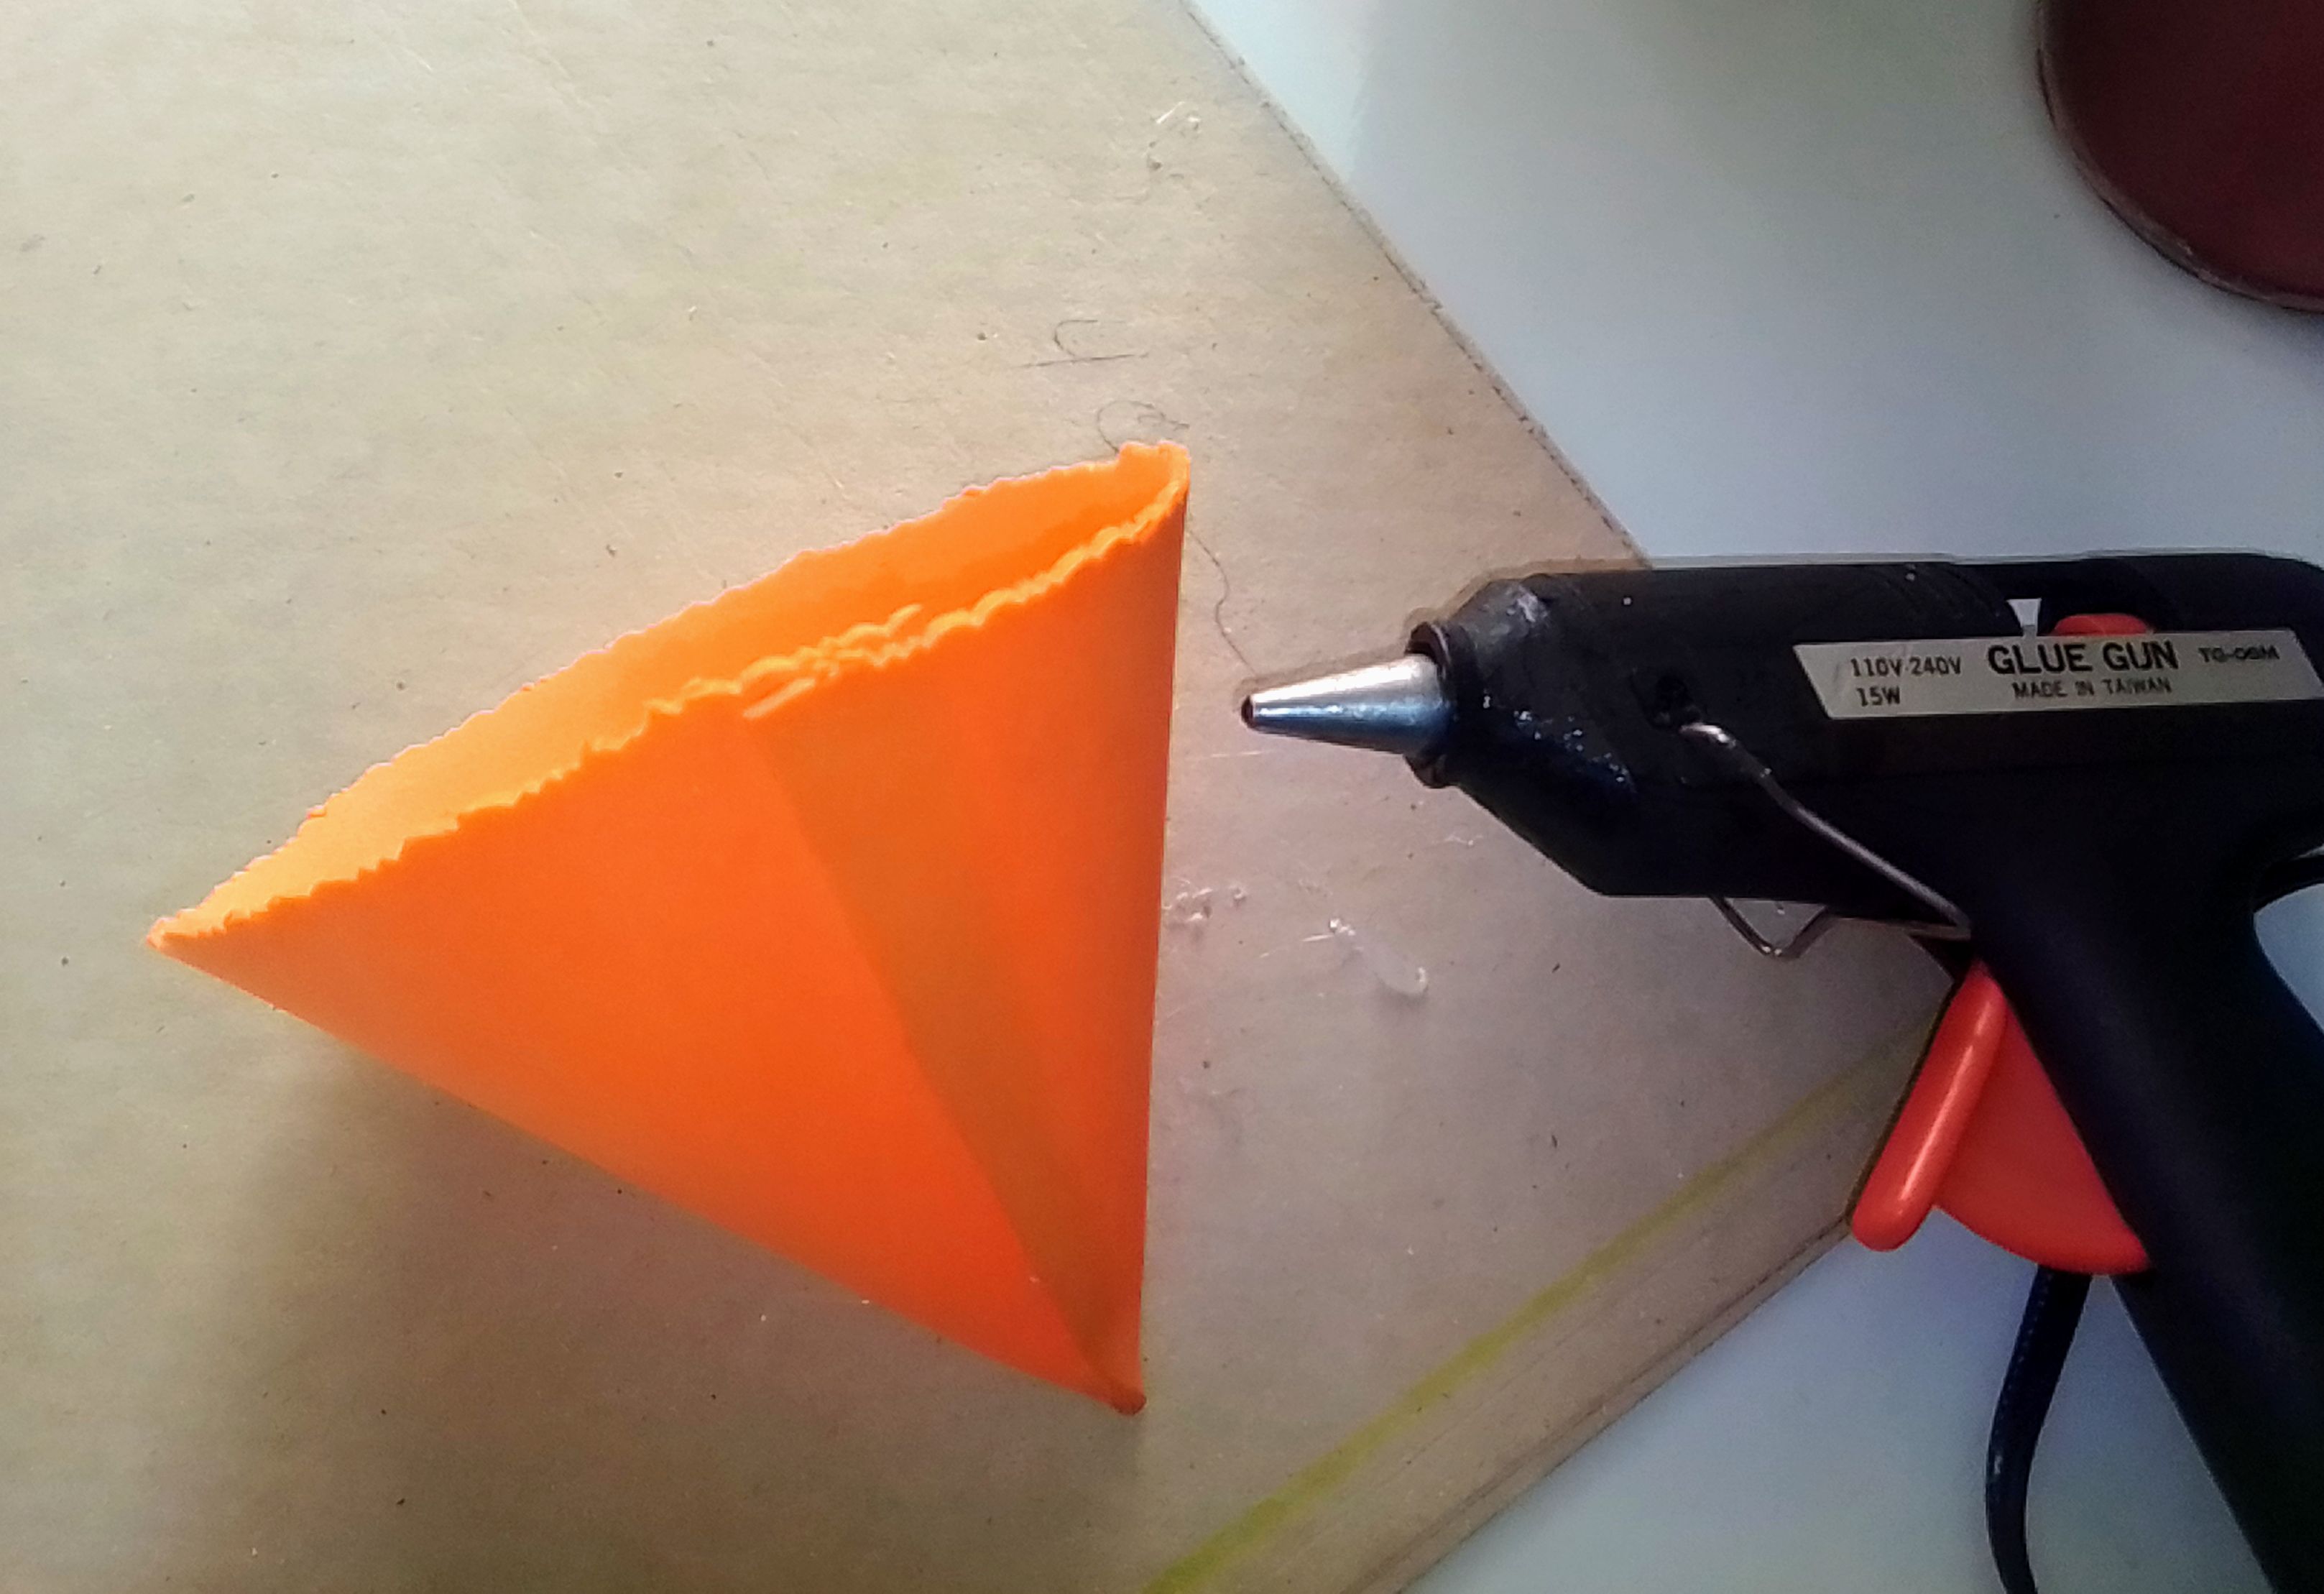
Luego que ya has recortado la media luna ahora vas a recortar en la orilla con la tijera de dar forma.
After you have cut out the half moon, you are now going to cut the edge with the shaping scissors
PASO 4
STEP 4
Después el envase de pringles lo coloqué encima del foami y saqué la forma para las tapas y luego las recorté.
Then I placed the Pringles container on top of the foam and took out the shape for the lids and then cut them out.
PASO 5
STEP 5
Acá tomas el foami rojo y lo coloqué alrededor del envase para tomar la medida para luego pegarlo al envase.
Here you take the red foam and I placed it around the container to take the measurement and then glue it to the container.
PASO 6
STEP 6
Aquí muestro donde lo voy a pegar poco a poco agregandole silicón caliente.
Here I show where I am going to glue it little by little by adding hot silicone.

PASO 7
STEP 7
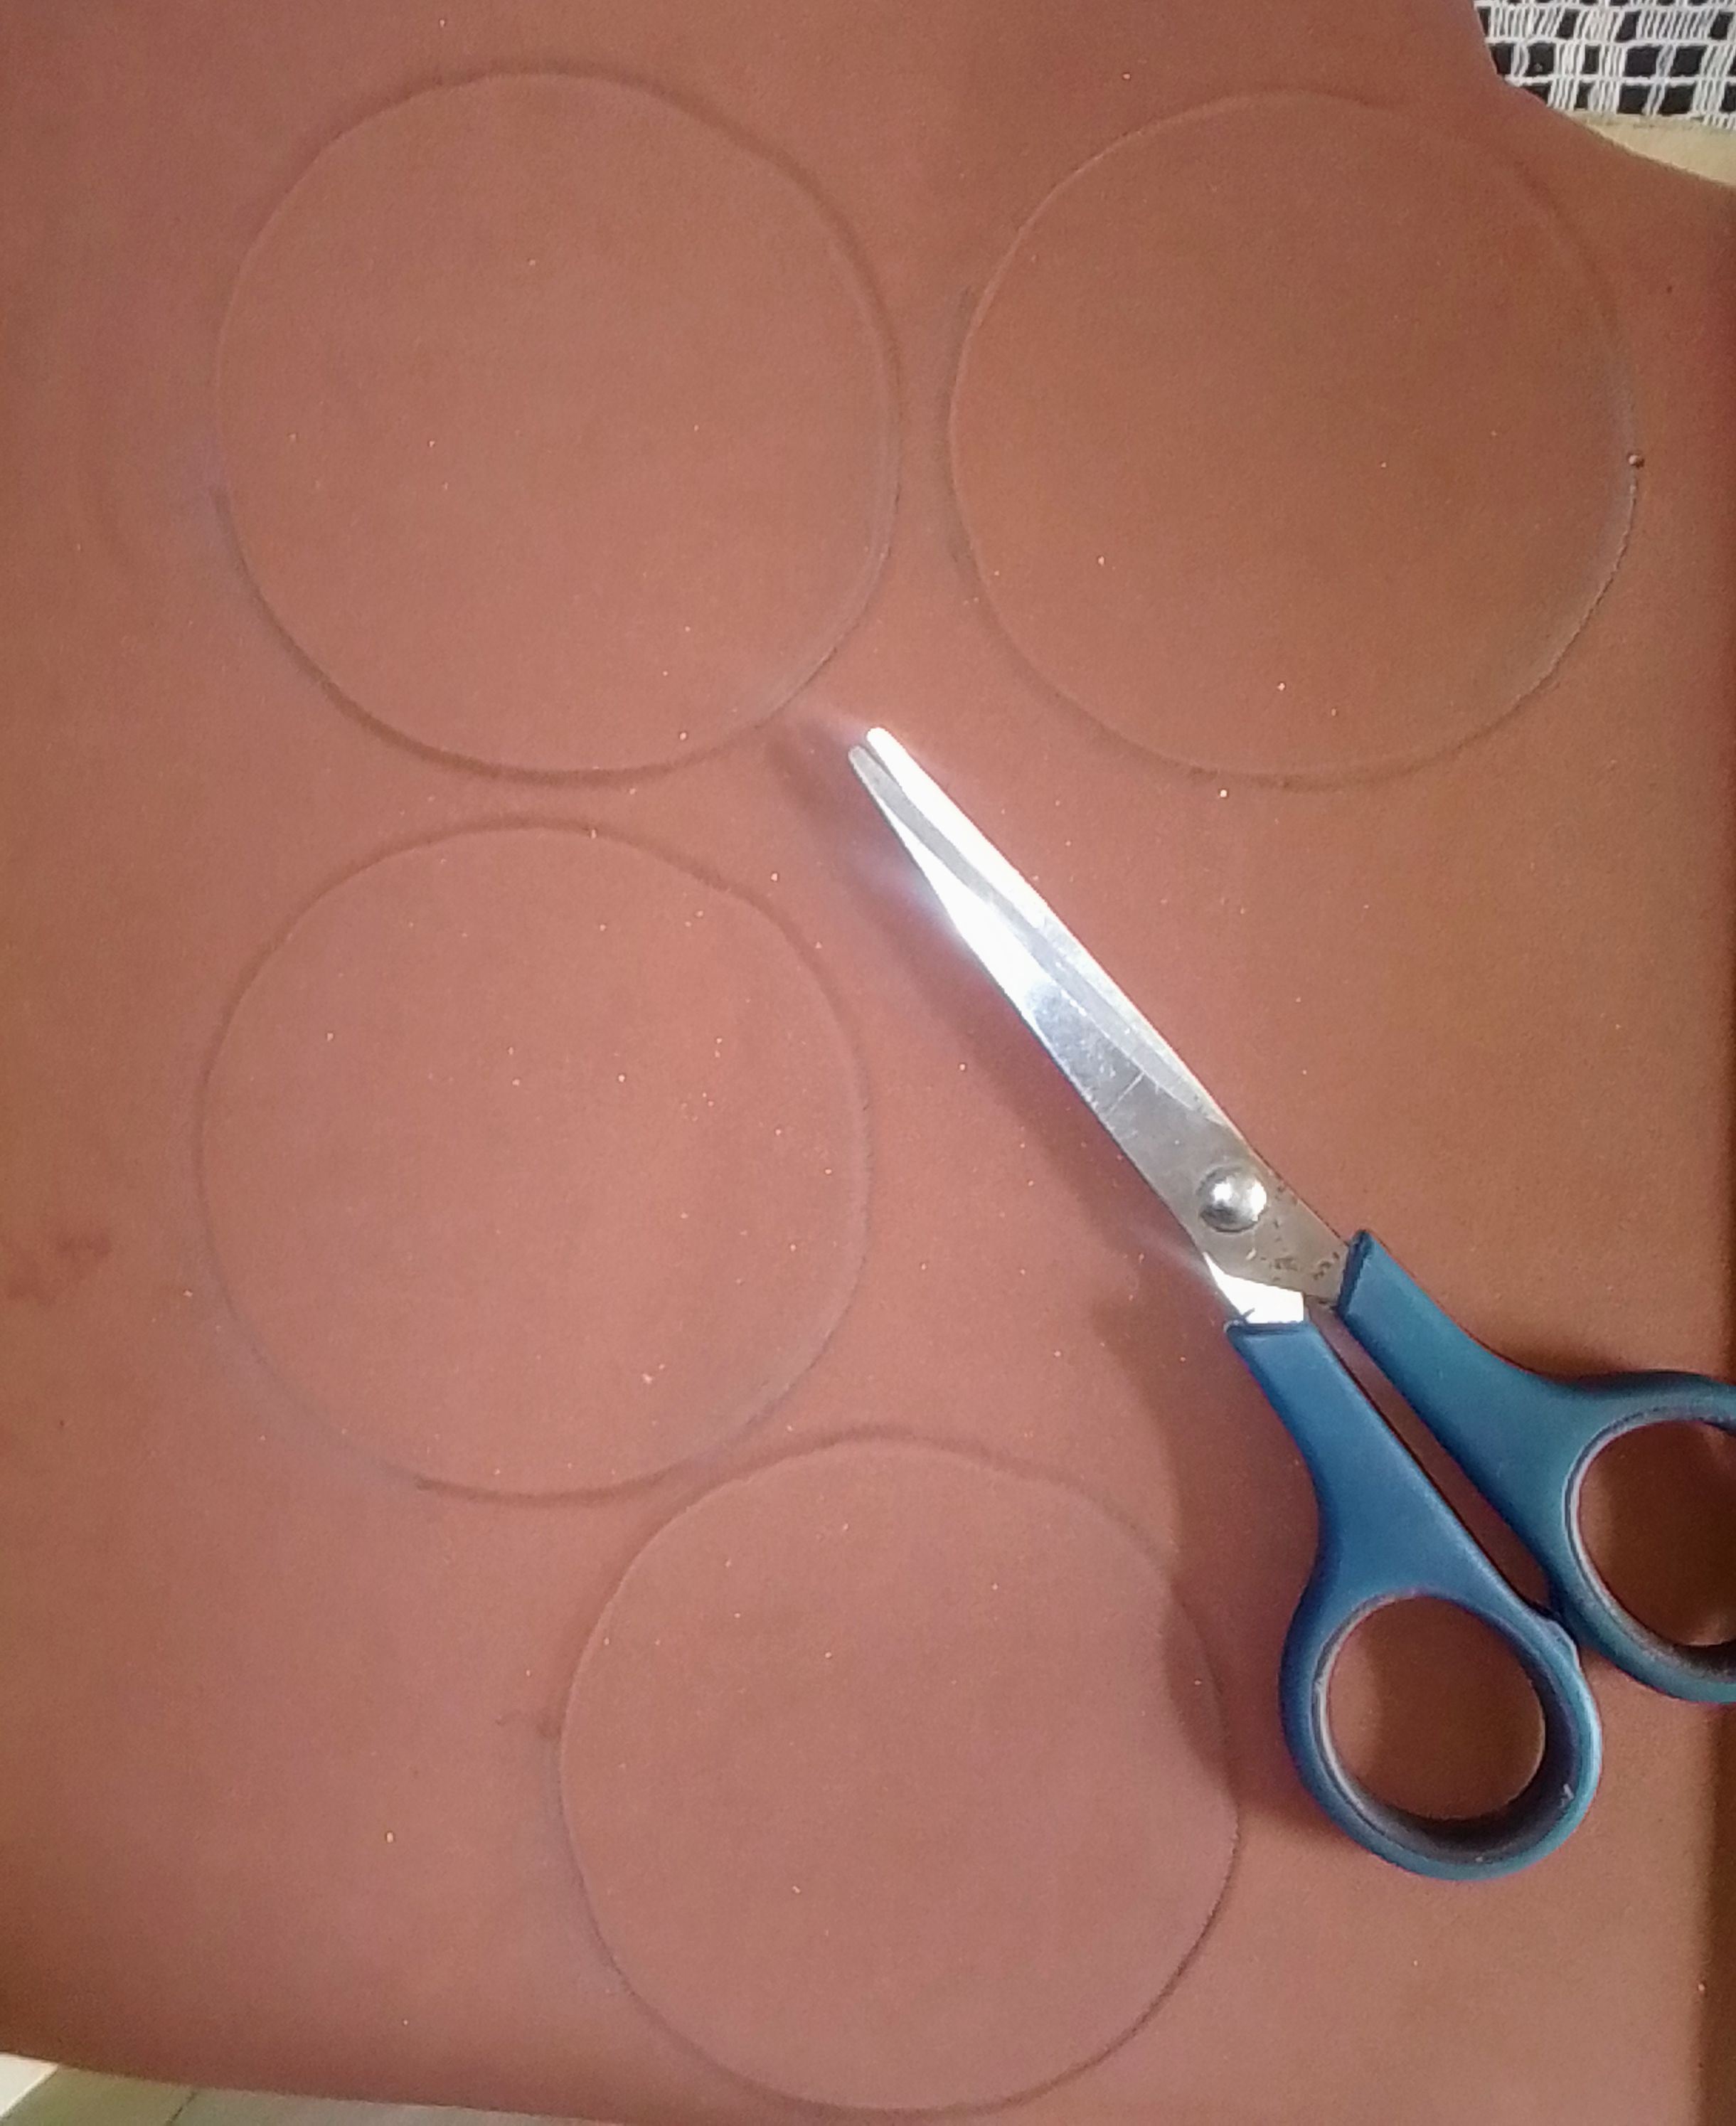
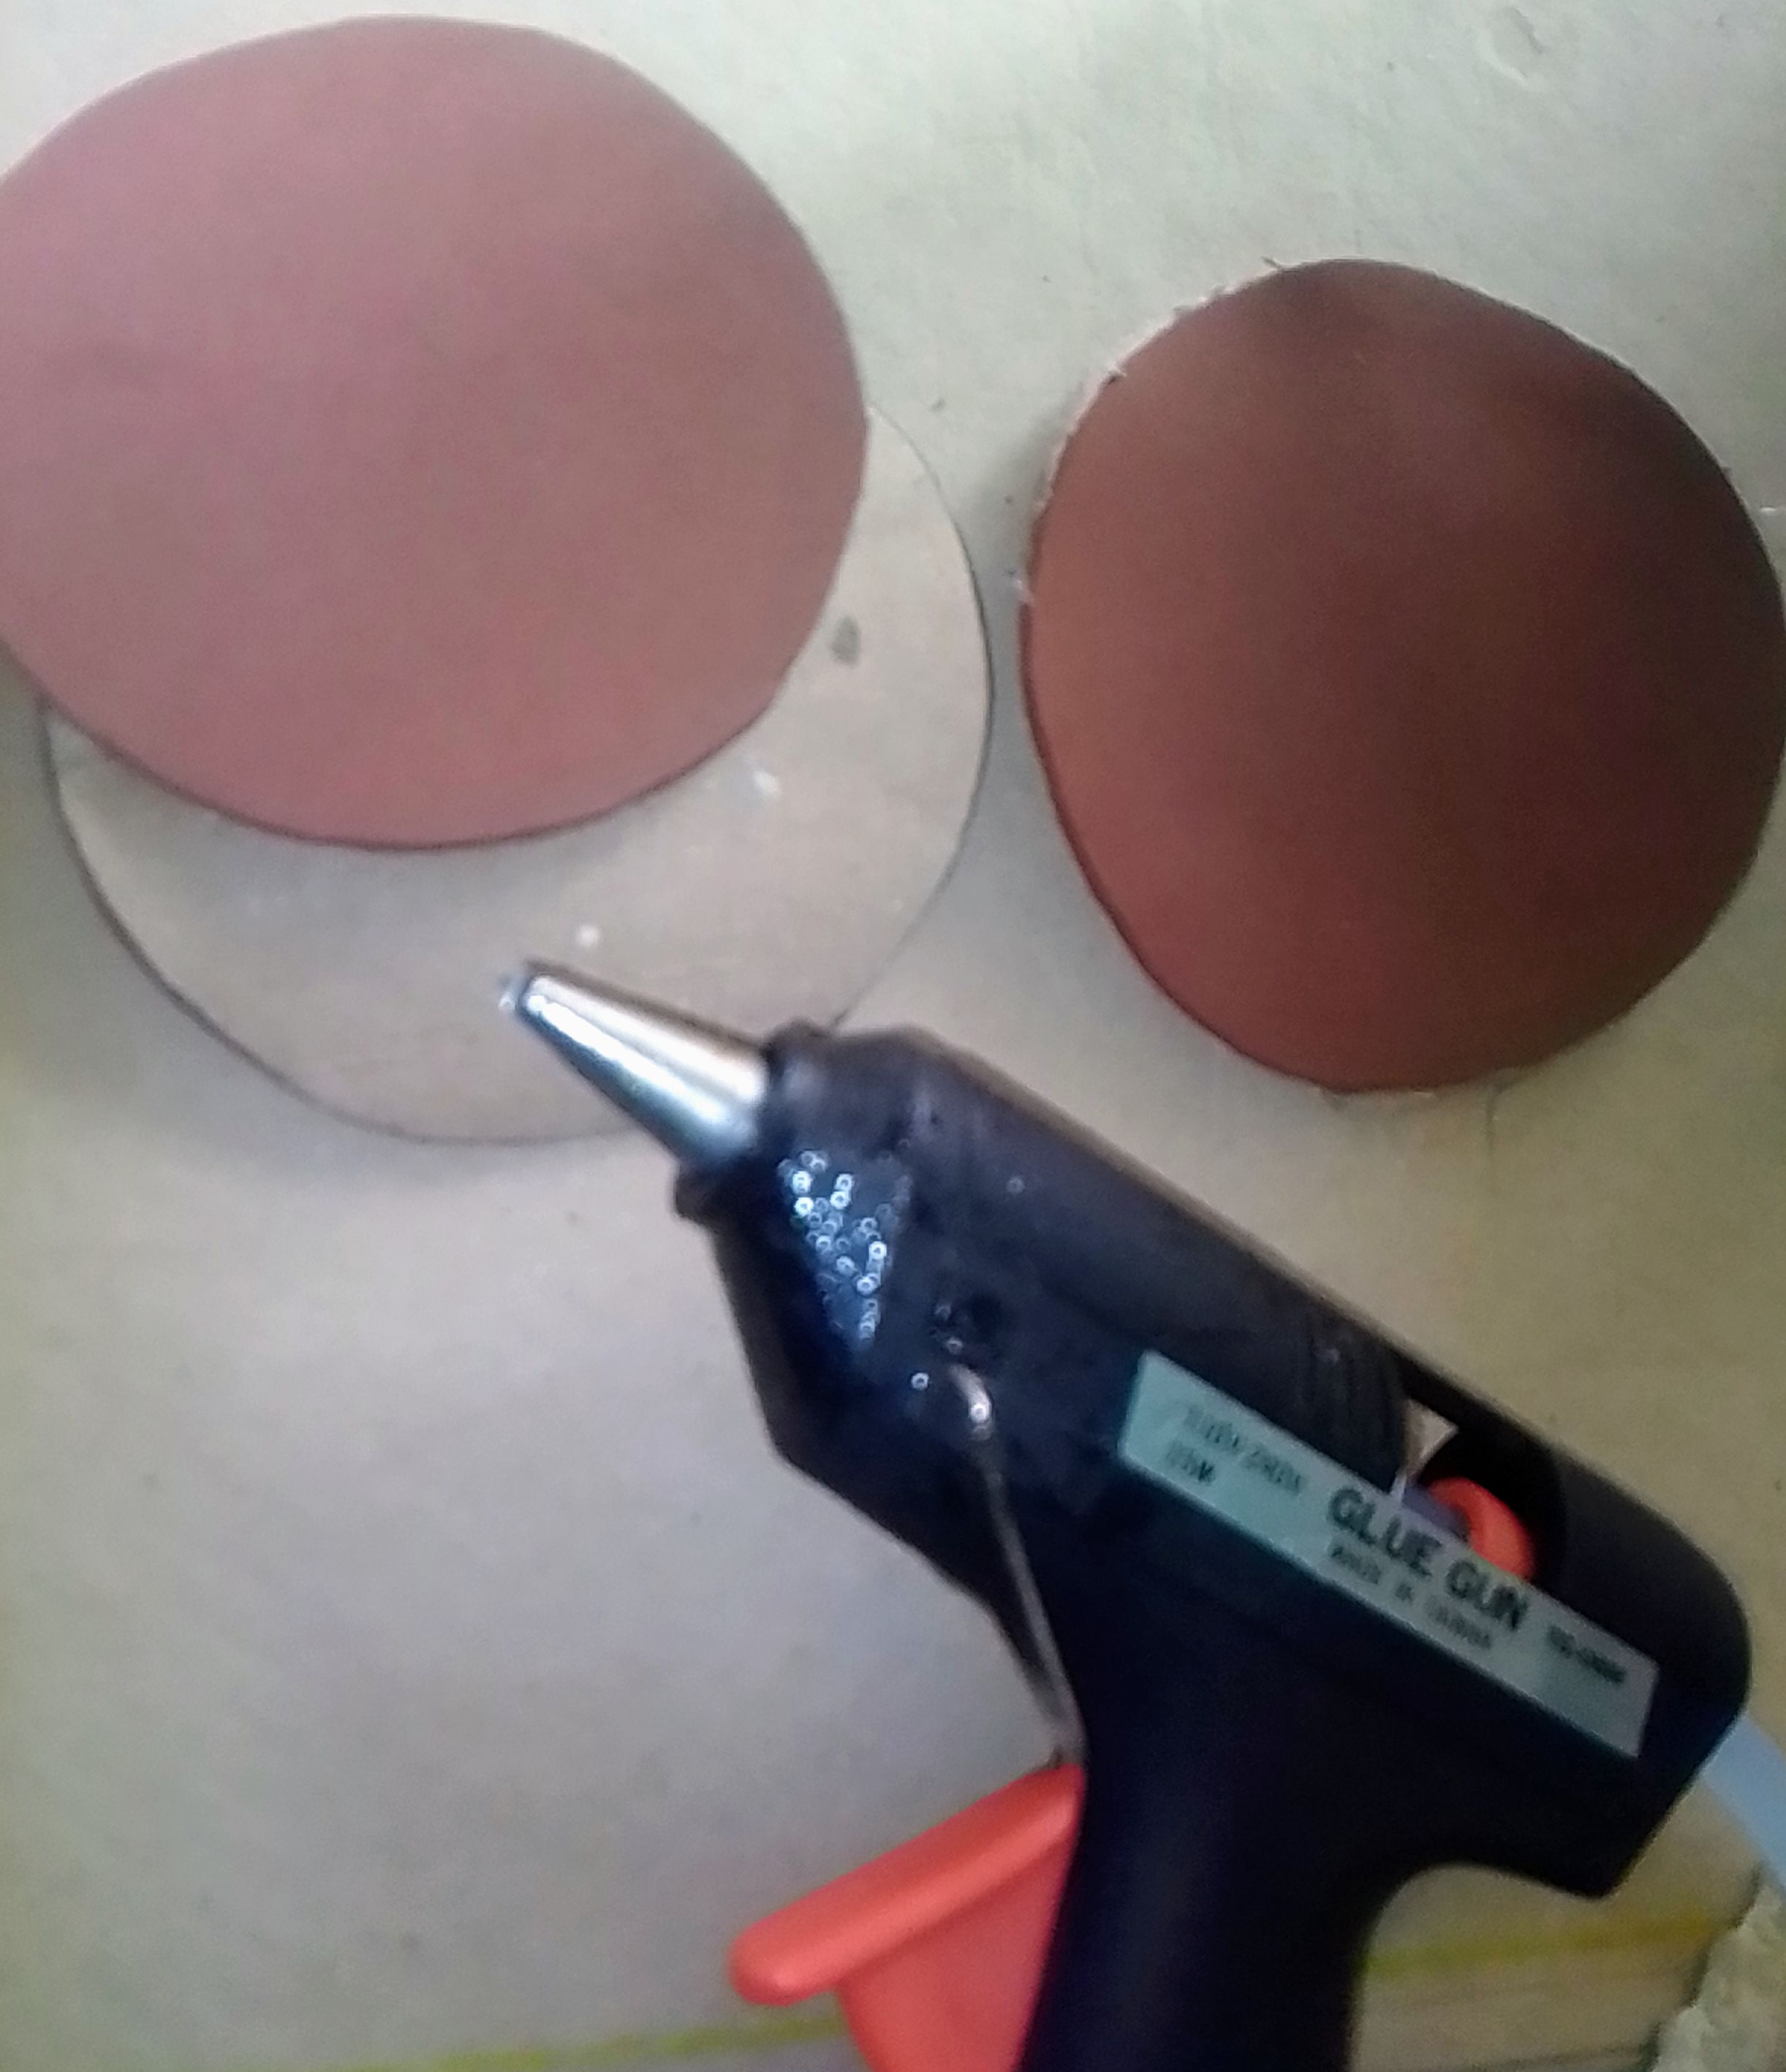
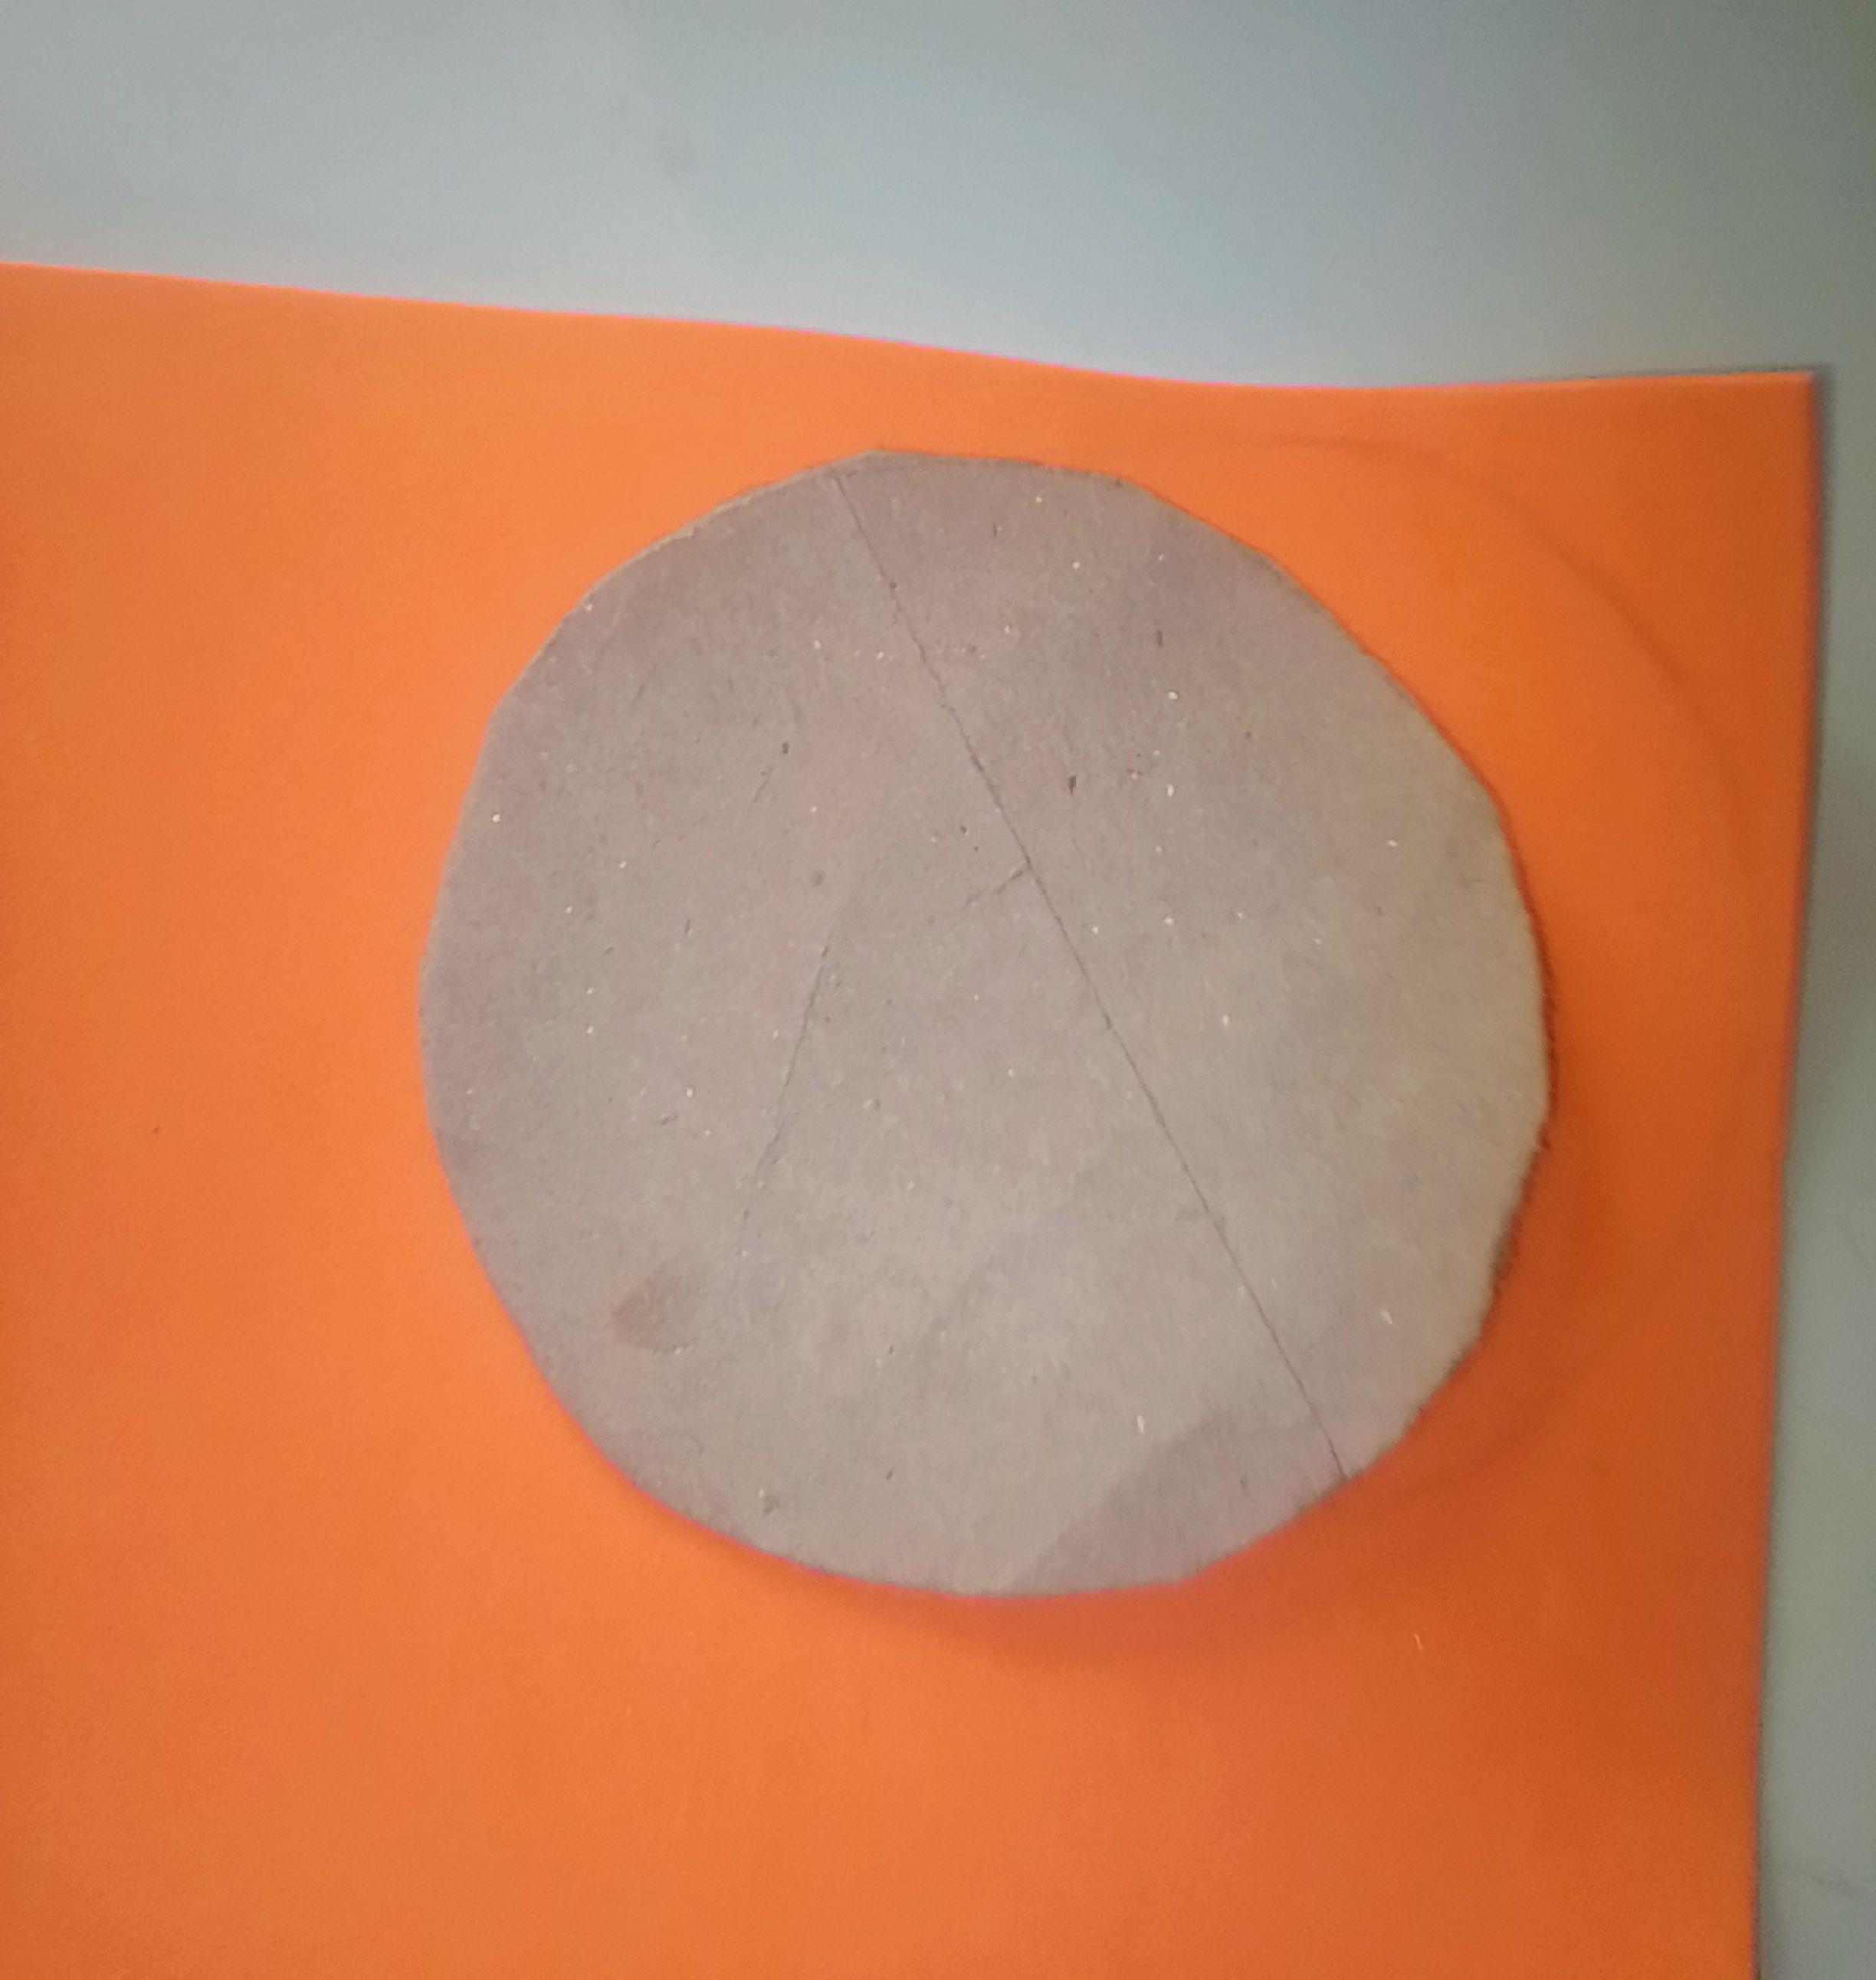
Acá los círculos los pego de esta manera un círculo de foami y uno de cartón y luego otro círculo de foami para que te quede un poco grueso y firme.
Here I glue the circles in this way, a foam circle and a cardboard circle and then another foam circle so that it is a little thick and firm.
PASO 8
STEP 8
Luego en la parte de abajo del envase le vas agregar silicón caliente y pegas el círculo que anteriormente habías hecho y aprieta para ayudar a pegar mejor.
Then at the bottom of the container you are going to add hot silicone and glue the circle that you had previously made and press to help it stick better.
PASO 9
STEP 9
Después toma la media luna pero antes se la coloca al envase como si fuera a colocar un gorro y de allí depende para que luego lo pegues. y te queda así.
Then take the half moon but first place it on the container as if you were going to place a hat and from there it depends so that you can then glue it. and it remains like this.
PASO 10
STEP 10
Ok después tomas un círculo de cartón y lo pegas al foami y lo vas hacer doble esta es para la otra tapa del envase.
Ok, then take a cardboard circle and glue it to the foam and you are going to make it double, this is for the other lid of the container.
PASO 11
STEP 11
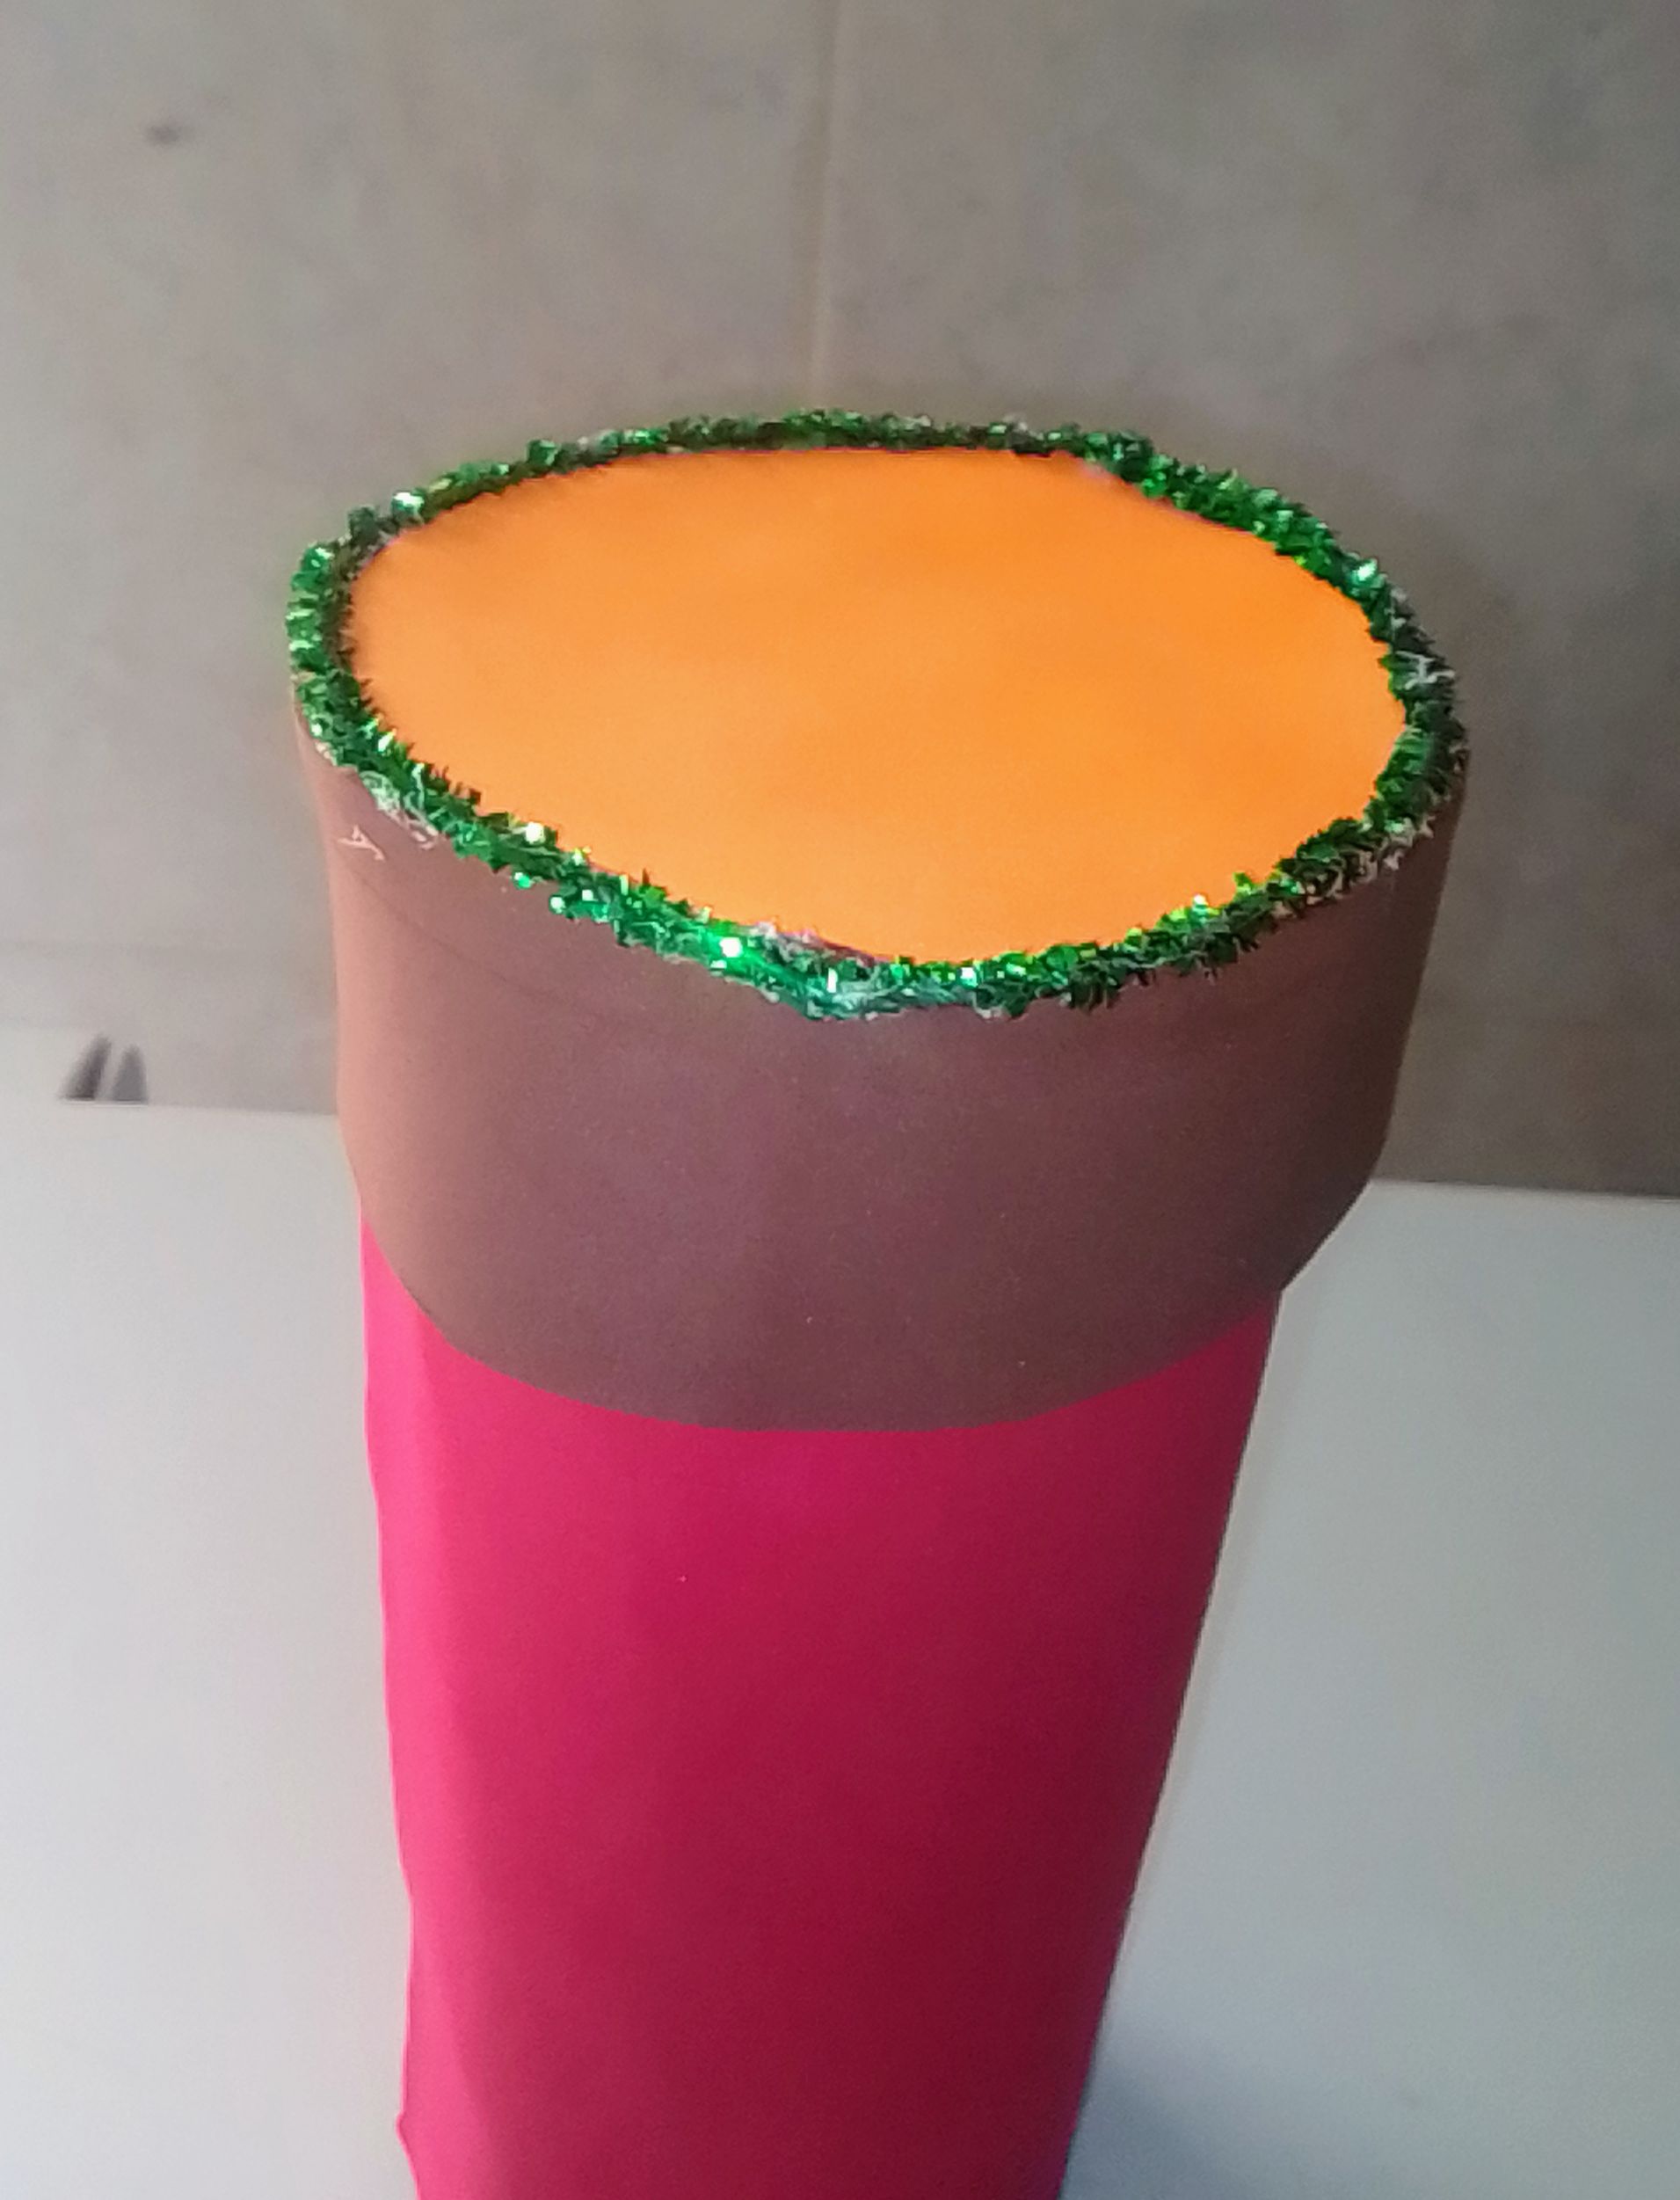
Ya acá se hizo la tapa del envase y corté una tira larga de 4 cmts de altura y después se la coloqué alrededor del círculo y el excedente lo corté y para decorar le coloqué este limpia pipa para disimular el empate y le coloqué la tapa al envase y entró con facilidad.
Here the lid of the container was made and I cut a long strip 4 cm high and then I placed it around the circle and I cut the excess and to decorate I placed this pipe cleaner to hide the tie and I placed the lid on the container and entered easily.
PASO 12
STEP 12
Ahora vamos a pegar la tapa en forma de cono esta es la punta del lápiz, vas agregar pega caliente alrededor del envase e introduce el cono en forma derecha.
Now we are going to glue the lid in the shape of a cone, this is the tip of the pencil, you are going to add hot glue around the container and insert the cone in a straight shape.
PASO 13
STEP 13
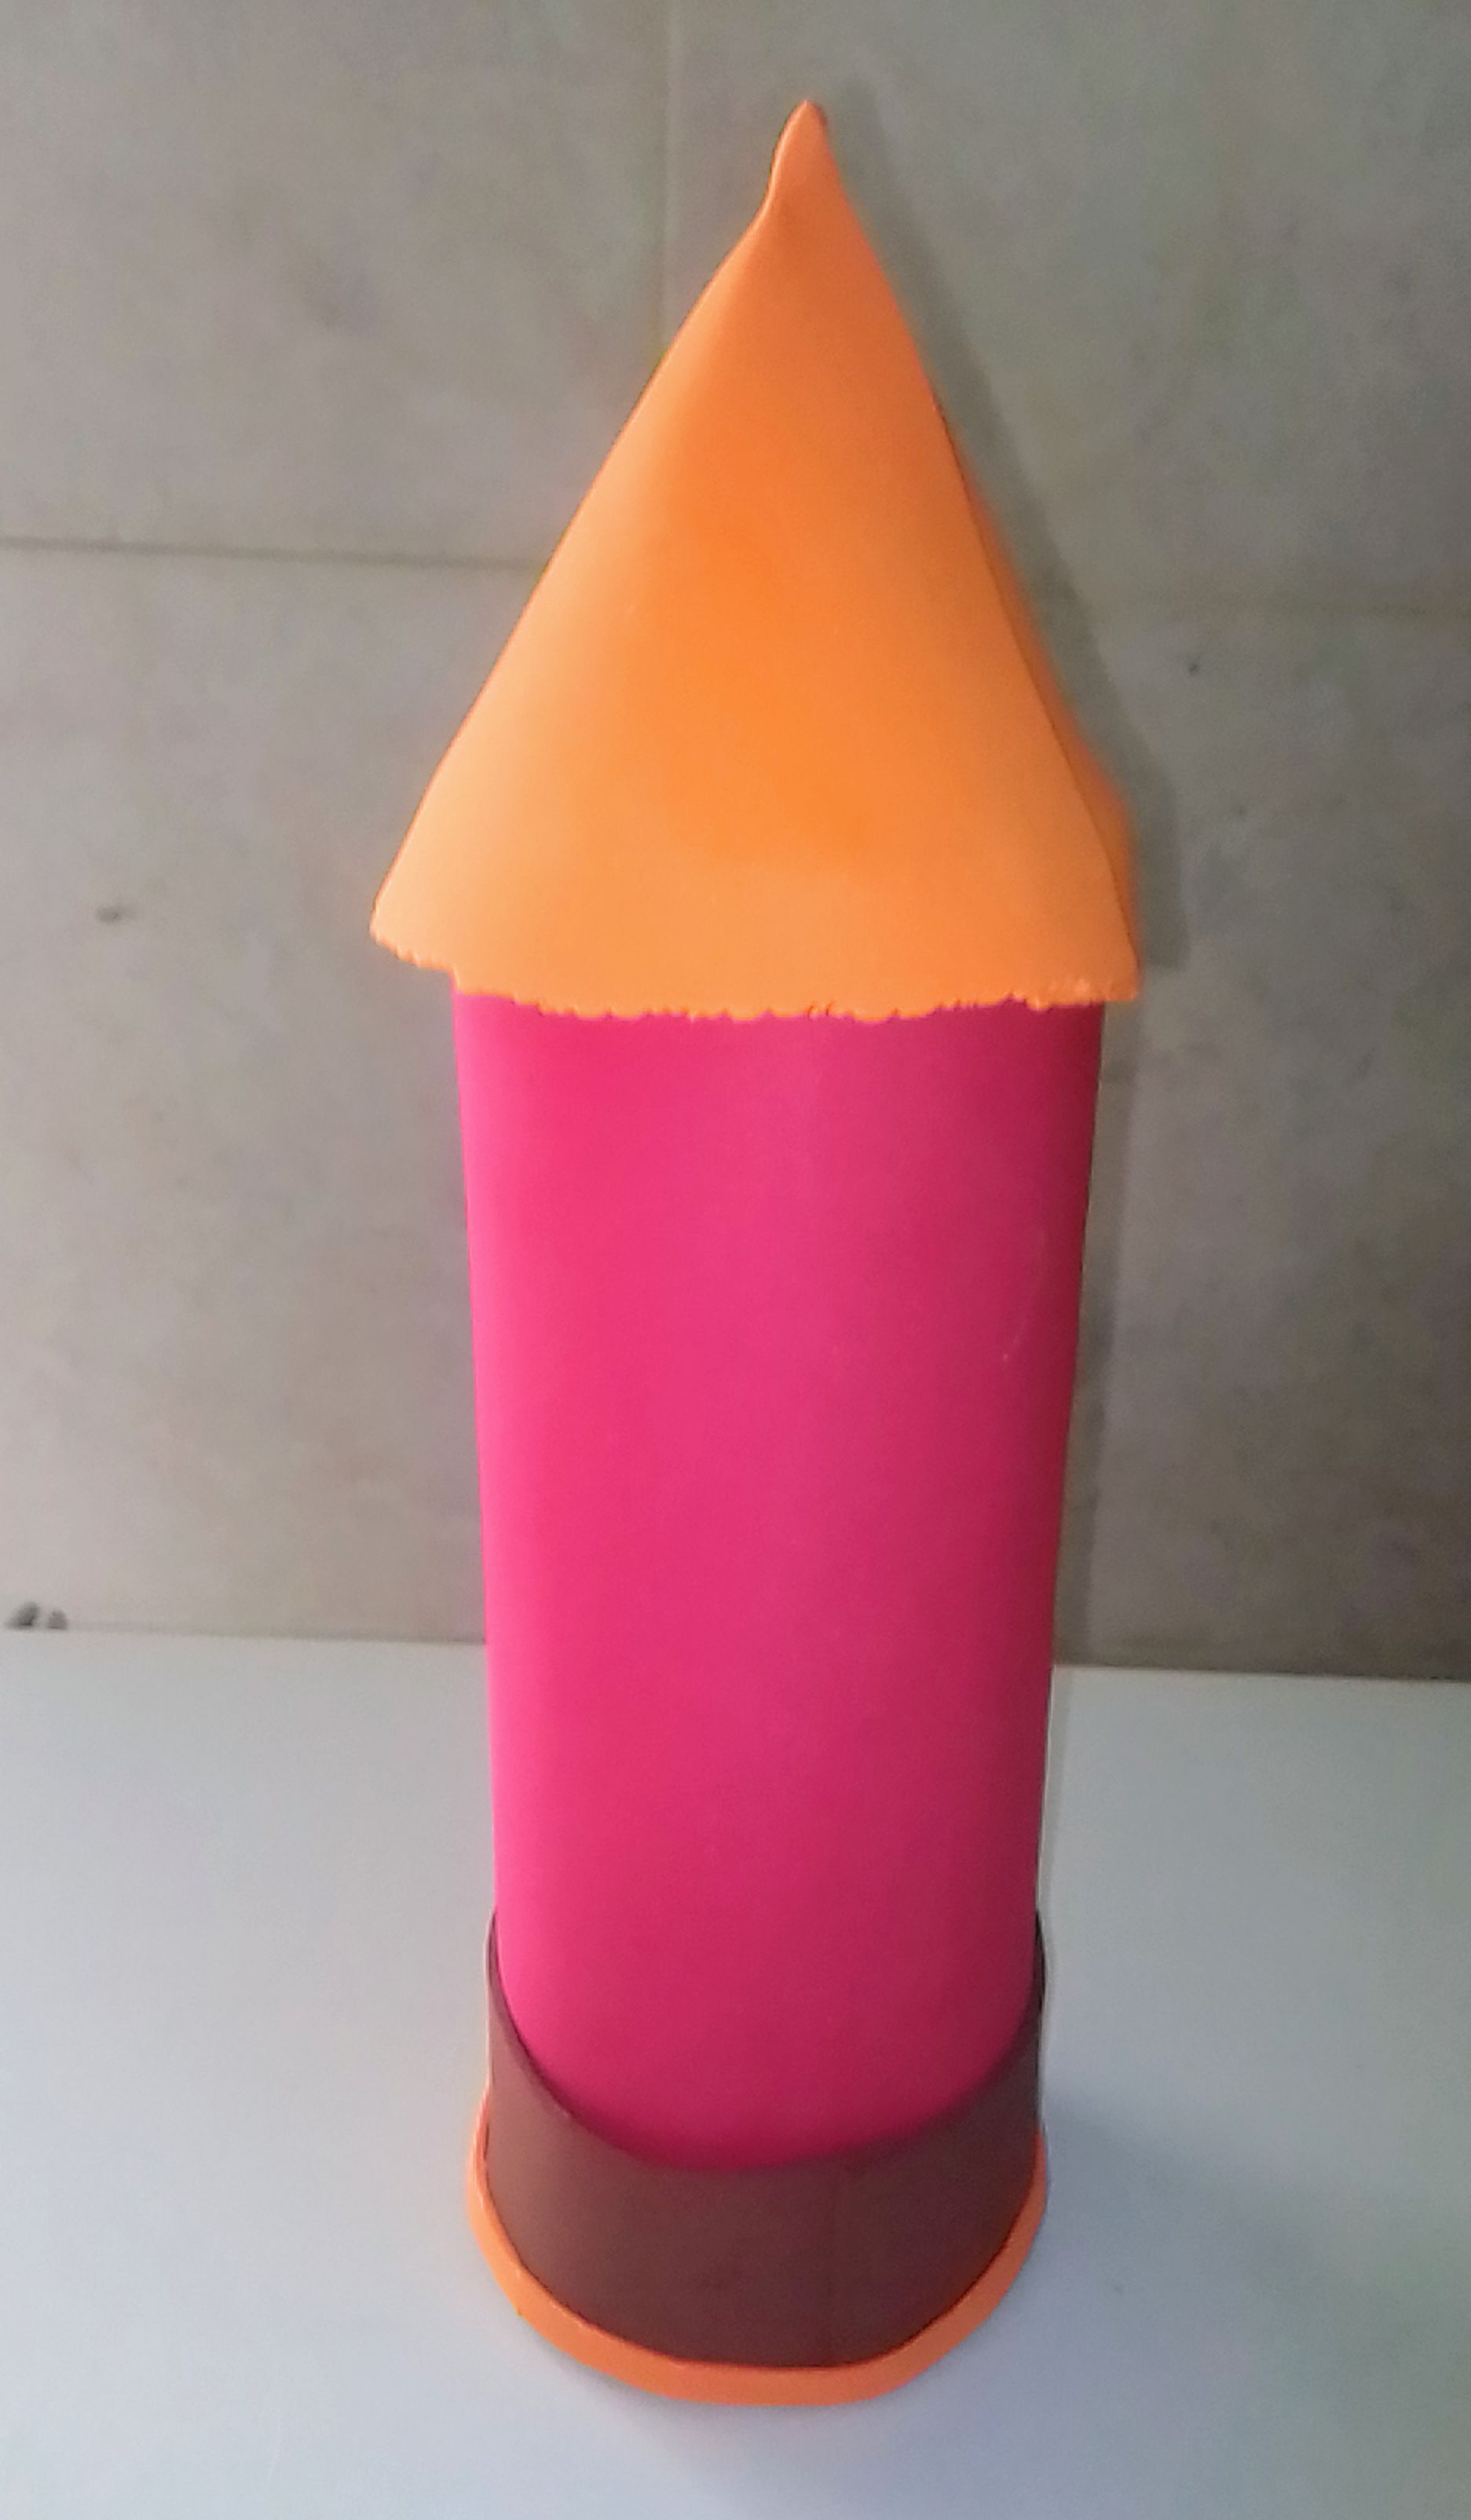
Y de esta manera te queda colocado el cono al envase ya esta agarrando forma mi cartuchera.
And in this way the cone is placed on the container and my pencil case is already taking shape.
PASO 14
STEP 14
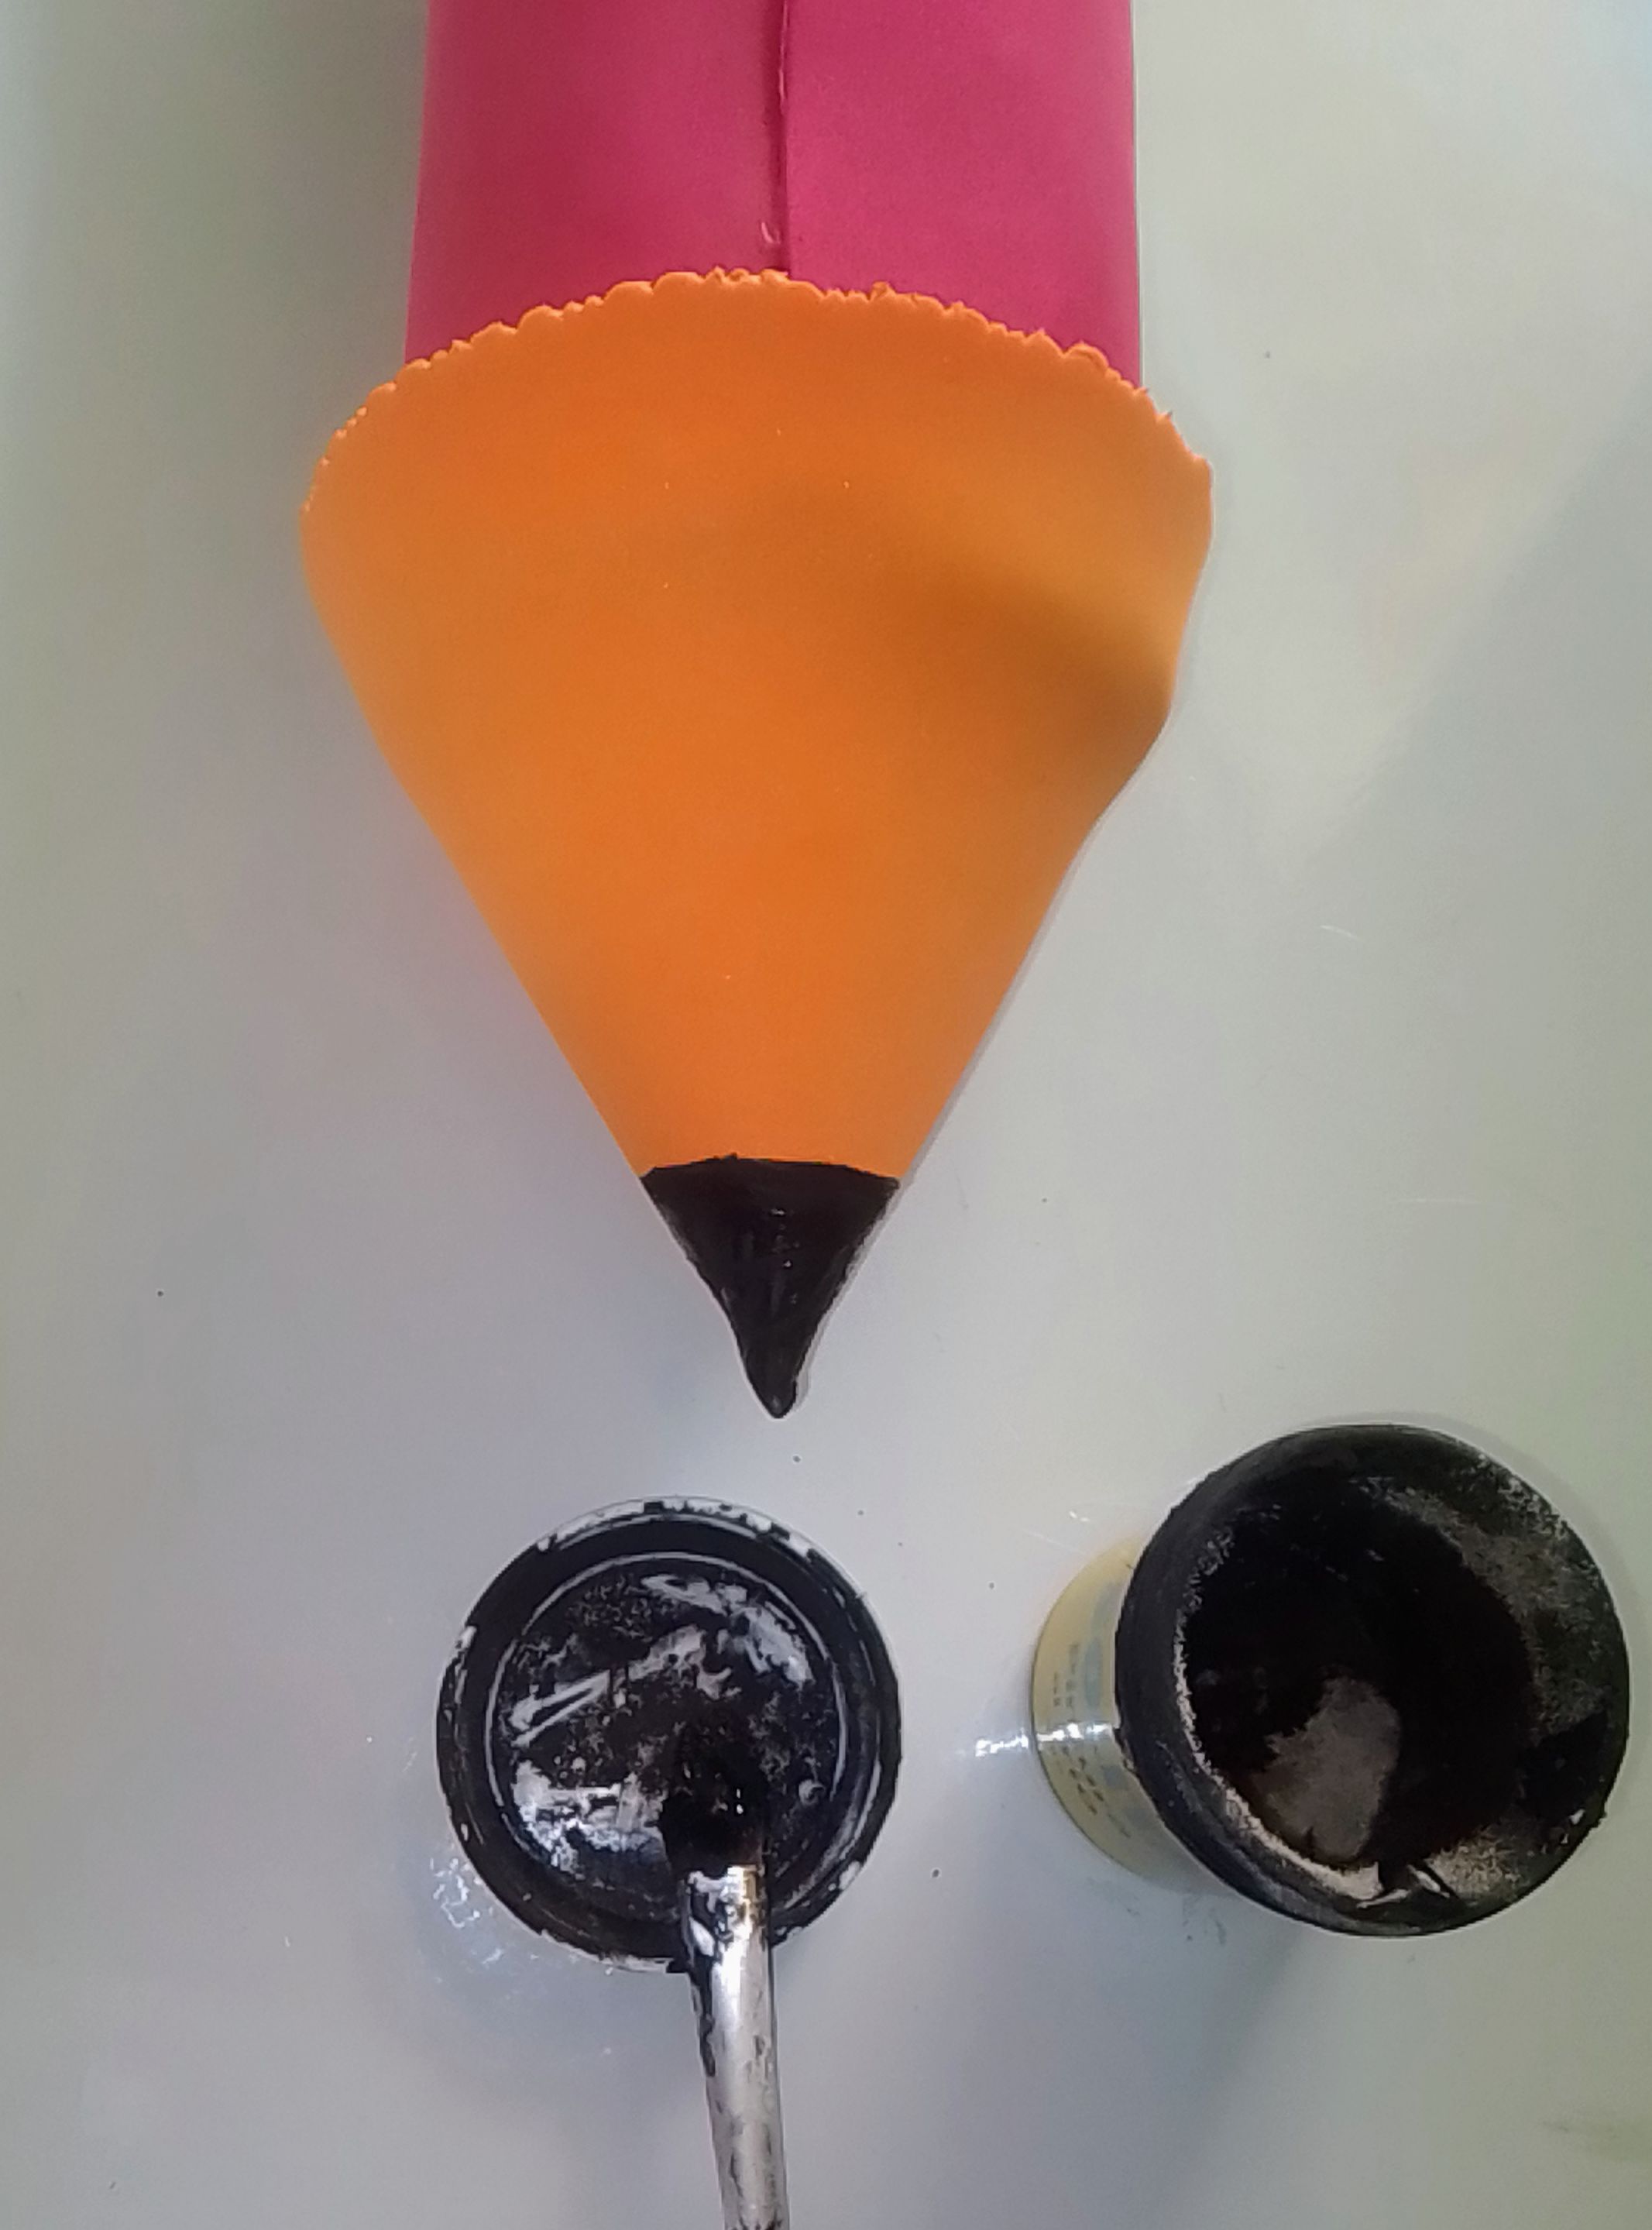
Ahora con un pincel y pintura al frío le pinto la punta del lápiz.
Now with a brush and cold paint I paint the tip of the pencil.
PASO 15
STEP 15
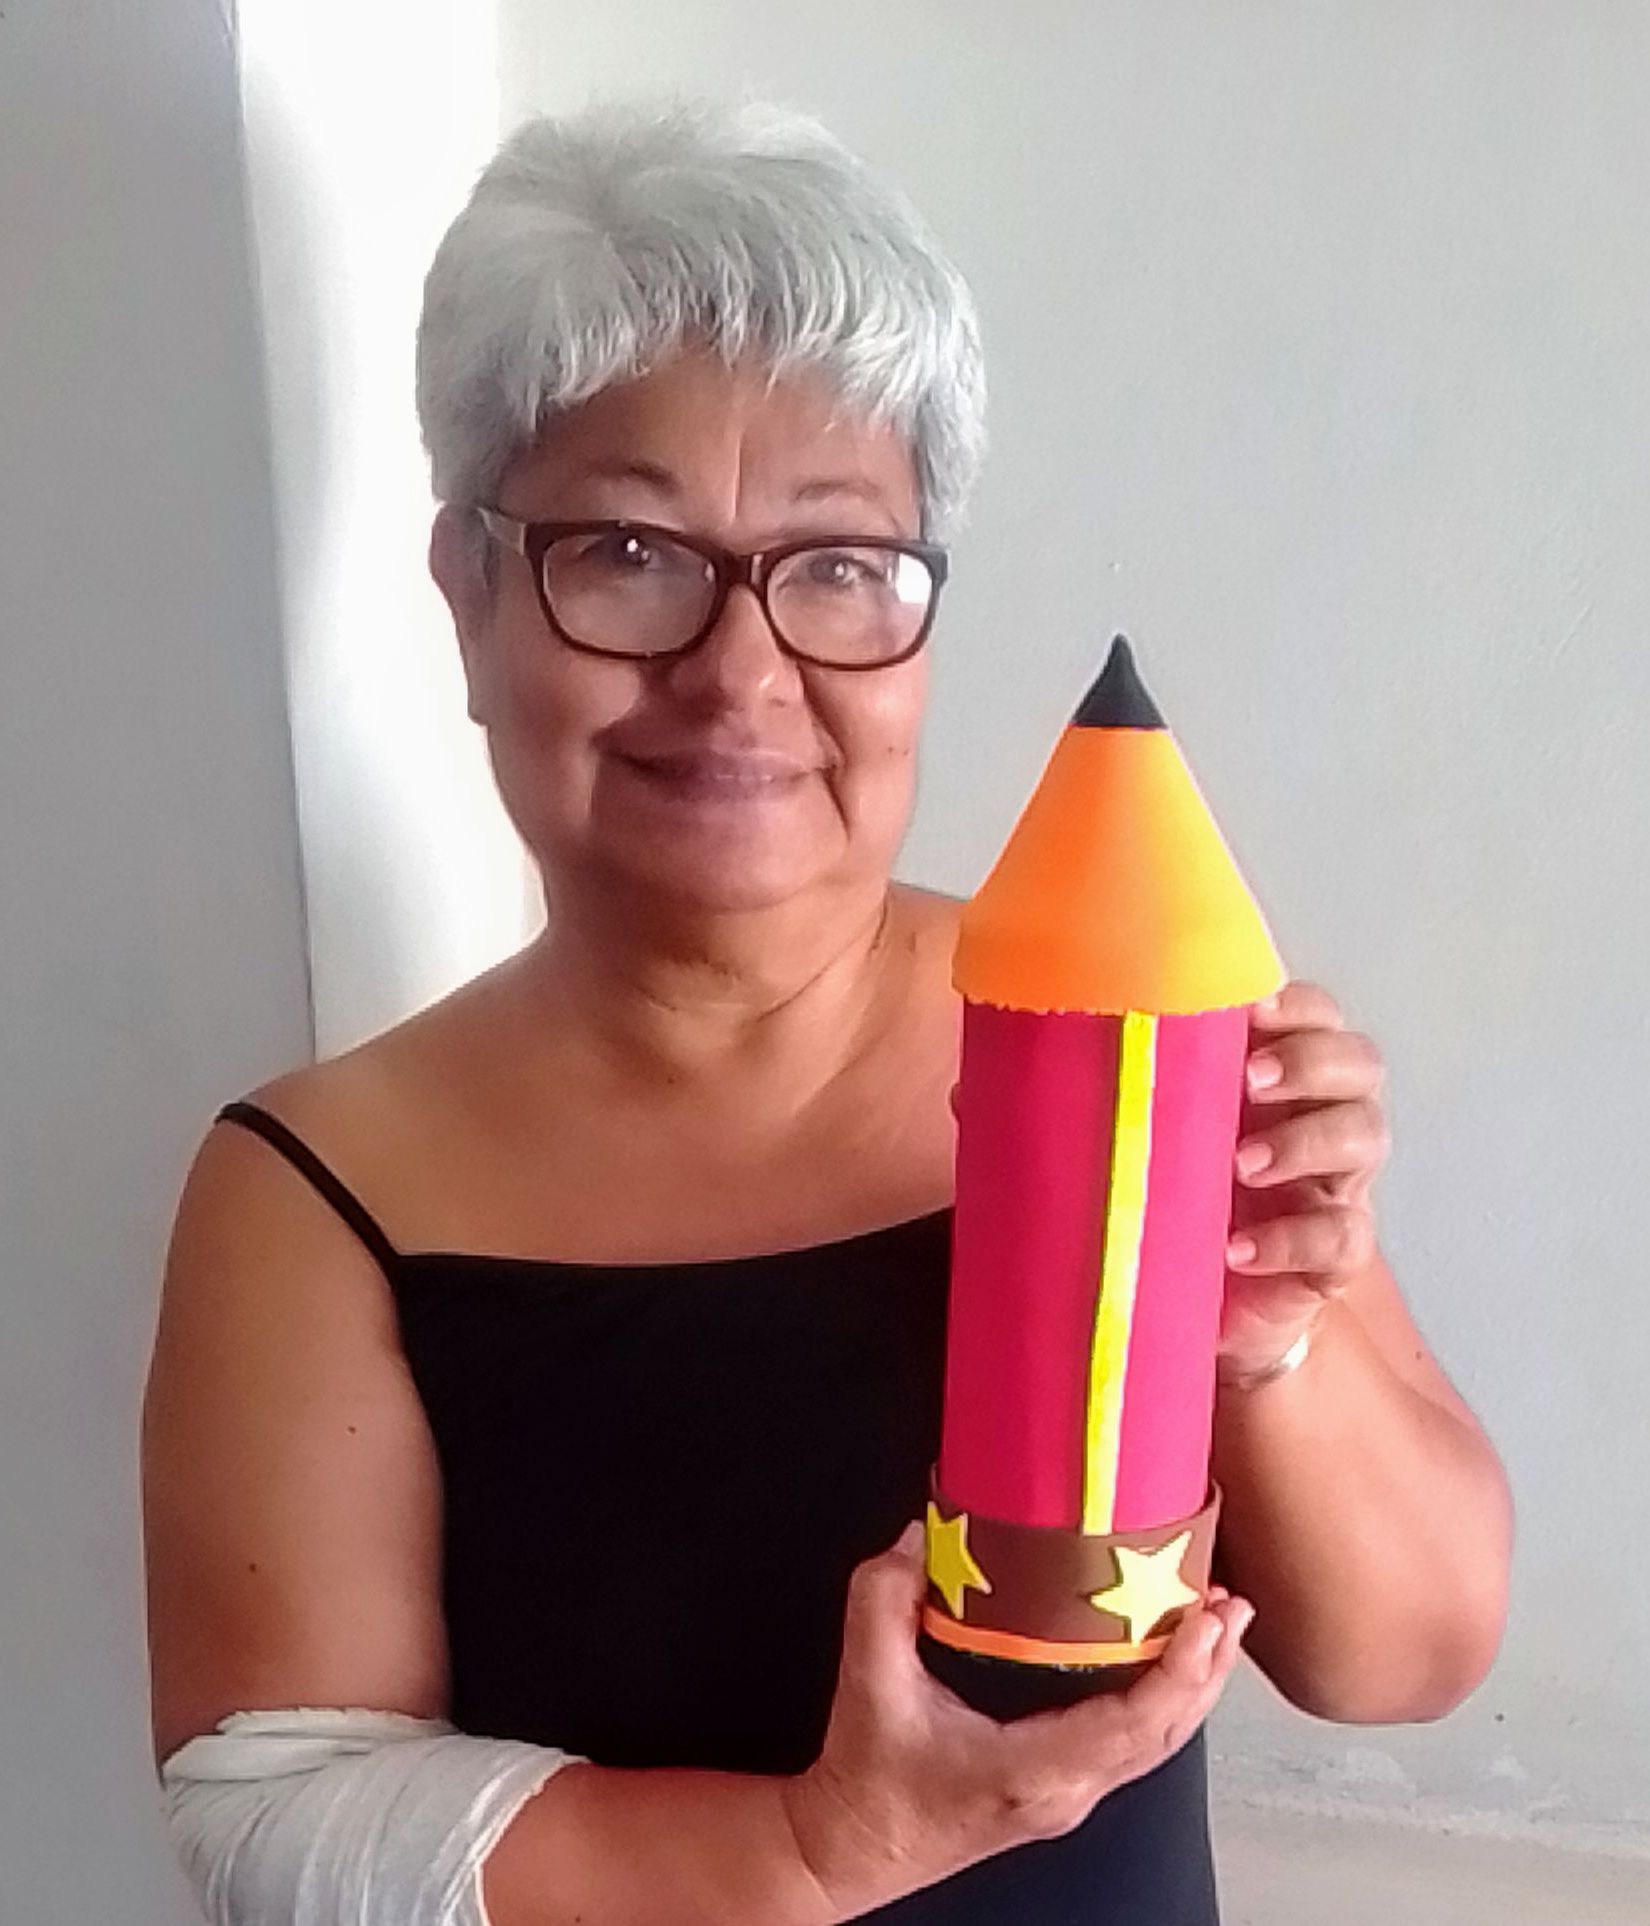
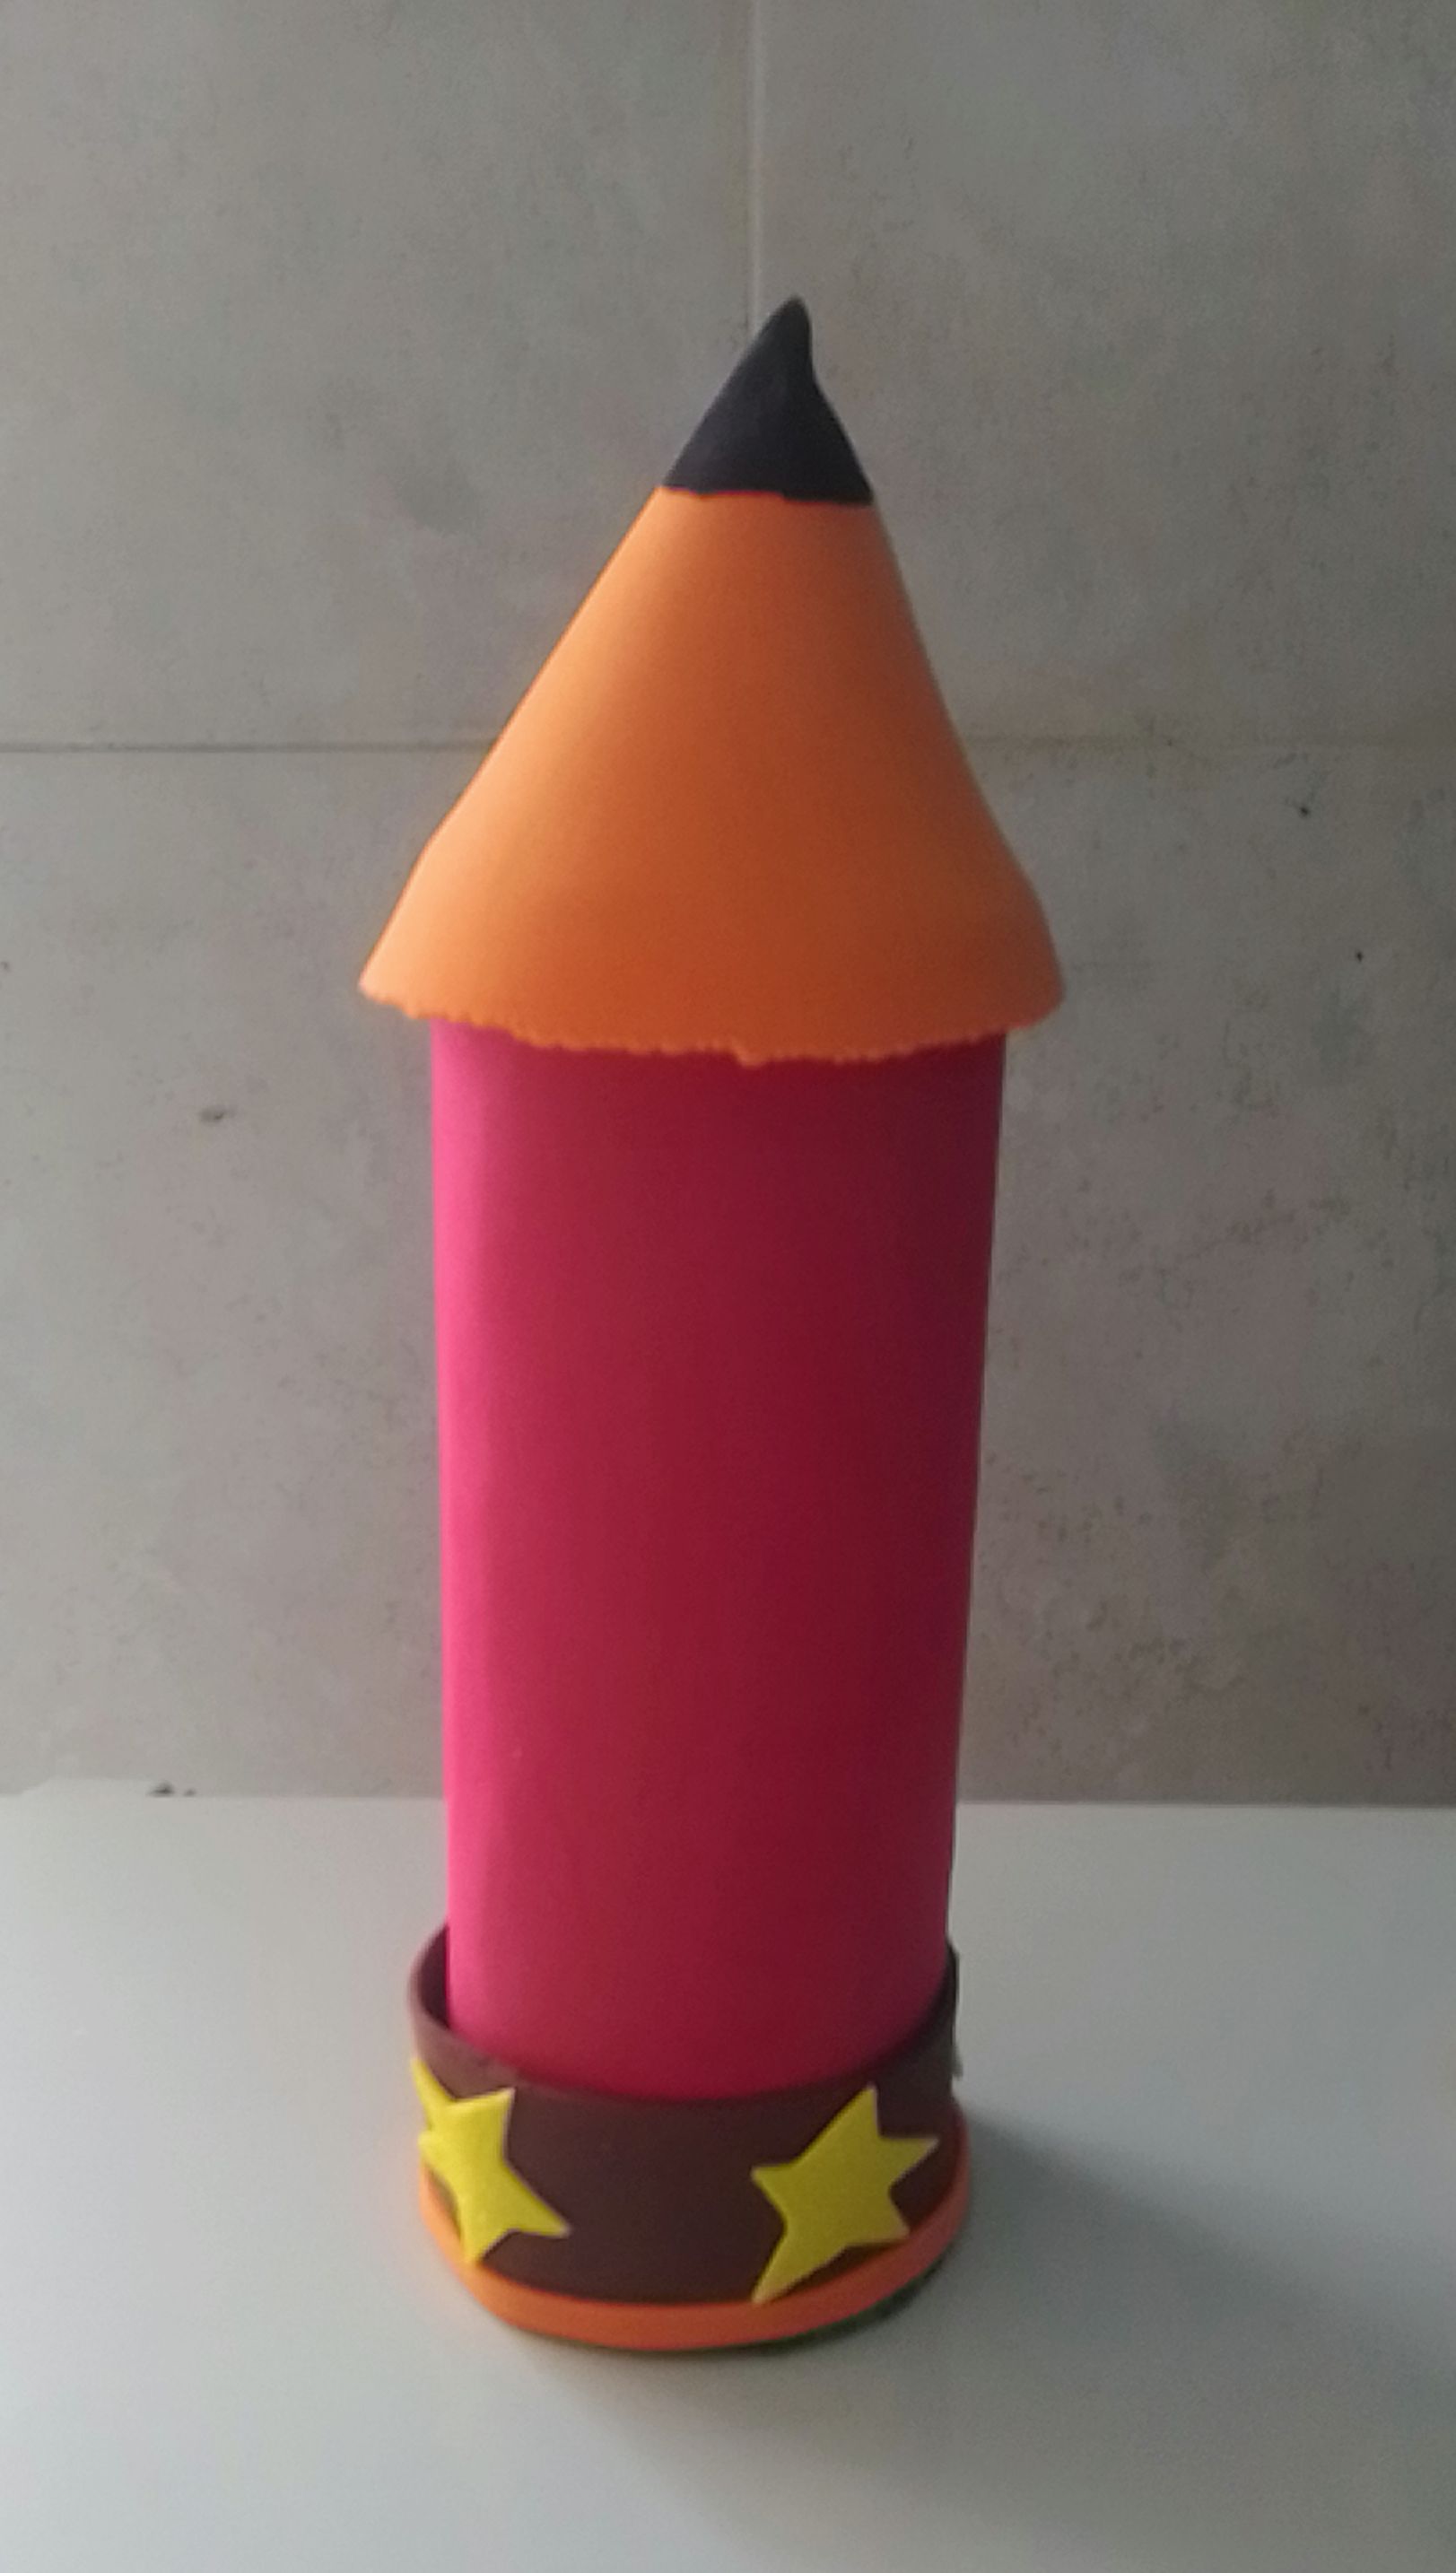
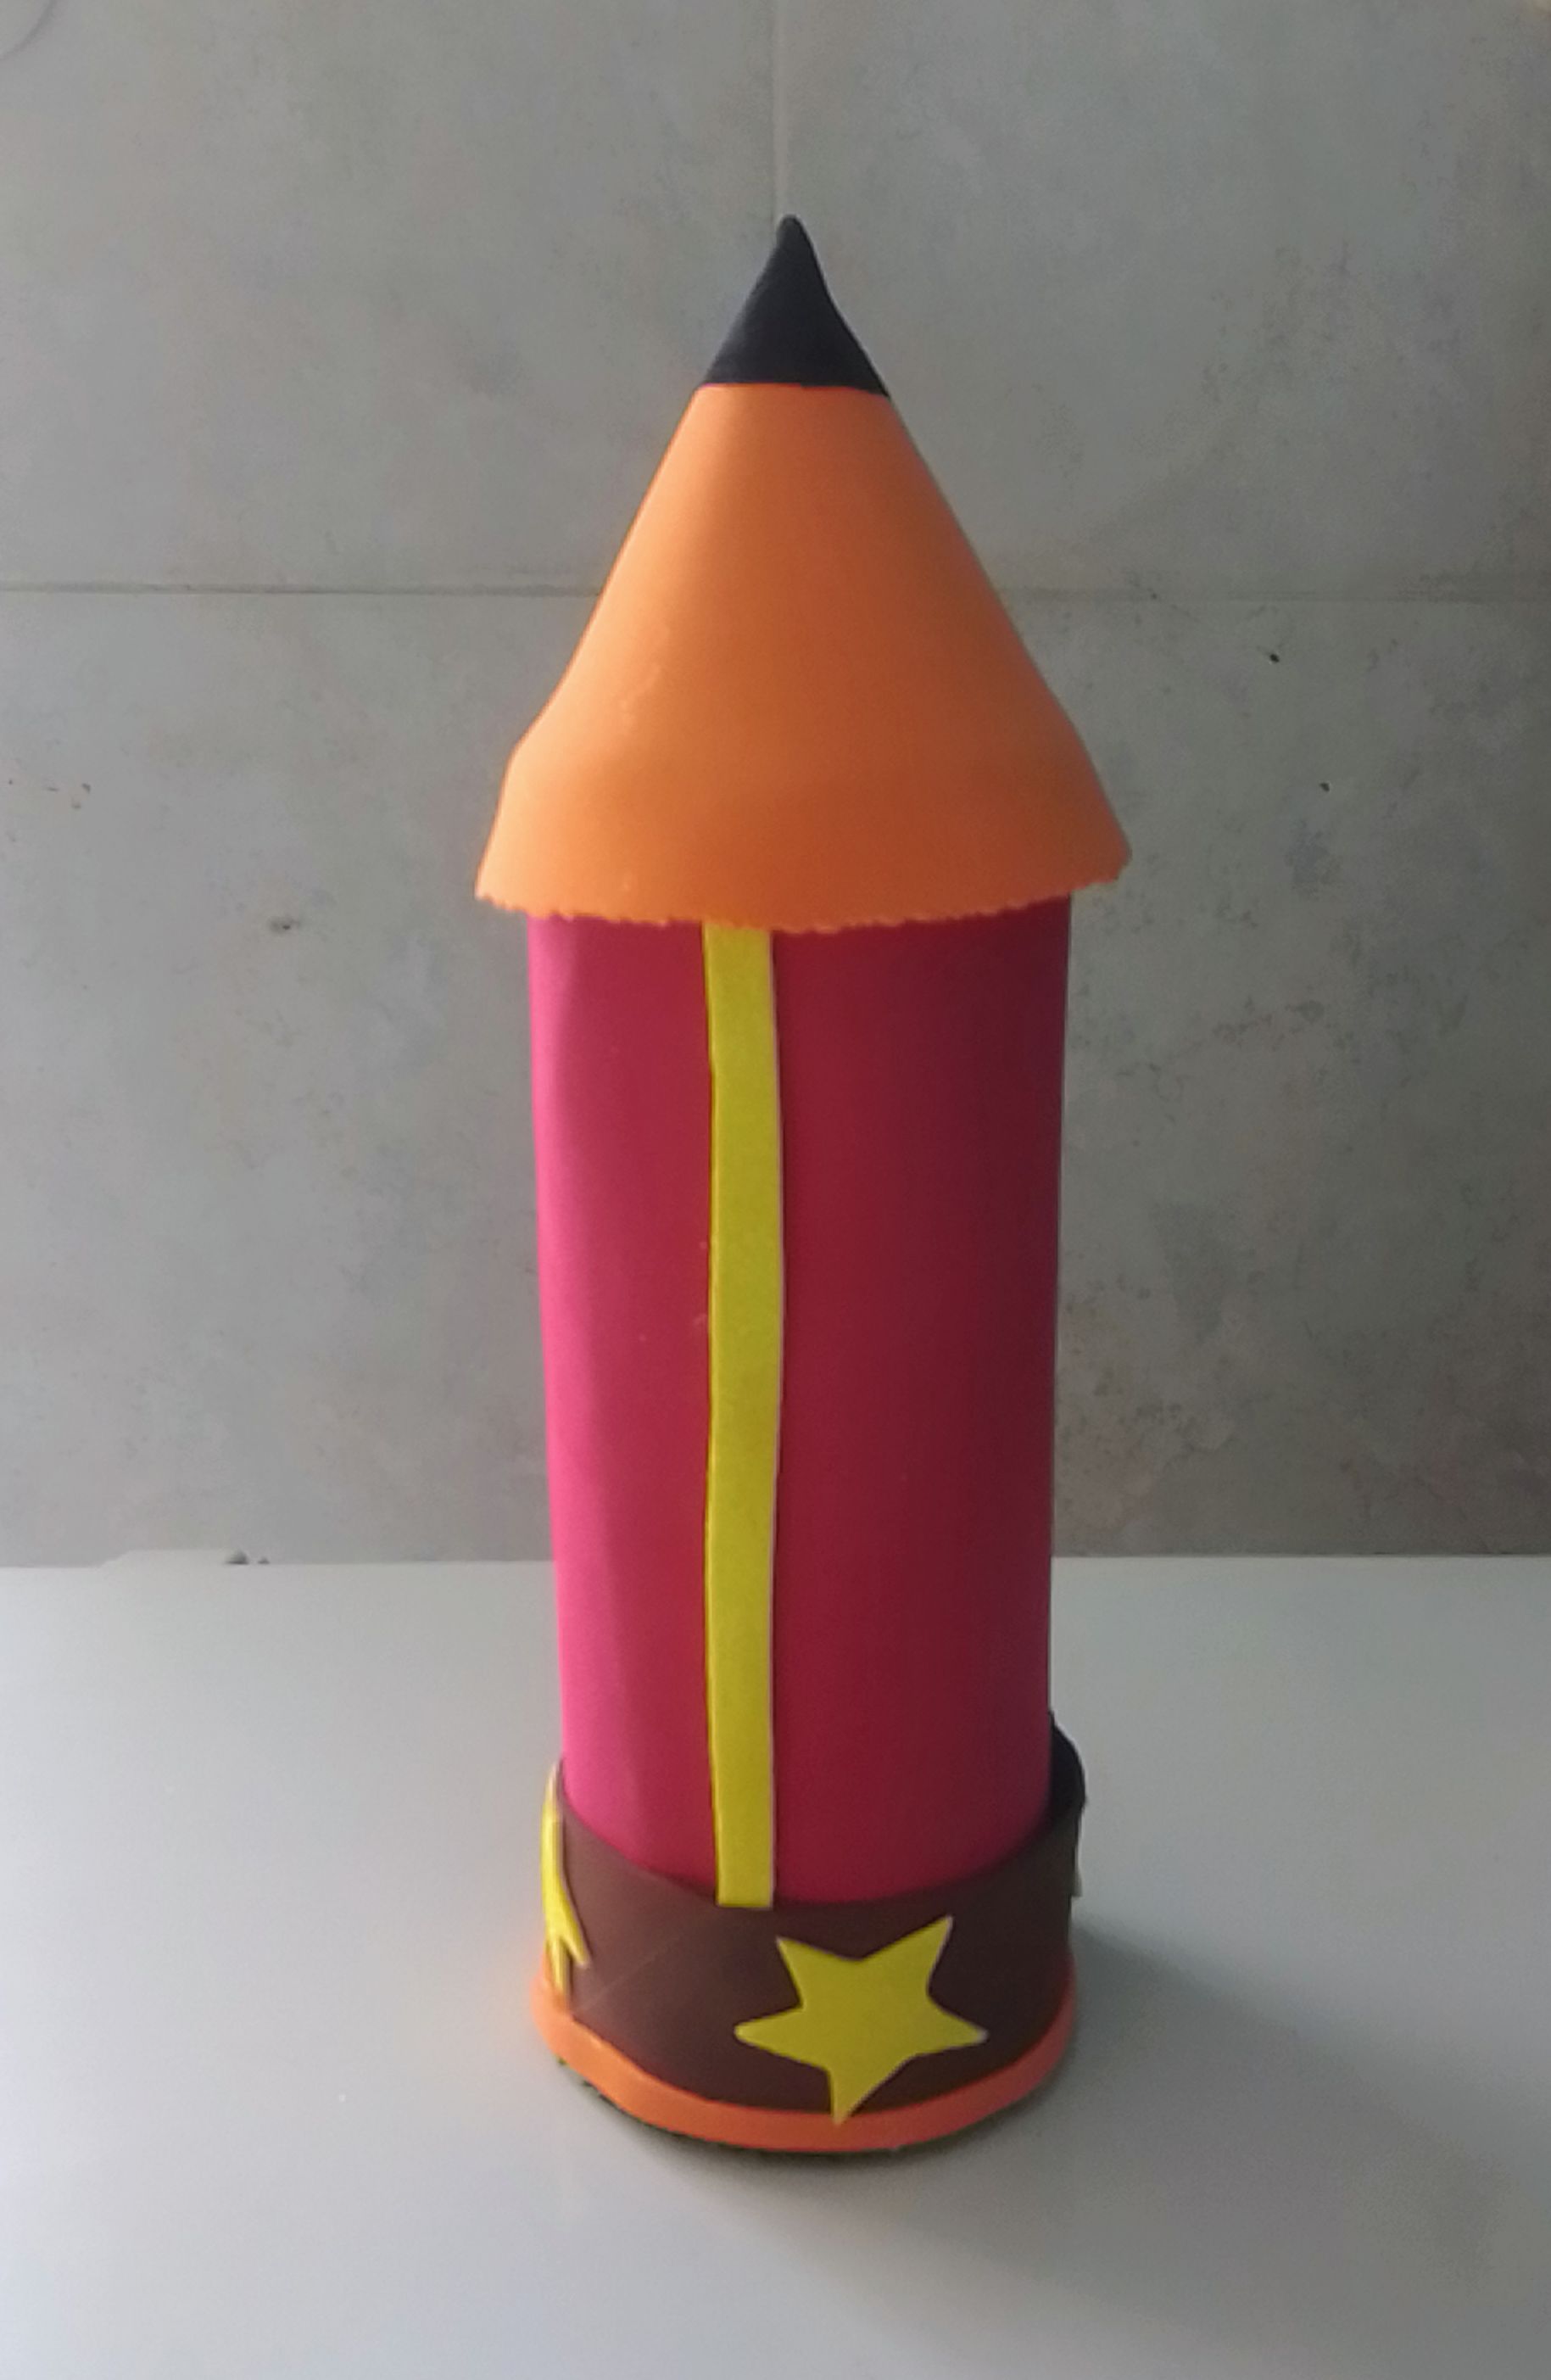
Y así se ve mi cartuchera en forma de lápiz y recorté unas estrellas y se la coloqué en la tapa para decorarla un poco mejor.
And this is what my pencil-shaped pencil case looks like and I cut out some stars and placed it on the lid to decorate it a little better.
PASO 16
STEP 16
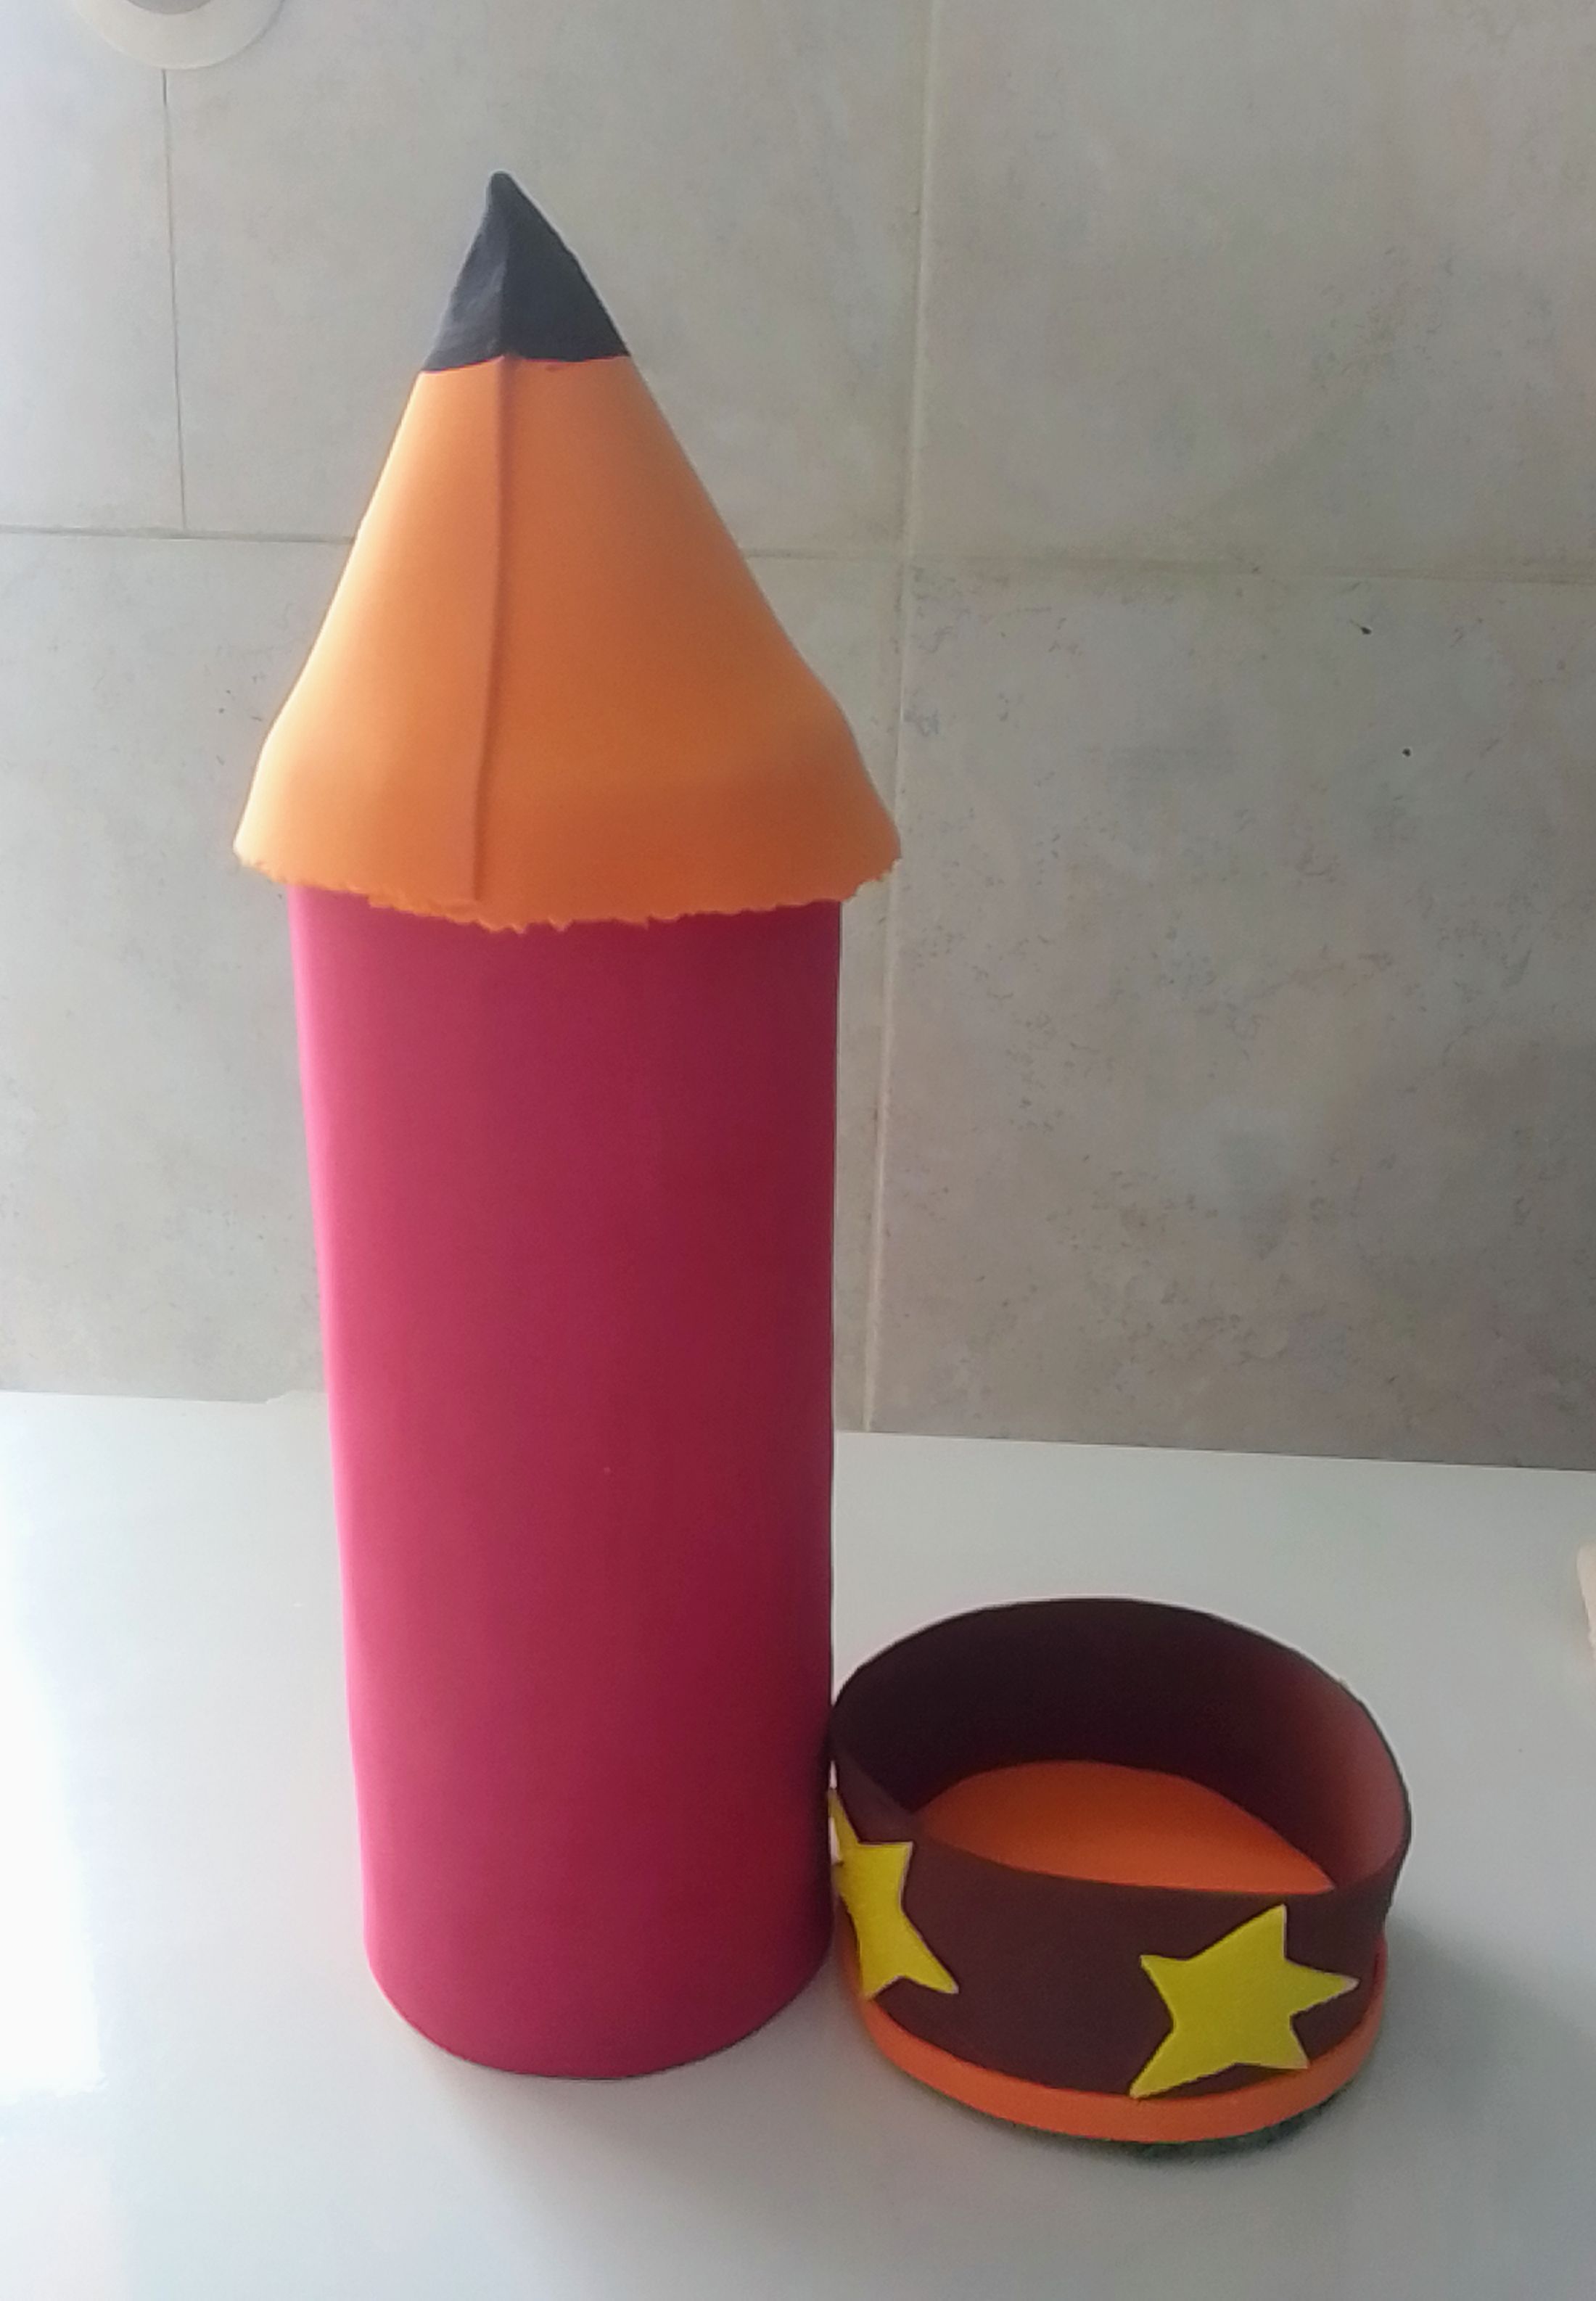
Acá vemos la cartuchera con la tapa quitada y es por alli donde vas a colocar tus lapices, borrador, sacapunta etc. del colegio para organizarte.
Here we see the pencil case with the lid removed and that is where you are going to place your pencils, eraser, sharpener, etc. from school to organize yourself.
PASO 17
STEP 17
Y para finalizar le coloqué esta tira por la parte del empate para decorarla y ve que quedó hermosa la cartuchera lista para estrenarla.
And to finish, I placed this strip on the tie part to decorate it and you can see that the pencil case turned out beautifully, ready to be used for the first time.
Espero le haya gustado este modelo de cartuchera y gracias por visitarme y por sus valiosos comentarios.
I hope you liked this model of pencil case and thank you for visiting me and for your valuable comments.
Todas las imágenes son tomadas con mi celular LOGICL55B.
Traducido con deepl translate.
All images are taken with my LOGIC L55B cell phone.
Translated with deepl translate.
BENDICIONES PARA TODOS.
BLESSINGS FOR ALL.

Que lindo trabajo hiciste amiga, el resultado final es increíble, saludos y que Dios la bendiga 🌸
Gracias abuelita bendiciones me alegro que te haya gustado feliz día.
!discovery 25
!diy
This post was shared and voted inside the discord by the curators team of discovery-it
Join our Community and follow our Curation Trail
Discovery-it is also a Witness, vote for us here
Delegate to us for passive income. Check our 80% fee-back Program
Gracias bendiciones feliz día.
A pencil case in the shape of a pencil, now that's brilliant. Bravo.
Gracias bendiciones feliz día
You can query your personal balance by
!DIYSTATSBendiciones feliz día.
Me gusta la idea para adornar en mi salón. Saludos
Oye que bien excelente ya te di la idea gracias por tu visita un abrazo.
Gracias feliz día.
Congratulations @tibisayq23! You have completed the following achievement on the Hive blockchain And have been rewarded with New badge(s)
Your next target is to reach 7000 upvotes.
You can view your badges on your board and compare yourself to others in the Ranking
If you no longer want to receive notifications, reply to this comment with the word
STOPCheck out our last posts:
Bendiciones gracias.
¡Eso es perfecto @tibisayq23! ¡Eres increíble en Hive! ¡No te detengas ahora, logra esa nueva meta!
Gracias por animarme es grandioso feliz noche.
Muy ingeniosa la cartuchera, esta bella 🌷🌹🌼🌺💮🌸🪷💐🏵️🌻☘️
Gracias amiga Linda por tu grata visita y comentario y me alegro que te haya gustado un abrazo bendiciones.
🌷🌹
🙏💕
Que lindo! Me encanta!
Gracias me alegra que te haya gustado feliz noche saluditos.