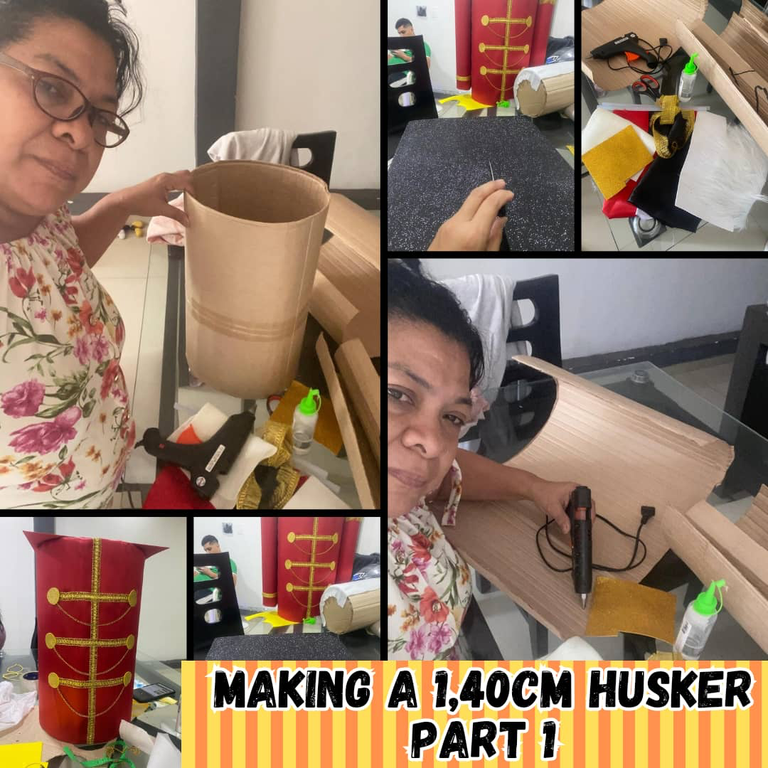

Hello my dear and favorite community where we make unique creations in this community of #Hivediy, receive a warm greeting to all. For a while now I set out to make some dolls, as Christmas is approaching. I have been making some cute dolls known as nutcrackers. Once before I wrote about some nutcrackers I had made, but they were small. This time I bring you the elaboration of one that measures 1.40 cm. This time I will describe the first part of its making because it is not finished yet. That's why I decided to do it in two parts, because it is also good that you can appreciate the pictures of its elaboration. Well, in spite of being large and faster to make, it has been difficult for me to finish it quickly. I can only tell you that it will look fantastic.
VERSIÓN EN ESPAÑOL
Hola mi querida y preferida comunidad donde hacemos creaciones únicas en esta comunidad de #Hivediy, reciban un cordial saludo para todos. Desde hace un tiempo me puse a hacer unos muñecos, ya que se aproxima Navidad. He estado haciendo unos lindos muñecos conocidos como cascanueces. Ya en una oportunidad les escribí sobre unos cascanueces que había hecho, pero eran pequeños. Esta vez les traigo la elaboración de uno que mide 1.40 cm. En esta oportunidad les describiré la primera parte de su realización porque aún no está terminado. Por eso decidí hacerlo en dos partes, ya que también es bueno que puedan apreciar sus fotos de elaboración. Pues, a pesar de ser grande y más rápido su elaboración, se me ha complicado terminarlo rápido. Solo les puedo decir que me quedará fantástico.

 |  |  |  |
|---|
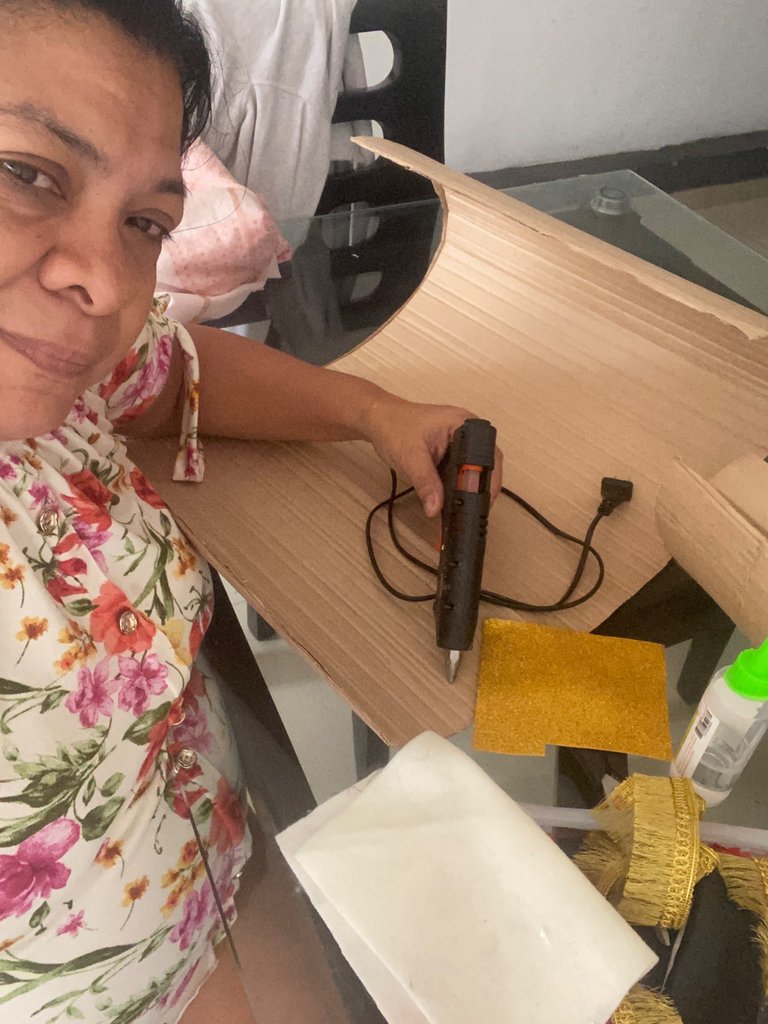
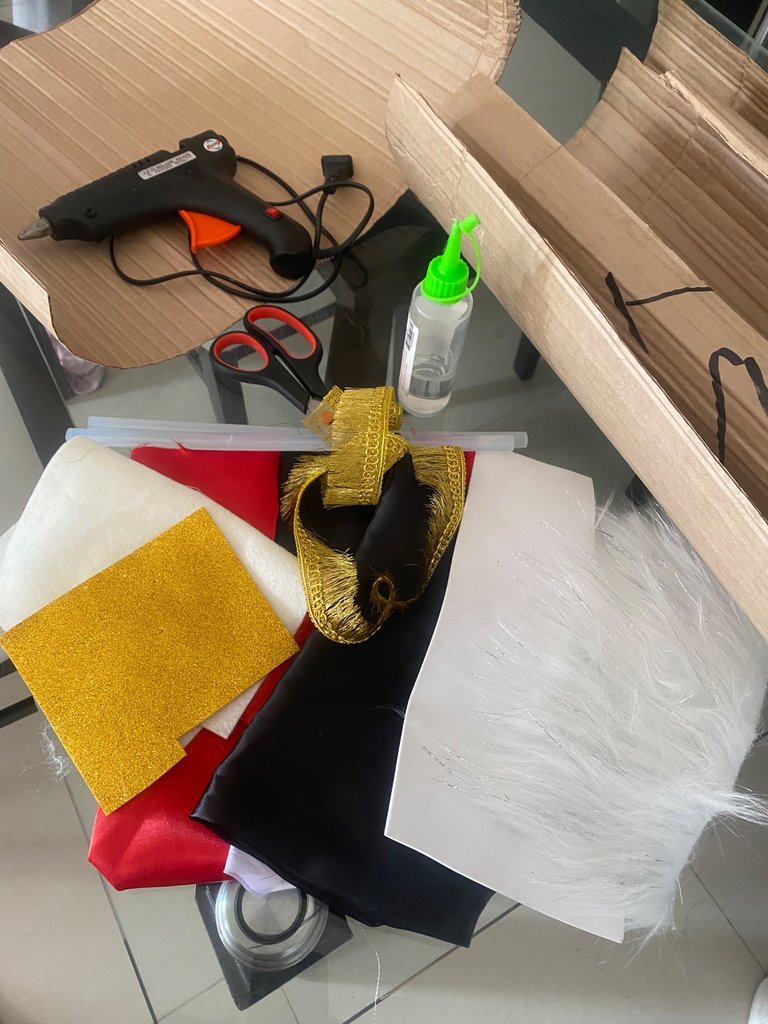
To begin its elaboration, I used cardboard from boxes, since it is quite thick and can be held better. Next,
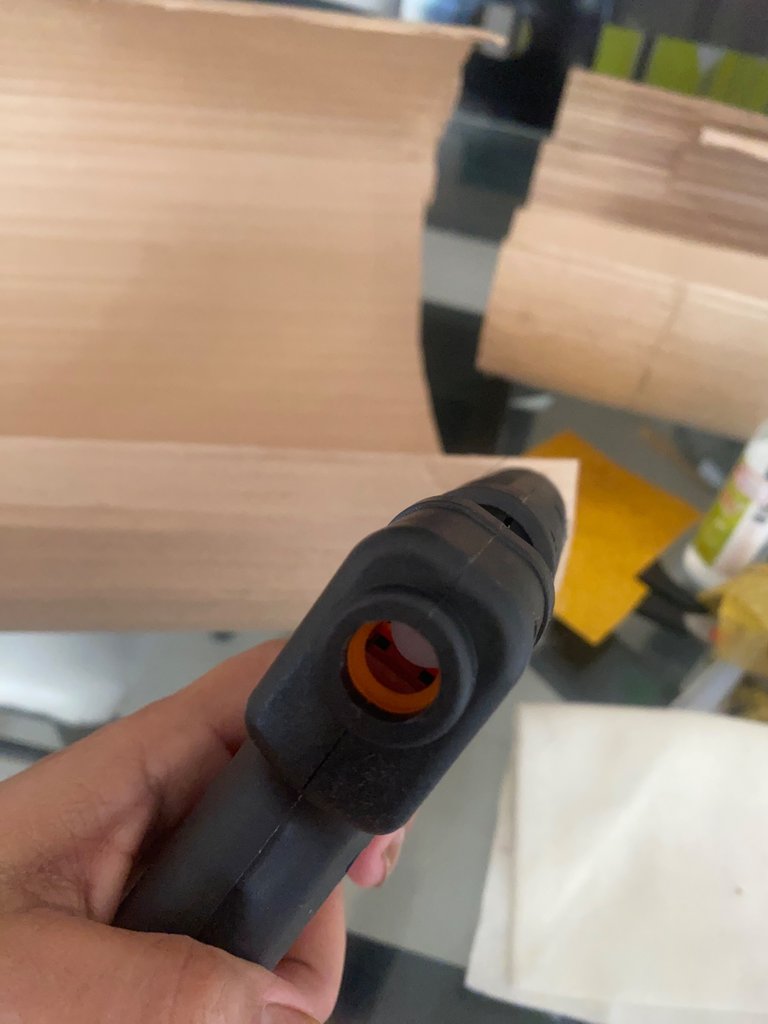
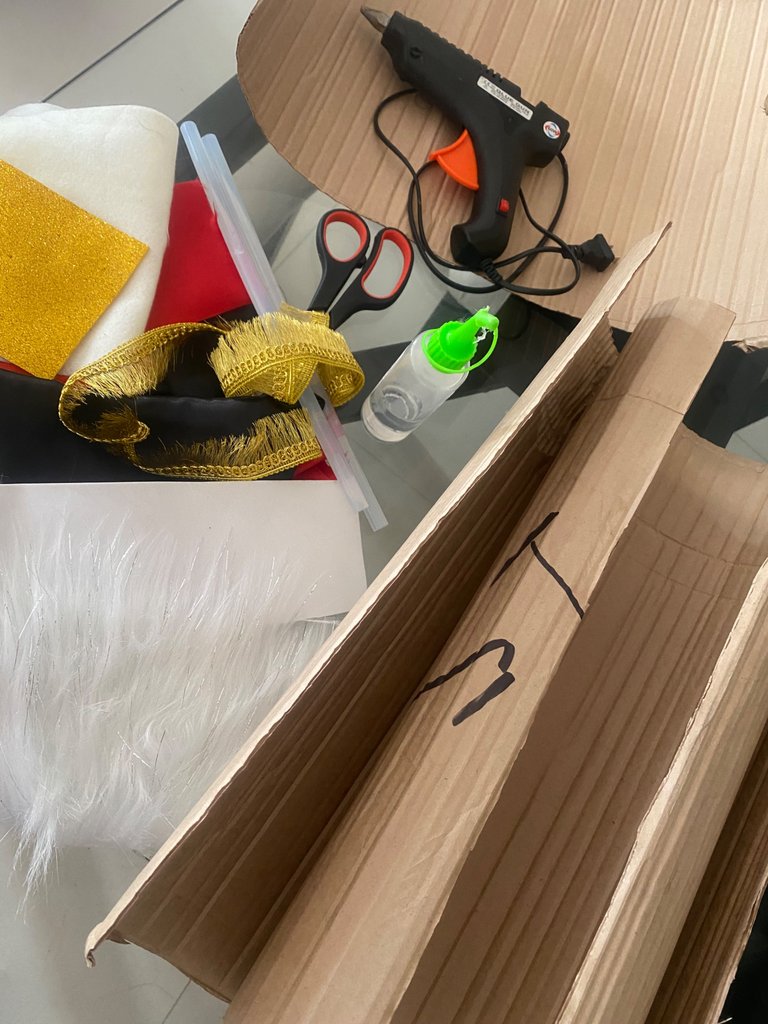
the materials: 3 large cardboard boxes, 1/2 meter of red satin, 1/2 meter of black satin, 1 meter of gold lace 1 cm and a half thick, 1 small sheet of gold foami, 1 large sheet of frosted black foami, 1 sheet of white felt, 1 sheet of gray plush fabric, 4 sticks of silicone, scissors and a silicone gun, 2 medium anime spheres.
VERSIÓN EN ESPAÑOL
Para empezar su elaboración, utilicé cartón de cajas, ya que es bastante grueso y se puede sostener mejor. A continuación,
los materiales: 3 cajas de cartón grande, 1/2 metro de satín rojo, 1/2 metro de satín negro, 1 metro de encaje dorado de 1 cm y medio de grueso, 1 lámina pequeña de foami dorado, 1 lámina grande de foami negro escarchado, 1 pliego de fieltro blanco, 1 pliego de tela de peluche gris, 4 barras de silicona, tijeras y una pistola para la silicona, 2 esferas de anime medianas.

 |  |  |  |
|---|
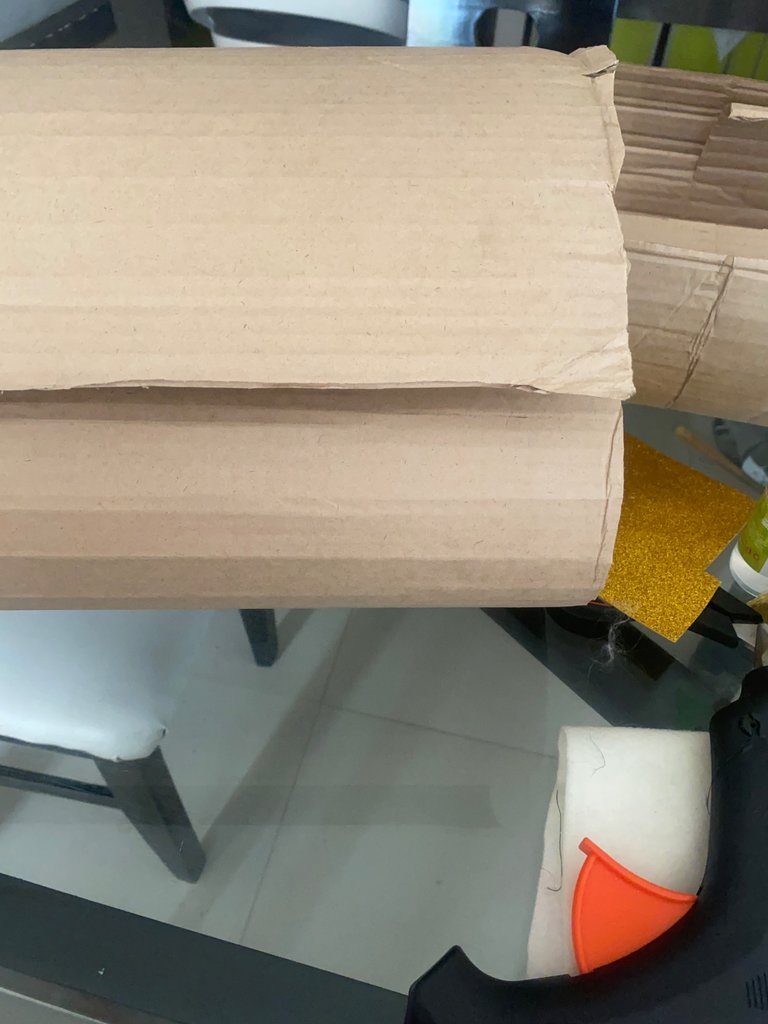
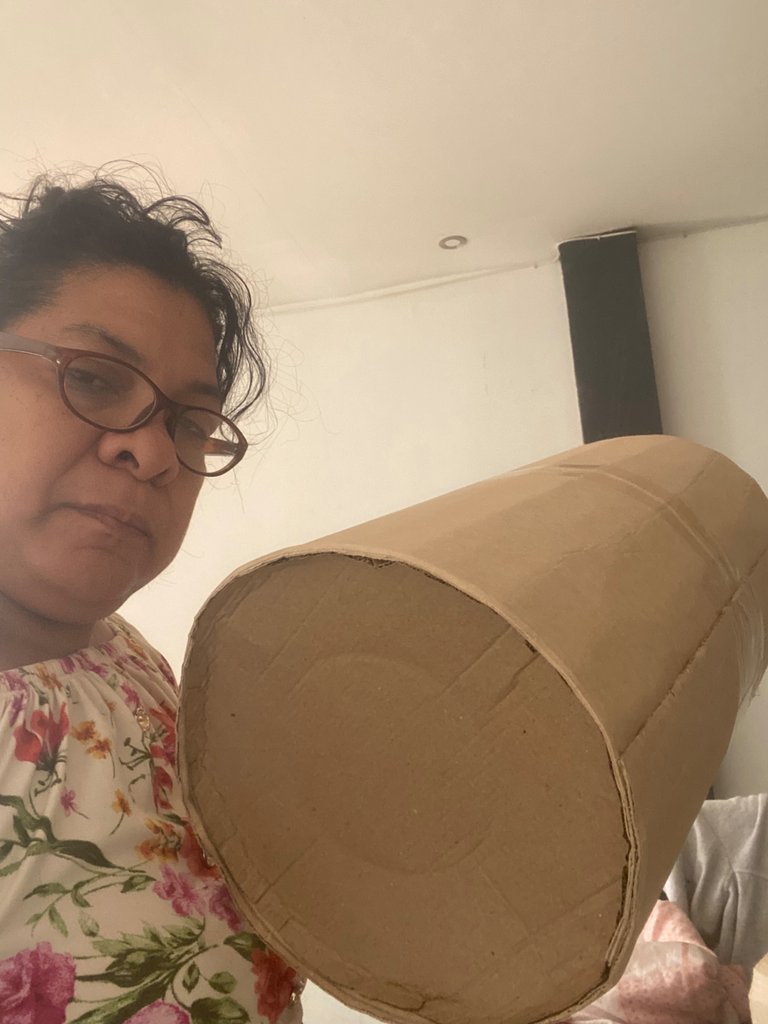
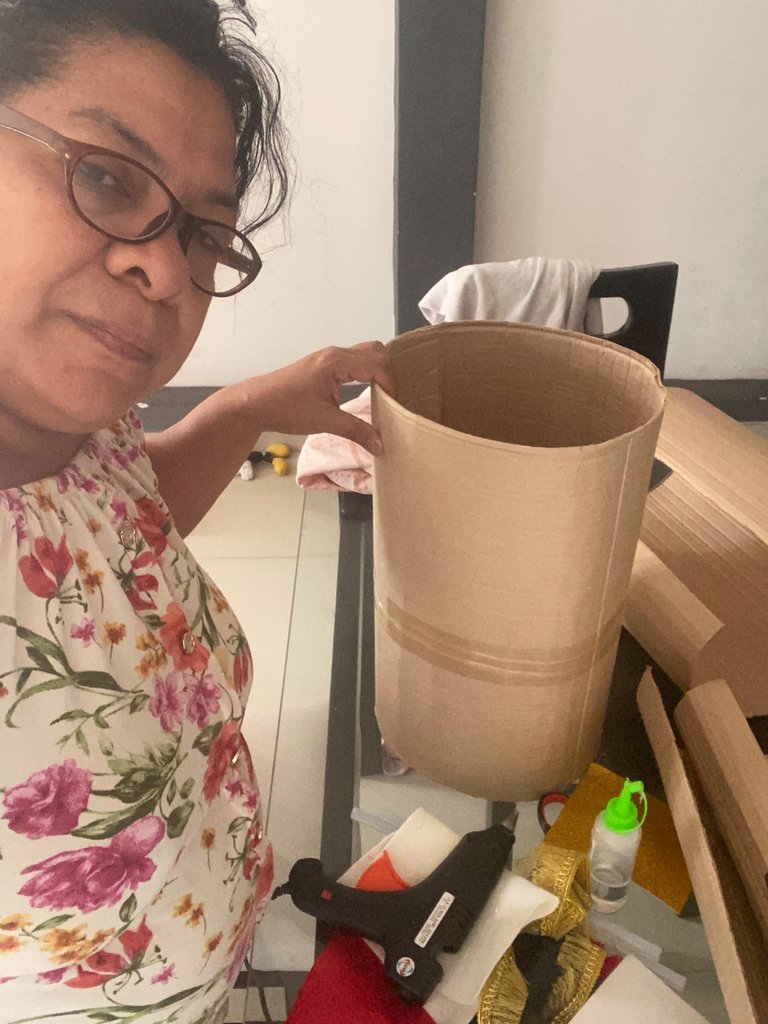
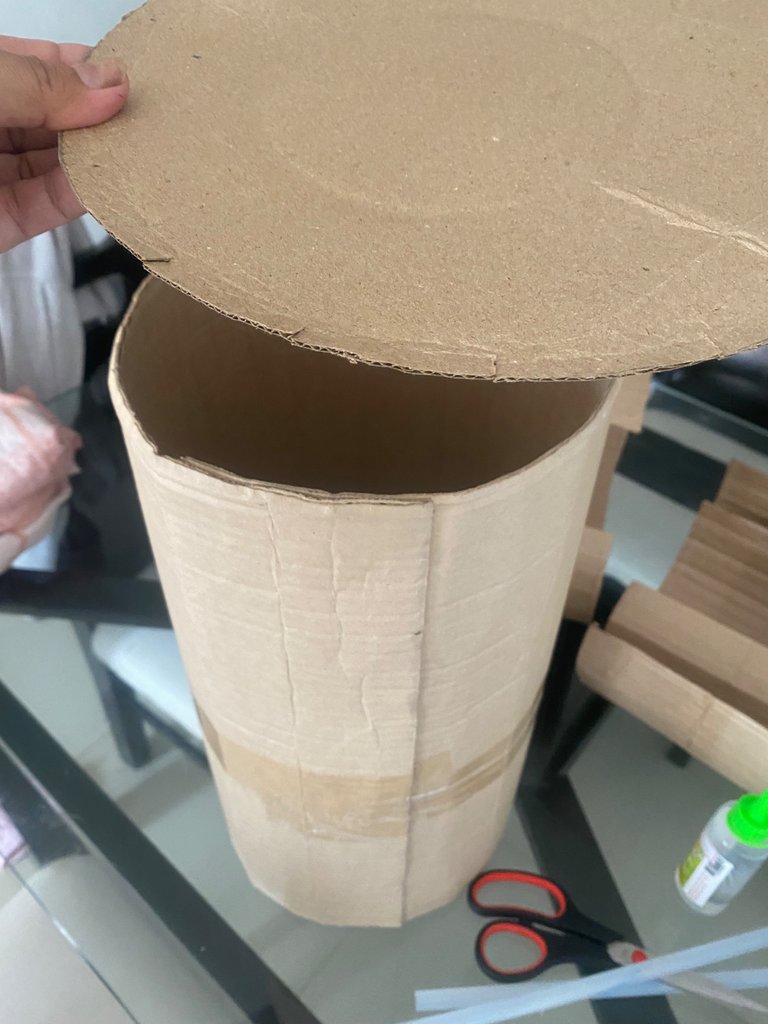
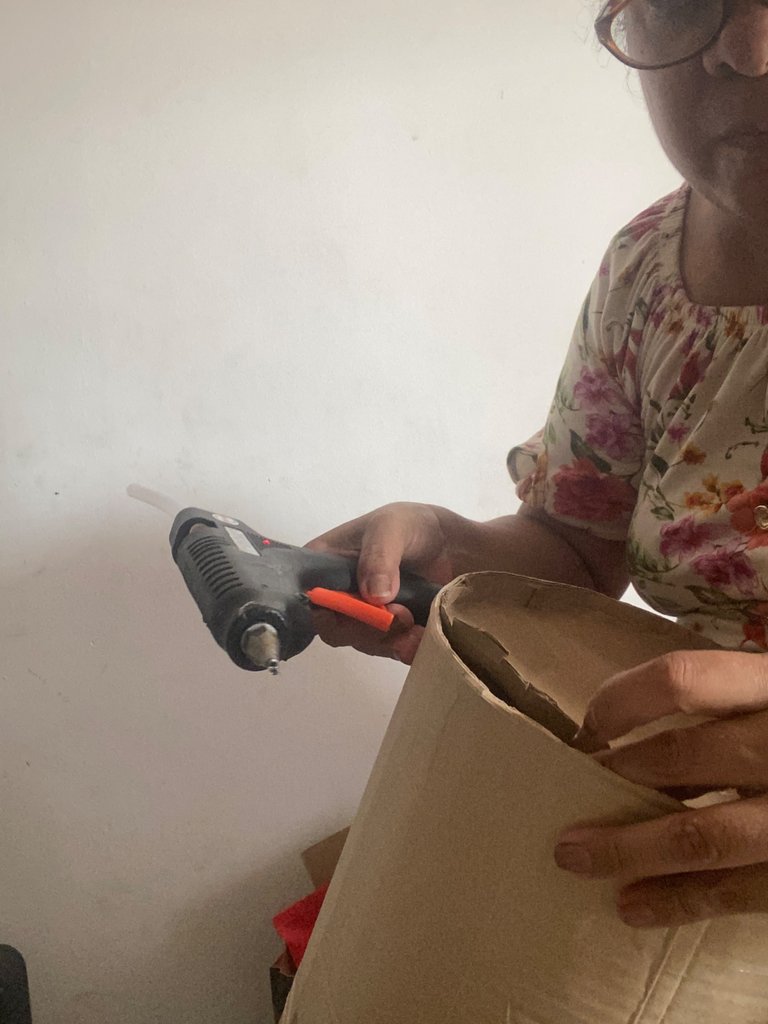
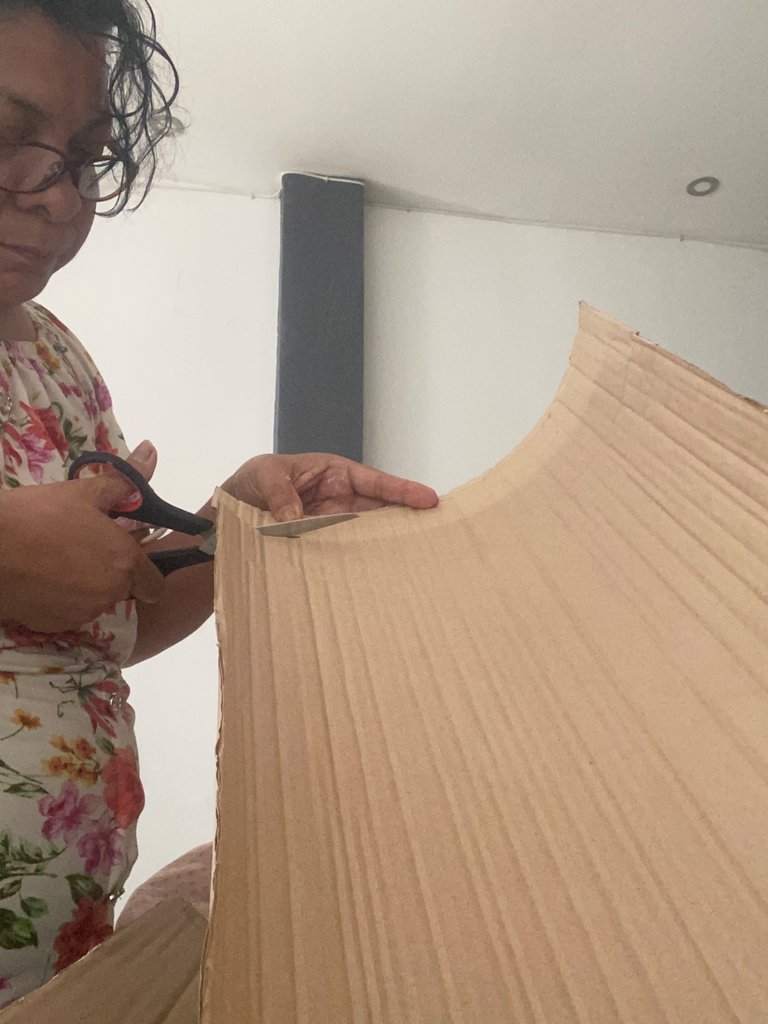
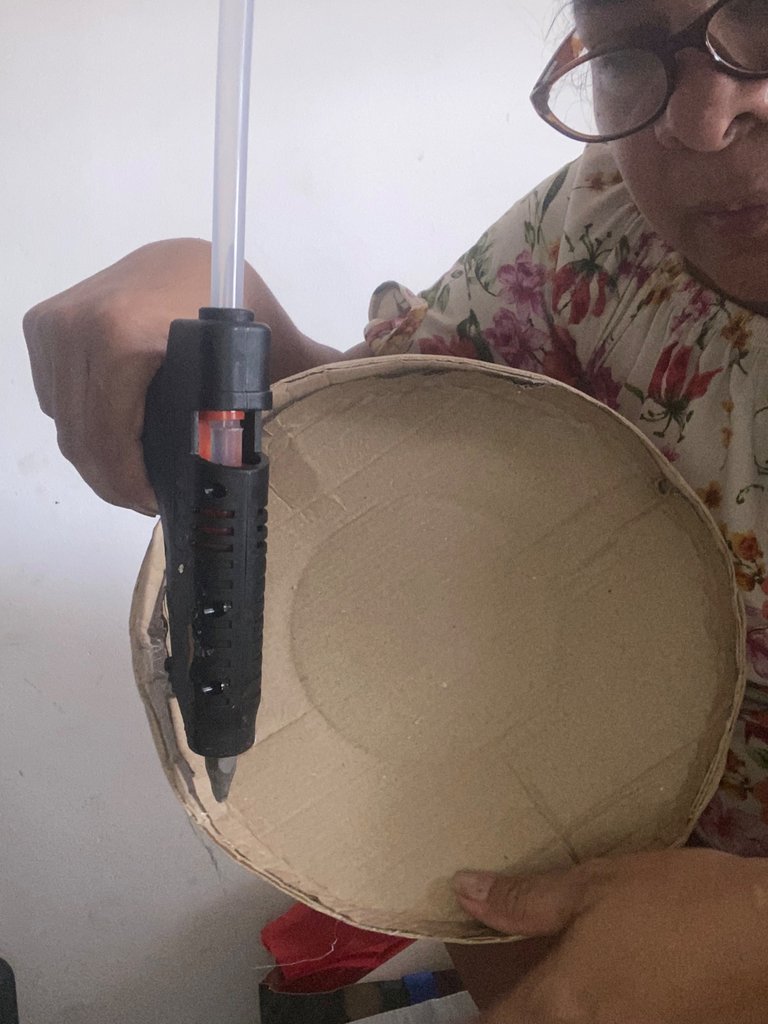
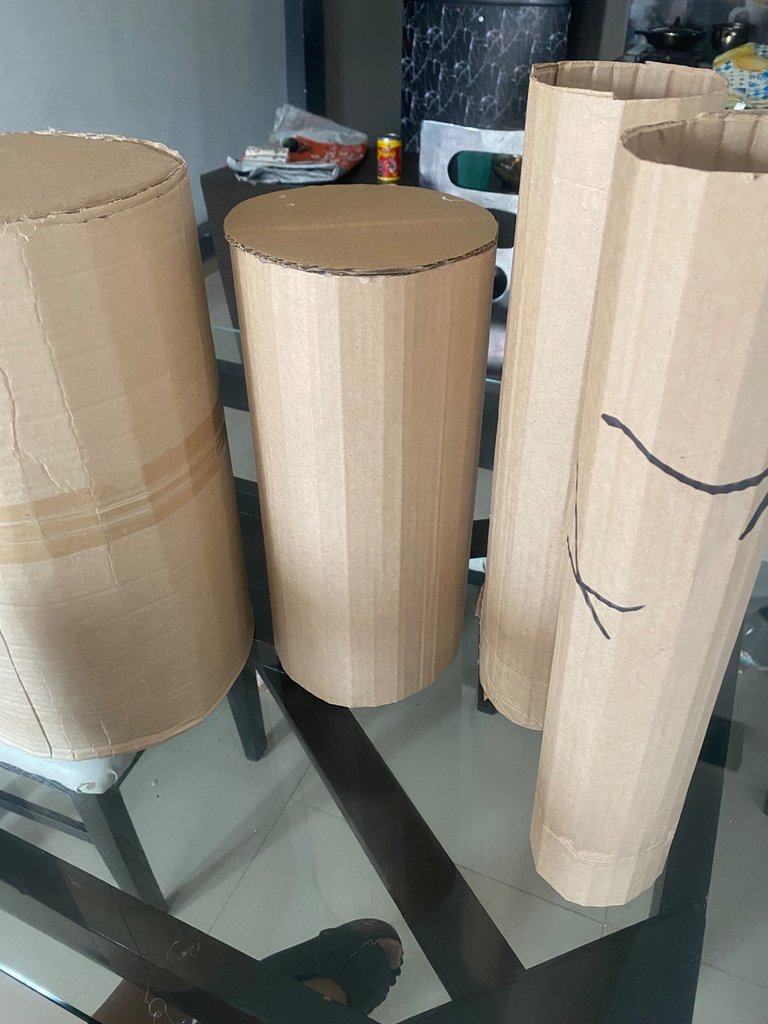
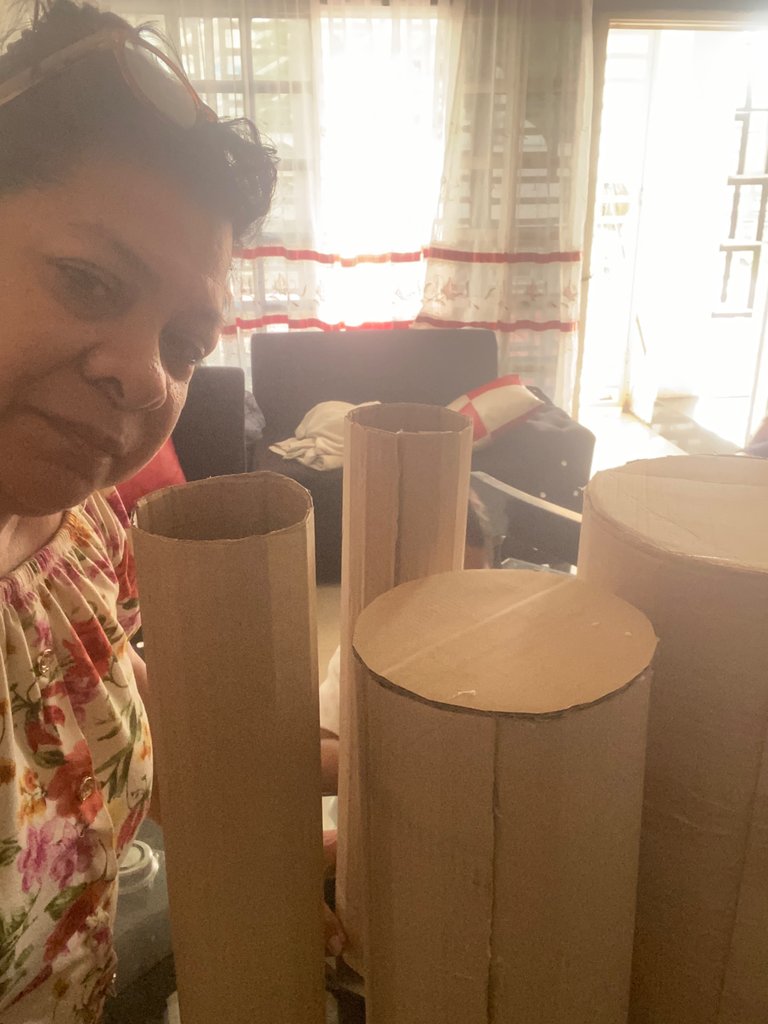
Procedure: I opened all the cardboard boxes that I could find and took one that could measure 45 high x 82 long to make it in a cylindrical shape, which would be the body. Then, I took another cardboard measuring 36x70, which would be the head and hat part. I took other cardboard measuring 55x40, which would be the legs; of these, two would be the same size. Finally, two cartons measuring 25x40 would be the arms. It is very easy to make because they are based on only one geometric shape, which are cylinders of different thicknesses.
VERSIÓN EN ESPAÑOL
Procedimiento: abrí todas las cajas de cartón que me quedaran extendidas y tomé una que pudiera medir 45 de alto x 82 de largo para hacerlo de forma cilíndrica, lo que vendría a ser el cuerpo. Luego, tomé otro cartón que midiera 36x70, que vendría a ser la parte de la cabeza y el sombrero. Tomé otros cartones que medirían 55x40, que serían las piernas; de estos, serían dos de la misma medida. Por último, dos cartones que midieran 25x40 serían de los brazos. Es muy fácil de hacer porque están basados en solo una forma geométrica, que son cilindros de diferentes espesores.

 |  |  |  |
|---|
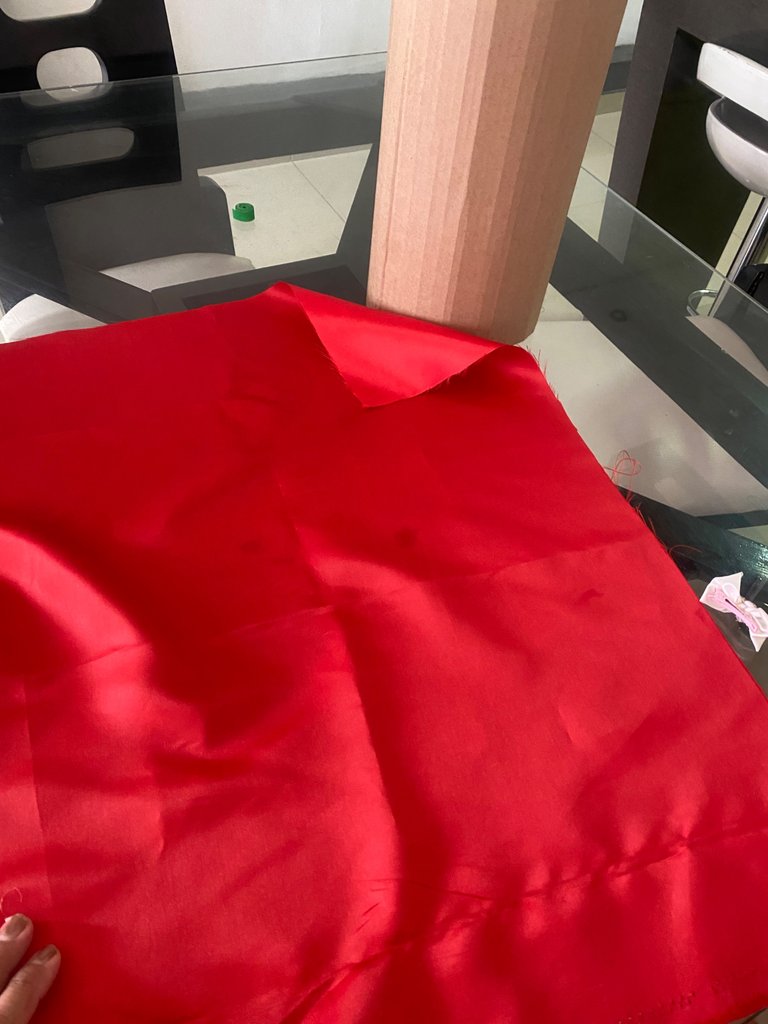
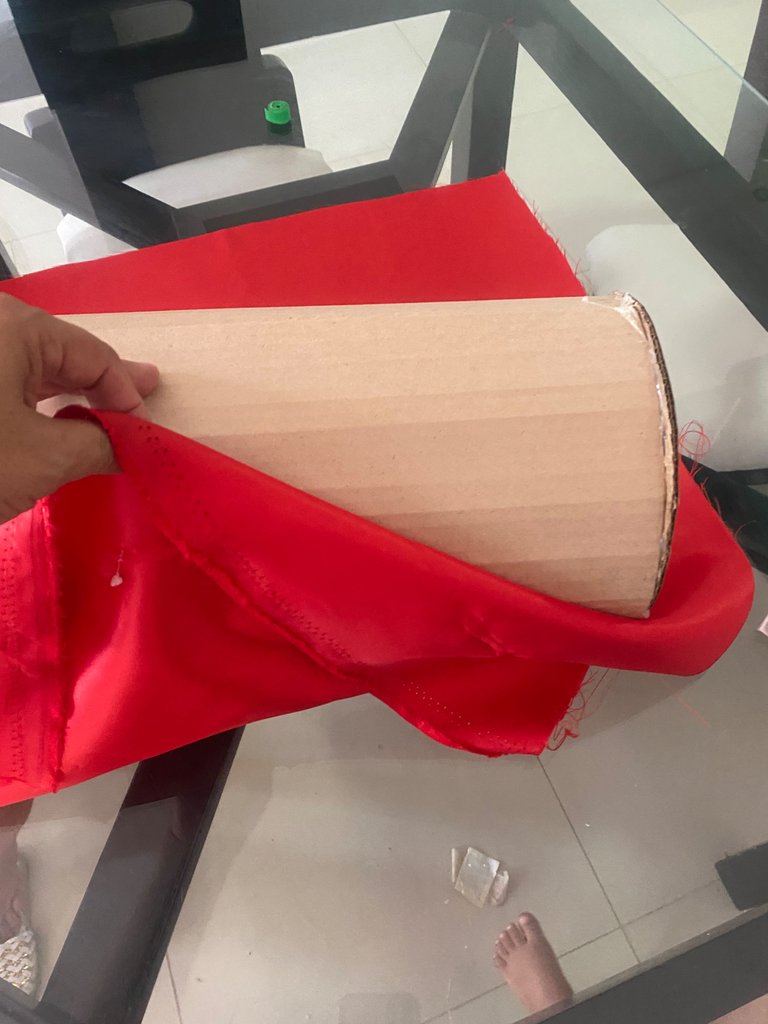
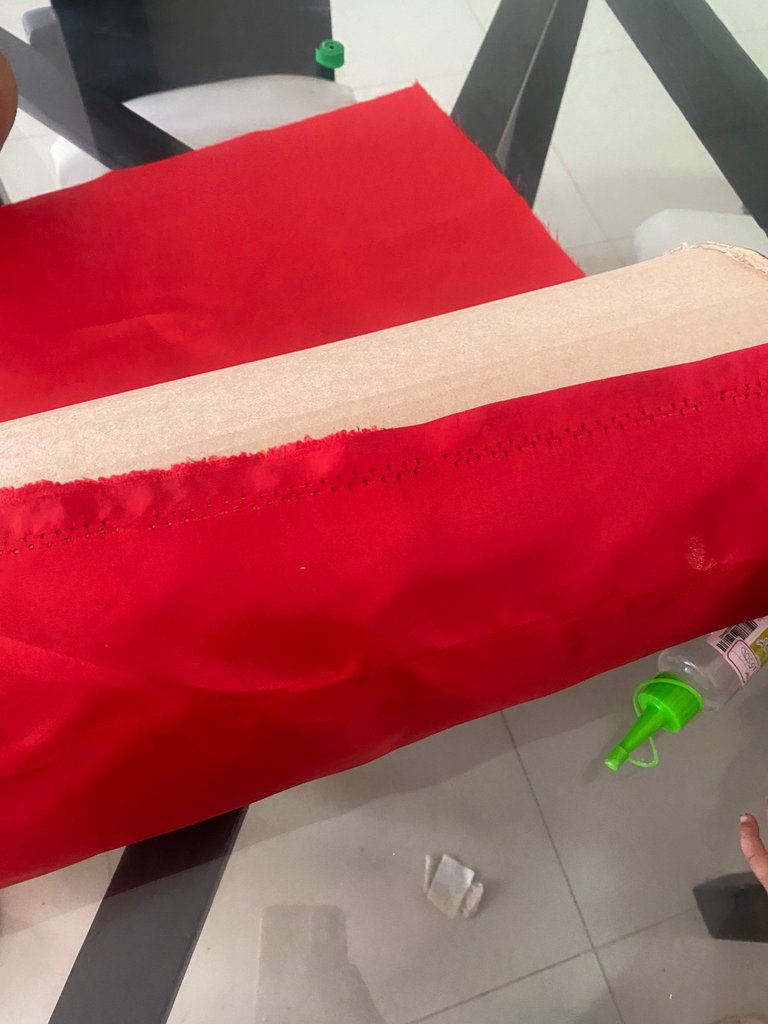
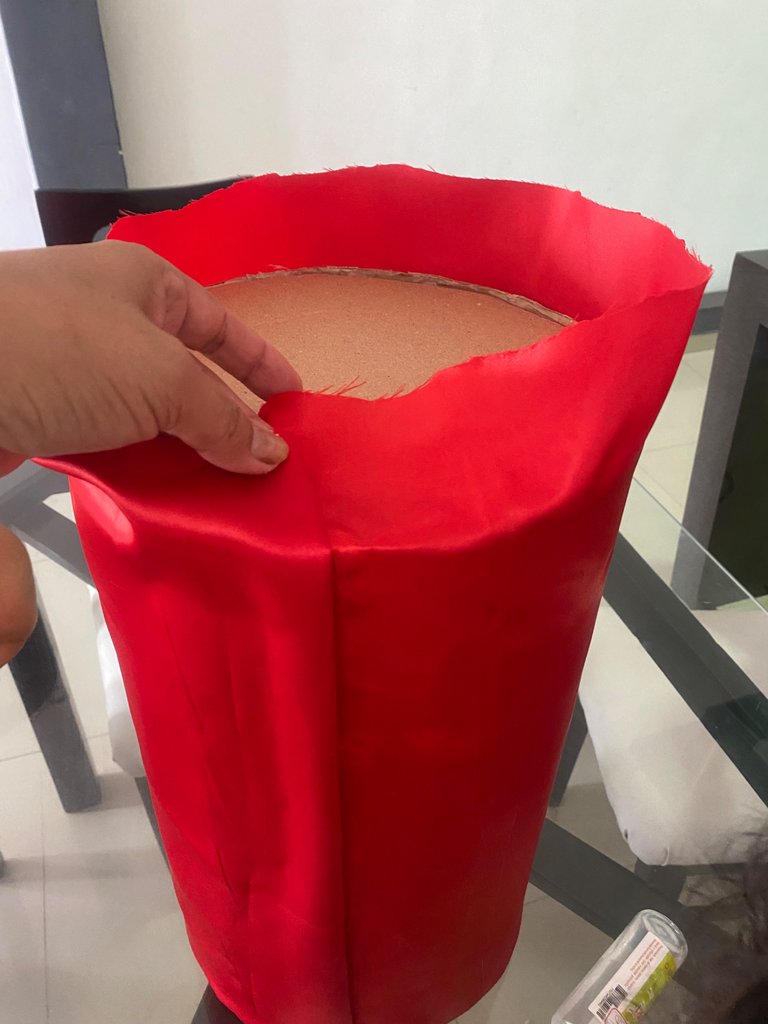
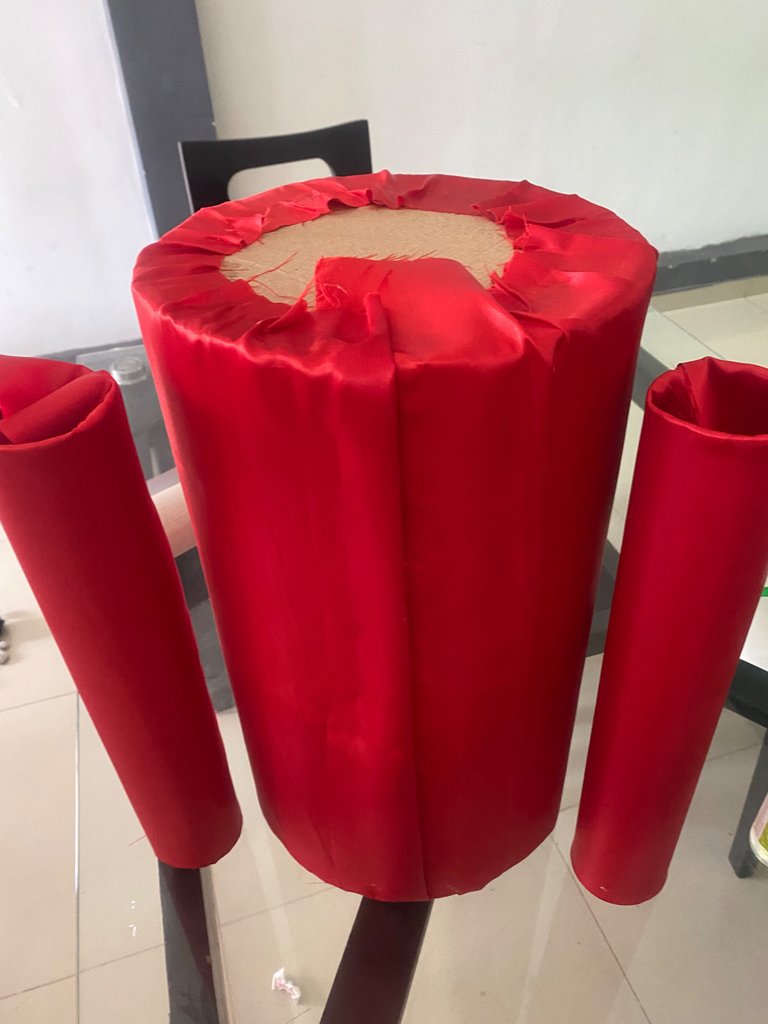
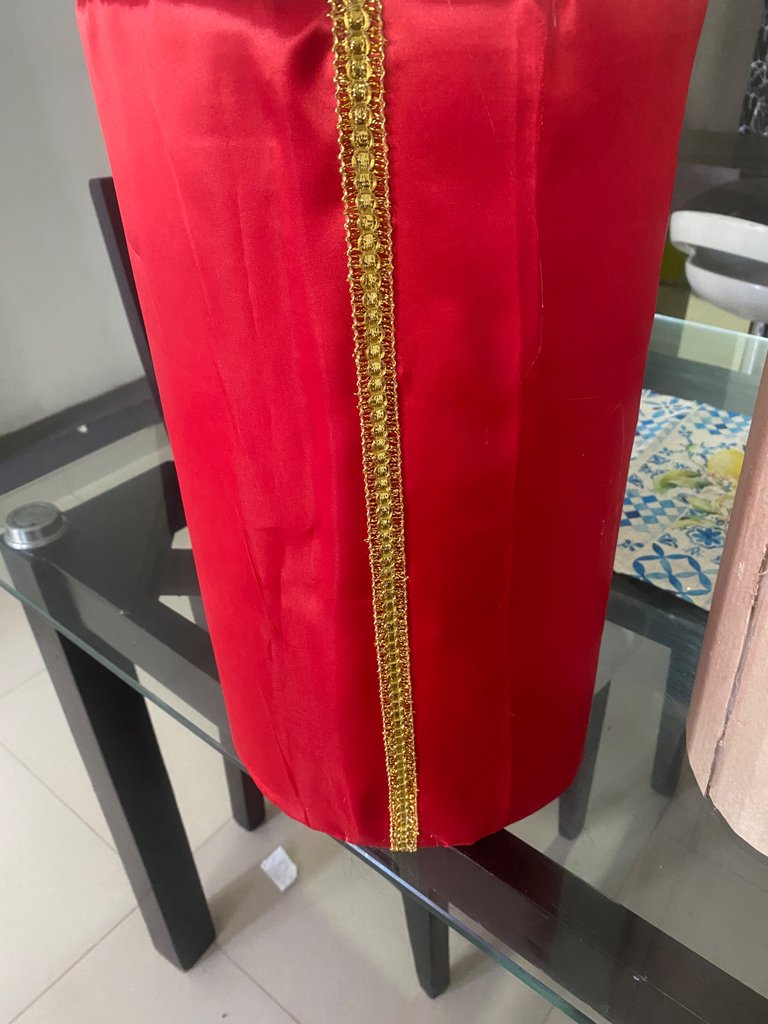
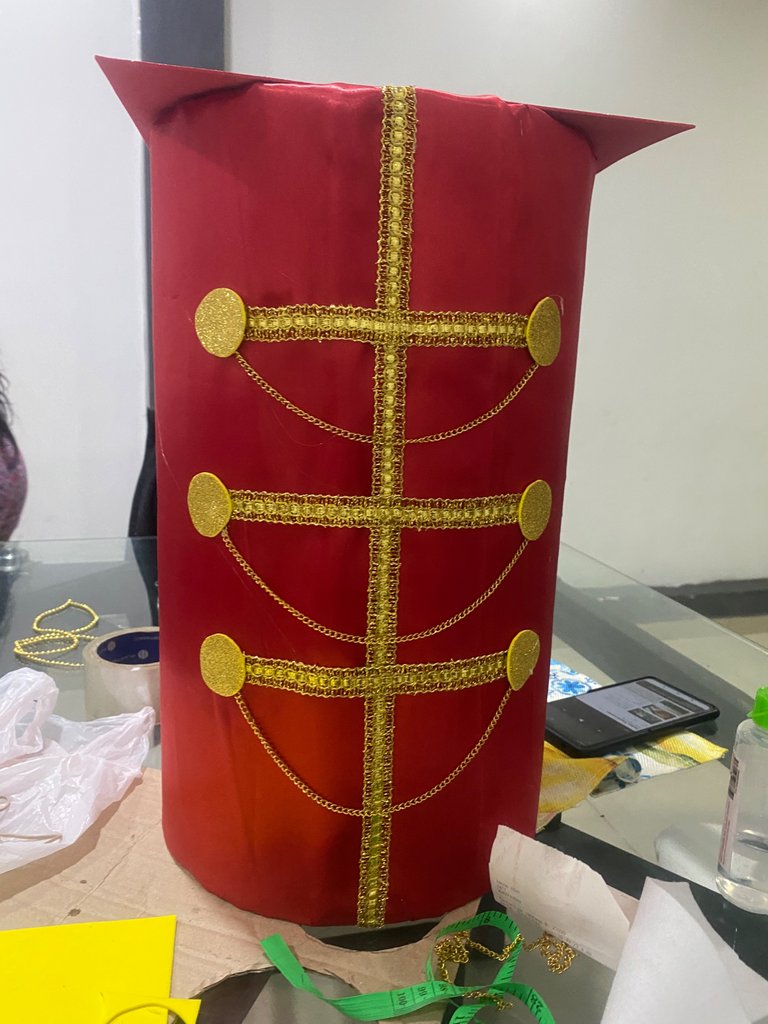
Once I had the cylinders assembled with each size I used for each one, I started cutting the fabric. First, I started to cut and glue the one that would be the shirt, since it has more details. I cut and glued the red fabric, and once it was glued, I started to decorate it with the gold lace and some chains in the middle to make it look more elegant and pretty. Then I went to line the sleeves and put the details on it. Once glued, I attached it to the body, finishing this part of the doll.
VERSIÓN EN ESPAÑOL
Una vez que ya tenía los cilindros armados con cada medida que utilicé para cada uno, se empezó a cortar la tela. Primero, empecé a picar y pegar la que sería la camisa, ya que esa lleva más detalles. Corté y pegué la tela roja, y una vez pegada, empecé a decorarla con el encaje dorado y unas cadenas que llevaba en el medio para que se viera más elegante y bonito. Luego me fui a forrar las mangas y a colocarle los detalles. Una vez pegado, lo uní al cuerpo, dando por terminada esta parte del muñeco.

 |  , , |  |  |  |
|---|
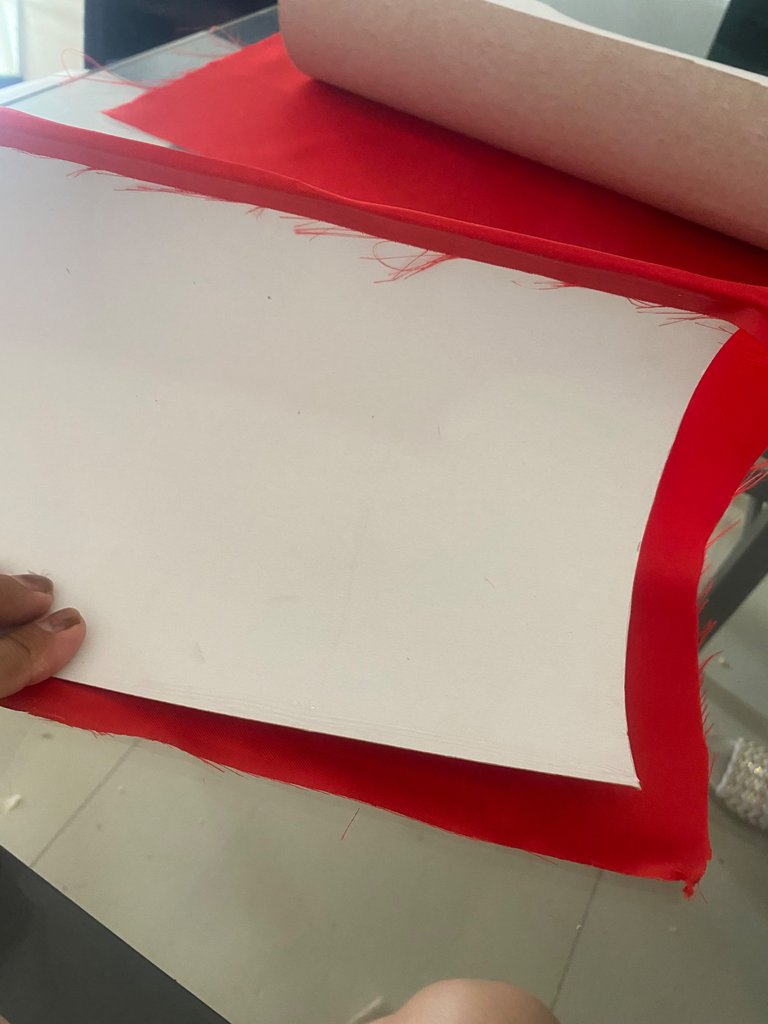
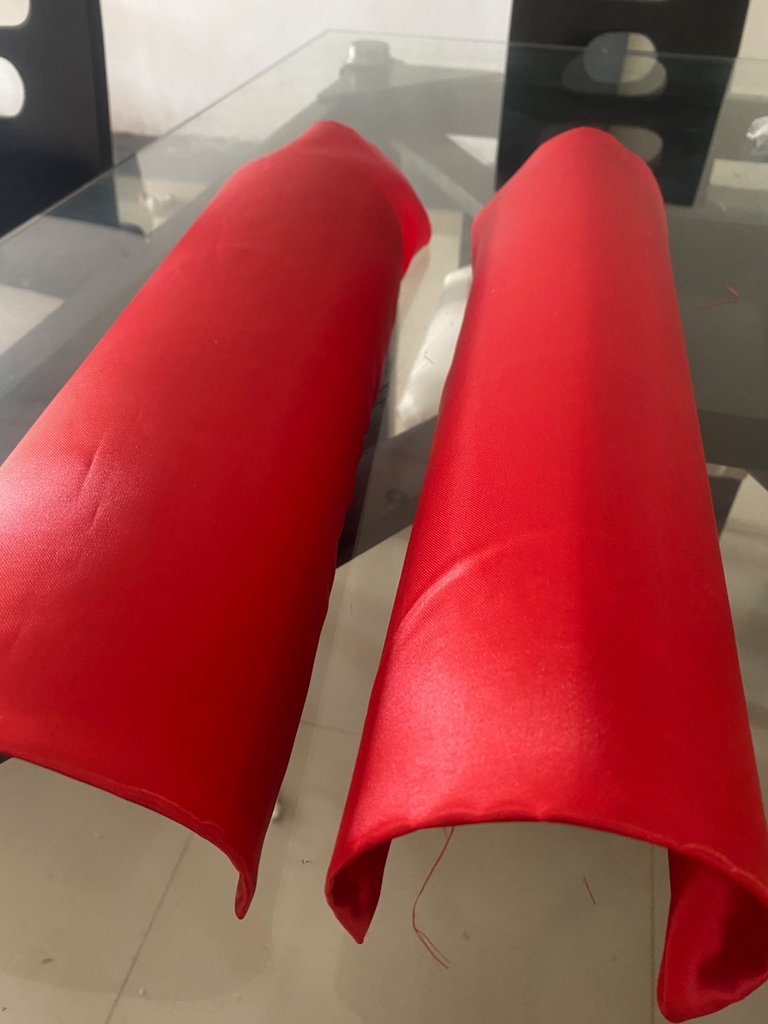
Then, I lined the legs or what would become the doll's pants and I left it there. In my next post you will be able to see the assembly and the final part of how it turned out. I know you will like it, friends. So far I leave this first part of the elaboration of my nutcracker. I hope you like it and, like me, you decide to make it. As I told you, it is very easy to make. Bye and see you in my next post.
VERSIÓN EN ESPAÑOL
Luego, forré las piernas o lo que vendría a ser el pantalón del muñeco y hasta aquí lo dejé. En mi próximo post podrán ver su ensamble y la parte final de cómo me ha quedado. Sé que les gustará, amigos. Hasta aquí les dejo esta primera parte de la elaboración de mi cascanueces. Espero que les gusten y, también, como yo, se decidan a hacerlo. Como les dije, es muy fácil de elaborarlo. Chao y nos leemos en mi siguiente post.

 |  |  |  |  |
|---|
