✨¡Hola amigos amantes de la creatividad! Espero que hayan pasado un muy buen comienzo de semana.✨
🔸Sin más que añadir, a continuación los dejo con el paso a paso:
✨¡Hello friends who love creativity! I hope you had a very good start to the week.✨
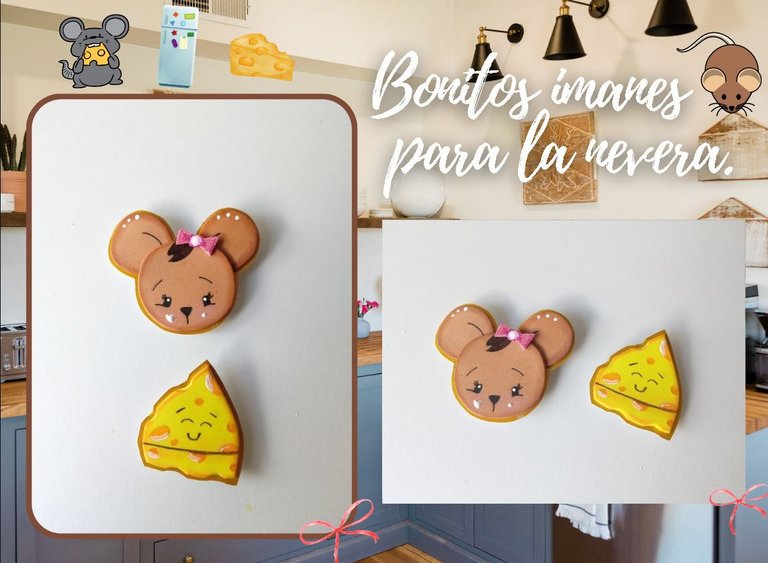
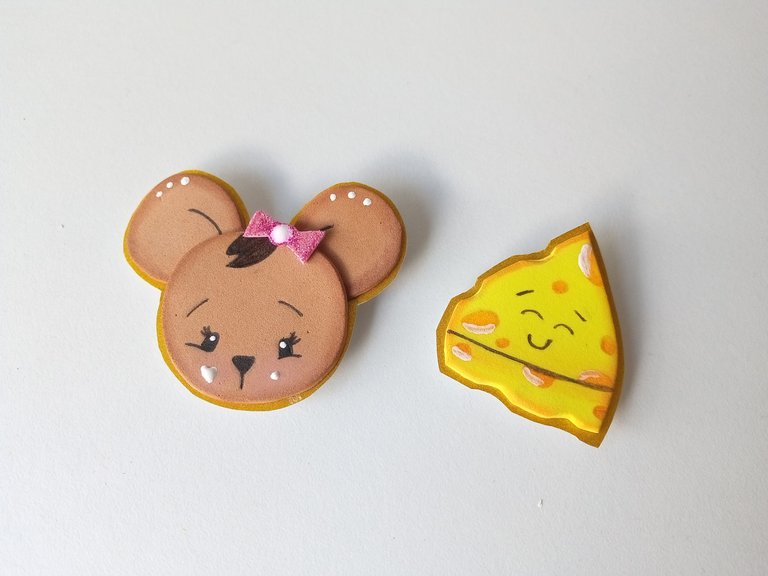
¡Good afternoon friends! I hope you are having a great week. For my part, I am quite happy. On this occasion I share with you the step by step to make some beautiful magnets for the refrigerator. I already needed to make a set of magnets to share with you through Hive Diy, so I got to work and started making these two pieces; One is a small mouse as the protagonist of this game of magnets and as a companion, a piece of cheese with many little details.
I tried to make these magnets quite small, but I don't usually say the measurements because it seems to me that it is up to each person to choose the size they want, since perhaps you want to make them much larger or smaller. In addition, I used a small amount of materials and it is quite easy to make.
🔸Without more to add, then I leave you with the step by step:
♥️ESPERO QUE TE GUSTE,
¡Empecemos!
♥️I HOPE YOU LIKE IT,
Let's start!

✂️ MATERIALES | ✂️ MATERIALS

- Cartulina escarchada dorada.
- Foami escarchado rosa.
- Foami marrón.
- Foami amarillo.
- Marcadores y pinturas.
- Imanes.
- Tijeras.
- Pegamento.
- Hoja blanca.
- Lápiz.
- Gold frosted cardstock.
- Pink frosty foam.
- Brown foam.
- Yellow foam.
- Markers and paints.
- Magnets.
- Scissors.
- Glue.
- White sheet.
- Pencil.

🌟 PROCEDIMIENTO | 🌟 PROCESS

- PASO 1:
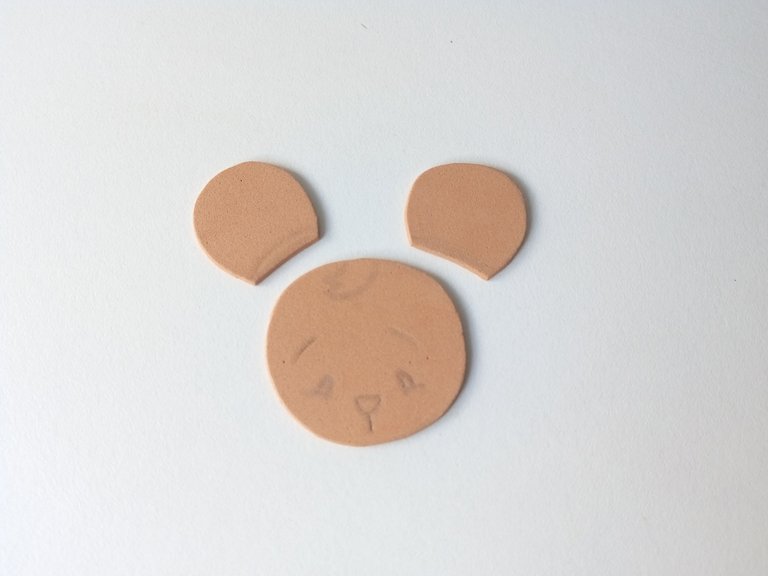
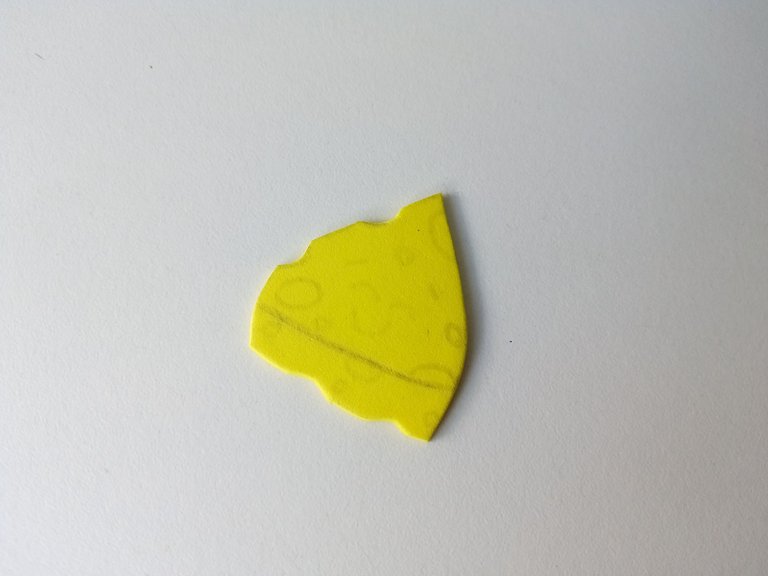
Lo primero que comencé a hacer fueron los bocetos en una hoja blanca, en este caso fueron bocetos bastante sencillos, puedes buscar los bocetos que más te gusten de un queso y un ratón o dibujarlos a gusto. Al tener los patrones listos, los transferí a los colores correspondientes de foami, de la siguiente manera: El ratón en foami marrón, el lacito en foami escarchado rosa y el queso en foami amarillo. Una vez transferidos a cada color, recortamos todas las piezas.
- STEP 1:
The first thing I started doing was sketches on a white sheet of paper, in this case they were quite simple sketches, you can look for the sketches that you like the most of a cheese and a mouse or draw them as you like. Once I had the patterns ready, I transferred them to the corresponding colors of foam, as follows: The mouse in brown foam, the bow in frosty pink foam, and the cheese in yellow foam. Once transferred to each color, we cut out all the pieces.


- PASO 2:
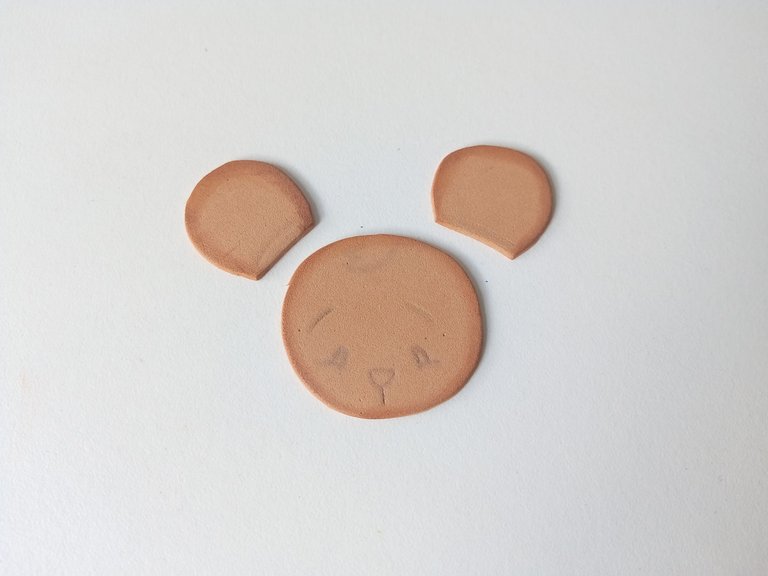
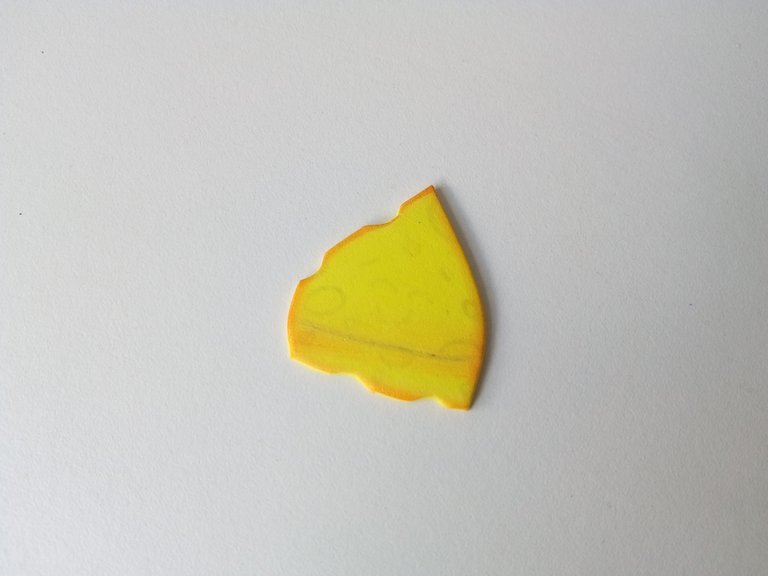
Como siempre, para dar sombras, color y contraste, tomamos un poco de pintura con ayuda de un pañito y lo pasamos por el borde de cada una de las piezas, utilizando un color más oscuro para cada una de las piezas; para el queso utilicé un amarillo tostado y para el ratón, un marrón más oscuro.
- STEP 2:
As always, to provide shadows, color and contrast, we take a little paint with the help of a cloth and pass it along the edge of each of the pieces, using a darker color for each of the pieces; For the cheese I used a tan yellow and for the mouse, a darker brown.


- PASO 3:
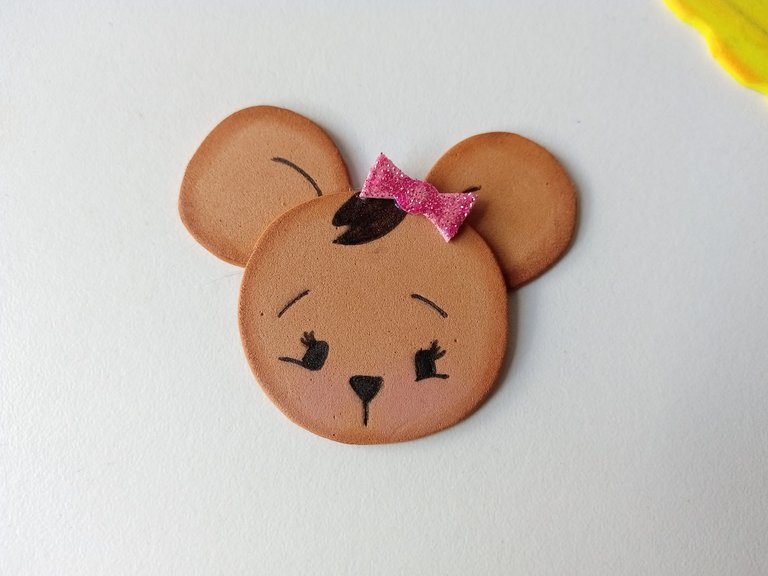
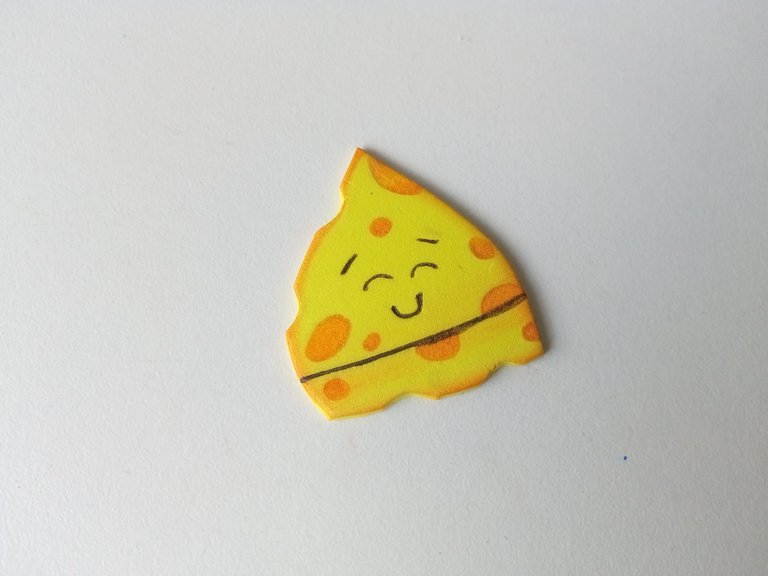
Seguidamente, tomé un marcador negro, punta fina y di detalles al ratón, dibujando los ojos, nariz, cejas, cabello y detalles extras en las orejas. Luego, pegué todas las piezas junto con la pieza del lazo en la parte superior, dando a la oreja derecha. Repetí más o menos el mismo proceso con el queso, pero esta vez, dando detalles de los huecos con una pintura de tono amarillo tostado y dibujando el rostro con marcador y el detalle de la separación central.
- STEP 3:
Next, I took a black marker, fine tip and gave details to the mouse, drawing the eyes, nose, eyebrows, hair and extra details on the ears. Then, I glued all the pieces together with the bow piece on top, facing the right ear. I repeated more or less the same process with the cheese, but this time, giving details of the holes with a burnt yellow paint and drawing the face with marker and the detail of the central separation.


- PASO 4:
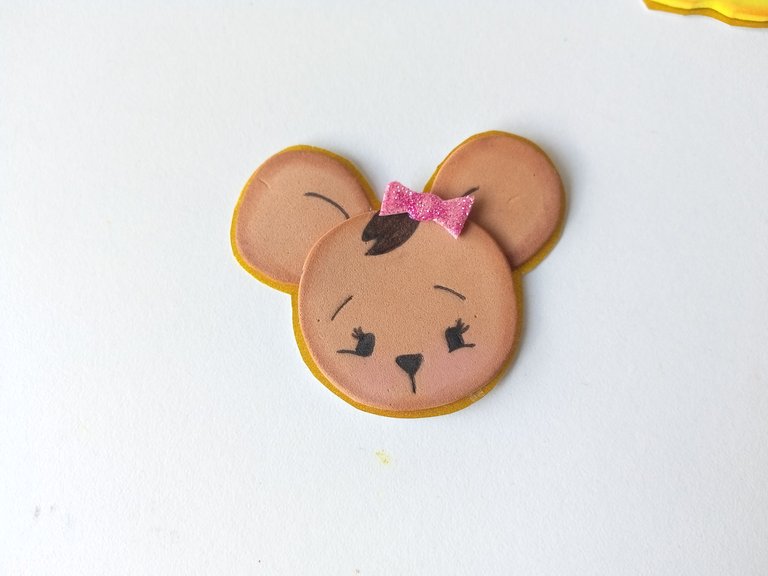
Al tener ambas piezas listas, pegué cada una sobre la cartulina escarchada dorada y recorté dejando un borde de 0.5 cm o menos, para que las piezas tengan relieve y un fondo prolijo y llamativo.
- STEP 4:
Having both pieces ready, I glued each one on the gold frosted cardboard and cut out, leaving a border of 0.5 cm or less, so that the pieces have relief and a neat and eye-catching background.


- PASO 5:
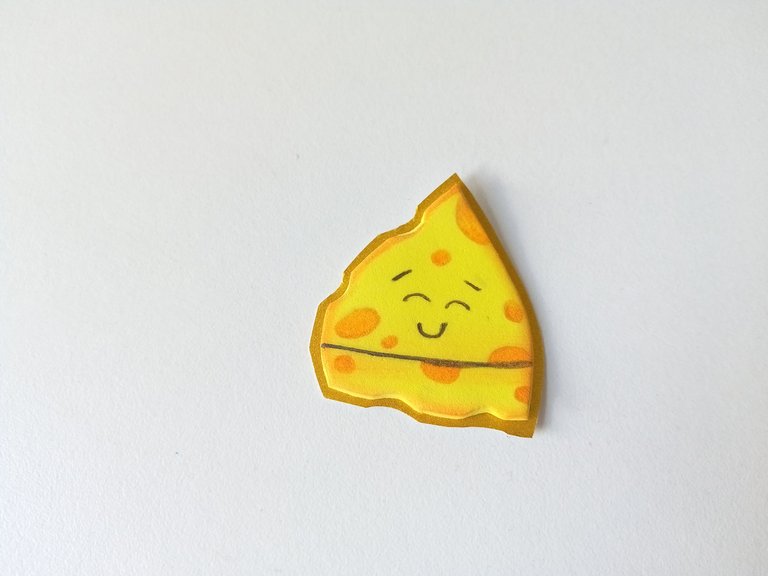
Para finalizar, di puntos de luz con pintura blanca a cada una de las piezas, en los lugares que a mi parecer quedarían bien; En el caso de la ratona, di puntos de luz en las orejas, ojos, lazo y mejillas; En el caso del queso, en los huecos del mismo. Por último, tomé dos pequeños imanes y los pegué en la parte trasera de cada pieza.
- STEP 5:
To finish, I gave highlights with white paint to each of the pieces, in the places that I thought would look good; In the case of the mouse, I gave points of light on the ears, eyes, bow and cheeks; In the case of cheese, in the holes in it. Lastly, I took two small magnets and glued them to the back of each piece.

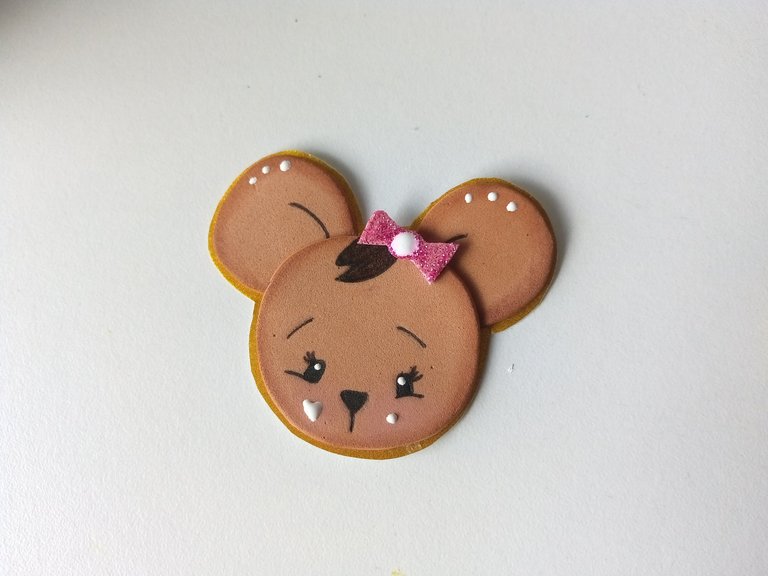
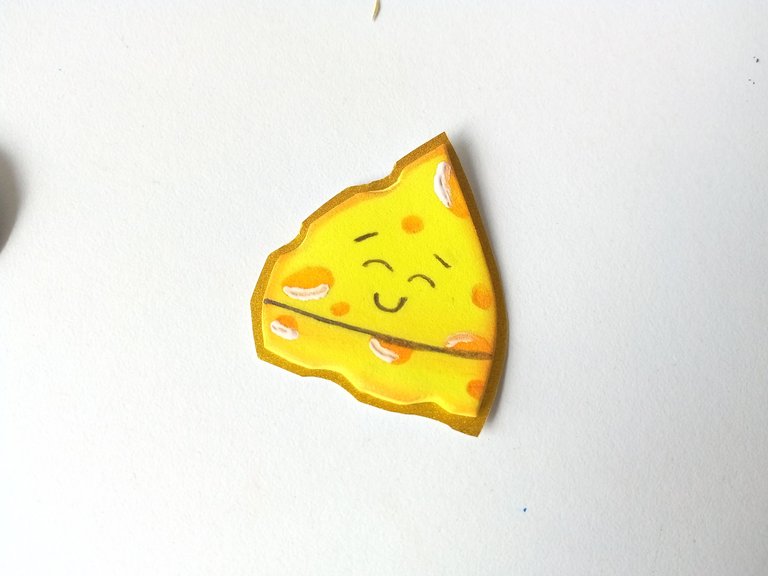
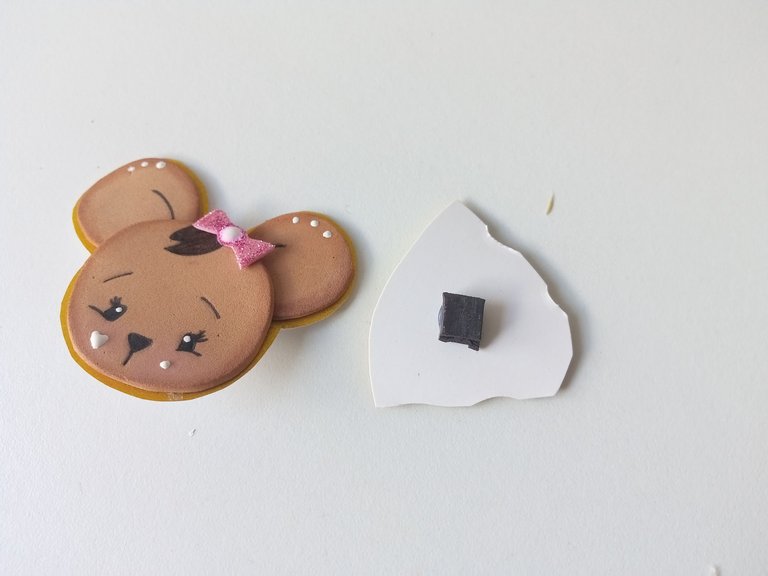

✨¡And ready!✨ This is how you can make a beautiful creation to decorate the refrigerator, you know that I love changing all my magnets from time to time and the truth is that this decoration is one of my favorites, specifically the little cheese haha. I hope you liked it and are encouraged to do the step by step.
❤️Until the next post.

✨RESULTADO: | ✨RESULT:



Todas las fotografías son de mi propiedad.
Separador y Fotos editadas en Canva
All photographs are my property.
Photos edited in Canva
No sé cómo haces para que algo tan pequeñito tenga expresión en la cara por favor amiga!! Quedó realmente hermosa, amé la ratoncita de verdad su cara es muy tierna.
Bellisimo ami
Jaja ay amiga, tu te pones un momentico a inventar y seguro haces cosas más lindas, conociendo lo creativa que eres, no me sorprendería.
Gracias mi Rosita bella 💕💕
Hermosos imanes. Me encanta tu creatividad 😍
Muchas gracias mi Eve bella! 💕
que preciosura, me parecio tierno y hermoso.
Muchas gracias bella! Me alegra mucho que te haya gustado ✨
saludos!
Que preciosura de imanes ami 😍 Son una ternurita y la temática está perfecta para la cocina, sin duda hacen juego perfectamente, te quedaron hermosos ❤️
Muchas gracias amiga! Si, quedaron tiernitis y bien chiquitos. Me alegra mucho que te haya gustado Ami 💕
Quedaron muy lindos y se ven muy tiernos, gracias por compartir tu paso a paso
Muchas gracias, amiga! Me alegra mucho que te haya gustado.
Saludos.✨
Cuchitura de imanes y lo mejor es que son un par perfecto 💞
Muchas gracias Ely! Hizo falta un gatito jaja 🤭💕
Nice post dear friend
Thank you very much, I'm glad you liked it.✨
Los imanes quedaron preciosos. Gracias por compartir. ¡Saludos.🥰!
Muchas gracias por el apoyo amiga! Me alegra que te hayan gustado estos imanes 💕
Jeje que hermosuraaaa amiiii, amé la ratoncita ok?? 😍😍
Jaja muchas gracias mili hermosa! El ratón es gracioso 🤭
Además de bonitos como dices están muy tiernos . Ideal para embellecer la puerta del refrigerador.
Paz y bien!!
Totalmente, para darle color y alegría al refrigerador 🤭. Muchas gracias por comentar.
Saludos ✨
Congratulations, your post has been curated by @dsc-r2cornell. You can use the tag #R2cornell. Also, find us on Discord
Felicitaciones, su publicación ha sido votada por @ dsc-r2cornell. Puedes usar el tag #R2cornell. También, nos puedes encontrar en Discord
Muchas gracias amigos 💕
Que ternurita amiga🤗❤️
Gracias Yage ✨💕
Manaaaaa y está cosita tan hermosa? Te pasaste, están demasiado tiernos!🩷🩷
Jaja gracias amiga preciosa! Me alegra que te hayan gustado estás miniaturas 🤭💕
Hola amiga, están muy bonitos esos adornos para la nevera, donde es increíble como logras armarlo y de esa manera lograr pieza únicas y desde lo lejos permite que sean muy llamativos. Ahora podrás adornar tu nevera.
Hola amigo! Muchas gracias, me alegra que se vea de esa manera, ya que para mi es bastante sencillo, pero es por la práctica.
Saludos ✨
Que bellos y tiernos te quedaron!
Muchas gracias por compartir con nosotros.
Saludos.
Muchas gracias amiga!! Me alegra que los veas así , pues tú eres increíble 💕
Aww que cuchis y se ven tan sencillos, algun dia me hare uno en miniatura de un buho jeje a mi me gustan en tamaño diminuto, pero como dices, el tamaño es a gusto de cada quien y eso esta muy bueno 😍
Te quedaron preciosos 😍
Así es amiga, estos son realmente pequeñitos creo que unos 3 cm o 3.5 cm 🤭. Yo pienso que un mini búho de vería súper tierno 💕
Muchas gracias por pasarte 💕
Saludos y muchas gracias.
Ayy no, que cosita más cuchiiii 😍 Te quedó demasiado lindo mi Valeeen!!!
Que ternura esos imanes de nevera, me encantan! 🥰✨