✨¡Hola amigos amantes de la creatividad! Espero que estén todos bien.✨
🔸Sin más que añadir, a continuación los dejo con el paso a paso:
✨¡Hello friends who love creativity! I hope you are all well.✨
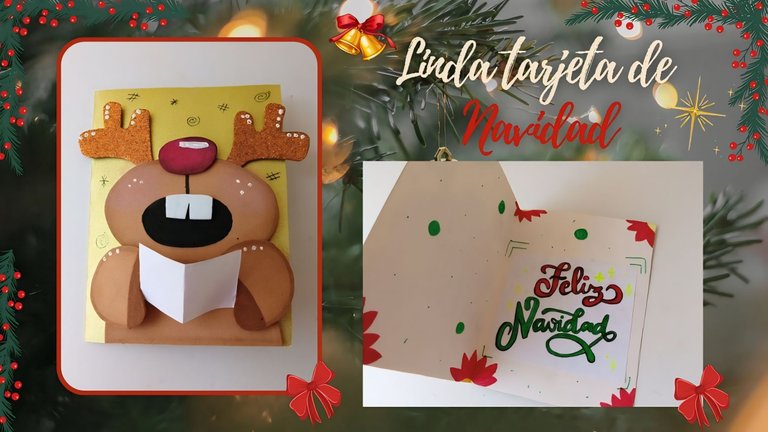
Good afternoon, friends! I hope you are having a great week. For my part, I am happy to stop by here to share a new creation with you. On this occasion I am sharing with you the step by step to make a nice idea for a Christmas card. For Christmas, I never usually give ideas for letters for the little ones to write their gifts to Baby Jesus or simply a gift card, but this time I wanted to change that and make an adorable, simple and funny Christmas card for them to give to their loved ones or for the little ones to get to work.
🔸Without more to add, then I leave you with the step by step:
♥️ESPERO QUE TE GUSTE,
¡Empecemos!
♥️I HOPE YOU LIKE IT,
Let's start!

✂️ MATERIALES | ✂️ MATERIALS

- Cartulina escarchada dorada.
- Foami escarchado cobrizo.
- Foami escarchado blanco.
- Foami marrón.
- Foami rojo.
- Pinturas y marcadores.
- Hoja blanca.
- Pegamento.
- Tijeras.
- Regla.
- Lápiz.
- Gold frosted cardstock.
- Copper frosted foam.
- White frosted foam.
- Brown foam.
- Red foam.
- Paints and markers.
- White sheet.
- Glue.
- Scissors.
- Ruler.
- Pencil.

🌟 PROCEDIMIENTO | 🌟 PROCESS

✨PASO 1:
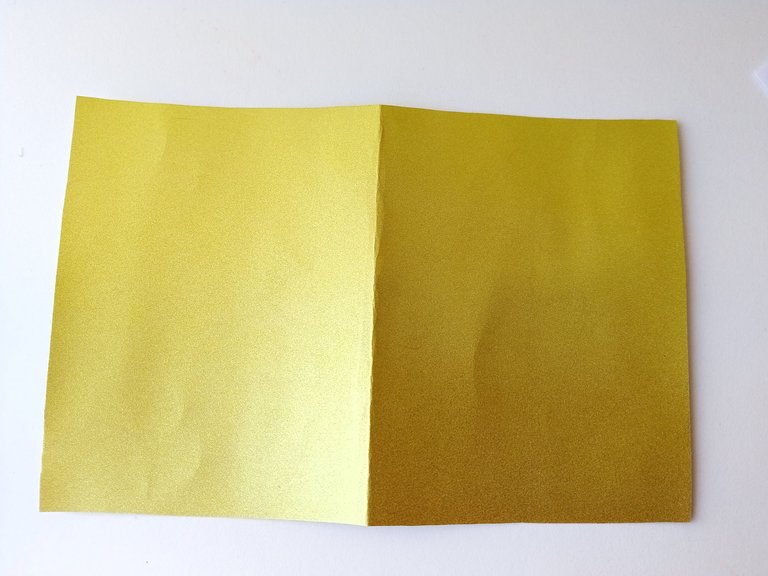
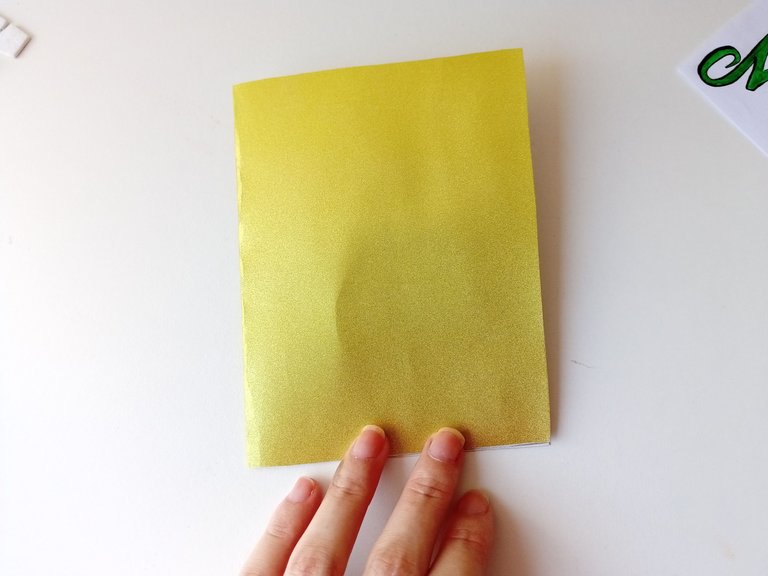
Lo primero que hice fue trazar y recortar en cartulina escarchada dorada las medidas para la tarjeta de 20 cm x 15 cm. Seguidamente, recorté y doblé a la mitad, dejando 10 cm de lado y lado para formar la tarjeta.
📌Yo no quise elaborar una tarjeta muy grande, pero si ustedes desean pueden elaborar una tarjeta un poco más grande o con las medidas que deseen.
✨STEP 1:
The first thing I did was trace and cut out the measurements for the card of 20 cm x 15 cm on gold frosted cardstock. Next, I cut and folded in half, leaving 10 cm on each side to form the card.
📌I didn't want to make a very large card, but if you want you can make a card a little bigger or with the measurements you want.

 |  |
|---|

✨PASO 2:
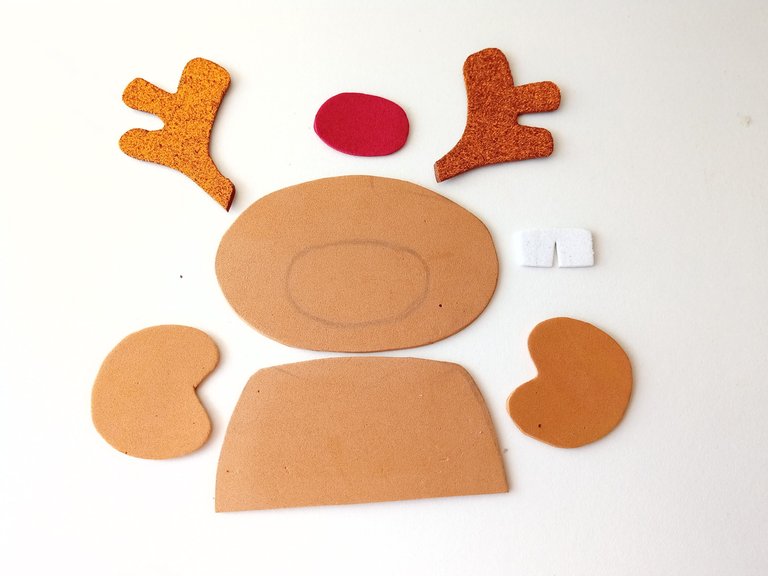
Luego comencé con la decoración para la portada, que en este caso era un reno cantando villancicos, así que comencé a dibujar el patrón en una hoja blanca y luego, transferí cada una de las piezas a los colores correspondientes de foami, como explico continuación:
✨Para el cuerpo, patas y parte inferior de la cabeza en foami marrón.
✨Cuernos en foami escarchado cobrizo.
✨Dientes en foami escarchado blanco.
✨La nariz en foami rojo.
✨STEP 2:
Then I started with the decoration for the cover, which in this case was a reindeer singing Christmas carols, so I began to draw the pattern on a white sheet and then, I transferred each of the pieces to the corresponding colors of foam, as explained below:
✨For the body, legs and lower part of the head in brown foam.
✨Antlers in copper frosted foam.
✨Teeth in white frosted foam.
✨The nose in red foam.


✨PASO 3:
Al tener recortadas todas las piezas de la decoración, di color a los bordes de cada una de las piezas, con pinturas un tono más oscuro que cada una o que simplemente haga contraste. Seguidamente, pinté con pintura marrón las pesuñas, la parte interna de la boca con pintura negra y dejamos secar.
✨STEP 3:
Once I had cut out all the pieces of the decoration, I colored the edges of each of the pieces, with paints that were a shade darker than each one or that simply contrast. Next, I painted the hooves with brown paint, the inside of the mouth with black paint and let it dry.

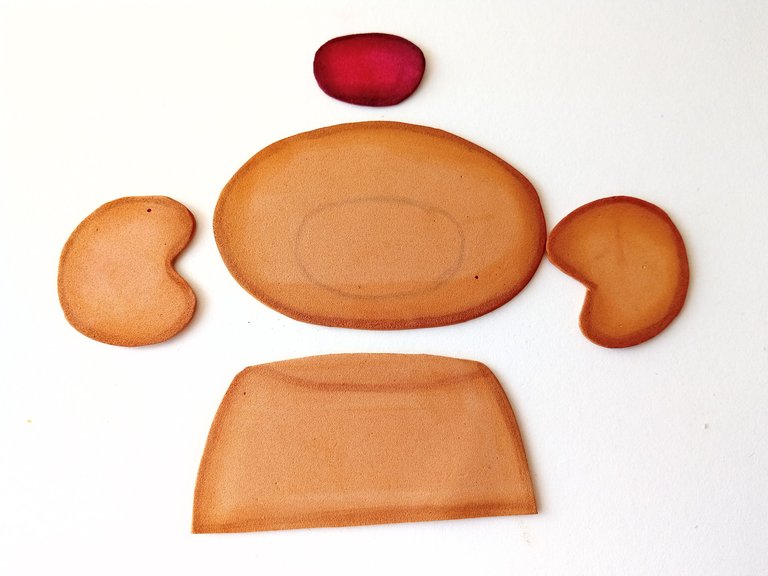 | 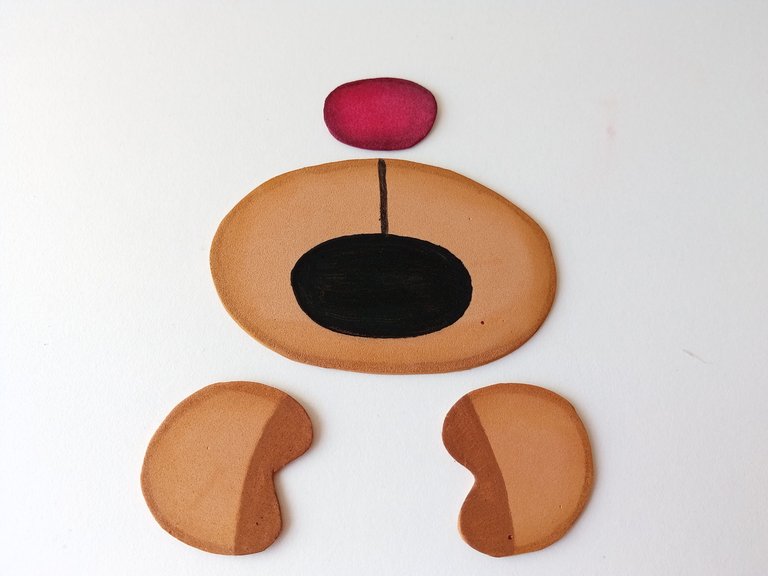 |
|---|

✨PASO 4:
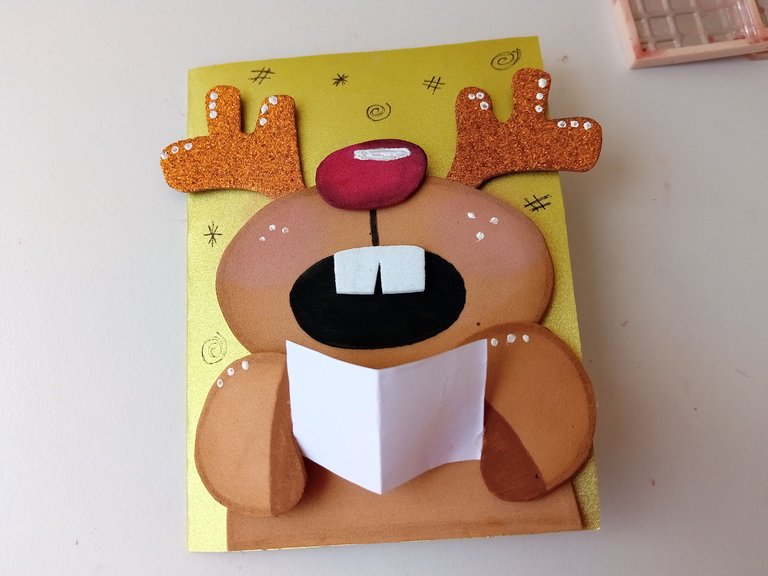
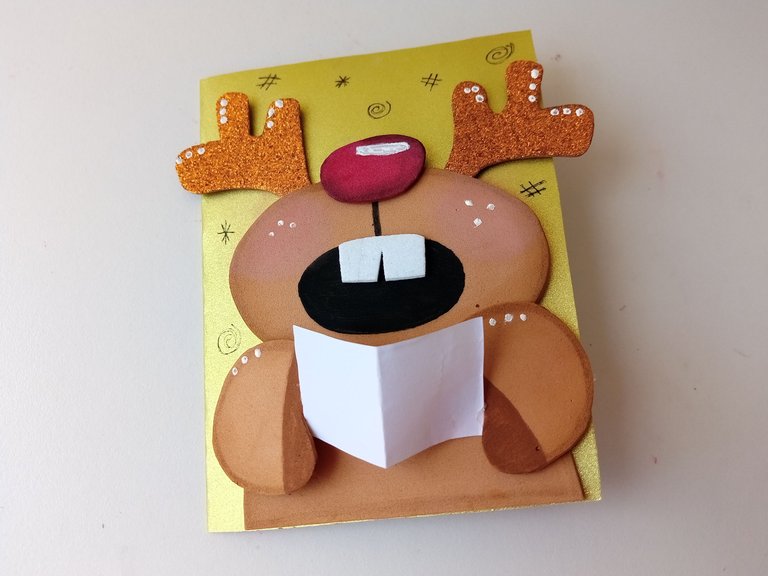
Al estar secas todas las piezas, comencé a pegar hasta formar al reno en la portada de la tarjeta, comenzando por el cuerpo, la parte baja de la cabeza junto con los cuernos, la nariz y los dientes. Seguidamente, recorté un trozo de hoja blanca, el cual doblé a la mitad y pegué al reno junto con las patas, como si lo estuviera sosteniendo con las mismas, como se muestra en las imágenes.
✨STEP 4:
Once all the pieces were dry, I started gluing until I formed the reindeer on the cover of the card, starting with the body, the lower part of the head along with the antlers, the nose and the teeth. Next, I cut out a piece of white paper, which I folded in half and glued the reindeer together with the legs, as if I were holding it with them, as shown in the images.

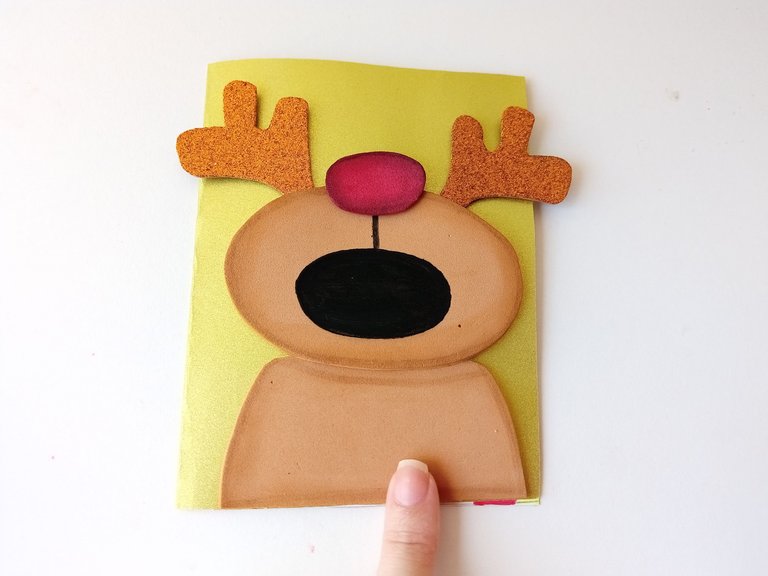 | 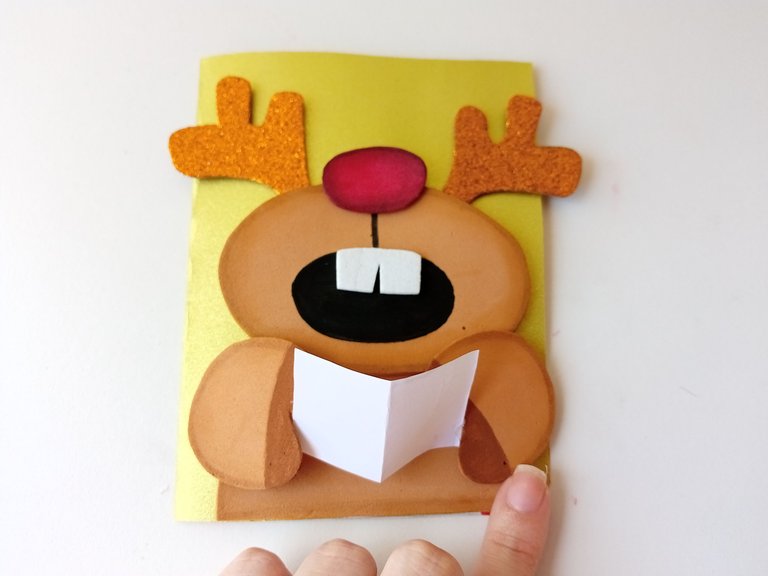 |
|---|

✨PASO 5:
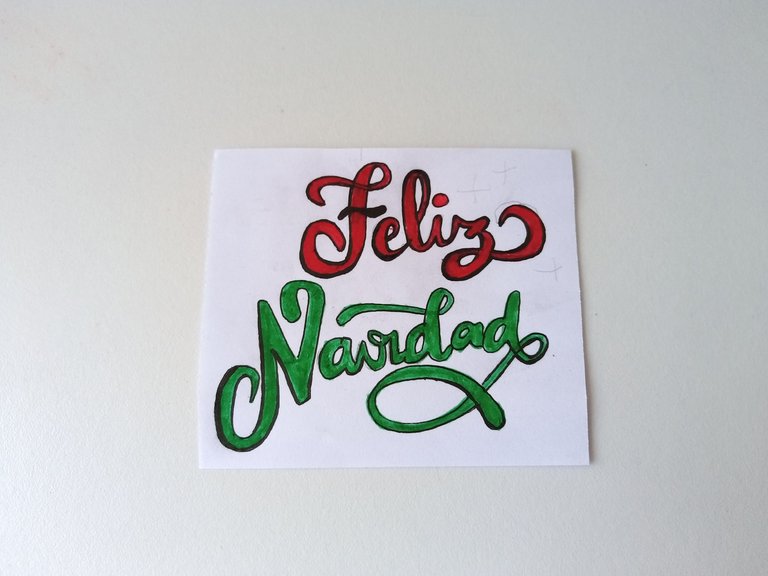
Para dar más detalles, di un toque de rubor en las mejillas, di puntos de luz con pintura blanca en algunas zonas de la pieza y con marcador negro dibujé algunos signos en la cartulina escarchada. Seguidamente, escribí ‘feliz Navidad’ en hoja blanca, remarqué y pinté con marcadores.
✨STEP 5:
To give more details, I gave a touch of blush on the cheeks, gave points of light with white paint in some areas of the piece and with a black marker I drew some signs on the frosted cardboard. Next, I wrote ‘Merry Christmas’ on white paper, outlined and painted with markers.

 |  |
|---|

✨PASO 6:
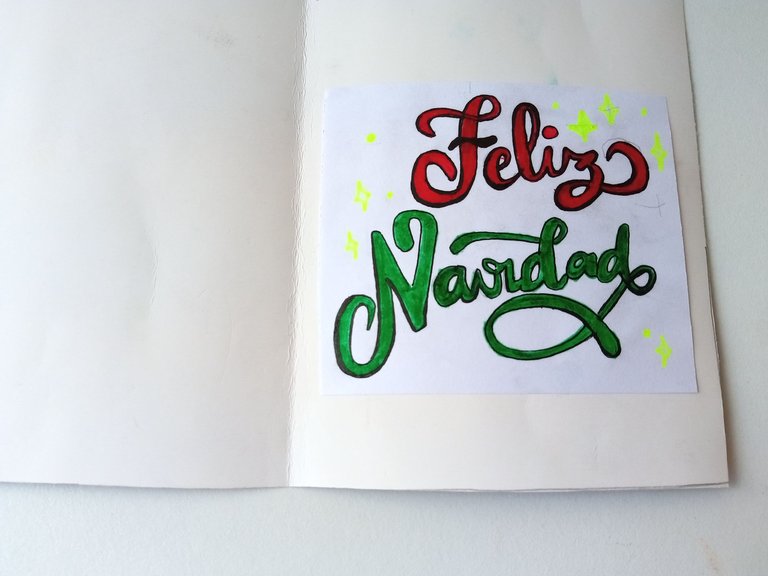
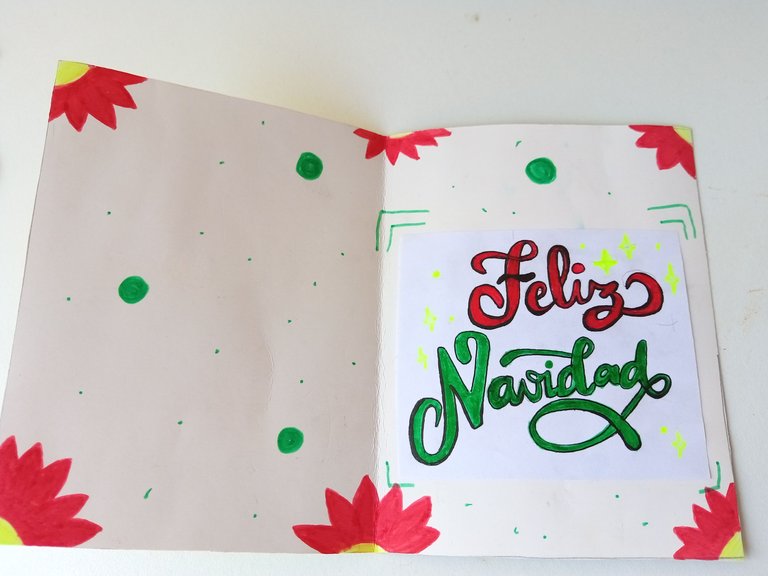
Luego, pegué a la parte interna de la tarjeta, pinté algunas estrellas, detalles de un marco y finalmente, me inspiré un poco, así que para que no se viera muy vacío, comencé a pintar un par de flores típicas navideñas y detalles extras.
✨STEP 6:
Then, I glued it to the inside of the card, painted some stars, details of a frame and finally, I got a little inspired, so that it didn't look too empty, I started painting a couple of typical Christmas flowers and extra details.

 |  |
|---|

✨And that's it, friends, that's how easy it is to make your cute Christmas cards to give a nice gift to someone you love. I thought it was a very nice idea, but funny with the reindeer singing Christmas carols. Also, I think the color combination was very successful for the cover and for the inside, I wanted to make it more colorful so I used the typical Christmas colors. I hope you liked the step by step and are encouraged to make this idea.
❤️Until the next post.

✨RESULTADO: | ✨RESULT:



Todas las fotografías son de mi propiedad.
Separador y Fotos editadas en Canva
All photographs are my property.
Photos edited in Canva
Posted Using InLeo Alpha
!discovery 40
This post was shared and voted inside the discord by the curators team of discovery-it
Join our Community and follow our Curation Trail
Discovery-it is also a Witness, vote for us here
Delegate to us for passive income. Check our 80% fee-back Program
Esa tarjeta te quedó tan bonita amiga 🥰
Que linda quedó, gracias por el tutorial 🤗
Esta tarjetita navideña esta ideal para regalarla en estas fechas con un bonito mensaje en su interior junto a un bonito obsequio, me encanto el diseño 😍
¡Que belleza! Muy apropiado para estas fiestas, Felicidades por tu lindo trabajo, gracias por compartir.
Congratulations, your post has been curated by @dsc-r2cornell. You can use the tag #R2cornell. Also, find us on Discord
Felicitaciones, su publicación ha sido votada por @ dsc-r2cornell. Puedes usar el tag #R2cornell. También, nos puedes encontrar en Discord
Es increíble ir viendo como va tomando vida ami, es demasiado precioso, un trabajo bien prolijo como todo lo que tú haces