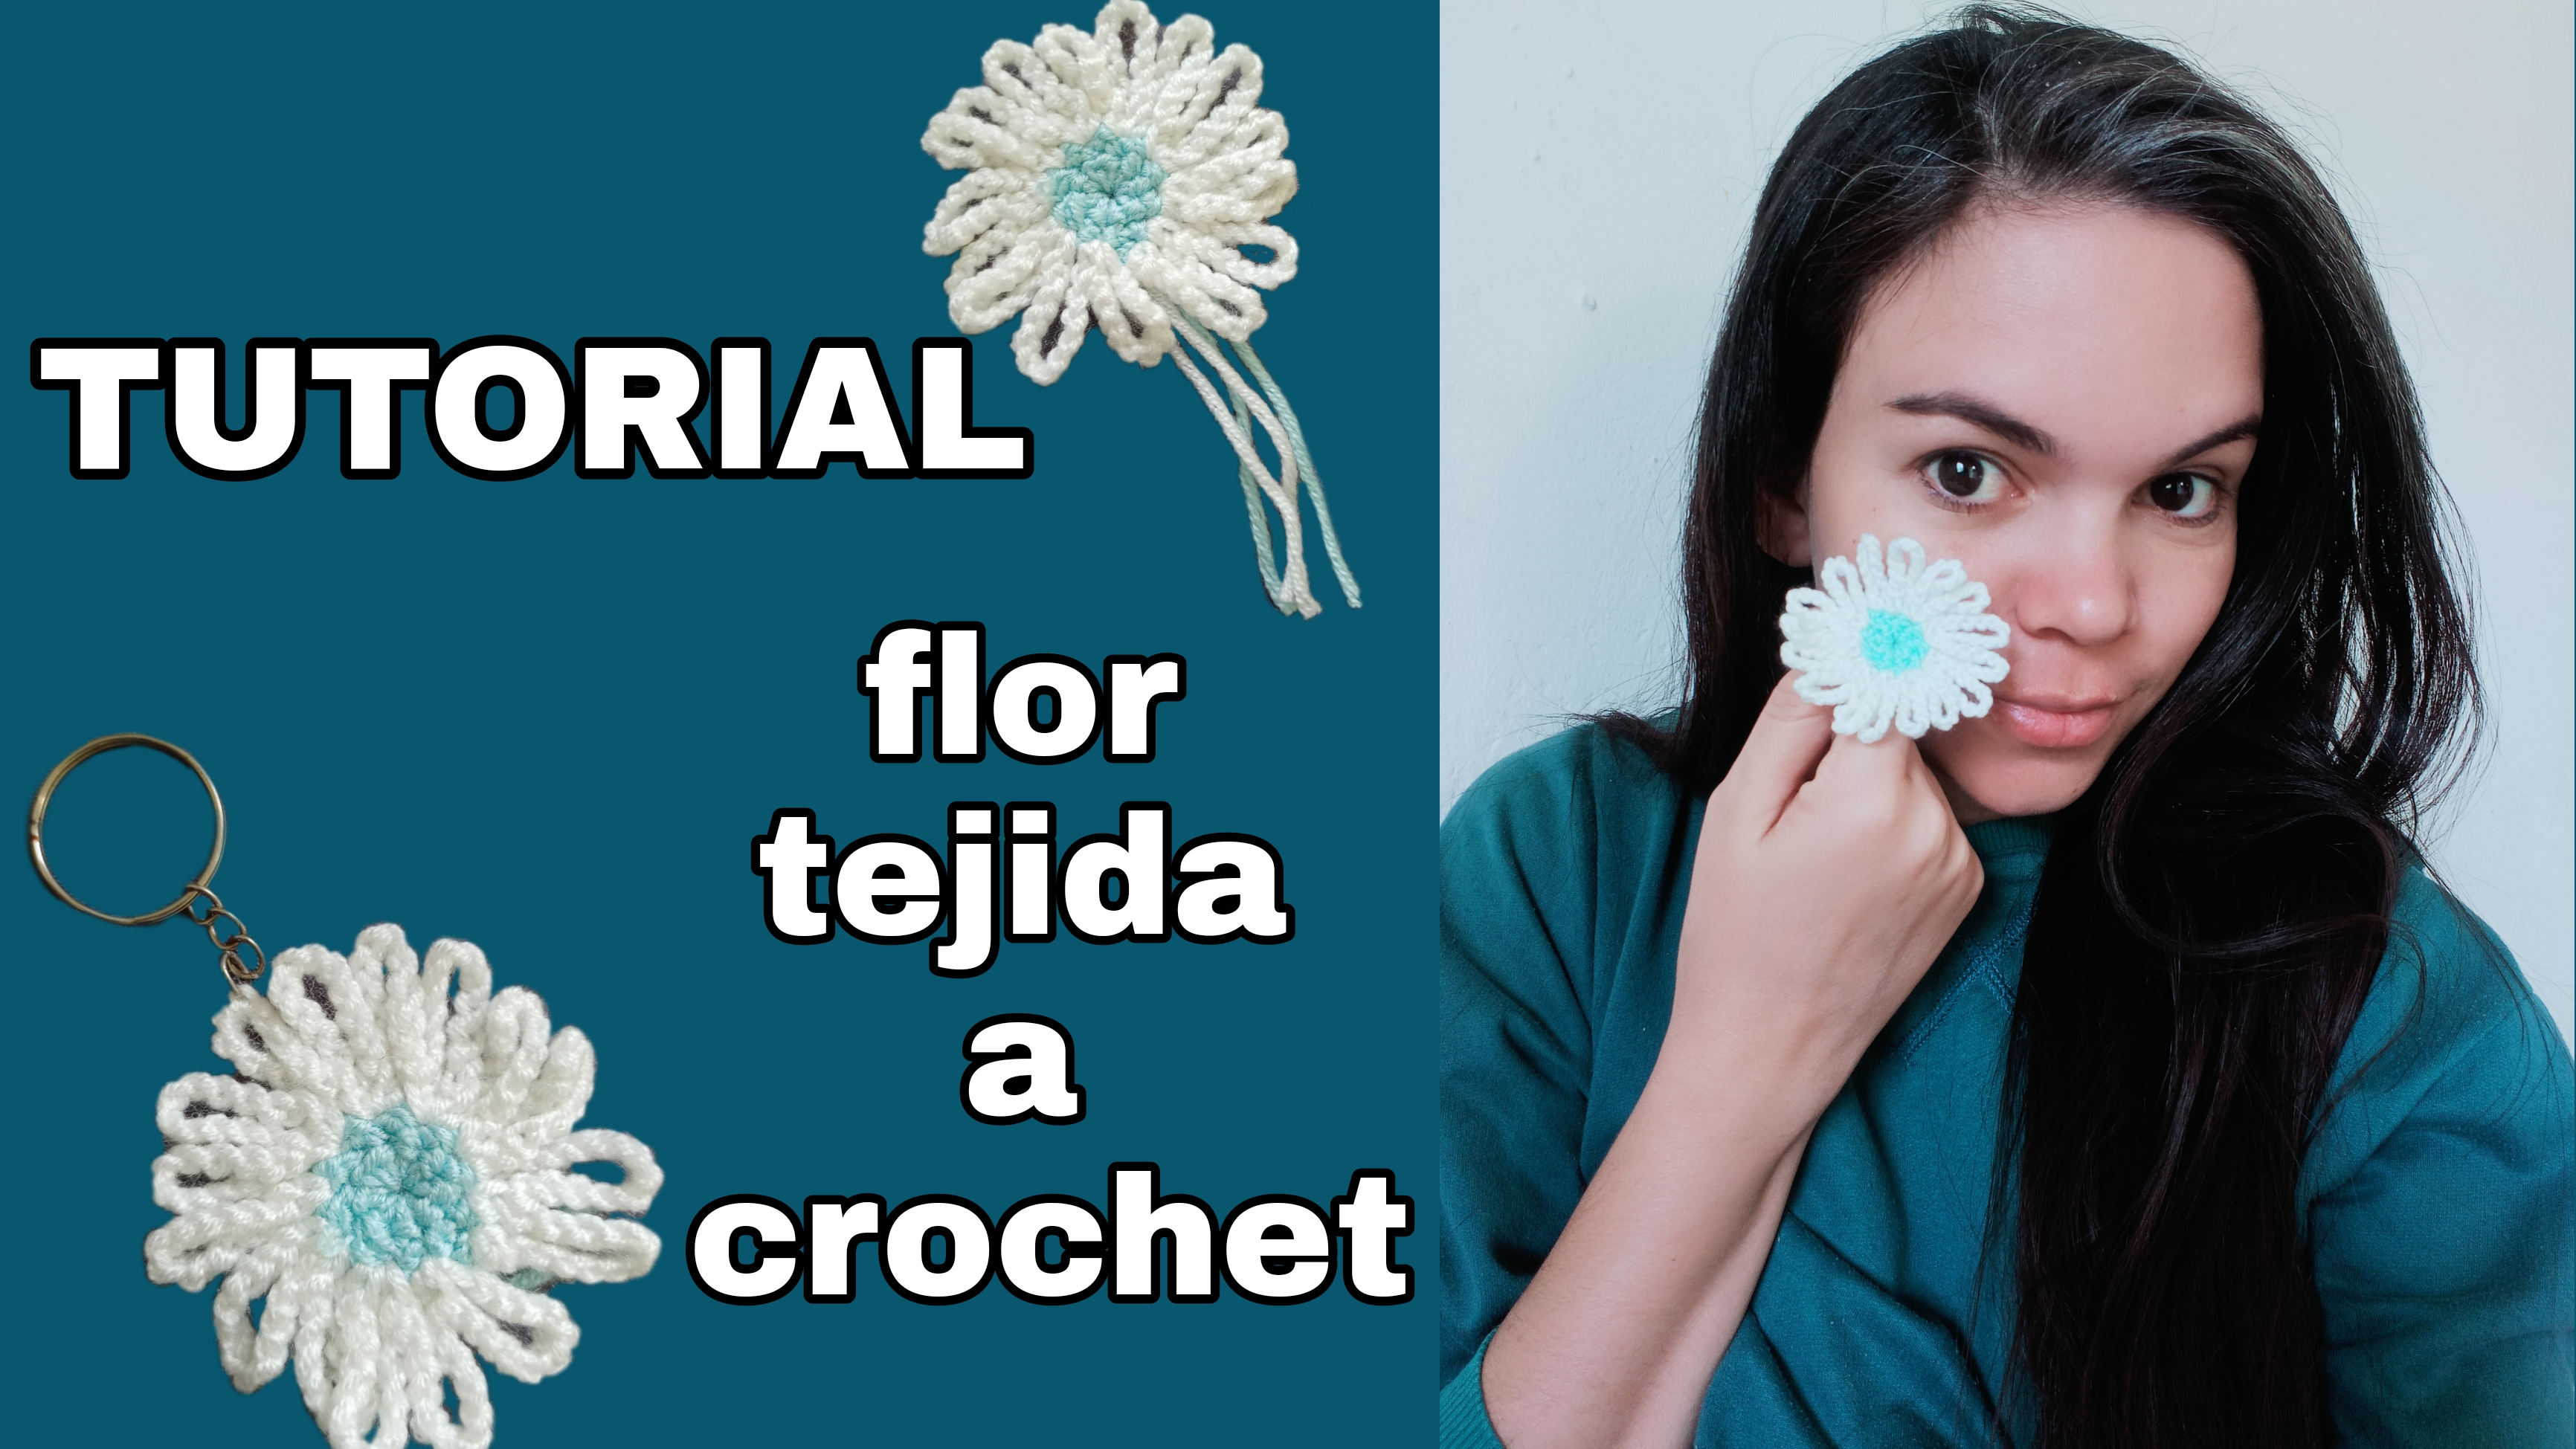
Hello creative friends of #hivediy, I am happy to greet you, I hope your day is a positive day, today I wanted to make my first crocheted flower, and obviously I couldn't miss the opportunity to show you my progress And of course a step by step of how I made it.
When you started bringing them I thought it wouldn't look good on me because the petals didn't really require shape but I decided to continue and the truth is I really liked the final result, so here I'm going to give it leave the materials and the step by step to make them and I tell you what happened to me so that you know that if at the beginning it doesn't sell everything well in the end it will turn out great.
Without further ado, here are the steps to follow. This time we will use the following materials:
MATERIALES / MATERIALS
- lana de algodón azul y blanca / blue and white cotton wool
- tijera/ Scissors
- aguja para crochet/ crochet needle

PASO A PASO
STEP BY STEP
1 . The first step we will carry out will be the center of the flower, for this we will make a magic ring and a chain.
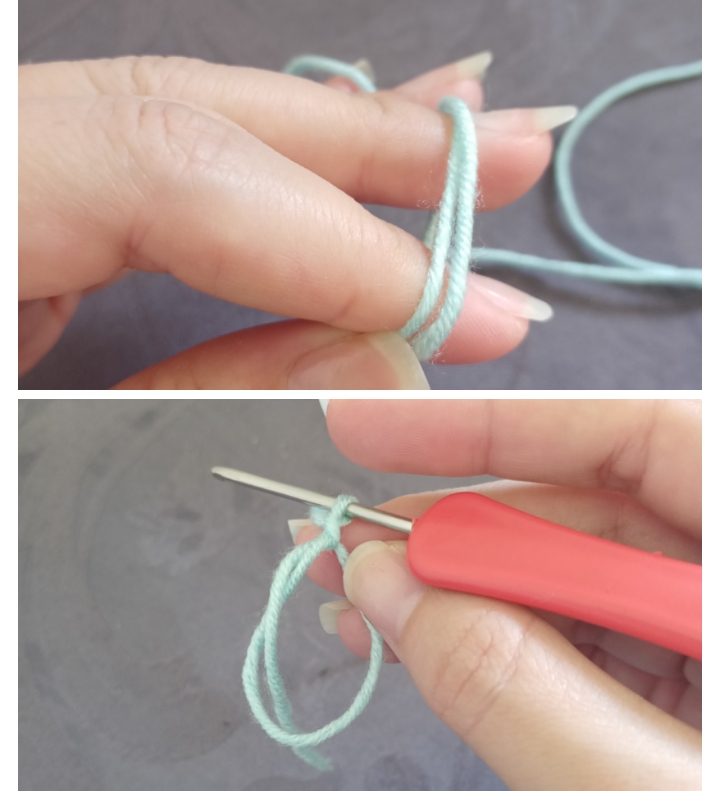
2 . Then we continue making eight single crochets, we knit the tail of the magic ring to close and we finish by making a slipped stitch to completely close the first round.
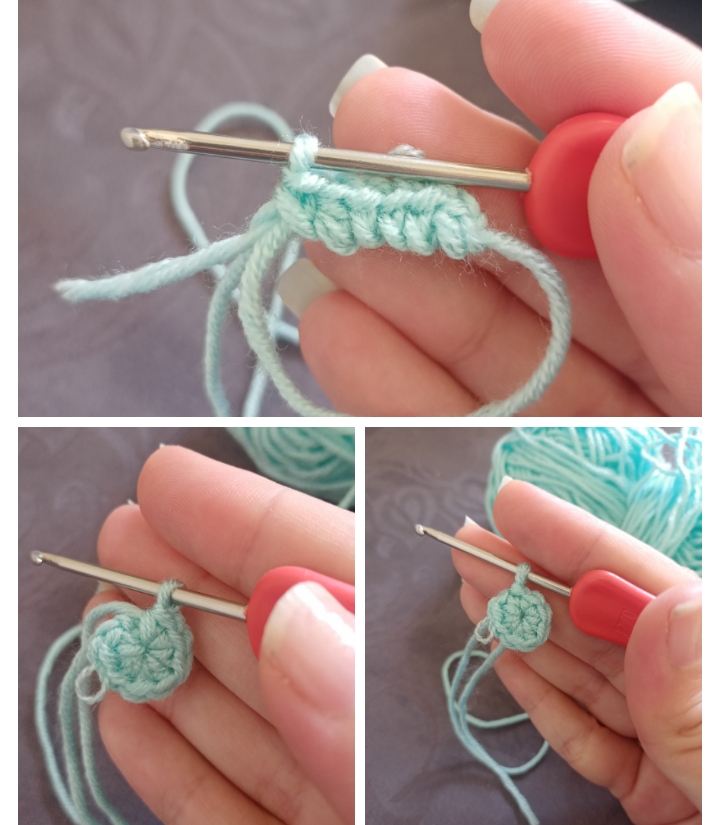
3 . We will make a second round in the same way, we make a chain and continue making single crochets in each of the previous stitches, closing in the same way as we closed in The step to Former .
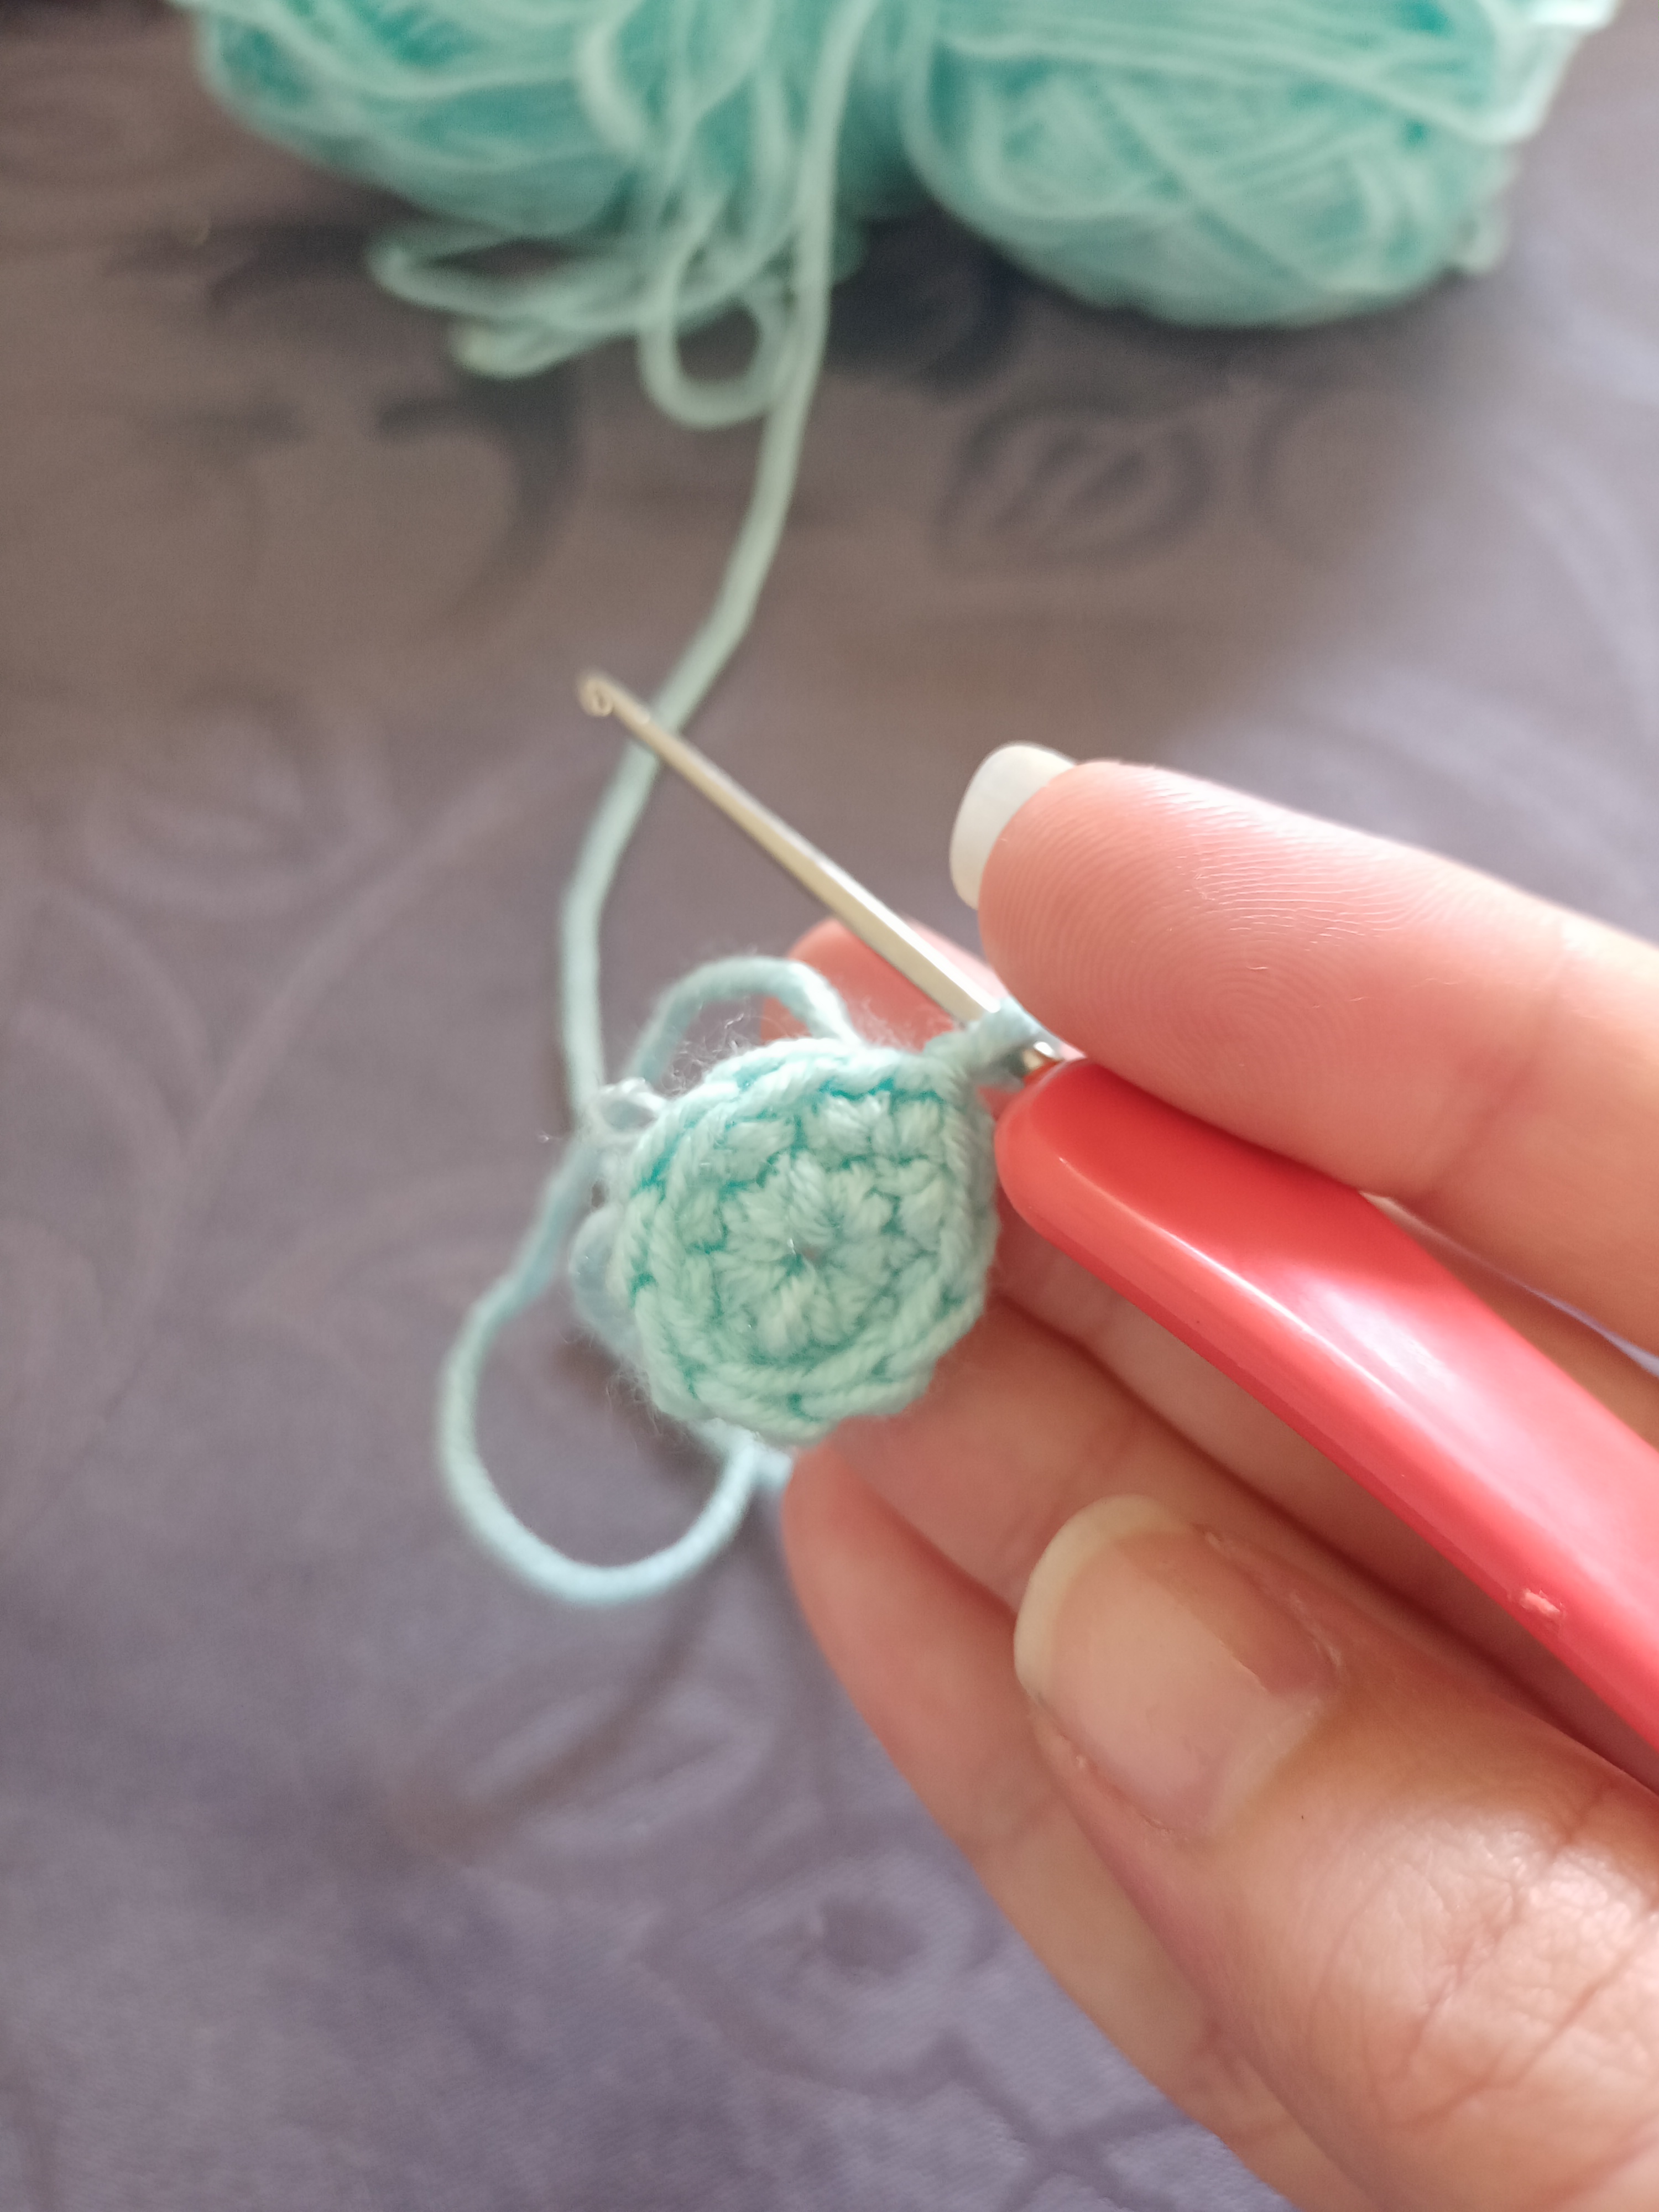
4 . Now we are going to include the white thread with which we will make the petals, for this we simply place the thread and when making the last slipped stitch we add it as I show you in the Photographs
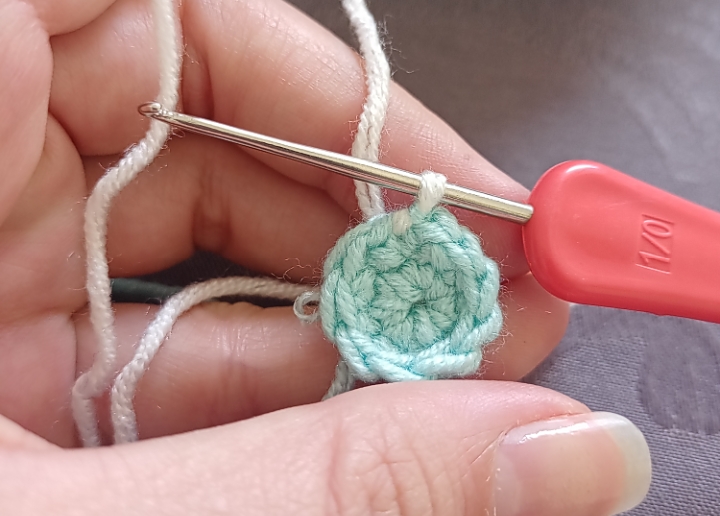
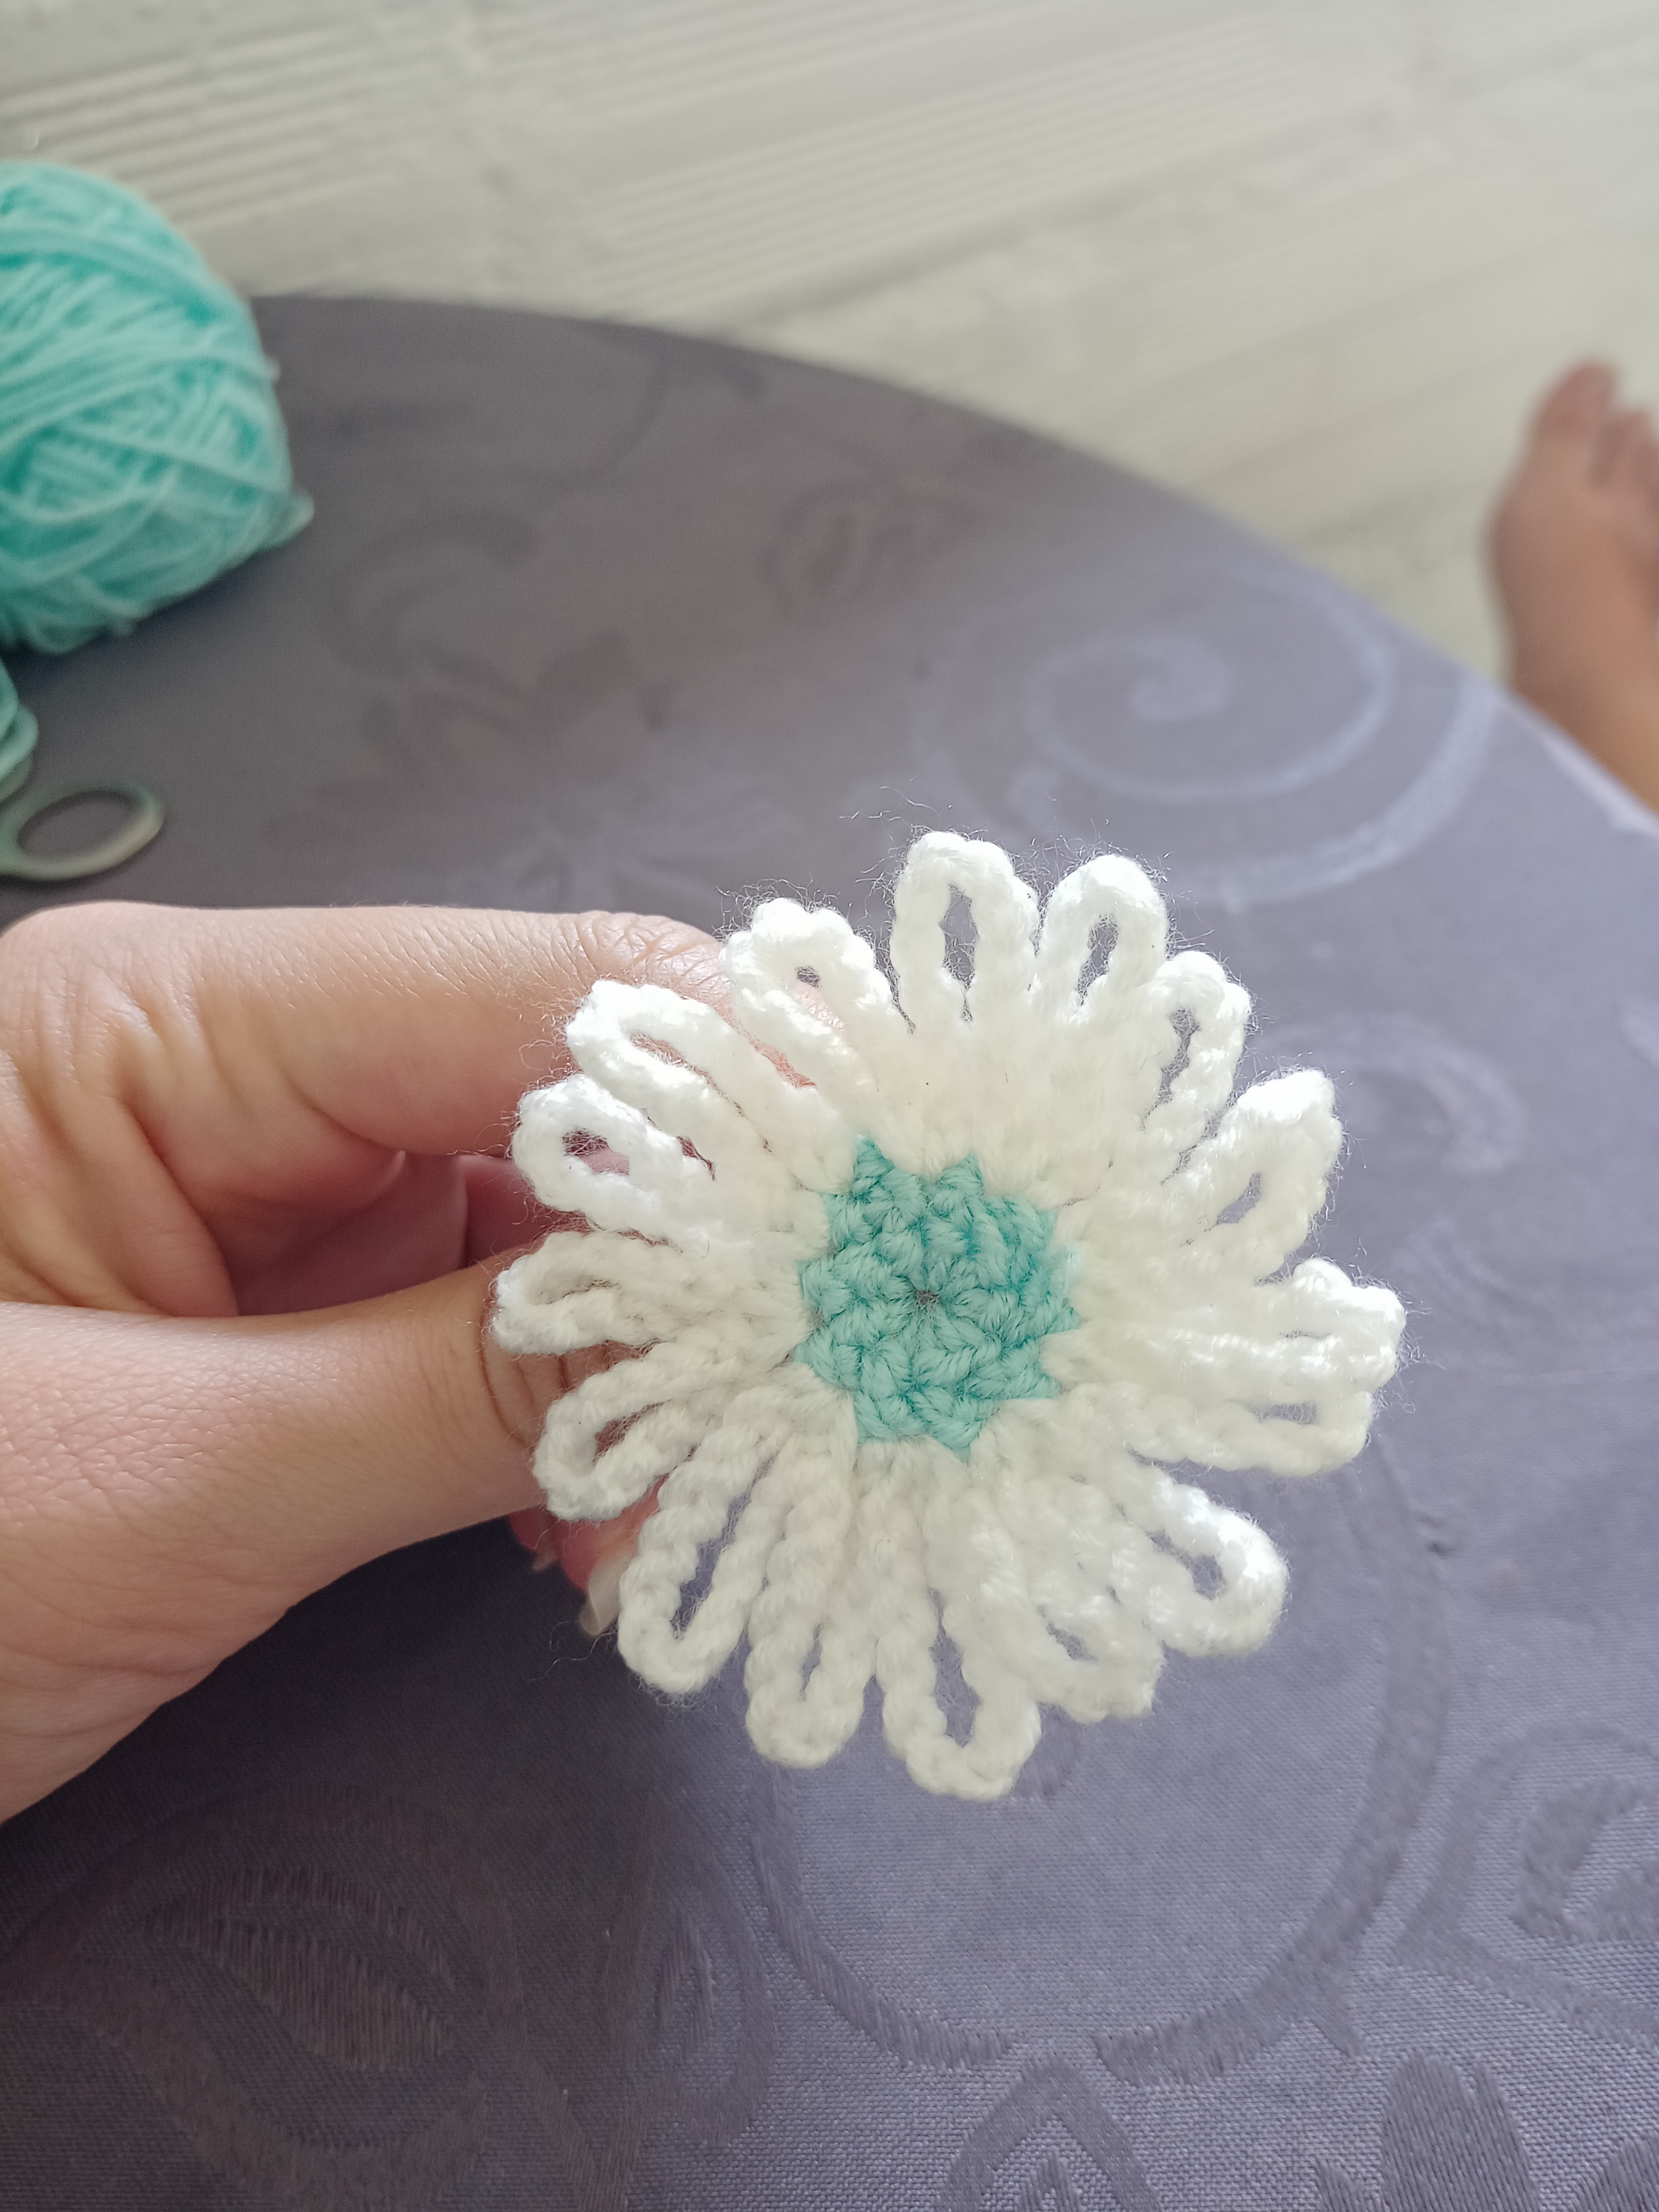
5 . For the petals we will start by knitting 12 chains, to close the petal we simply have to go down to the starting point and there we make a Low stitch.
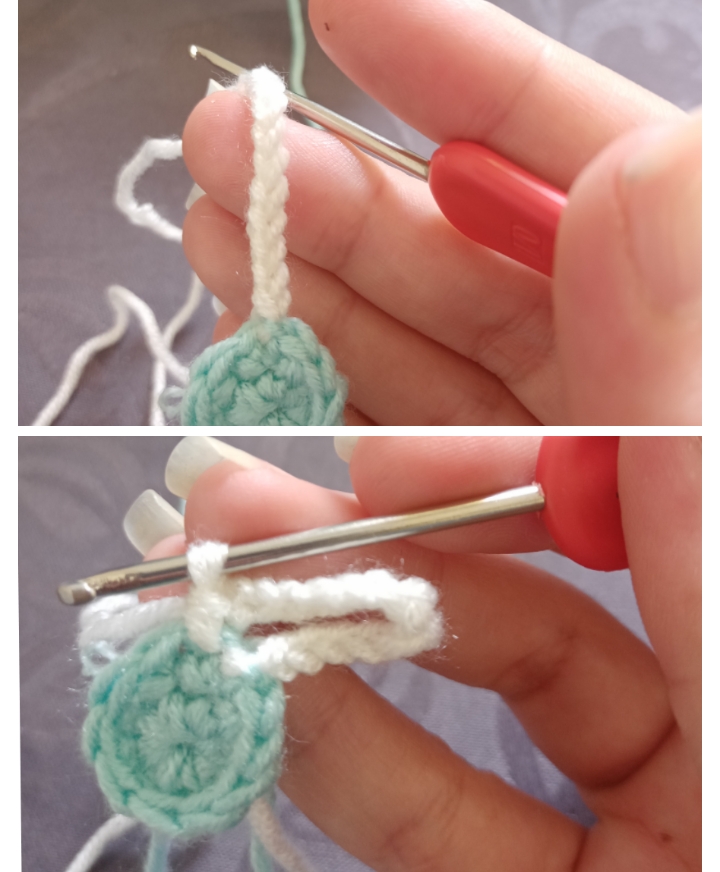
6 . This is how we will make each petal, we make chains of 12 and close at the bottom point, I am going to show you below.
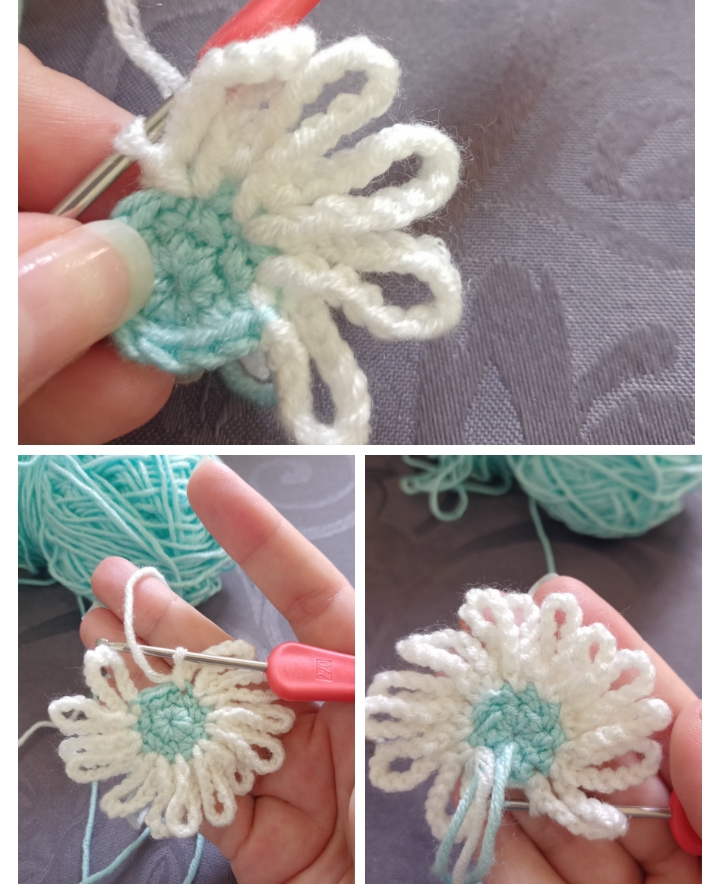
7 . When we have surrounded the center of the flower, all that remains is to cut the thread and close, remember that we make a small knot with the leftover thread and hide the tip if you want to leave the flower without no decoration, in case you want to leave the leftovers you simply join the ends so that it looks like this:
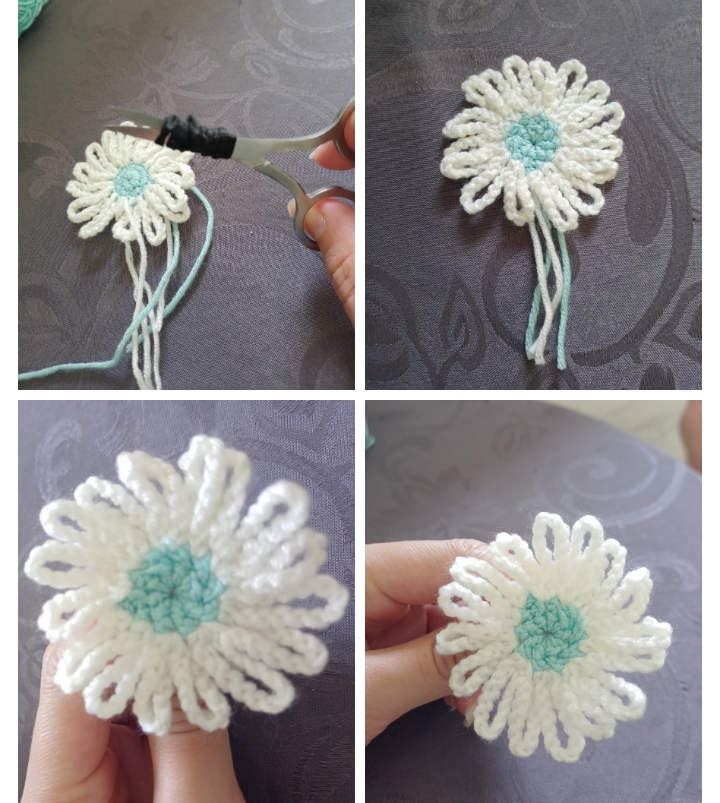
10 . In my case I made another sheet a little smaller.
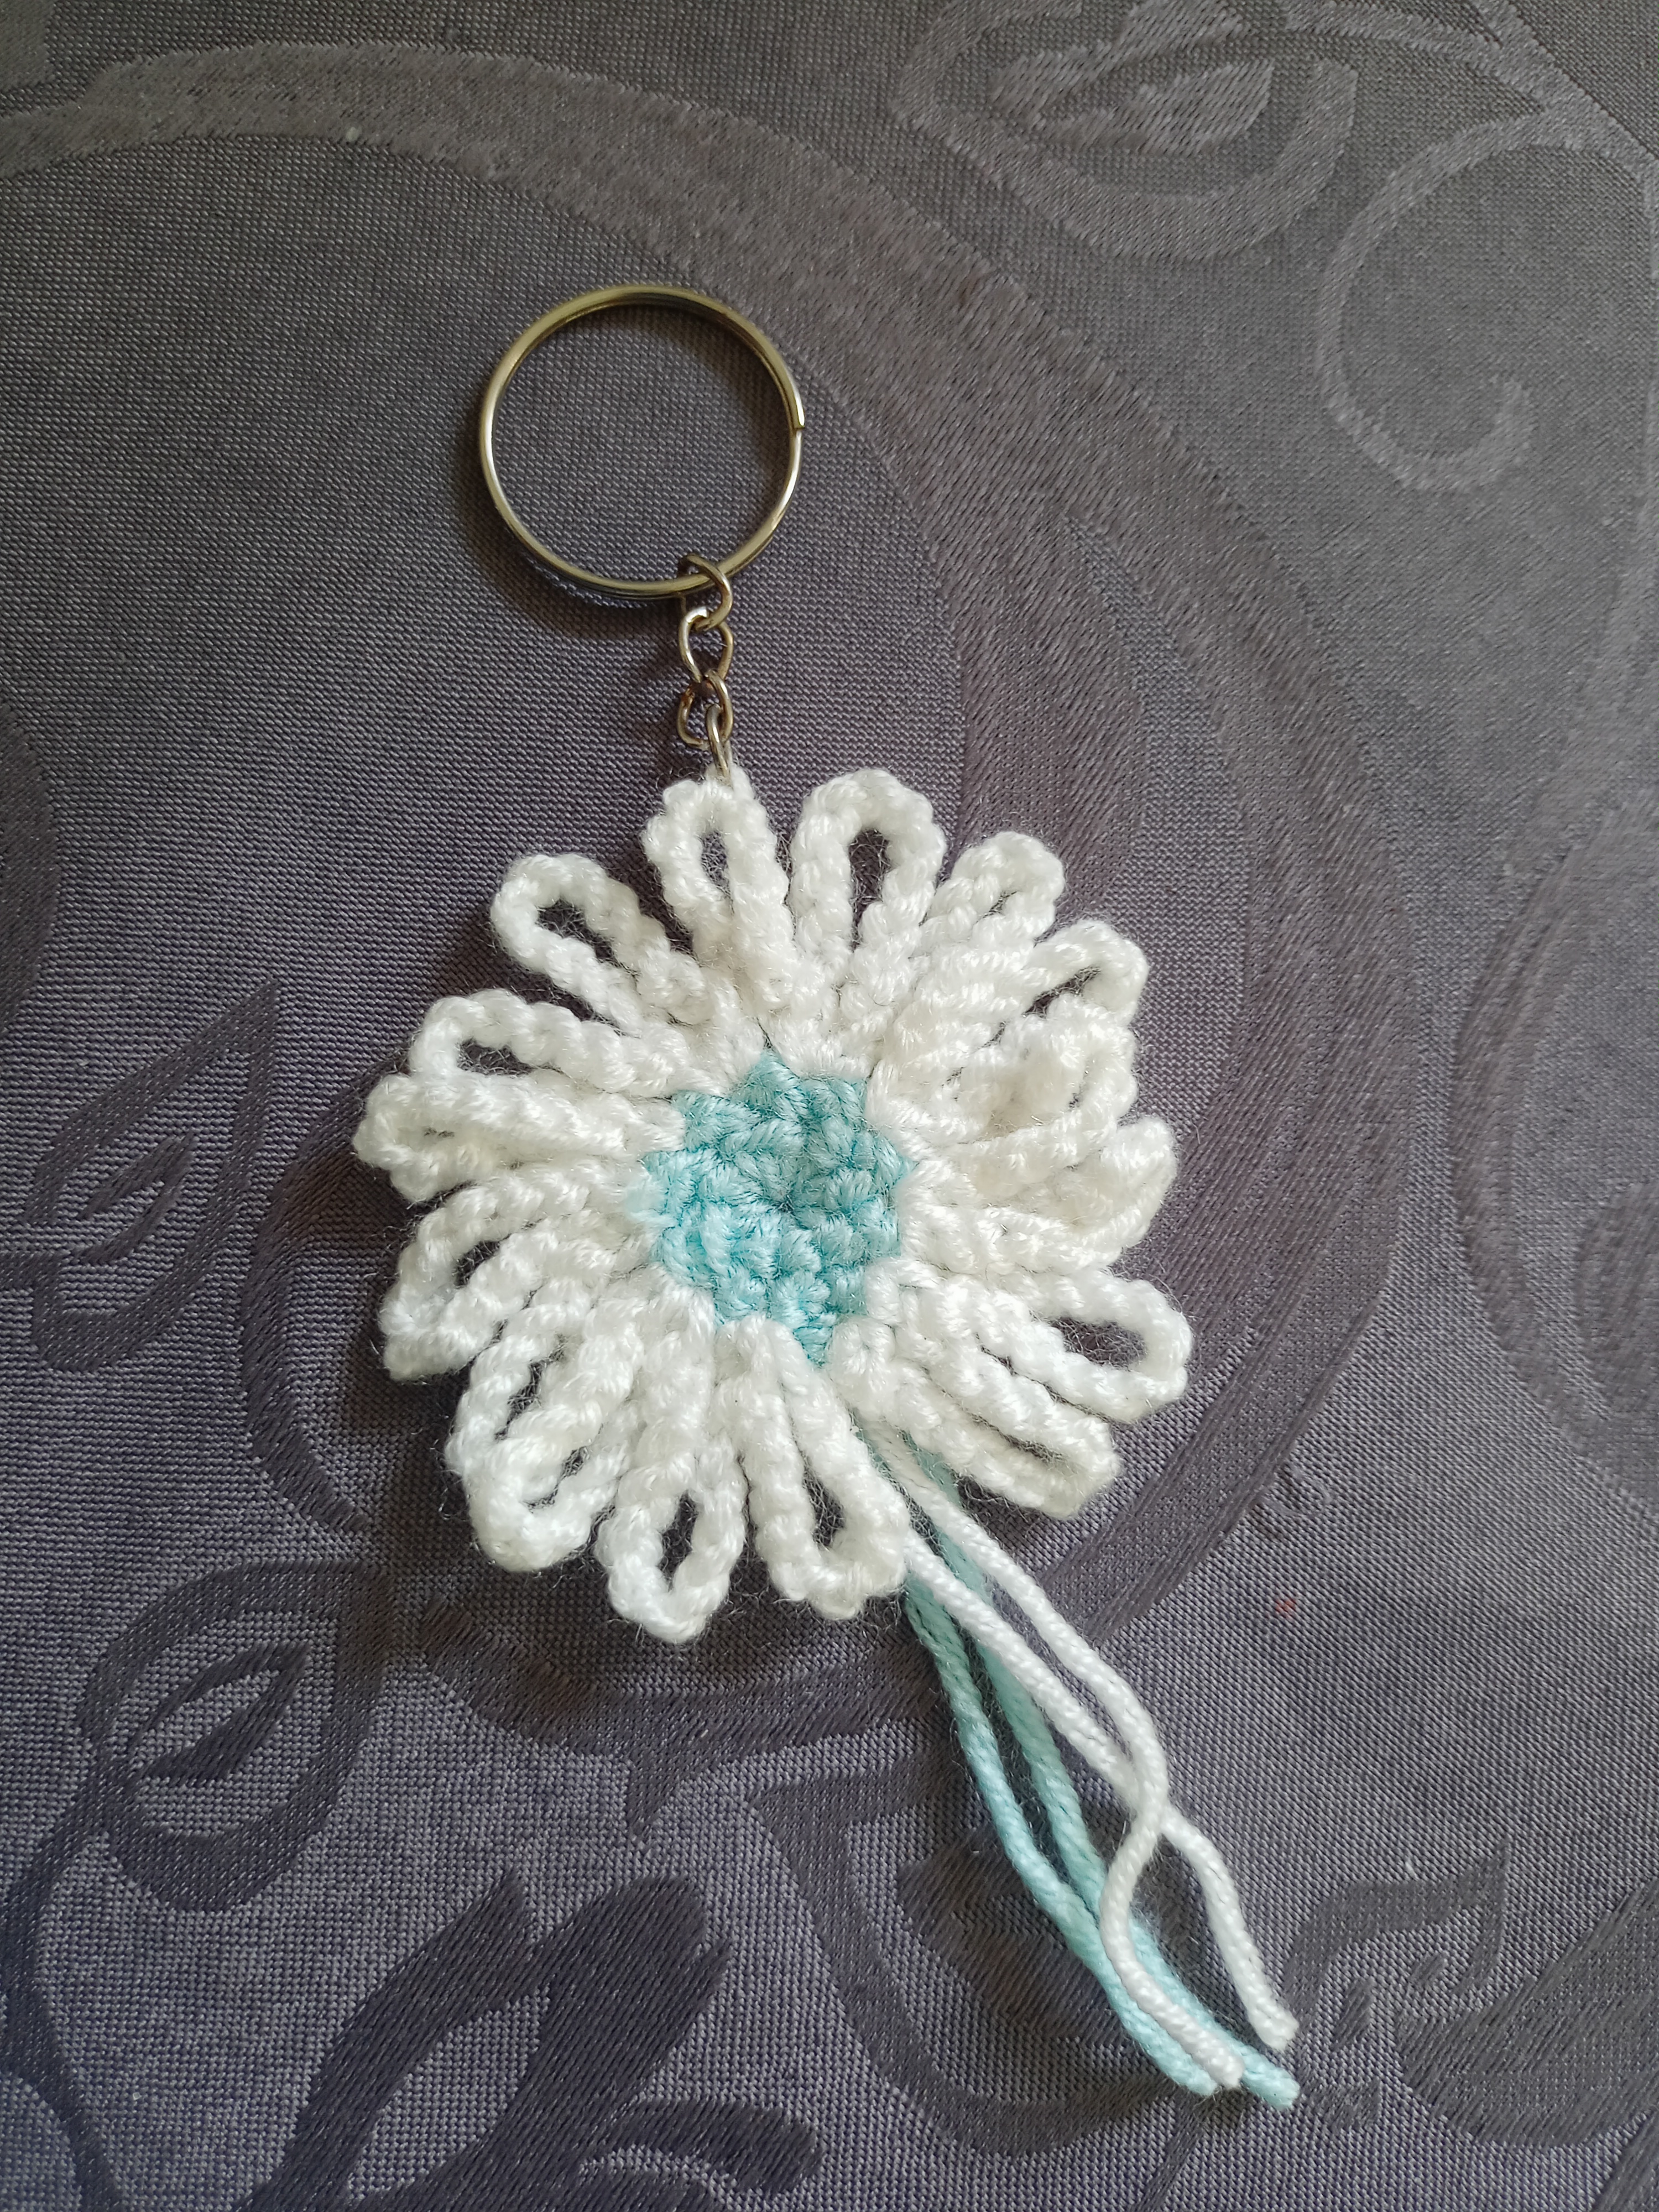
Ready, that's the whole process to make a beautiful flower, as I told you, you can give it your personal touch, I decided to leave a pendant on it, I thought it looked pretty, but if you don't like it, You simply have to cut the threads and that's it.
The best thing is that you can use it on different things, you can make earrings, pendants, home decorations, and as I show you a keychain!
RESULTADO FINAL
FINAL SCORE
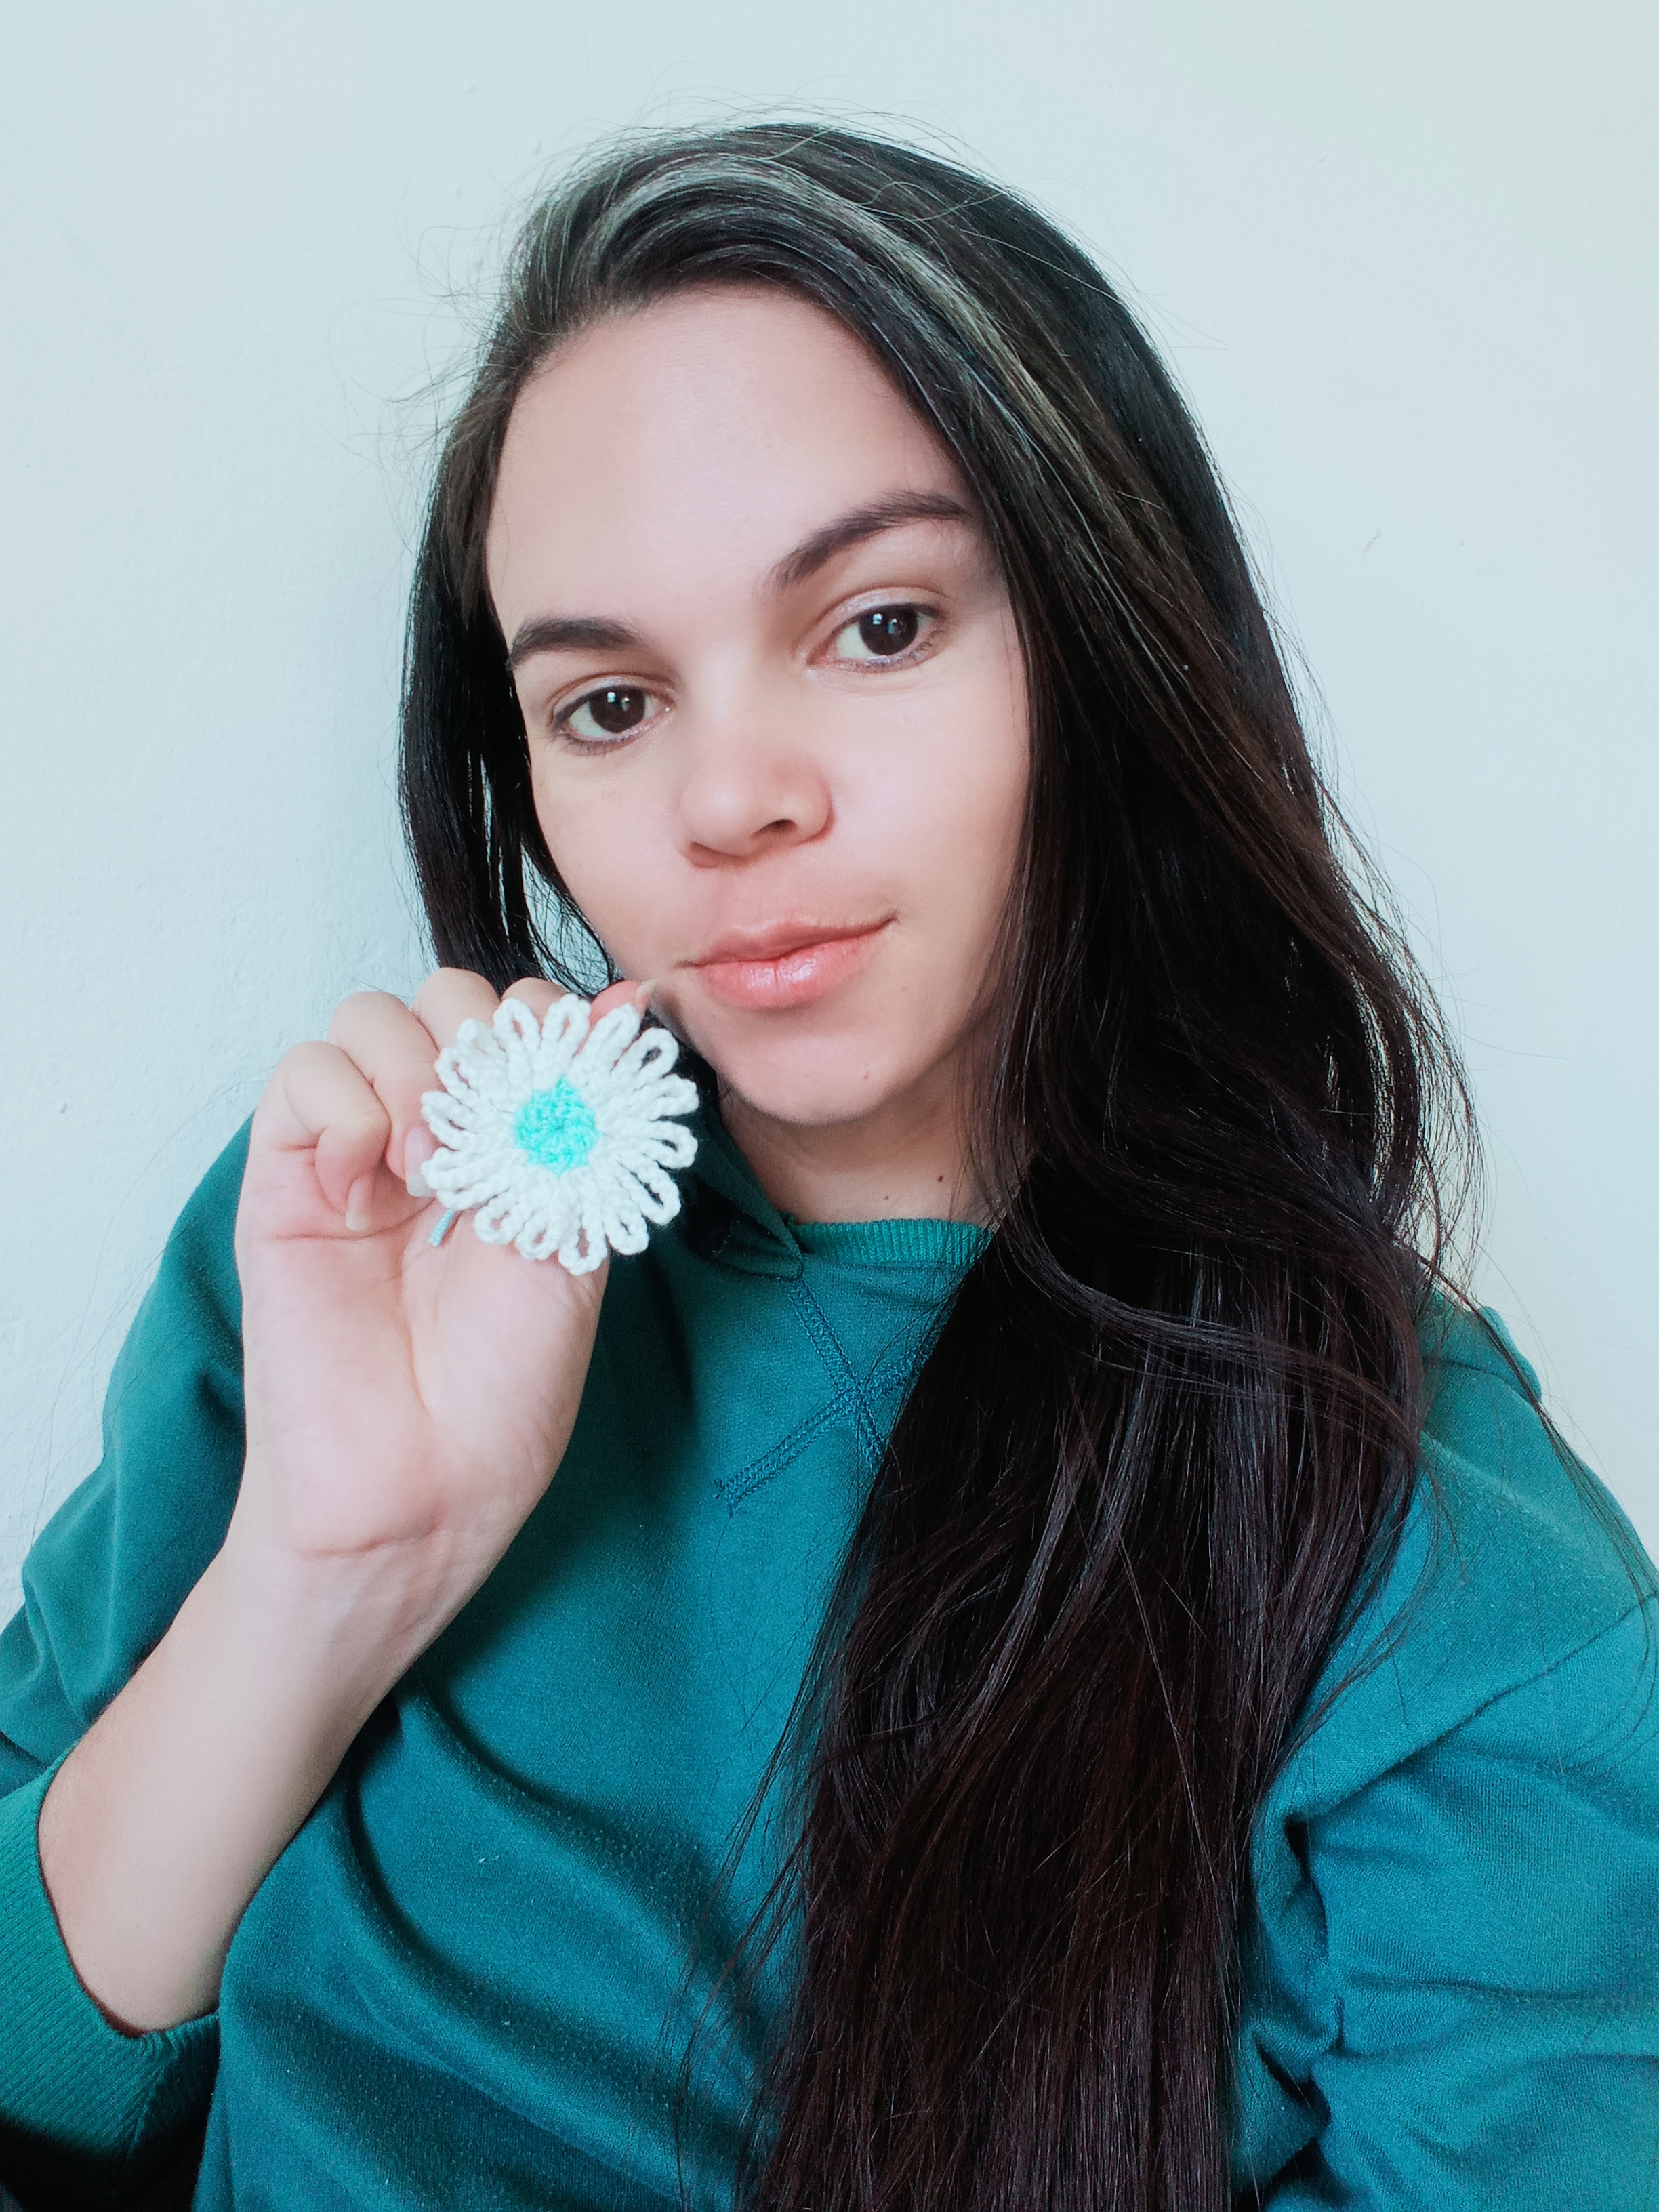
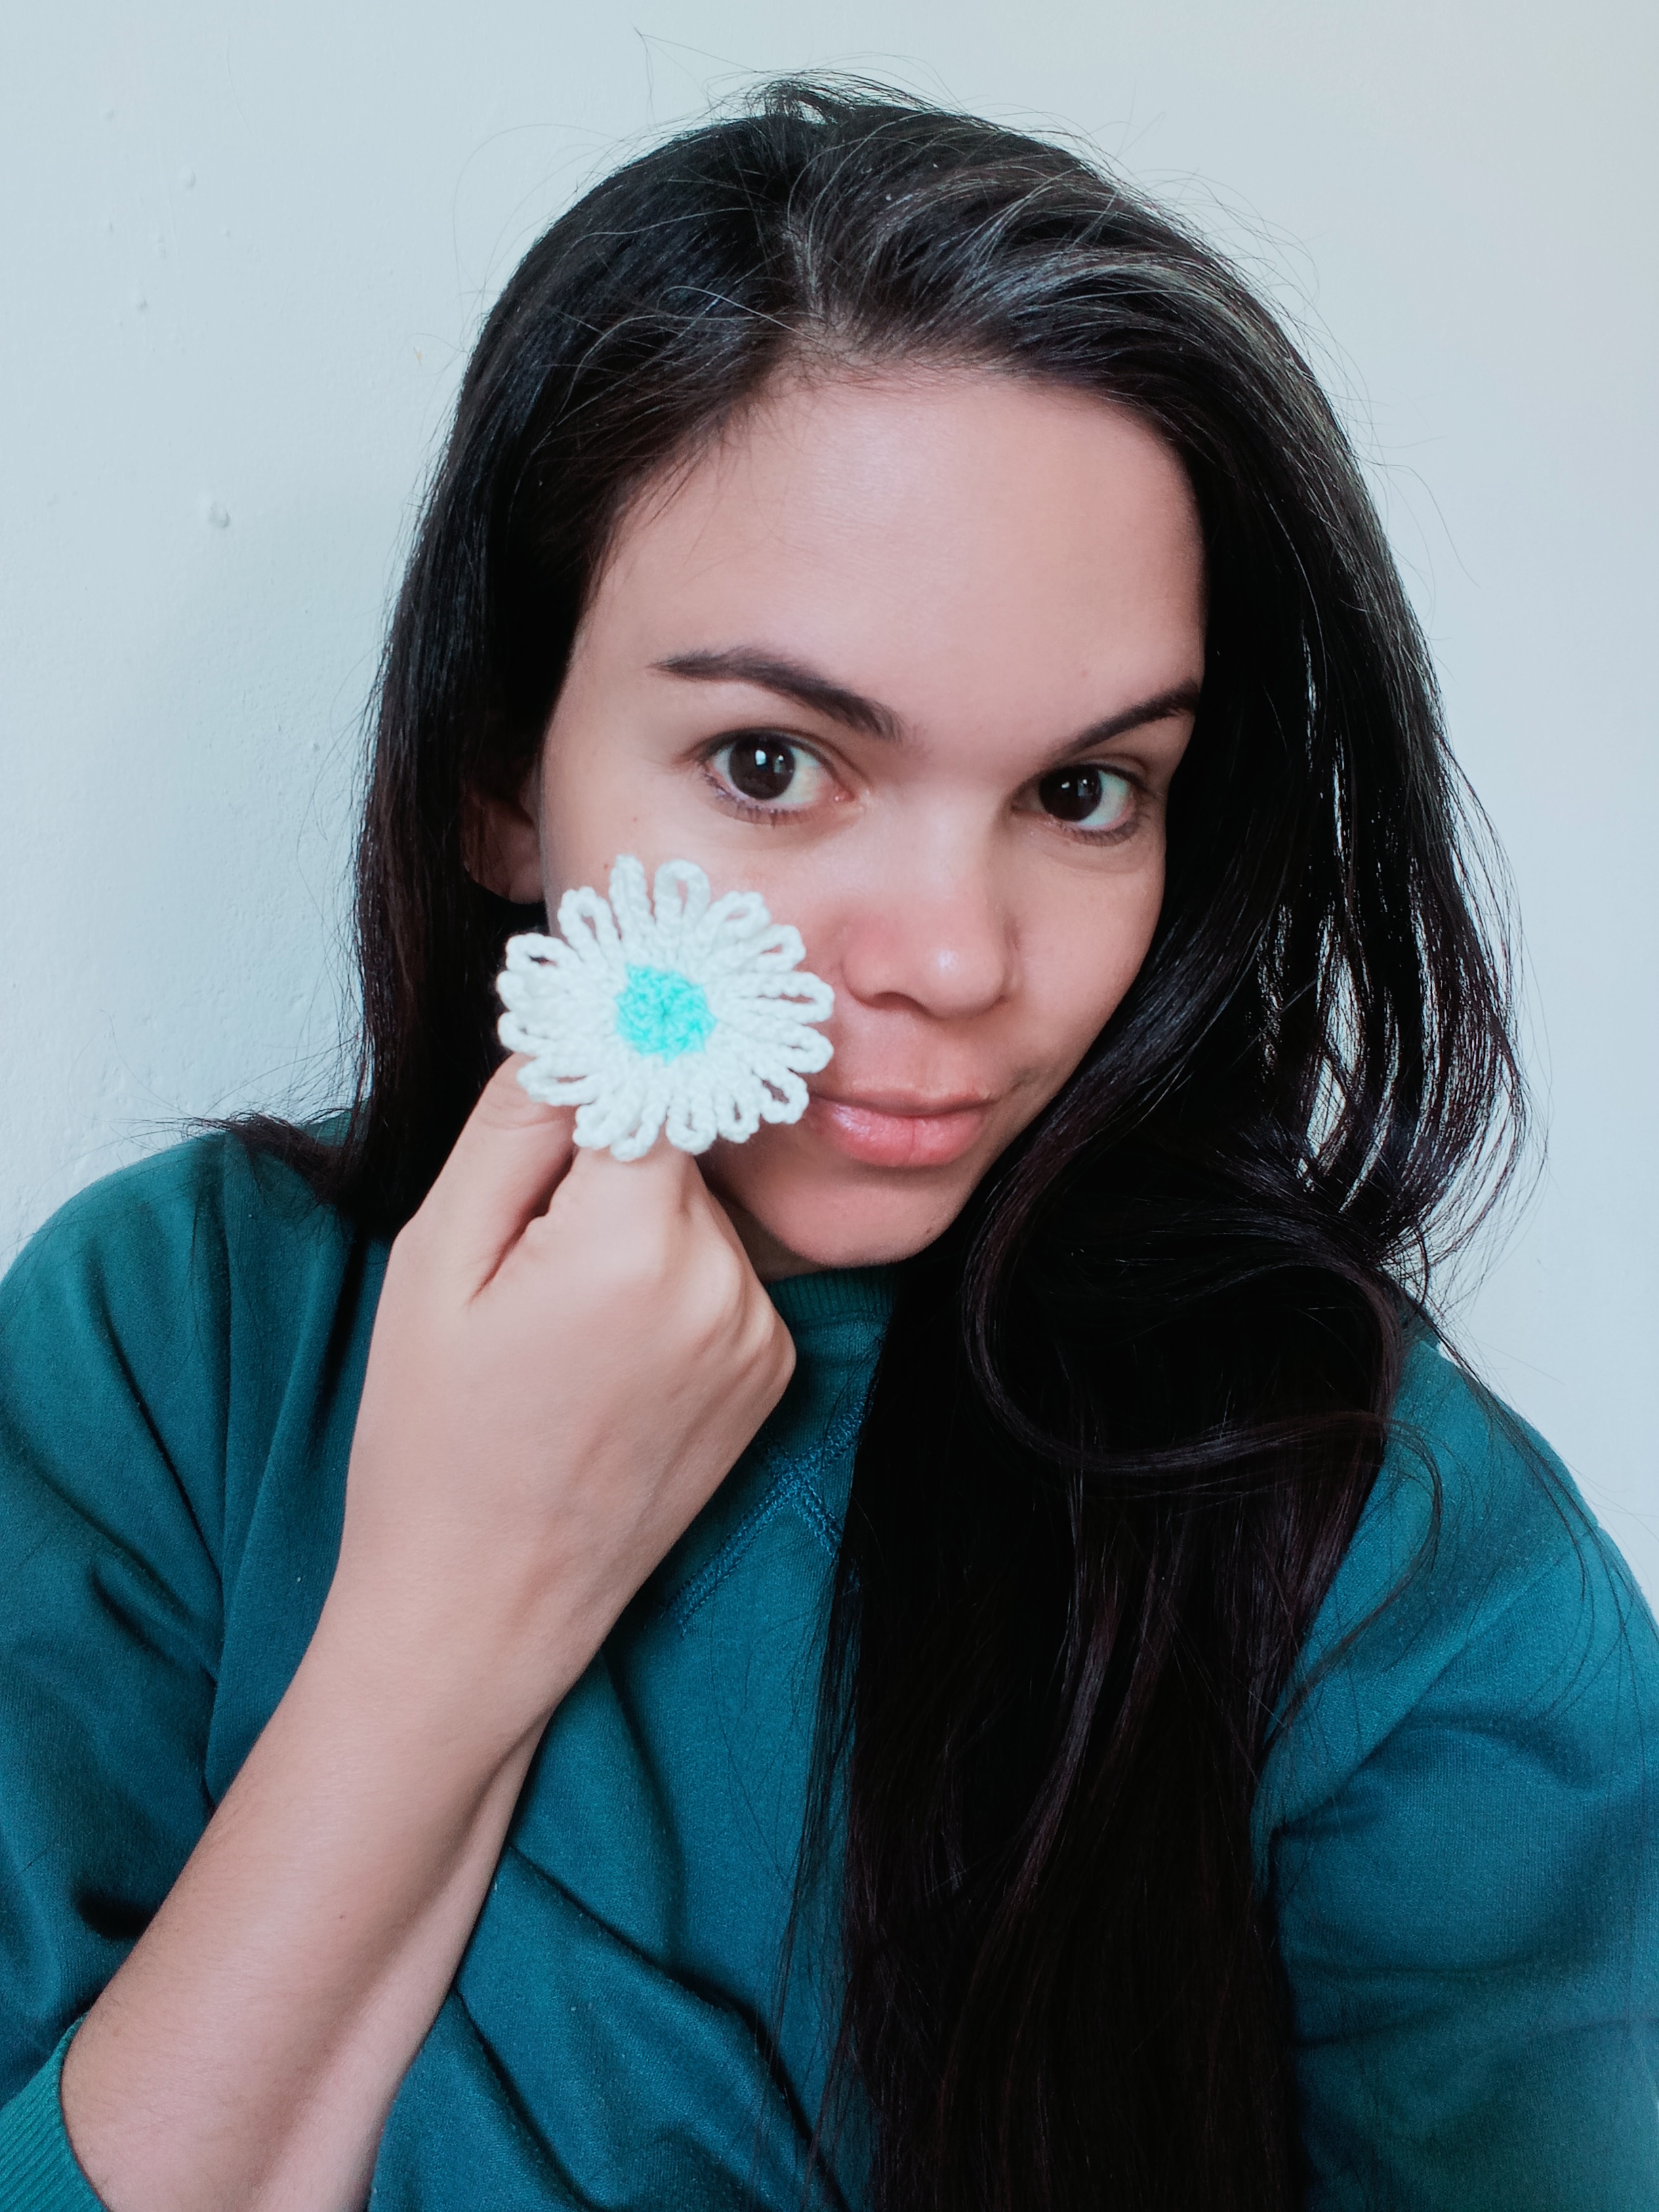
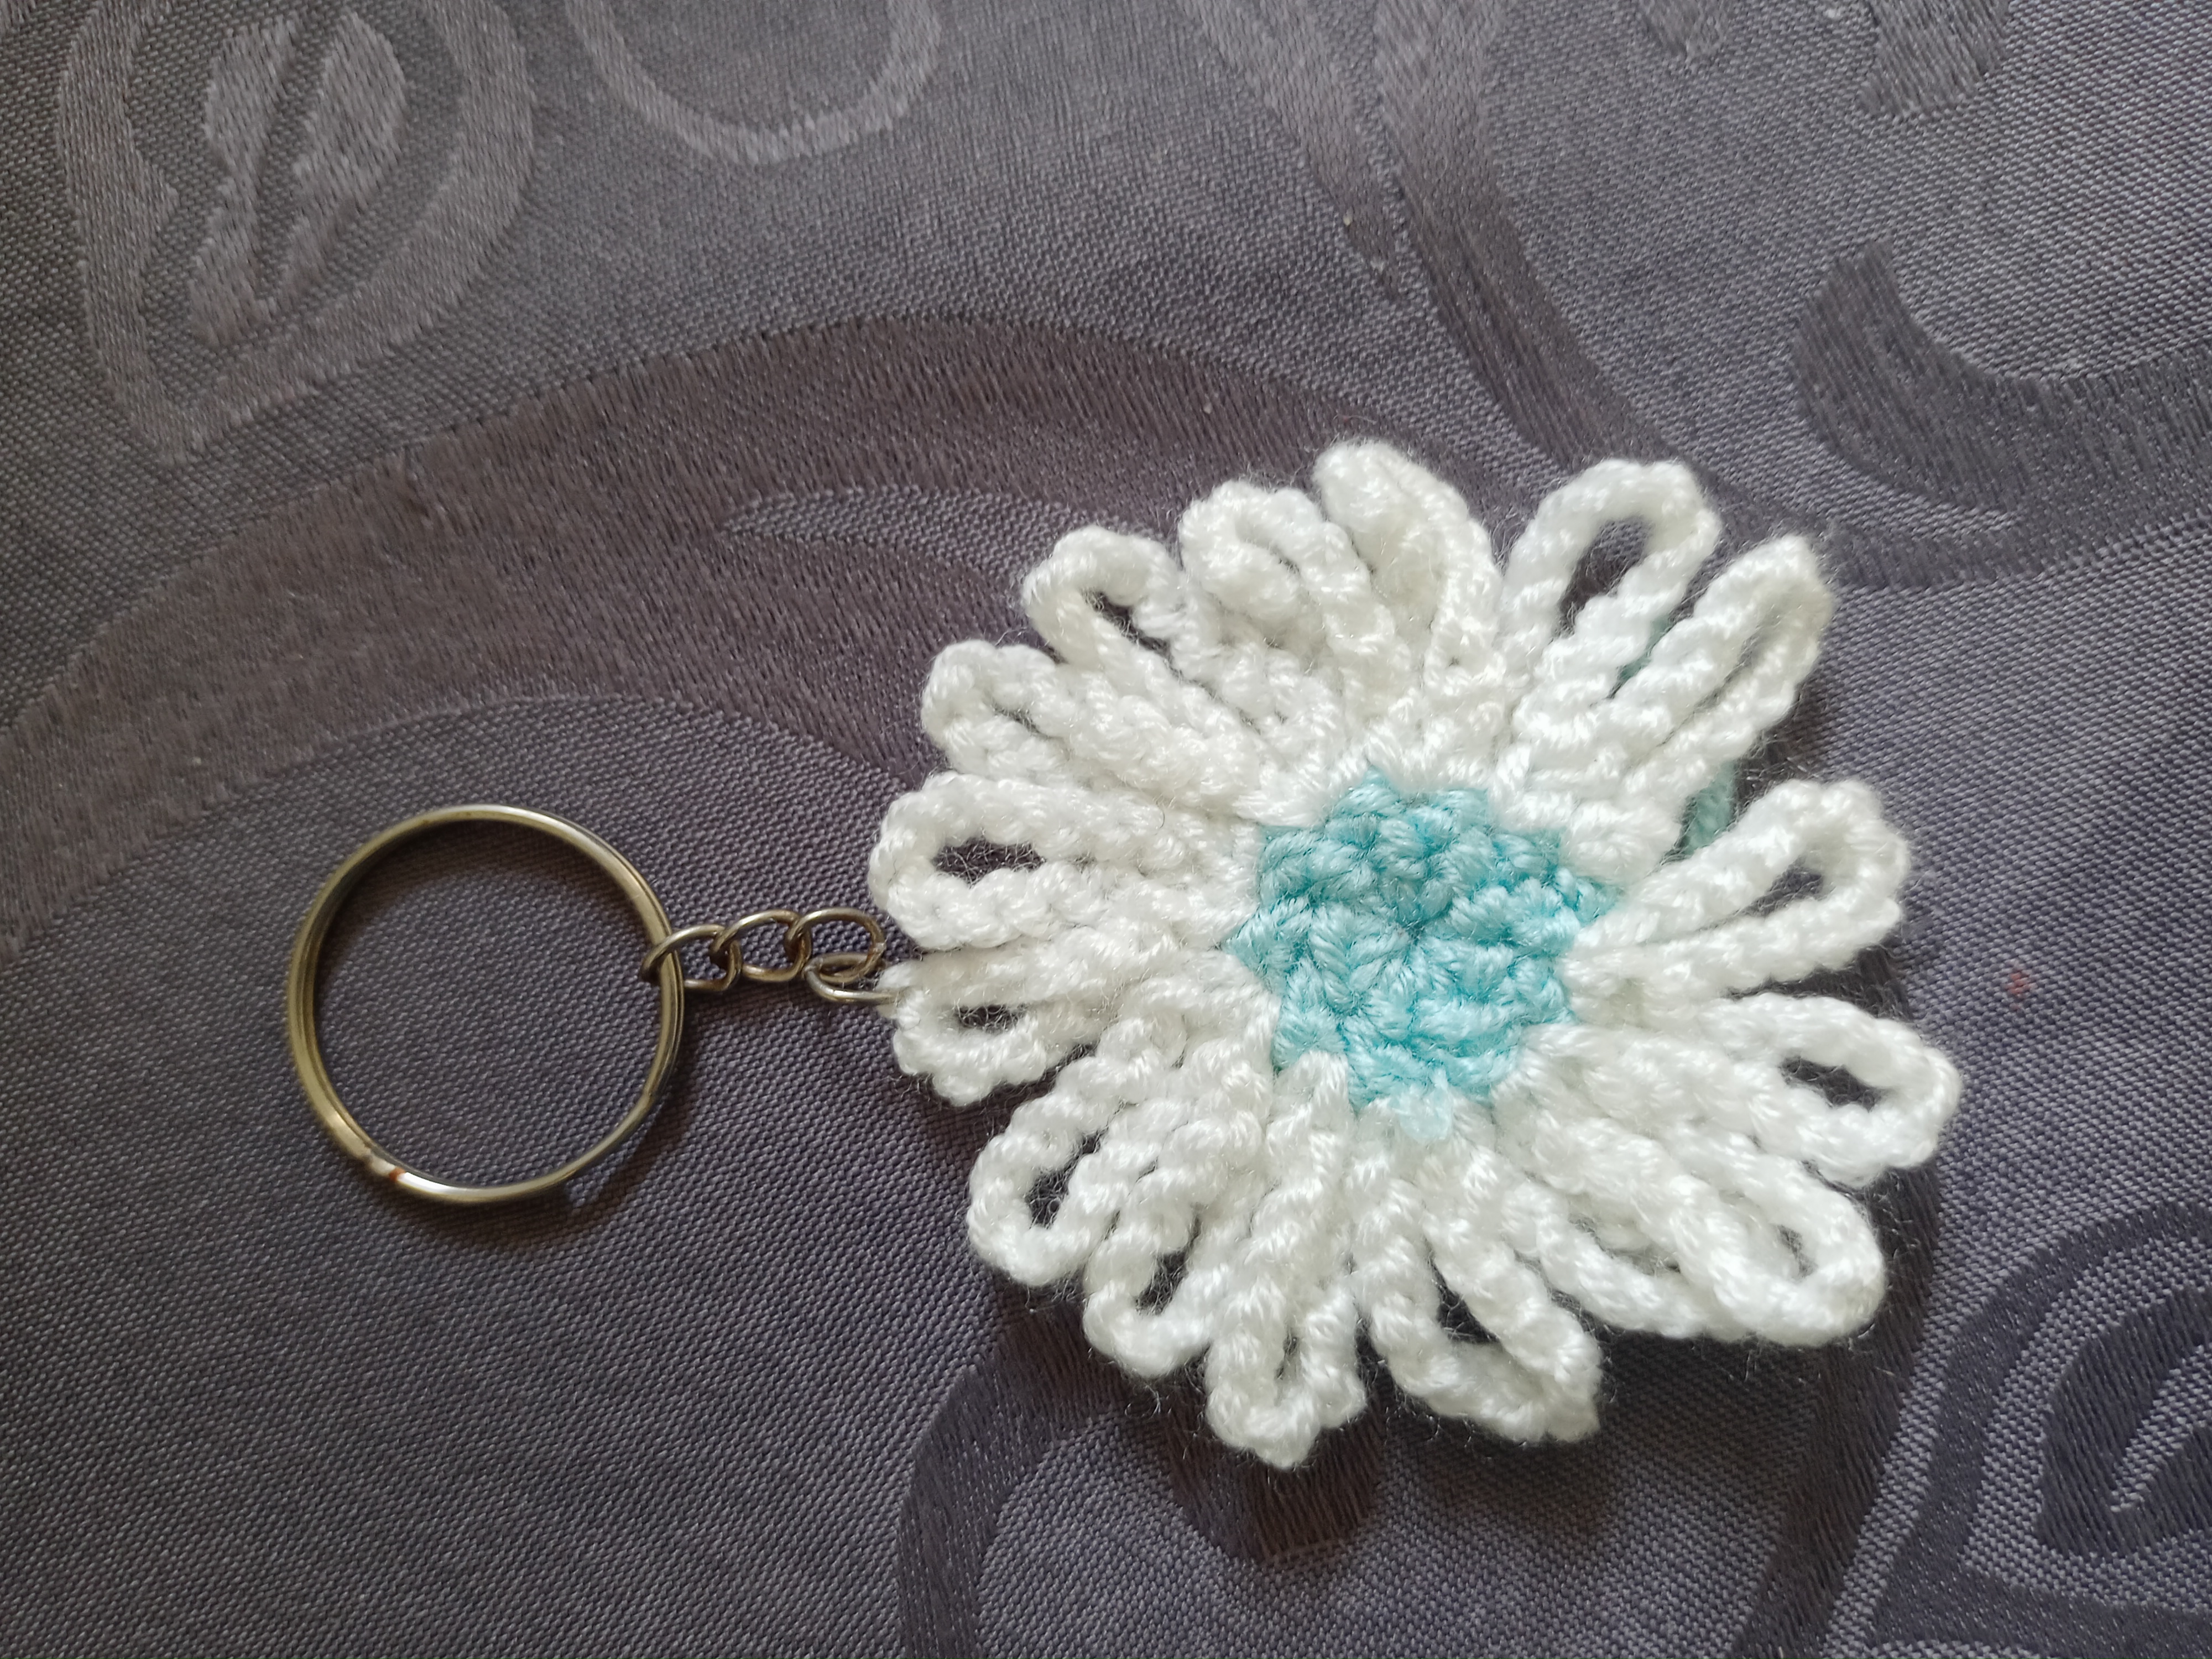
REMEMBER THAT YOU CAN GIVE IT YOUR PERSONAL TOUCH!
Happy to share with you friends, one more of my projects, I hope you liked it! It was made with love and dedication😊
Fotografías propias tomadas con mi REALME 7i
Contenido 100% exclusivo
Own photos taken with my REALME 7i
100% exclusive content
https://leofinance.io/threads/view/hive-130560/re-leothreads-rdzwkhz2
Congratulations @venusl19! You have completed the following achievement on the Hive blockchain And have been rewarded with New badge(s)
Your next target is to reach 1500 upvotes.
You can view your badges on your board and compare yourself to others in the Ranking
If you no longer want to receive notifications, reply to this comment with the word
STOPTo support your work, I also upvoted your post!
Check out our last posts:
Te invitamos cordialmente a unirte a nuestro servidor de Discord, para participar en las actividades y conectarte con otros miembros de la comunidad DIY.
https://discord.gg/EVPnrUaJVd
