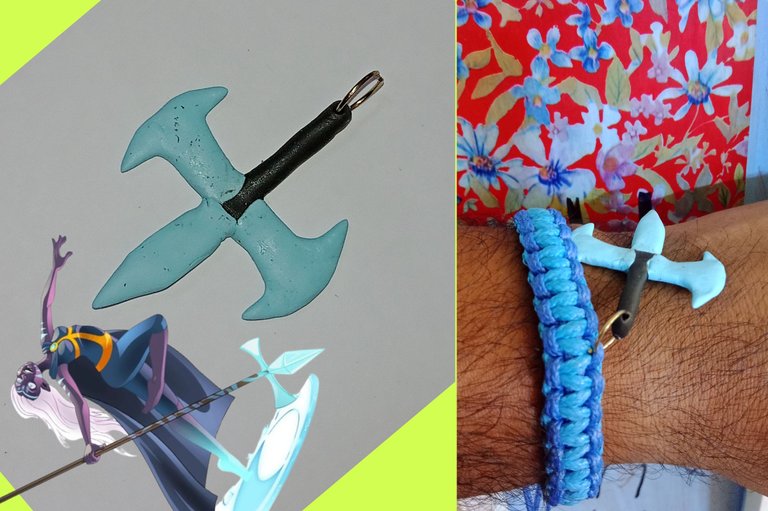
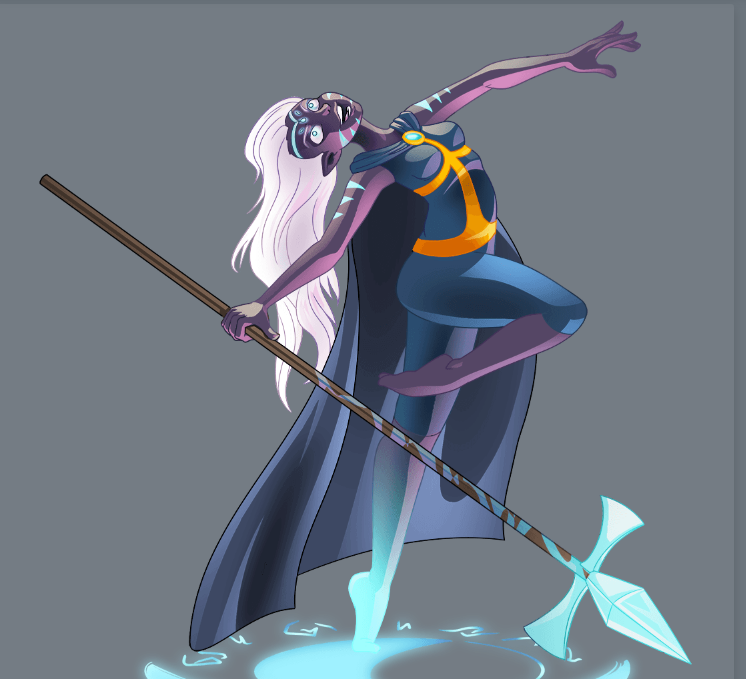
Hello community, I am pleased to greet you and wish you a prosperous and blessed day. On this occasion I wish to share my first Fan Art of one of the splinterlands game cards specifically the warrior Theorosa Nightshade.
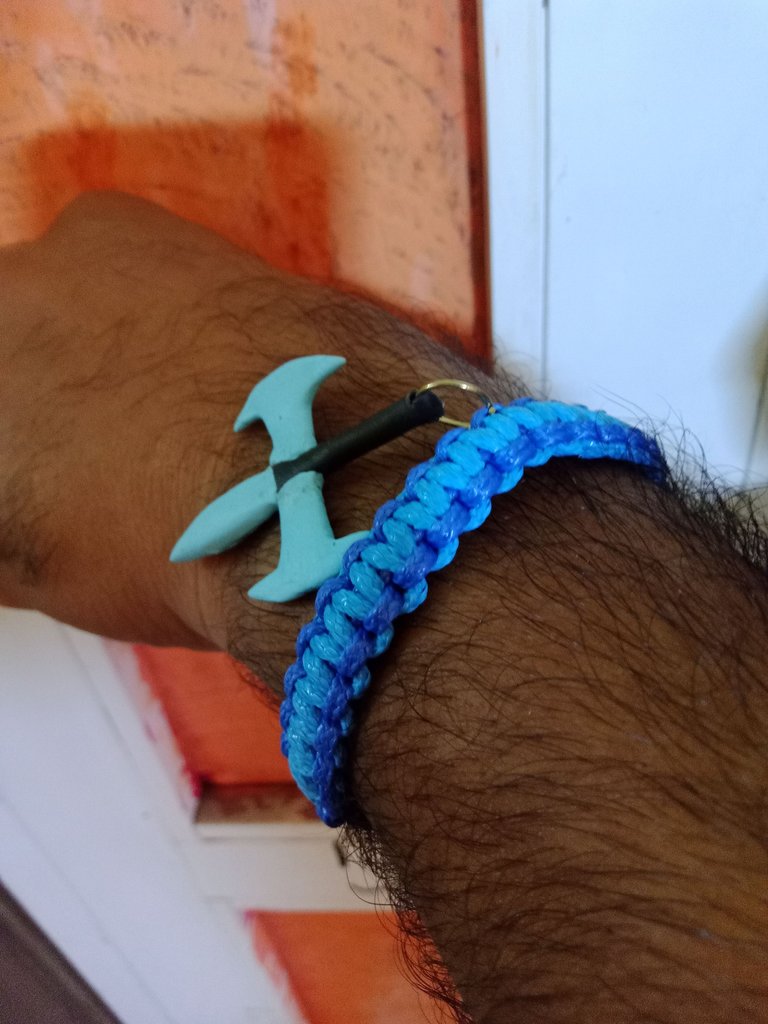
It is a two-color blue macrame bracelet like the character and a pendant referring to the weapon used by this fighter.
Without further ado I invite you to elaborate with me this beautiful accessory for this great warrior.
Hola comunidad, encantado en saludarles y desearles un próspero y bendecido día. En esta ocasión deseo compartir mi primer Fan Art de una de las cartas del juego de splinterlands específicamente la guerrera Theorosa Nightshade.
Se trata de una pulsera macramé bicolor de color azul como el personaje y un dije referente al arma que usa ésta luchadora.
Sin más preámbulo les invito a elaborar conmigo éste hermoso accesorio para esta gran guerrera.

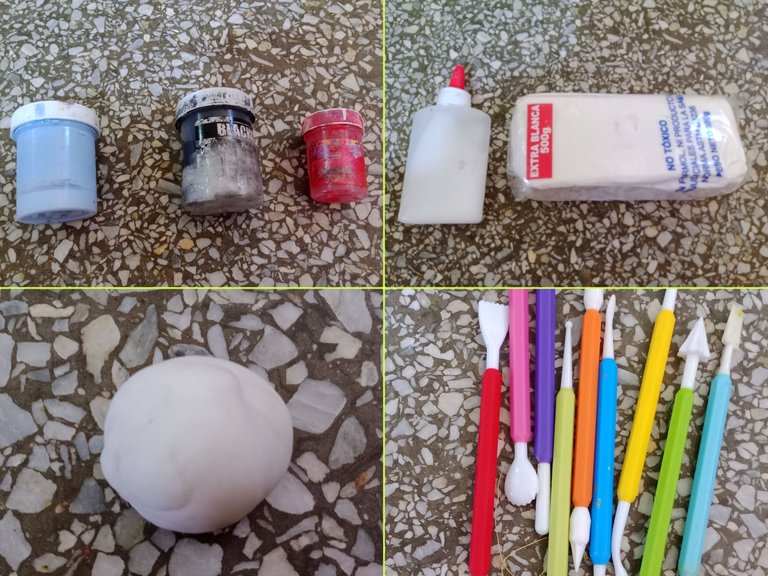
Para realizar esta hermosa pulsera macramé utilizamos los siguientes materiales, a saber:
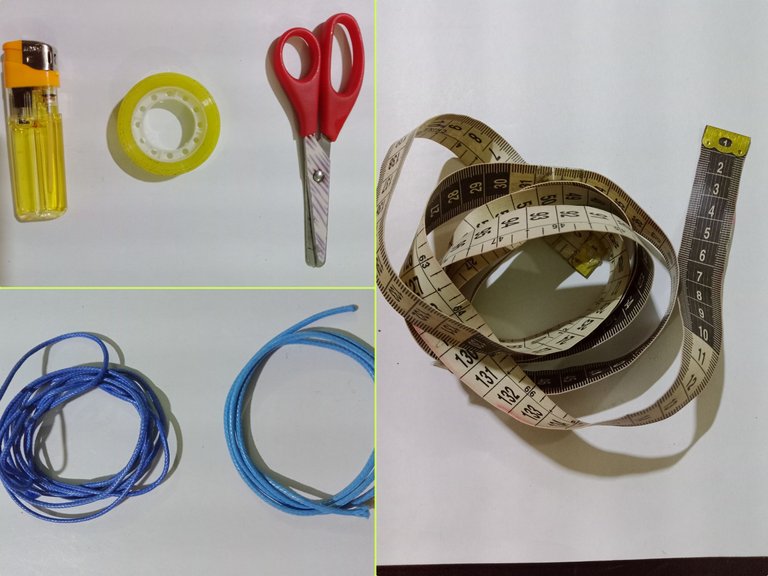
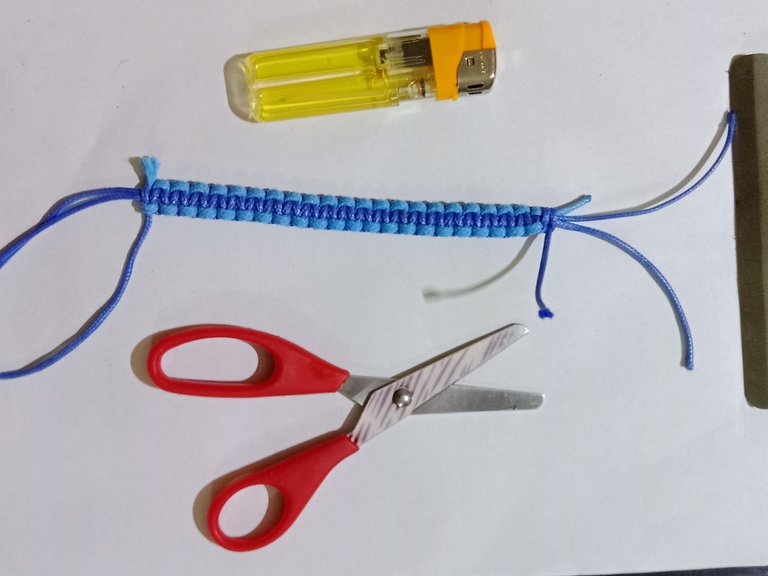
- Hilo piel de serpiente
- Tijera
Cinta métrica - Yesquero
- Pintura
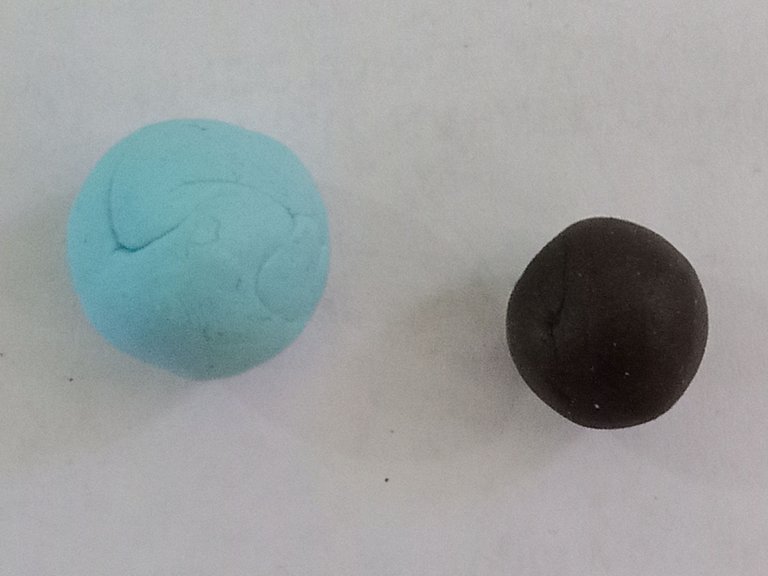
- Masa flexible
- Estecas
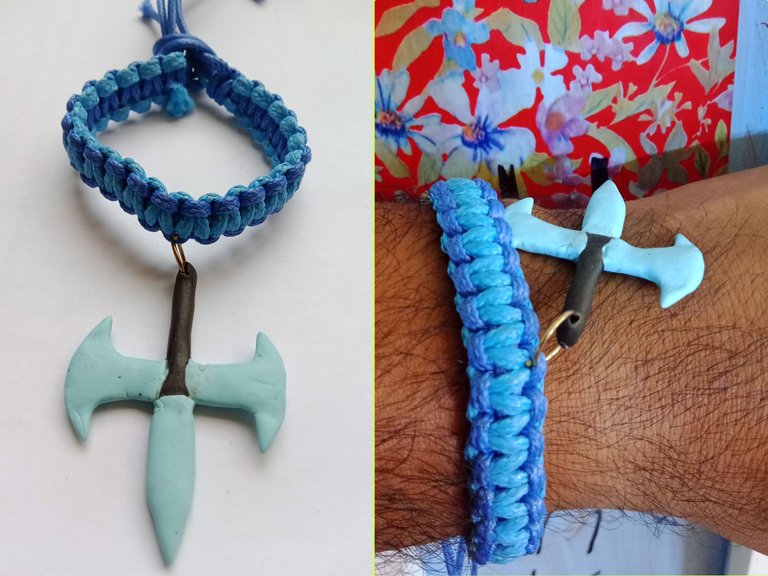
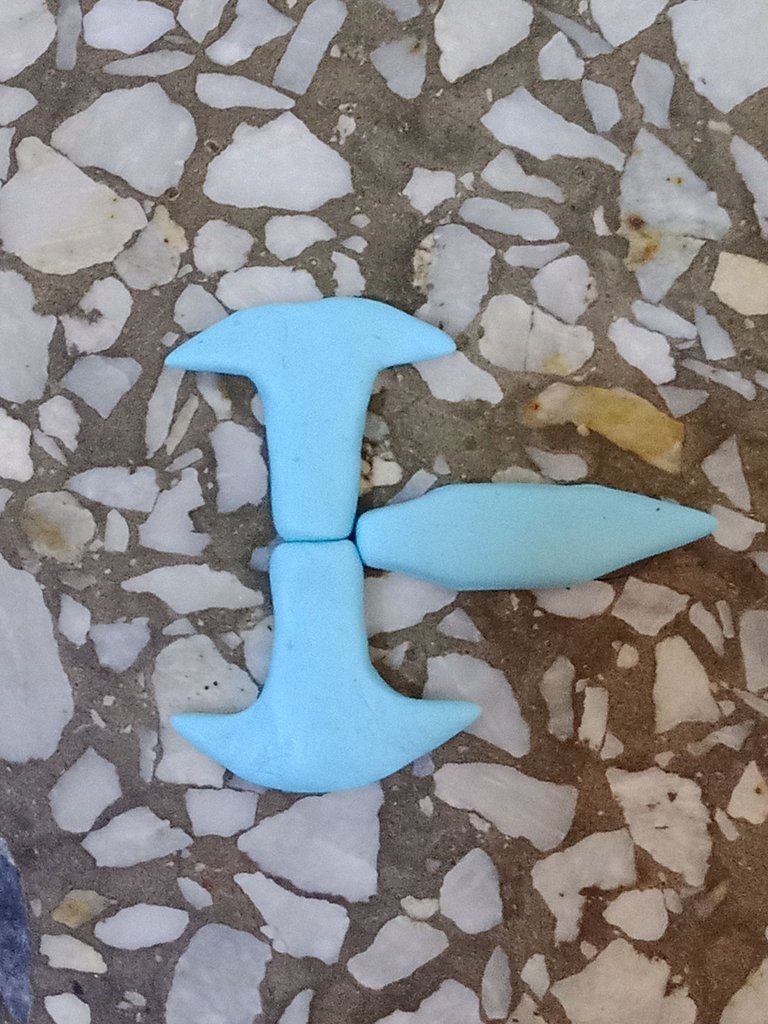
Then I made the two axe blades on each side and later I made the tip of the spear.

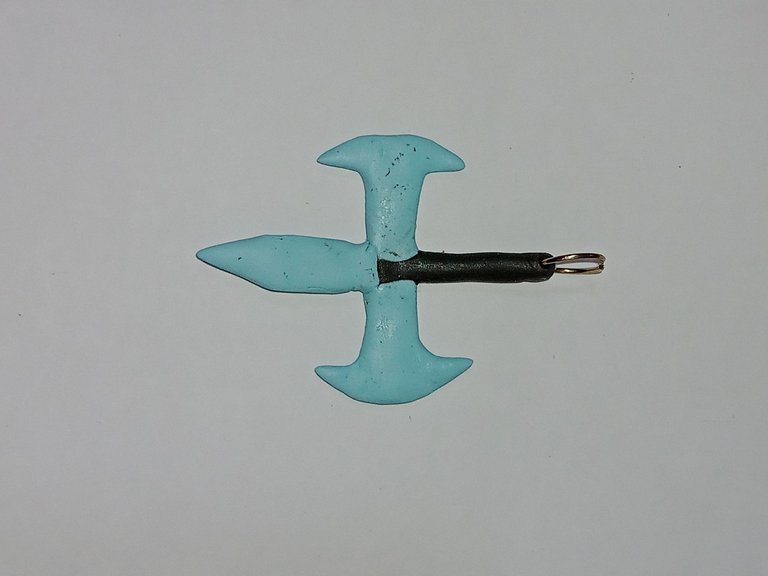
Finally I molded the stick, assembled it with the other pieces and then placed the hoop.
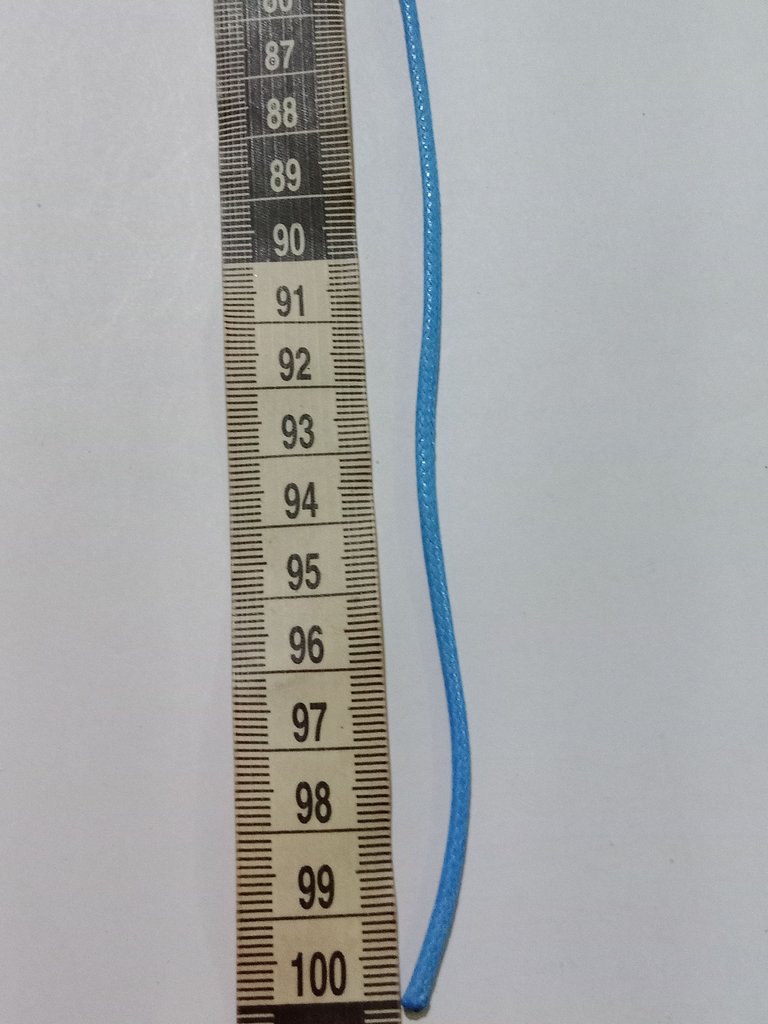
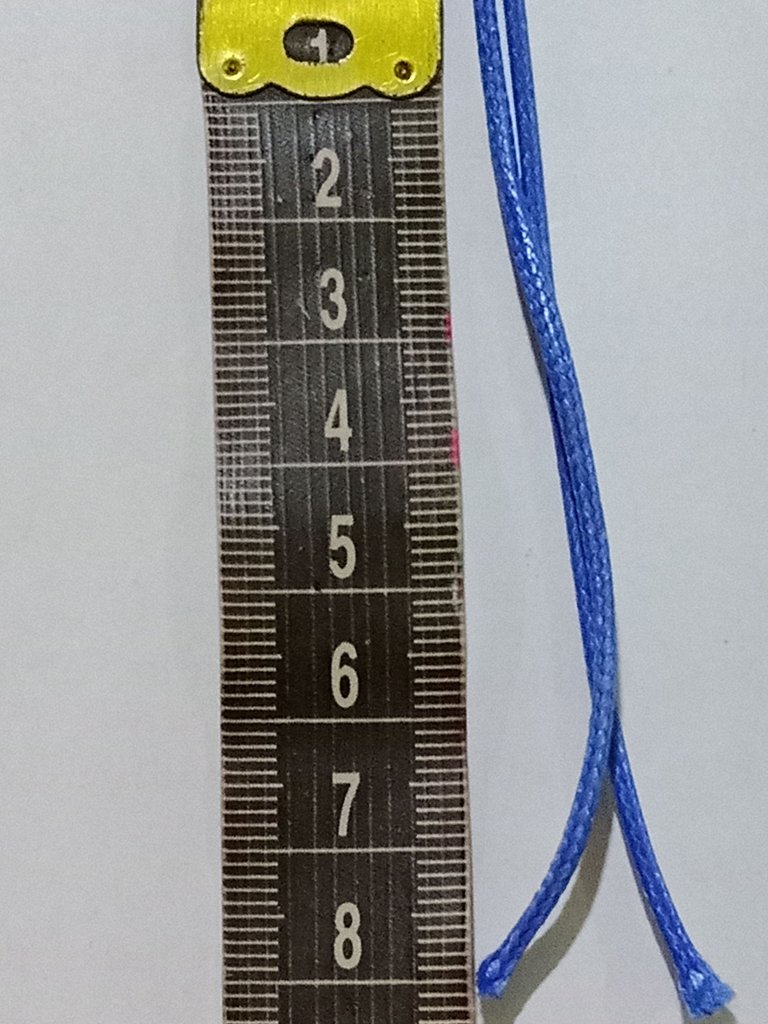
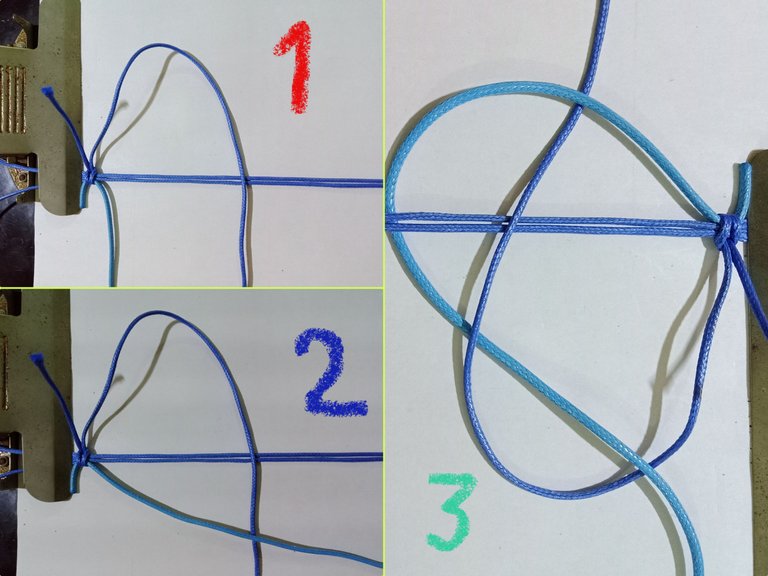
Once the pendant was finished, I began to make the bracelet, we started by cutting two strands of 35 cm threads that I will use to make the bracelet.
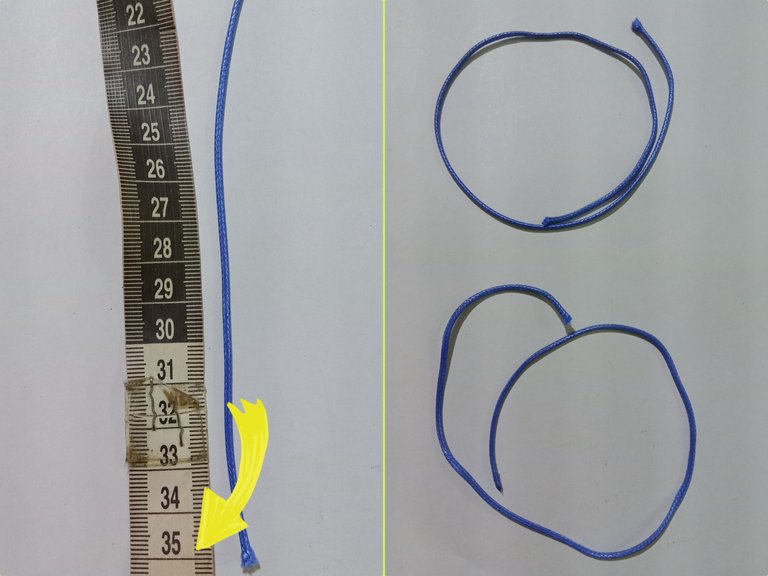
Luego corté una hebra de 100cm que usaremos para realizar el tejido o nudo plano
Translated with https://www.deepl.com/translator
                  All images are my own, dividers courtesy of @kattycrochet.


             Todas las imágenes son de mi autoría, divisores cortesía de @kattycro
Posted Using InLeo Alpha
Congratulations @virgilio07! You have completed the following achievement on the Hive blockchain And have been rewarded with New badge(s)
Your next target is to reach 80000 upvotes.
You can view your badges on your board and compare yourself to others in the Ranking
If you no longer want to receive notifications, reply to this comment with the word
STOPTo support your work, I also upvoted your post!
Wow. Amigo. Me gustó mucho verte trabajar con este material. Eres un magnífico escultor. Excelente.
Te quedó muy bonita.
Gracias amiga, estoy aprendiendo ese arte gracias a Dios
Checkout our BDVoter Daily Hive Showcase & Participate into our Daily giveaway to win various prize.
Muchas gracias por el apoyo
Muchas gracias por el apoyo