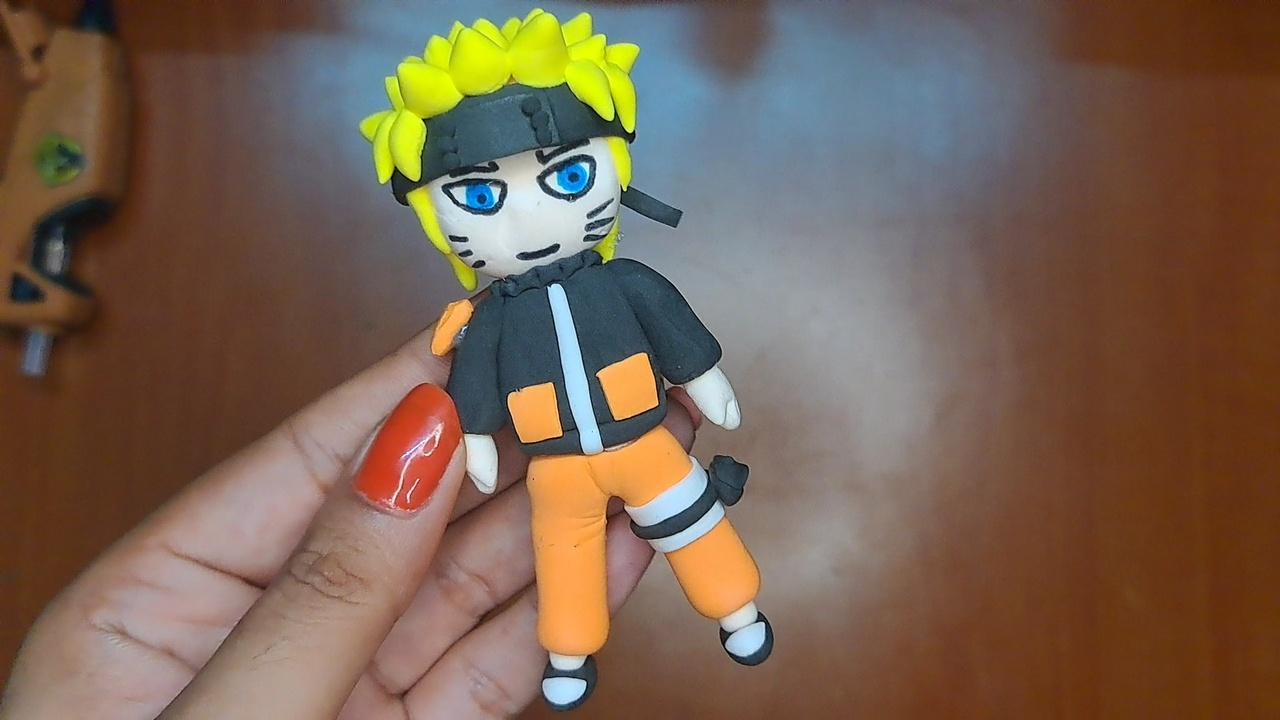
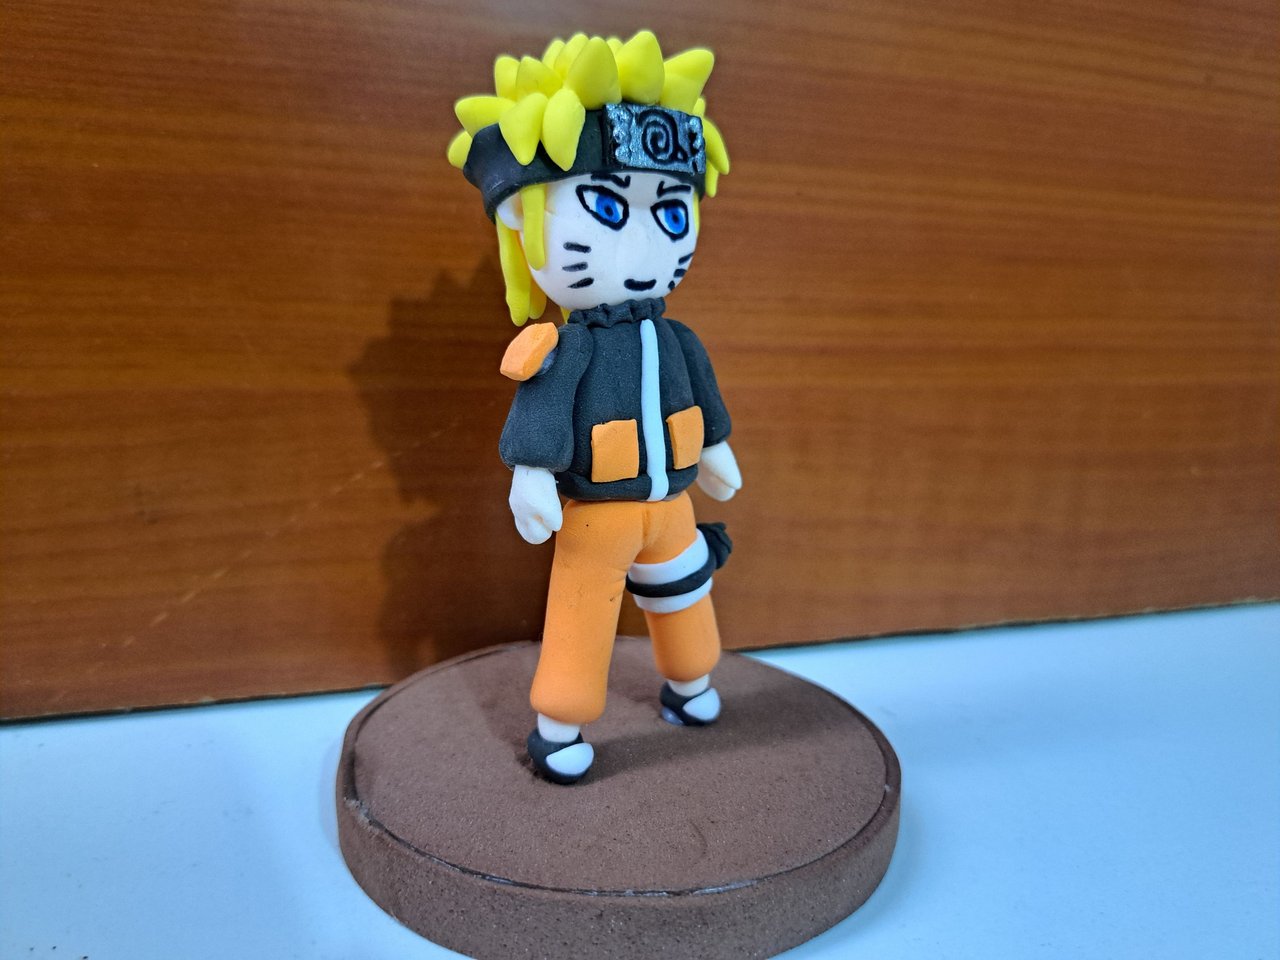
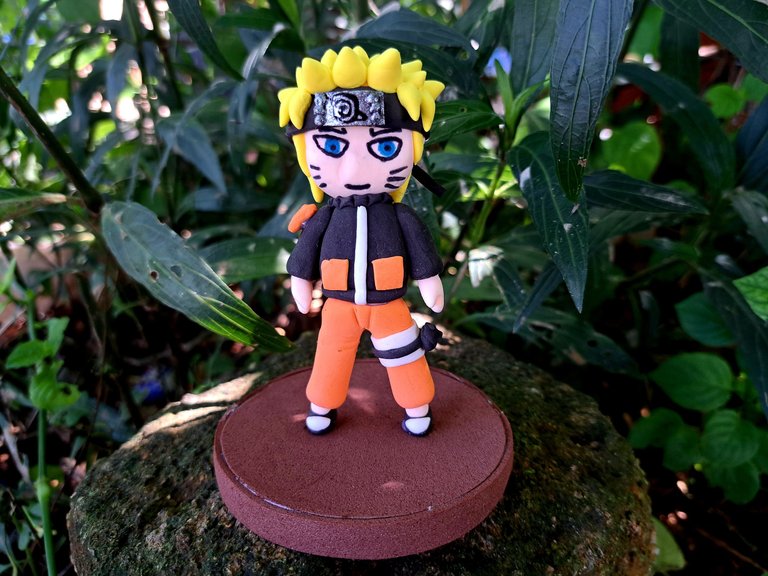
Hello my dear crafts lovers, once again here sharing a new video tutorial. Today I show you how you can create Naruto with your own hands, this character so famous in the world of anime and manga.
I don't know much about anime, I'm more into romantic dramas and horror movies, I leave this topic to @edeyglezsosa and my brother in law who enjoy it frequently. The realization of this character for me was a challenge, as I was completely unfamiliar with the details of clothing, hair and so on, but I had promised a copy to my brother-in-law for his collection and I had to deliver. They gave me a brief explanation of the whole story so I wasn't so lost on the subject. At least when I showed them the final result they were satisfied, it looked pretty close 😅 what do you think?
Below, I show you the materials used and a summary of the step by step, in the video you will find all the details for its elaboration, I hope you enjoy it.
Hola mis queridos artesanos amantes de las manualidades, una vez más por aquí compartiendo un nuevo video tutorial. El día de hoy te enseño como puedes crear a Naruto con tus propias manos, este personaje tan famoso en el mundo del anime y el manga.
Yo no sé mucho de anime, soy más de dramas románticos y películas de terror, este tema se lo dejo a @edeyglezsosa y a mi cuñado que si disfrutan de ello con frecuencia. La realización de este personaje para mi fue un reto, pues desconocía por completo los detalles de la ropa, el pelo y demás, pero le había prometido un ejemplar a mi cuñado para su colección y tenía que cumplir. Ellos me dieron una breve explicación de toda la historia para que no estuviera tan perdida en este tema. Al menos cuando les mostré el resultado final quedaron satisfechos, se parecía bastante 😅, ¿qué crees tú?
A continuación, te muestro los materiales utilizados y un resumen del paso a paso, en el video encontrarás todos los detalles para su elaboración, espero lo disfrutes.
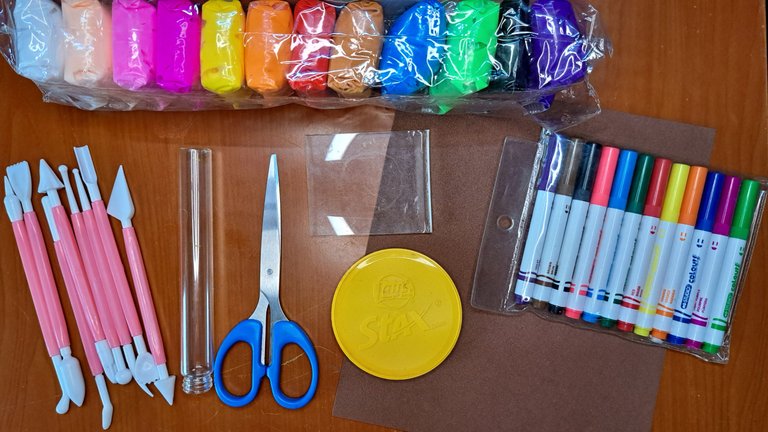
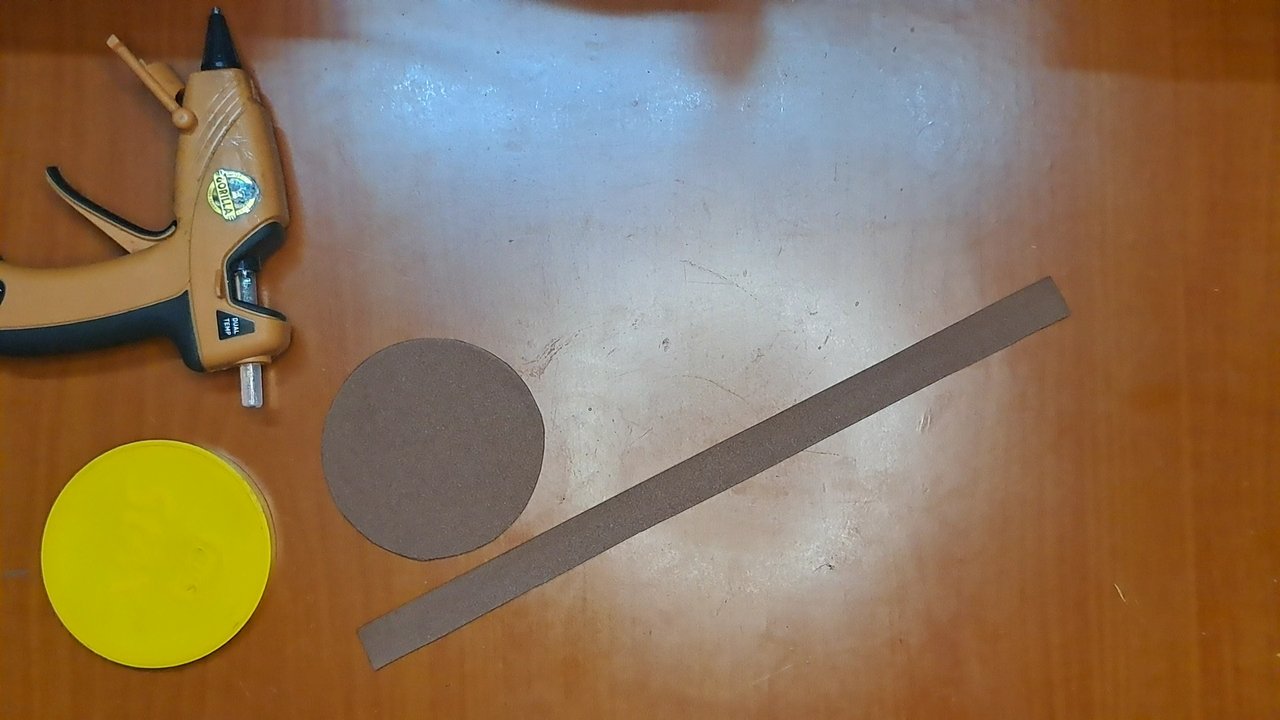
Materials // Materiales
- Moldable Foami / *Foami moldeable
- Styrofoam / *Estecas
- Roller / *Rodillo
- Transparent acrylic plate / *Placa de acrílico transparente
- Scissors / *Tijera
- Markers / *Marcadores
- Carmelite foami sheet / *Lámina de foami carmelita
- Pringles container lid / *Tapa de envase de pringles
Step by step // Paso a paso
 |
 |
 |
 |
 |
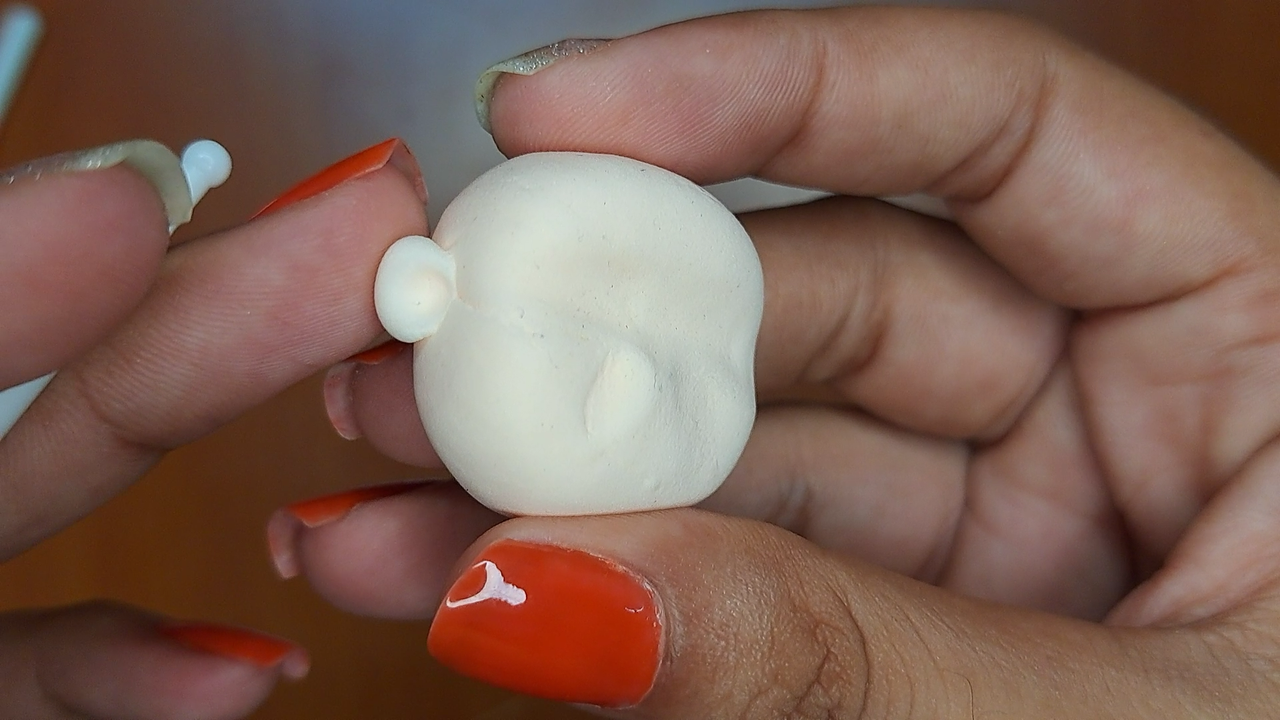 |
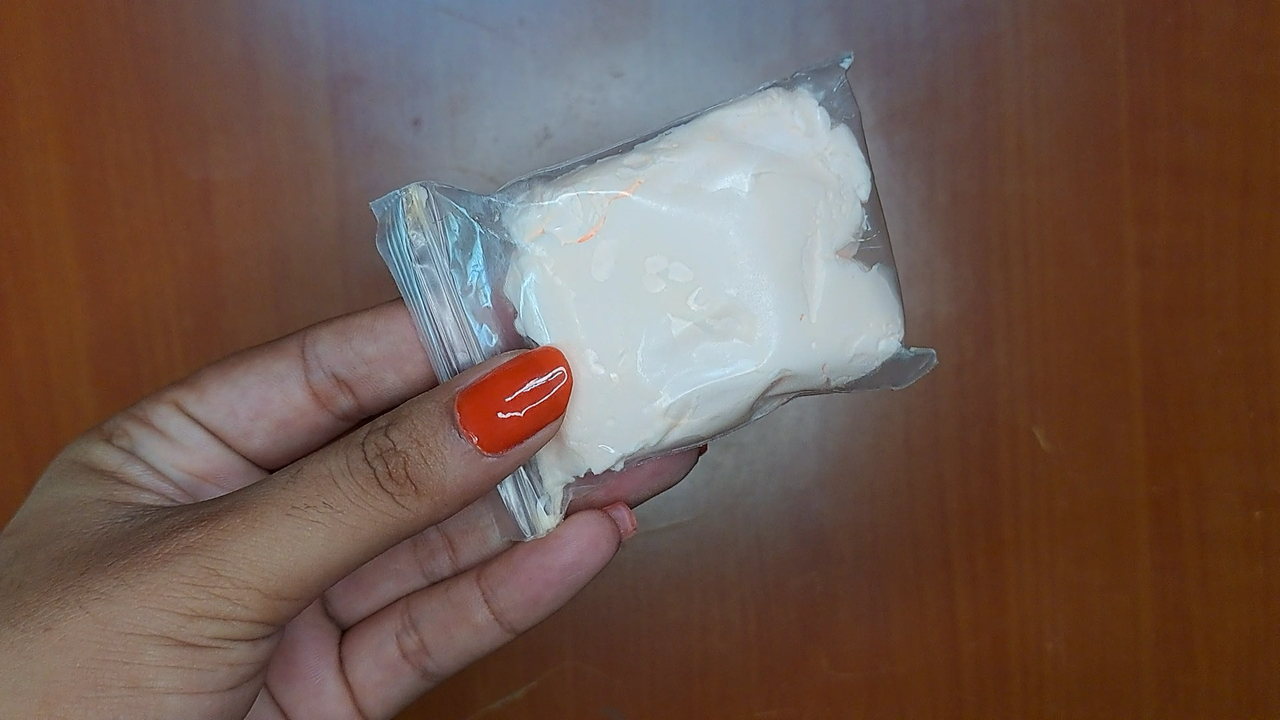
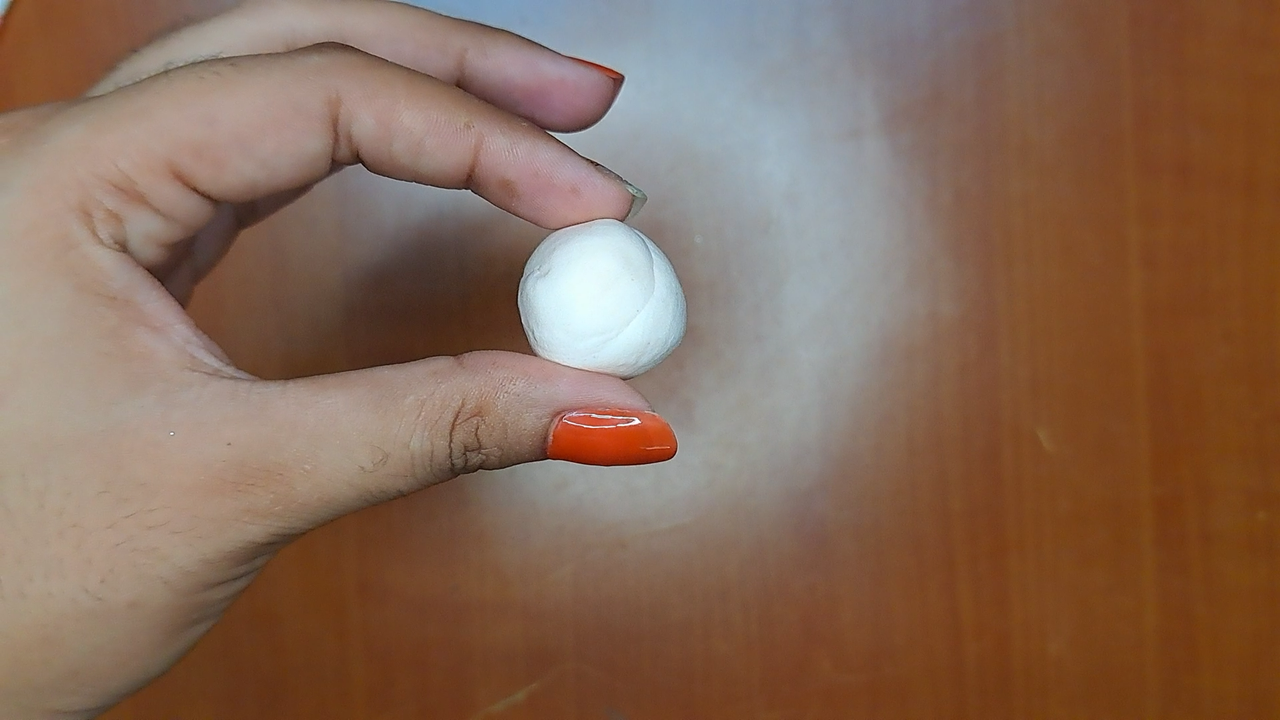
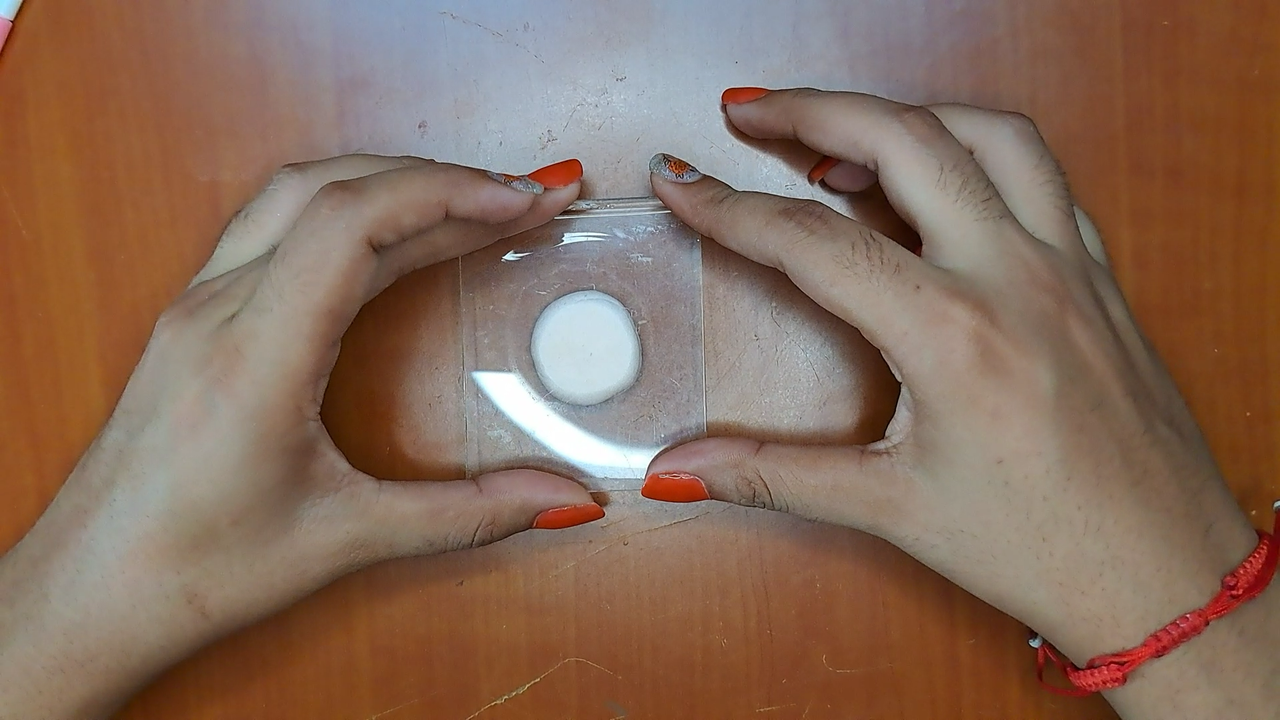
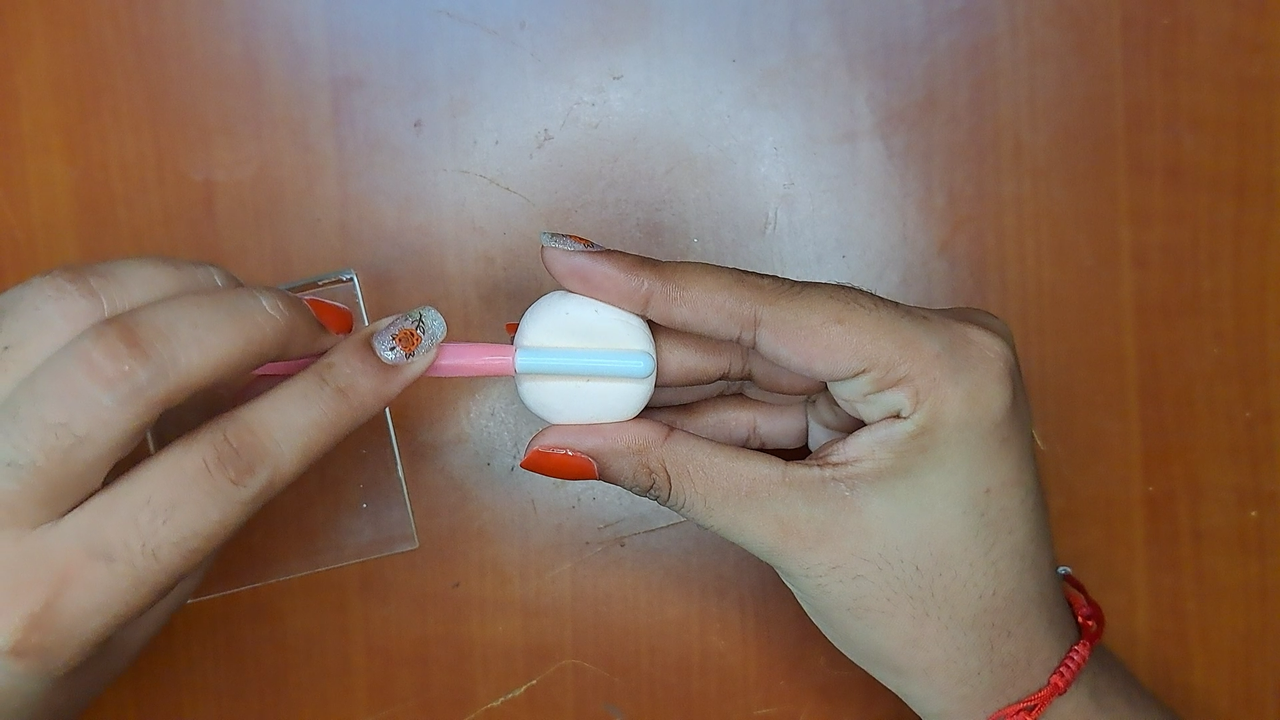
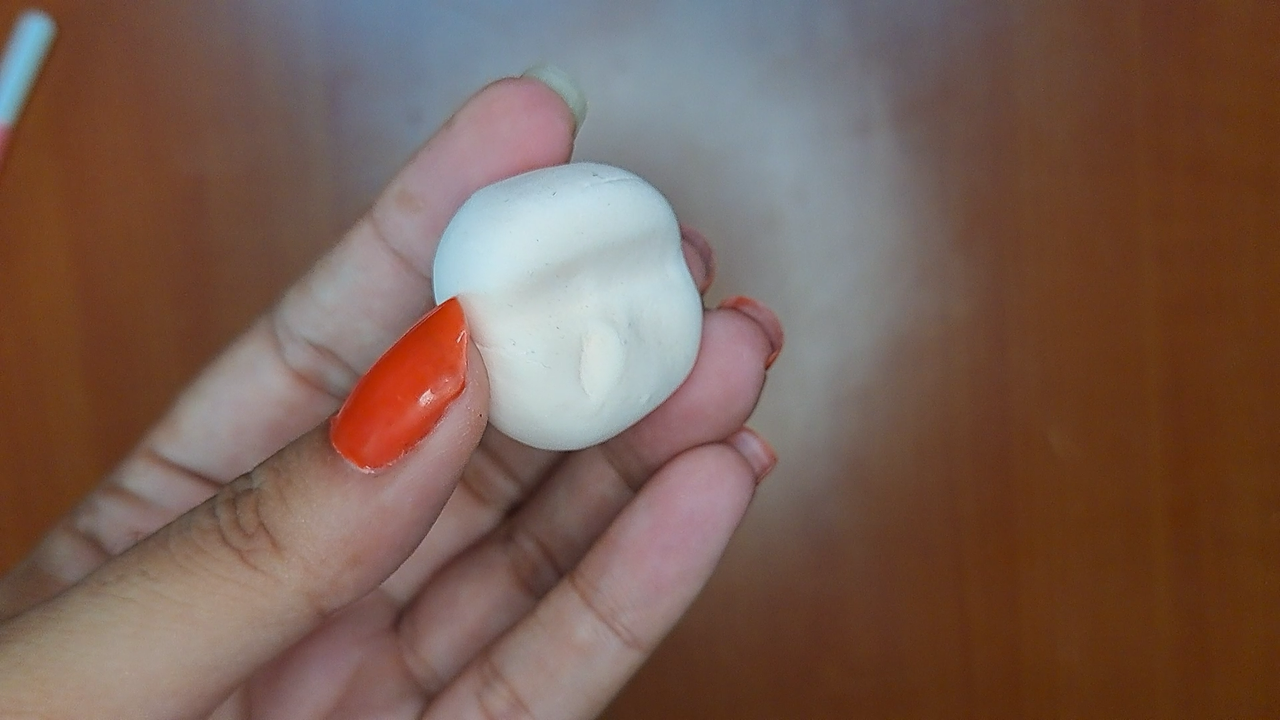
We start by kneading a portion of skin-colored moldable foami to form a ball. We flatten it a little with the transparent plate and model the part of the eyes with a stake. The ears are small balls with a hole in the center.
Comenzamos amasando una porción de foami moldeable color piel para formar una bola. Esta la aplanamos un poco con la placa transparente y modelamos la parte de los ojos con una esteca. Las orejitas son unas bolitas pequeñas que se le hace un orificio en el centro.
 |
 |
 |
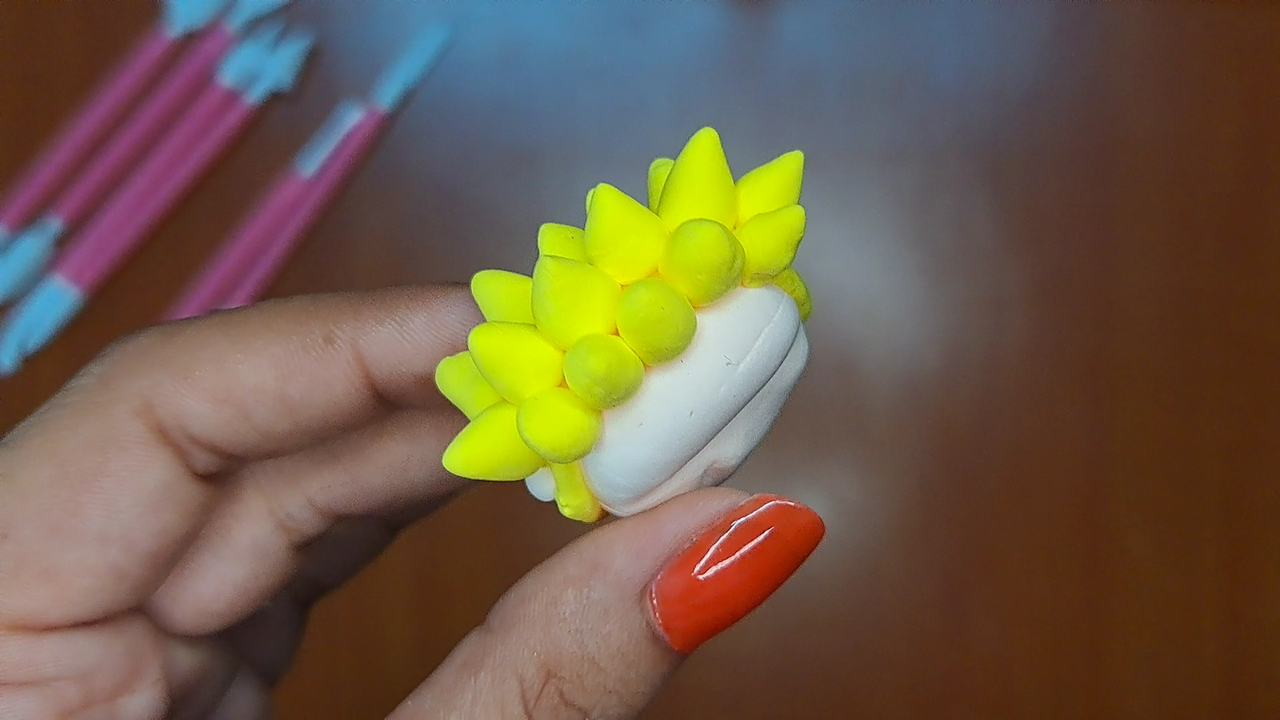 |
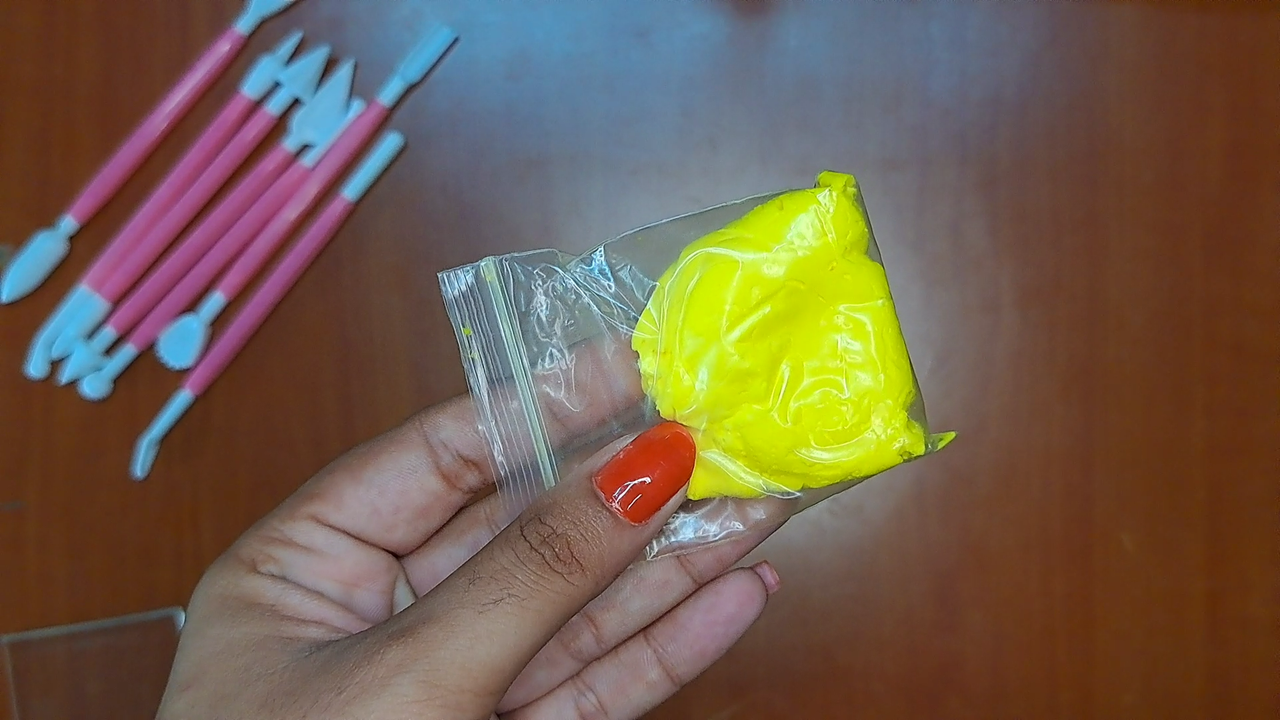
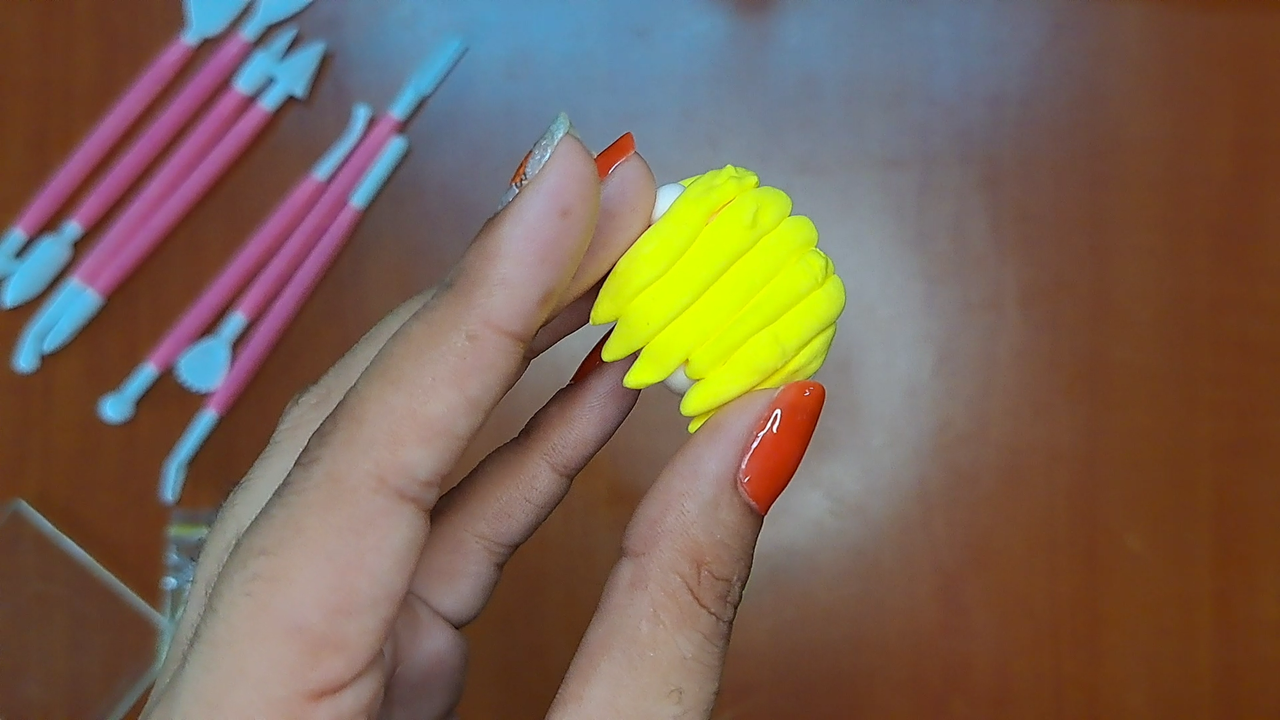
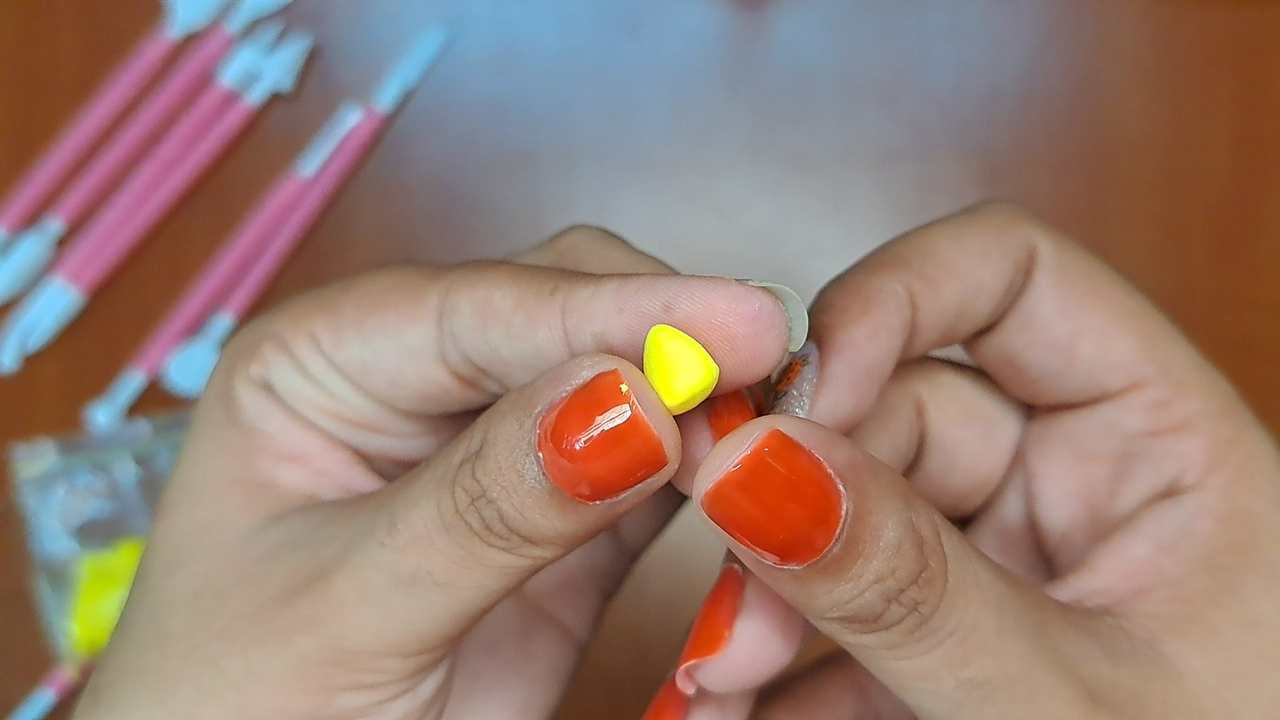
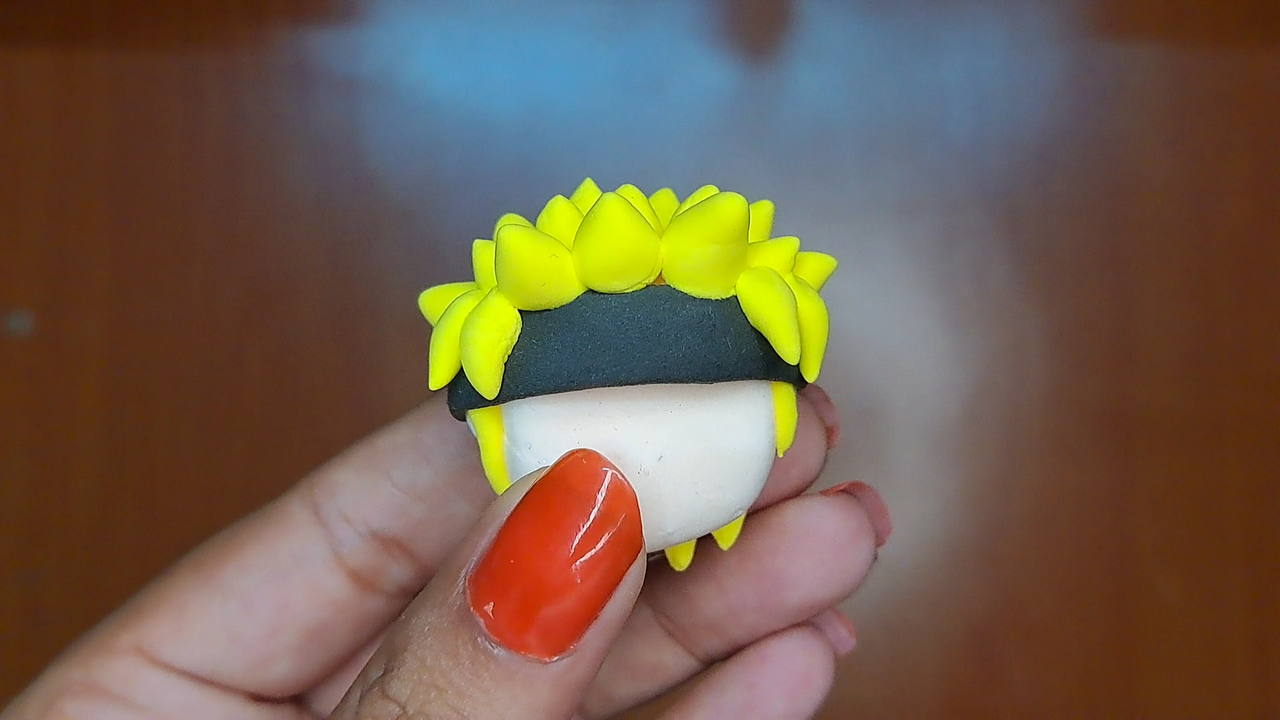
The hair is made with yellow foami, for the lower part, long tubes with a thin tip are glued side by side and for the upper part, they are made as cones.
Con foami amarillo se hace el pelo, para la parte de abajo se realizan tubitos largos con la punta fina pegados uno al lado del otro y para la parte superior, se hacen como conos.
 |
 |
 |
 |
 |
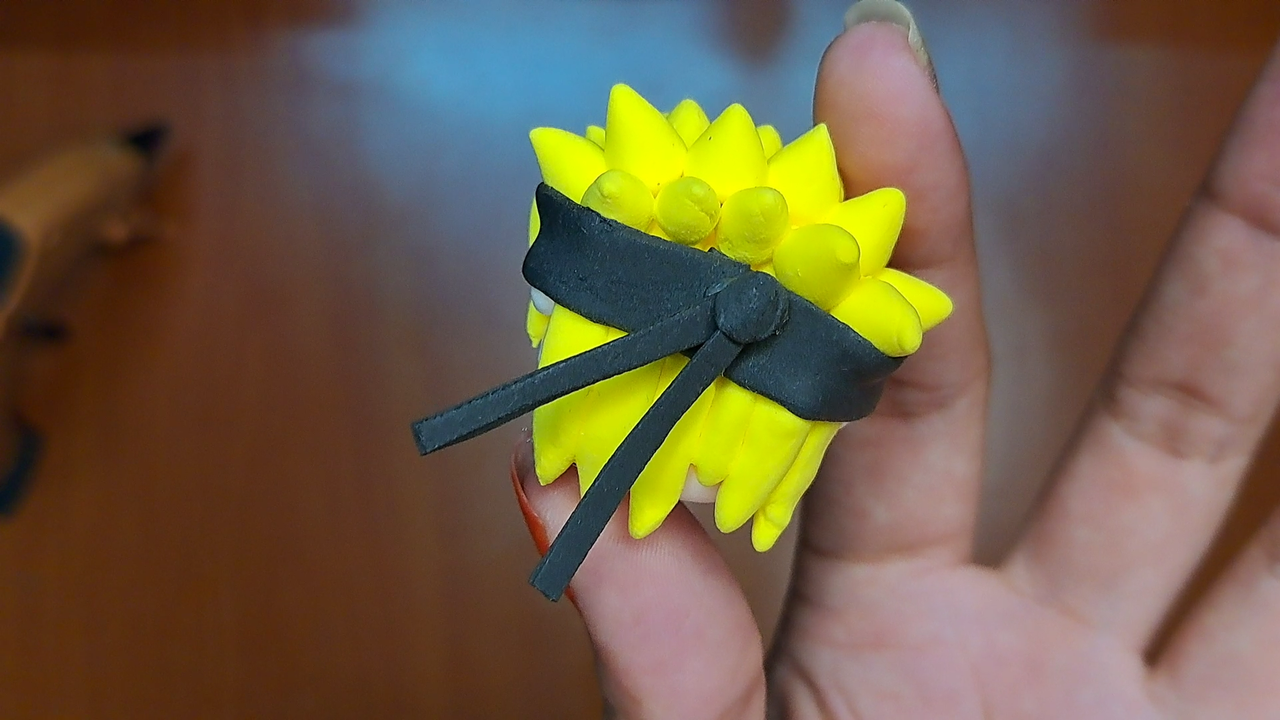 |
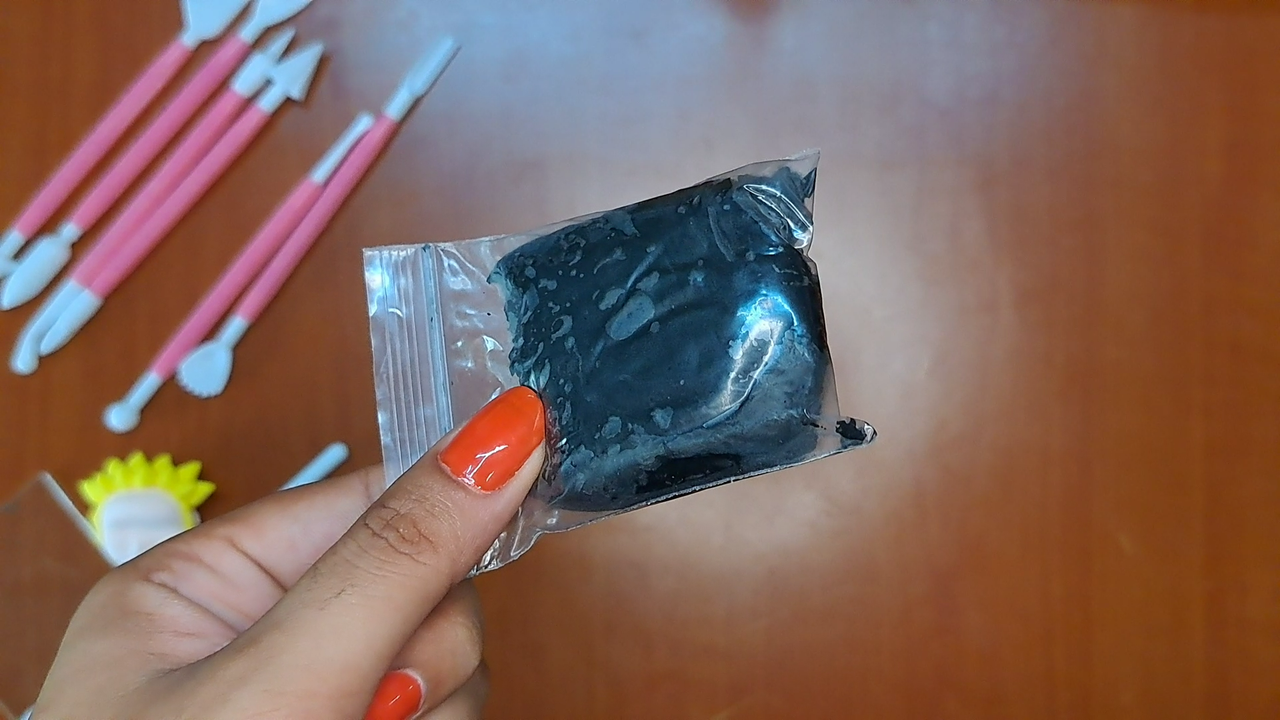
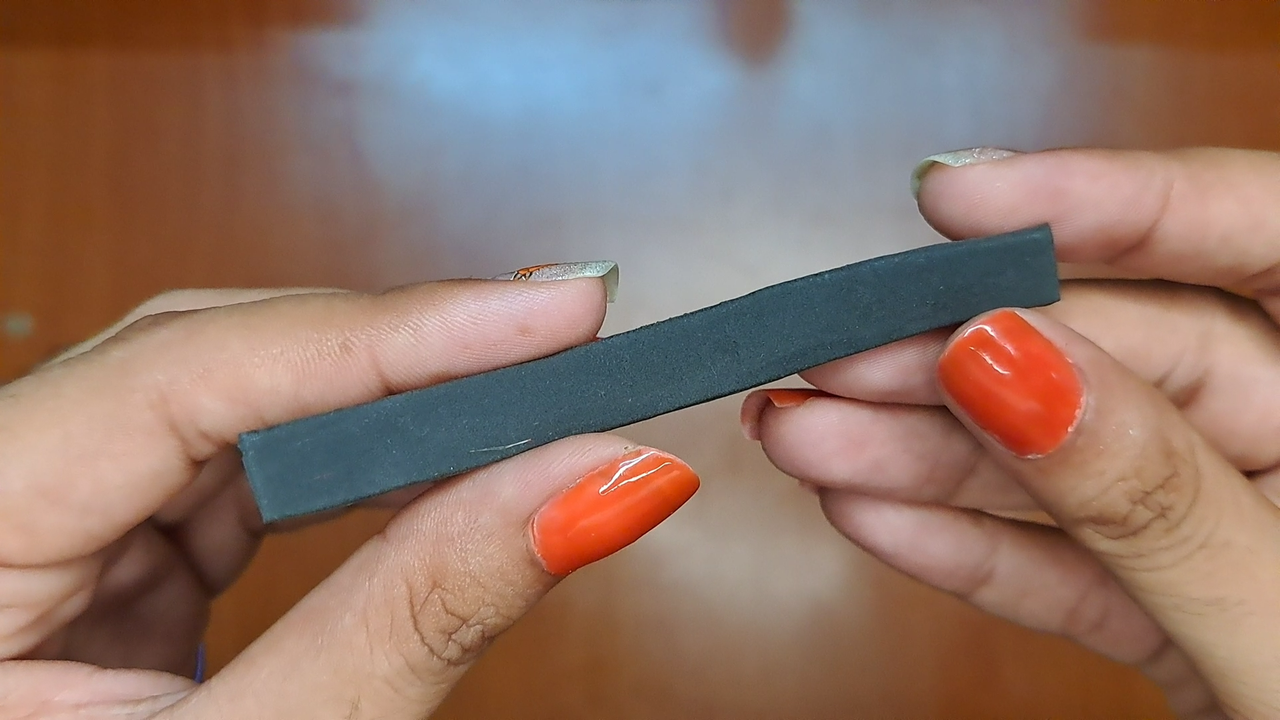
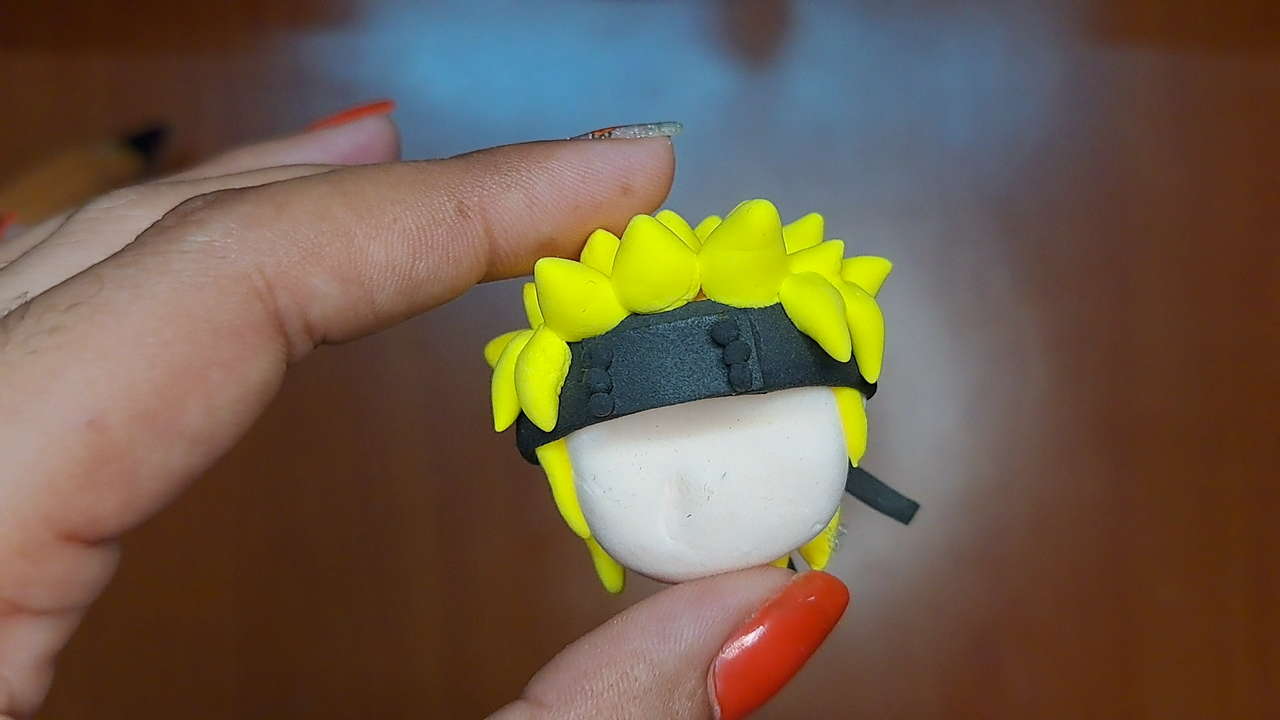
The headband is made with black foami, a portion of it is flattened and cut in a rectangular shape, put in place and other strands of hair are added to the front. Then the rest of the details of the headband are formed.
La cinta de la cabeza se elabora con foami negro, para ello se aplana una porción y se recorta de forma rectangular, se coloca en su sitio y se agregan otros mechones de pelo al frente. Luego se conforman el resto de los detalles de la cinta.
 |
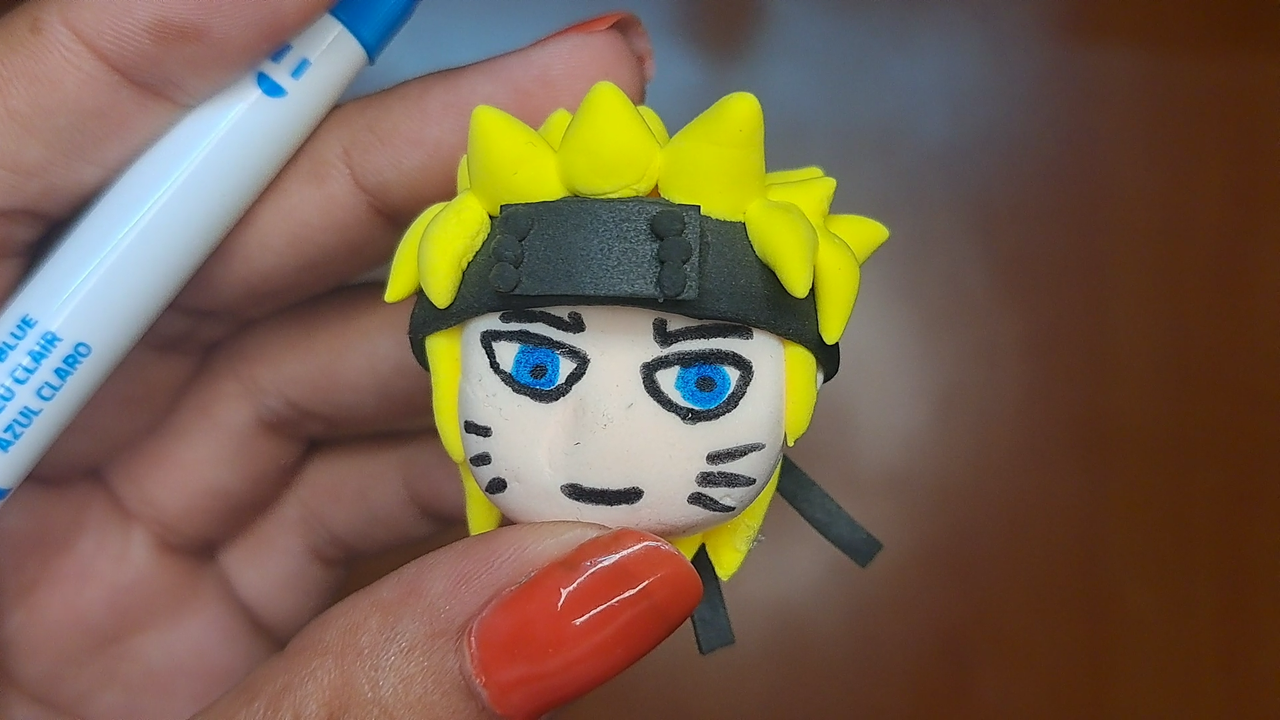 |
I drew the face with the help of blue and black markers.
La cara la dibujé con la ayuda de marcadores de color azul y negro.
 |
 |
 |
 |
 |
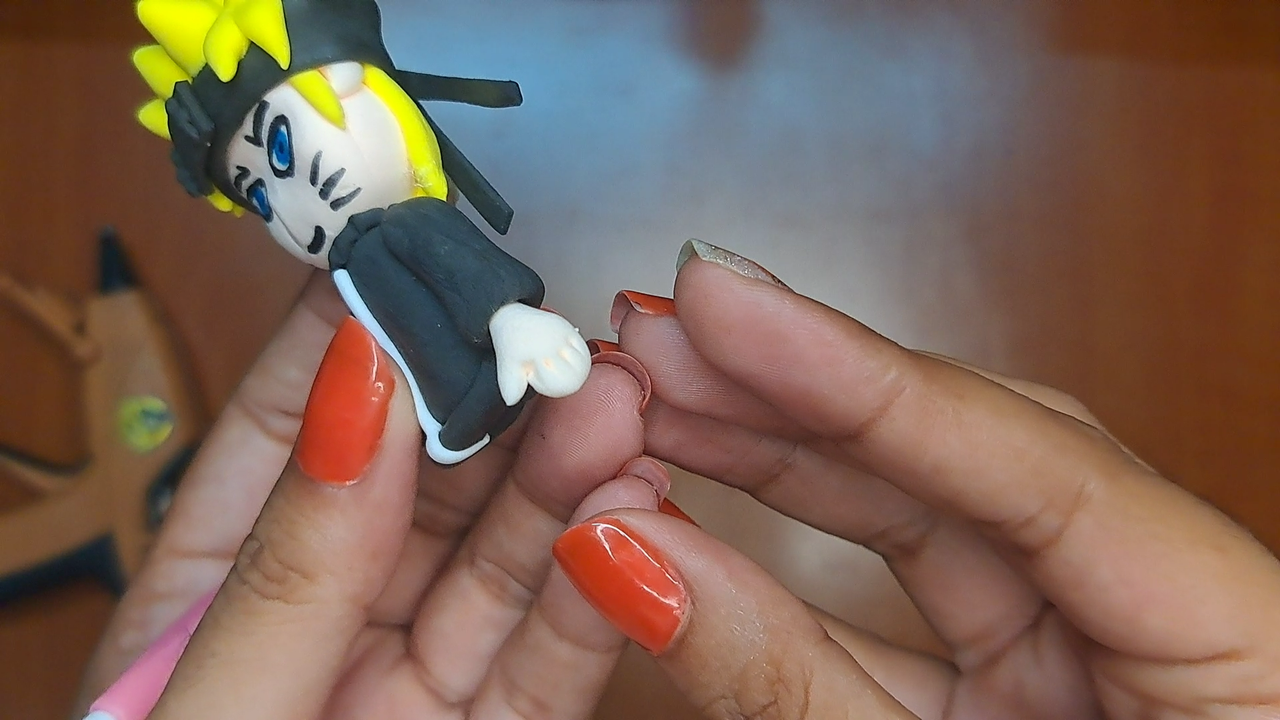 |
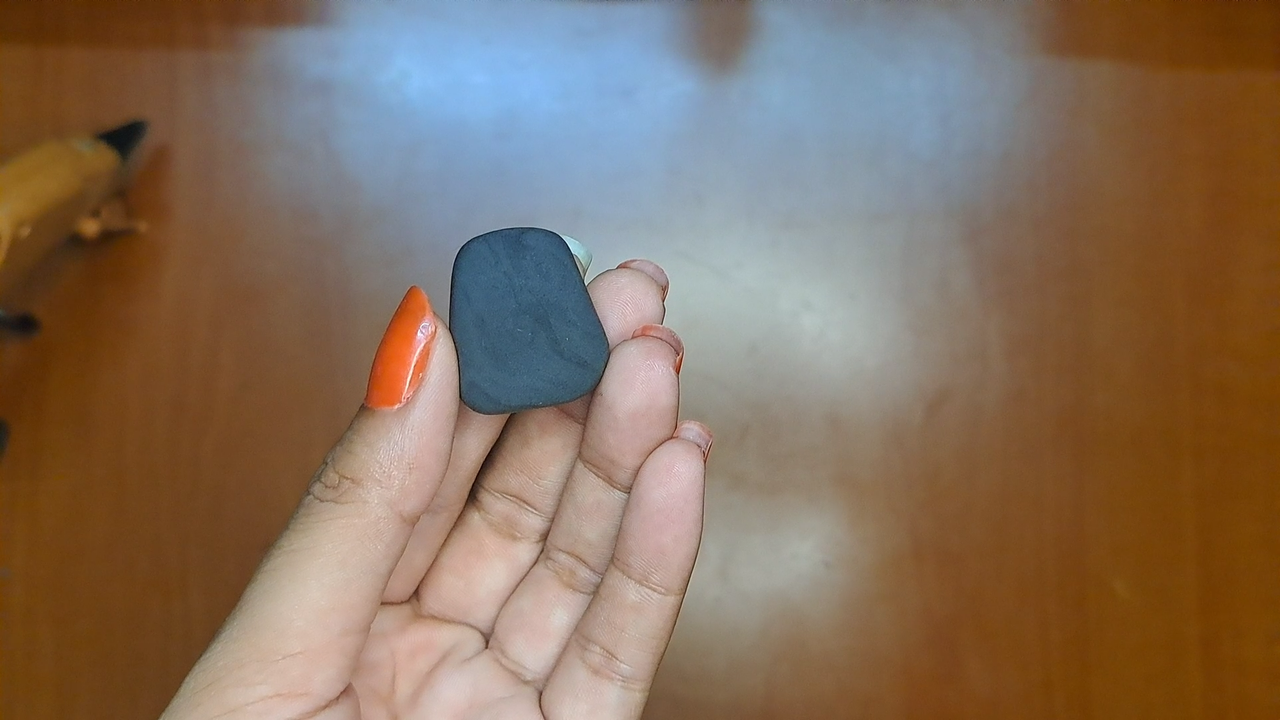
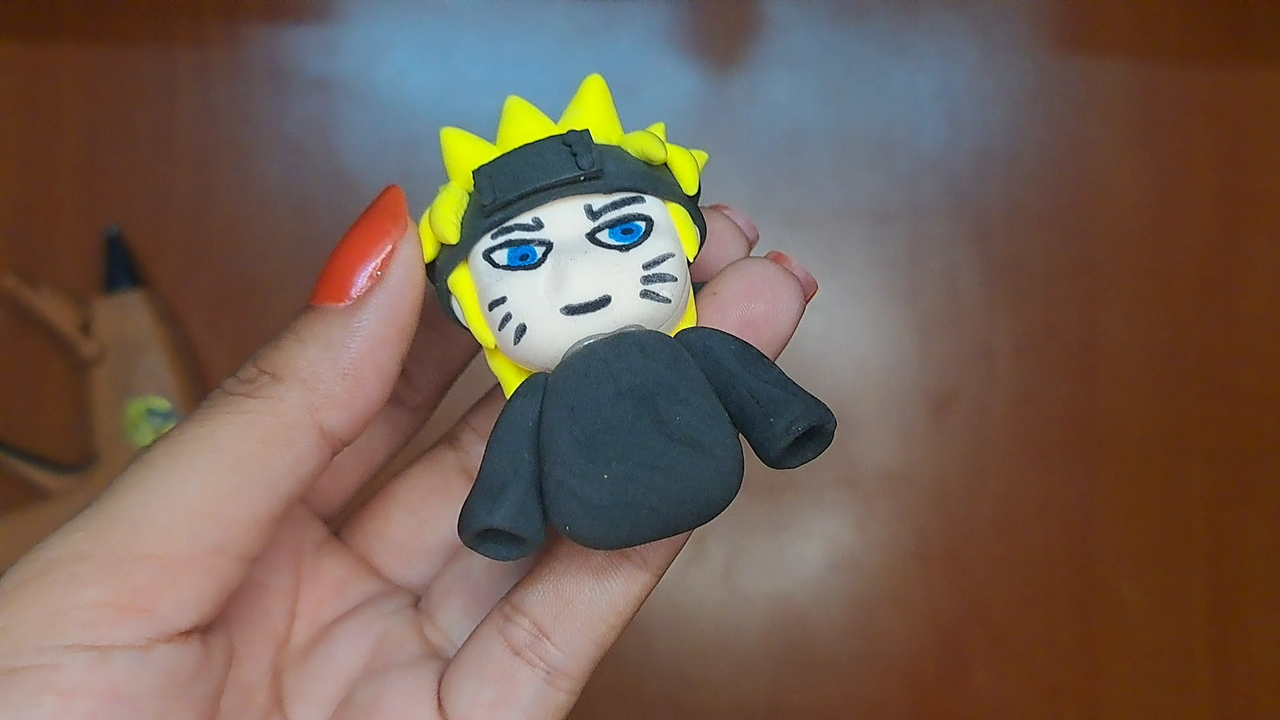
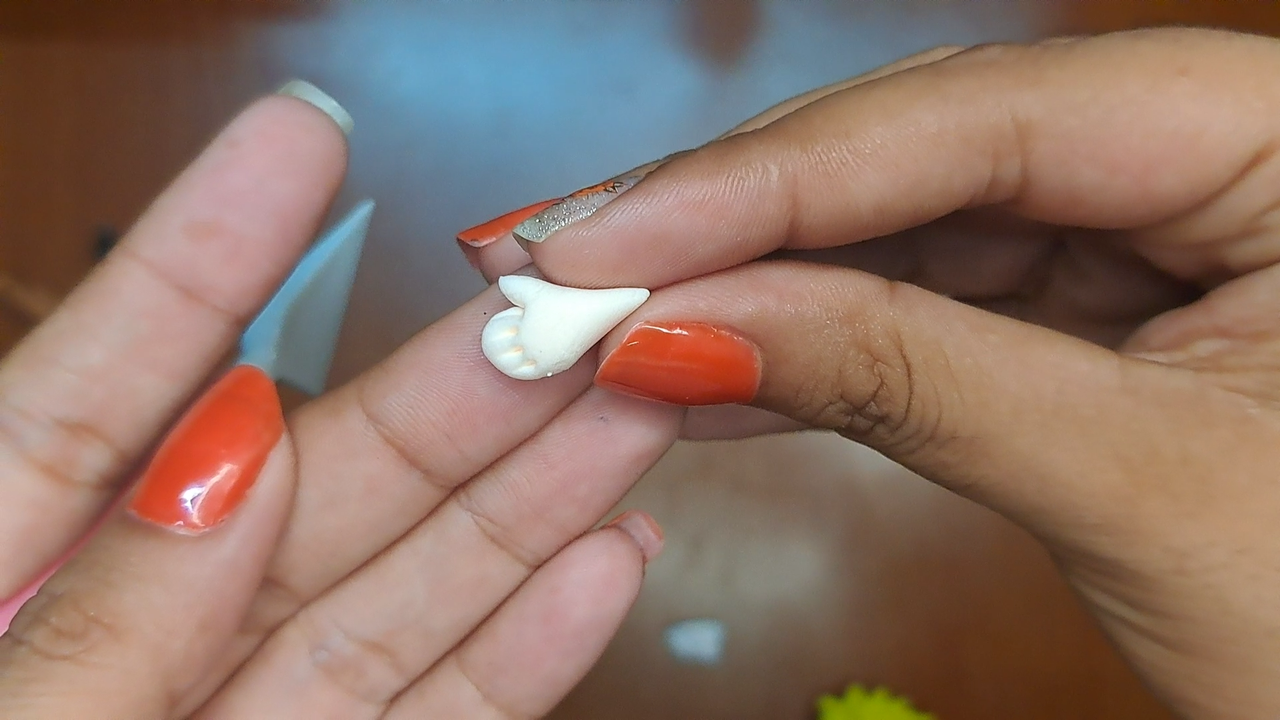
For the shirt I used black moldable foami, so I don't have to make the body, that is, the stuffing. The sleeves are placed on the sides and the details of the shirt are made. Then the little hands made with skin color are placed in the hole of the sleeves of the shirt.
Para la camisa utilicé foami moldeable negro, así no tengo que hacer el cuerpo , o sea, el relleno. Se colocan las mangas a los costados y se elaboran los detalles de la camisa. Luego las manitos hechas con color piel se colocan en el orificio de las mangas de la camisa.
 |
 |
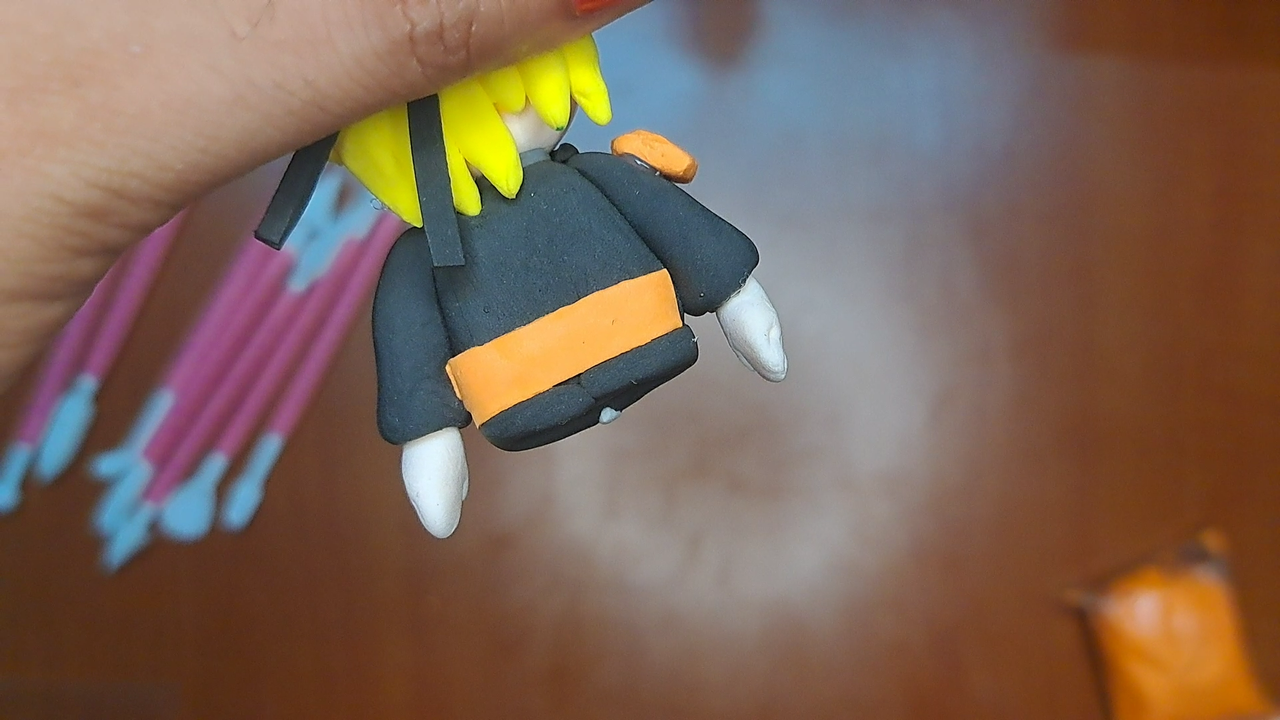 |
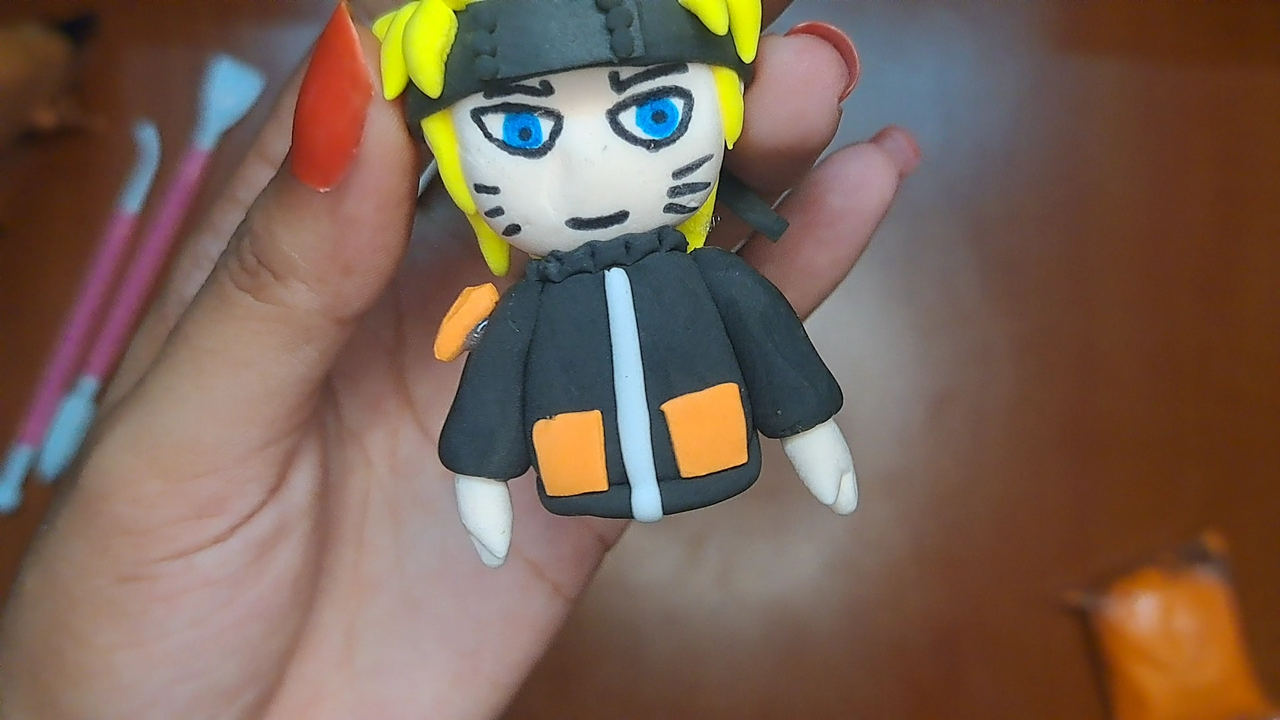
The stripes on the front and back of the shirt are made in orange.
Con color naranja se elaboran las franjas de la camisa, al frente y en la parte de atrás.
 |
 |
 |
 |
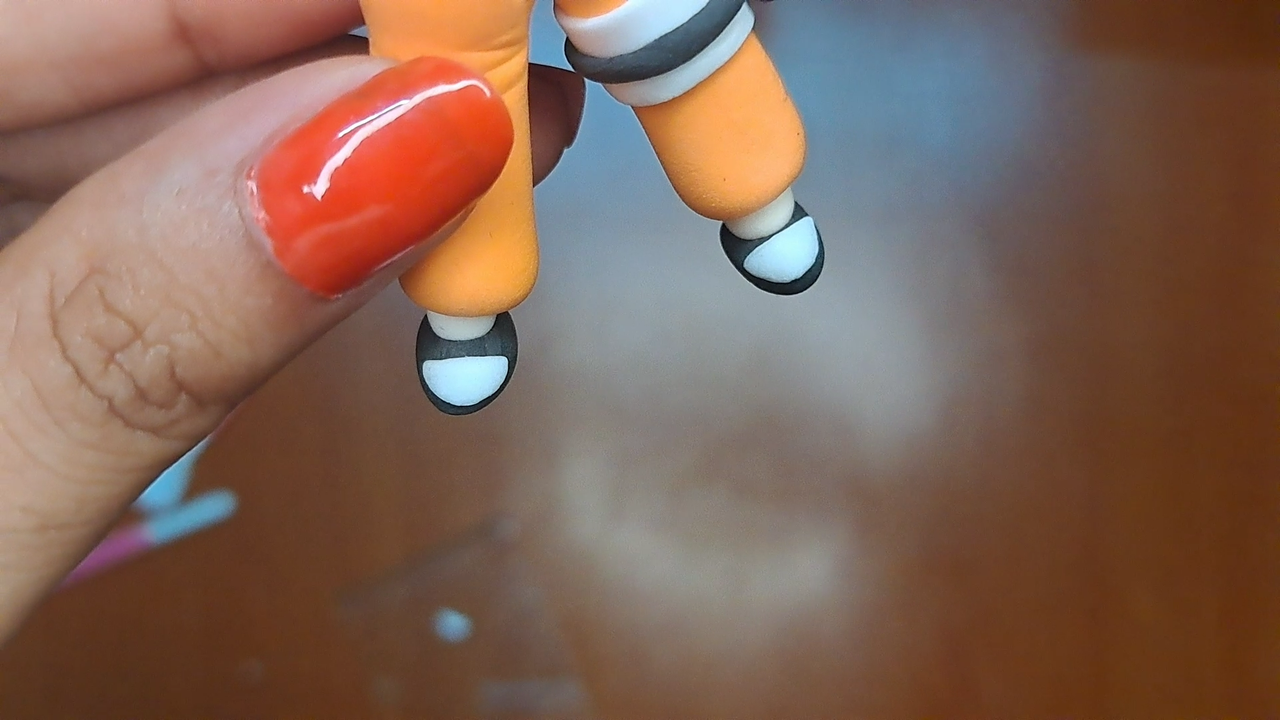 |
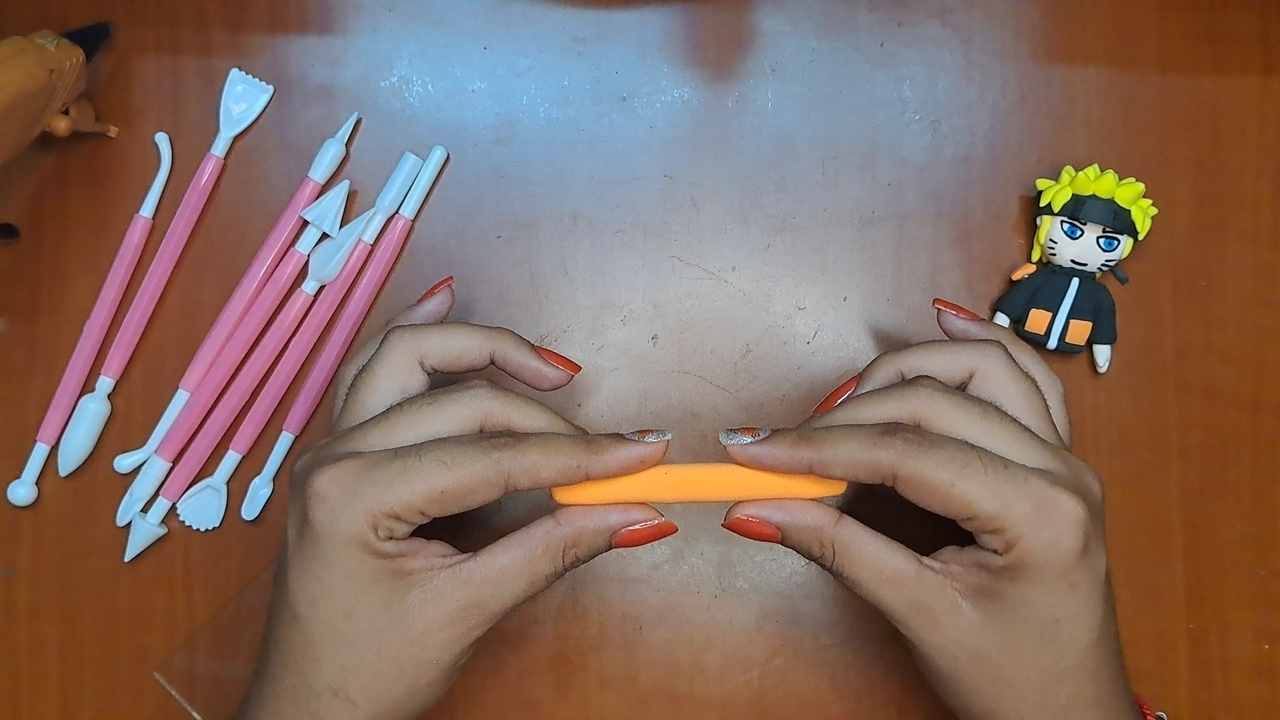
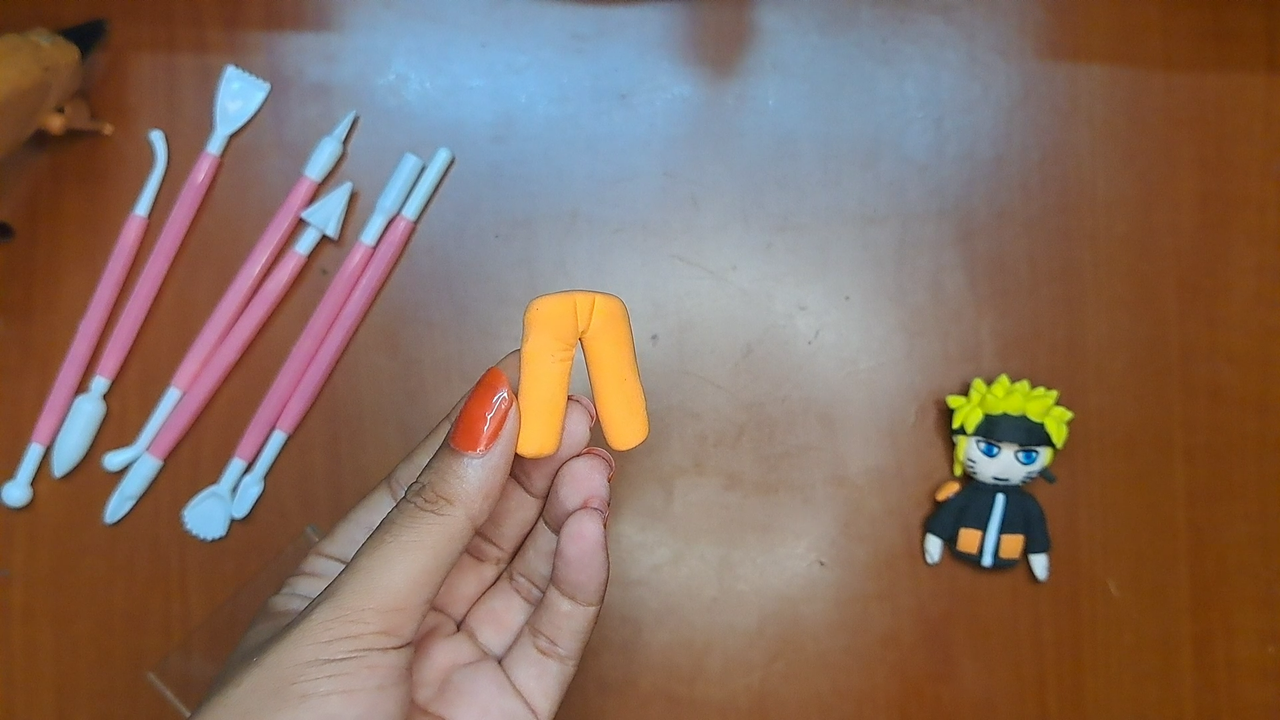
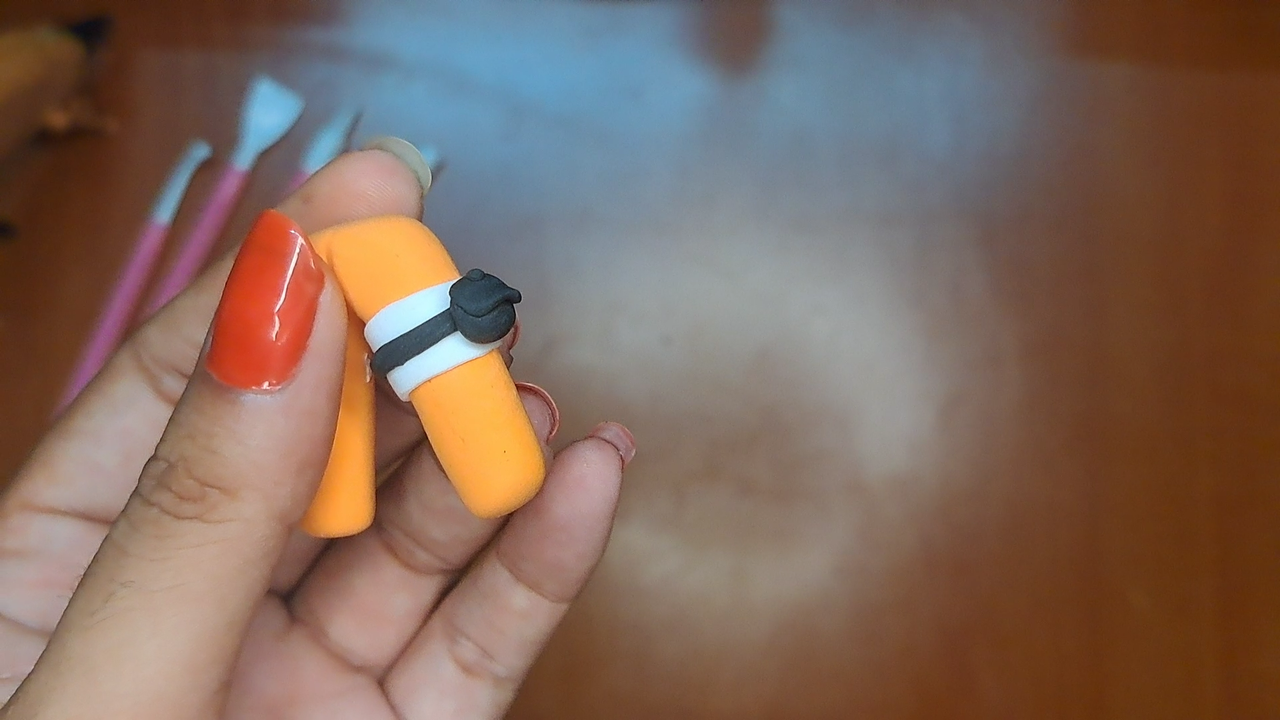
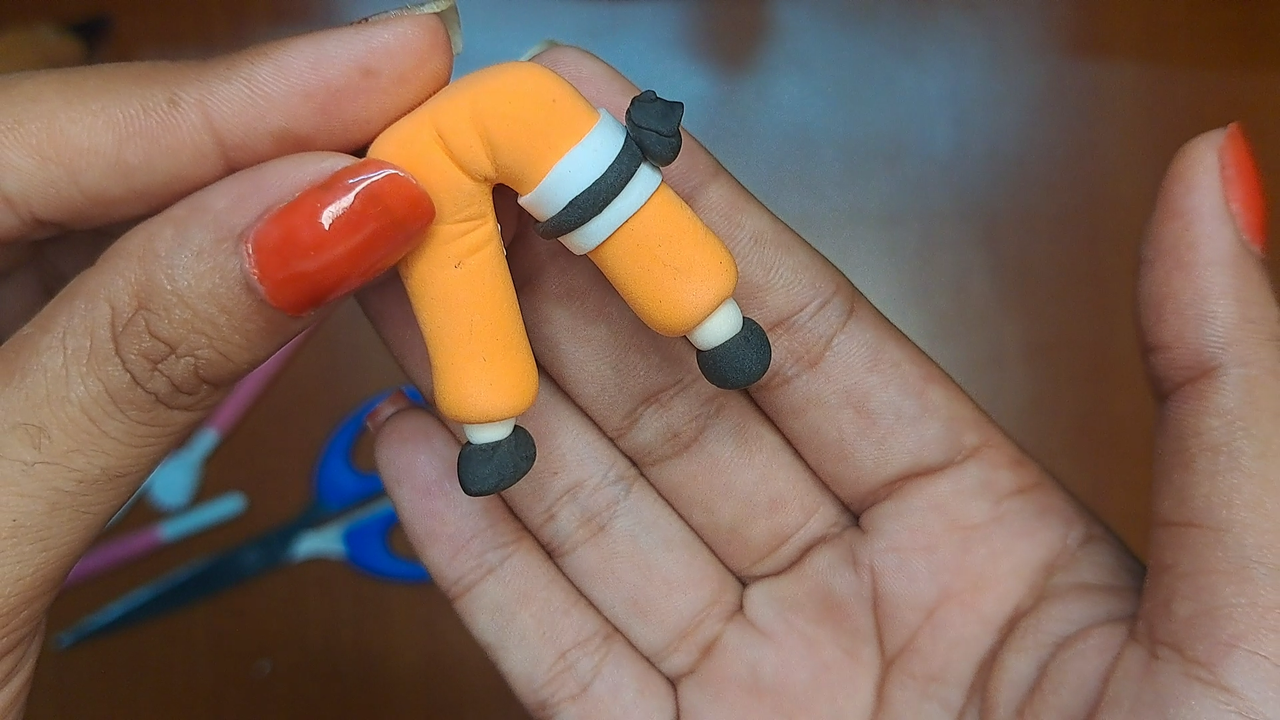
We continue with the orange color to make the pants, we make a tube of approximately 1 cm wide and fold it in half, with the stake we mark some lines to give more realism and we place a white band with a black cardigan on one leg.
Continuamos con el color naranja para elaborar el pantalón, se hace un tubo de aproximadamente 1 cm de ancho y se dobla a la mitad, con la esteca se marcan unas líneas para dar mayor realismo y se coloca una banda blanca con una cartuchera negra en una pierna.
 |
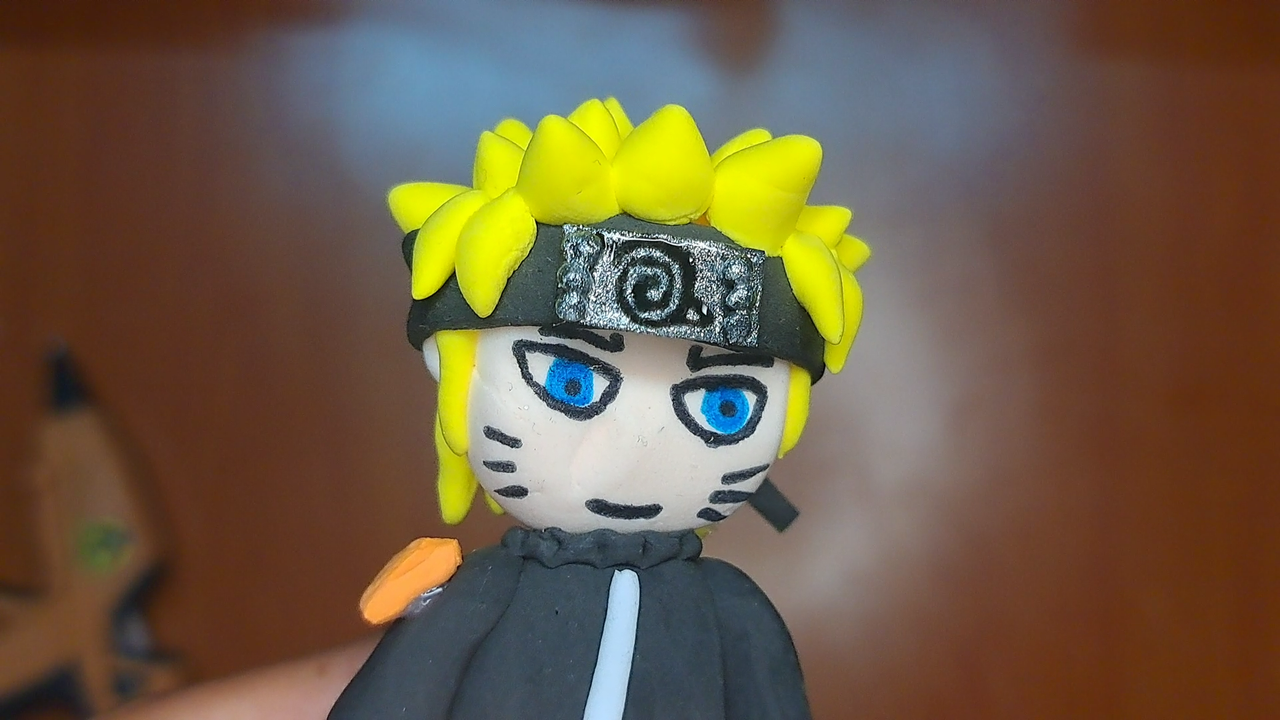 |
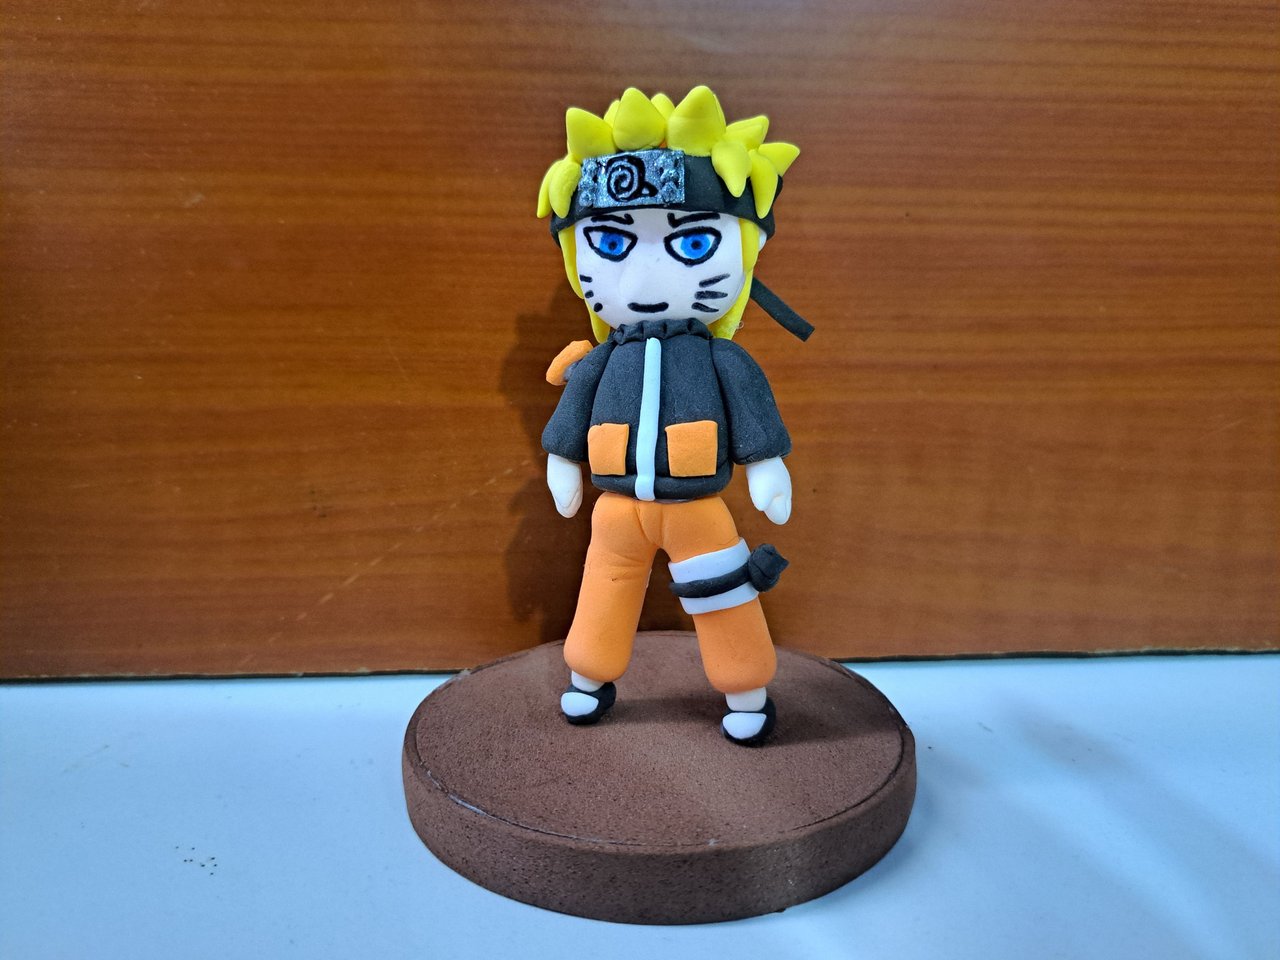
The two pieces are joined together, the upper part with the trouser part. The village symbol is painted in the center of the ribbon.
Se unen las dos piezas, la parte superior con la del pantalón. En el centro de la cinta se pinta el símbolo de la aldea.
 |
 |
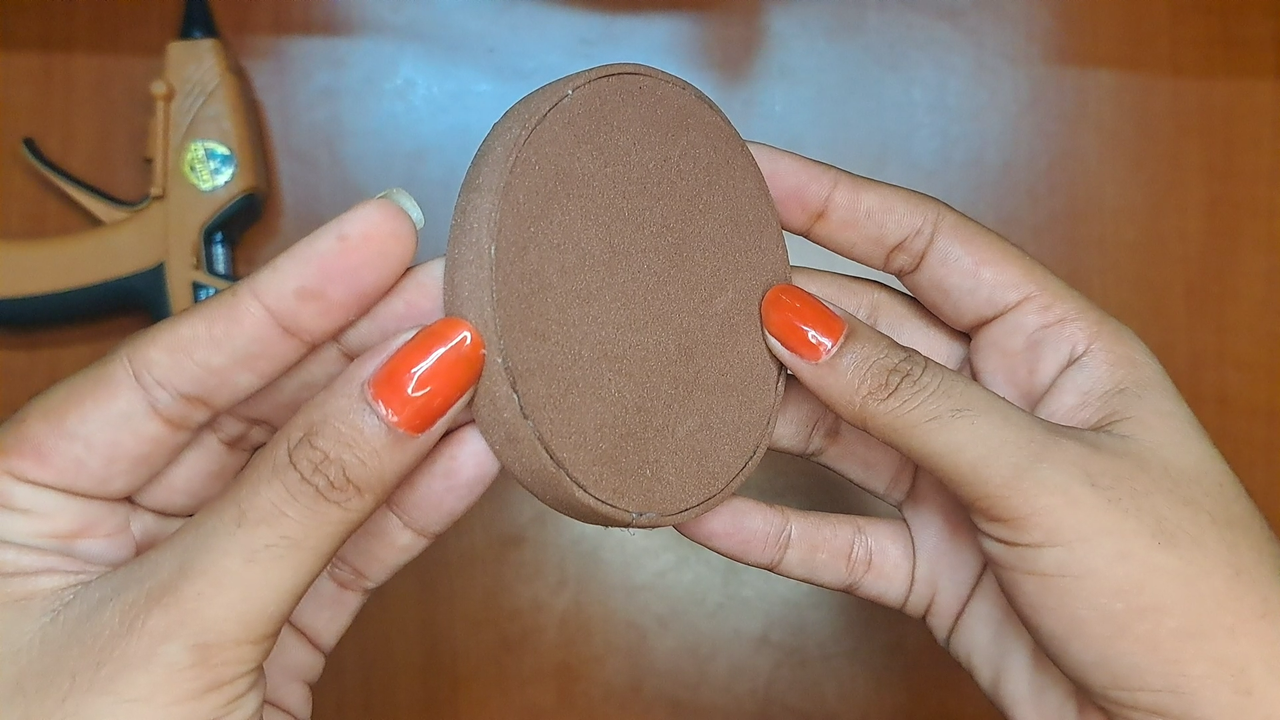 |
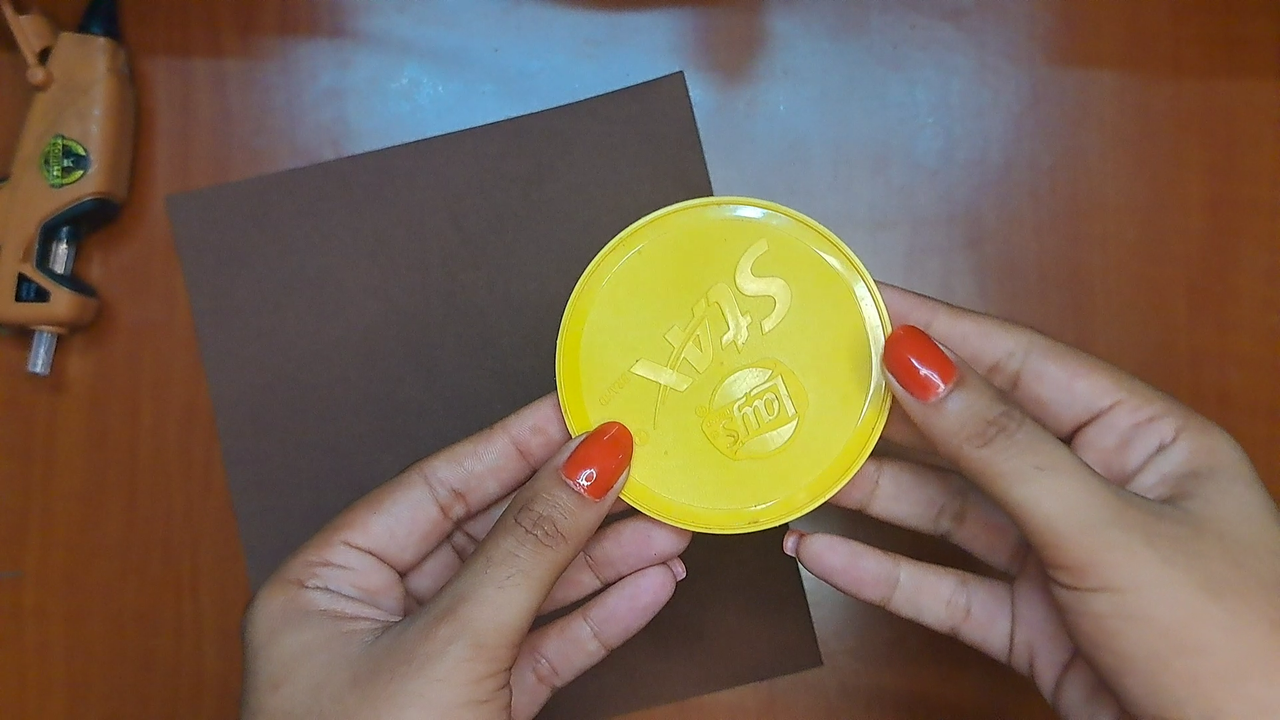
To finish, with a Pringles container lid, we make the base, just line it with a sheet of carmelite foami. Then we place Naruto in the center of the base.
Para terminar, con una tapa de un envase de Pringles, se hace la base, solo se forra con una lámina de foami carmelita. Luego colocamos a Naruto en el centro de la base.
 |
 |
 |
Cover made in Canva
English is not my native language, translated by DeepL
Edited in Movavi Editor
▶️ 3Speak
Waooo te quedó genial 😍😍😍.
Gracias, hice lo mejor que pude 😅
Congratulations @yale95reyra! You have completed the following achievement on the Hive blockchain And have been rewarded with New badge(s)
Your next target is to reach 5000 upvotes.
You can view your badges on your board and compare yourself to others in the Ranking
If you no longer want to receive notifications, reply to this comment with the word
STOPCheck out our last posts:
Thank you ❤️
That's great @yale95reyra! We're excited to see your accomplishments on Hive! Keep going!
Hermosa representación de Naruto Uzumaki, el niño huérfano que cumplió su sueño de ser hokage.
Muchas gracias 🥰🥰🥰
Amiga realmente tienes muchísimo talento, te quedó espectacular 👌. Gracias por compartirnos este lindo tutorial. Bendiciones 😘.
Muchas gracias 🥰
Look great
Thanks.🤗
Wow, this looks amazing. It's really cool that you tackled such a challenging project, especially since you are not super familiar with anime. Naruto turned out really well and you deliver a fantastic piece for your brother's collection. Great job.
Thank you very much 🥰, it really was quite a challenge, I tried to do my best 😅.
Muy bien explicado, me encanto tu creación y el paso a paso,algún día me voy a atrever a trabajar con ese matetial, pensé que era masa flexible, saludos @yale95reyra
Muchas gracias, este material es fácil de trabajar pero hay que andar rápido porque se seca, saludos 🥰