¡Hola amigos! Espero se encuentren muy bien, hace ya varios días les mostré como hacer una mini sombrilla de papel, esta vez traigo una variante de este modelo que, aunque es muy similar en su construcción difiere en algún par de detallitos y los resultados también son un poco diferente, esta segunda versión me gusto bastante porque se abre con mayor amplitud con respecto a la primera versión, espero que sea de su agrado y que también se animen a hacer esta divertida manualidad.
Hello friends! I hope you are very well, several days ago I showed you how to make a mini paper umbrella, this time I bring a variant of this model that, although it is very similar in its construction differs in a couple of details and the results are also a little different, this second version I quite liked because it opens wider with respect to the first version, I hope you like it and that you are also encouraged to make this fun craft.

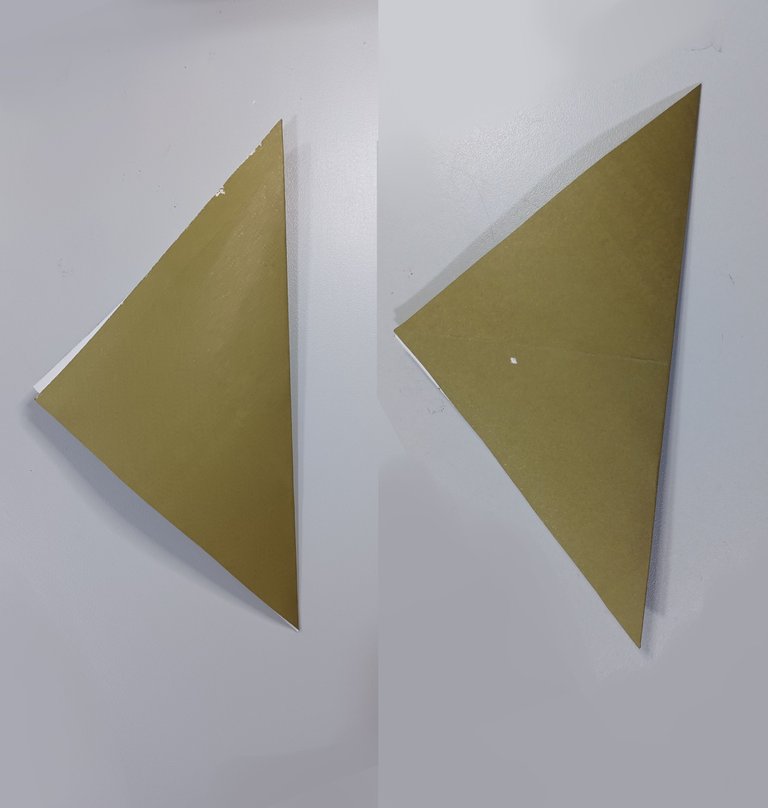
Lo primero que se debe ser es ubicar dos cuadrados de papel del mismo tamaño para esta sombrilla he usado un papel de 12x12cm, para una sombrilla de aproximadamente 9cm de diámetro en su máxima amplitud, luego se comienza a doblar de la siguiente manera uniendo ambas esquinas opuestas.
The first thing to do is to place two squares of paper of the same size for this umbrella I have used a 12x12cm paper, for an umbrella of approximately 9cm in diameter at its widest, then start folding it in the following way joining both opposite corners.
Luego se doble nuevamente por la mitad del papel, igualmente en ambos sentidos, todos los dobleces se deben cortar en la mitad del papel para obtener un asterisco justo en el medio.
Then fold the paper in half again, also in both directions, all folds should be cut in the middle of the paper to get an asterisk right in the middle.

Seguidamente tomando como referencia los primeros dobleces, se dobla nuevamente hasta obtener la siguiente forma:
Then, taking the first folds as a reference, it is folded again until the following shape is obtained:

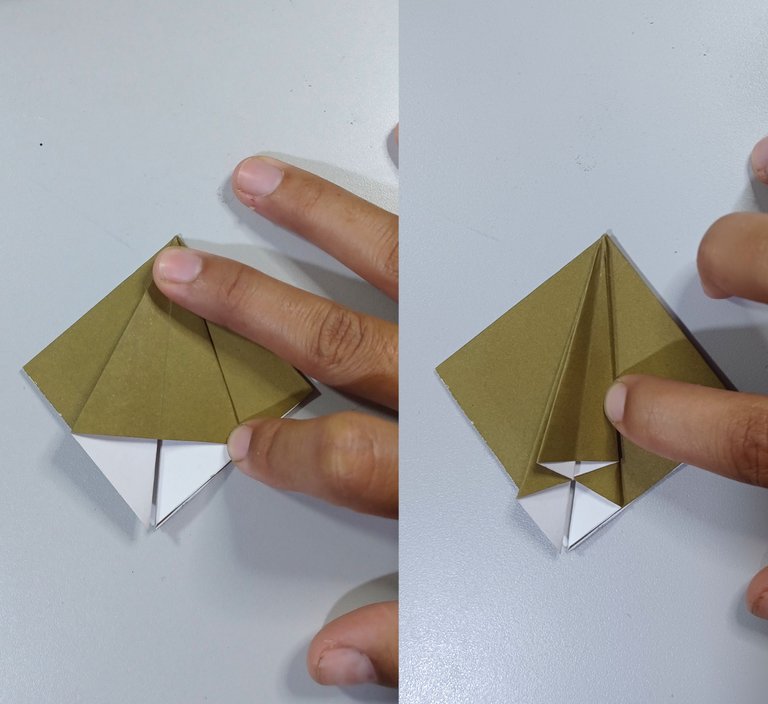
Lo siguiente fue abrir cada uno de los lados y doblarlo nuevamente en el centro y luego repetí nuevamente el procedimiento con los lados resultantes del doblez que acabamos de hacer, justo como se muestra en la siguiente imagen esto mismo se repite en todos los lados de la forma.
The next thing was to open each of the sides and fold it again in the center and then repeat the procedure again with the sides resulting from the folding we just did, just as shown in the following image this is repeated on all sides of the shape.
Luego, se recorta el justo en donde marca la parte sobrando en el extremo inferior en línea recta, seguidamente se toma un lápiz y se marcan líneas de corte como se muestra en le segunda imagen, como esta vez he usado un papel más grueso ha sido un poco difícil, pero si dividimos en partes pequeñas para hacerlo más sencillo, en caso del papel sencillo es mucho más fácil realizar el corte.
Then, cut out the part just where it marks the excess at the lower end in a straight line, then take a pencil and mark the cutting lines as shown in the second image, as this time I used a thicker paper has been a little difficult, but if we divide into small parts to make it easier, in the case of simple paper is much easier to make the cut.

Seguidamente hacemos un pequeño corte en la parte puntiaguda de la forma, para abrir un pequeño orificio, por el cual pasaremos el bastón de nuestra sombrilla
Then we make a small cut in the pointed part of the shape, to open a small hole, through which we will pass the cane of our umbrella.
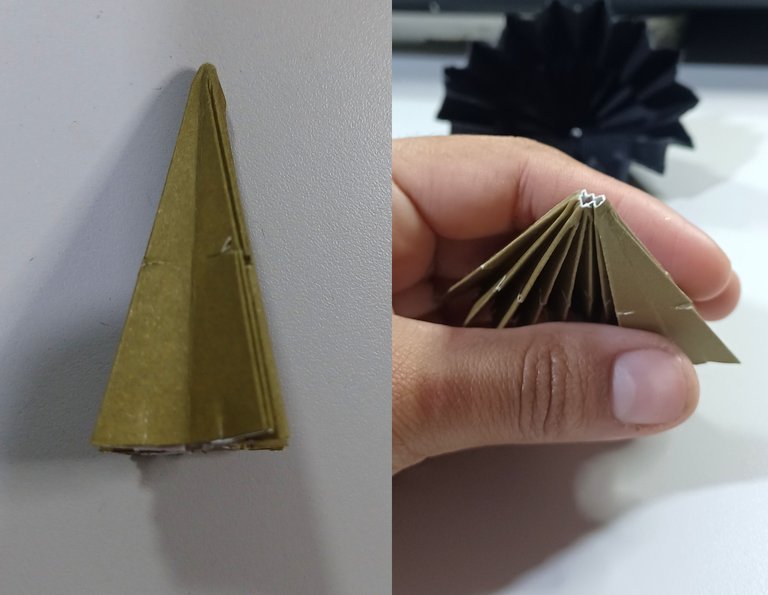
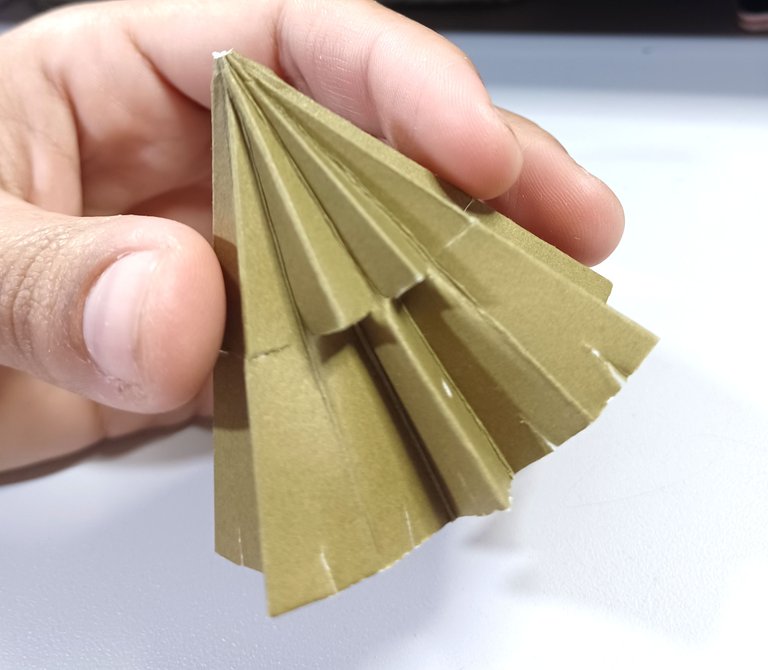
Lo siguiente será invertir los dobleces del papel, pero solo la parte que se encuentra por debajo del corte que hicimos previamente y debería versa de la siguiente forma:
The next step is to reverse the folds of the paper, but only the part that is below the cut we made previously and should look like this:
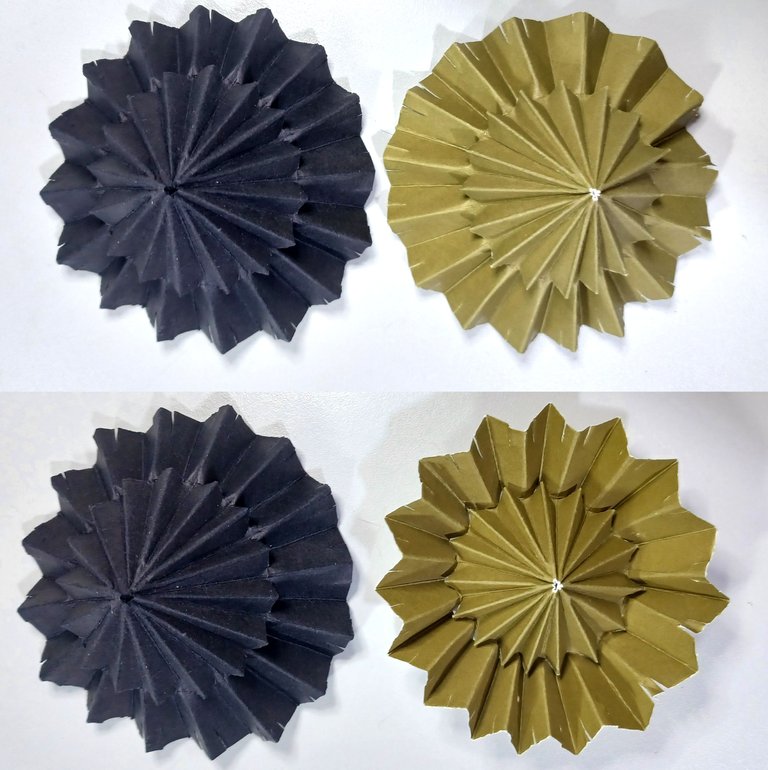
Este procedimiento se debe aplicar en los dos papeles que le mencione al principio de este post, para esta sombrilla he usado dorado para la parte interna de la sombrilla y el negro para la parte superior.
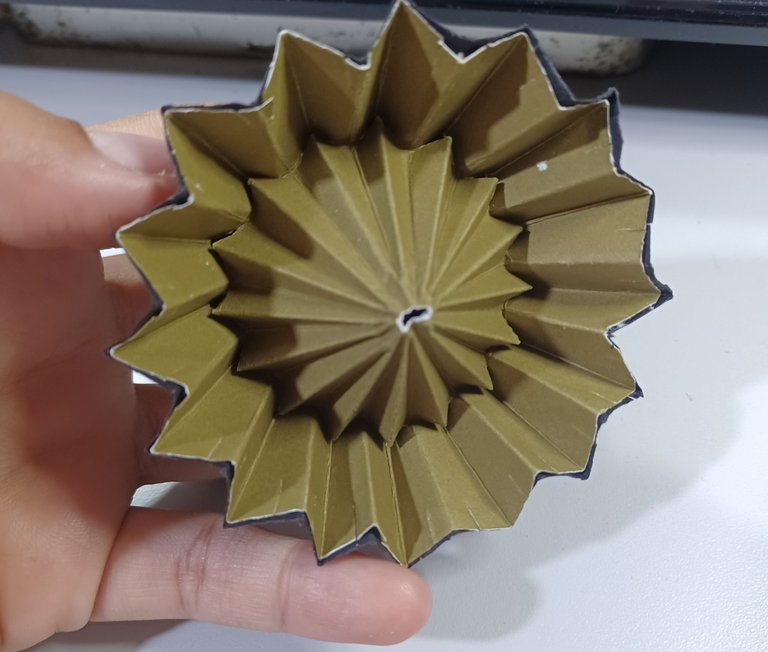
Para hacer la parte interna se debe invertir la parte de abajo del cono resultante como se muestra en las siguientes imágenes, mientras que la parte superior se conserva igual.
This procedure should be applied to the two papers I mentioned at the beginning of this post, for this umbrella I used gold for the inside of the umbrella and black for the top.
To make the inner part you must invert the bottom of the resulting cone as shown in the following pictures, while the upper part remains the same.
Luego se colocan juntos de la siguiente manera y se asegura con pega blanca en los bordes.
They are then placed together as follows and secured with white glue at the edges.
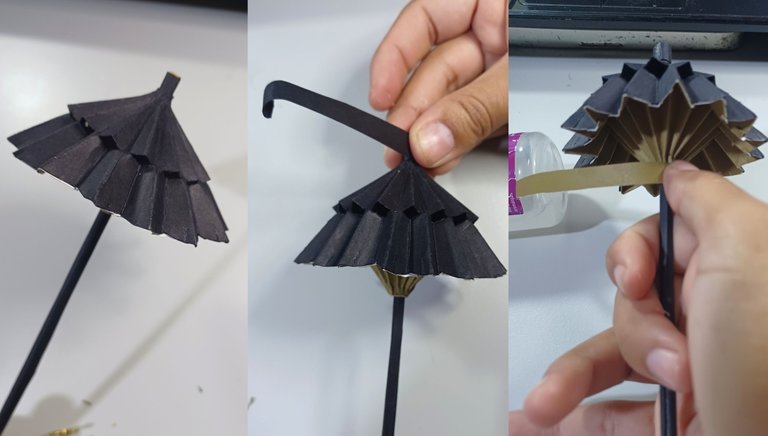
Lo siguiente es el bastón de la sombrilla, para ello empleo un palillo de madera el cual previamente forre con papel negro, lo que se debe hacer es insertarlo a través de los orificios de ambos papeles y asegurarlo en la parte superior con una tira del mismo papel, lo mismo para la parte de abajo para el cual tome un trozo de papel dorado esta vez solo asegure la tira de papel la parte interna de la sombrilla, lo cual también me permitirá abrir y cerrarla cómodamente.
Next is the cane of the umbrella, for this I use a wooden stick which previously lined with black paper, which must be done is to insert it through the holes in both papers and secure it at the top with a strip of the same paper, the same for the bottom for which take a piece of gold paper this time only secure the strip of paper the inside of the umbrella, which will also allow me to open and close it comfortably.
La primera prueba para esta sombrilla la hice en un papel blanco, que el que muestro a continuación, me gusto bastante, aunque quería algo más colorido así que dibuje con marcadores algunas flores sobre ella, esto una vez que estaba lista y me ha gustado, pero aun deseo hacerla sobre un papel estampado.
The first test for this umbrella I made it on a white paper, which I show below, I liked it a lot, although I wanted something more colorful so I drew with markers some flowers on it, this once it was ready and I liked it, but I still want to make it on a patterned paper.
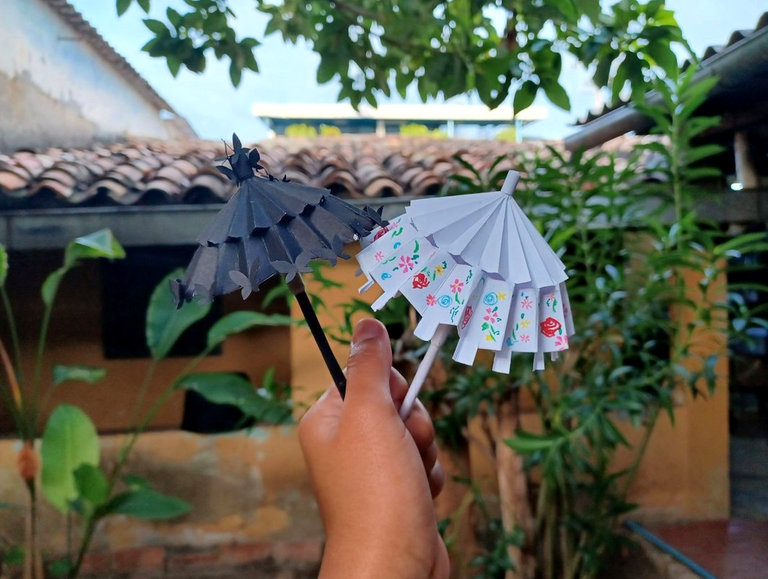
Como puede observar a esta pequeña sombrilla negra quise decorarla con pequeñas mariposas del mismo color, este creo fue el proceso más tedioso de toda esta manualidad, pero me gustó mucho el resultado, espero hacer otra y la siguiente con muchas más de estas mariposas.
As you can see this little black umbrella I wanted to decorate it with small butterflies of the same color, this I think was the most tedious process of this whole craft, but I really liked the result, I hope to make another one and the next one with many more of these butterflies.

Espero que haya sido de su agrado, y que puedan hacer su propias y personalizadas sombrillas, las cuales podrían servir para decoraciones de fiesta o cotillones de recuerdo, si tienen cualquier sugerencia o inquietud estoy totalmente a la orden.
I hope you liked it, and that you can make your own personalized umbrellas, which could be used for party decorations or souvenir cotillions, if you have any suggestions or concerns I am totally at your service.

¡Espero que les haya gustado esta publicación!
¡Muchas gracias por leer, hasta la próxima!
Hoping you liked this post!
Thank you very much for reading, see you next time!
Es tan hermosa 💖
Gracias Irene💕
La ame, definitivamente voy a intentar hacer una. Ya me imaginé a una Barbie toda intervenida usando una de esas... Tengo meses pensando en comprarme una y modificarla, y está sombrilla me encantó para ese proyecto
Me alegra mucho que te haya gustado y espero que puedas seguir el tutorial, hay un primer modelo que puedes ver en mi blog
Yo tambien quisiera tener las figuras para que las usen, de hecho pensé en hacer una tamaño real, pero debo conseguir más papel!
Si tienes dudas de algún paso estaré aqui para ayudarte cuando quieras, me hace feliz que alguien mas se anime a hacerlas, Exito amiga! 😊💜