Linda y bendecida tarde les deseo a todos los amigos creativos de esta comunidad, del mundo entero y a todos los amantes de las manualidades. Espero que se encuentren muy bien, yo por mi parte me encuentro en excelentes condiciones y agradeciendo a Dios un nuevo día para mí y para mi familia.
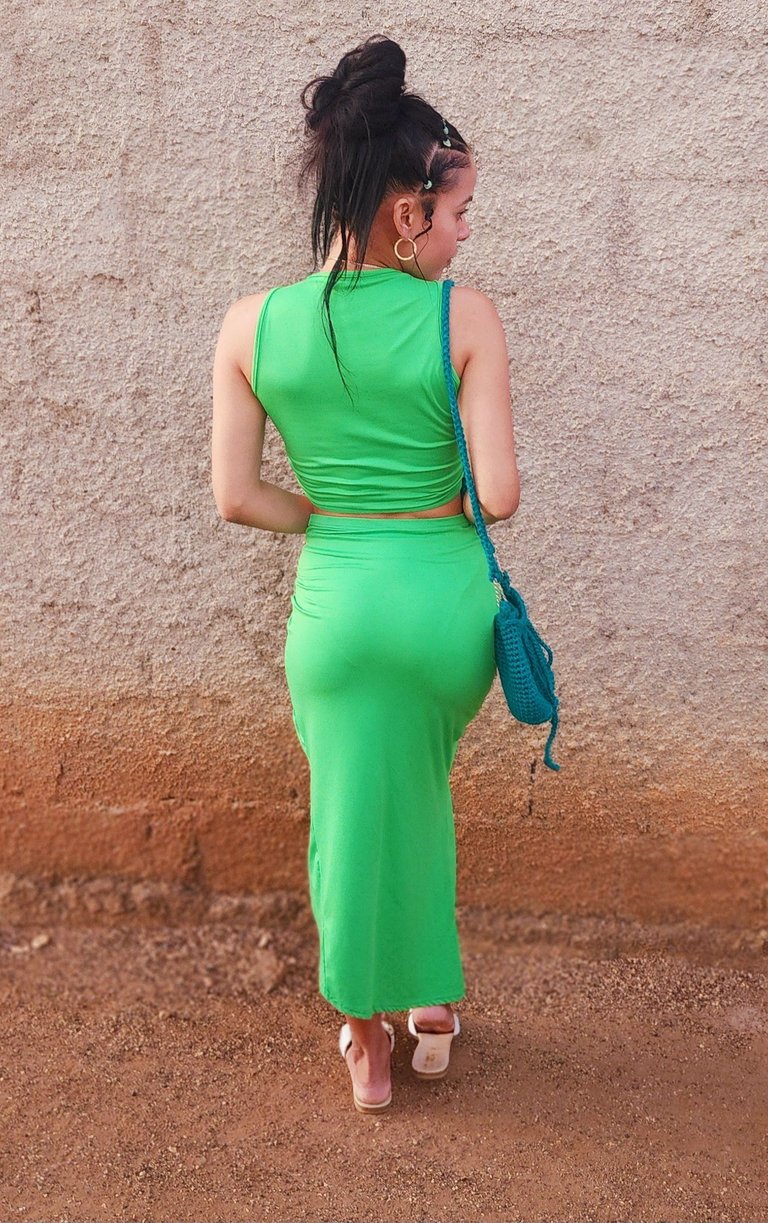
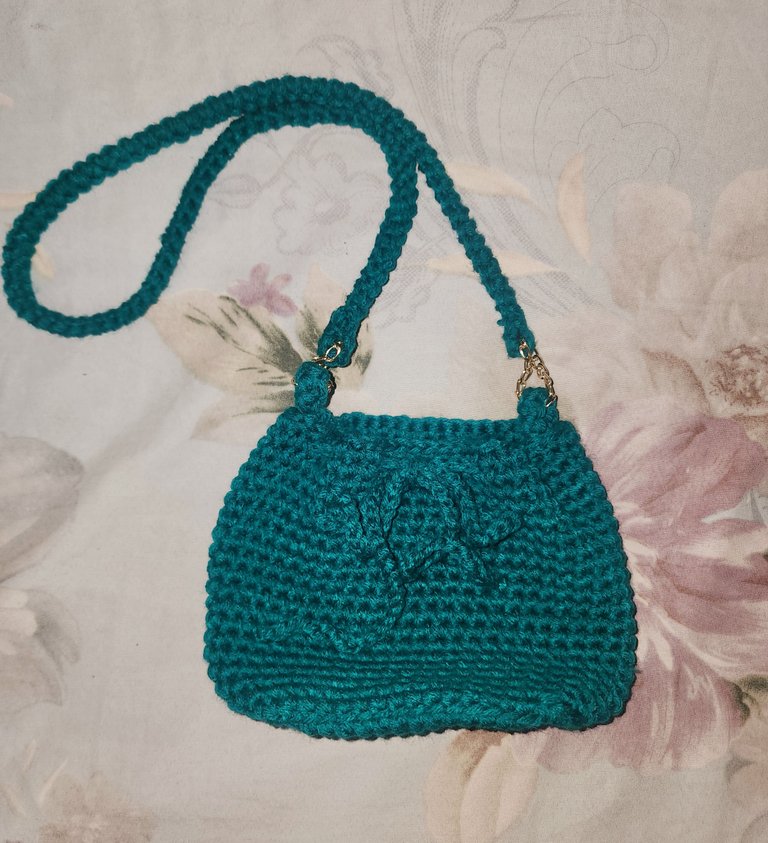
Hace un tiempo realicé un bolso tejido a crochet de color verde, casi nunca lo uso por su personalizado color, ya que me encanta pero no hace juego con muchos colores. Asi que solo las veces que me visto con alguna prenda de ese color es que me gusta llevarlo conmigo. El pasado 8 de marzo me vestí de verde celebrando así el día de la Mujer y manteniendo siempre la esperanza 🤗. Me tomé varias fotos para compartirlas con ustedes.
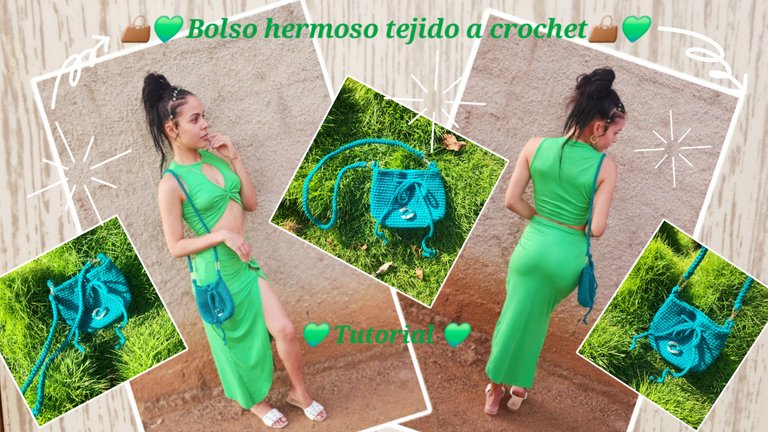
Hoy quiero mostrarles el tutorial de esta bonita cartera que me gusta muchísimo. Es muy fácil de realizar y nos hes muy cómoda.
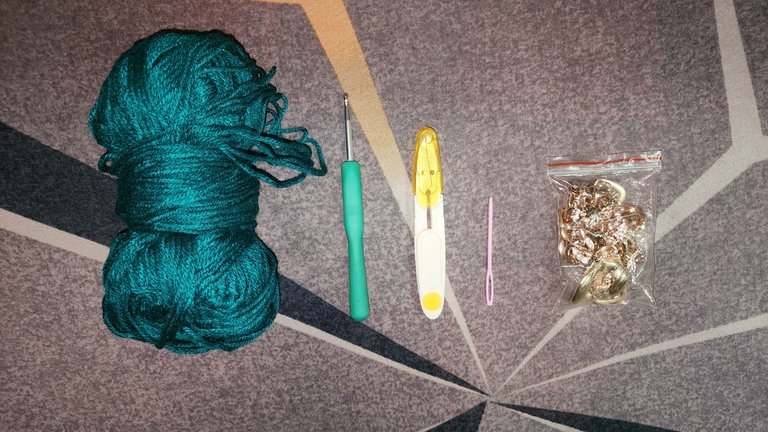
👜💚 Materiales 👜💚
- Lana de color verde.
- Agujeta.
- Aguja lanera.
- Marcadores.
- Tijera.
- Cadenas de adornar.
👜💚 Paso a paso 💚👜
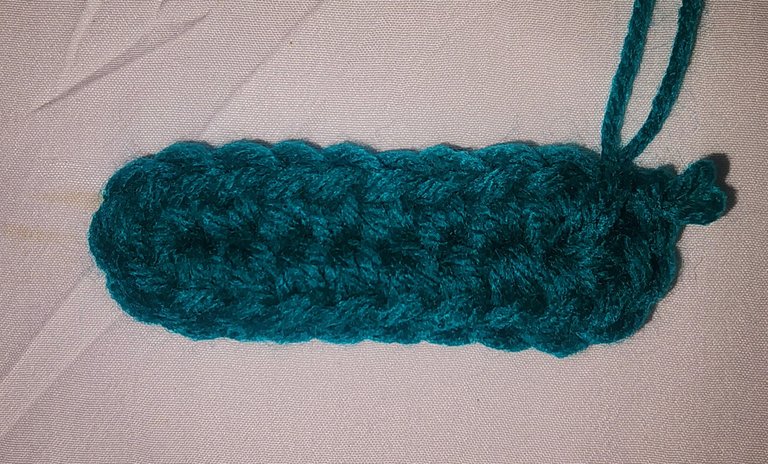
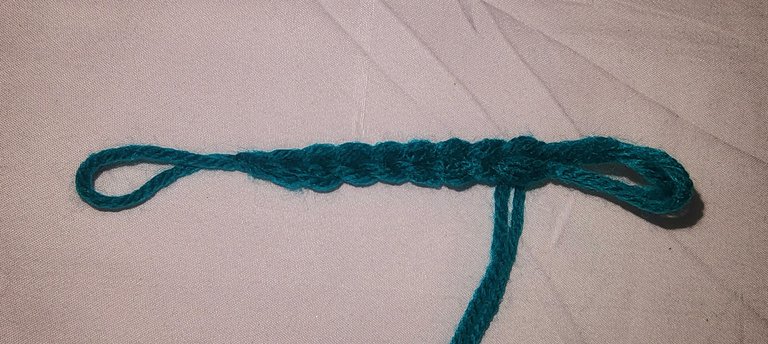
V1- Comenzamos haciendo 8 cadenetas con verde oscuro, luego hago una cadeneta más, en esa no en la anterior hago 1 punto bajo, y hago en las 6 siguientes, 6 puntos bajos más, en él punto que me queda hago 5 puntos bajos y me vuelvo haciendo 6 puntos bajos y en el mismo punto que comencé hago 4 puntos bajos que serían 5 con el que ya hice.
(SIEMPRE MARCO ESE PRIMER PUNTO)
V2- Ahora hago en ese primer punto un aumento, en los próximos 6 puntos hago punto bajo en cada punto, en los 5 puntos siguiente un aumento en cada uno, en los próximos 6 puntos un punto bajo y en los 4 siguientes un aumento en cada uno que con el que ya hice serían 5 aumentos.
V3- En el primer punto hago un aumento, en los siguientes 7 puntos hago un punto bajo en cada punto, ahora hago secuencia 5 veces de 1 punto bajo + 1 aumento, en los siguientes 6 puntos hago 6 puntos bajos y hago 4 secuencias de un aumento + 1 punto bajo.
V4- En el primer punto hago 1 punto bajo, en el siguiente 1 aumento, en el próximo 1 punto bajo, en los siguientes 6 puntos un punto bajo en cada uno, ahora hago secuencia de 1 punto bajo + 1 aumento + 1 punto bajo por 5 veces, hago 6 puntos bajos más en los próximos 6 puntos y hago secuencias de 1 punto bajo + 1 aumento por 4 veces.
V5- Hacemos 1 aumento +12pb+1aumento + 2pb+1aumento + 6pb +1aumento +2pb+1aumento +12pb+1aumento +2pb+1aumento +6pb+1aumento +2pb.
V6- Ahora tomando solo la hebra trasera y hacemos un punto bajo en cada punto, quedando un total de 60 puntos bajos.
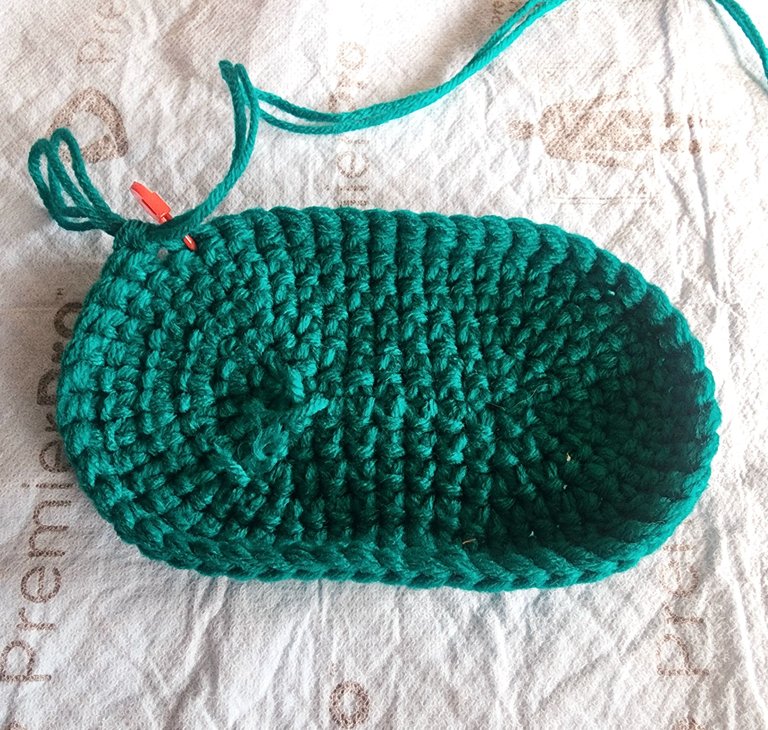
V7- V20- Vamos a realizar estos 70 puntos bajos sin aumentos ni disminuciones.
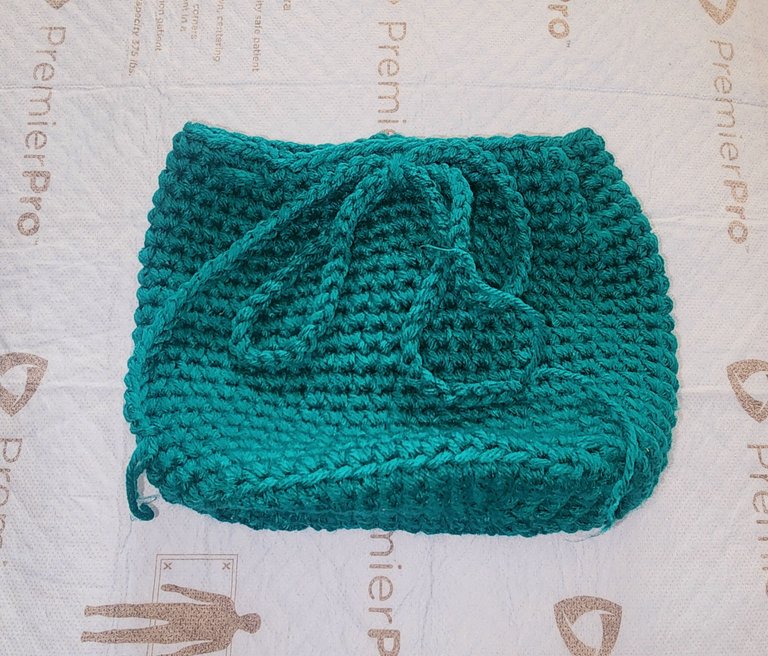
👜💚 Asas y decoraciones 👜💚
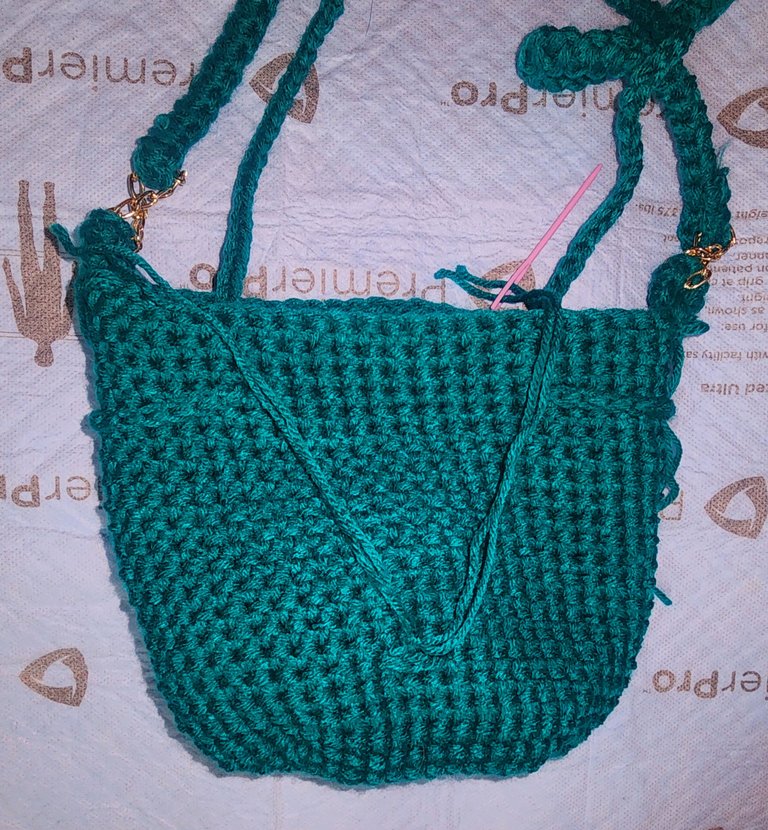
💚 El asa para amarrar la realizamos haciendo 300 cadenas y luego la vamos pasando por el cuerpo del bolso.
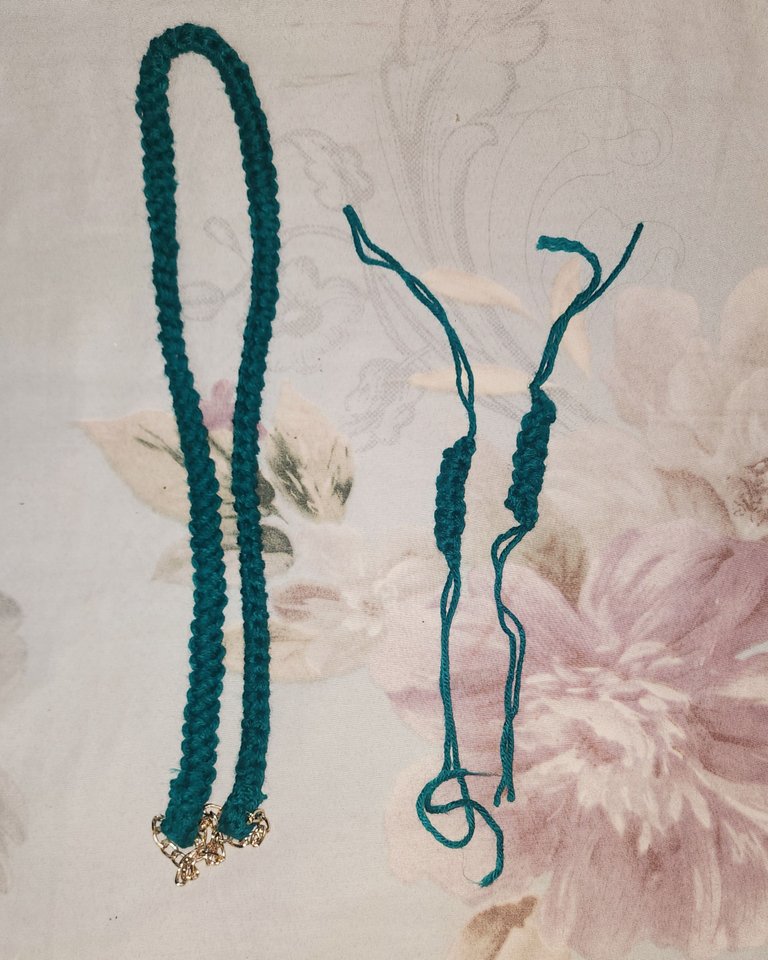
💚 Las asas para colgar las realizamos con el punto ruso, y el largo que deseemos.
💚 Le agregué unas cadenas para darle una decoración más bonita y luego hice con el punto ruso dos asas más que me unieran el asa mayor que ya tenía las cadenas a la parte del bolso.
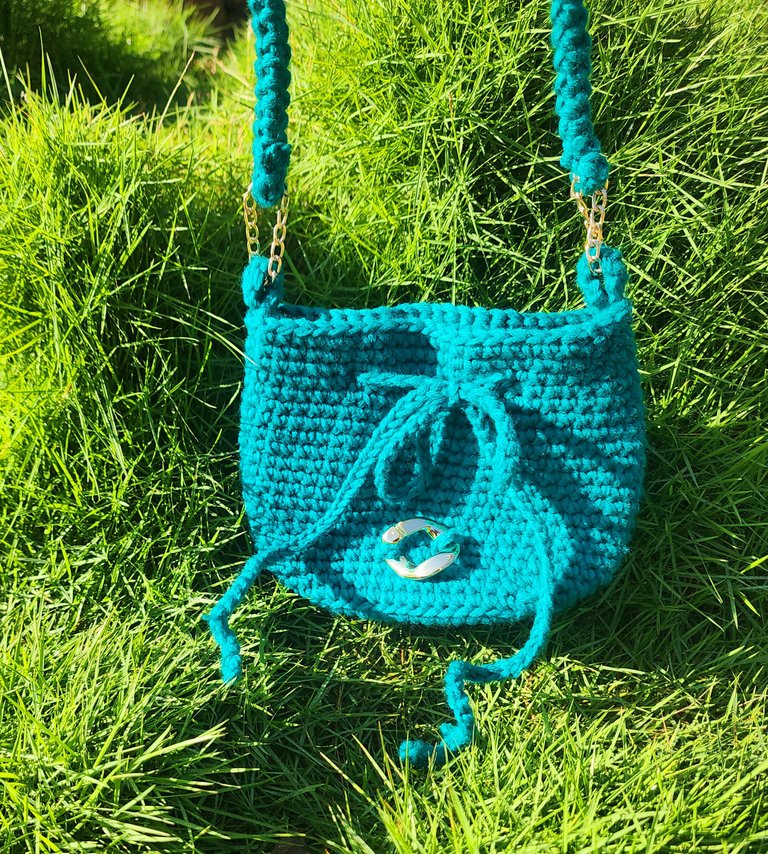
💚 Así ya quedaba bonito pero quise agregarle un último detalle y le coloqué esta decoración en el centro del cuerpo del bolso.
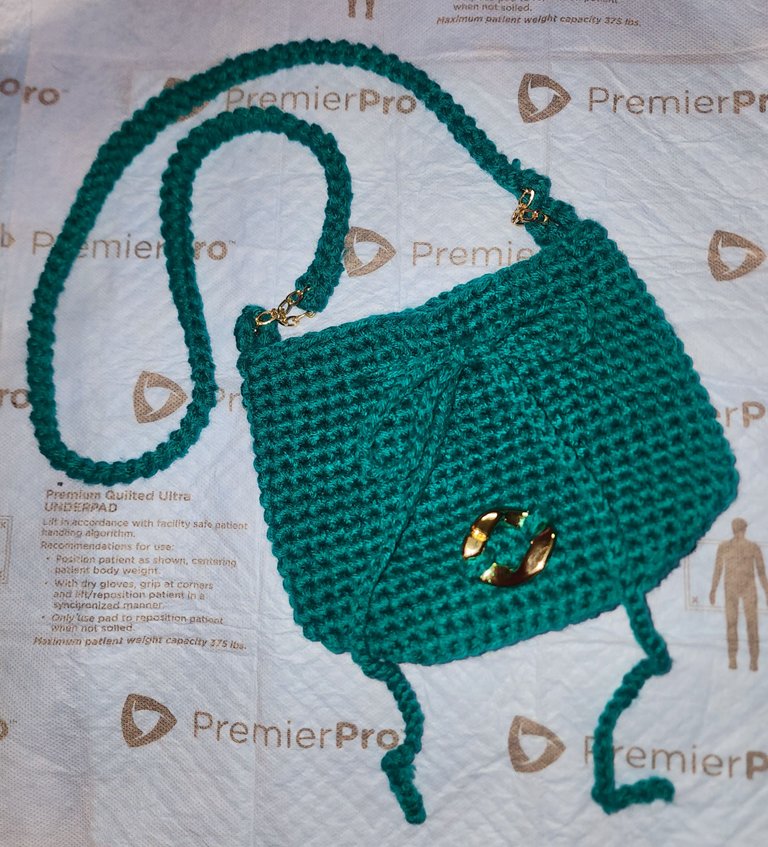
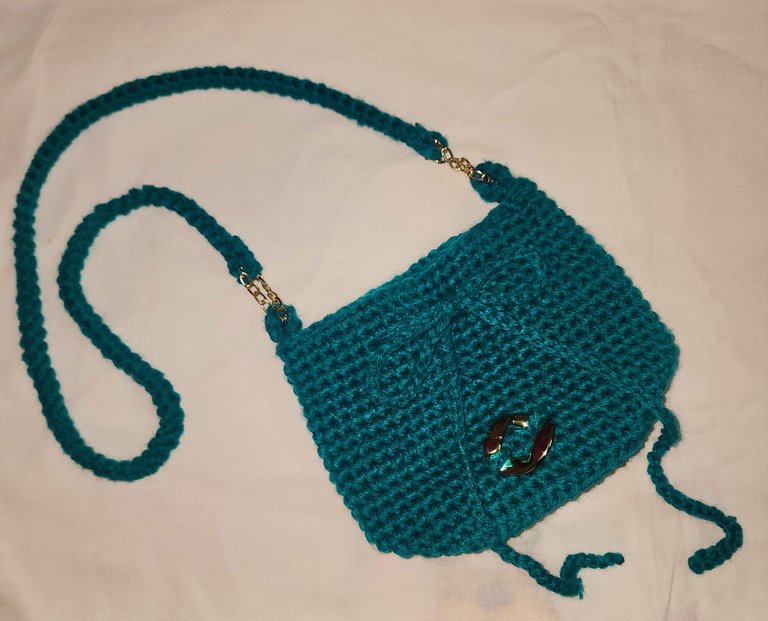
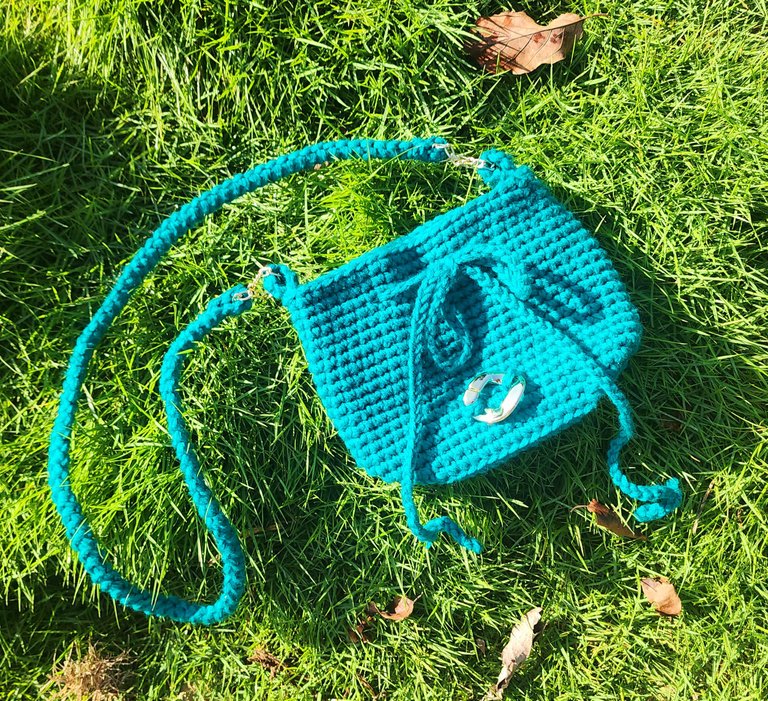
👜💚 Y listo amigos, así de bonito quedó este bolso tejido completamente a crochet, con un color hermoso que yo amé.
👜💚 Espero les guste. Los leo en los comentarios. Gracias de antemano por leerme hasta aquí. Hasta una nueva publicación ✨️. Bendiciones miles y abrazos virtuales 🤗.
👜💚 English 👜💚
I wish all the creative friends of this community, the whole world and all the craft lovers a nice and blessed afternoon. I hope you are feeling well, I for one am in excellent condition and thanking God for a new day for me and my family.
Some time ago I made a green crochet bag, I almost never use it because of its personalized color, because I love it but it doesn't match with many colors. So only when I wear a garment of that color is that I like to carry it with me. Last March 8 I wore green thus celebrating Women's day and always keeping hope 🤗. I took several pictures to share them with you.
Today I want to show you the tutorial of this beautiful purse that I really like. It is very easy to make and hes very comfortable for us.
👜💚 Materials 👜💚
- Green color wool.
- Needle.
- Wool needle.
- Marker pen.
- Scissors.
- Decorative chains.
👜💚 Step by Step 👜💚
V1- We start making 8 chain stitches with dark green, then I make one more chain stitch, in that one not in the previous one I make 1 low stitch, and I make in the next 6, 6 more low stitches, in the stitch I have left I make 5 low stitches and I turn making 6 low stitches and in the same stitch I started I make 4 low stitches that would be 5 with the one I already made.
(I ALWAYS MARK THAT FIRST Stitch)
V2- Now I make in that first stitch one increase, in the next 6 stitches I make a single decrease in each stitch, in the next 5 stitches one increase in each stitch, in the next 6 stitches one decrease in each stitch and in the next 4 stitches one increase in each stitch that with the one I already made would be 5 increases.
V3- In the first stitch I make an increase, in the next 7 stitches I make a single decrease in each stitch, now I make sequence 5 times of 1 decrease + 1 increase, in the next 6 stitches I make 6 decrease stitches and I make 4 sequences of 1 increase + 1 decrease stitch.
V4- In the first stitch I make 1 low stitch, in the next 1 increase, in the next 1 low stitch, in the next 6 stitches one low stitch in each stitch, now I make sequence of 1 low stitch + 1 increase + 1 low stitch for 5 times, I make 6 more low stitches in the next 6 stitches and make sequences of 1 low stitch + 1 increase for 4 times.
V5- We make 1 increase +12pb+1increase + 2pb+1increase + 6pb +1increase +2pb+1increase +12pb+1increase +2pb+1increase +6pb+1increase +2pb.
V6- Now taking only the back strand and knit one single crochet in each stitch, leaving a total of 60 single crochets.
V7- V20- We are going to make these 70 low stitches without increases or decreases.
👜💚 Handles and decorations 👜💚
💚 The handle for tying we make it by making 300 chains and then we pass it through the body of the bag.
💚 The handles for hanging we make them with the Russian stitch, and the length we want.
💚 I added some chains to give it a nicer decoration and then I made with the Russian stitch two more handles to join the larger handle that already had the chains to the part of the bag.
💚 This way it already looked nice but I wanted to add one last detail and I placed this decoration in the center of the body of the bag.
👜💚 And that's it folks, that's how pretty this completely crocheted bag turned out, with a beautiful color that I loved.
👜💚 I hope you like it. I read them in the comments. Thanks in advance for reading me this far. Until a new post ✨️. Thousand blessings and virtual hugs 🤗.
Recursos empleados
| RECURSO / RESOURCE | FUENTE / SOURCE |
|---|---|
| Edición / Edition: | @yunacrochet |
| Imágenes / Pictures: | Samsung Galaxy s22 Ultra |
| Translated / Traducción: | Deepl Translate by @noakmilo |
Posted Using INLEO
WOW, que bello, me encanta, bendiciones para tus manos, ya estoy viendo tutoriales para aprender, a ver si un día puedo hacer algo así de lindo 😄
Muchas gracias amiga 🤗, se que harás muchas cosas bien bonitas, por tu curiosidad y bellos trabajos manuales, lo sé. Bendiciones miles 😘.
Oyeee, que lindo. Deberías hacer de todos los colores. Jajaja ESTÁ HERMOSO!
Muchas gracias amiga, he pensado hacer de todos los colores ya que me encantan 🤗, en estos días haré otro jjj. Bendiciones 🤗.
Perfecto. Yo estoy tratando de hacer un suéteres miniatura para mi maniquí de madera. Pero no encuentro patrones.por casualidad de la vida tendrás?
Wow, very beautiful.
Thanks you very much friends.
You're welcome dear.